
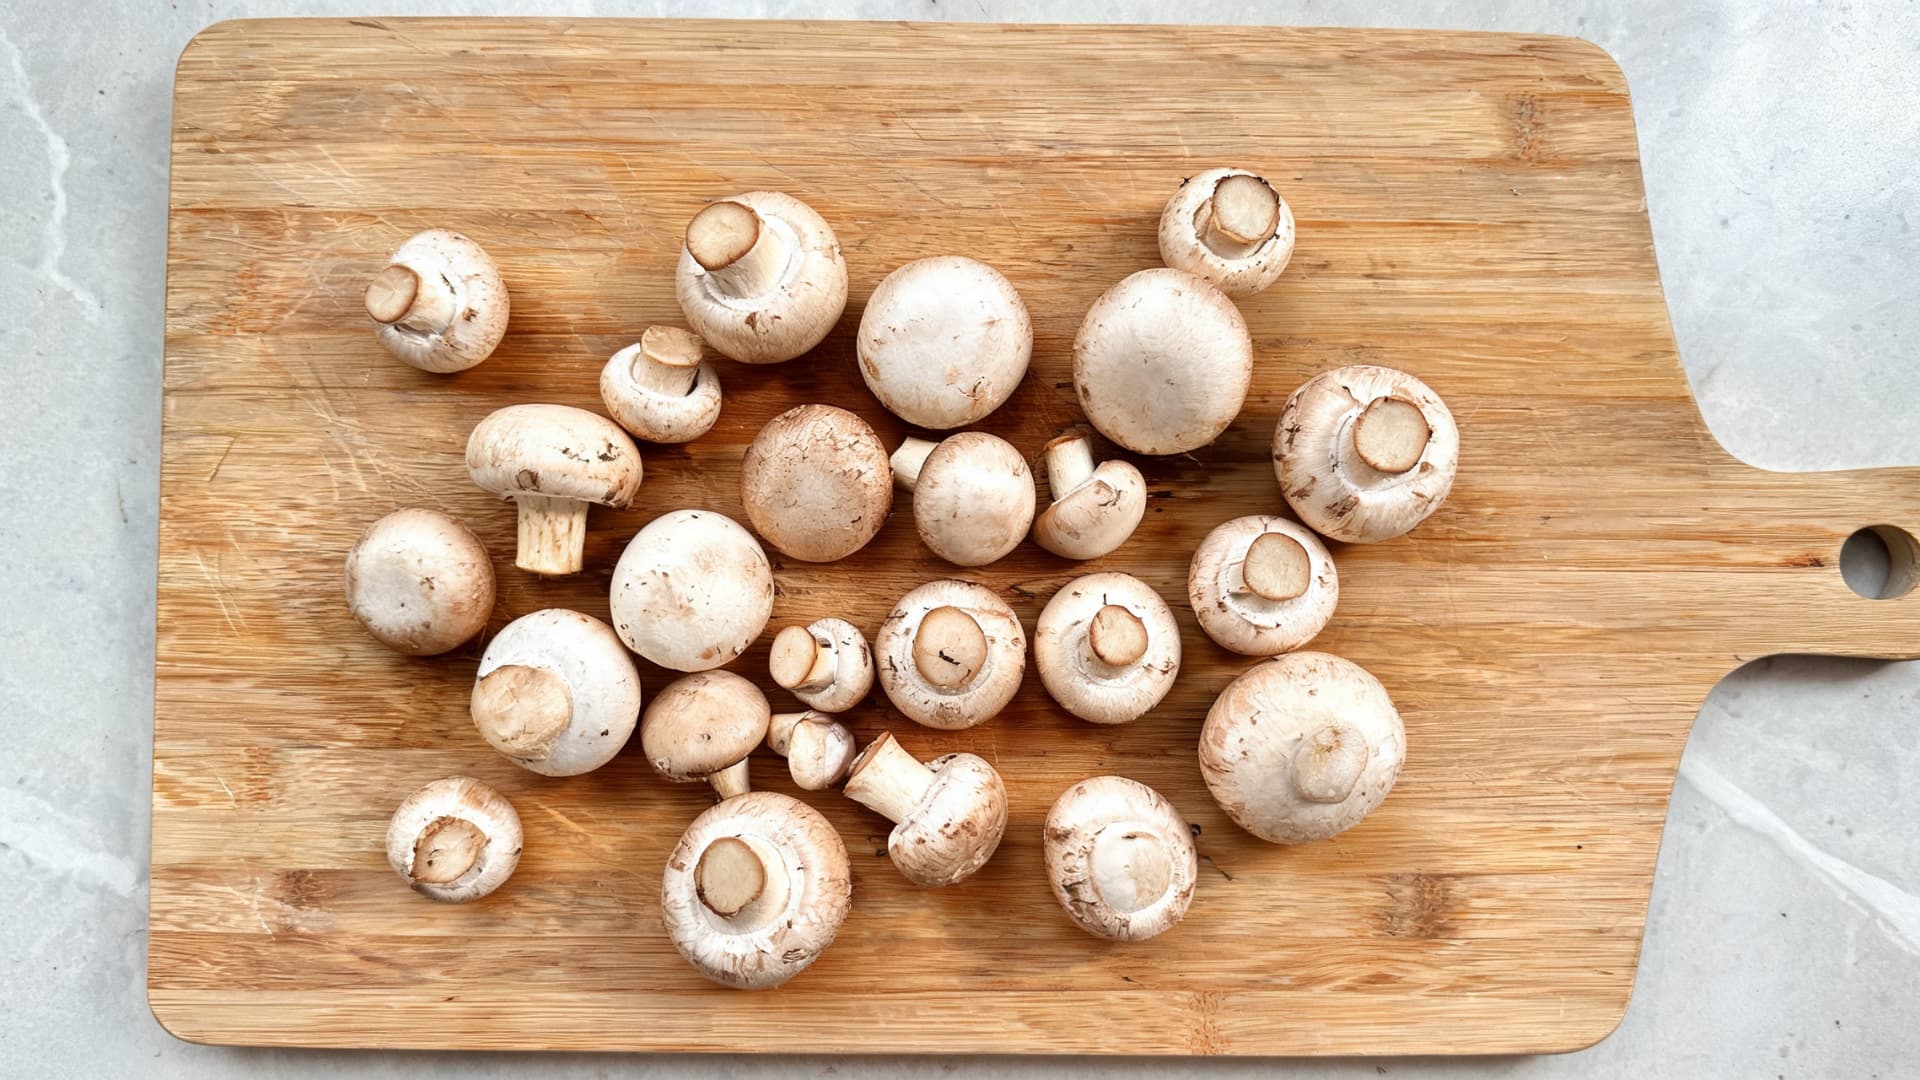
A carton of supermarket mushrooms can become a small rebuke in the refrigerator.
A few days pass, the caps turn slimy, and the whole thing ends up in the trash. Growing mushrooms at home is a reasonable alternative, no lab, greenhouse, or years of gardening experience required.
A dark cupboard, grow bags, and some patience will get us started, though fruiting needs different conditions.
Here’s what I’d choose, what to buy, and how to get from a bag of damp straw to a first harvest.
Growing Mushrooms at Home: Which Method to Choose
A ready-to-fruit kit is the easiest start: the substrate is already inoculated, so you can skip preparation and focus on fruiting conditions.
I’d choose it if the first harvest is the priority. Kits also make lion’s mane an easy second species to try.
Beyond kits and grow bags, home growers use a handful of other methods. Here’s how they stack up:
|
Method |
Best mushrooms |
Where |
Timeline |
|---|---|---|---|
|
Ready-to-fruit kit |
Oyster, lion’s mane, shiitake |
Indoors, on a counter |
Pins often within 1-2 weeks of opening |
|
Grow bags with straw |
Oyster |
Indoors |
3-5 weeks to first harvest |
|
Bucket with lime-treated straw |
Oyster |
Indoors or a shaded porch |
Colonizes in about 10-14 days |
|
Straw bale |
Oyster only |
Outdoors, in shade |
Harvest in about 3-4 weeks |
|
Hardwood logs or log stacks |
Shiitake, oyster |
Outdoors, in shade |
6-18 months to start, then fruits for years |
|
Wood chip bed |
Wine cap |
Outdoors, partial shade |
As little as a couple of months |
|
Compost tray |
Button, cremini, portobello |
Indoors, cool basement |
Several weeks; needs a 55-60°F finish |
|
Make your own spawn |
Any |
Indoors, sterile setup |
Adds weeks before you can inoculate |
The Best Mushrooms to Start With
Species choice matters, as some mushrooms grow quickly, while others demand precision before producing anything.
I see no reason to start with the ones most likely to discourage us.
1. Oyster Mushrooms

Oysters tolerate modest fluctuations in moisture and ventilation, grow indoors without extreme temperatures, and still produce when conditions aren’t perfect.
White growth often appears within days of bagging, and once the substrate is completely white, mushrooms can follow shortly after the move to fruiting conditions.
They also accept many substrates, and their common problems are easy to spot, with long stems and dry caps offering useful clues.
I’d call oysters the easiest mushroom for beginners to cultivate. Quick results make it easier to learn what worked and what didn’t.
2. Shiitake Mushrooms

Shiitake is a good next project, not my recommendation for the first one.
It grows more slowly and benefits from steadier conditions, so it takes far longer than oysters to show results.
Shiitake needs hardwood sawdust blocks or logs. Substituting it into the straw-bag procedure below is not a shortcut. Experience with moisture, air movement, and harvest timing helps here.
Supplies Required for Growing Mushrooms
The supplies have separate jobs: preparing the substrate, reducing contamination, and providing growing conditions.
I’d buy spawn from a supplier rather than beginning with spores.
|
Item |
Purpose |
|---|---|
|
Clean mixing box |
Holds and blends substrate materials during prep |
|
Kettle or large pot |
Heats water to pasteurize the straw pellets |
|
Measuring cup |
Measures the water and spawn |
|
Cultivation bags with air filters |
Houses the substrate and allows gas exchange while keeping contaminants out |
|
Straw pellets |
Acts as the substrate, the material the mushroom fungus feeds on. |
|
Clean knife or scissors |
Cuts the holes mushrooms grow through |
|
Small grow tent or clear plastic tote |
Holds humidity around the bags while mushrooms form |
|
Spray bottle |
Keeps humidity levels steady inside the fruiting area |
|
Rubbing alcohol |
Sanitizes tools and work surfaces before handling |
|
Rubber gloves |
Keeps hands clean and reduces contamination risk |
|
Thermometer |
Tracks temperature during colonization and fruiting |
Step-by-Step Process: How to Grow Oyster Mushrooms in Grow Bags
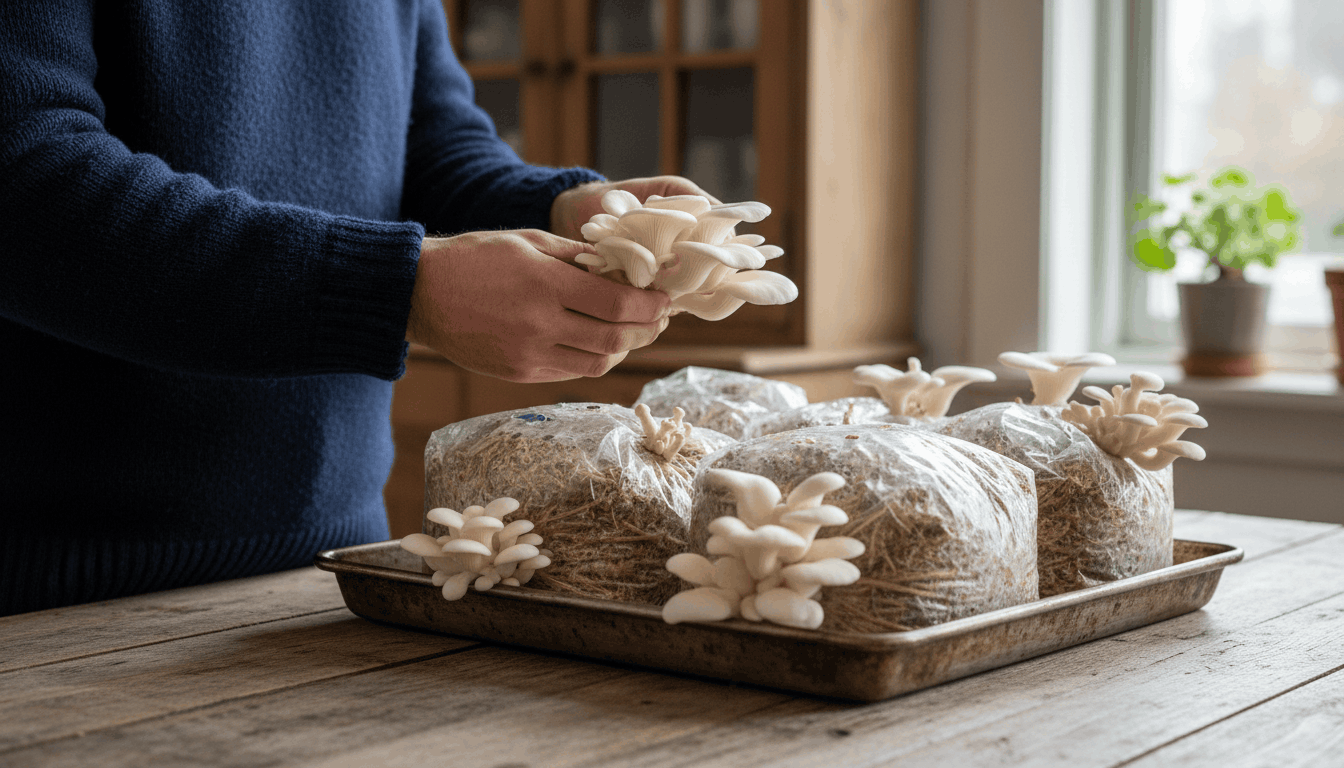
To grow oyster mushrooms at home, you need the right setup, careful handling, and a consistent environment.
Step 1: Clean the Work Area
Contamination is the main risk, especially while the fungus establishes itself.
I’d wash my hands and put on rubber gloves before wiping the counter, mixing box, knife, and measuring cup with rubbing alcohol, letting everything air-dry completely.
Keep nearby windows closed to limit dust and drafts, and keep pets away.
The goal is a clean working area (not a sterile laboratory) to protect early growth from competing molds and bacteria.
Step 2: Prepare the Growing Mix
Add straw pellets to the mixing box with about 1 quart of near-boiling water per pound, unless the manufacturer specifies a different ratio (its directions take precedence).
The box stays covered while pellets absorb water and break apart.
This treatment pasteurizes the material and reduces most competing organisms. It does not make it sterile.
The straw must be fluffy and fully cooled to room temperature before proceeding; heat can kill spawn.
Several drops are acceptable, but continuous dripping means it is too wet and needs draining.
Step 3: Add the Grain Spawn
The cooled substrate should be ready before the spawn bag is opened and kneaded to separate the grains, which are sprinkled evenly over the straw.
I’d fold everything together with gloved hands, breaking up large clumps.
Spawn should be distributed throughout every handful, not in pockets.
Working promptly limits exposure, while even distribution gives mycelium more starting points and fewer opportunities for competing organisms.
Step 4: Fill the Grow Bags
The mixture is scooped into filter-patch bags and pressed down to remove large air pockets, a firm cushion, not a loose sack of straw. The filter patch stays unobstructed.
Each bag is closed tightly or heat-sealed, as appropriate, and marked with its preparation date.
I’d want that date for comparisons, because a slower bag can become a concern if nobody remembers when it was filled.
Step 5: Let the Fungus Grow
The bags need somewhere dark and stable, at approximately 75°F (a closet, cabinet, or suitable basement shelf can work).
Illumination is not needed. White strands should begin spreading from the grains within days. This is mycelium, the main body of the fungus, occupying the straw.
Check every few days without opening the bags, as complete whitening generally takes 2-3 weeks, and repeated opening only gives contaminants another chance to enter.
Step 6: Set up The Fruiting Area
The fruiting space can be prepared while the bags colonize.
A small tent or transparent plastic tote provides a humid enclosure in a bright room out of direct sunshine. For a tote, add small side ventilation holes and damp perlite at the bottom.
The enclosure must exchange air, not merely hold moisture.
Most varieties need 80-95% humidity to fruit, so check the thermometer daily for stability and arrange everything before the bags need moving.
Step 7: Move the Bags In
When the bags are nearly all white and feel firm, make several small, separated X cuts with an alcohol-cleaned knife to give mushrooms places to emerge.
The bags go into the enclosure with slits facing outward. Leave room around the openings for growth and air movement.
The enclosure walls need daily misting (more often in dry air), but not into the slits, where collecting water encourages mold rather than helping the crop.
Step 8: Watch for Growth
Daily inspection of the openings reveals tiny bumps, called pins, the beginning of the mushrooms.
Once they appear, growth can be fast enough to look different overnight. Long, narrow stems suggest inadequate fresh air, while dry or cracked caps suggest insufficient moisture.
I’d adjust one condition and wait a full day before another change, rather than making drastic corrections in succession.
Step 9: Harvest and Use
Pick when the caps are expanded but still firm. The whole cluster is held at its base and gently twisted away, or cut off with a clean knife.
Harvest whole clusters, not individual mushrooms, because leftover stubs can rot and develop mold.
Brush off loose substrate before cooking (preferably the same day).
Basic Conditions for Healthy Mushroom Growth
Consistency matters more than elaborate equipment.
Most edible mushrooms grow within 60-75°F, with warmer conditions often used for colonization and fruiting around 68°F.
Follow the particular strain’s instructions; a general temperature range isn’t a reason to ignore them.
An ordinary room is usually enough, so check the strain’s needs before buying heating mats or specialized equipment.
Lighting once or twice daily is generally enough, depending on how quickly the enclosure dries. Pooling water and persistent drips indicate excess.
But fresh air matters just as much: stagnant conditions promote weak, slender growth, while a powerful fan can dry the crop.
Gentle ventilation is preferable. During fruiting, use indirect light, and keep bags out of direct sun, which dries them quickly.
Filter patches and ventilation openings allow air exchange. Without them, growth can stall, and mold can follow. For me, a sealed box is no improvement, even if it holds humidity well.
Signs Your MushroomsAre Ready to Harvest
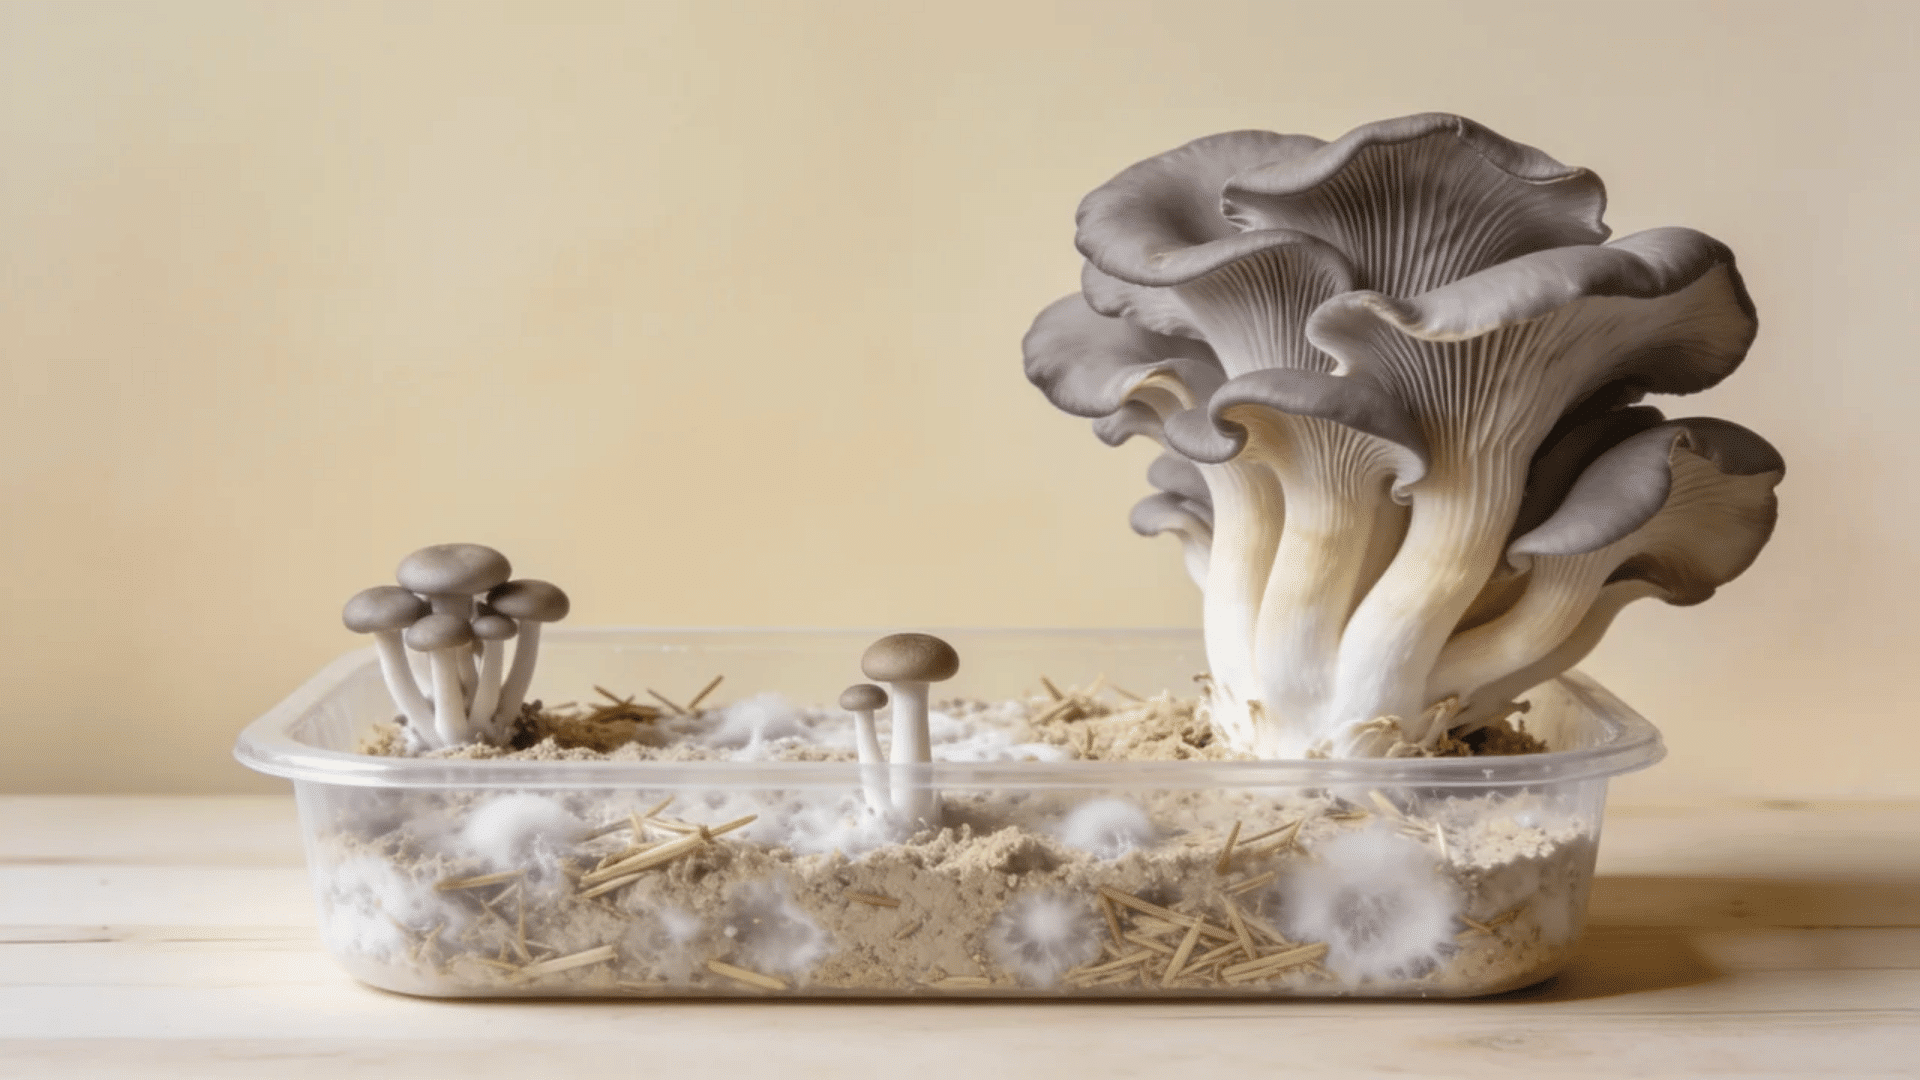
The picking window is short, and size alone is a poor guide.
I’d watch cap margins and texture as clusters expand, rather than wait for another growth increment at the expense of eating quality. For oysters, the useful stage comes before margins flatten completely.
But shiitake has its own cues, and not every oyster rule applies unchanged.
-
Edges still curl under: Oyster caps have expanded, but the margins remain slightly downturned at a good picking stage.
-
Caps stay firm: The texture should be resilient, neither limp nor soft.
-
Edges turn translucent: Thin, nearly transparent oyster margins indicate that harvest is overdue.
-
Color stays fresh: The original coloration and a full, attractive appearance are useful signs.
-
Color turns dull: Fading or slight yellowing means peak quality has passed.
-
Shiitake caps open: Pick when caps expand, and margins begin curling downward; completely flattened caps are overmature.
What to Do After Your First Harvest
If you don’t plan to cook them right away, put the mushrooms in a paper bag and keep them in the fridge.
Don’t use sealed plastic, because it traps moisture. Don’t toss out the grow bag just yet. Many kits can grow more mushrooms.
Lightly mist the area and keep the conditions the same. You might get a second or even third harvest.
Notice what went well. Write down the room temperature, how much air was moving, and how often you misted. This will help you do even better next time.
When you’re done making mushrooms, you can add the leftover material to your compost or garden soil.
Common Problems and How to Fix Them
Most problems show up early, and they usually come down to moisture, airflow, or contamination.
Small mistakes are part of learning, and most are easy to fix.
|
Issue |
Simple Fix |
|---|---|
|
Blue, green, black, or yellow spots |
Throw the bag away and clean the area |
|
Beads of dark-yellow liquid on white growth |
Leave the bag alone, and discard it only if black, green, or purple patches appear |
|
Dry mushrooms or cracked caps |
Mist the walls twice a day instead of once |
|
Long, thin mushrooms |
Add more fresh air |
|
No white growth after 2-3 weeks |
Check that the room is warm enough for colonization |
|
Bad or sour smell |
Stop the growth and discard it |
|
Water pooling in bags |
Mist the air, not the grow block |
|
Slow growth |
Stay patient and avoid changing too many things |
Is Growing Mushrooms at Home Safe?
This is for informational purposes only. Talk to a doctor before growing indoors if you have asthma, allergies, or a weakened immune system.
For most households, yes. Common edible species like oyster and shiitake are fine to grow for your own kitchen, though it’s worth checking local rules if you ever plan to sell what you grow.
The bigger concern is spores, and mature oyster caps release a lot of them.
Repeated exposure can trigger allergies or a lung condition called hypersensitivity pneumonitis (aka mushroom worker’s lung).
Harvest before the caps flatten, keep the fruiting tent out of bedrooms, and skip indoor growing if your home already has a mold problem or someone has serious breathing issues.
End Note!
Growing mushrooms asks for observation, not special ability.
A clean start, a warm, dark place for mycelium to colonize, then humidity and gentle ventilation for fruiting are what’s needed.
What matters is knowing enough about the conditions to repeat it, so I’d keep notes on temperature, misting, and airflow instead of relying on my memory.
And I’d leave shiitake until the oyster routine feels familiar (there’s time for a more demanding project later).
Still deciding between a kit and your own straw bags? Tell us in the comments which variety you’re starting with.
Frequently Asked Questions
How Long Does Shiitake Take to Grow Compared to Oyster?
Shiitake takes longer than oysters, especially when you start before the fruiting stage. A ready-to-fruit block bypasses much of that wait, making it a more practical introduction than preparing everything from the beginning.
Can You Grow Mushrooms From Store-Bought Mushrooms?
Sometimes, with oysters, but it’s a gamble. Oyster stem bases can colonize damp cardboard, but results vary widely, and spawn from a supplier is far more reliable for a first grow.
Does Slow Growth Mean the Grow Has Failed?
Not by itself. Some successful batches need extra time, so look for warning signs like colored spots or a sour smell before giving up on a bag.
Which Mushrooms You Should Avoid as a Beginner?
Chanterelles and porcini partner with living tree roots, so they’re close to impossible to grow in a bag. Morels are grown commercially in outdoor beds, but they’re notoriously finicky.



One Response
I’m interested in going button mushrooms and I wanted to know if they were easy one to grow I guess