After building more raised beds than I can count, I’ve learned that how you fill one matters just as much as the bed itself.
Get the layering wrong, and you’re stuck with soggy roots, soil that sinks a few inches by midsummer, and plants that never quite get enough nutrients, no matter how much fertilizer you add.
I’ve seen it happen, and it always costs more time and money to fix than to just do it right the first time.
A shallow bed and a deep bed each call for their own approach, so let’s break down how to fill a raised garden bed the way that actually works, layer by layer, with the materials that earn their keep and the mistakes worth skipping.
Do You Really Need to Layer a Raised Garden Bed?
Honestly, not every bed needs a full layering system, but most benefit from one.
Layering helps manage soil depth, keeps moisture where roots can actually use it, gives roots room to spread, and lets organic matter break down naturally over time.
I lean into layering for deep beds, big wooden builds, metal beds that heat up fast, and budget projects where filling with straight soil gets pricey.
But if your bed is shallow, sitting under 10 to 12 inches, already has rich garden soil, or works more like a container, skip the layers and keep it simple.
What Goes Into a Raised Bed: My Go-to Layering Order
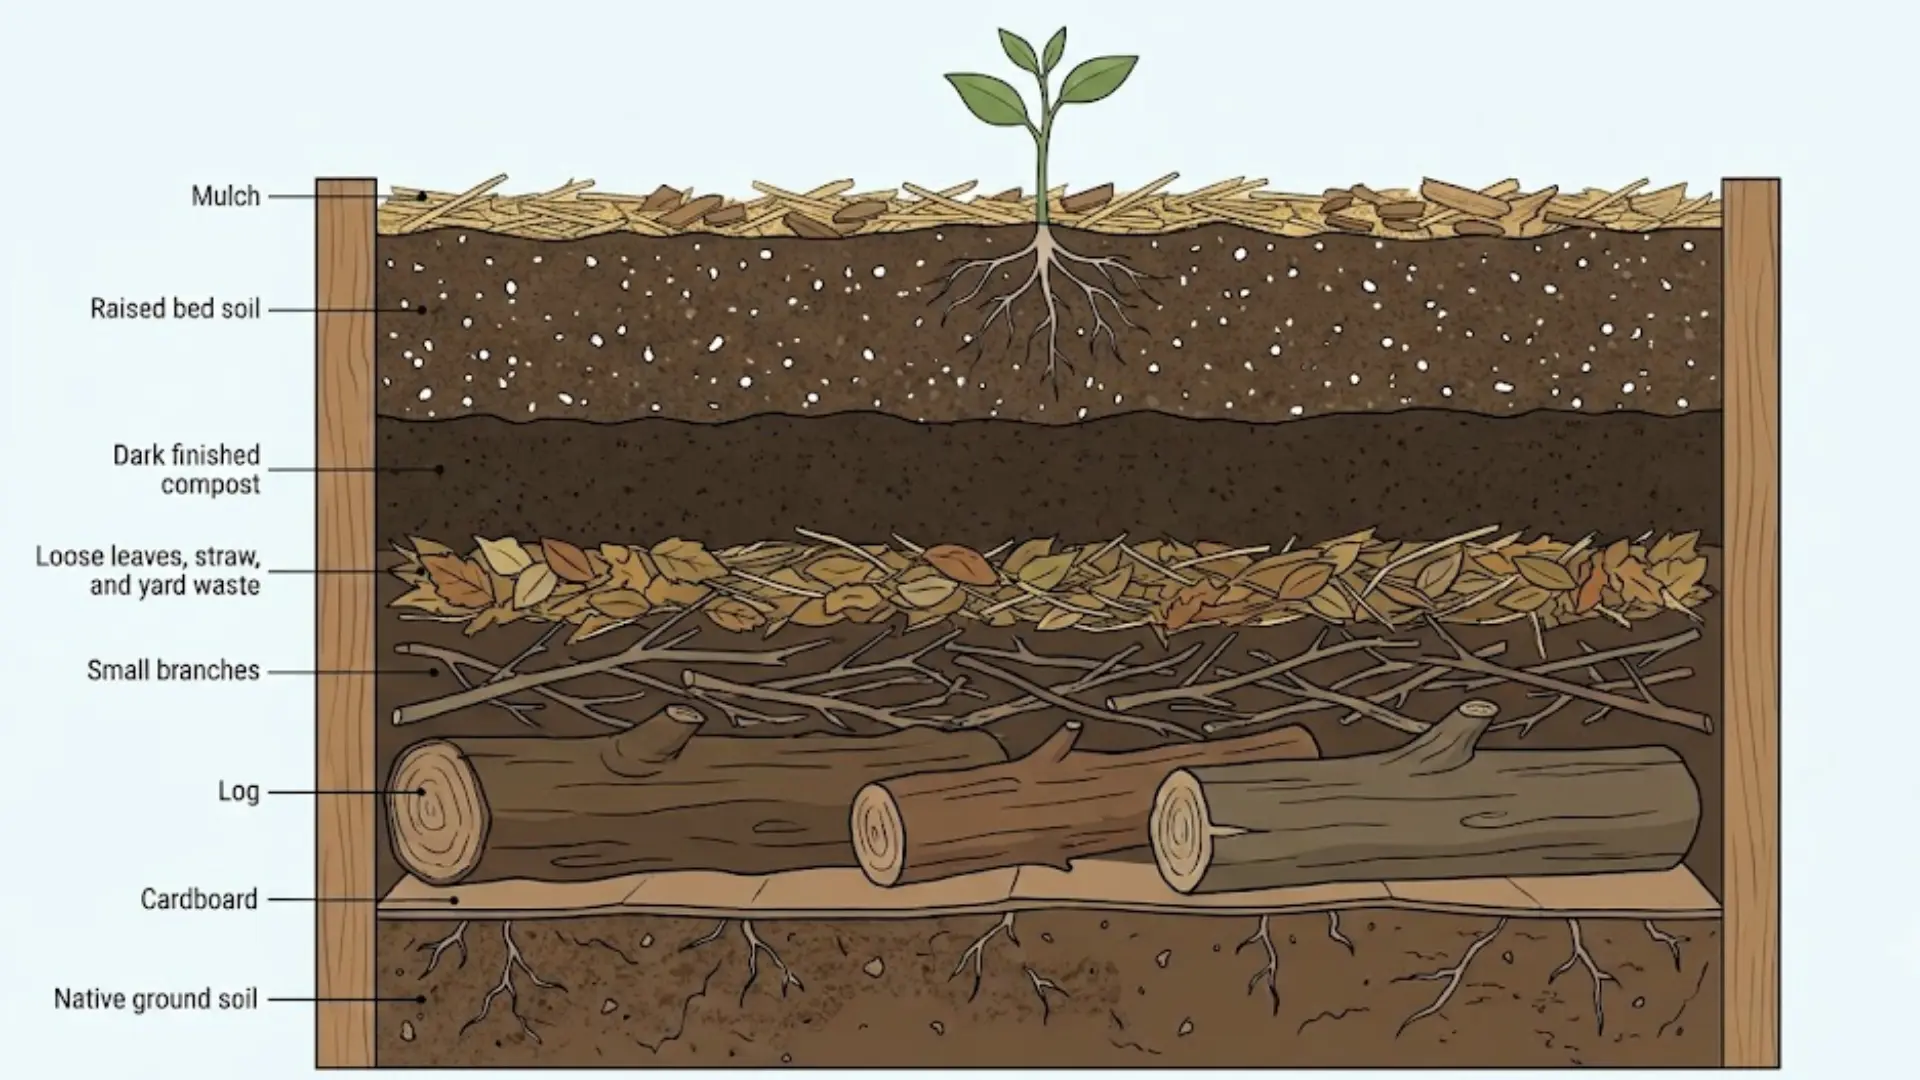
A raised bed works a lot like a cake; each layer has a job, and skipping one throws off the whole structure.
Here’s what a proper cross-section looks like from the ground up.
- Native ground soil, loosened for drainage and deep root access.
- Cardboard or plain brown paper smothers weeds as it breaks down.
- Large logs or branches (optional) are best for beds 18 to 24+ inches deep, hold moisture, and cut soil costs.
- Small branches and twigs fill gaps and decompose gradually.
- Leaves, straw, and yard waste add organic bulk and build soil structure.
- Finished compost delivers nutrients and beneficial microbes.
- Raised bed soil mix, the main root zone, usually topsoil, compost, and an aeration material combined.
- Mulch on top, straw, shredded leaves, or wood chips, locks in moisture and keeps weeds and temperature swings in check.
Stack it this way, and each layer sets up the one above it, so by the time roots reach the surface, they’ve got everything they need already in place.
Building Your DIY Raised Garden Bed Layers the Right Way
Every layer in a raised bed plays a specific role, and knowing roughly how deep each one should be takes the guesswork out of filling it right.
Here’s what each layer needs, from the ground up.
Layer 1: Ground Preparation
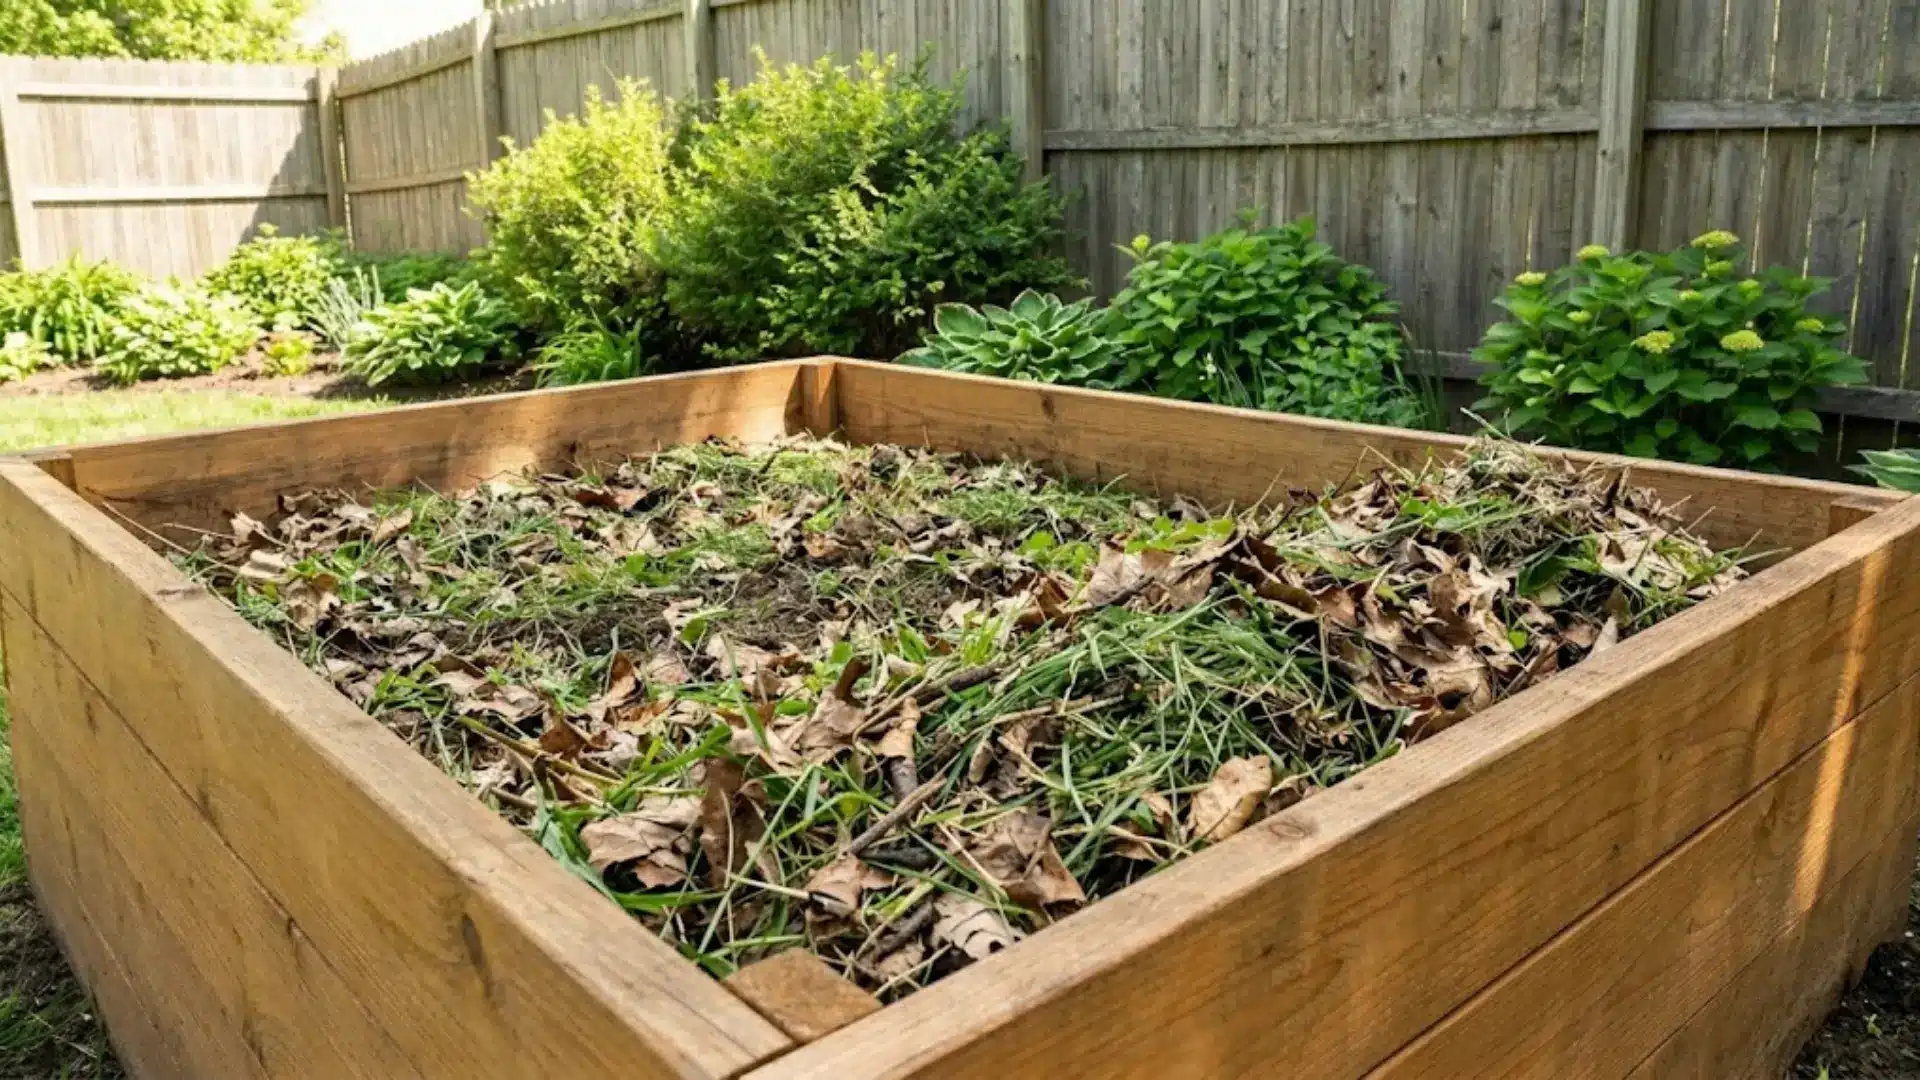
Approximate Depth: 6 to 8 inches, loosened rather than added
Clear away weeds, grass, and any lingering roots before adding a single scoop of soil above.
Because, compacted ground blocks drainage and stops roots from reaching moisture stored deeper down, so loosening the top few inches with a fork or spade matters more than most people realize.
Native soil beneath a raised bed isn’t dead weight; it’s an extension of the root zone, and plants that reach it grow sturdier and handle drought better than those confined to shallow, disconnected soil above.
Layer 2: Cardboard or Plain Brown Paper
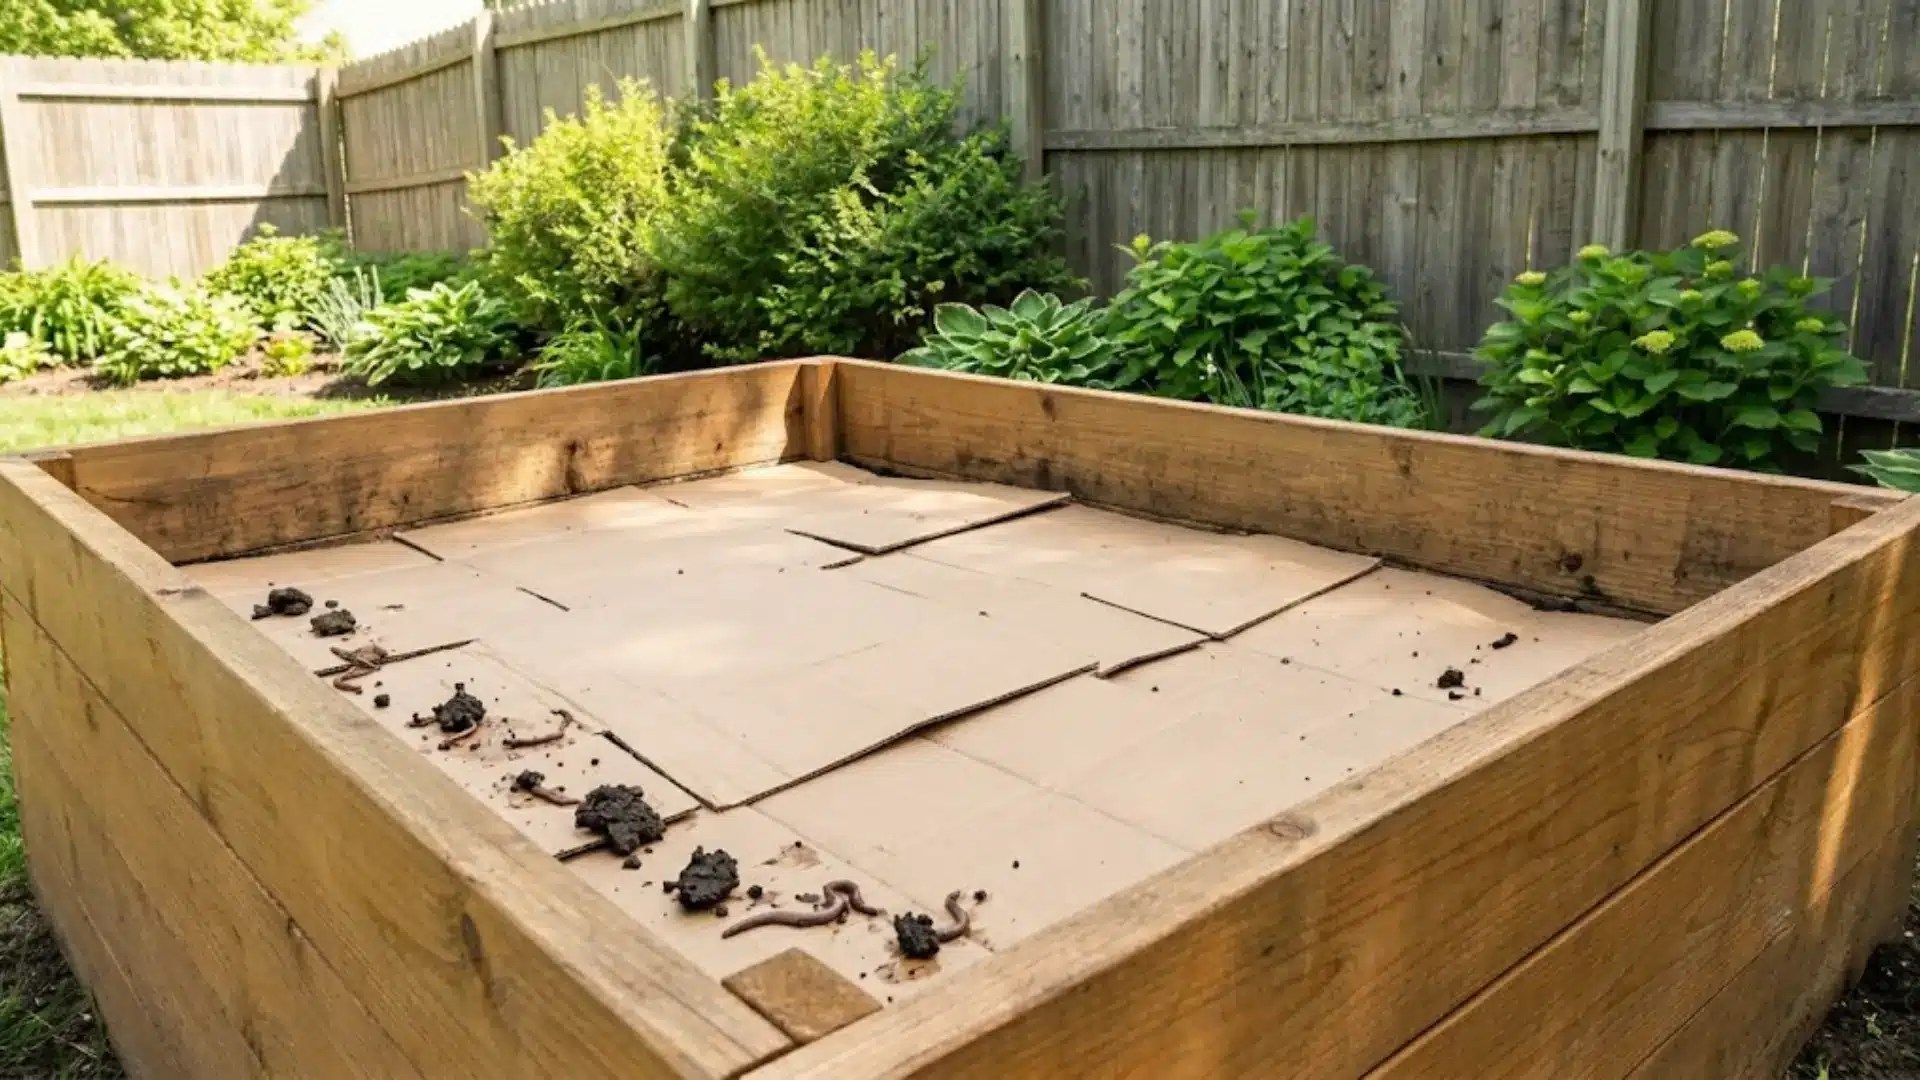
Approximate Depth: A single flat layer, no added bulk
Plain cardboard or brown paper laid flat smothers weeds and grass without chemicals, breaking down gradually while feeding earthworms that tunnel through and aerate the soil naturally.
Skip glossy or printed layers, and skip landscape fabric altogether, since it blocks earthworm movement and never fully breaks down.
I’ve found cardboard that typically breaks down within six months to a year, depending on moisture and microbial activity in the soil, though this varies by climate, so it’s worth checking under the mulch each season.
Layer 3: Large Woody Material (Optional)
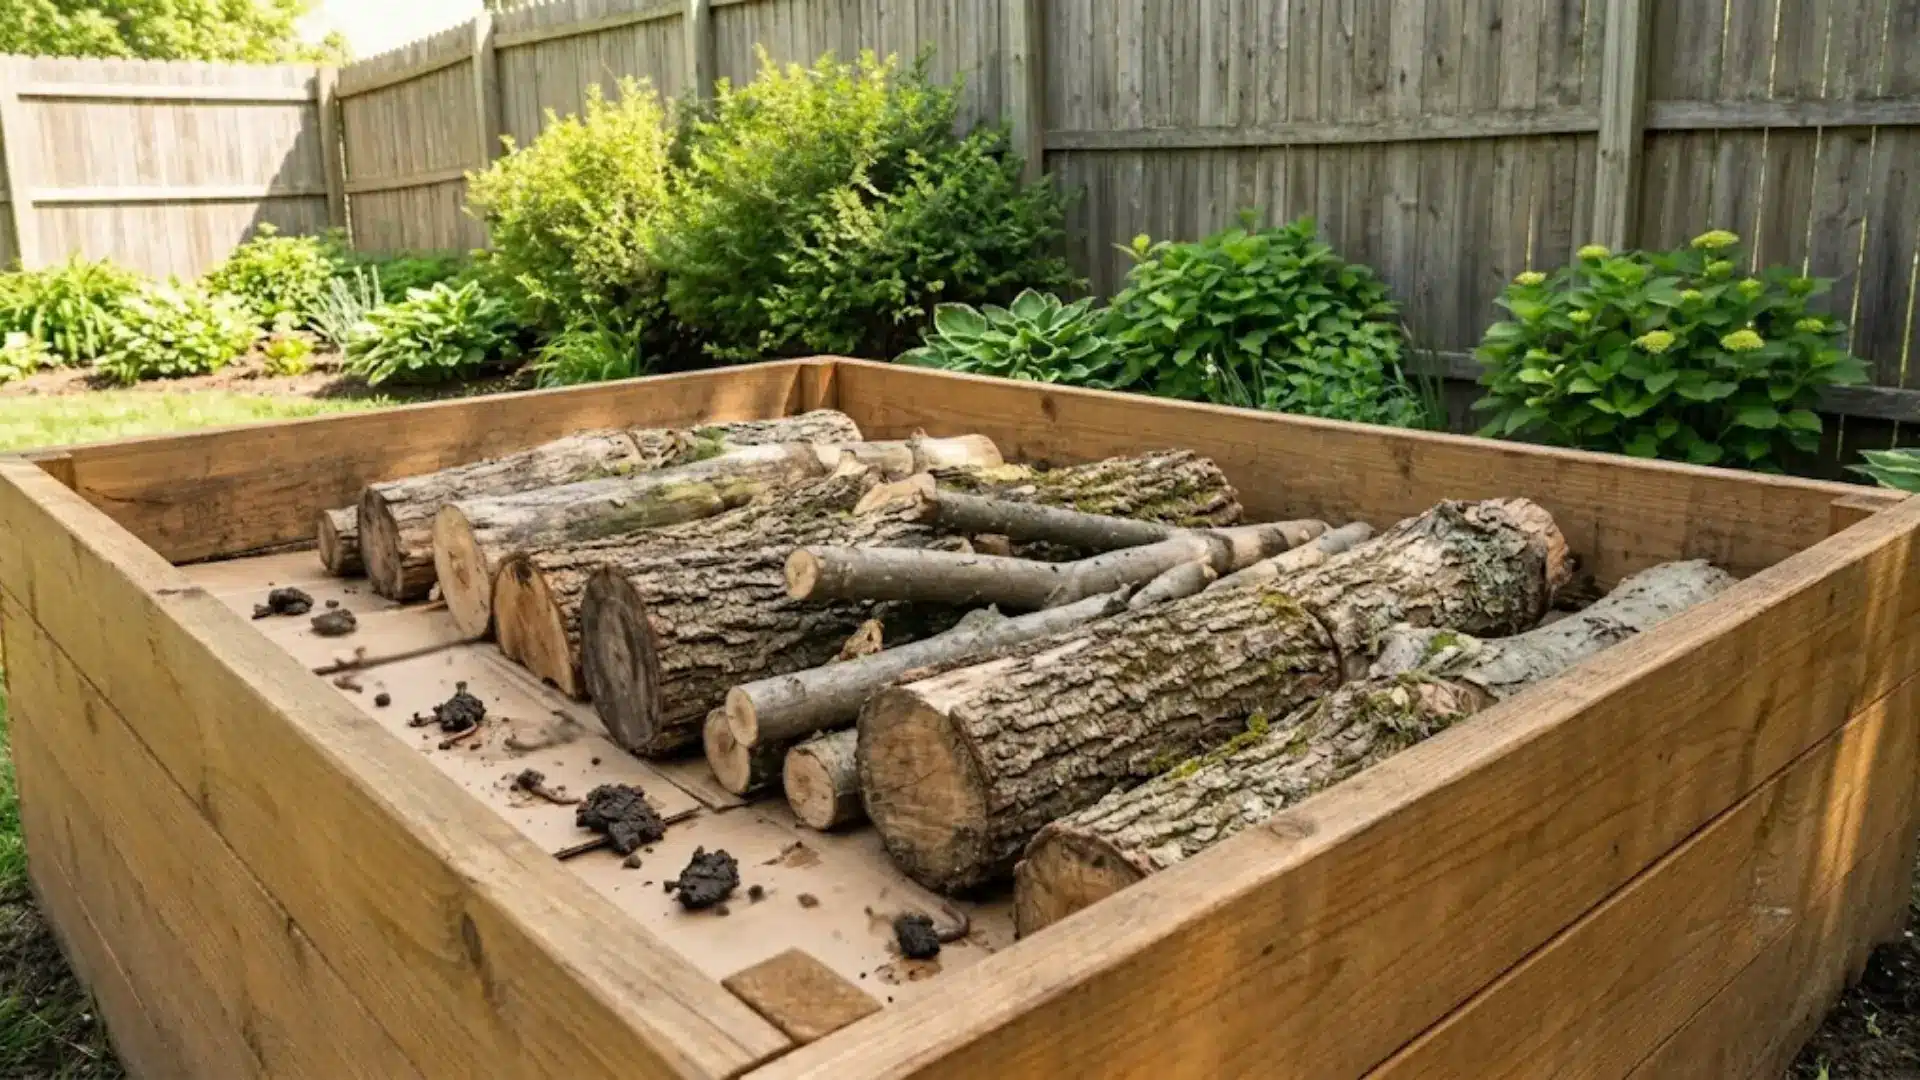
Approximate Depth: 4 to 8 inches, deep beds only
Logs and thick branches sit at the base of deep beds using a hugelkultur approach, where buried wood slowly rots and releases stored moisture back into the soil above.
This layer only makes sense in beds eighteen inches or deeper, since shallow beds don’t have room to spare for it.
Beyond moisture retention, woody material reduces the amount of purchased soil a bed needs, filling the volume with something that breaks down into rich, spongy organic matter over several years.
Layer 4: Smaller Branches and Twigs
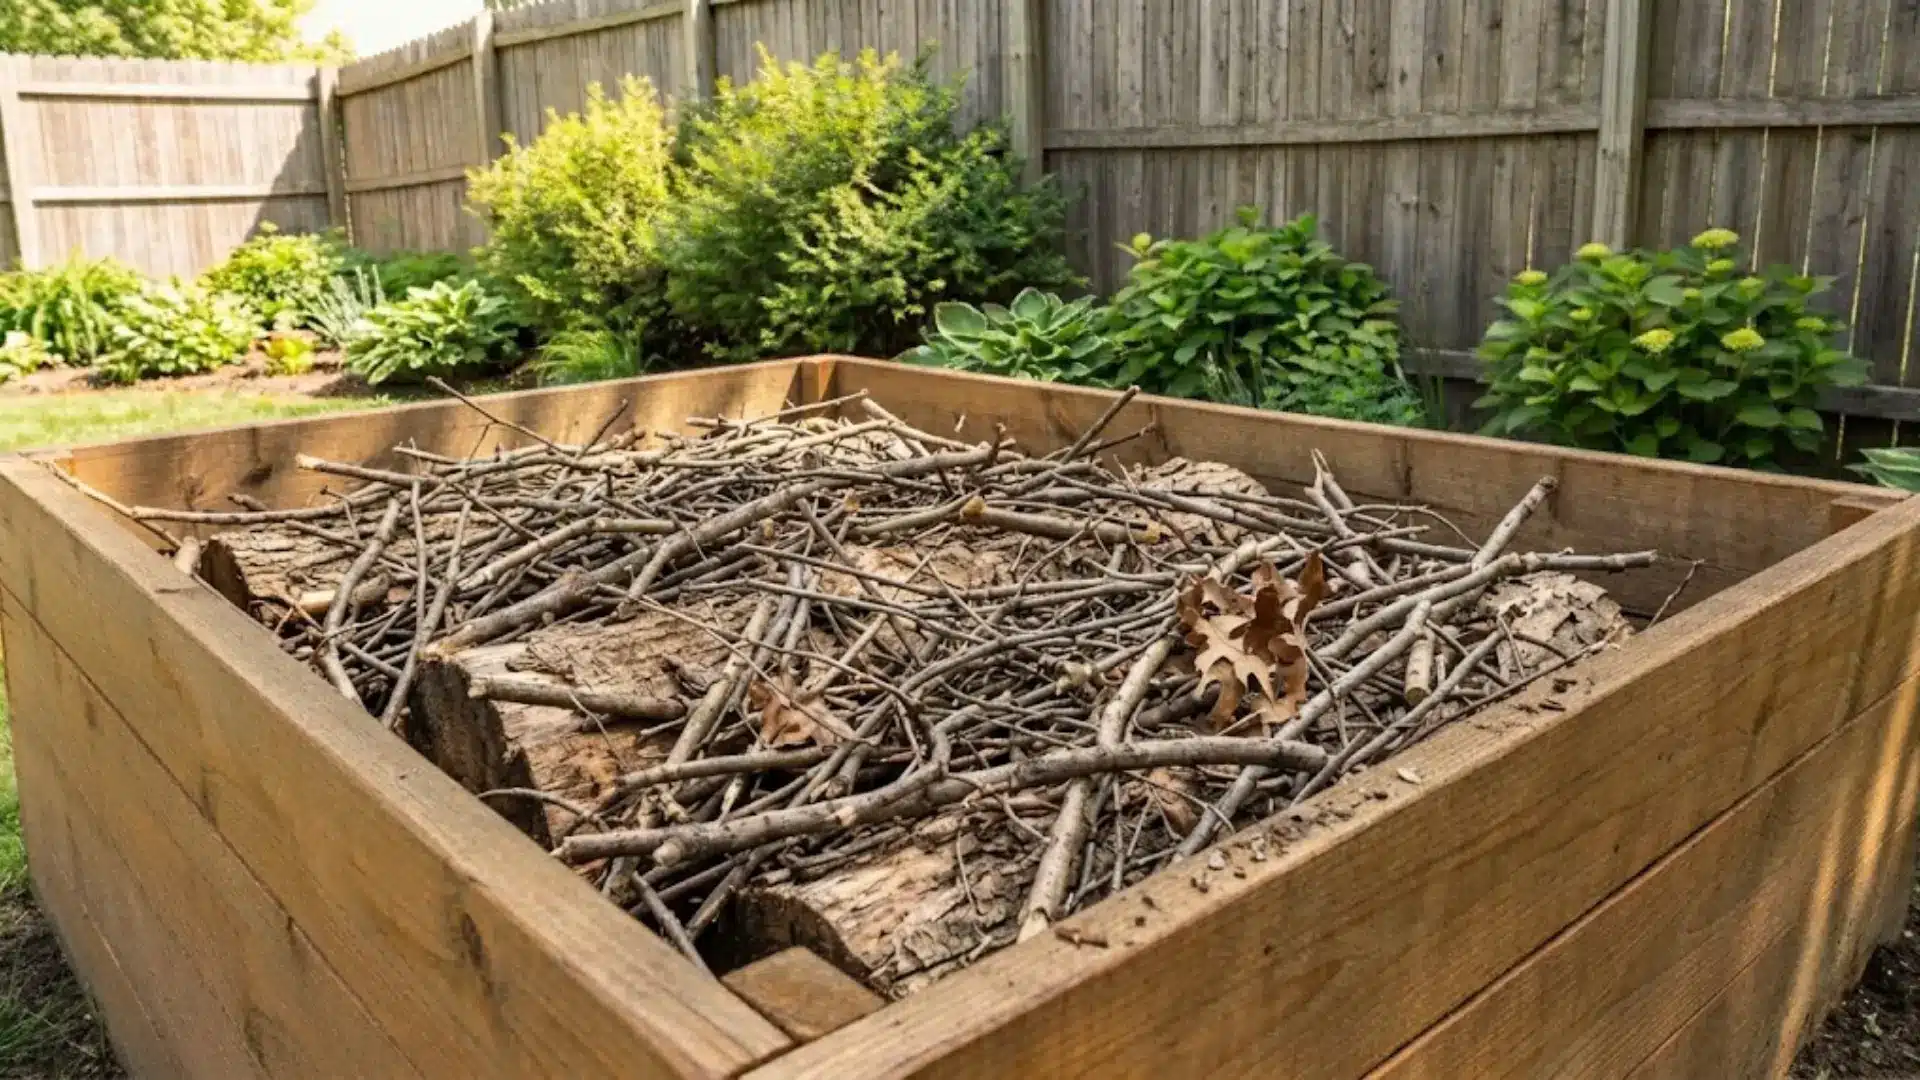
Approximate Depth: 2 to 4 inches
Smaller branches and twigs fill the gaps left between larger logs, creating pockets of air that keep the pile from compacting into a dense, waterlogged mass.
Because these pieces are thinner, they decompose noticeably faster than the logs beneath them, feeding the layers above sooner.
They also help stabilize bulkier wood, keeping everything from shifting or settling unevenly once soil and compost get added on top.
Layer 5: Leaves, Straw, and Yard Waste
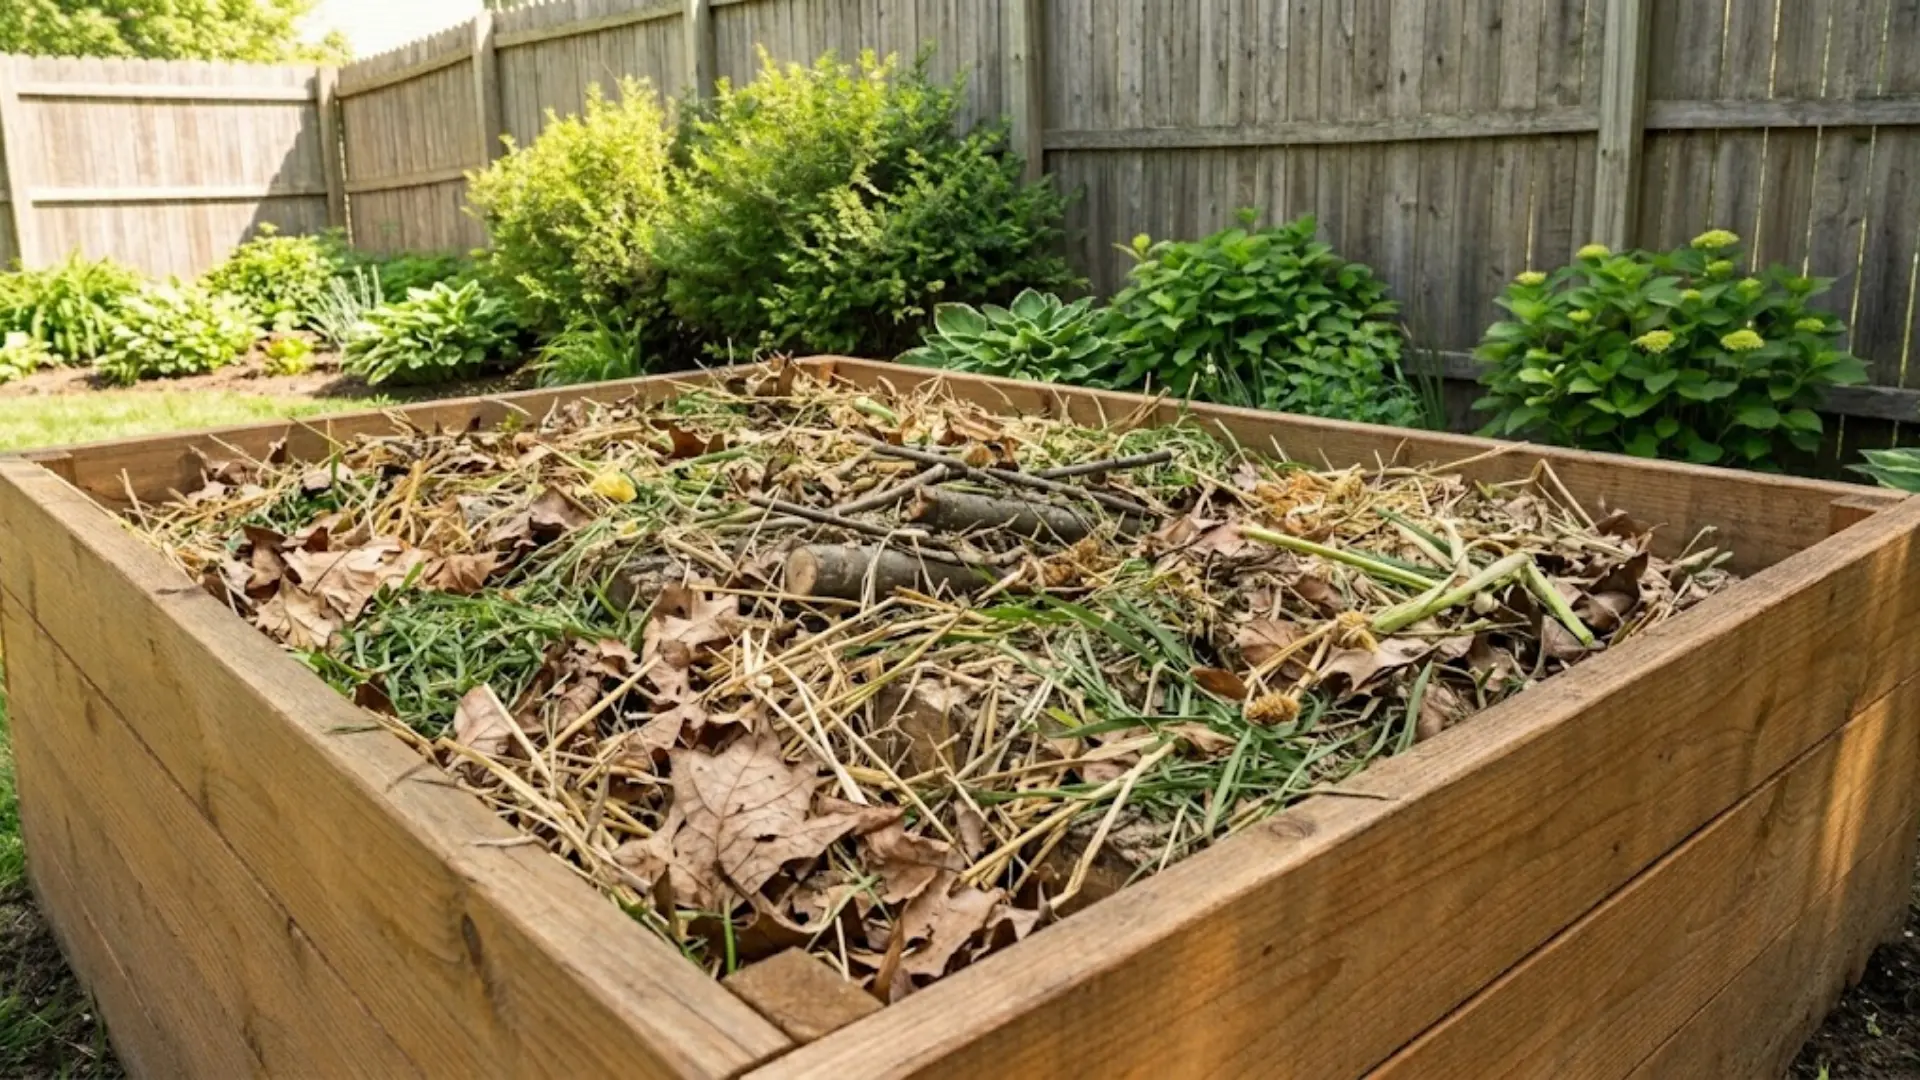
Approximate Depth: 3 to 5 inches, loosely packed
Leaves, straw, and general yard waste bring the classic brown-and-green balance every compost pile needs: browns like shredded leaves and straw for carbon, and greens like fresh grass clippings for nitrogen.
Pine needles work too, though they break down more slowly and add slight acidity, which suits certain crops better than others.
However, layering these materials loosely, rather than packing them tight, keeps airflow moving and speeds up decomposition into usable organic matter.
Layer 6: Compost
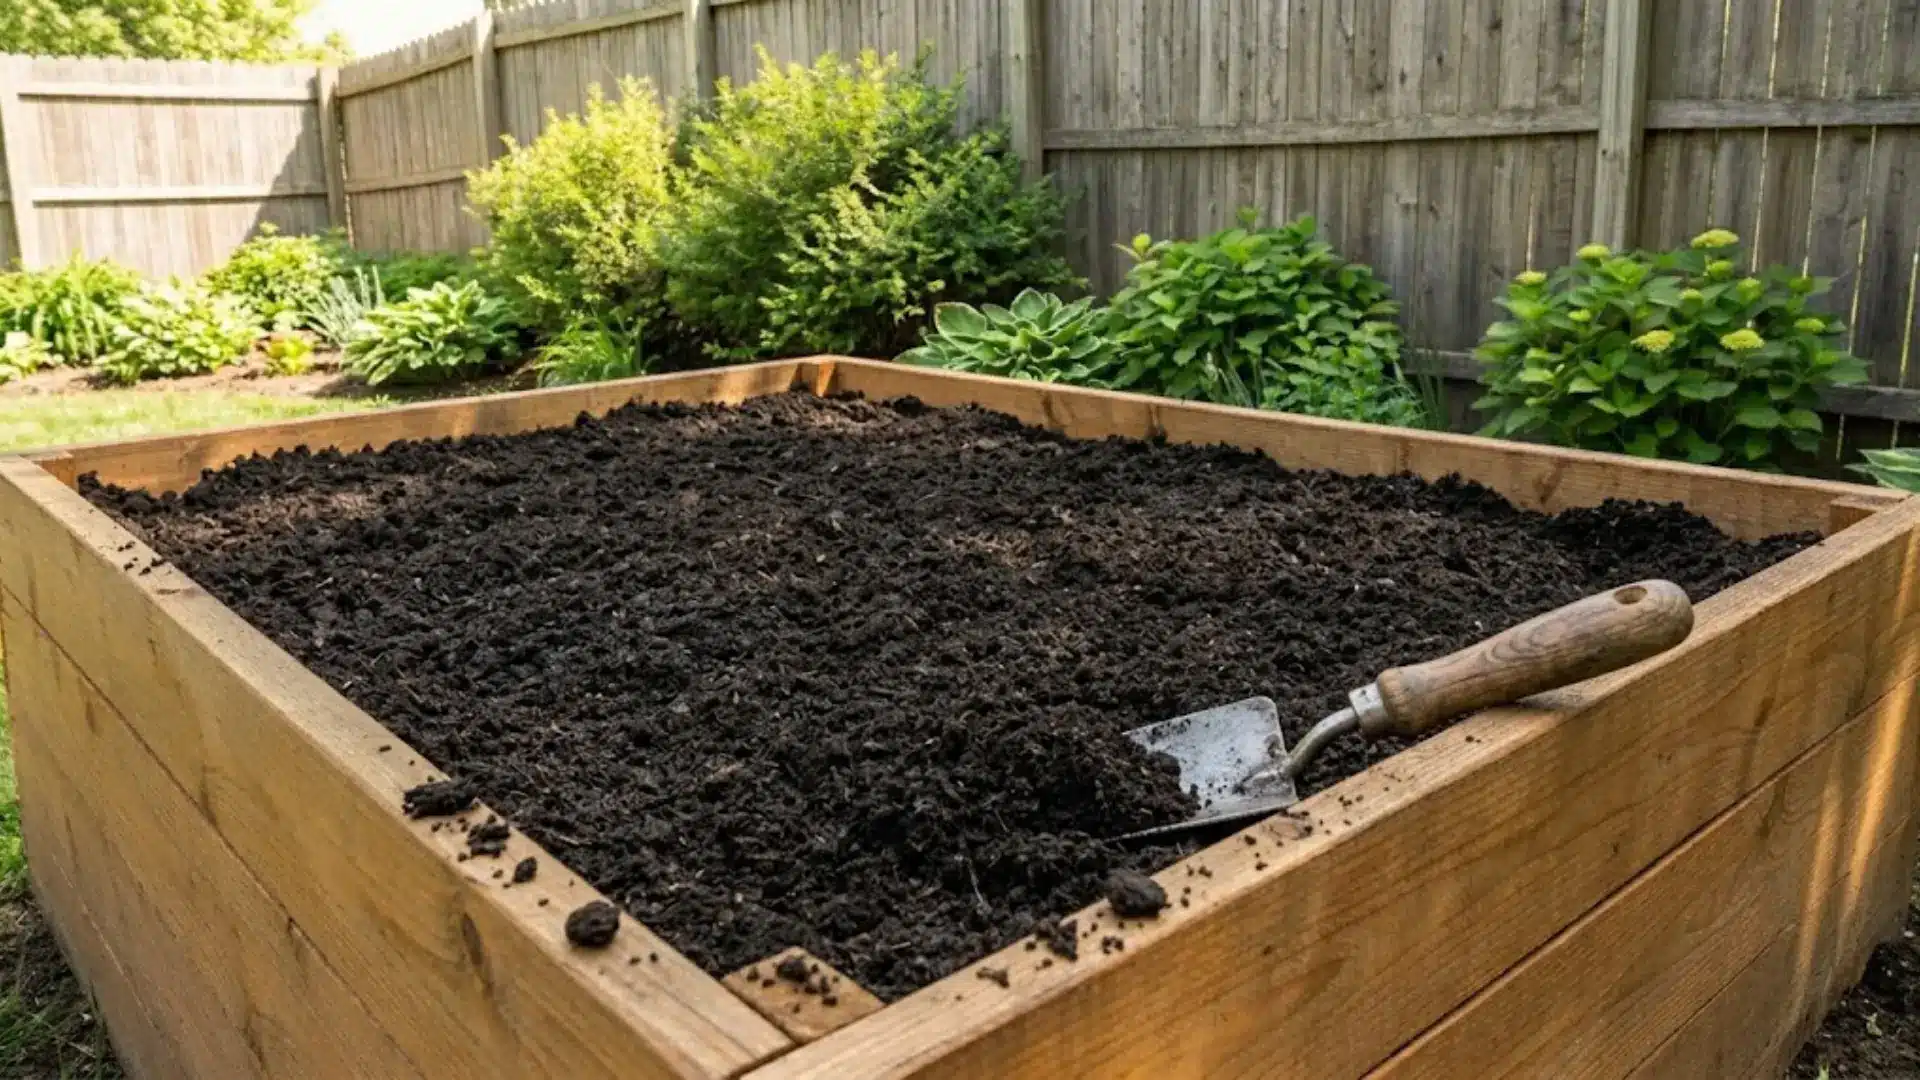
Approximate Depth: 2 to 3 inches
Finished compost, fully broken down, dark, crumbly, and earthy-smelling, belongs here rather than fresh compost, which can rob nitrogen from the soil as it continues to decompose.
Homemade compost works beautifully once it’s had months to mature, while bagged, purchased compost offers a reliable shortcut for anyone short on time.
Either way, this layer delivers the nutrient boost and beneficial microbial life that roots will draw on for the rest of the season.
Layer 7: Raised Bed Soil Mix
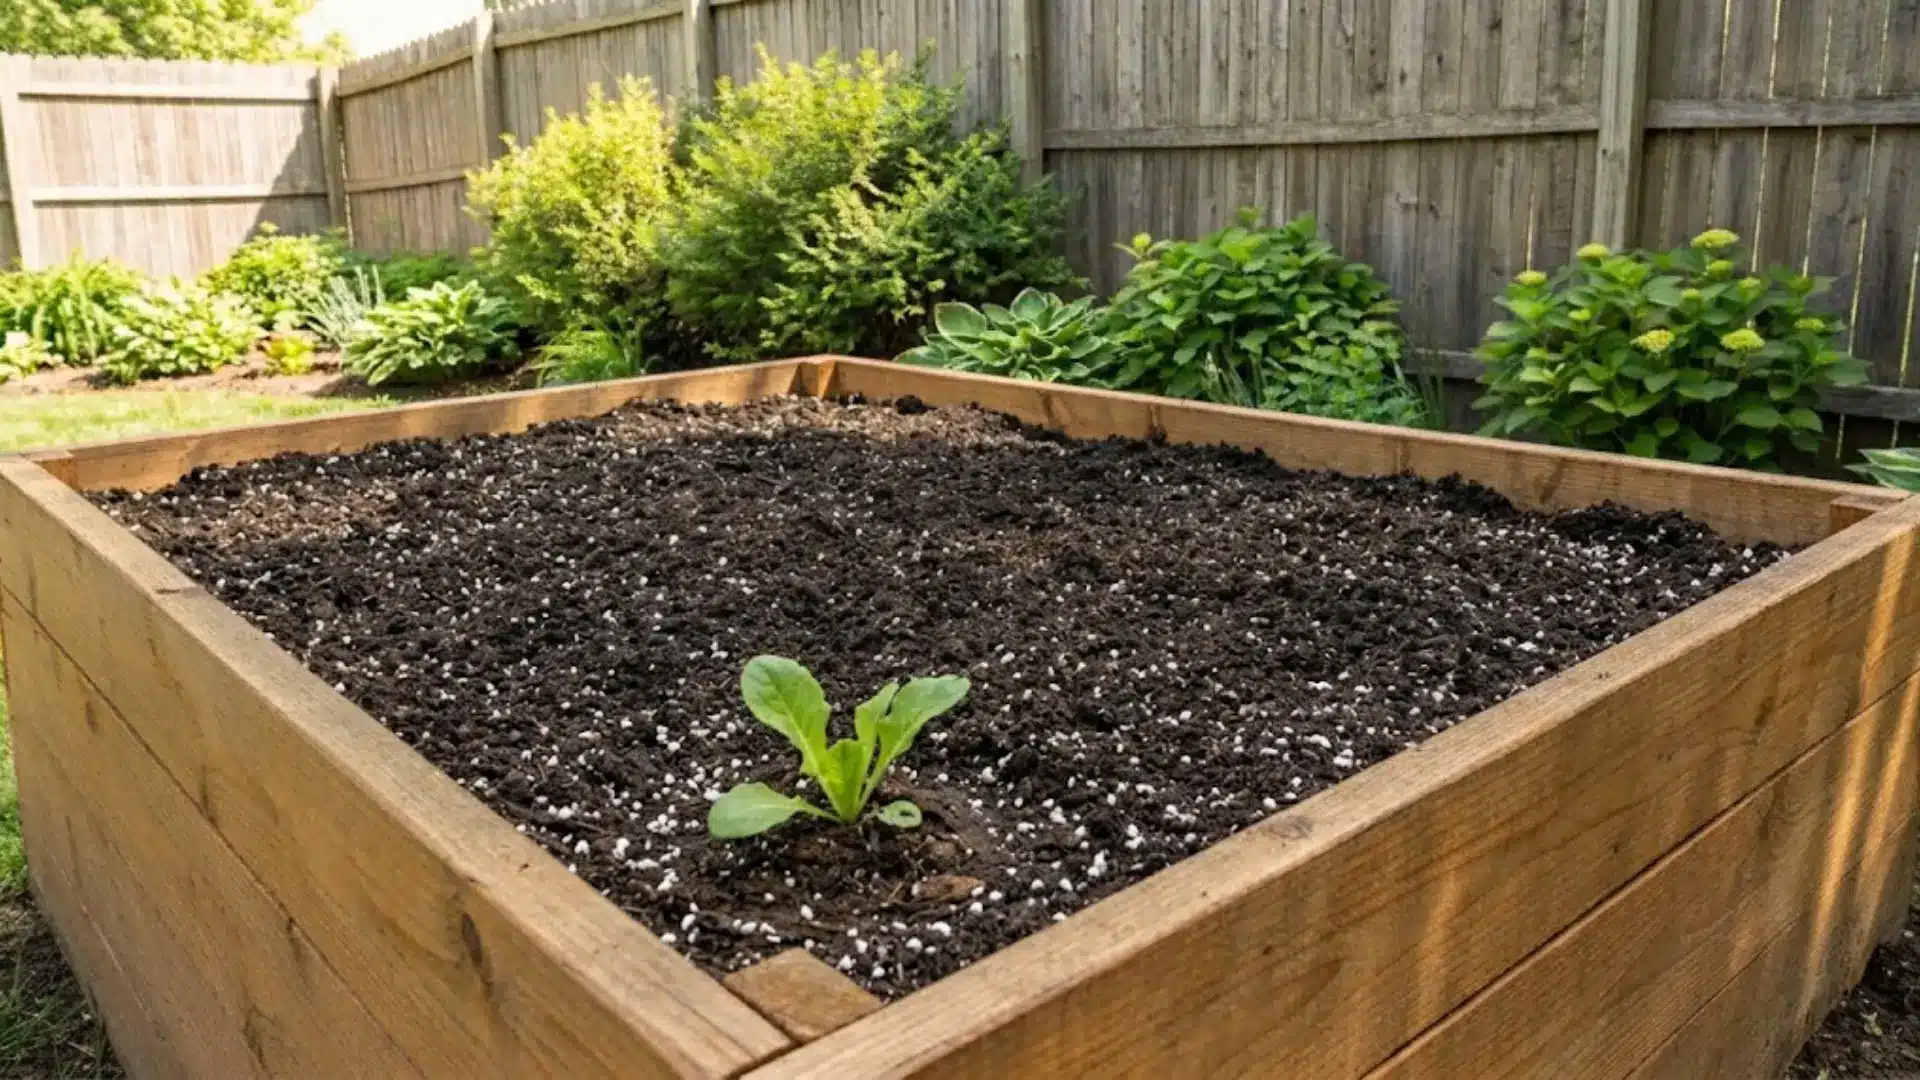
Approximate Depth: 6 to 10 inches minimum
The raised bed soil mix, blending topsoil, compost, an aeration material like perlite, and additional organic matter, forms the primary root zone where vegetables actually grow.
Most crops need at least six to ten inches of this mix to develop properly, with root vegetables often wanting more room below.
Beds filled generously with quality soil give roots the space they need, while cardboard and leaves layered underneath in deeper beds help stretch a budget without sacrificing plant performance.
How to Fill a Raised Garden Bed Based on Its Height?
Bed height changes everything about how to fill a raised garden bed, since a shallow six-inch box and a deep twenty-four-inch frame need completely different approaches.
Here’s how depth should guide the fill method.
| Raised Bed Height | Best Fill Method | Logs Needed? |
|---|---|---|
| 6–8″ | Mostly soil, no room for layering | No |
| 10–12″ | Soil + compost at the base | No |
| 18″ | Layered method, logs optional | Optional |
| 24″+ | Hugelkultur style with logs at base | Yes |
Shallow beds reward simplicity, while anything past eighteen inches genuinely benefits from letting decomposing wood and organic matter do some of the heavy lifting underneath.
Anyone filling a bed on a tight budget can pair this approach with a few budget-friendly raised bed building ideas, since bulking up the base with free materials cuts down on how much soil needs to be bought.
What to Actually Fill a Raised Garden Bed With?
Not every material belongs in every bed, but knowing what’s available makes filling one far less overwhelming.
Here’s a breakdown of what actually earns its place inside a raised garden bed.
Organic Materials
These break down gradually over the season, feeding soil life and improving structure as they decompose. Mixing a few different types keeps the pile from getting too dense or too airy.
- Leaves break down slowly and add carbon-rich bulk.
- Straw loosens the pile and improves airflow.
- Wood chips, slow to decompose but great for structure.
- Compost feeds soil life and adds nutrients fast.
- Grass clippings, a quick nitrogen boost when used fresh.
Soil Ingredients
This is the actual growing medium roots that will spend the season living in, so getting the blend right matters more than any other layer.
A good mix balances drainage, nutrients, and moisture retention all at once.
- Topsoil, the base layer for most soil mixes.
- Garden soil, denser and often pre-fertilized.
- Compost rounds out nutrients and improves texture.
- Coconut coir holds moisture without waterlogging roots.
- Peat moss, lightweight and acidic, is good for certain crops.
- Perlite keeps the mix aerated and prevents compaction.
- Vermiculite retains moisture while still allowing airflow.
Understanding how topsoil differs from garden soil helps explain why most raised bed recipes call for topsoil specifically rather than the denser garden soil sold at most nurseries.
Free Materials that Save Money
Filling a raised bed doesn’t have to mean buying everything from a garden center. A lot of what’s needed is probably sitting in a backyard already or available for free nearby.
- Fallen branches, perfect for the base of deep beds.
- Cardboard, an easy weed barrier that costs nothing.
- Leaf mold, slow-aged leaves that enrich soil naturally.
- Finished compost, homemade batches cut down on store-bought bags.
- Municipal compost, often free or cheap through city programs.
Skip These Materials When Filling a Raised Bed
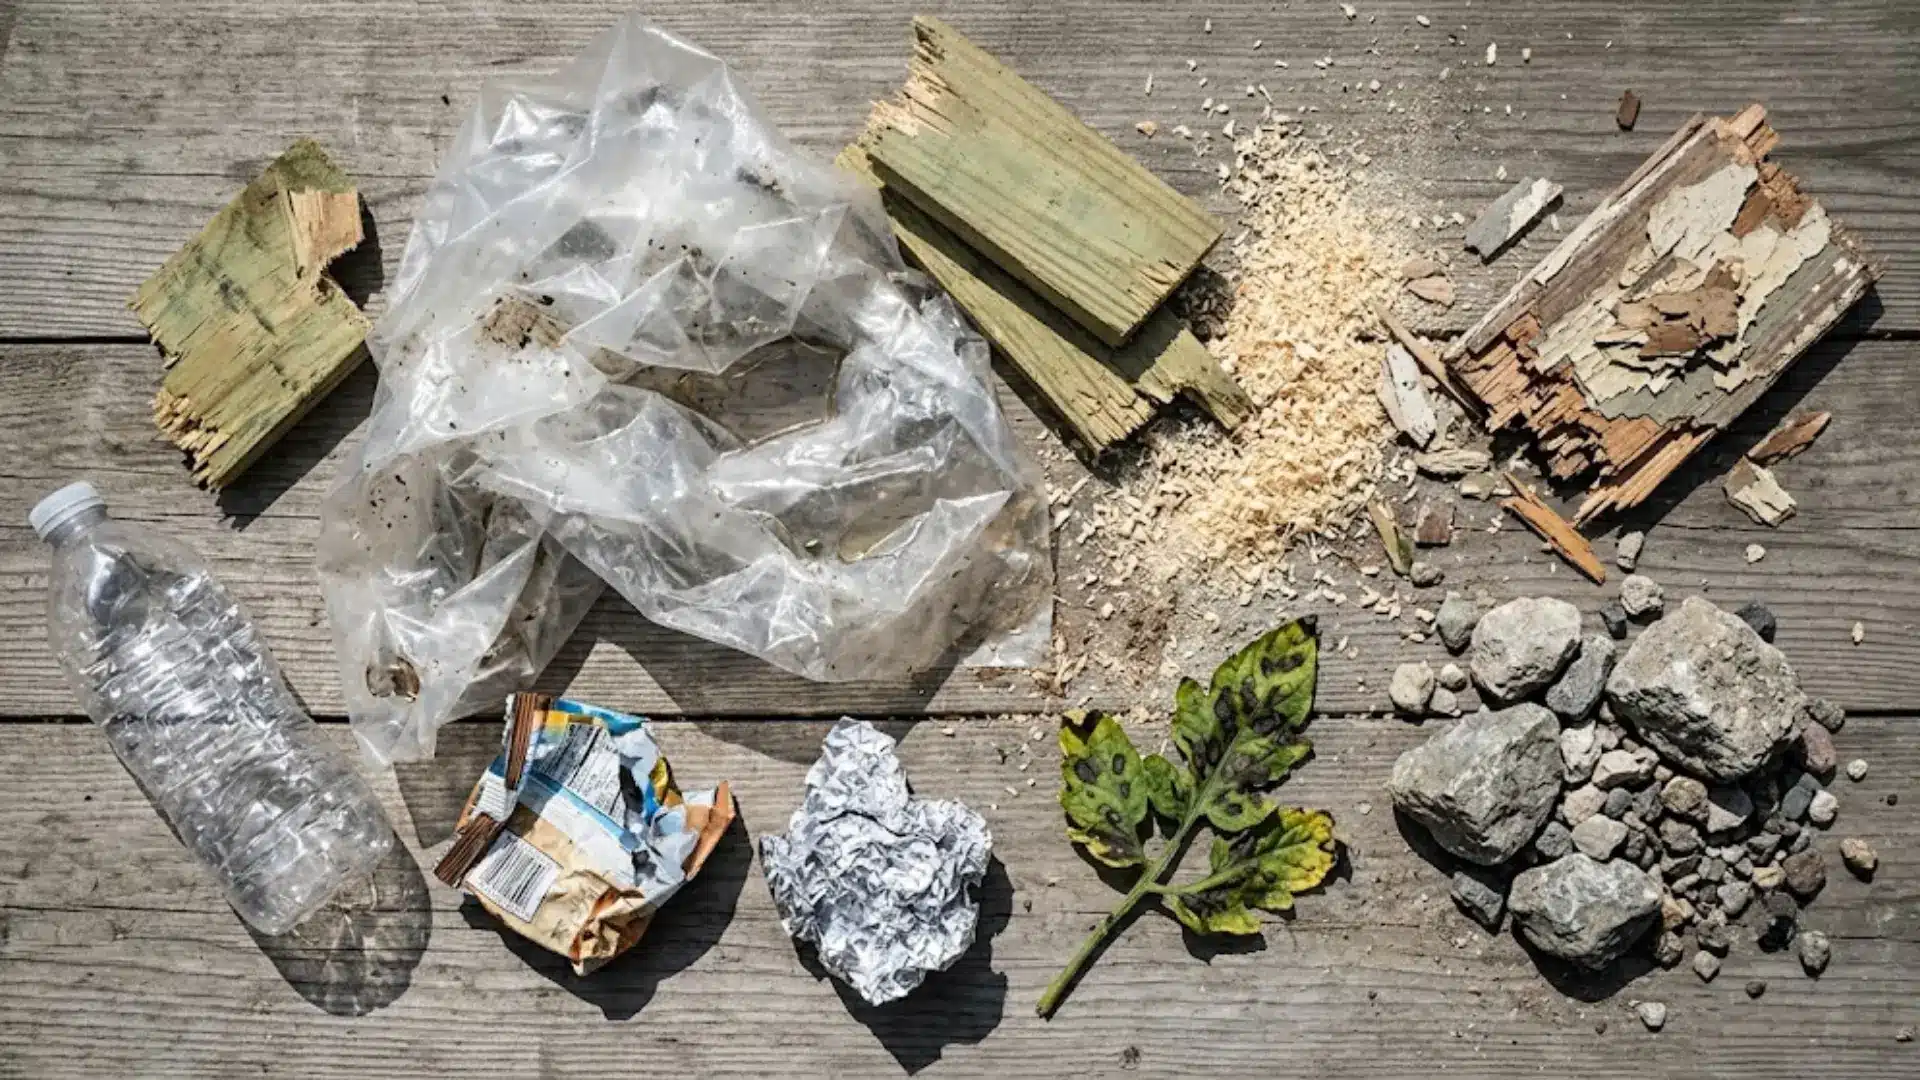
A raised bed is only as healthy as what goes into it, and a few common shortcuts can quietly undo months of good soil work.
Here’s what to keep out entirely.
- Plastic sheets block drainage and trap excess moisture around roots instead of letting it drain through naturally.
- Pressure-treated lumber scraps can leach chemicals into the soil that vegetables end up absorbing.
- Fresh sawdust pulls nitrogen from the soil as it breaks down, starving plants of what they need.
- Painted wood often contains old lead-based paint or chemical residues that have no place near food crops.
- Trash or household waste invites pests and introduces contaminants that have nothing to do with healthy soil.
- Diseased plants can reintroduce pathogens and fungal spores that spread to whatever gets planted next.
- Large rocks and gravel: a common myth is that a gravel layer improves drainage, but raised beds already drain. Well, through the ground below, and gravel just eats into valuable rooting depth without adding any real benefit.
Best Soil Recipe and How Much You’ll Actually Need
Getting the mix right matters just as much as getting the quantity right, since even the best soil recipe falls short if a bed ends up under-filled.
Here’s the ideal blend, along with a simple way to calculate exactly how much soil a bed requires.
The Best Soil Recipe for Vegetables
A reliable mix blends 40 percent topsoil, 40 percent compost, and 20 percent aeration material, such as perlite or coarse sand, to drain well without drying out too quickly.
Mel’s Mix, the square-foot gardening staple, uses equal parts compost, peat moss or coconut coir, and vermiculite, and suits smaller or shallower beds especially well.
Aim for a pH between 6.0 and 7.0, work in organic amendments like worm castings or aged manure before planting, and top off with fresh compost each season to keep nutrients from running thin.
How Much Soil a Raised Bed Actually Needs
Soil volume comes down to a simple formula: length times width times height in feet gives cubic feet, and dividing that by 27 converts it into cubic yards for bulk ordering.
Here’s what that looks like for a few common bed sizes.
| Bed Size (L×W×H, inches) | Cubic Feet | Cubic Yards |
|---|---|---|
| 4×4×12 | 16 | 0.6 |
| 4×8×12 | 32 | 1.2 |
| 4×8×18 | 48 | 1.8 |
| 4×8×24 | 64 | 2.4 |
Maintaining Healthy Raised Bed Layers Every Year
A raised bed doesn’t stay productive on its own; the layers built in season one gradually break down and need a bit of upkeep to keep performing.
Here’s what that maintenance actually looks like each year.
- Add compost annually, topping off an inch or two, to replace nutrients pulled out by the previous season’s plants.
- Refresh mulch; a fresh layer keeps moisture locked in and stops weeds from taking hold again.
- Replace settled soil; decomposing layers underneath cause the surface to sink, so topping off keeps root depth consistent.
- Growing cover crops, planting something like clover or rye in the off-season, protects soil structure and adds organic matter back in.
- Test the soil, checking pH and nutrient levels every year or two, to catch imbalances before they affect plant growth.
A well-maintained bed can even support multiple harvests from a single raised bed in one season, since replenished soil keeps feeding a second or third round of crops without losing steam.
The Bottom Line
Filling a raised bed well really comes down to patience paired with the right order of materials, something that’s proven true across every bed I’ve built over the years, big or small.
Once the layers settle and the soil finds its rhythm, everything planted in it tends to grow a little more easily, a little more healthily.
First bed or fifth, getting the diy raised garden bed layers right from the start saves plenty of trouble down the road, and it’s a lesson worth learning early rather than the hard way.
Here’s hoping this one grows into something worth showing off all season.
Built a raised bed recently? Drop a comment below and share how it turned out.
Frequently Asked Questions (FAQs)
How Deep Should the Topsoil Layer Be?
Most vegetables need at least six to ten inches of soil to develop properly, with root vegetables often doing better with a bit more. Shallower layers work for herbs and leafy greens that don’t need as much root space.
Should I Use Gravel for Drainage?
Gravel isn’t necessary in most raised beds since the ground beneath already allows water to drain through naturally. Adding a gravel layer just takes up space that could otherwise go toward valuable root depth.
Can I Use Leaves Instead of Soil?
Leaves work well as a lower layer that adds organic bulk and breaks down over time, but they can’t replace the soil mix roots actually grow in. They’re best used as a base layer, not a substitute for the top few inches of proper soil.
Do Raised Beds Settle over Time?
Yes, settling is completely normal, especially in beds using logs, branches, or a lot of organic matter near the base. Topping off with fresh soil or compost once or twice a season keeps the bed at a consistent, plantable depth.