My first raised bed grew exactly one round of vegetables. I planted everything in May, harvested in August, and then stared at a half-empty bed for two months while perfectly good growing weather slipped by. It wasn’t until my second year that I realized the bed could have been working three times as hard with almost no extra effort.
Most beginner gardeners treat a raised bed like a one-shot deal. You plant in spring, pick in summer, and call it a year. But a single 4×8 bed can realistically produce three distinct harvests between early spring and late fall if you plan your timing right. The technique is called succession planting, and once you understand how it works, you’ll never leave a raised bed sitting idle again.
The Foundation: Location, Materials, and Layout
Before executing a succession plan, the physical setup dictates the yield. I evaluate kitchen garden locations based on sunlight, water access, and convenience. The optimal site sits on the south side of a property, ensuring unobstructed sun exposure throughout the day. Because a raised bed is a permanent hardscaping piece, get the foundation right the first time.
Buy boards that are at least 2 inches thick. Thinner boards warp and rot rapidly under the constant moisture of garden soil. Line the bottom with hardware cloth to stop burrowing animals like voles, and use weed barrier cloth to prevent the new loam garden soil from washing out through the bottom gaps. Never put plastic bottles or trash in the bottom of a bed to save money on soil. This limits root depth and contaminates the earth with microplastics as the materials break down.
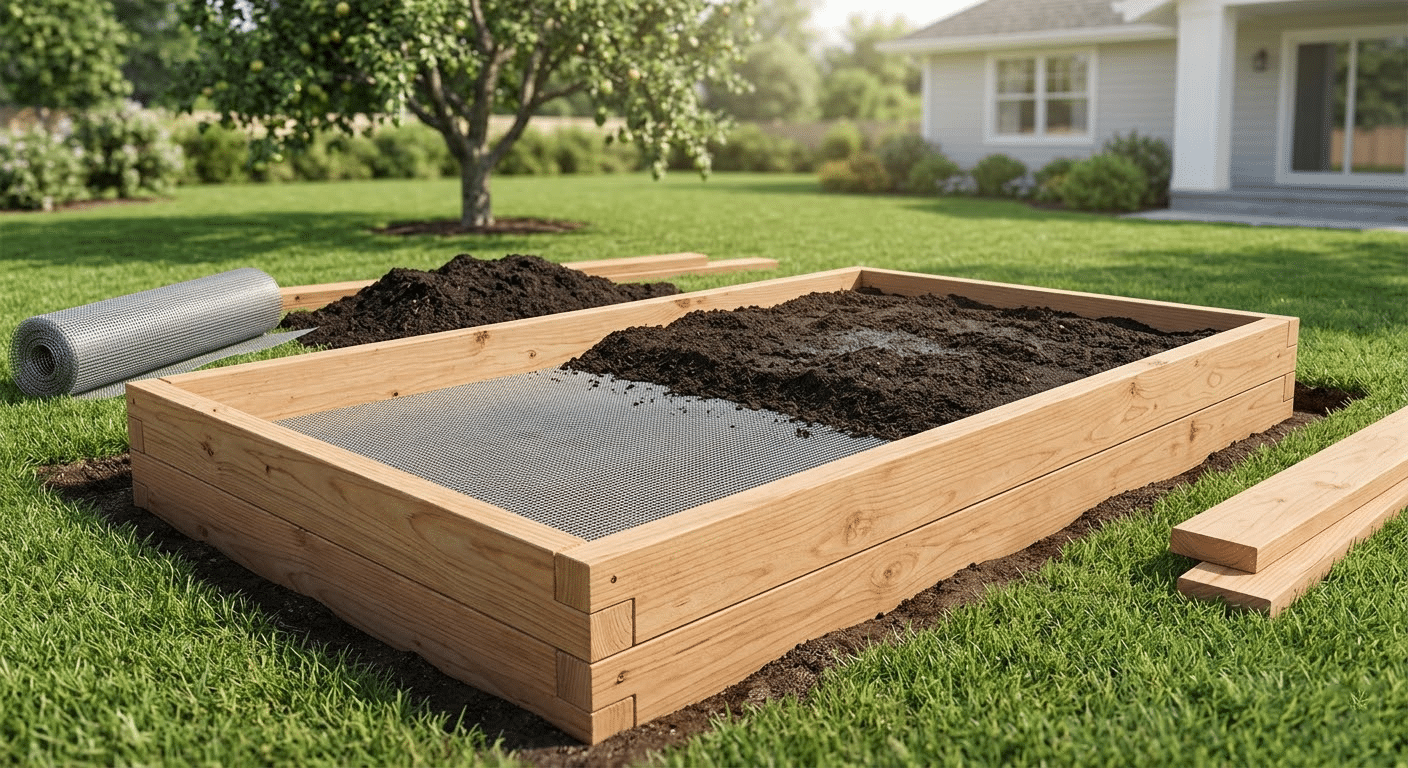
To calculate the required soil volume, multiply length x width x height in feet to get cubic feet. If the total is under 27 cubic feet, buy bags; if over, order a truck delivery to save money. When filling the box, work in 3 to 6-inch increments. Soak each layer with water before adding the next. If you fill a bed all at once without packing or wetting it, the soil level will drop several inches after the first rain, exposing roots or leaving plants too deep in the box.
If installing drip irrigation, lay the tubing before planting anything. Watering at the base of the plant keeps the leaves dry, eliminating the primary cause of fungal diseases in a crowded kitchen garden. Gravity pulls water through the elevated soil column more effectively than in flat ground, preventing roots from sitting in water and rotting. Consequently, vegetable plants in raised beds require significantly more frequent watering than in-ground gardens, especially compared to native soils like southern red clay, because the loamy soil drains so rapidly.
What Succession Planting Actually Means
Succession planting is simply the practice of following one crop with another in the same space as soon as the first is harvested. Instead of planting your entire bed at once and harvesting everything at once, you stagger things so that something is always growing, something is always maturing, and something is always being replanted. In a well-managed planter, the classic trio of corn, pole beans, and squash work together in perfect synergy, creating a living ground cover that conserves moisture. This polyculture approach makes the bed highly efficient.
There are two main approaches. The first is planting the same crop in waves, sowing a new batch of lettuce or radishes every two to three weeks so you get a steady supply rather than a single glut. The second, and the one that really unlocks your bed’s potential, is rotating between entirely different crops as each one finishes. A spring crop of peas makes way for summer tomatoes, which make way for fall kale. Same soil, same bed, three harvests.
Raised beds are especially well-suited for this because the soil warms up faster in spring and stays warm longer into fall. That extended window is what makes three harvests possible rather than just two.
A Simple Three-Season Plan for A 4×8 Bed
Here’s how a year of succession planting can look in practice. The exact timing will shift depending on your USDA zone, but the principle stays the same everywhere.
Round One: Early Spring (march, May)
Cool-weather crops go in first, as early as four to six weeks before your last frost date. These plants actually prefer the chill and will bolt once summer heat arrives, so getting them in early is the whole point.
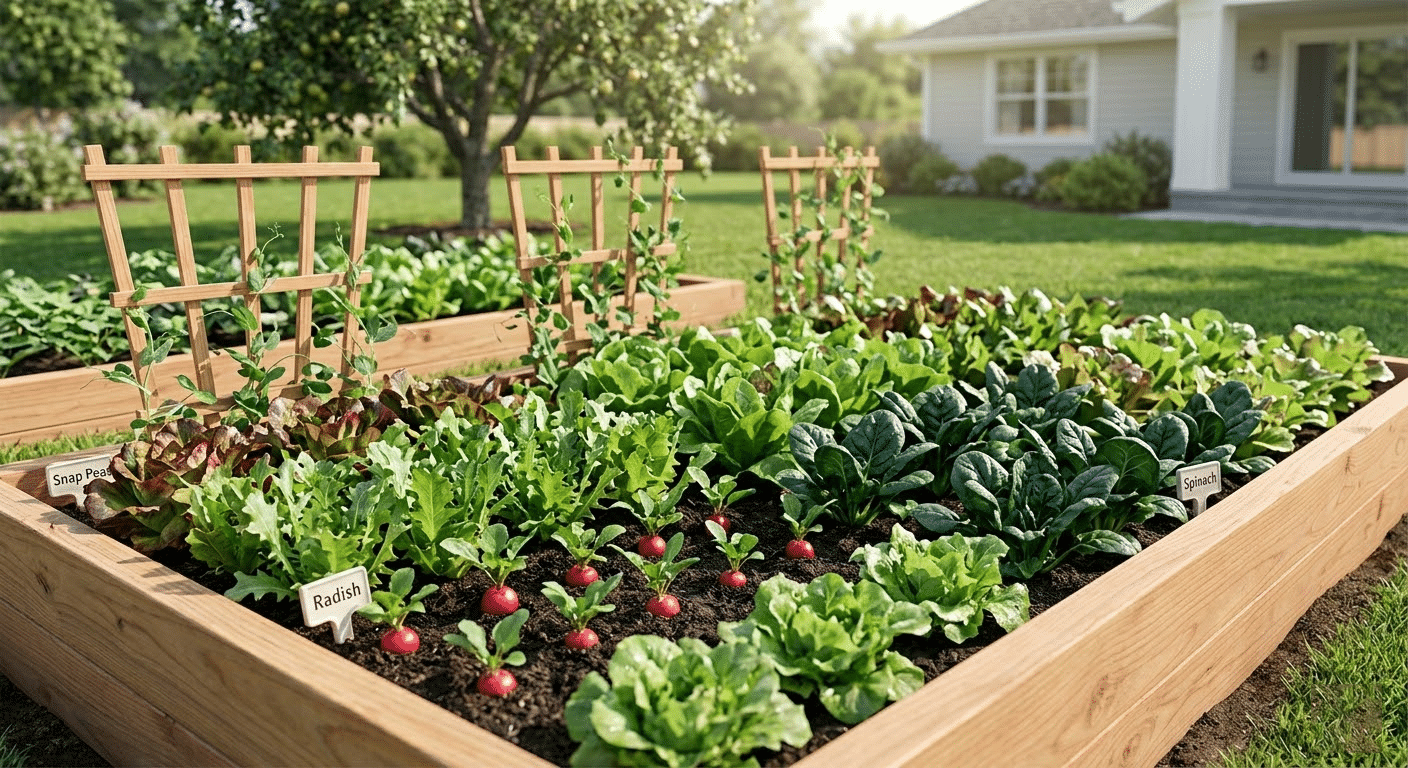
Best picks: lettuce, spinach, radishes, peas, arugula, kale, and scallions. These are all fast growers. Radishes mature in 25 to 30 days. Lettuce is ready to cut with scissors in 30 to 45 days. Peas take a bit longer at 60 to 70 days, but they’re one of the first things you can plant.
The goal here is to harvest everything before the heat of June makes these crops bitter or leggy. Once you pull the last of the spring greens, you’ve freed up the entire bed for round two. Before that final pull, harvesting just the outer leaf of your spring greens can extend your yield for several extra weeks.
Round Two: Summer (june, August)
This is the main event for most gardeners. Once your spring crops are out, warm-season plants go in. If you started tomato and pepper seedlings indoors six to eight weeks earlier, they’re ready to transplant right into the space your lettuce just vacated.
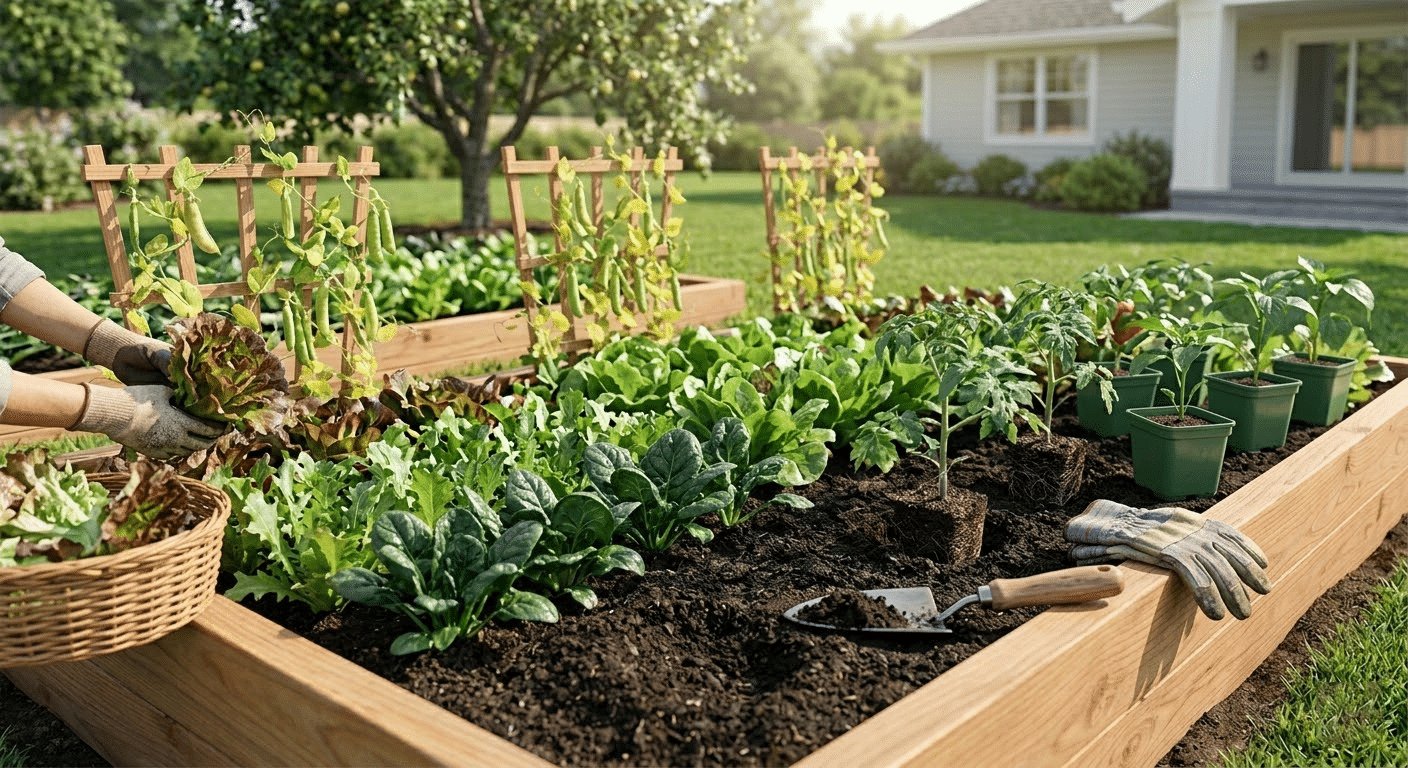
Best picks: tomatoes, peppers, cucumbers, beans, squash, basil, and eggplant. These need warm soil and long days, and your raised bed delivers both. The soil was already broken in and enriched by your spring crop, so roots establish quickly, allowing you to produce enough basil for a family recipe in half the normal time.
One tip that makes a real difference: when you pull your spring crops, work a couple of inches of fresh compost into the top layer before planting summer vegetables. Spring crops draw out nutrients, and that quick refresh gives your summer plants a strong start without requiring a full soil overhaul. Adding vertical support for vining summer crops like cucumbers and beans maximizes the bed’s footprint by forcing large plants to grow up instead of out.
During summer planting tests, specific techniques maximize this tight space. I use summer squash and zucchini to grow them vertically, which allows you to fit 6 plants instead of 4 in a standard raised bed. For sprawling crops, plant vining melons like cantaloupe on the very edge of the raised bed so the vines spill over and the heavy fruit rests on the ground outside the bed. When installing tomatoes, pinch off the lower limbs of tomato plants and bury the stem deep into the raised bed; the broken branch nodes will grow new roots and provide better stability. For peppers, apply blood meal powder (12-0-0 nitrogen) when planting in May to encourage top growth, then switch to bone meal (high phosphorus) in June to push bloom and fruit production. Finally, plant bush green beans tightly at 6-inch intervals to account for spotty spring germination, then thin the successful sprouts to 12-inch spacing later.
Round Three: Fall (september, November)
This is the harvest most people miss entirely. Once your summer tomatoes and peppers are spent, there’s still six to ten weeks of growing weather left in most zones. And those cool-weather crops you planted in spring? They love fall even more, because the days start cool and stay cool instead of warming up into bolt territory.
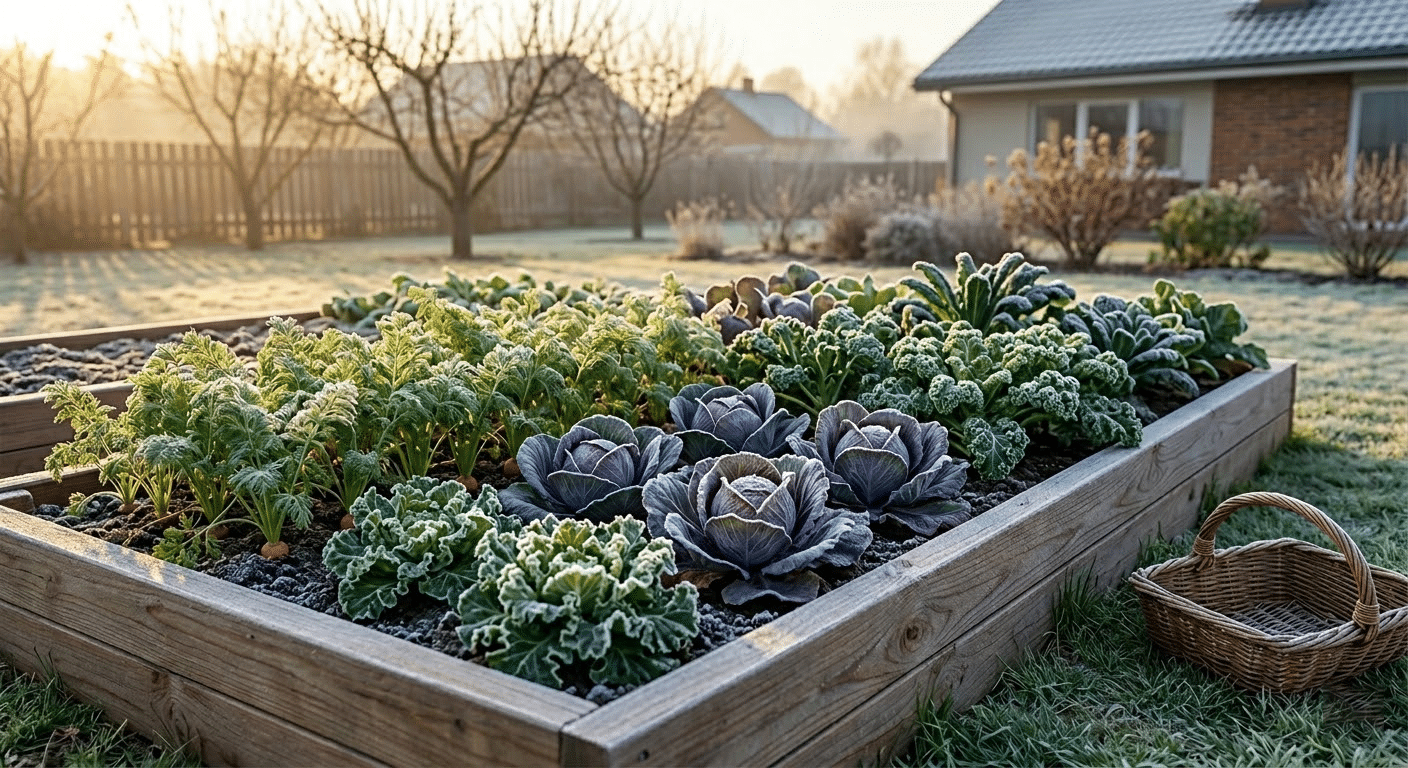
Best picks: kale, spinach, beets, carrots, turnips, Swiss chard, broccoli, and Brussels sprouts. Many of these actually taste better after a light frost, which converts starches to sugars in the leaves. To save time with fall crops like broccoli, purchase plants from a local nursery to transplant directly into your kitchen garden.
Start fall crops from seed directly in the bed in late August or early September, depending on your first frost date. Count backward from that date using the “days to maturity” on the seed packet, and add two weeks since shorter fall daylight slows growth slightly.
Quick-Reference succession schedule
|
Season |
Planting Time |
Best Crops |
Harvest Window |
|---|---|---|---|
|
Early Spring |
4–6 weeks before last frost |
Lettuce, radish, peas, spinach, arugula |
30–70 days |
|
Summer |
After last frost / spring harvest |
Tomatoes, peppers, cucumbers, beans, basil |
60–90 days |
|
Fall |
8–10 weeks before first frost |
Kale, beets, carrots, broccoli, chard |
45–80 days |
Making the Transitions Smooth
The trickiest part of succession planting isn’t choosing crops. It’s managing the handoff between rounds. Here are a few things I’ve learned the hard way.
Don’t wait for perfection to pull the trigger. Your spring lettuce doesn’t need to be completely finished before you start thinking about summer. Start hardening off tomato seedlings indoors while your greens are still producing. The day you pull the lettuce, your transplants should be ready to go in.
Refresh the soil between rounds. Each crop takes something out of the soil. A two-inch layer of compost worked into the top few inches between plantings keeps the nutrient levels up without complicated fertilizer schedules. If you’ve layered your bed with good organic material from the start, this is even easier because the lower layers are continuously breaking down and feeding the soil from below.
Watch your spacing carefully. It’s tempting to squeeze in extra plants when you’re doing three rounds, but overcrowding leads to poor airflow, disease, and smaller harvests. Give each crop the room it needs, even if that means planting fewer individuals per round. While spacing is crucial, strategic staggering allows for planting more in less space without overcrowding. Try tapestry planting to interweave different crops aesthetically while managing this spacing. Modern kitchen garden designs often utilize this method to incorporate specialized sections, like an aromatic herbal tea garden, right alongside high-yield vegetables.
Use transplants to save time. Direct seeding is great for spring and fall crops, but for summer vegetables, starting seedlings indoors and transplanting them into the bed shaves weeks off your timeline. That time savings is what makes the summer-to-fall transition possible in shorter growing seasons.
Why Raised Beds Give You an Edge
You can technically do succession planting in any garden, but raised beds make it noticeably easier. The soil in a raised bed warms up one to three weeks faster than ground-level soil in spring, which means you can plant your first round earlier. In fall, the elevated soil retains heat longer, giving your final crops more growing days before the first hard freeze. The material you choose changes this timeline; the steel vs wood heat transfer rate dictates how quickly the soil warms up in spring and cools down in fall.
Drainage is another factor. Raised beds don’t get waterlogged after heavy rain the way in-ground plots do, so your fall crops aren’t sitting in cold, soggy soil as the weather turns. And because the soil stays loose and uncompacted in a well-built bed, you can pull one crop and replant the same afternoon without hours of tilling and prep. This fast drainage also prevents root rot during heavy seasonal rains.
The key word there is “well-built.” A bed that warps, bows, or rots after one season isn’t going to support three rounds of planting. Wooden boards longer than 8 to 10 feet will often bow outward under the heavy pressure of wet soil, and bowing wood can compromise the structural integrity of the bed over multiple seasons. Select safe, untreated materials, as using pressure-treated lumber causes chemical leaching into your soil and crops.
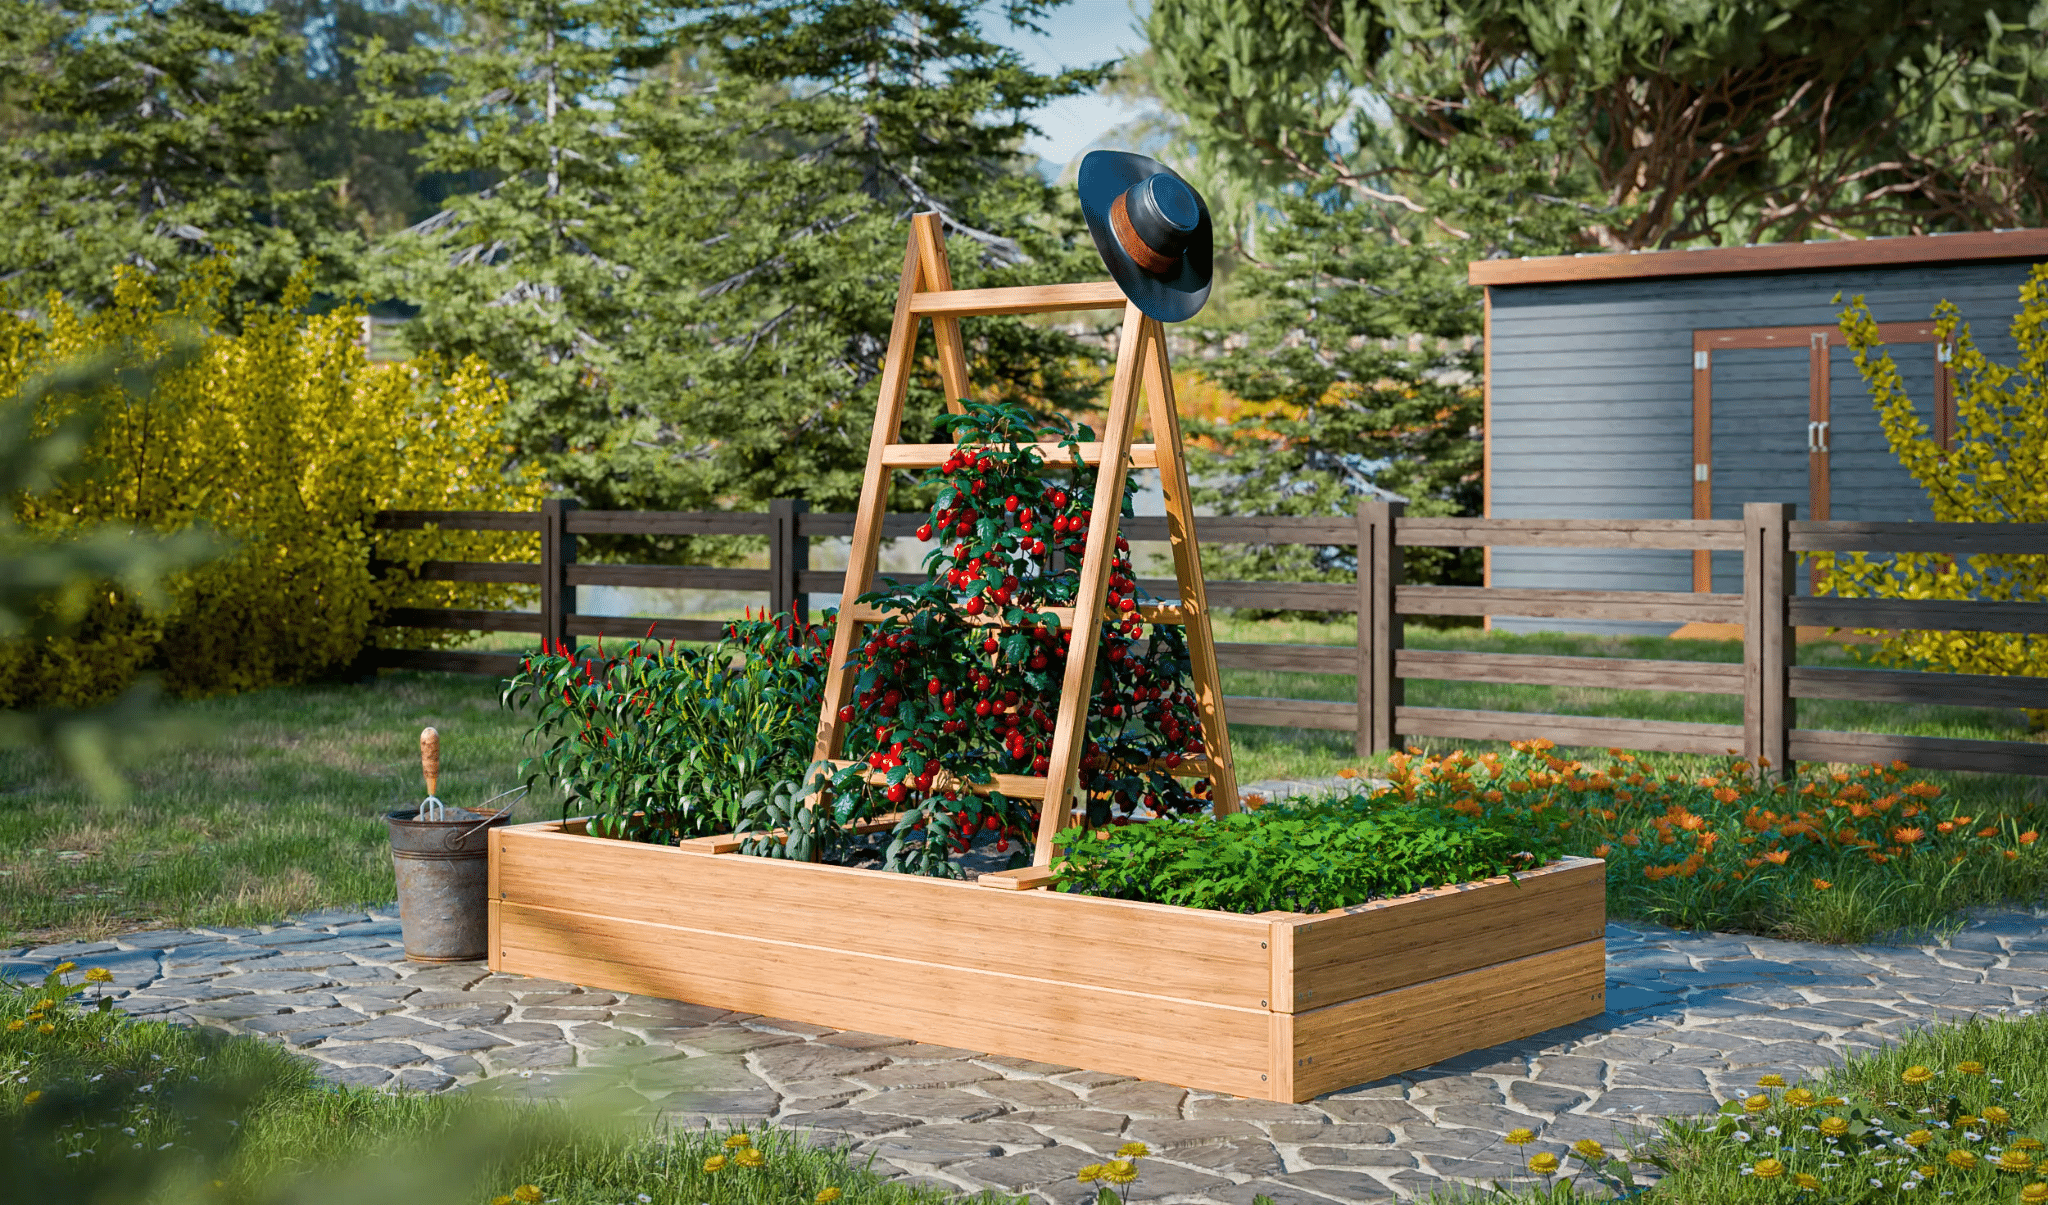
If you’re planning to build a new bed or replace an aging one, free raised garden bed plans from Craftcamp are a solid starting point. They offer downloadable PDF blueprints for everything from simple 4×8 rectangles to L-shaped, tiered, and elevated designs, all with material lists and step-by-step instructions.
Matching root depth and bed height
To fully execute a three-season rotation, the physical dimensions of the structure must support continuous root growth. Because raised beds provide deep, loose soil, roots can grow straight down instead of spreading out horizontally. This vertical root development allows you to pack plants closer together horizontally without them competing for space. When matching root depth and bed height, ensure a minimum of 12 to 18 inches of usable soil depth. This guarantees all three successional crops have enough room to thrive simultaneously as their life cycles temporarily overlap during transition weeks.
Start with One Rotation and Build from There
If three rounds feels ambitious for your first year, start with two. Plant a spring crop of greens, follow it with summer tomatoes, and just observe how the timing works in your specific climate. The next year, add the fall round. Once you see how much more food one bed can produce when it’s always working, you won’t go back to the one-and-done approach.
A single 4×8 raised bed, properly timed, can feed a family of four a surprising amount of fresh produce from March through November. That’s not aspirational gardening talk. It’s just what happens when you stop letting perfectly good soil sit empty for half the year.