
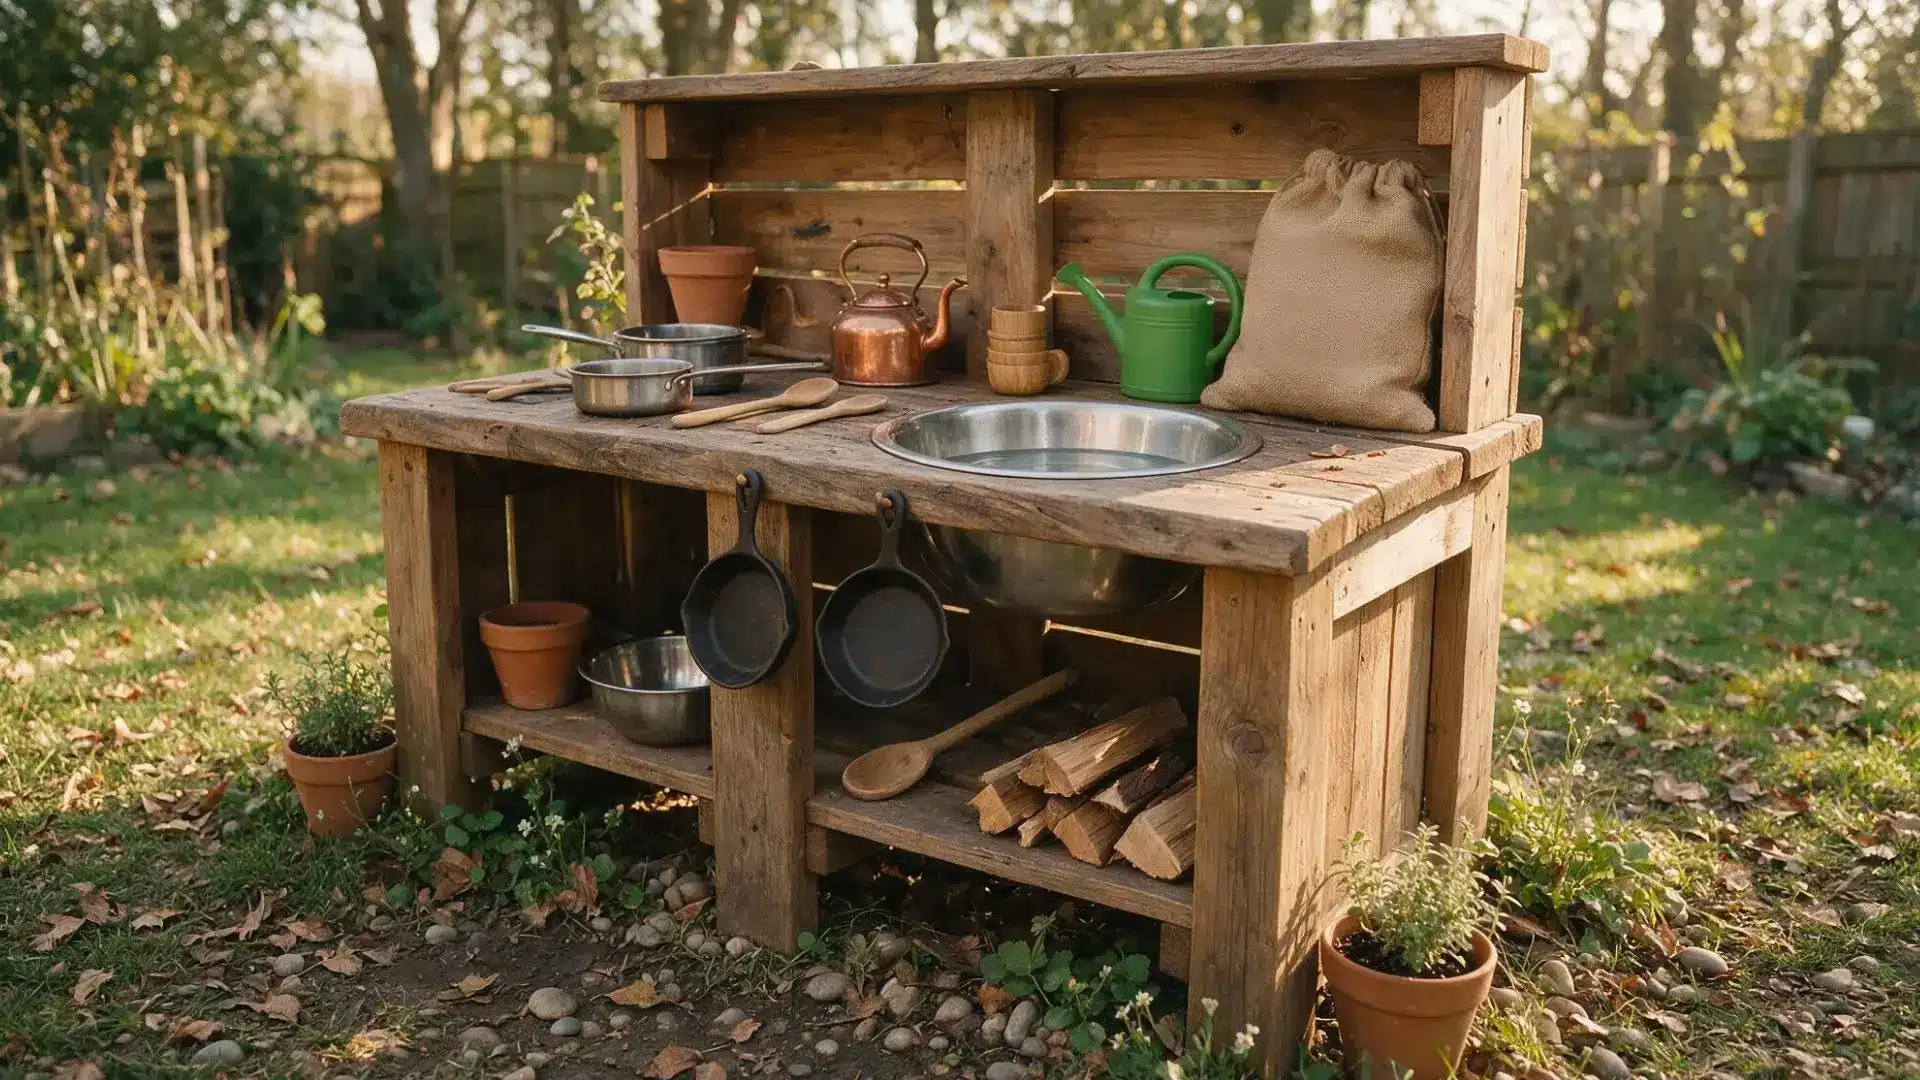
A backyard corner with mud and water keeps kids busy for hours. A DIY mud kitchen gives that play a proper spot outside. It turns plain mud and water into real pretend cooking fun.
Kids stir, pour, and mix without making a mess indoors. The setup stays simple, sturdy, and easy to keep clean. Rainy days and sunny afternoons both work fine for this play.
Little hands get their own space to play and create. This project fits any budget and skill level. Rain or shine, mud play keeps kids outside and happy.
Small hands, big imaginations, one simple backyard kitchen.
What Makes a Good Mud Kitchen Design?
A good design starts with easy access for small hands and short legs, which is what makes amud kitchen such a smart choice. Kids should be able to reach every shelf and bin without help.
The work area needs to feel comfortable, not cramped or awkward. Simple organization matters too, so tools and pots have clear, obvious spots.
Open countertop space gives room to mix, pour, and create without bumping into things. The whole layout should make sense right away, even to a toddler.
Kids should not need instructions to start playing, since a flexible space builds the kind of unstructured time linked to stronger active habits
Materials And Tools Needed For This Project
Building a sturdy mud kitchen does not take fancy tools or rare supplies. Most items come from a hardware store or the garage. Here is a quick list to gather before starting:
| Materials | Tools |
|---|---|
| Decking boards | Miter saw or handsaw |
| Treated timber | Drill with countersink bit |
| Wood screws | Auger drill bit |
| Sandpaper | Jigsaw |
| Paint or wood stain | Sander |
| Bowl (for sink) | Mask and safety gear |
| Plastic container (for water) | Measuring tape |
| Water plug and tap | Pencil for marking |
| MDF board | Bolts and wrench |
| Rubber feet | Paintbrush |
| Chalk paint | Chalk for marking |
Having everything ready makes the build move faster and smoother. A little prep now saves time later.
How To Build This Mud Kitchen
This build comes together in seven manageable stages, from cutting the frame to adding a working sink and hob. Following the order below keeps the structure sturdy and the finishing touches simple to add.
Step 1: Plan And Prep Materials
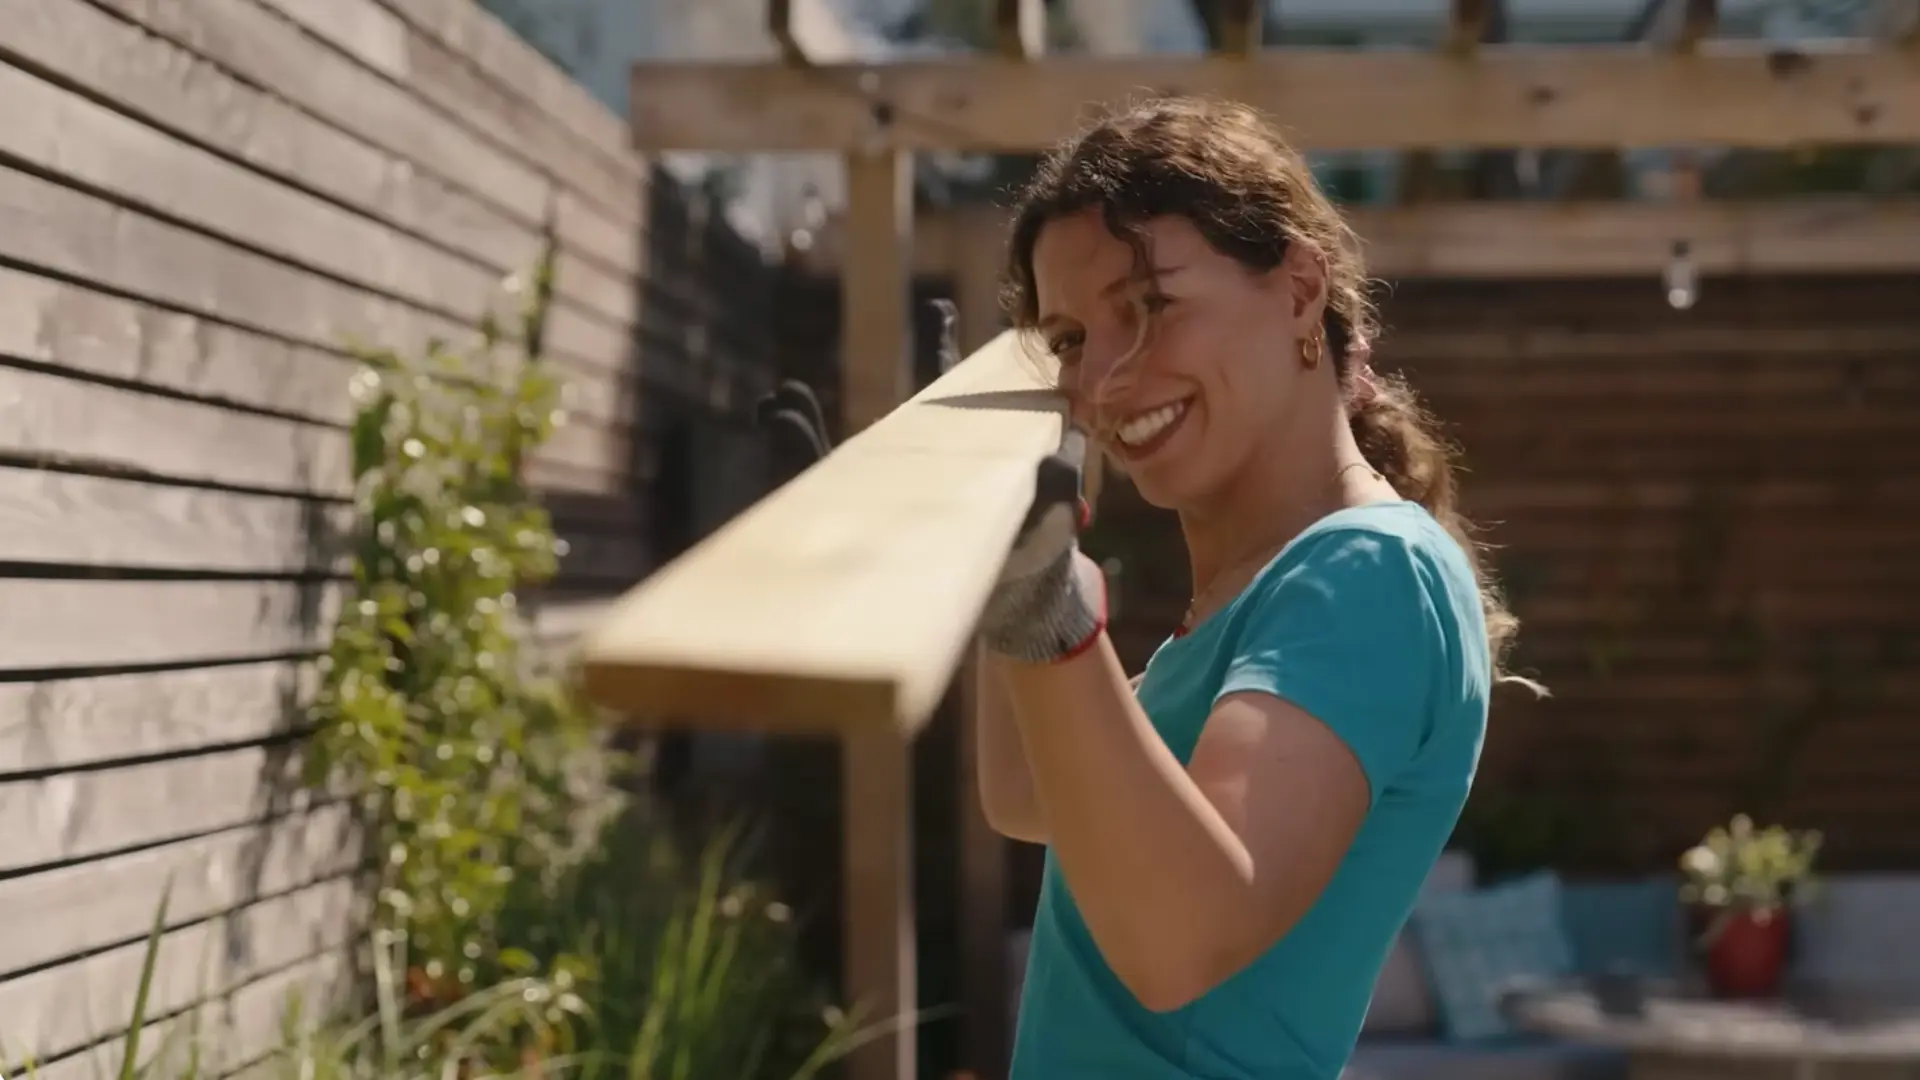
Decide on the size first, since every cut depends on it. This build uses a one-meter height, 400mm depth, and 950mm width, with a worktop sitting at 500mm.
Pick a shady, level spot like a patio or deck before starting the build.
Gather decking boards or upcycled wood, along with safety gear, a dust mask, and sandpaper ahead of time so the process runs smoothly from the first cut onward.
Step 2: Cut And Sand The Frame Pieces
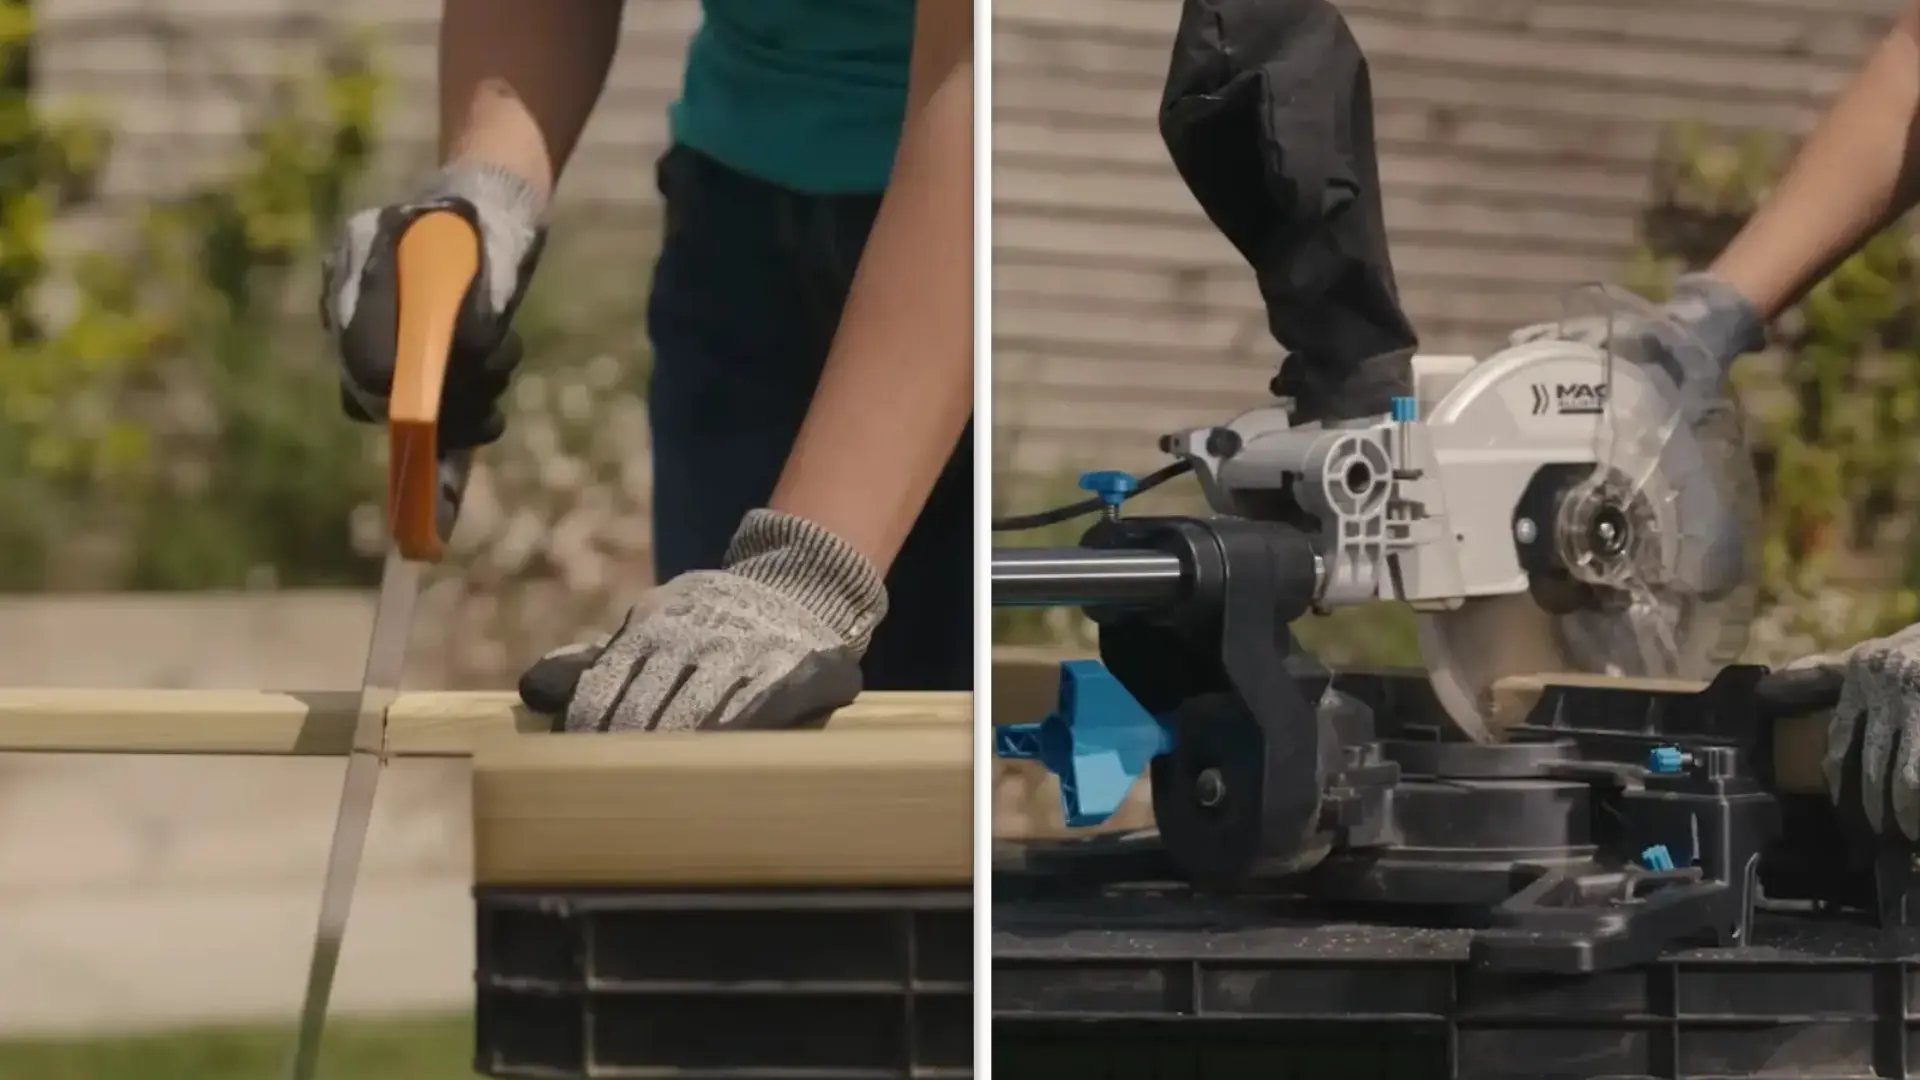
Measure and mark each piece carefully before cutting with a miter saw or handsaw.
Sand every edge and corner once cut, removing any splinters so the wood is safe for little hands to touch.
This is also the right point to paint or stain the wood in whatever finish suits the space: a solid color, a natural stain, or a mix of both for contrast.
Step 3: Build The Frame Sections
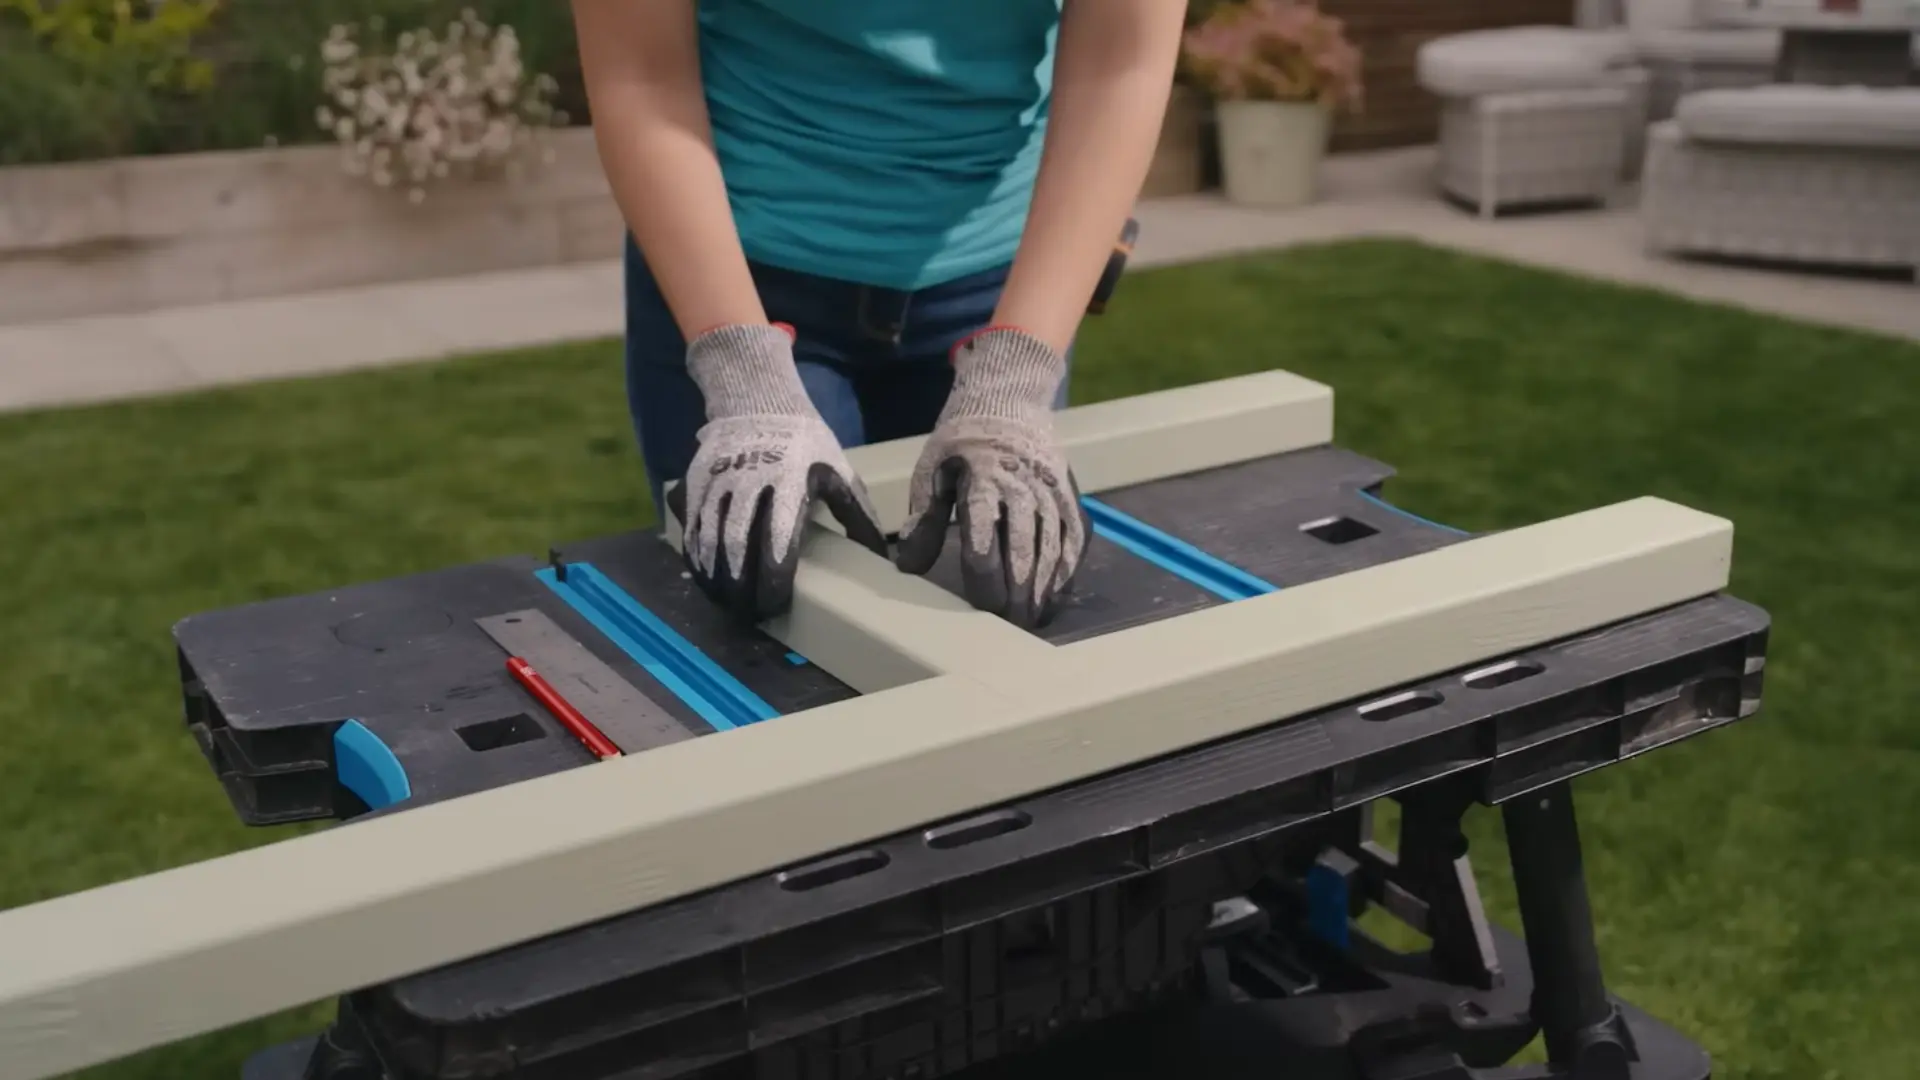
Start with treated timber to form the base shape, using the front piece height to line up the width and back pieces accurately.
Drill pilot holes first to stop the wood from splitting under pressure. Countersink each screw so the head sits flush and safe.
Repeat this process three times to build three matching frame sections that will later connect into the full structure.
Step 4: Join The Frames Together
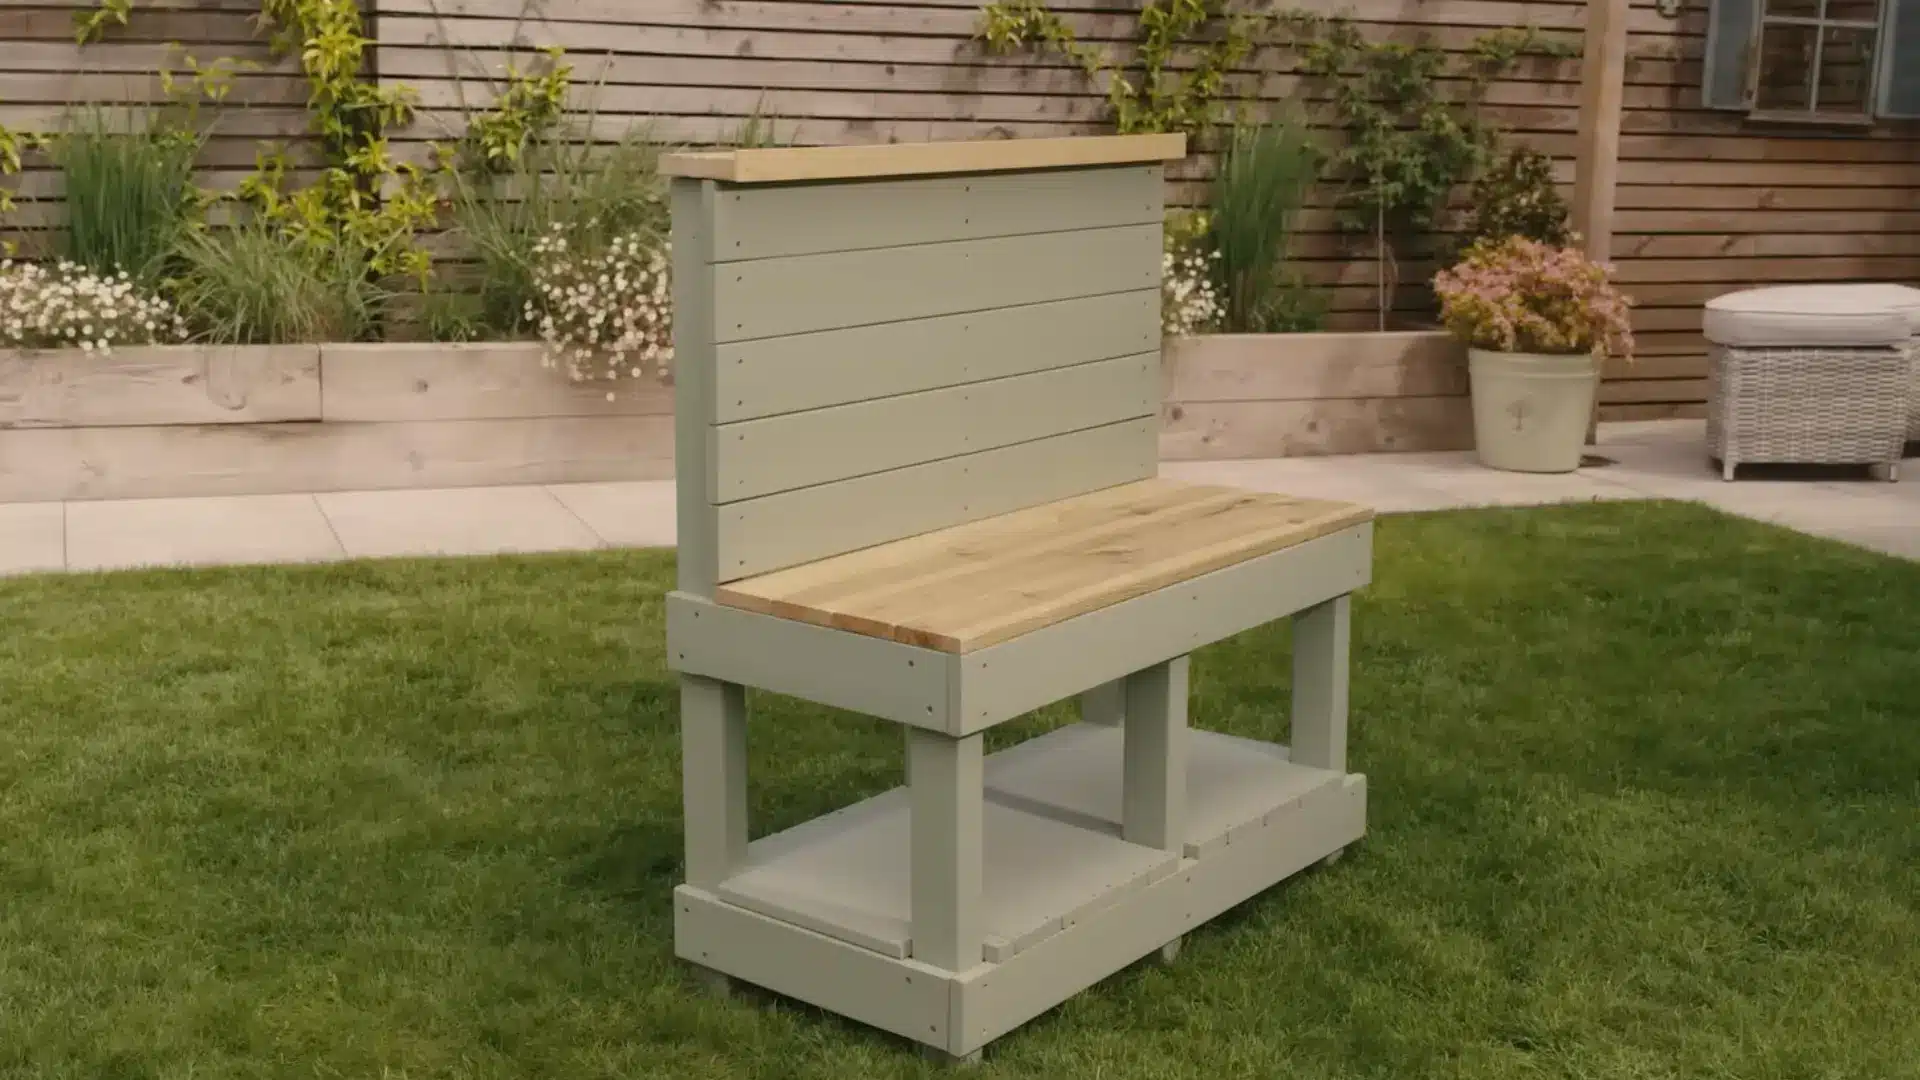
Attach outer panels to two of the three frames, keeping the panels on opposite sides once each frame stands upright.
Connect all three frames using long timber pieces, starting at the front base and leaving a gap sized for the worktop width before attaching the backboard.
Add one more reinforcing piece inside the base, then fit the third frame into the middle for a sturdier finished kitchen.
Step 5: Add The Worktop And Shelves
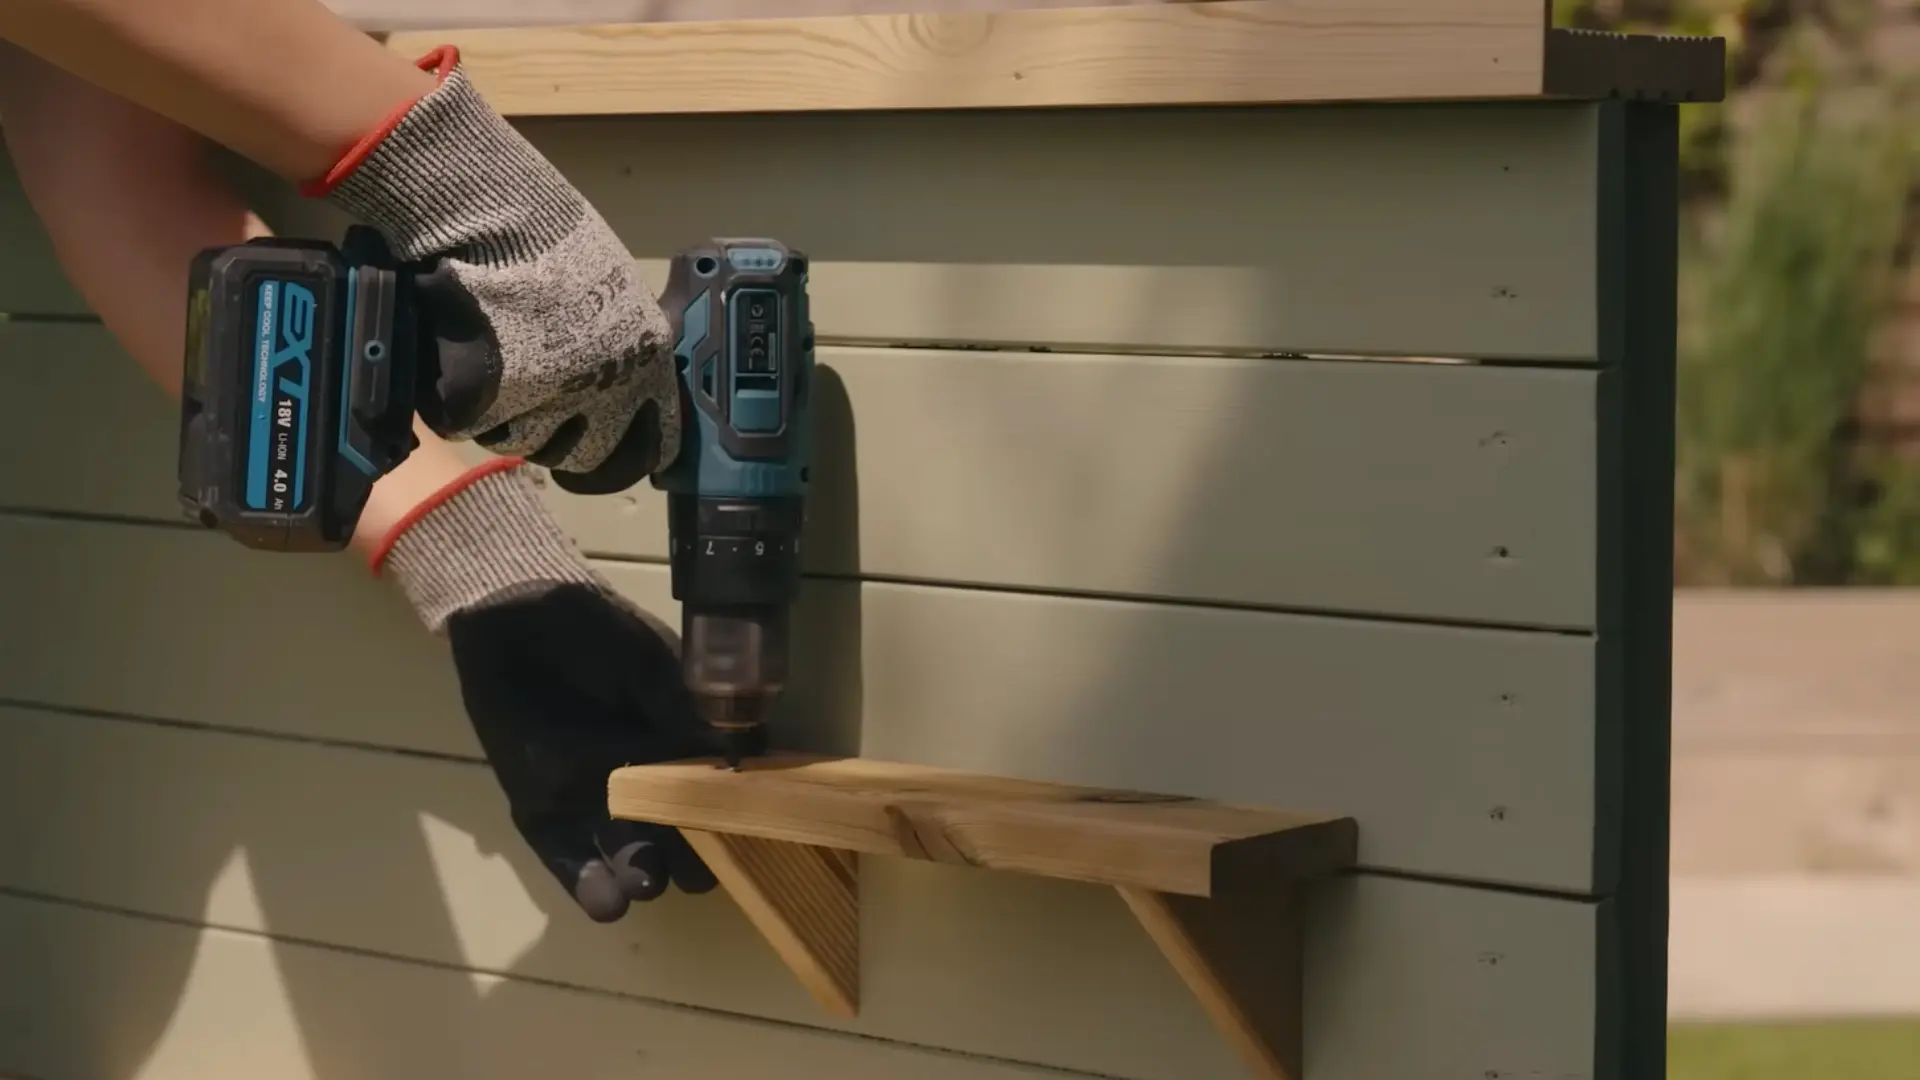
Attach the bottom shelf first, fixing it securely across the lower part of the frame. Next, fit the main worktop at your chosen height, such as 500mm from the ground.
Add a small top shelf above the worktop for hanging utensils within easy reach. These three pieces complete the frame.
The kitchen shape is now ready for a sink, a hob, and any extra details you like.
Step 6: Cut The Sink And Add Water
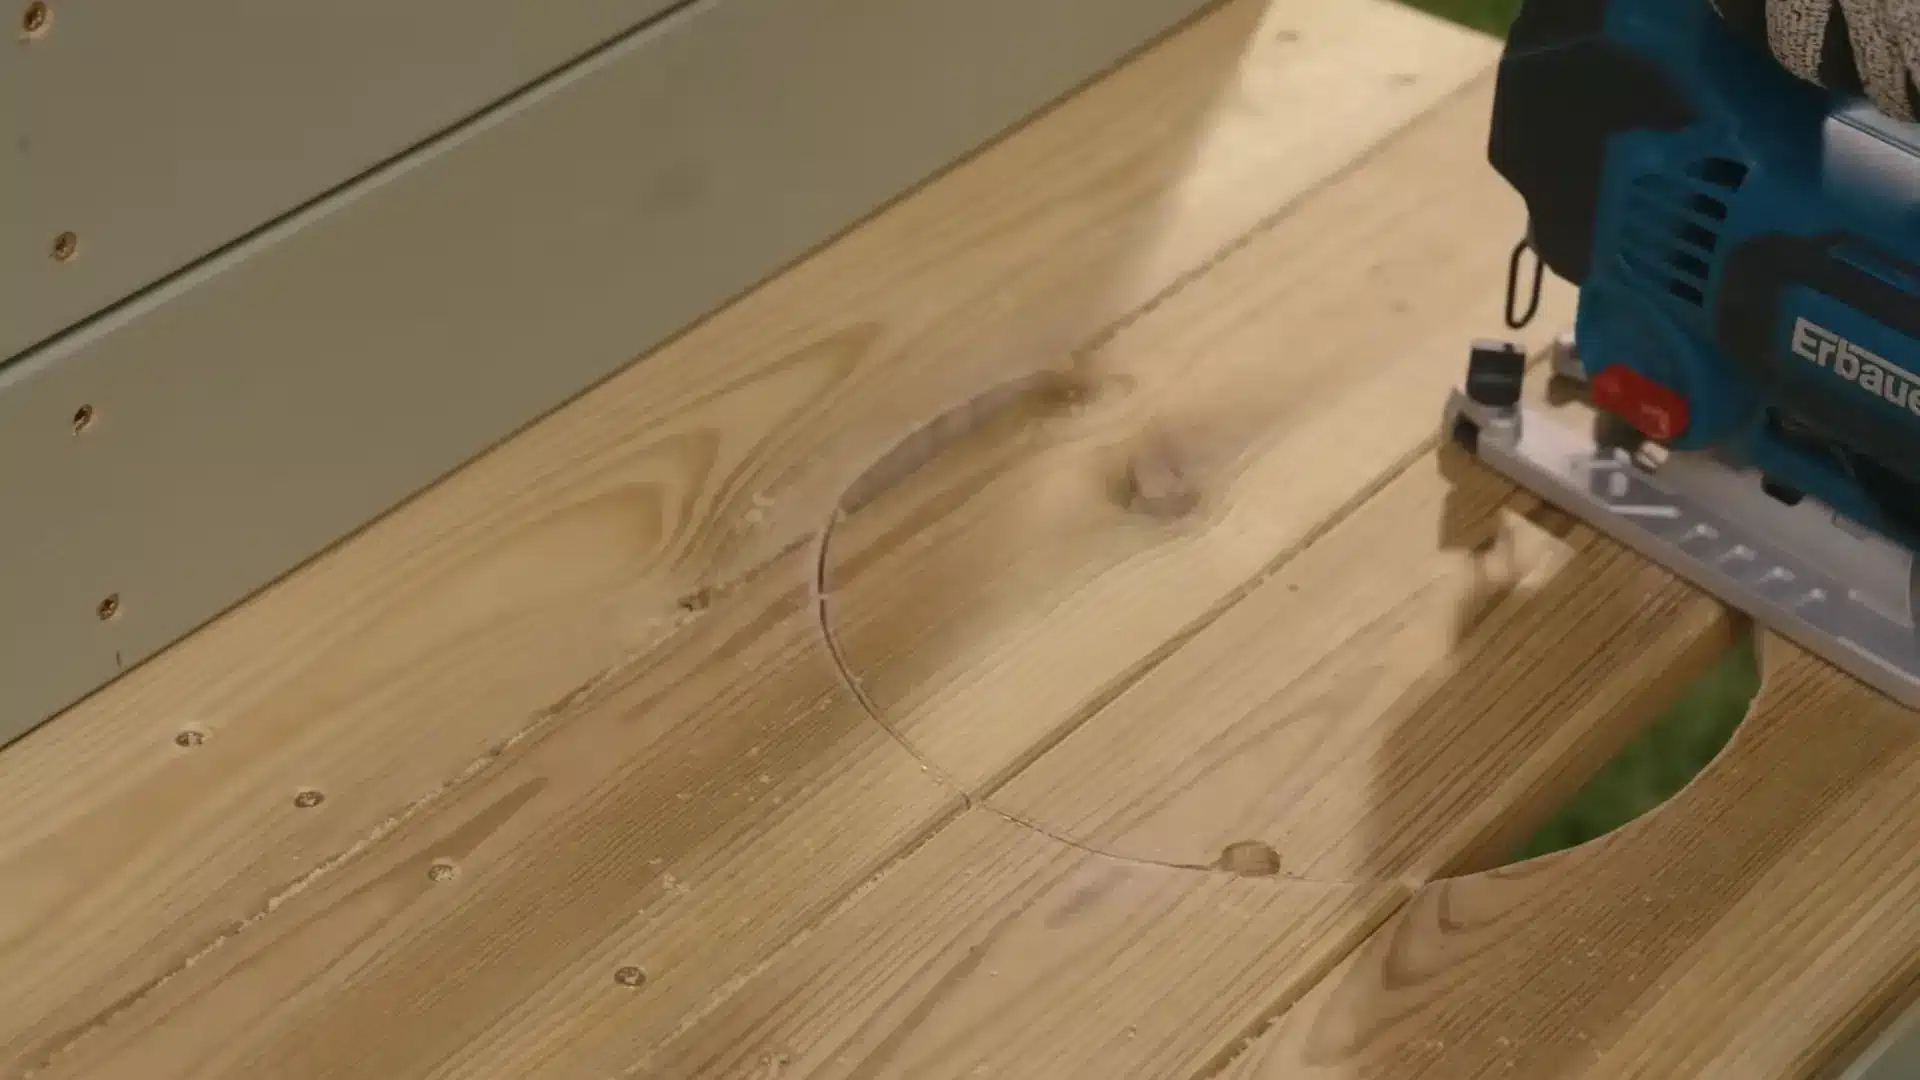
Trace around a bowl on the worktop, then draw a smaller circle a few millimeters inside that line.
Add support battens underneath on both sides before cutting along the inner circle with a jigsaw and sanding the edges smooth.
Drop the bowl into place once finished. For running water, drill a hole in a plastic container using an auger bit sized to the tap, then add a water plug to create a refillable reservoir.
Step 7: Add A Hob And Finishing Details
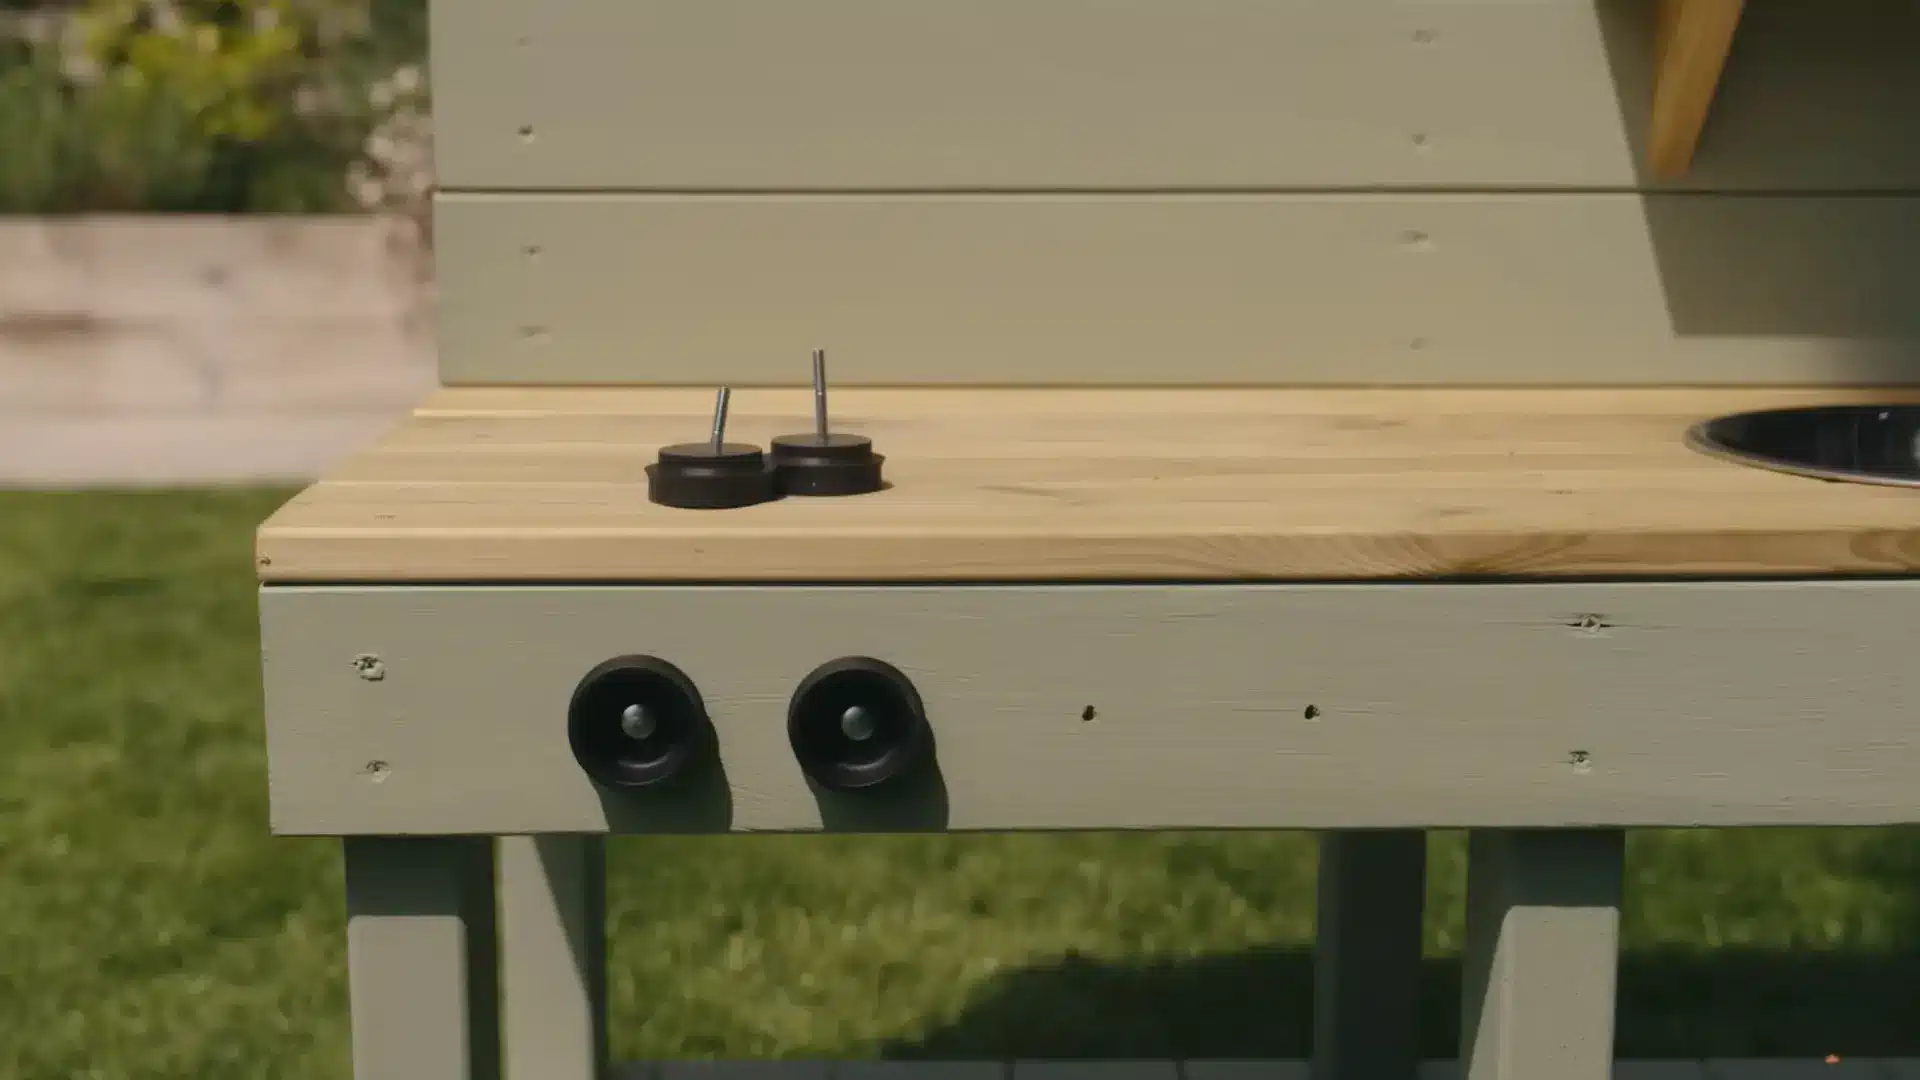
Bolt rubber feet to the front of the worktop to act as stove dials, and cut circles from MDF to serve as hob rings in a few different sizes.
Bolt these rings to the top surface near the dials. Leftover MDF works well as a small chalk paint menu board.
Finish the build by hanging utensils on the back panel and stocking play spices for a complete pretend kitchen.
For more detailed information, check out the complete video tutorial by B&Q.
Building A Mud Kitchen From Pallets Or Reclaimed Wood
A pallet mud kitchen is the cheapest way to build one. The same steps work once the wood gets prepped. A few checks make the build safer.
Check the stamp on each pallet first. A stamp reading HT means the wood was heat treated. A stamp reading MB means it was treated with chemicals, so skip it. Only use HT pallets, or ones from a trusted source.
Pry boards apart with a flat bar, not a hammer. Pallet nails bend easily and split the wood. Expect more splinters than new boards, so plan extra sanding time.
Sort the boards by length once separated. Follow the steps above exactly. Reclaimed wood also works for other quick weekend projects around the yard.
How to Weatherproof a Wooden Mud Kitchen
A wooden mud kitchen faces rain, sun, and daily splashing year-round. Follow these steps to keep the wood protected through every season:
- Use outdoor-suitable materials: choose pressure-treated wood, cedar, or marine-grade plywood since standard indoor lumber warps and rots much faster outside.
- Avoid standing water: keep the wood from sitting in puddles after rain or play by raising the base slightly or adding drainage holes.
- Apply an exterior finish: use outdoor paint, stain, or sealant, and pick a non-toxic option since kids will touch and play near it.
- Follow drying and maintenance steps: stick to the product label’s schedule, since most exterior finishes need reapplication every one to two years.
- Protect against severe weather: check the kitchen often for peeling paint, splitting wood, rot, and loose parts to catch small issues early.
Routine care keeps a mud kitchen safe and fun through every season. A little upkeep now saves time and money later.
What Can Kids Use in a Mud Kitchen?
A mud kitchen comes alive with simple household items and natural materials. Here are some safe and fun supplies to stock it with:
| Item | Use | Source |
|---|---|---|
| Old pots and pans | Mixing and cooking pretend meals | Kitchen leftovers |
| Wooden or play spoons | Stirring and scooping mud | Kitchen drawer or toy set |
| Measuring cups | Pouring and portioning ingredients | Baking supplies |
| Bowls and containers | Holding mud, water, or mixtures | Recycled tubs or old bowls |
| Funnels | Pouring water or sand with control | Kitchen or garden tools |
| Watering cans | Adding water to the mix | Garden supplies |
| Mud and sand | Main ingredients for play | Garden or sandbox |
| Leaves, flowers, twigs, and stones | Decorating and adding texture | Backyard or park |
These simple supplies keep kids busy for hours and fit well into builds like a simple fairy garden.
Safety Note: Always supervise young children during mud kitchen play and check items regularly for cracks, splinters, or sharp edges before each use.
How Much Does a DIY Mud Kitchen Cost?
Costs depend on the materials you choose and how much you reuse. New lumber usually runs between $50 and $150. Reclaimed wood or pallets can lower that to $0 to $30.
Hardware like screws, hinges, and bolts adds around $10 to $25. A basin or sink piece costs $5 to $15 if bought secondhand.
Paint or exterior finish typically adds another $15 to $30. Optional extras like a chalkboard or hooks can raise the total slightly.
A pallet kitchen is not always free, since hardware and finishing still cost money. Using suitable leftover materials is still the easiest way to keep the total budget low.
Note: These are estimated price ranges only. Actual costs may vary based on location, material quality, and store pricing at the time of purchase.
Tips For Keeping A Mud Kitchen In Good Shape
A mud kitchen sits outside and gets used often, so it needs some upkeep. A few simple habits keep it in good shape. Here are some easy maintenance steps to follow:
- Brush or rinse off dirt and mud buildup after each play session to stop it from hardening on surfaces.
- Empty any standing water right after play and let all surfaces dry fully before closing up the kitchen.
- Check regularly for splinters, loose screws, or early signs of rot, especially around joints and edges.
- Tighten any loose fasteners as soon as they appear and refresh the exterior finish once it starts to fade.
- Clean play utensils and containers regularly to keep the whole setup tidy and useful.
Simple upkeep like this makes a difference over time. A well-maintained kitchen stays safe and usable for many seasons.
Frequently Asked Questions (FAQs)
What Age Is Best For A Mud Kitchen?
Most mud kitchens suit children between two and eight years old. Younger toddlers may need supervision, while older kids enjoy more independent, imaginative play.
Does a Mud Kitchen Need a Roof or Cover?
A cover is not required, but it helps protect against rain and sun damage. It also keeps tools and surfaces drier between play sessions.
What Is The Best Location For A Mud Kitchen?
A shaded, level spot works best, ideally near soil or grass. This keeps materials nearby and reduces mess dragged into other play areas.
The Closing Thoughts
You now have every step needed to build a DIY mud kitchen at home. Simple wood, a few tools, and some patience get you there. Kids gain a space to create, pour, and imagine freely.
The build stays sturdy with proper joints and weatherproof finishes. Regular care keeps it safe and ready for every season. Stock it with pots, spoons, and natural bits from the yard.
Watch how quickly mud turns into hours of laughter. Every backyard deserves a spot built just for messy fun. Bookmark this page and start your build this weekend.


