The panels arrived, the boxes are open, and you’ve picked the wall. Then the questions start. Which anchors? Do you really have to drill into brick? Will that hundred-year-old plaster crack the second a bit touches it?
Good news first. Most of the work comes down to one detail hidden under the fabric: the wood or metal acoustic panels frame gives clips something solid to bite into, so the panel stays flat and square on any wall. It’s also why these panels are easier to hang than the floppy homemade kind.
Below you’ll find the prep work, the hardware choices, step-by-step notes for drywall, plaster and brick, and a few finishing checks so the row ends up straight instead of “close enough.”
Why the Frame Makes Mounting Easier
A framed panel has a rigid perimeter built in, usually wood, sometimes metal. The sound-absorbing fill sits inside it, wrapped in fabric. That skeleton is what you’re really hanging.
Clips and hooks attach to the frame instead of the soft fill, so nothing tears or sags over time. The panel keeps its shape, edges stay crisp, and corners don’t dent the first time someone bumps a chair into them.
Framed panels are also lighter than most people expect. A standard two-by-two-foot, one-inch panel can weigh a couple of pounds, so you’re not fighting gravity the way you would with a heavy mirror.
And because the hardware grabs the frame, most systems let you lift a panel off later without damaging it or the wall.
Before You Drill: Plan, Measure, Dry-Fit
Rushing this part is how crooked rows happen. Lay out the arrangement first, either on the floor or with painter’s tape marking each panel outline on the wall. Step back. Look at it from the doorway and from the couch. Adjust now, while adjusting costs nothing.
Next, find out what’s inside the wall. A stud finder locates framing in drywall, and many models also flag live wiring. Avoid drilling directly above or below outlets and switches, since cables usually run vertically from them. If there’s a bathroom or kitchen on the other side, think about pipes too.
Snap a level line where the top or bottom edge of the row will sit. A laser level makes this painless; a long spirit level and a pencil work fine.
One more thing before anything touches a drill bit: inspect every panel. Check sizes, colors, and edges against your order. Most sellers won’t accept a panel back once it’s been drilled or modified for mounting, so this is your last easy exit.
Basic kit: drill, bits for your wall type, stud finder, level, tape measure, pencil, painter’s tape, and the anchors suited to your wall.
Choosing the Right Mounting Hardware
Framed panels typically come with their mounting method already specified, and it’s worth understanding what you’ve got before you start.
Z-Clips
A Z-clip system uses two interlocking metal strips. One fastens to the wall, the other to the back of the panel frame. Lower the panel so the strips hook together, and it sits close to the wall, held securely. To remove it, lift up and out. Z-clips are forgiving on slightly uneven walls and great for anything you might want to rearrange.
Offset Clips
Offset clips are small metal clips that attach to the panel frame and hook onto fasteners set in the wall. They’re quick, need only a few fixing points per panel, and suit flat walls well. Follow the spacing in the instructions that come with your panels, since clip positions vary by size.
Hanging Panels on Drywall
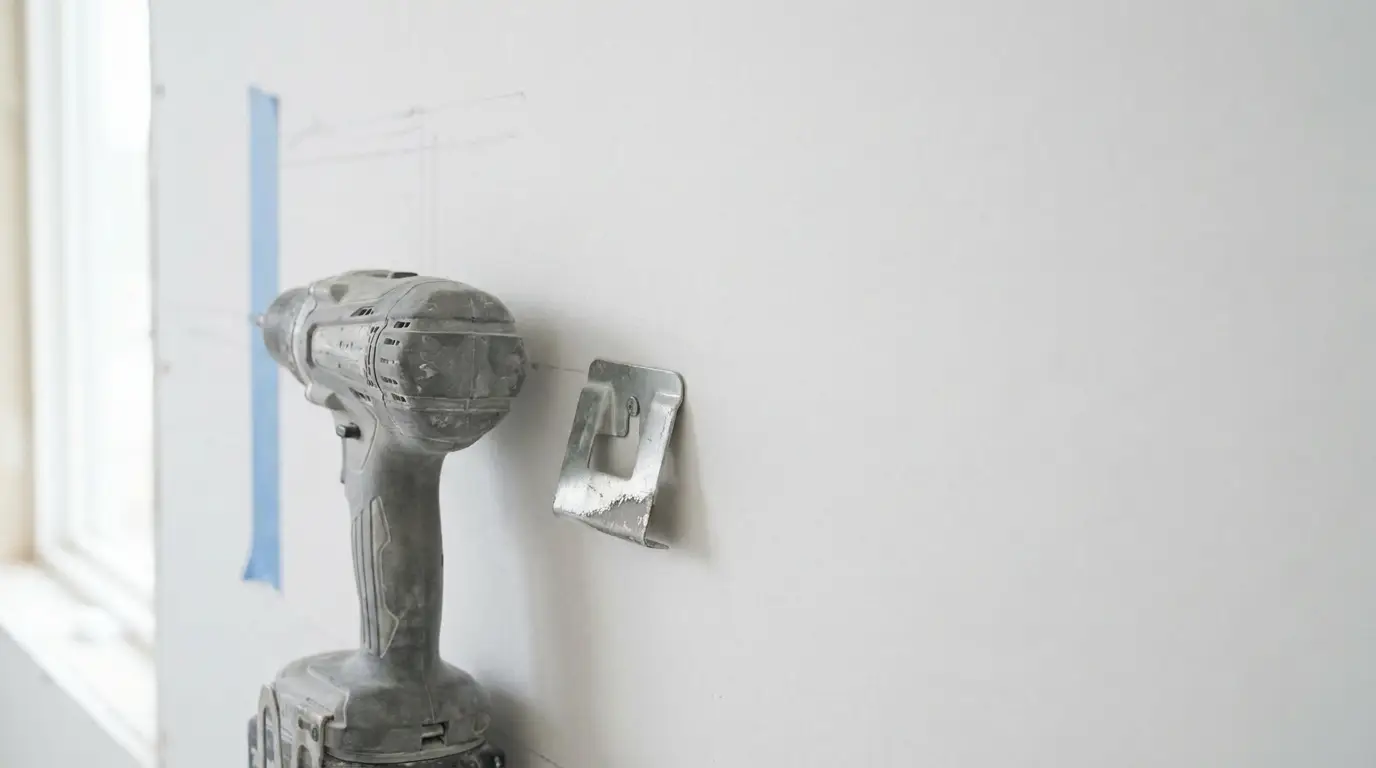
Drywall is the easiest surface, as long as you respect its limits. Whenever a fixing point lands on a stud, screw straight into the stud. That’s the strongest hold you can get.
Between studs, use hollow-wall anchors rated comfortably above the weight of your panel. Self-drilling threaded anchors work for lighter panels; toggle-style anchors hold better for larger ones.
Skip the little ribbed plastic plugs that come free with picture frames. They’re made for masonry and tend to spin loose in gypsum.
Drill pilot holes at the marked points, set the anchors flush, then attach the wall half of your clips. Check level again before hanging the first panel, because a millimeter off here becomes very visible across six panels.
Hanging Panels on Plaster
Older homes with plaster over wood lath need a gentler hand. Plaster is hard and brittle, and it likes to crack or crumble around a fresh hole.
Put a small square of painter’s tape over each marked spot first; it helps keep the surface from chipping. Use a sharp bit and drill slowly, without hammer mode. Pressing hard is how chunks break off.
If you hit wood behind the plaster, that’s lath or a stud, and a screw driven into it holds nicely. If the bit punches through into a void, switch to toggle bolts, which spread the load behind the plaster instead of relying on the crumbly layer itself. Honestly, in really old plaster, I’d plan on toggles for every point and treat any lath you hit as a bonus.
Hanging Panels on Brick
Brick sounds scary. It’s actually very solid once you’re in.
Whenever possible, drill into the mortar joints rather than the brick face. Mortar is softer, the brick won’t crack, and if you ever remove the panels, a small hole in mortar is far easier to patch invisibly. Exposed brick feature walls especially deserve this courtesy.
Use a masonry bit and a hammer drill. Drill to the depth your anchor requires, blow or vacuum out the dust, then set masonry anchors or screws designed for brick. Dust left in the hole is the usual reason a masonry fixing feels loose, so don’t skip the cleanup.
Ceilings, Leveling and Final Checks
Ceiling panels are usually suspended rather than screwed flat, hanging from chain or wire attached to hooks fixed into the joists above. Hanging them a few inches down lets panels with an open back absorb sound from both sides. Two people make this job far easier: one holds, one adjusts.
Once everything’s up, run a final pass. Put the level across the whole row, not just individual panels. Check that gaps between panels are consistent, since uneven spacing is what the eye notices first. Give each panel a gentle tug to confirm it’s seated. Then peel off any leftover tape before it bakes onto the paint.
Sound Pro Solutions, a Long Island City acoustics supplier, sells framed panels with the mounting hardware listed right on each product, whether that’s offset clips for walls or chain and hooks for ceilings, so you know what you’ll be working with before you order. They also give acoustic advice by phone if your wall turns out to be something stranger than drywall, plaster, or brick.