
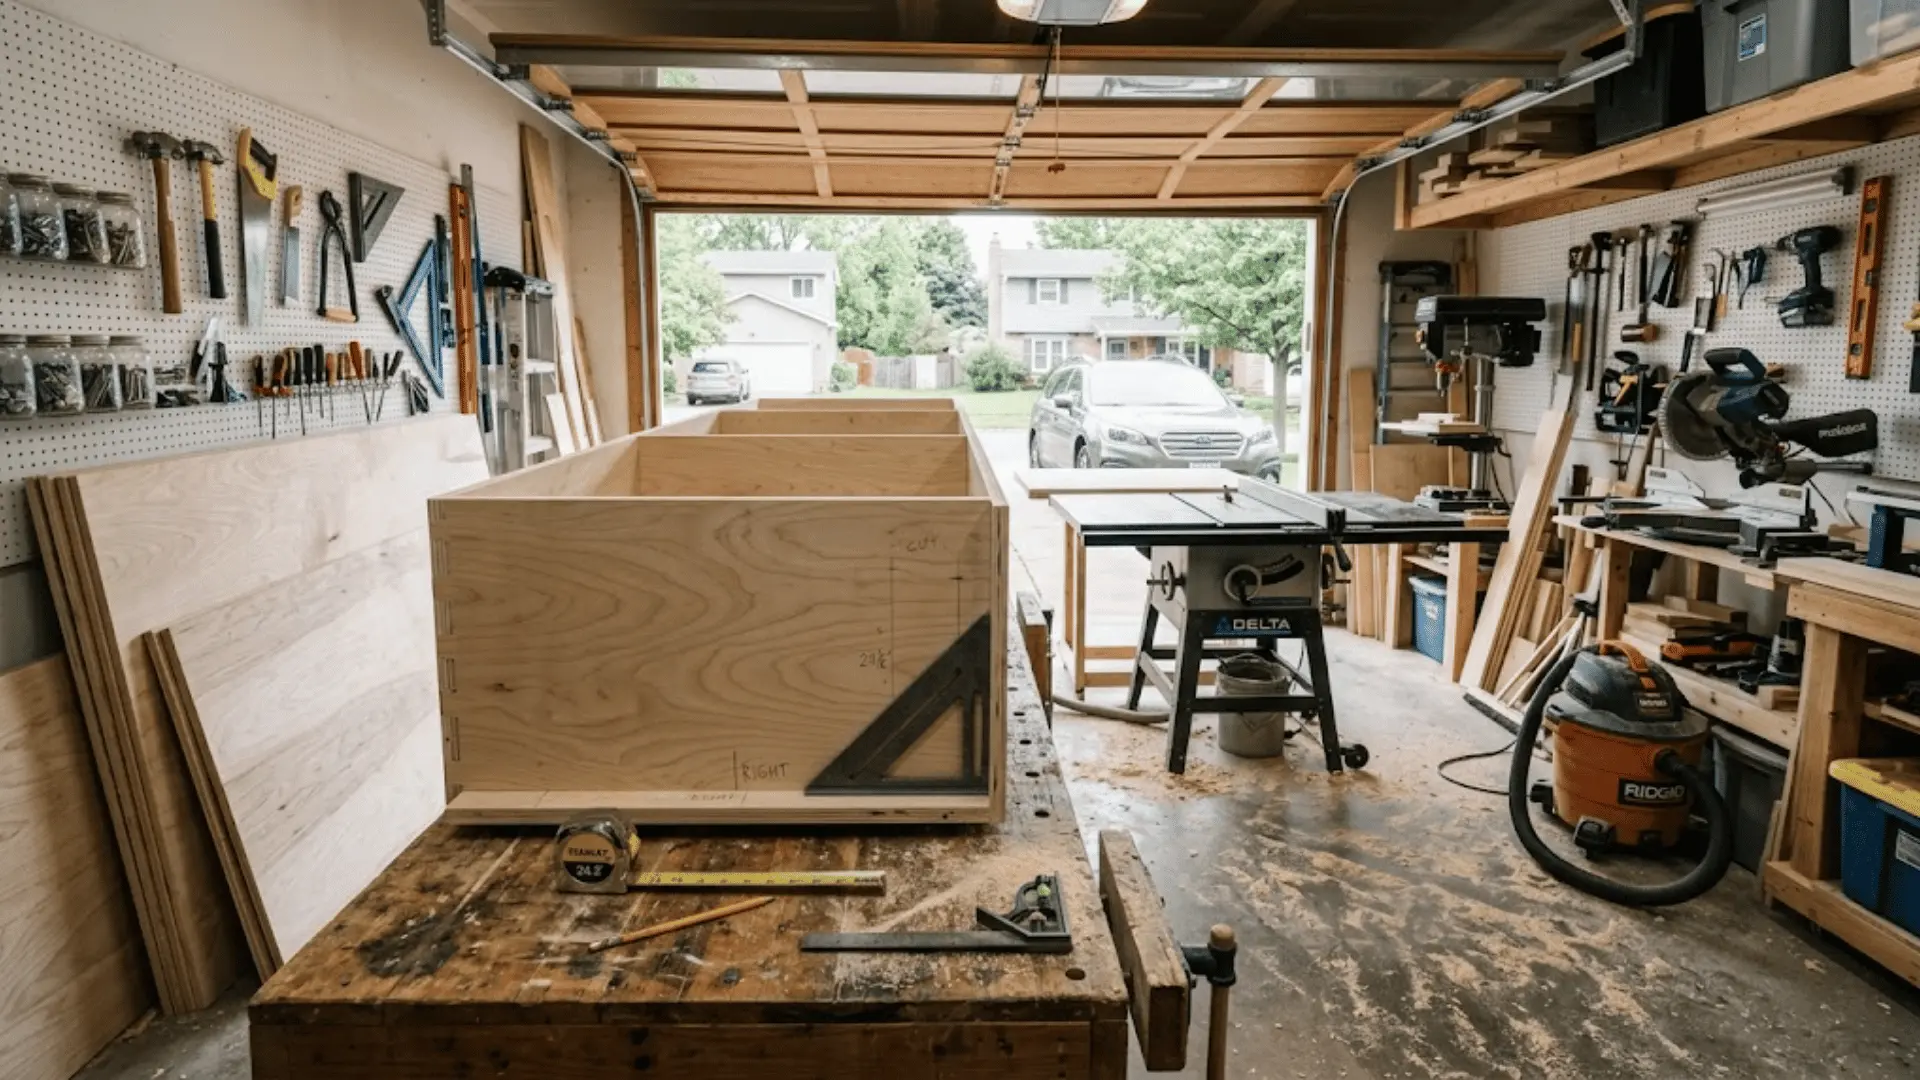
Most kitchens are built around what a factory could ship, not what your space actually needs. That is where DIY kitchen cabinets change the equation.
You choose the width, the wood, the finish, and every box gets built to fit your walls instead of the other way around.
That odd gap beside the fridge or the slim run under the window finally gets a home-made just for it.
A cabinet, at its core, is simply a well-measured box, but a kitchen that holds up over years asks for a level of precision a basic storage cabinet never demands.
Clean measuring and repeatable cuts will take you further than complicated joinery ever will, and that mindset shapes everything ahead.
We will find out how it all comes together, from early planning through cutting, the cabinet box, the DIY cabinet frame, doors, drawers, finishing, and the final install.
Can You Build Your Own Kitchen Cabinets?
Yes, and it is more approachable than most people expect. This project suits beginner to intermediate woodworkers with a garage or basement workspace big enough to cut full plywood sheets.
Kitchen cabinets demand more precision than typical furniture since doors, drawers, and countertops all need to align perfectly across a whole room.
Building one cabinet is a weekend project; building an entire kitchen is a multi-week commitment, which is when ordering pre-made boxes sometimes makes more sense.
Most current tutorials rely on plywood boxes and accessible tools, not professional shop equipment.
Construction generally falls into face-frame or frameless styles. Face-frame stays the more traditional, widely used approach.
If you are still deciding which construction style fits your kitchen, this comparison of framed and frameless styles breaks down where each one works best.
Plan Your DIY Kitchen Cabinets Before Cutting Anything
After a few kitchens, I have learned where the real mistakes start.
It is rarely the cutting itself. It is opening a plan built around standard cabinet sizes and skipping past measuring your own room first.
- Measure the full kitchen, including wall lengths, ceiling height, window and door placement, plumbing, outlets, appliances, corners, and floor level, since your actual space should drive sizing rather than standard cabinet charts.
- Map every cabinet type you need – base, wall, tall, sink, drawer, corner, and appliance openings – along with fillers to close small gaps against walls.
- Build a cabinet-by-cabinet cut list from that layout before buying plywood, listing exact width, height, and depth for every box so nothing gets sized on guesswork at the saw.
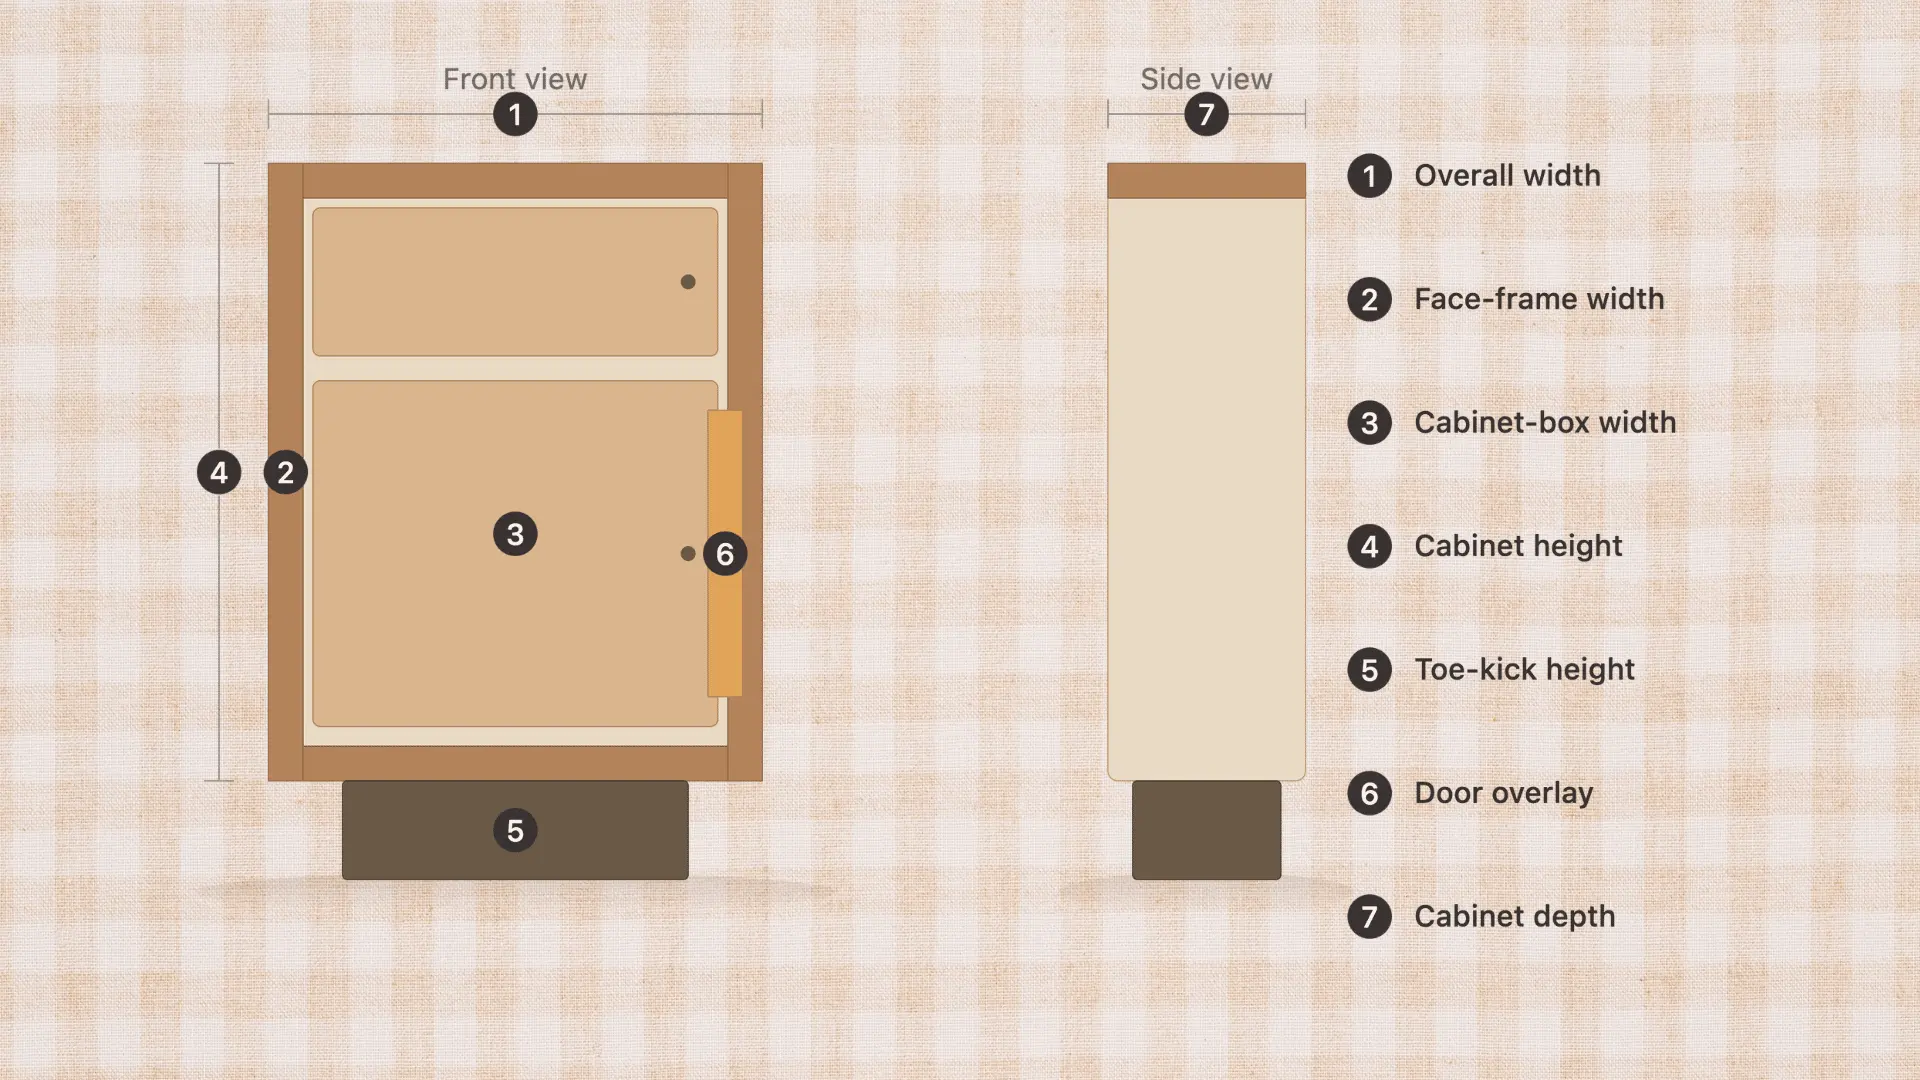
- Separate overall width from box width and face-frame width, since face frames add to the box dimension rather than replacing it.
- Confirm depth, height, toe-kick height, and door or drawer overlay for each cabinet, since these determine how fronts sit relative to the box.
The diagram above shows exactly where these measurements sit on a real cabinet.
Once you can point to overall width versus box width without hesitating, the cut list stops being guesswork and starts being a set of numbers you actually trust.
Materials and Tools for DIY Kitchen Cabinets
This build uses a mix of shop-grade and finish-grade options depending on where the cabinet is going.
Materials
- ¾-inch plywood for cabinet boxes
- Baltic birch plywood, an optional upgrade for extra strength
- ¼-inch plywood for cabinet backs
- ½-inch plywood as an alternative back panel option
- Solid wood 1x2s (select pine or pre-primed) for face-frame rails and stiles
- ½-inch and ¼-inch MDF for doors and drawer faces
- Solid hardwood (maple, walnut, or poplar) for rail-and-stile doors and drawer boxes
- ½-inch plywood for basic drawer boxes; 5/8-inch or ¾-inch plywood for nicer drawer builds
- Wood glue
- CA glue with activator spray
- Pocket-hole screws
- Cabinet screws (1¾-inch)
- Brad nails (18-gauge)
- ¼-inch dowels
- Drawer slides
- Concealed Euro-style hinges
- Edge banding
- Wood filler, caulk, water-based primer, and paint
- Sandpaper (180 grit)
- Shims
Tools
- Table saw
- Circular saw with an edge guide or straightedge
- Miter saw
- Drill/driver
- Pocket-hole jig
- Clamps, including corner clamps
- Tape measure
- Carpenter’s or combination square
- Crosscut sled
- Router with a rabbeting bit and chamfer bit
- Dado stack
- Random orbital sander
- Brad nailer (18-gauge)
- Drill press
- Featherboard
- Iron
- Jigsaw
- Hinge-boring jig
- Paint sprayer
How to Build a DIY Cabinet Frame?
The cabinet box is where accuracy either gets locked in or lost for good. Every later part, doors, drawers, and toe kick, depends on this box being square.
Step 1: Cut Your Plywood Parts
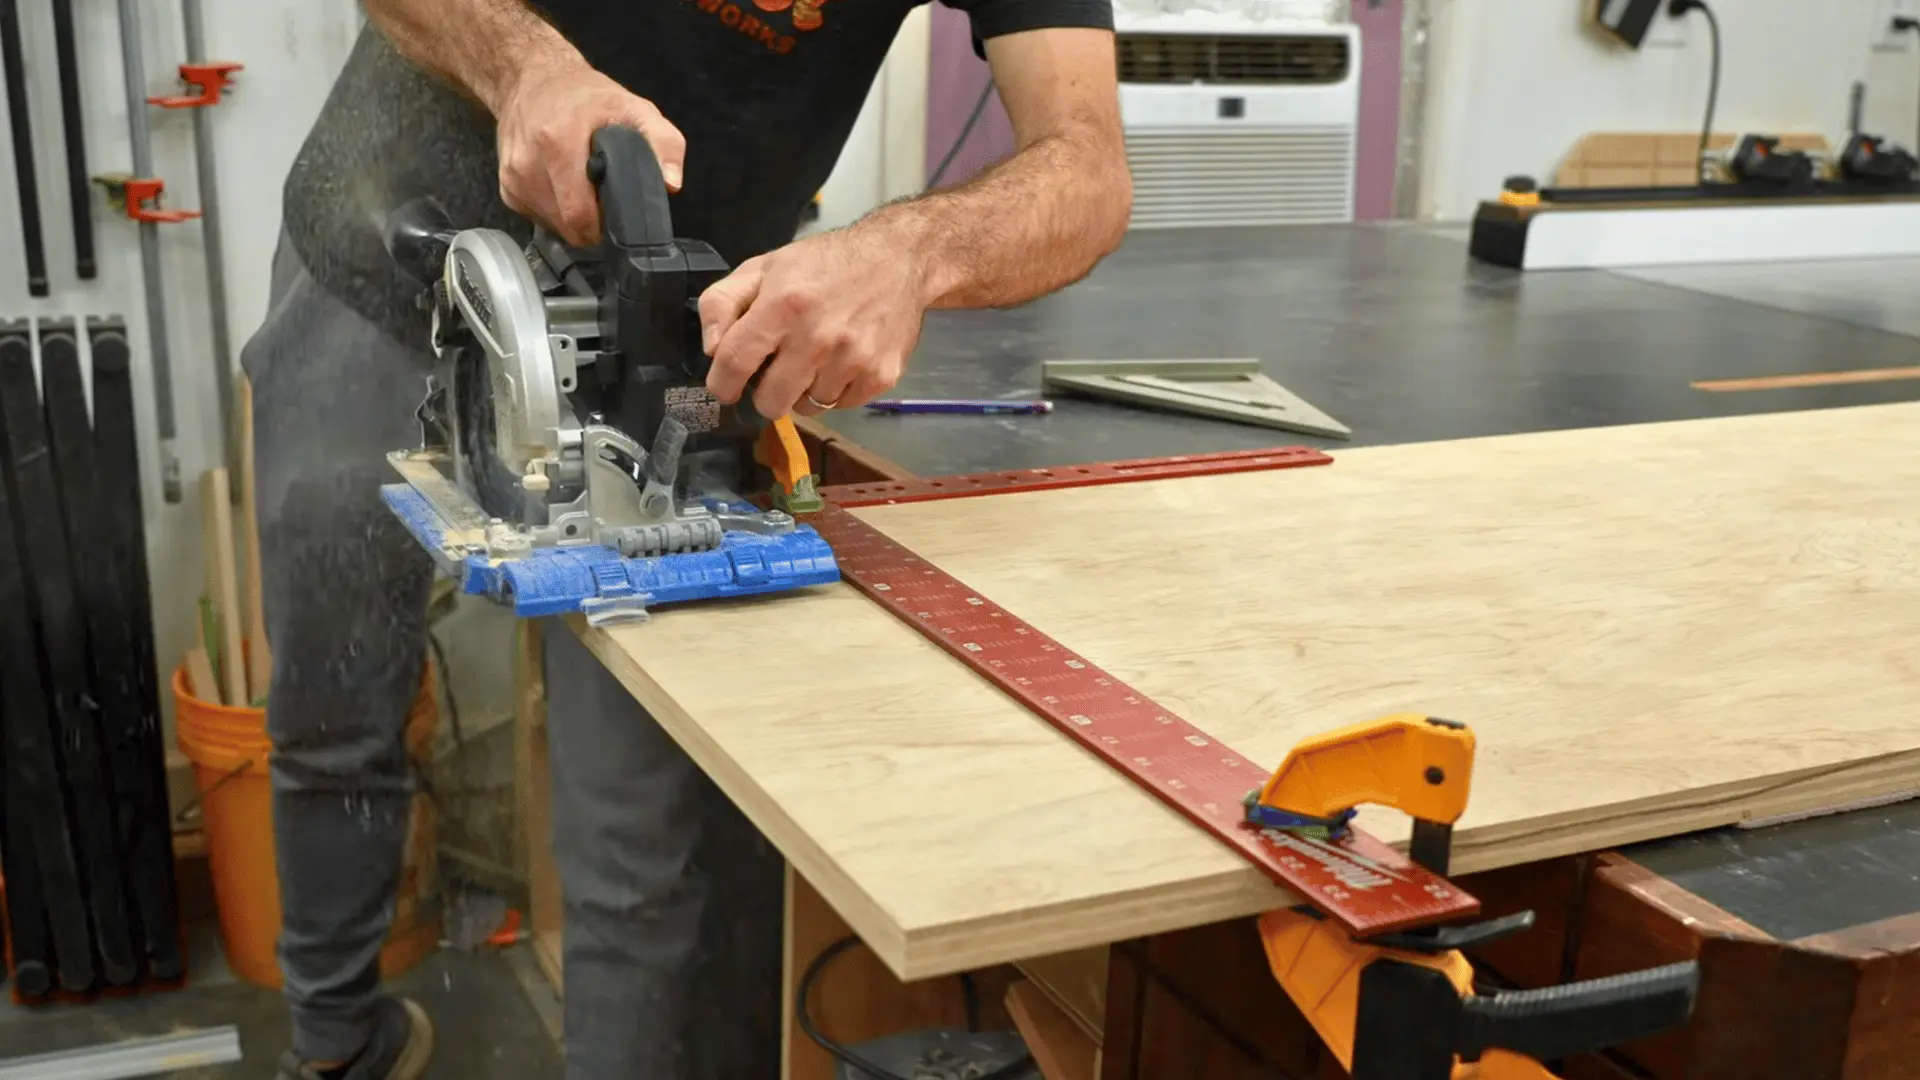
Break down full sheets using a table saw or a circular saw with an edge guide. Keep the edge guide locked in place so every side and bottom shares the exact same depth.
Avoid relying purely on cut-list optimizer software, since it does not account for how sheets actually break down and can introduce more room for error during the physical cutting process.
Step 2: Establish a Square Reference Cut
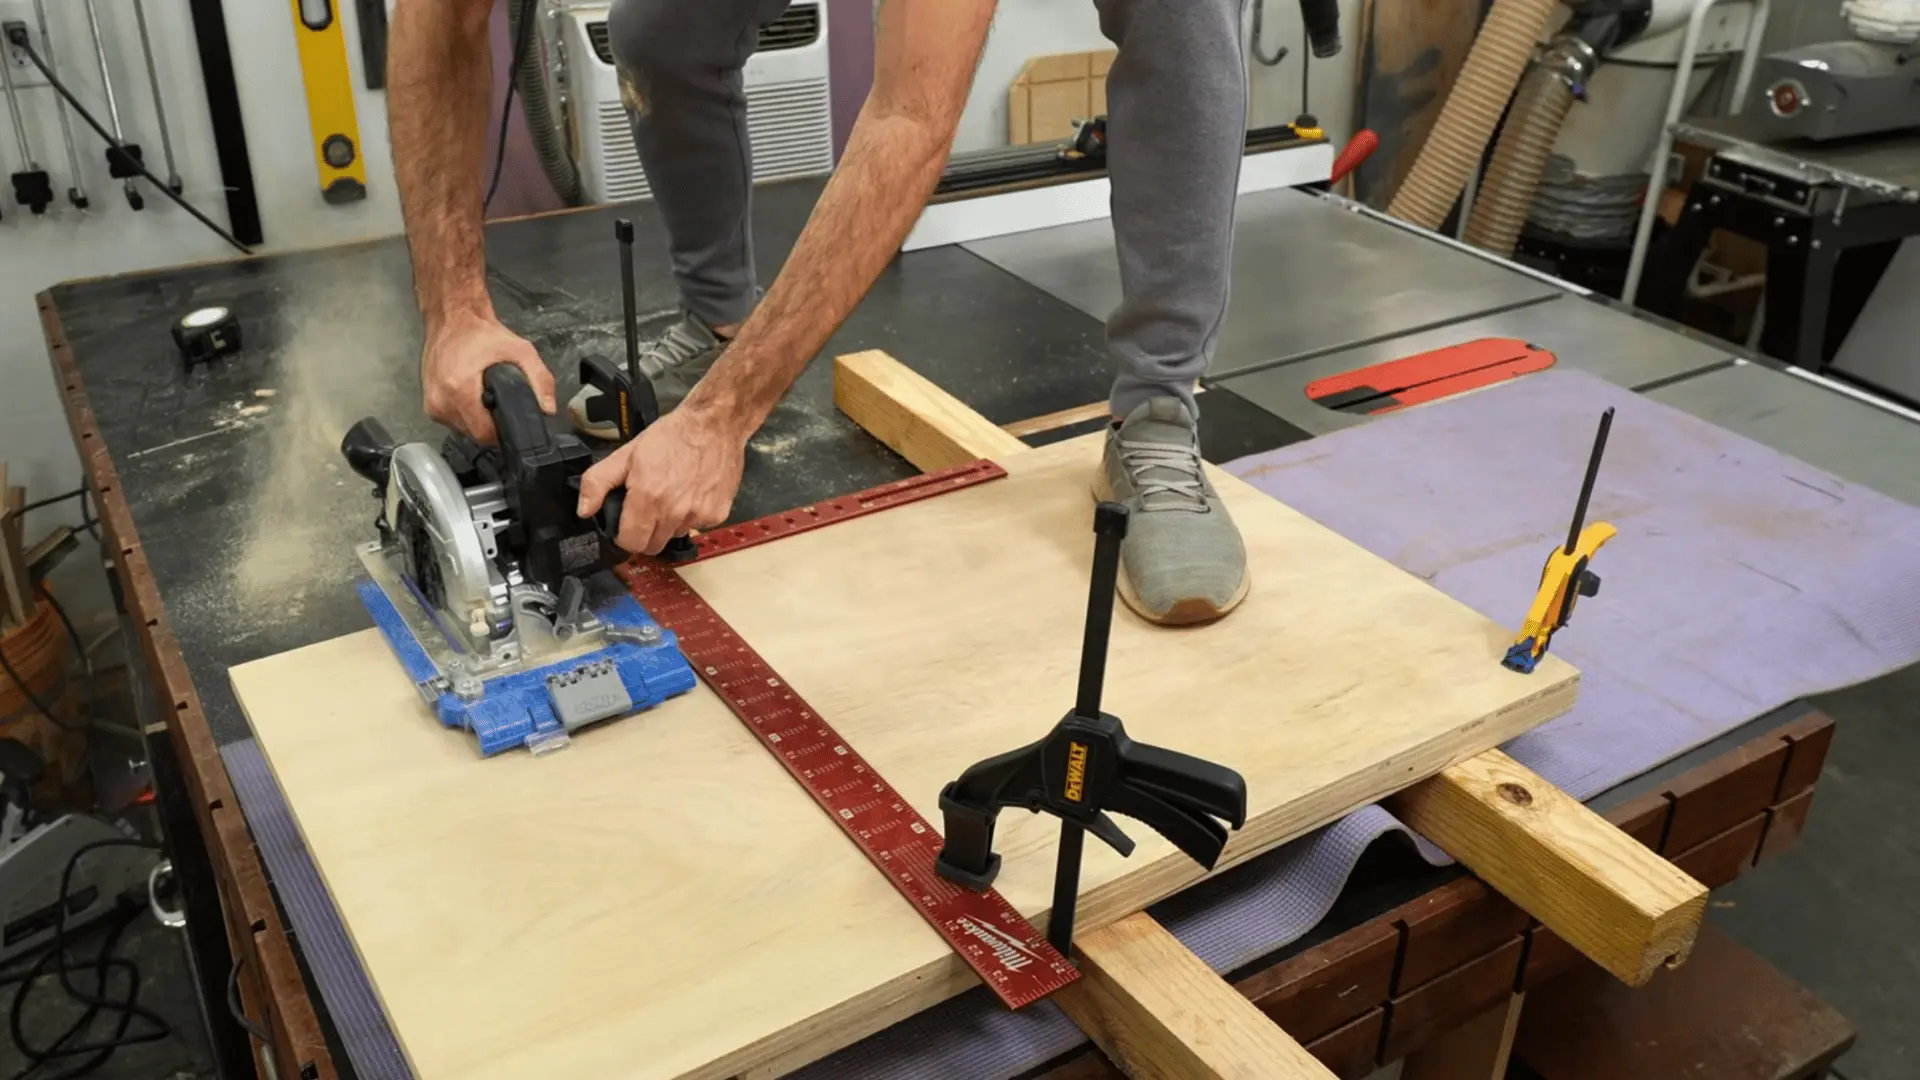
Before anything else, make one perfectly square cut on your side panels using an accurate square. This single cut becomes the reference for every crosscut that follows, so take extra time here.
Getting this wrong early means you are building a parallelogram instead of a box, and that mistake carries through the entire cabinet.
Step 3: Cut Sides, Bottom, and Stretchers to Final Size
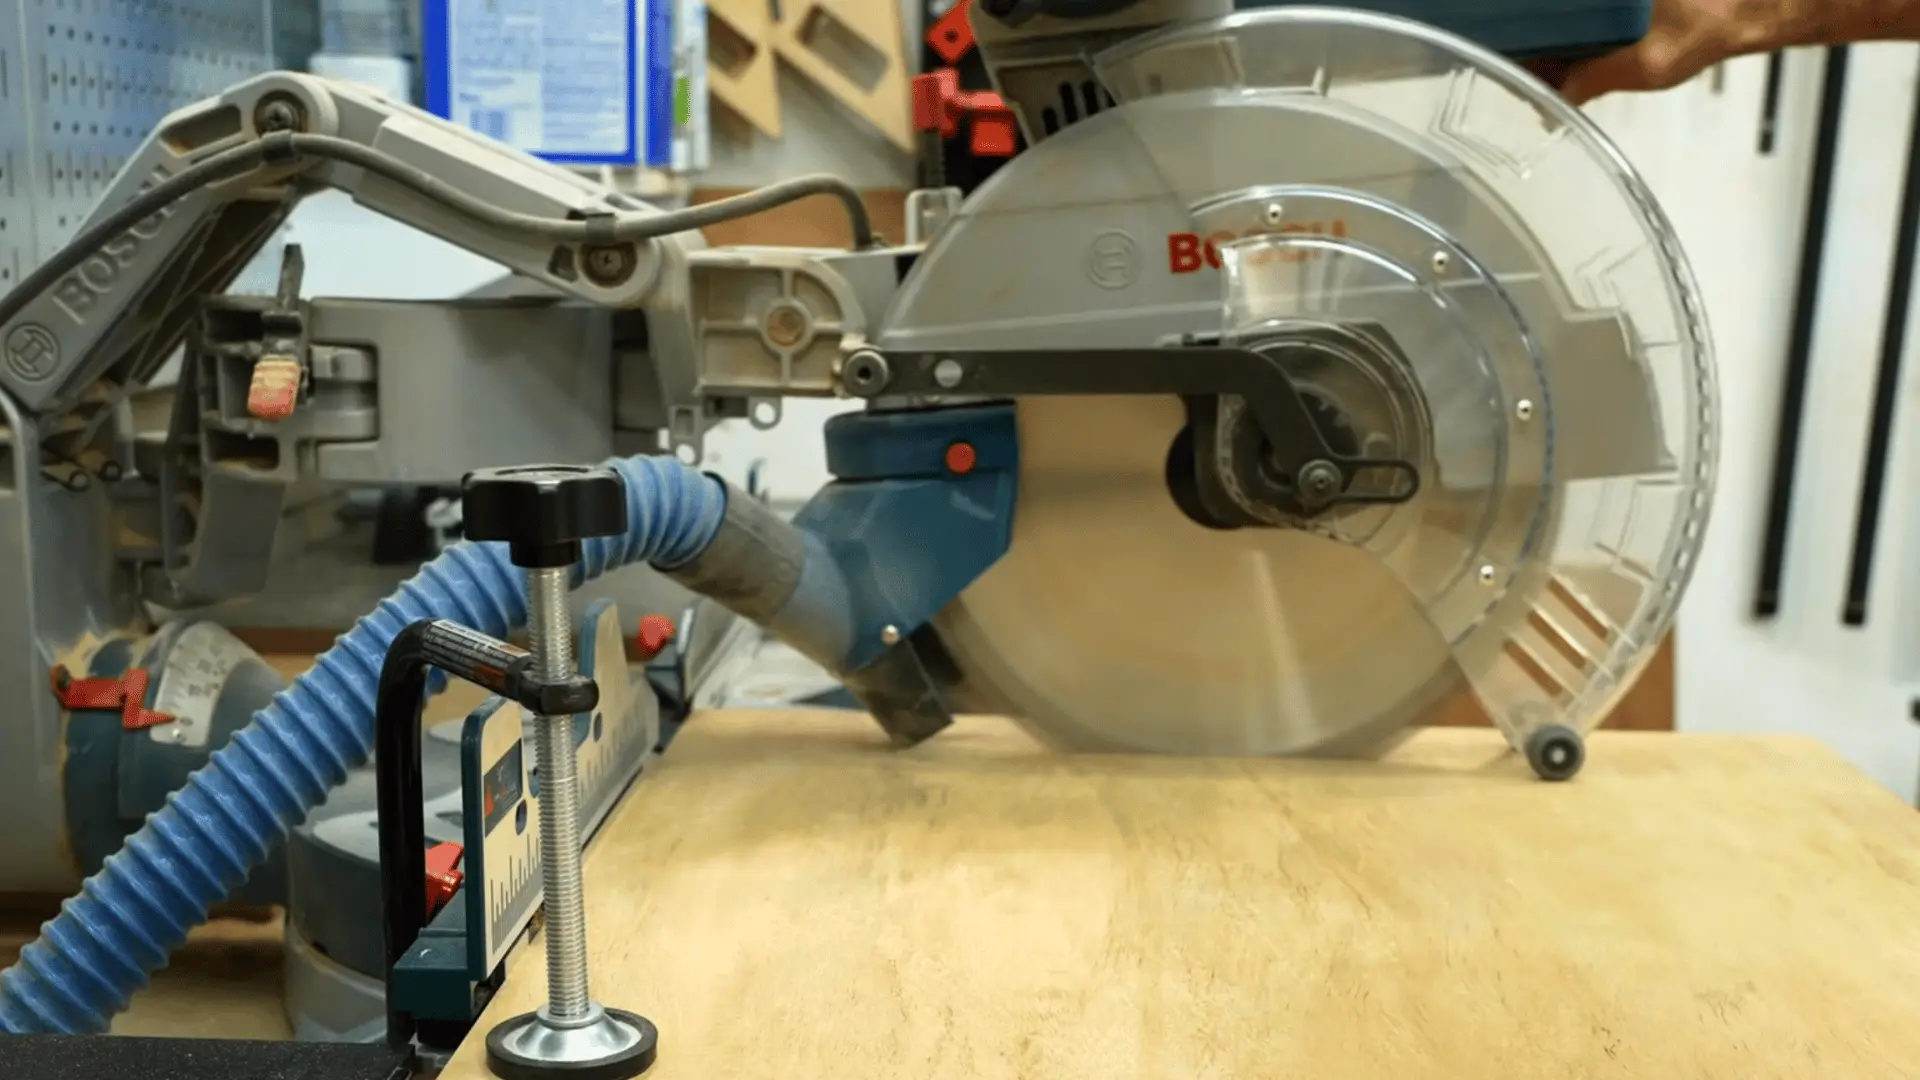
Clamp side pieces together and cut both to final width at once so they match exactly.
Cut the top stretcher and bottom to the same length simultaneously using a miter saw and stop block, since final width depends on your target cabinet size and mismatched parts will throw off the whole assembly.
Step 4: Groove or Attach the Back Panel
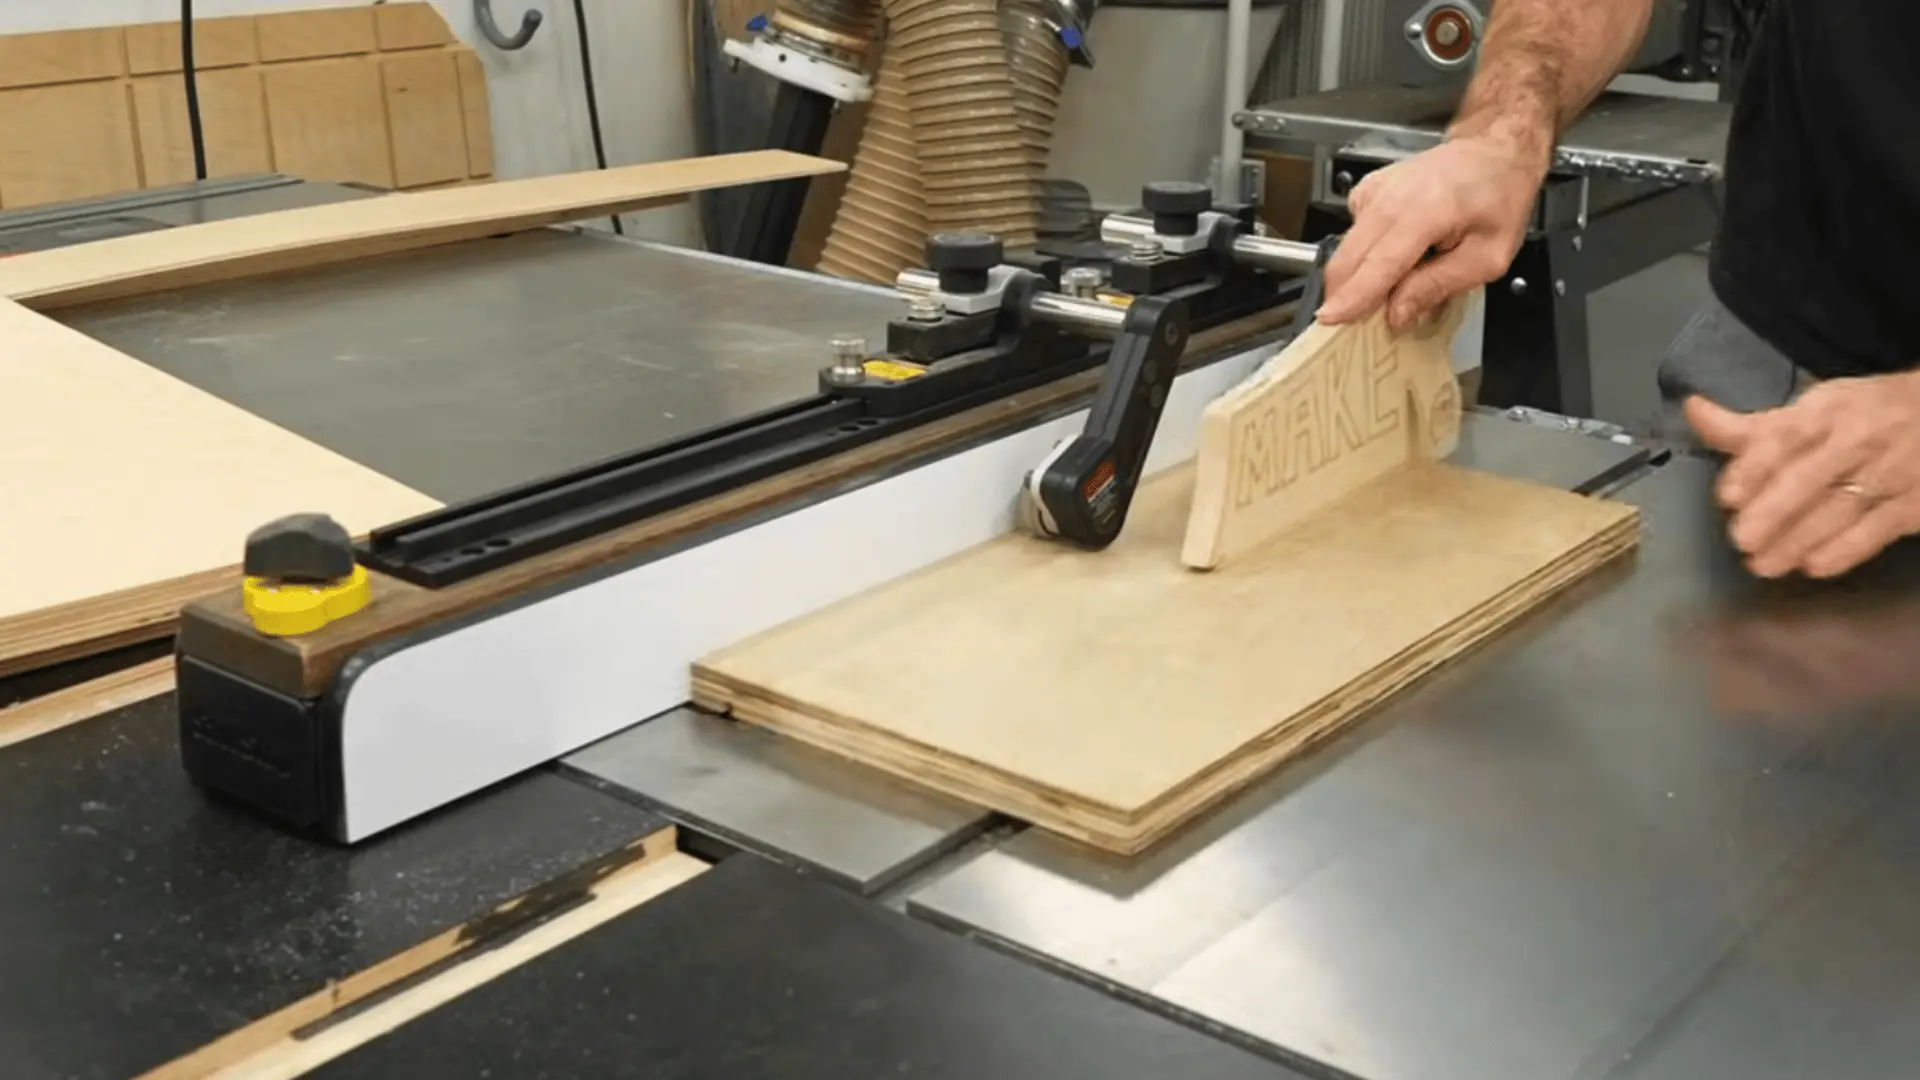
For a traditional back, cut a groove along the inside of each side piece sized just wider than your back panel thickness, using stretcher width to set the fence.
For a simpler option, rabbet the back edge with a router, or skip that step entirely and tack a ¼-inch panel directly onto the rear if exposed edges are not a concern.
Step 5: Assemble the Cabinet Box
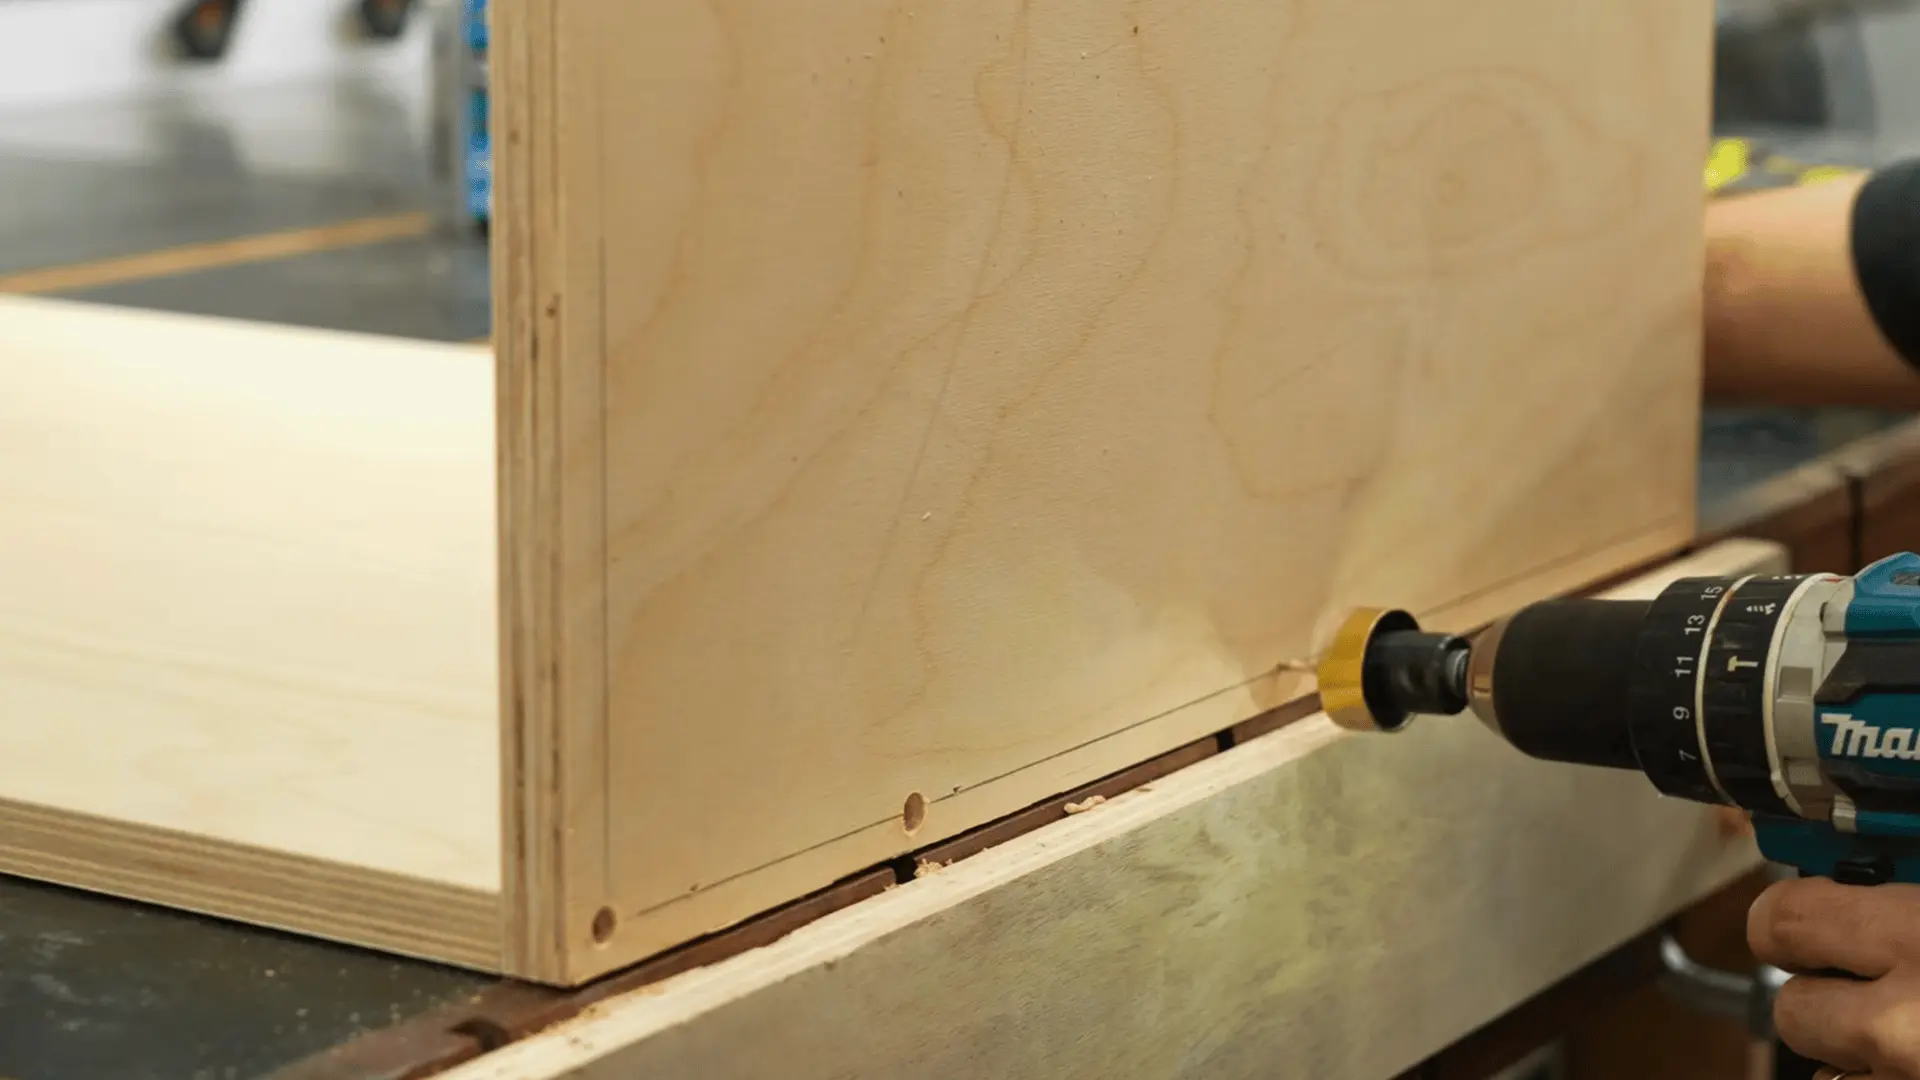
Choose fasteners based on how the cabinet will be used. Screws alone work for boxes anchored to studs with hidden sides; pocket screws plus glue suit exposed or mobile cabinets under more stress.
Brad nails can hold pieces steady while driving screws, which helps prevent an out-of-square box during assembly.
Step 6: Build and Level the Toe Kick
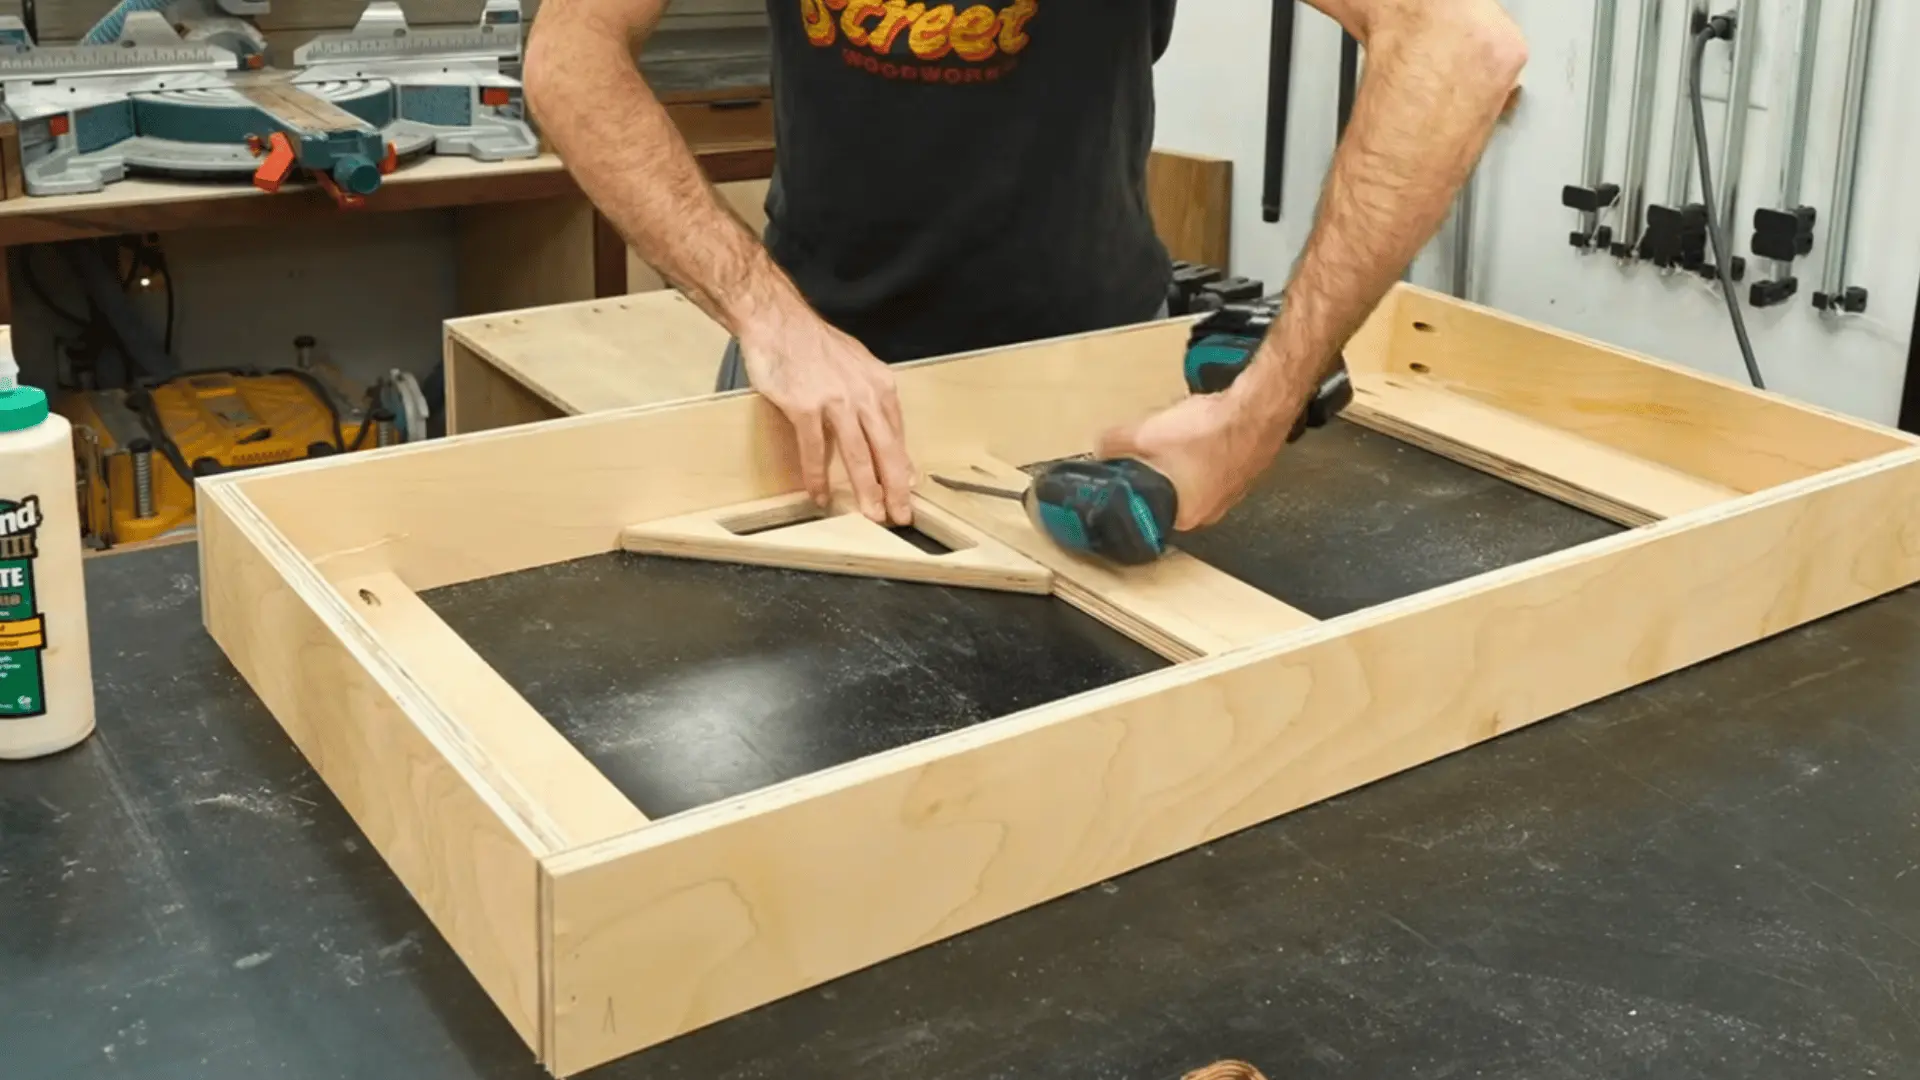
Rip 4-inch strips for the toe kick frame, sizing the depth about 3 inches less than the cabinet’s total depth.
Assemble with pocket screws, add support blocks where cabinets will attach, then use shims to level the toe kick fully in place before setting cabinets on top of it.
How to Build Kitchen Cabinet Doors?
Doors range from beginner-friendly MDF panels to full hardwood rail-and-stile construction. Pick the version that matches your tools, budget, and how much durability the space actually needs.
Step 7: Choose Your Door Style and Cut Parts to Size
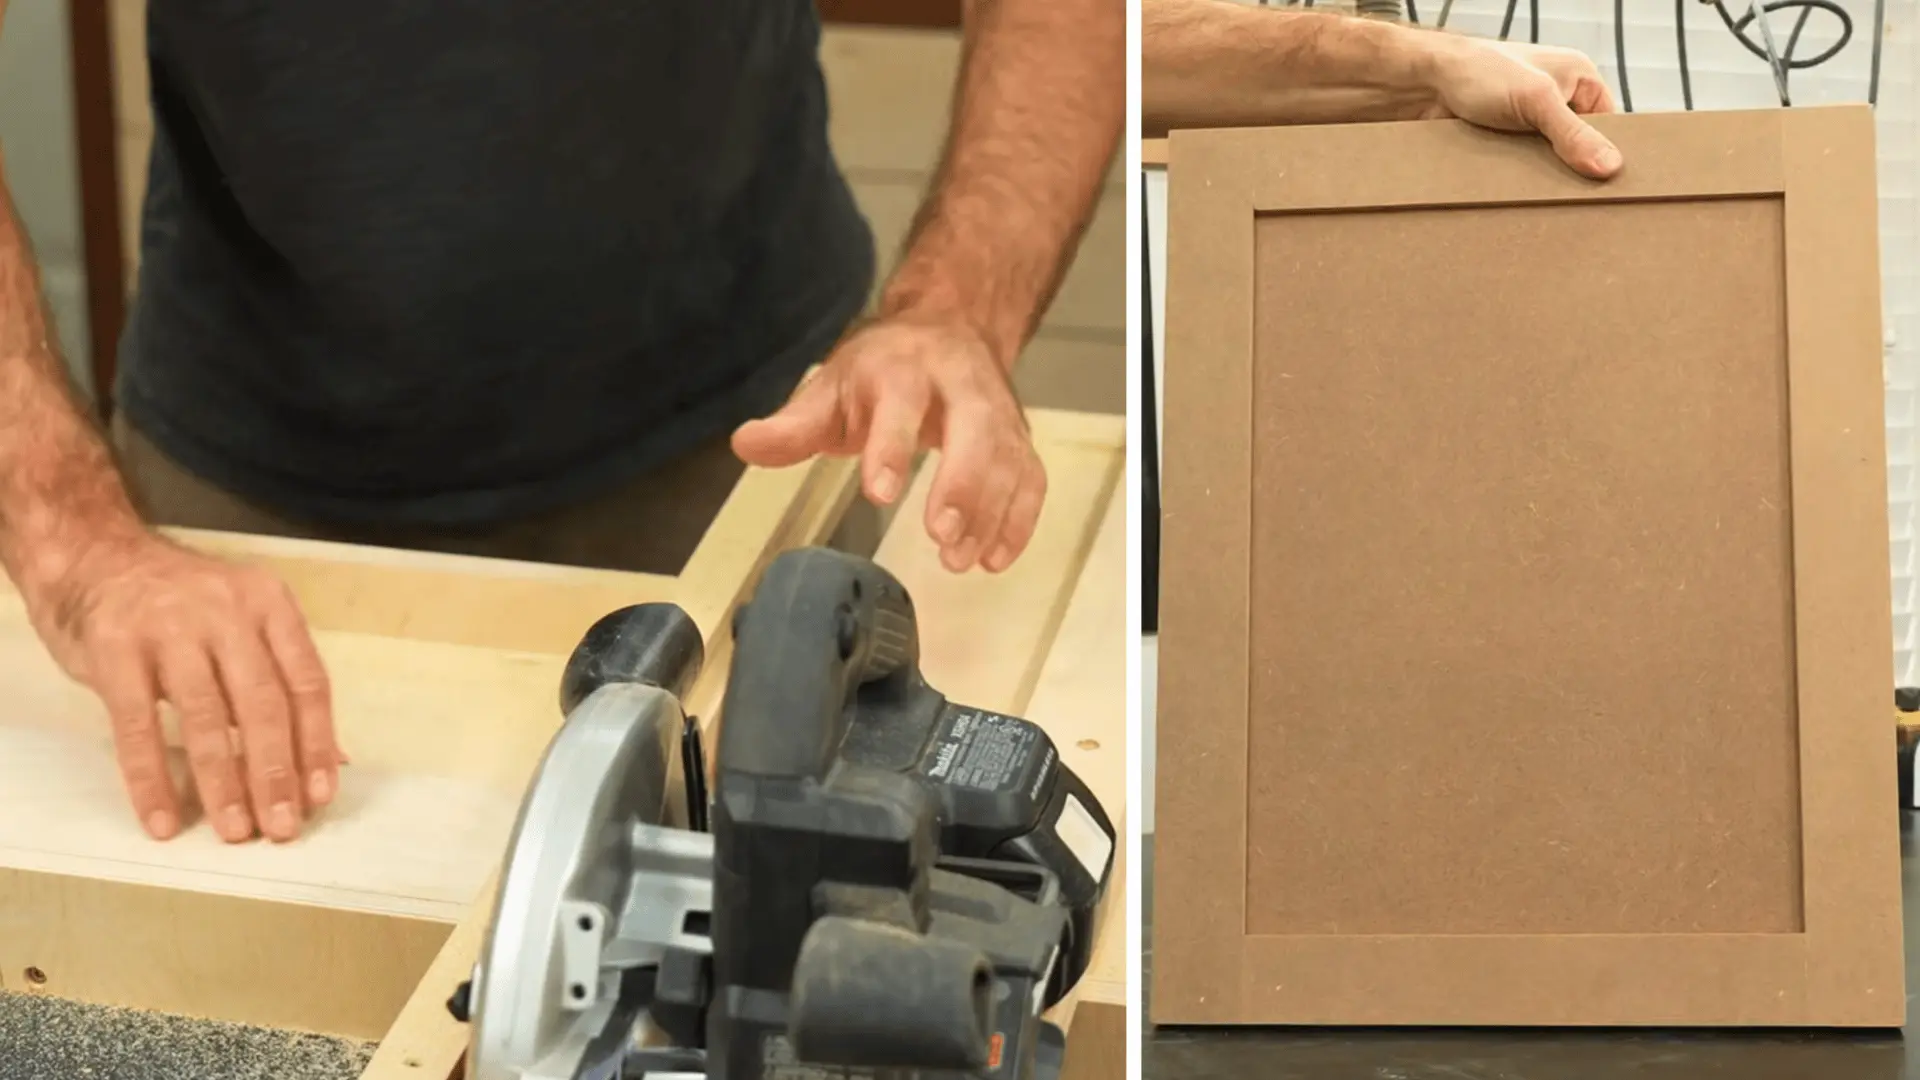
Decide between a simple MDF slab door, an intermediate MDF-and-wood-frame door, or an advanced hardwood rail-and-stile door.
Measure the opening and add the overlay amount to determine final width and height, then cut styles and rails to size using a circular saw, miter saw, or table saw depending on the style chosen.
For a closer look at how shaker doors compare to more traditional cabinet fronts, it’s worth seeing both side by side before committing to a style.
Step 8: Join the Rails and Stiles
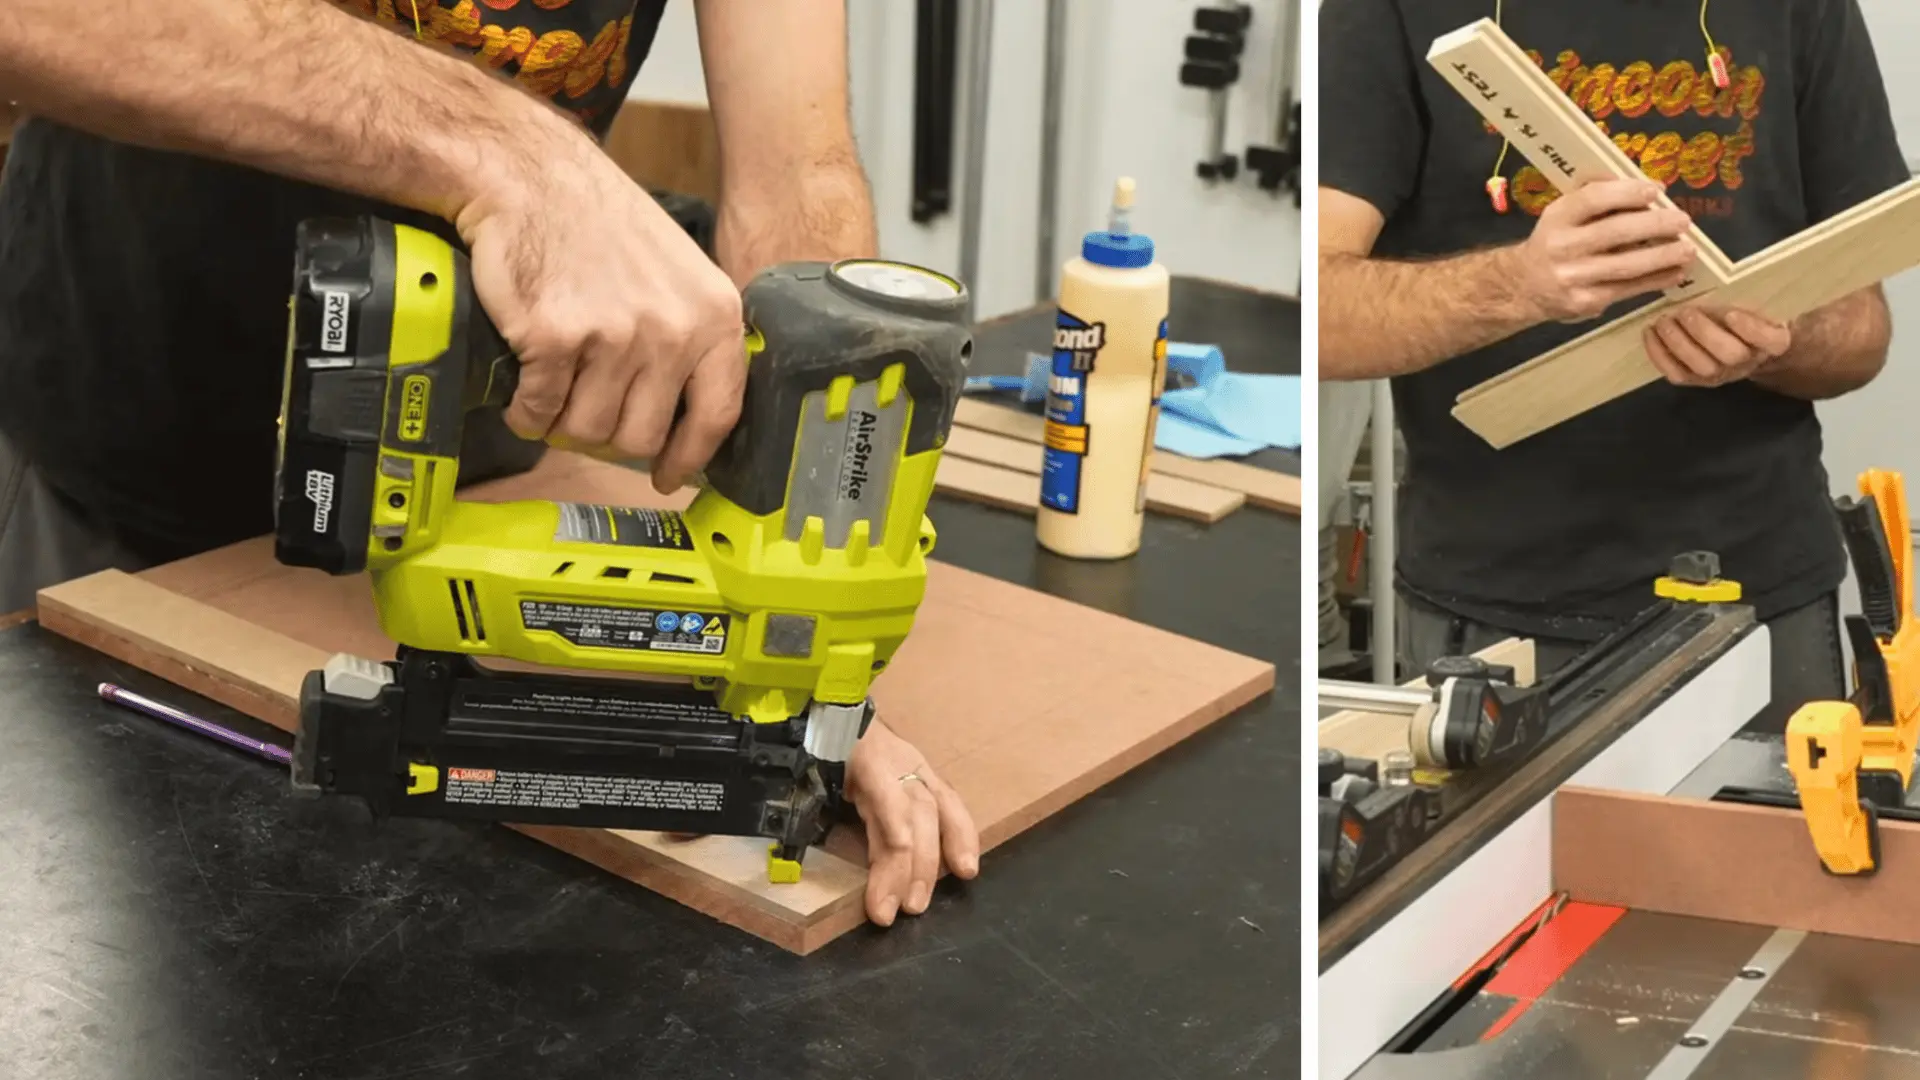
For framed doors, connect rails and stiles using pocket screws and glue, or cut a groove and tenon on a table saw for hardwood doors.
Use spacer blocks instead of measuring to keep spacing consistent, and always check both diagonals to confirm the assembled frame is square before moving forward.
Step 9: Cut and Fit the Center or Back Panel
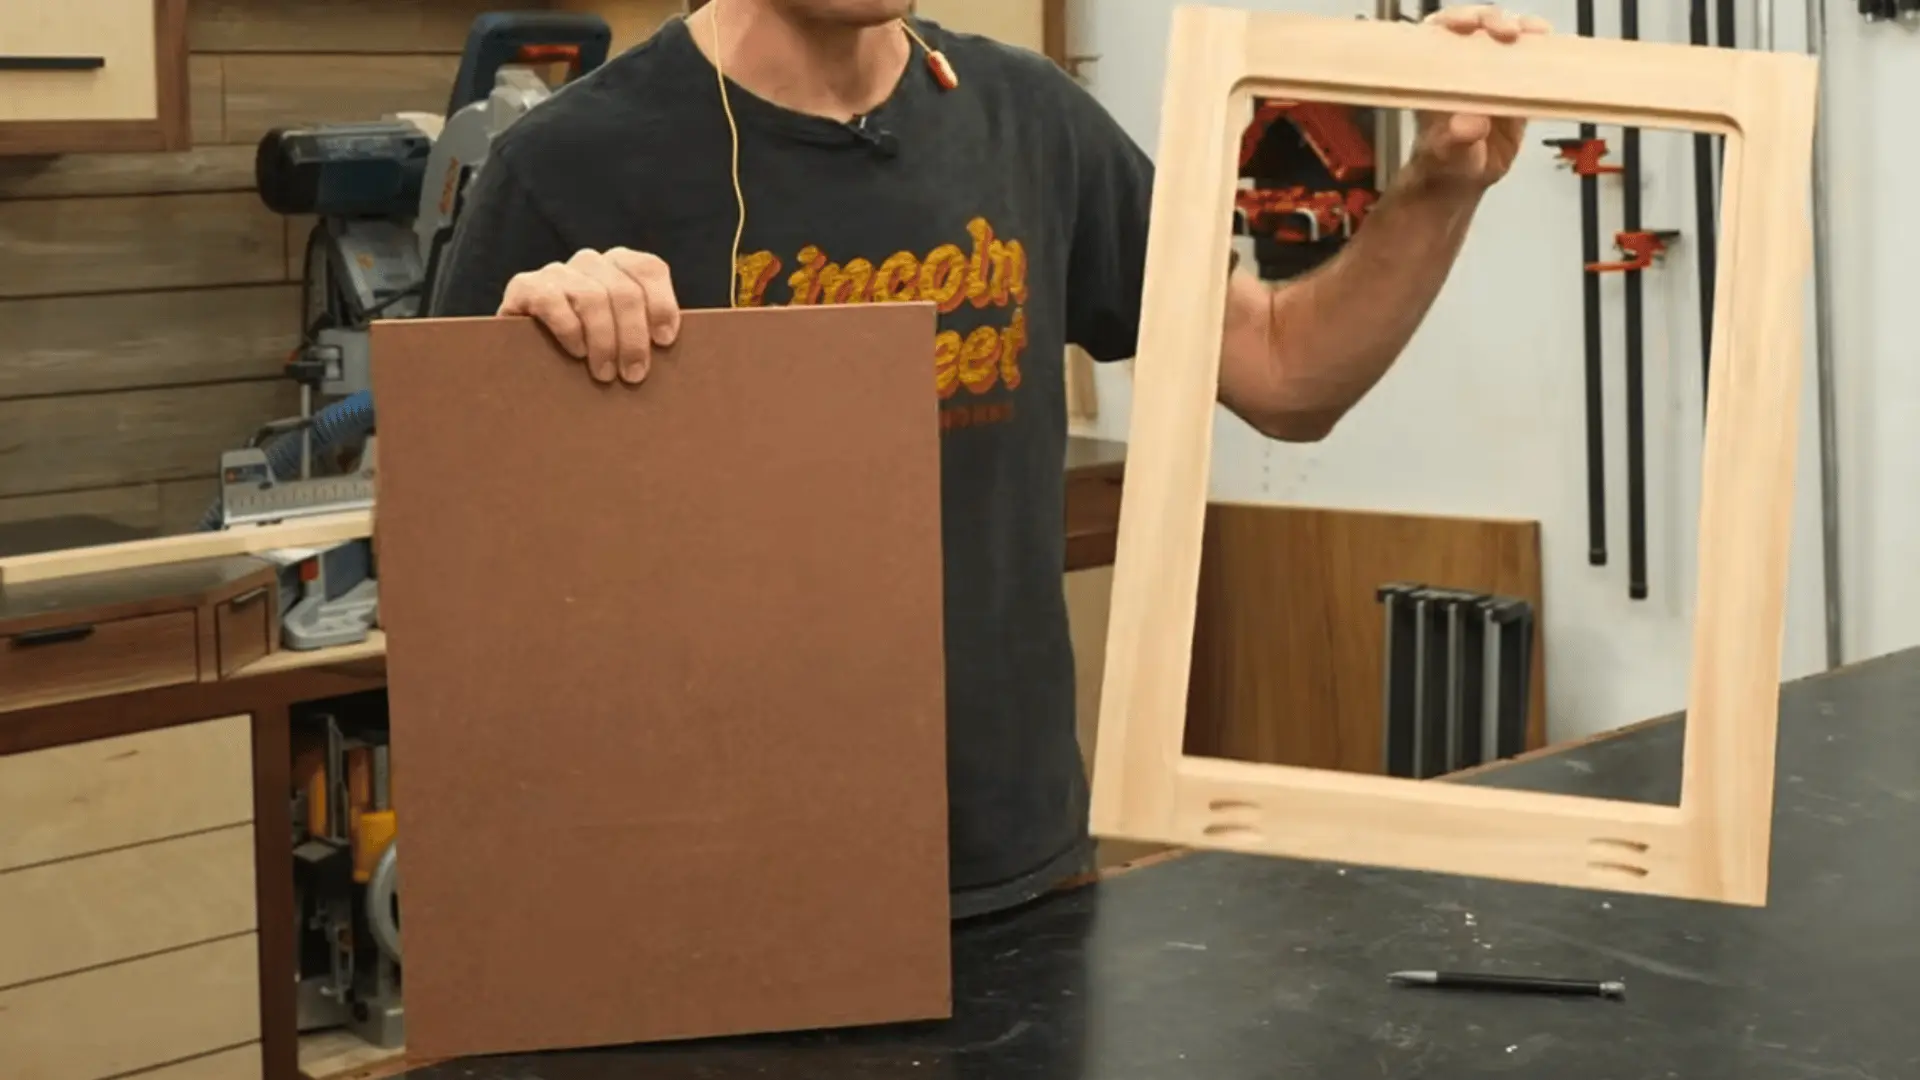
Measure the interior opening and cut a center panel from MDF or plywood, sizing it slightly undersized so it is not forced into the groove or rabbet.
Glue solid wood panels only at the tenons so they can expand and contract, but glue plywood or MDF panels fully in place since they do not move seasonally.
Step 10: Sand and Prep for Finish
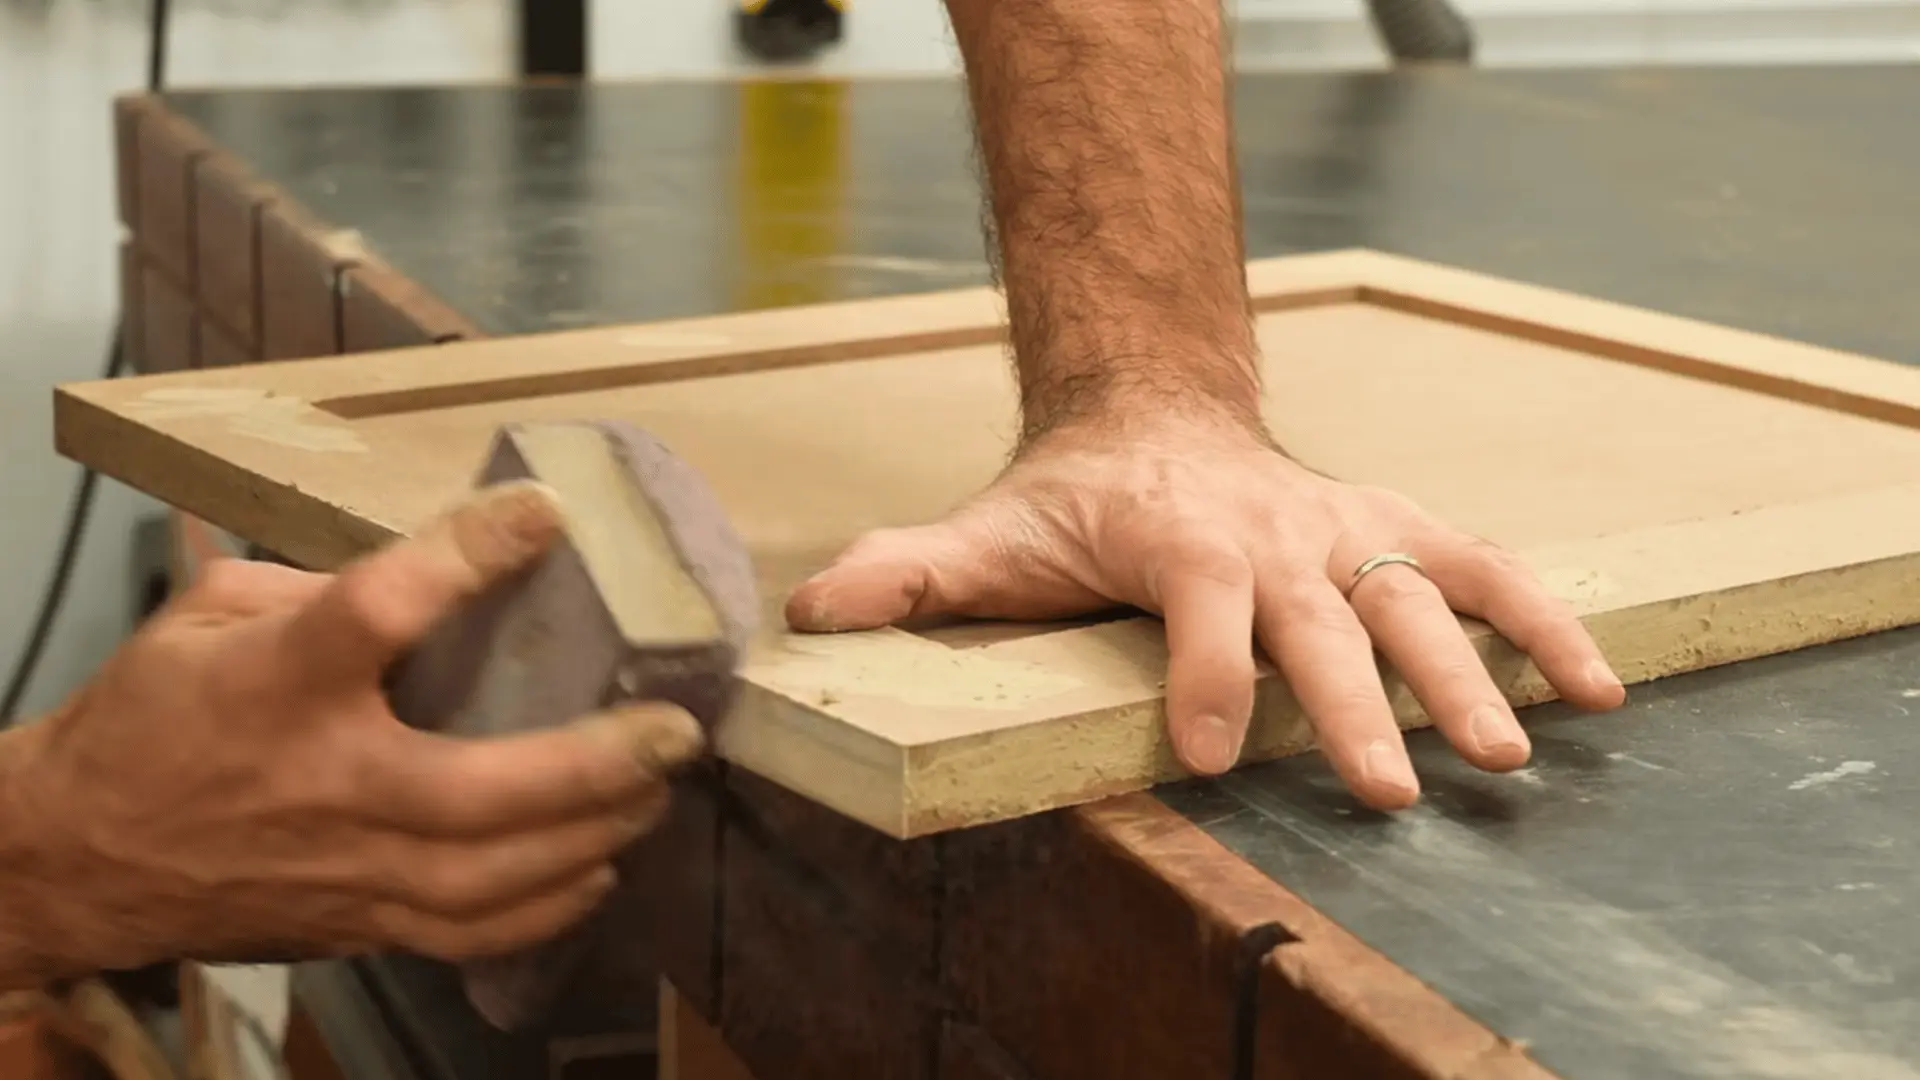
Fill any visible joints with wood filler, then sand all surfaces smooth before painting or staining.
Caulking the inside joint where the panel meets the frame gives a noticeably cleaner final look compared to leaving it unsealed. So this step is worth the extra few minutes before moving to primer.
How to Build DIY Cabinet Drawers?
Drawer construction can range from a basic glued plywood box to a pinned hardwood version. Match the drawer style to how much weight and daily use it needs to handle.
Step 11: Size Drawer Parts to Your Slides
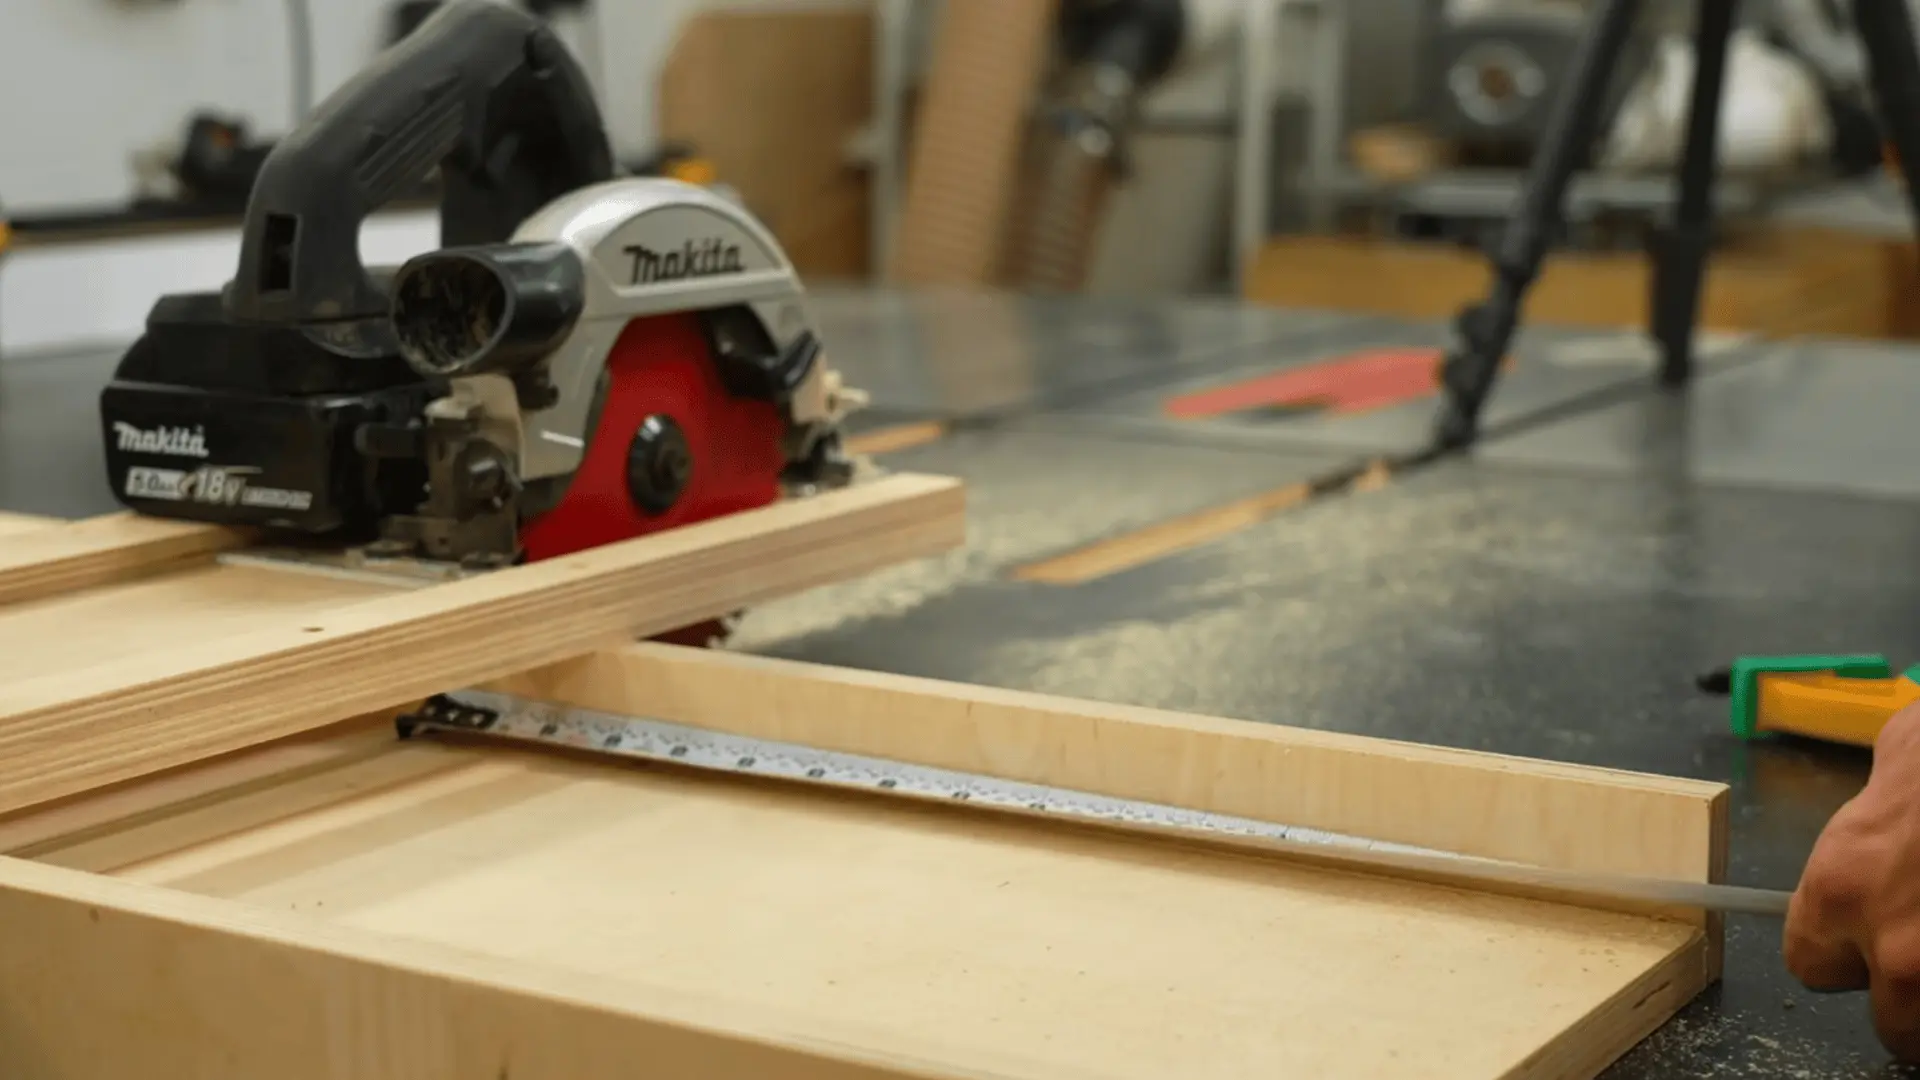
Check your slide length against the cabinet depth, then determine drawer width by subtracting the slide manufacturer’s clearance from your opening width.
Add a small amount of extra wiggle room to the calculated width so the drawer does not bind once assembled and installed on its slides.
Step 12: Cut and Assemble the Drawer Box
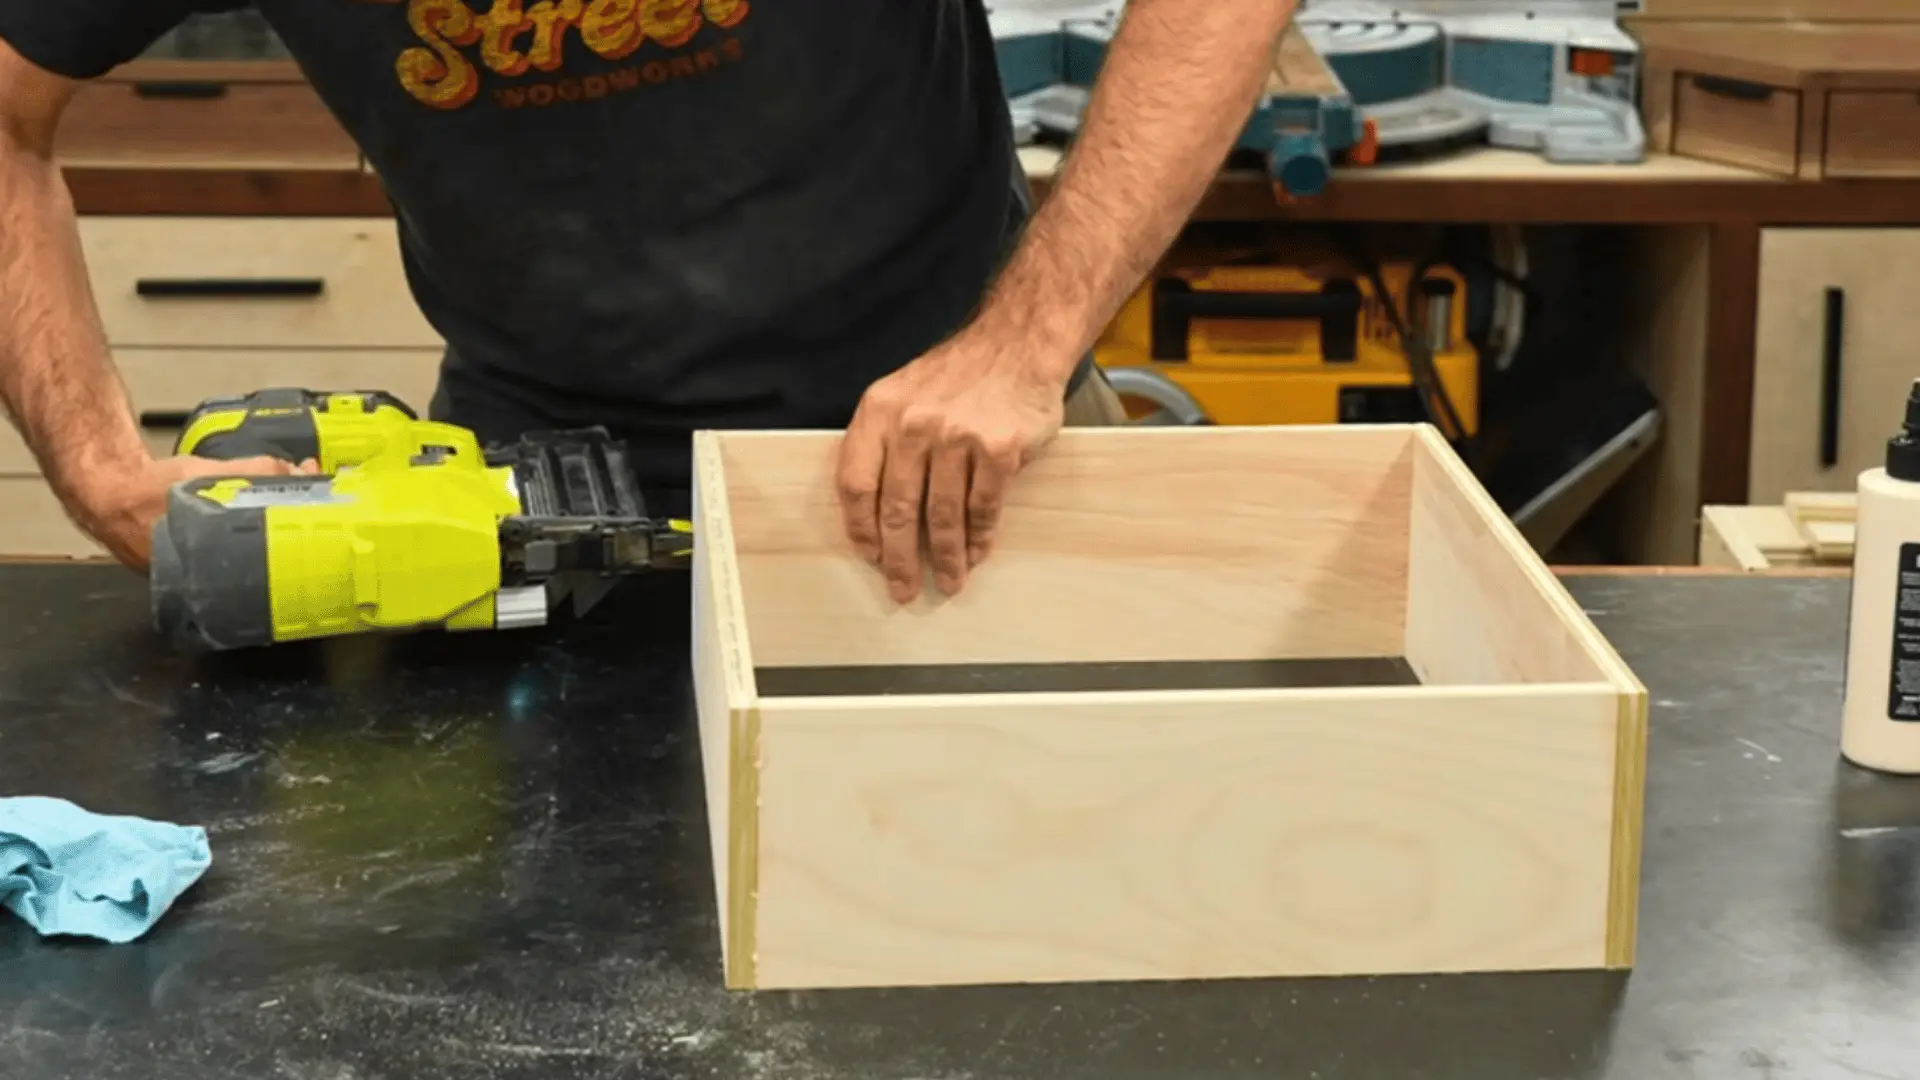
Cut sides, front, and back to size, then join them using glue and brad nails for basic boxes, or grooved joints with pocket screws for a sturdier build.
Apply glue to end grain first to let it absorb, then a second bead for holding strength, keeping glue away from inside corners to avoid cleanup.
Step 13: Fit and Attach the Drawer Bottom
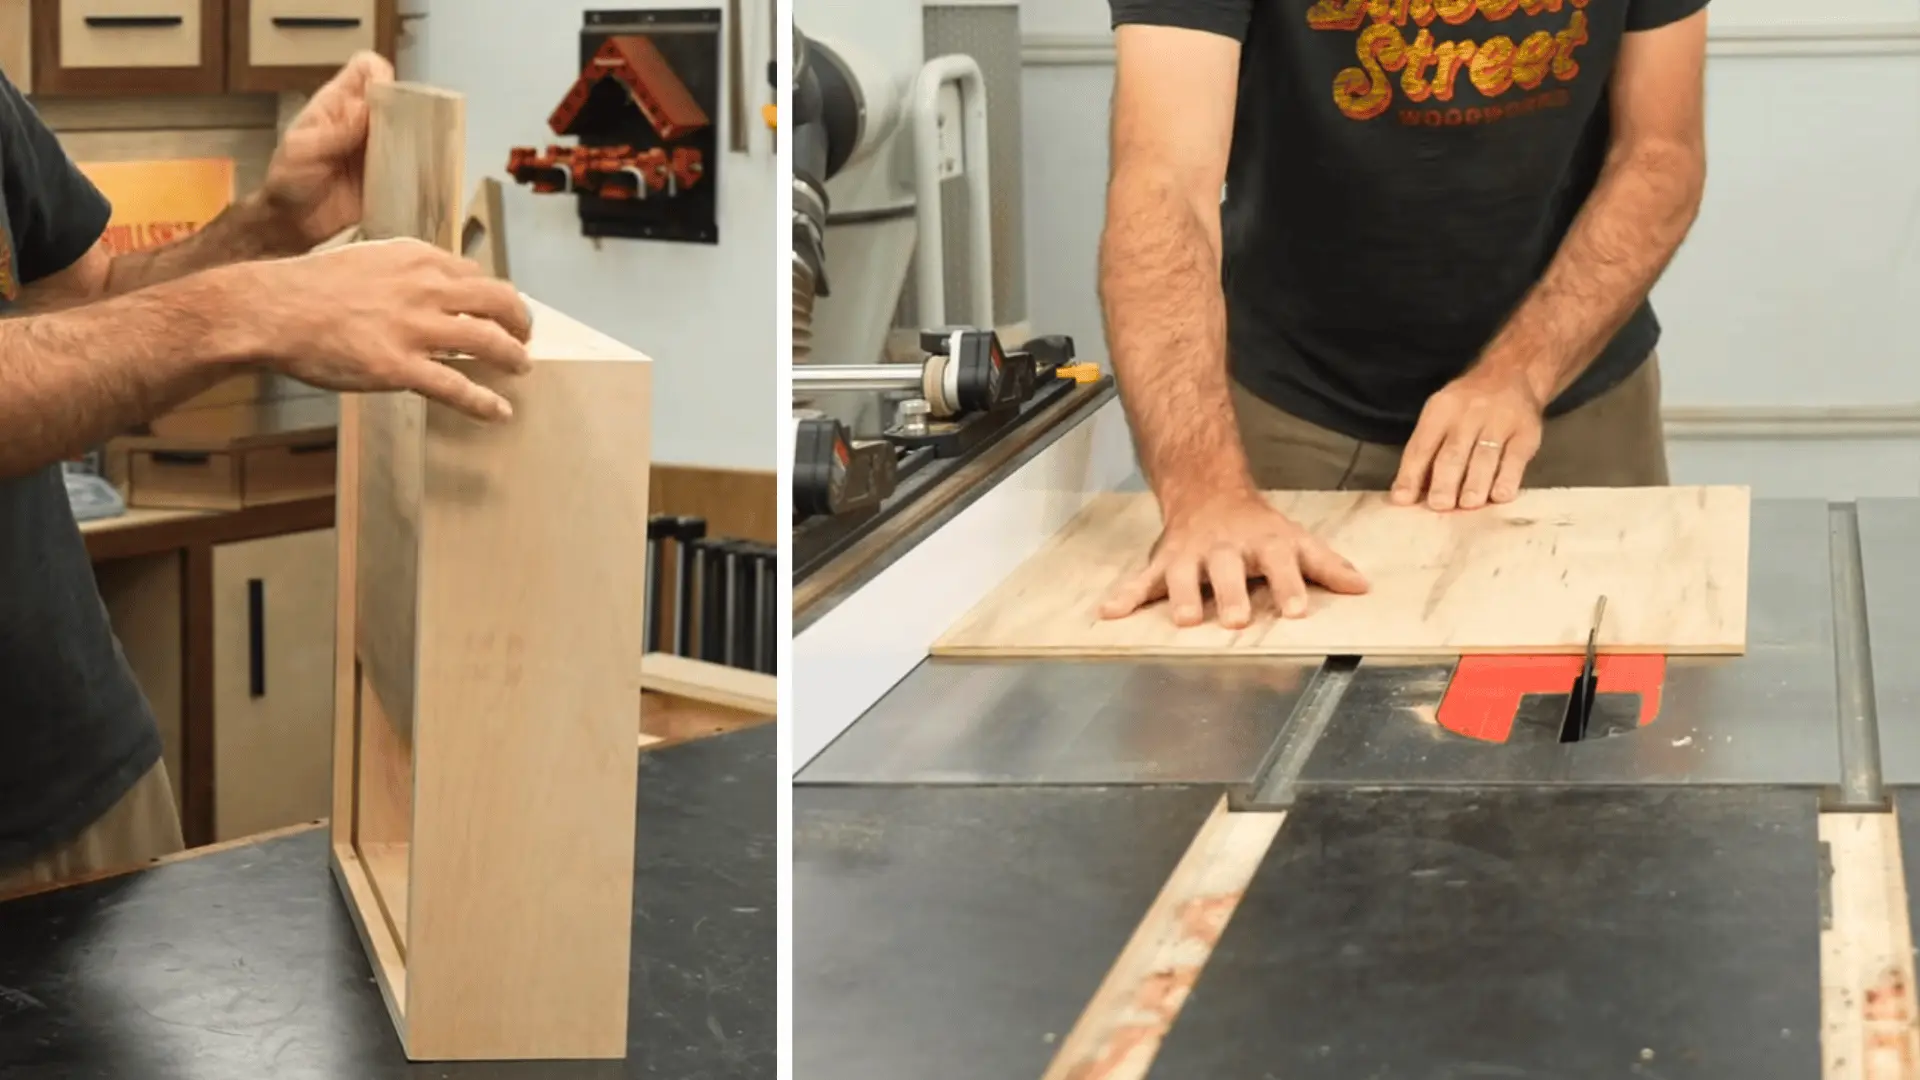
Measure the assembled box’s interior dimensions to size the bottom panel, subtracting slightly for clearance.
Slide the panel into a pre-cut groove for stronger builds, or glue and nail a plywood bottom directly on for a simpler version, checking diagonals again to confirm the drawer is square before finishing.
Step 14: Install Slides and Test Fit
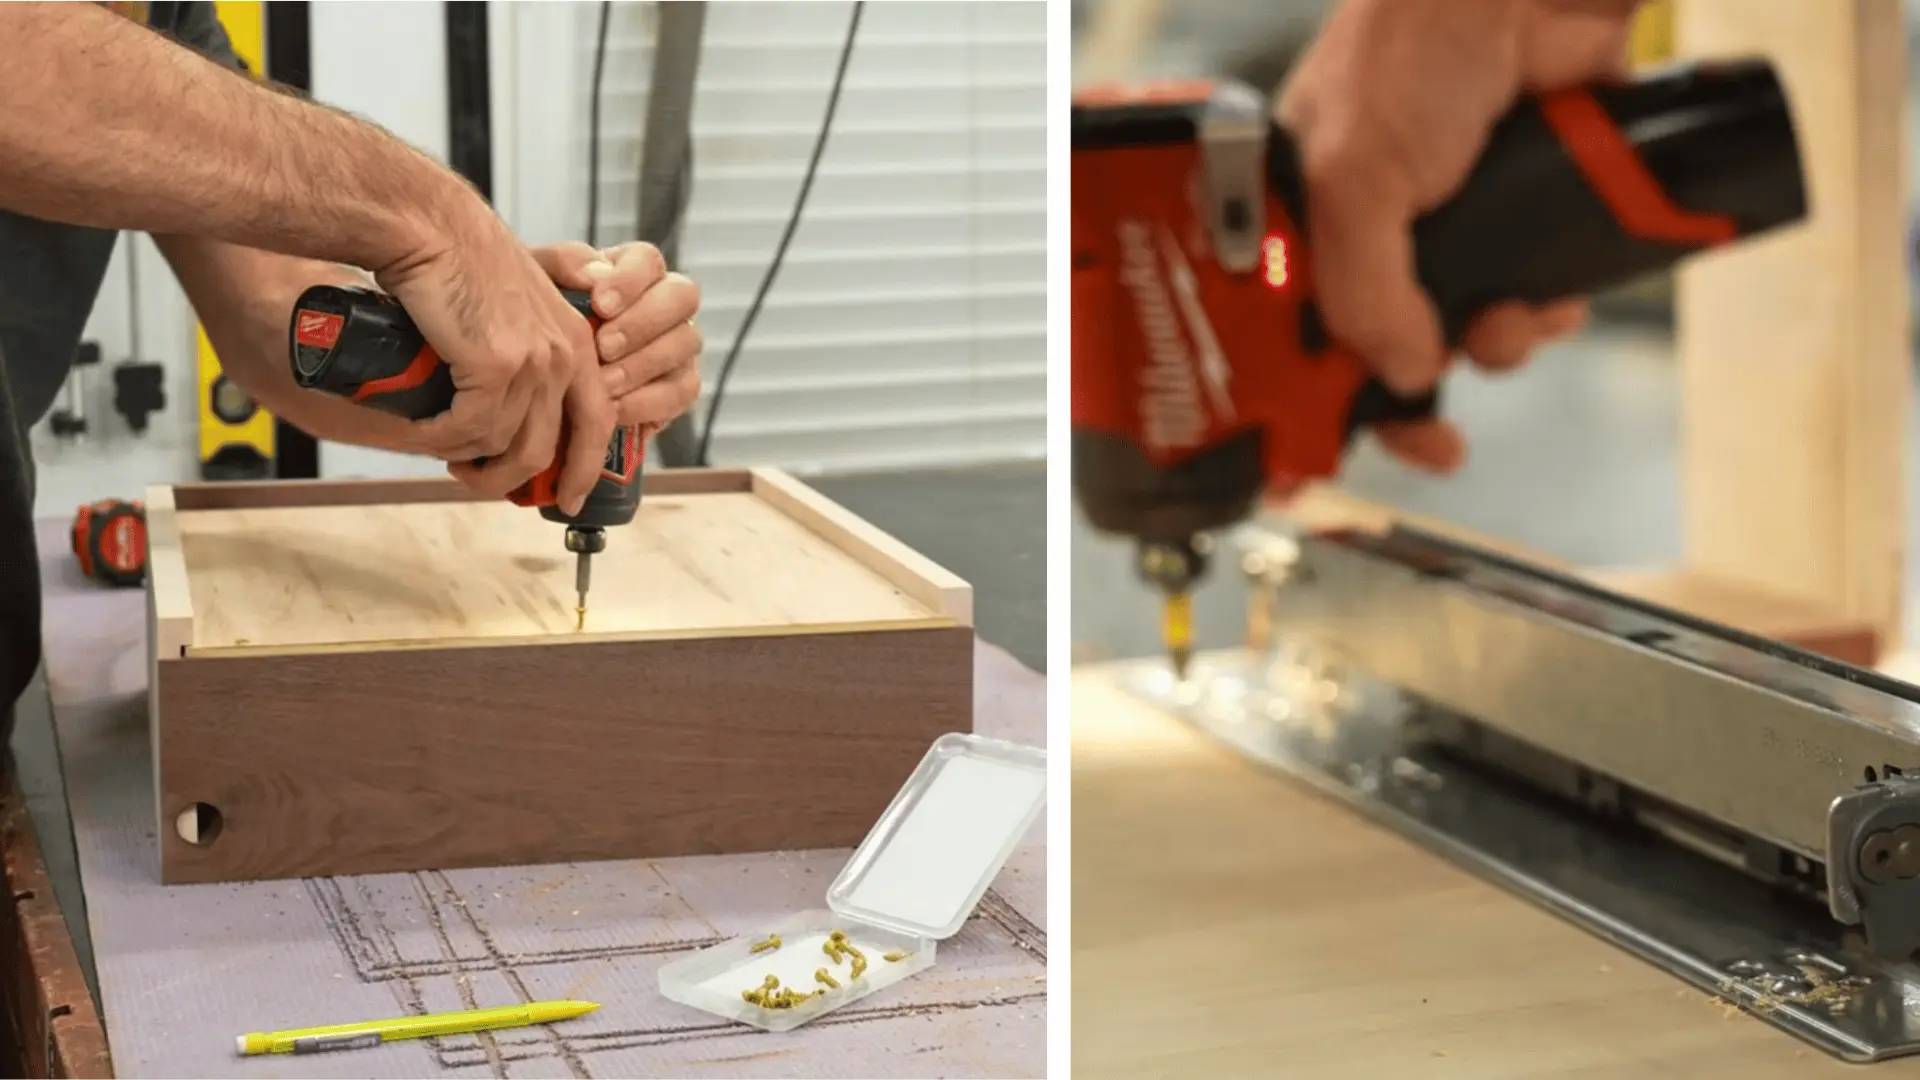
Lay the cabinet on its side and use spacer blocks to mount drawer slides at a consistent height.
Test the drawer’s movement before final installation, checking for smooth operation and full extension where applicable. Misaligned slides are easier to correct now than after the drawer front is attached.
Finishing and Installation
Once boxes, doors, and drawers are built, the final steps tie everything together into a finished kitchen. Careful prep here makes a noticeable difference in the final look.
Step 15: Prime, Paint, and Install Hardware
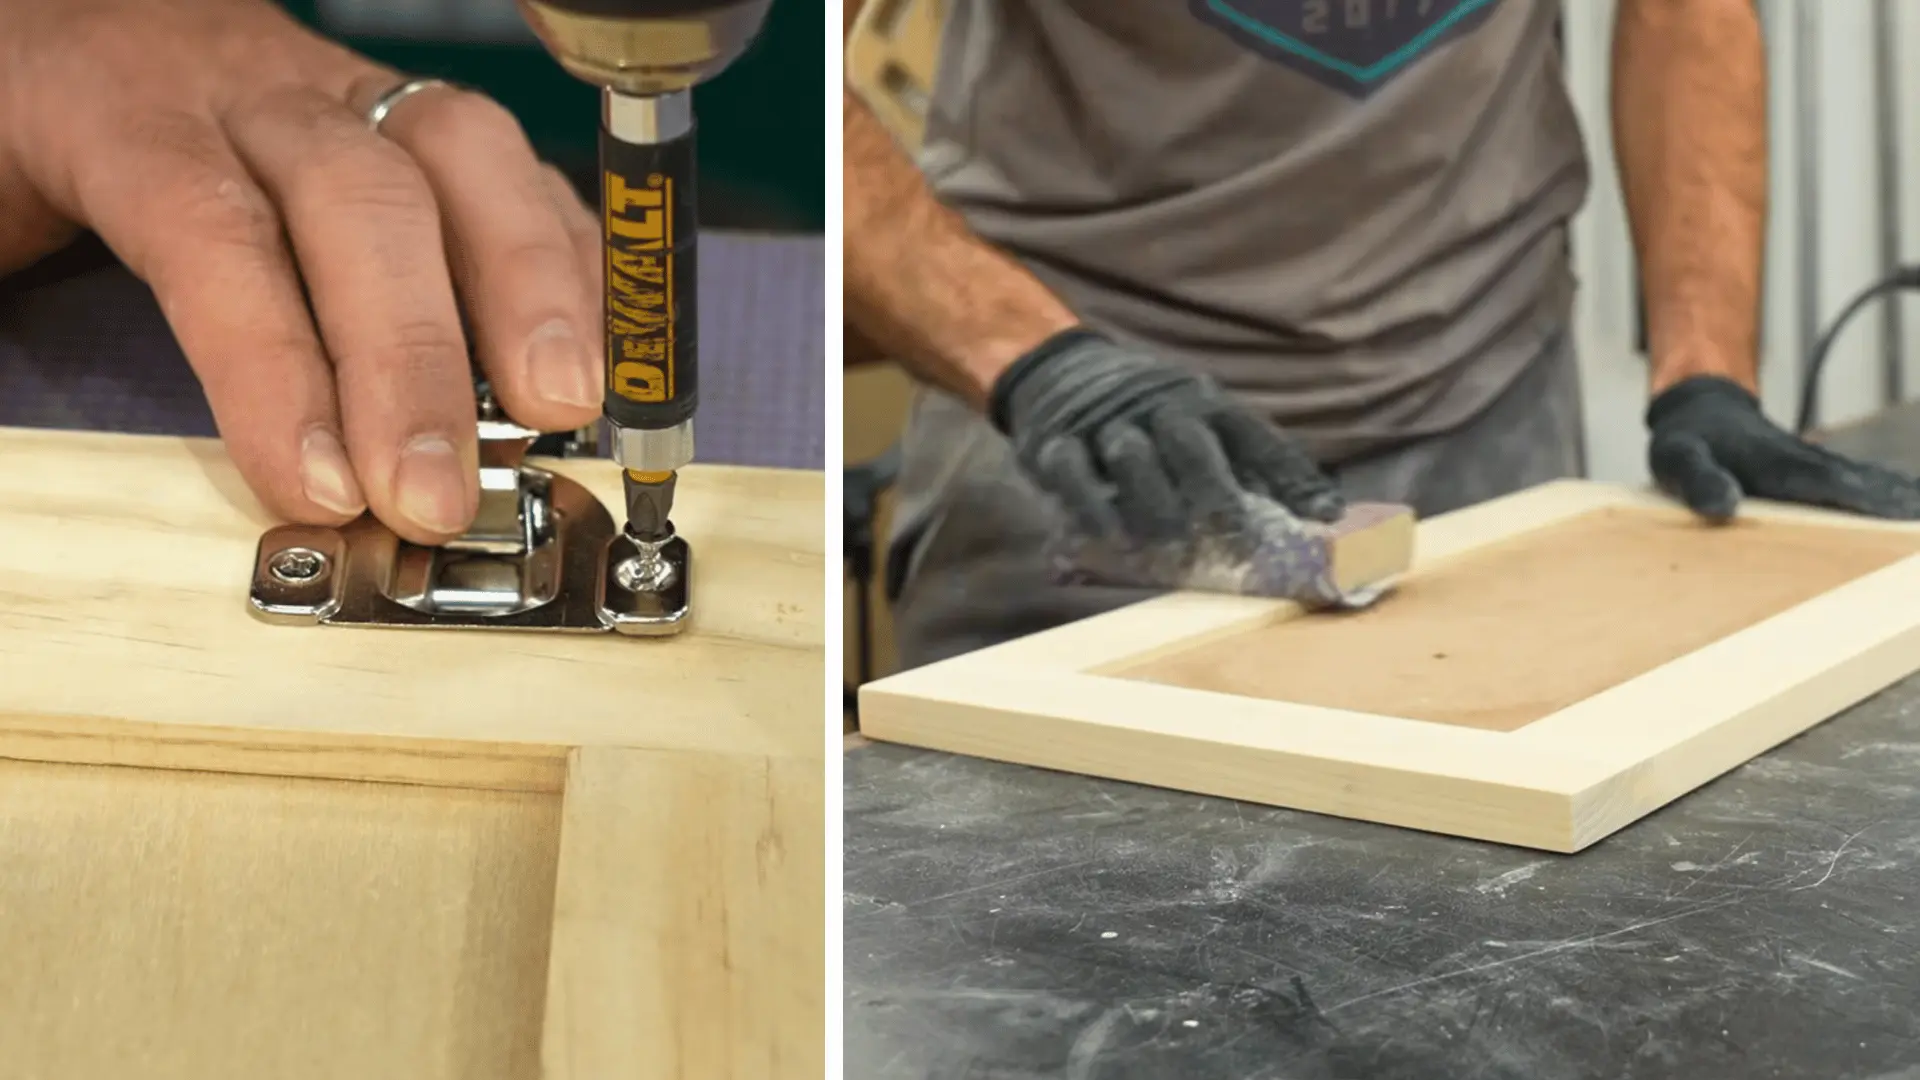
Apply wood filler to joints, sand with 180 grit, then apply primer followed by two coats of a durable enamel paint, sanding lightly between coats.
Once dry, install concealed hinges and drawer fronts, then test-fit hardware and adjust as needed before setting cabinets permanently into place.
For a closer look at every cut and joint shown here, check out the full build walkthrough at Lincoln St. Woodworks.
How Much Do DIY Kitchen Cabinets Cost?
There is no single number that fairly represents this project, since cost shifts dramatically based on how many cabinets you are building, wood species, hardware quality, and whether tools already sit in your garage.
Pricing per unit, rather than a flat total, gives a clearer sense of where your budget will actually go.
| Category | Typical Price Range | What Moves the Price |
|---|---|---|
| Plywood | $40–$90 per 4×8 sheet | Grade and face veneer |
| Face-Frame Lumber | $5–$10 per 6-ft board | Wood species and finish |
| Doors | Low for MDF, higher for solid hardwood | Material and joinery |
| Drawer Boxes | Low for plywood, higher for hardwood | Wood species and joinery |
| Hinges | $9–$55+ per pair | Brand and soft-close feature |
| Slides | Lower for side-mount, higher for undermount | Load rating and adjustability |
| Hardware | Adds up per piece | Style and finish |
| Paint/Finish | Moderate per project | Coats and sprayer use |
| Tools | Major swing factor | Whether tools are already owned |
For homeowners weighing cabinets against other upgrades, this breakdown of affordable remodel ideas offers a wider view of where kitchen spending fits into a larger project.
Tips for Making DIY Kitchen Cabinets Look Professional
Small details separate cabinets that look homemade from ones that look store-bought, and most of them come down to consistency rather than skill.
- Keep every setup repeatable, using spacer blocks and stop blocks instead of remeasuring, and labeling each cabinet part so nothing gets mixed up mid-build.
- Pre-drill and match grain direction wherever it matters, since both prevent splitting and keep the finished surface looking intentional.
- Hide plywood edges and finish exposed ends, whether through edge banding, a rabbeting bit, or trim, so raw layers never show on a visible surface.
- Take time with door and reveal alignment, keeping gaps consistent across every cabinet rather than eyeballing each one individually.
- Invest in quality hardware, since hinges and slides get touched daily and cheap versions show wear fast.
Build and test one cabinet fully before committing to the entire run, since catching a sizing or alignment issue on cabinet one saves you from repeating that mistake across an entire kitchen.
DIY Kitchen Cabinets vs. Stock or Ready-to-Assemble Cabinets
Building your own isn’t the only path to a finished kitchen. Here is how it stacks up against the two most common alternatives.
| Factor | DIY Cabinets | Ready-to-Assemble | Stock Cabinets |
|---|---|---|---|
| Custom sizing | Built to exact wall measurements | Preset width options only | Fixed sizes, gaps filled |
| Material control | Choose plywood, wood, hardware | Fixed material, some finishes | Fixed material |
| Labor | Every cut and joint by hand | Pre-cut, assembly required | Delivered assembled |
| Upfront tool needs | Table saw, miter saw, jig | Basic drill only | None |
| Design flexibility | Any layout, any corner | Standard layouts, some sizes | Catalog sizes only |
| Skill required | Measuring, cutting, joinery | Basic assembly | None |
Stock cabinets solve an average kitchen fast, ready-to-assemble narrows the fit gap a little, and DIY removes the constraint entirely at the cost of time and tooling.
The Bottom Line
Building your own kitchen storage takes patience, but the payoff is a set of cabinets that finally fit your space instead of the other way around.
Every decision along the way, the square cut, the joinery, the final coat of paint, shapes something built specifically for your walls, your style, and your budget.
That is the real reward of DIY kitchen cabinets, a kitchen that feels entirely yours.
Have you tackled a cabinet build before, or is this your first one? Drop a comment below and share how it went, we’d love to hear it.
Frequently Asked Questions (FAQs)
Should Cabinet Shelves Be Fixed or Adjustable?
Adjustable shelves give more flexibility since they can be repositioned as storage needs change. Fixed shelves add strength to the box but limit future adjustments, so most builds default to adjustable shelf pins.
How Thick Should Kitchen Cabinet Boxes Be?
¾-inch plywood is the standard for cabinet boxes, since it holds screws and hardware without splitting. Thinner material works for lightweight shop cabinets but isn’t recommended for kitchen use.
What is the Easiest Way to Build Kitchen Cabinets?
Basic butt-jointed plywood boxes assembled with screws are the simplest approach, especially when sides aren’t exposed. Pairing this with overlay-style MDF doors keeps the entire build beginner-friendly.
Can DIY Kitchen Cabinets Support a Stone Countertop?
Yes, as long as the boxes are built with ¾-inch plywood and properly reinforced at the top with stretchers. Adding extra support blocks near the front edge helps distribute the additional weight.
How Do You Attach Cabinets to an Uneven Wall?
Shims placed behind the cabinet at stud locations correct for wall irregularities before screwing into place. A level should be checked in multiple directions before final attachment to avoid a tilted install.


