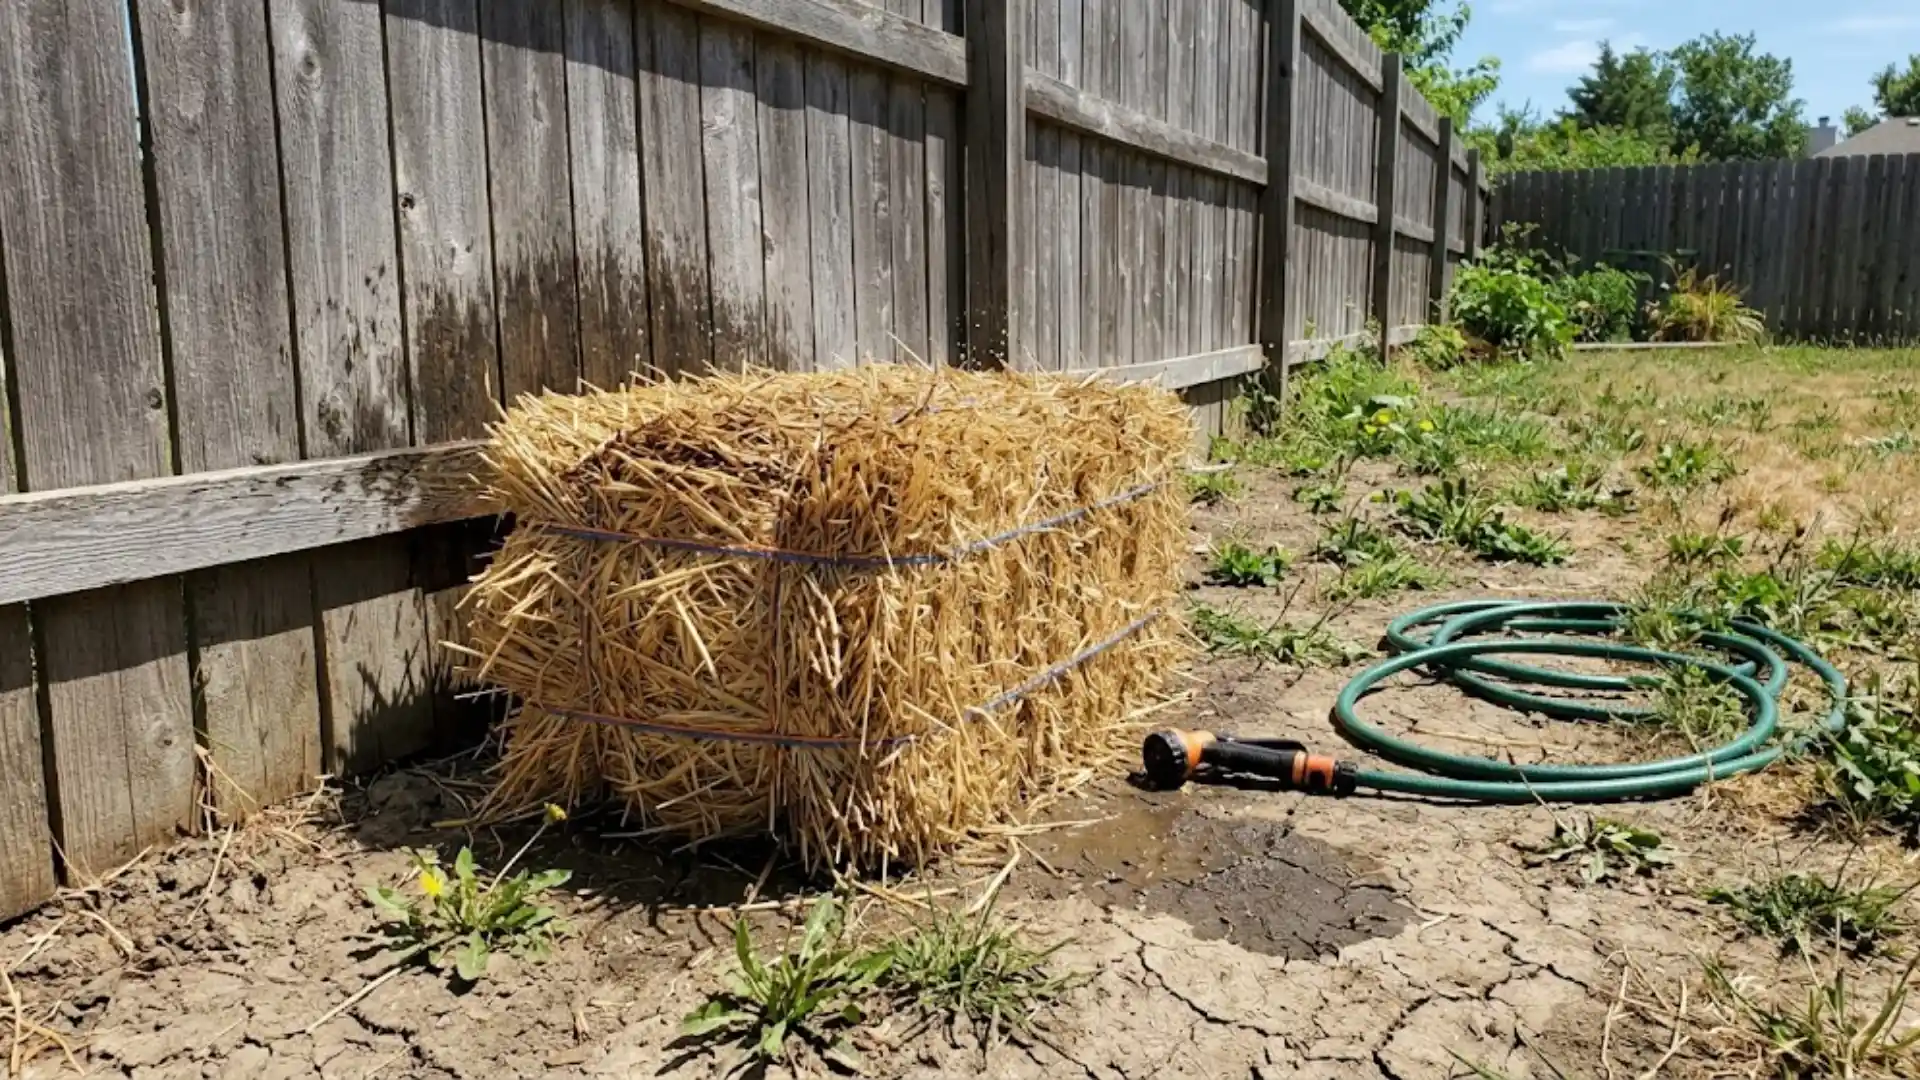
I did not trust straw bale gardening until I tried it myself along a sunny fence.
Digging into compacted clay felt impossible, so a conditioned bale became my raised bed. It quietly holds warmth for roots to settle into.
Most people grab a fresh bale, plant straight into it, then watch nothing grow. That skipped step is the one that actually makes this method work.
Picking the right bale, positioning it well, conditioning it patiently, and choosing suitable crops all matter. Watering and feeding it steadily matter, too.
Each choice shapes whether this becomes a favorite method or a frustrating one.
Straw Bale Gardening is Not About the Straw
Straw bale gardening uses a bale as a self-contained raised bed instead of soil.
I have watched a conditioned bale decompose from the inside out into a warm, spongy core plants can root into. Moisture, added nitrogen, and microbial activity drive that breakdown.
Through trial and error, I learned plants actually feed on this decomposing material and added compost, not the straw itself.
That is why gardeners with poor or compacted soil, tight spaces, patios, or physical limits often turn to this method. It also gives anyone the elevated growing surface a traditional bed cannot offer.
Straw vs. Hay Bales: Which Should You Use?
I ruined my first attempt by grabbing whatever bale was cheapest at the feed store, which turned out to be hay.
Within two weeks, grass seedlings had taken over the whole bed. That is why straw, not hay, is the standard for this method.
| Factor | Straw | Hay |
|---|---|---|
| What It is | Dry stalks left after cereal grains are harvested | Cut grass or legumes, dried whole |
| Seed Risk | Generally fewer viable seeds | Often sprouts grass or weeds as it breaks down |
| Best Type | Wheat, barley, oat, or rice straw all work well | Not recommended without extra prep |
| What to Check | Tightly bound, fresh rather than weathered, free of mold or excess moisture | Same checks apply, but risk of sprouting remains higher |
Agricultural extension sources consistently point gardeners toward straw for exactly this reason, and among straw types, wheat is the most widely available while oat and barley tend to break down a little faster once conditioned.
Is Straw Bale Gardening Right for You?
I have grown vegetables in bales for a few seasons now, and it is not the low-effort fix it is often made out to be. It solves some real garden problems while creating a few new ones.
Benefits of Straw Bale Gardening
Here is what actually won me over after trying it myself:
- Skips digging entirely, even over poor or compacted soil.
- Fits into tight spaces and works on patios or hard surfaces.
- Raises the planting height, easing strain on your back and knees.
- Produces noticeably fewer weeds than a traditional bed.
- Breaks down into rich organic matter you can reuse later.
Drawbacks to Know Before You Start
These are the trade-offs I wish someone had warned me about:
- Bales need conditioning first, so planting is not instant.
- Demand frequent watering since straw dries out quickly.
- They offer little nutrition on their own, so added feeding is necessary.
- Shrink and decompose over the season, sometimes needing extra support.
- Heat up during breakdown, adding real setup work upfront.
What You Need for a Straw Bale Garden?
Before I planted a single seed, I gathered everything below. Having it all ready made conditioning and planting far less chaotic.
- Straw bales, ideally tightly bound and free of mold.
- A reliable water source, since conditioning needs daily soaking.
- Nitrogen-rich fertilizer to kickstart decomposition inside the bale.
- A balanced fertilizer for feeding plants later in the season.
- Compost or another growing medium to fill the planting holes.
- A hand trowel or garden knife for cutting into the bale.
- Garden gloves, since straw edges can be surprisingly sharp.
- Plant supports or a trellis for taller or vining crops.
- A drip or soaker system, if you want easier watering.
How Many Straw Bales Do You Need?
Sketch your layout first, then match bale count to your space and crops. Once a bale is wet, it gets heavy fast, and extension guidance warns against planning to move it afterward.
Step-by-Step: How to Set Up a Straw Bale Garden?
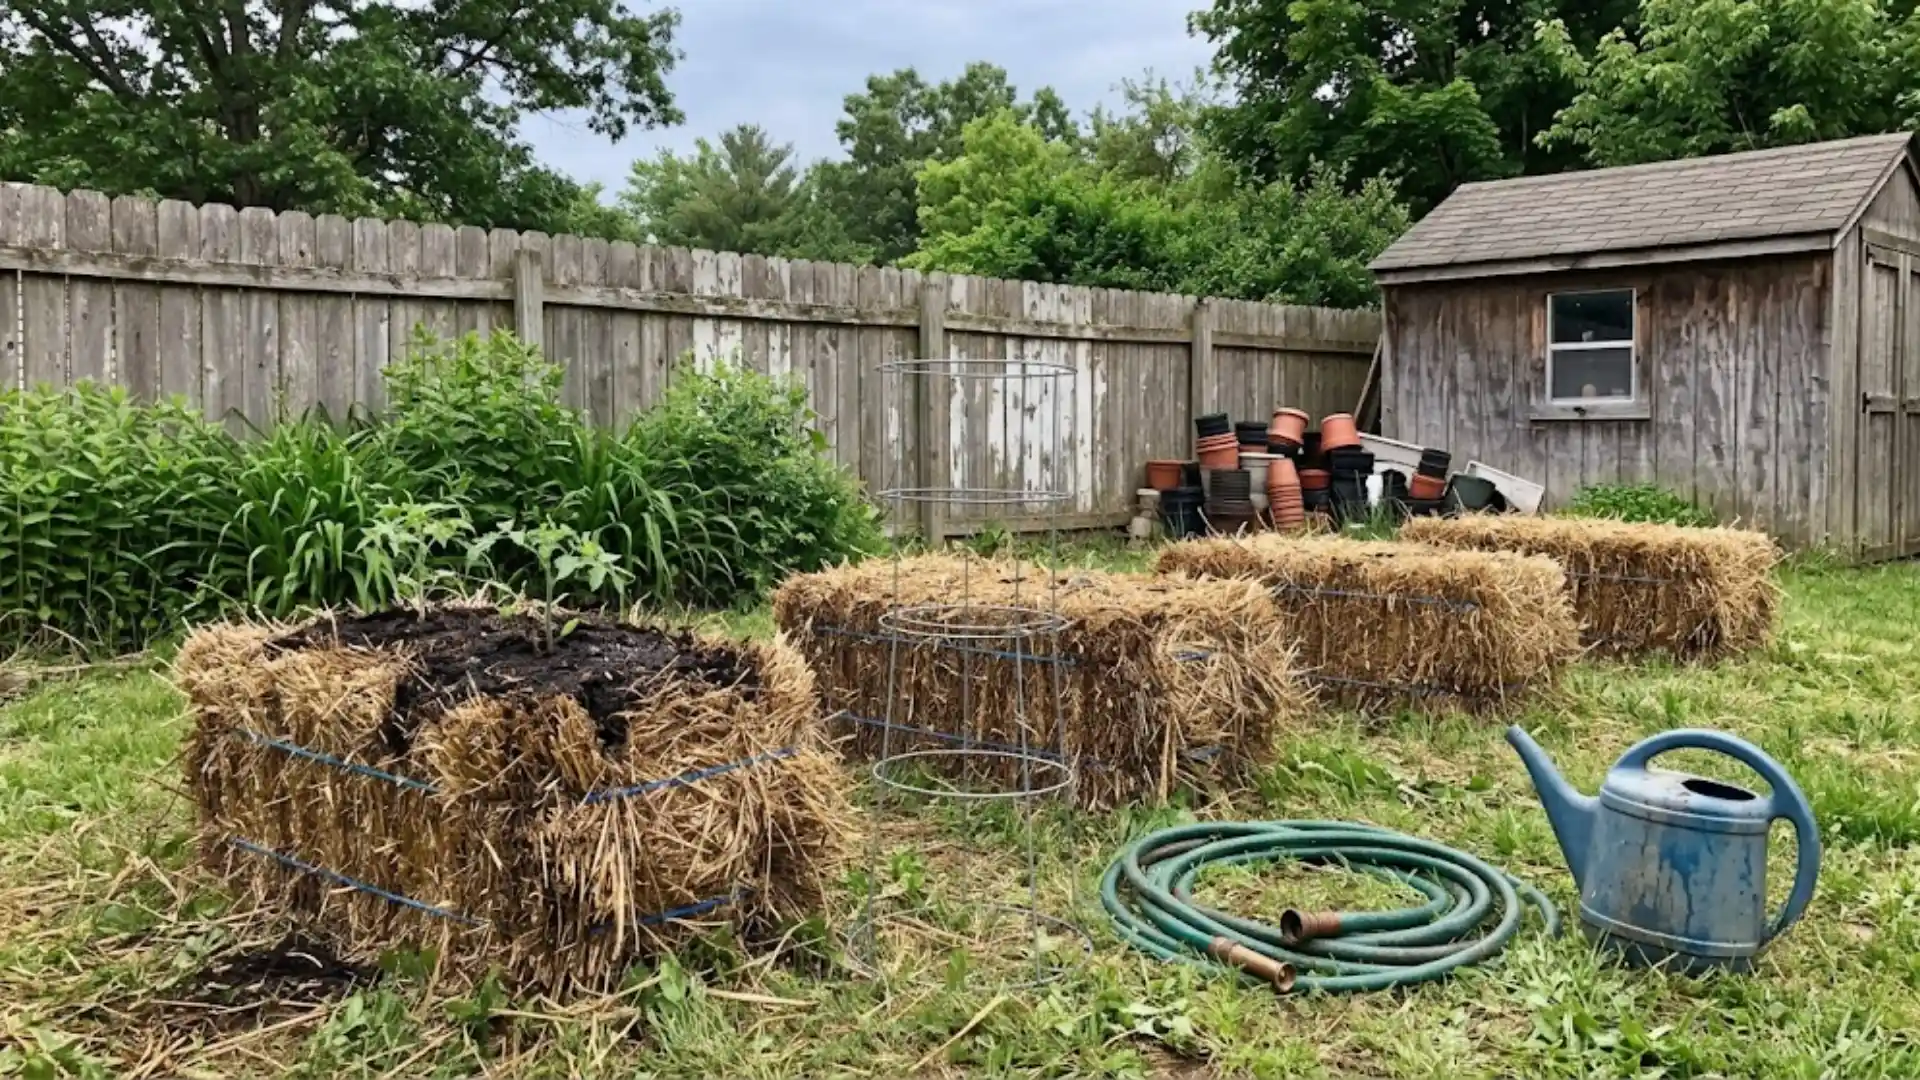
Setup is where most of the real work happens, and rushing it tends to cause problems later. Getting these three steps right up front saves a lot of frustration once the bales are wet and heavy.
Step 1: Choose a Sunny Location
Pick a spot that gets roughly six or more hours of sunlight, since most vegetables need that much to thrive. Staying close to a water source matters too, because conditioning and regular watering both demand easy access.
Make sure you can reach the bale from every side once it is in place. Avoid low spots where runoff tends to collect, since standing water can quickly undo your conditioning work.
Step 2: Position the Bales
Set each bale exactly where it will stay for the season, since a soaked bale is far too heavy to relocate. Keep the twine or wire in place, as it holds the bale’s shape as it decomposes.
Orient the cut-straw side upward so water soaks in more evenly. Leave enough room between bales to move around comfortably while planting and watering.
Step 3: Plan Supports Before Planting
Install trellises or stakes before the bale settles in, not after. Once decomposition softens the straw, working around it becomes far trickier.
This step matters most for sprawling or climbing crops like cucumbers, beans, and squash, which need sturdy support early to grow well.
How to Condition Straw Bales Before Planting?
I learned quickly that skipping conditioning is the fastest way to kill young seedlings. This stage kickstarts decomposition and turns raw straw into a livable root environment.
| Days | Watering | Nitrogen | What’s Happening |
|---|---|---|---|
| 1–3 | Saturate, keep consistently moist | None yet | Microbial activity rises, bale starts heating |
| 4–6 | Water thoroughly | Add and water in | Nitrogen speeds up decomposition |
| 7–9 | Continue watering | Reduce per schedule | Decomposition stays active, nitrogen eases off |
| 10–14 | Keep moist, monitor temperature | Stop adding | Bale finishes cooling before planting |
Fertilizer formulations and quantities vary, so I would follow a tested schedule matched to whatever product you are using rather than guessing.
The rise in temperature during those first few days comes from the same microbial life that shows up in healthy garden soil, just concentrated inside a smaller, denser space.
How do you know a straw bale is ready to plant?
Internal temperature is the real readiness test, not the calendar. Oregon State University Extension confirms this cooling period typically falls within that same 10 to 14 day window.
How to Plant in Straw Bales?
Once your bale has cooled and cured, you are ready to plant. The method shifts slightly depending on whether you’re using transplants or starting from seed.
Planting Transplants in Straw Bales
Transplants settle into a conditioned bale faster than seeds, since roots meet a ready-made pocket of nutrients right away.
- Step 1: Cut or dig a planting hole into the conditioned bale.
- Step 2: Fill the hole with a suitable growing medium around the root ball.
- Step 3: Set the transplant at the same depth it grew in its container.
- Step 4: Gently firm the medium around the base of the plant.
- Step 5: Water thoroughly to help the roots settle in.
Growing Plants From Seed
Seeds are trickier than transplants because they need consistent surface moisture and don’t have an established root system to draw on right away.
- Step 1: Spread a shallow layer of growing medium over the bale’s surface.
- Step 2: Plant seeds at the depth and spacing listed on the seed packet.
- Step 3: Water gently to avoid displacing seeds.
- Step 4: Keep the surface consistently moist until germination is complete.
Extension guidance supports both transplanting and direct seeding, though the better approach often depends on the crop.
15 Best Plants for Straw Bale Gardening
Straw bales work well for a wide range of vegetables, herbs, and flowers. Some crops thrive in this setup more than others, largely due to root depth, weight, and growth habit.
| Plant | Type | Key Requirement | Plants Per Bale |
|---|---|---|---|
| Tomatoes | Vegetable | Compact varieties, sturdy support | 1–2 |
| Peppers | Vegetable | Compact growth, minimal support | 2–3 |
| Cucumbers | Vegetable | Trellis for vines | 2 |
| Bush Beans | Vegetable | Shallow roots, compact size | 4–6 |
| Lettuce | Vegetable | Shallow roots, fast harvest | 4–6 |
| Spinach and Other Greens | Vegetable | Loose, moisture-rich texture | 4–6 |
| Kale | Vegetable | Cool-tolerant, steady growth | 2–3 |
| Broccoli | Vegetable | Nutrient-rich decomposition | 1–2 |
| Cabbage | Vegetable | Consistent moisture | 1–2 |
| Eggplant | Vegetable | Compact roots, bale depth | 1–2 |
| Summer Squash | Vegetable | Generous spacing | 1 |
| Herbs (basil, parsley, chives, and other varieties) |
Herb | Shallow roots, minimal space | 3–4 |
| Strawberries | Fruit | Shallow root system | 2–3 |
| Annual Flowers | Flower | Fills bale surface well | 3–4 |
| Melons | Fruit | Support for sprawling growth | 1 |
Clemson Extension and Alabama Cooperative Extension flag corn as a poor fit, since it grows too tall and top-heavy for a bale’s structure. Root crops like potatoes and carrots are possible but need extra care.
What Not to Grow in Straw Bale Gardens?
Straw bales can grow far more than people expect, but a few crops genuinely struggle in this setup. Knowing which ones, and why, saves you a wasted season.
Crops That Can Be Difficult
- Carrots need loose, deep material to form straight roots, and a bale’s fibrous texture does not always provide it.
- Beets share the same root-depth issue, often coming out stunted or oddly shaped in shallow straw.
- Potatoes need consistent hilling and a deeper growing zone than a single bale typically offers.
- Corn grows tall and top-heavy, and a decomposing bale does not anchor its roots the way soil does.
- Large sprawling crops in a cramped layout compete for space and light, leaving little room for airflow or growth.
Extension guidance backs this up, identifying carrots, beets, potatoes, and corn as more difficult crops for straw bale gardens, and suggesting stacking two bales for gardeners who want to try them anyway.
That matches what I have seen firsthand, since root crops need depth a single bale rarely provides, and tall plants need a sturdier anchor than decomposing straw can offer.
How to Care for a Straw Bale Garden?
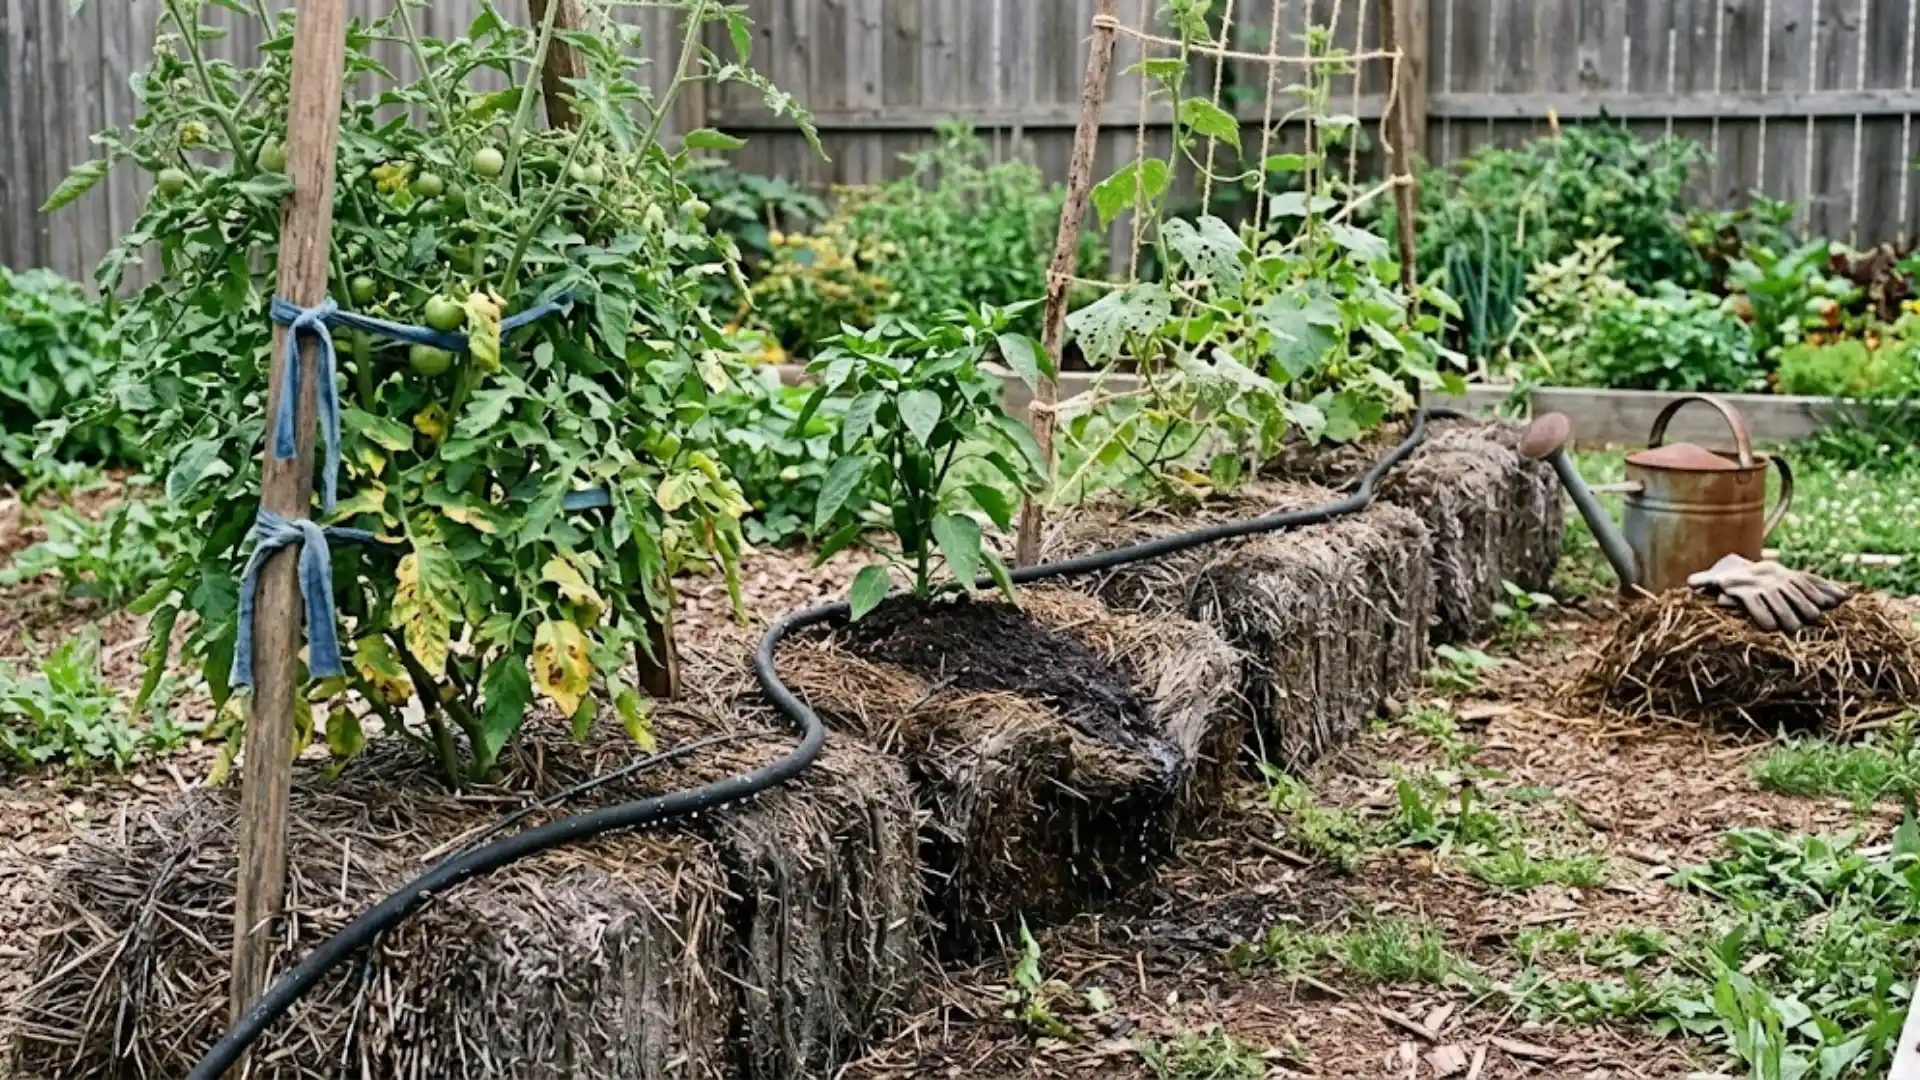
Once your bale is planted, the real work shifts to upkeep. A few consistent habits keep plants thriving as the bale continues to break down underneath them.
Watering and Fertilizing
Straw dries out faster than soil, so consistent moisture and steady feeding matter more here than in a traditional bed.
- Check moisture daily, since bales lose water faster than conventional soil.
- Water deeply enough to soak the bale’s interior, not just the surface.
- Consider drip irrigation or a soaker hose for even, low-effort watering.
- Feed actively growing plants with a vegetable fertilizer per label directions, since decomposition alone won’t meet their needs.
- Watch for yellowing leaves or slow growth, both signs of nutrient deficiency.
Supporting Plants and Managing Pests
As the bale decomposes, its structure shifts, and taller or vining plants need support that adjusts along with it.
A simple stake-and-string setup works for most straw bale crops, though gardeners looking for other options can pull ideas from different trellis designs built for other garden styles.
Weeds show up far less often than in a traditional bed, though they are not entirely gone, so a quick visual check now and then still helps.
Regularly inspect plants for insects and early signs of disease, and treat issues based on the specific crop and the conditions in your yard.
Managing Bale Shrinkage
A straw bale settles and compresses as it decomposes, gradually losing height and density over the season. This can expose roots that were once fully covered, so watch the bale’s surface as it changes shape.
Adding a bit of compost or growing medium around exposed roots protects them from drying out or taking direct sun damage, keeping plants stable through the rest of the growing season.
Straw Bale Gardening vs. Raised Beds
Both methods solve the problem of poor soil, but it different ways. Here is how they stack up side by side.
| Feature | Straw Bale Garden | Traditional Raised Bed |
|---|---|---|
| Existing Soil Required | No | Usually no |
| Initial Setup | Moderate | Moderate to high |
| Construction Required | Minimal | Usually required |
| Longevity | Temporary | Long-term |
| Weeding | Generally lower | Depends on soil and prep |
| Watering | Can be frequent | Depends on soil |
| Growing Medium | Decomposing straw plus amendments | Soil or compost |
| Best for | Temporary, flexible growing spaces | Permanent garden beds |
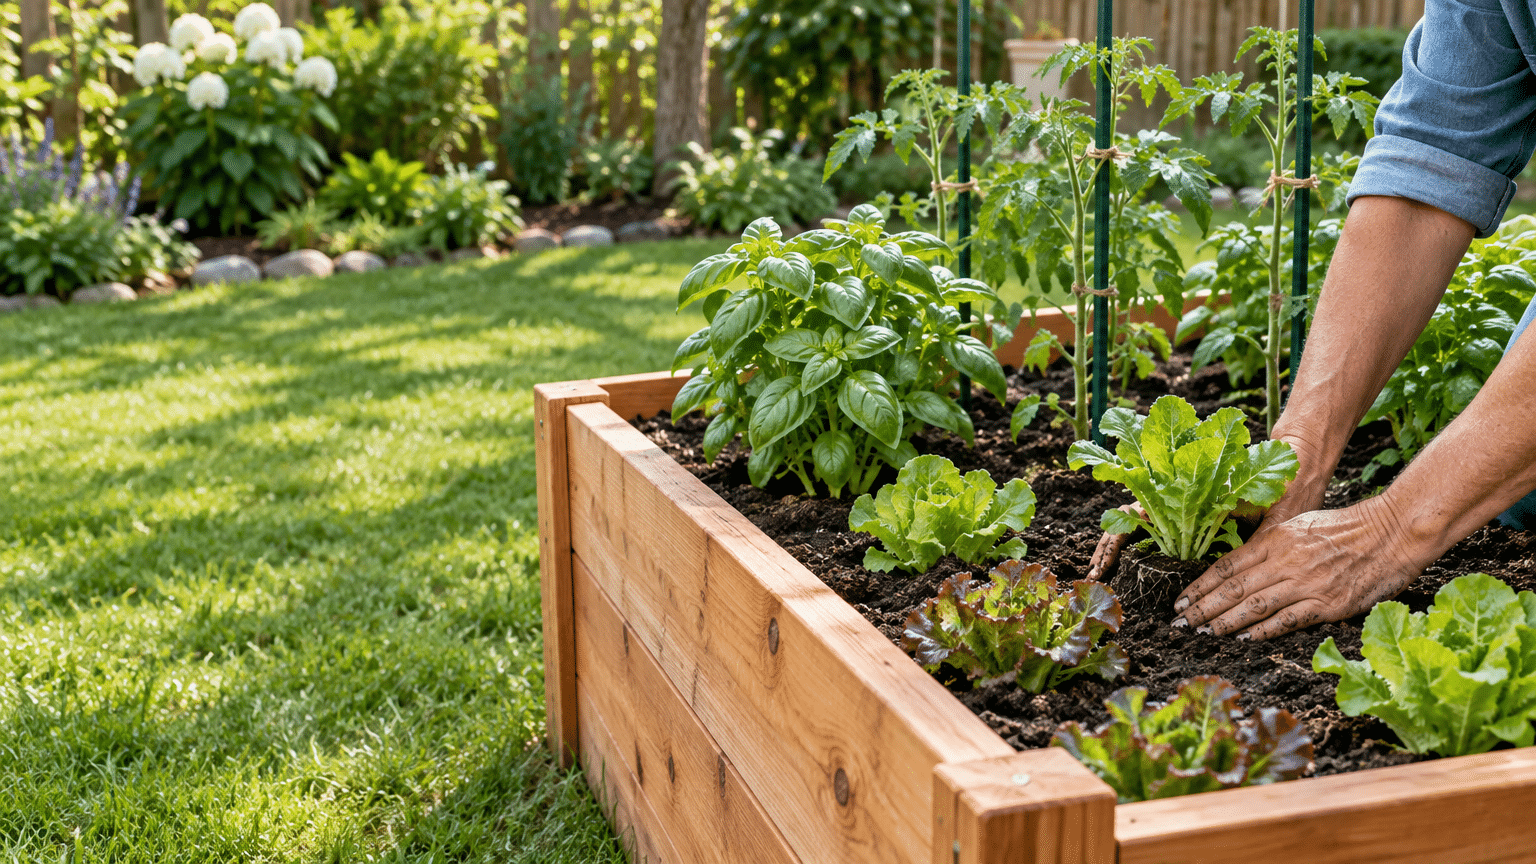
The straw bale is best viewed as a temporary raised growing system, not a permanent replacement for a built raised bed. If you want something you can set up this season and walk away from by fall, a bale fits.
If you are building toward a garden that stays put for years, a raised bed is the better long-term investment.
Can You Reuse Straw Bales for a Second Growing Season?
By the end of a season, bales have shrunk and decomposed significantly, so a second-year bale behaves more like loose compost than straw.
Root crops that struggled in fresh straw sometimes do better here.
Some gardeners get a second season out of a bale, though longevity varies with climate, moisture, and decomposition rate.
Once a bale collapses or loses structure, replacing it becomes more practical than propping it up. Spent straw does not go to waste either, since it works well as compost or mulch elsewhere in the garden.
What to Do With Straw Bales After the Growing Season?
By season’s end, most bales have broken down enough to skip the trash entirely.
The decomposed straw adds carbon-rich material to a compost pile, balancing out nitrogen-heavy scraps like kitchen waste.
If it is broken down further, that same material works well mixed into garden beds as organic matter, improving texture and drainage.
Choosing between composting and disposal usually comes down to how far the straw has broken down and how much space you have. Once a bale has collapsed or lost most of its structure, rebuilding it rarely makes sense.
At that point, starting fresh with a new bale next season is the more practical choice, since a decomposed bale would not condition or support plants the way a new one will.
Straw Bale Gardening Tips for Better Results
A few habits separate a thriving bale from a frustrating one. Here is what I would tell any gardener trying this for the first time.
- Buy straw, not hay, to avoid a season of unwanted seedlings.
- Choose the final location and plan irrigation before wetting the bales.
- Condition fresh bales fully, and never plant while the bale is still hot.
- Start with transplants for an easier, more forgiving first attempt.
- Match plant size to available bale space, and install support before plants get large.
- Check moisture often and feed actively growing plants as needed.
- Expect the bale to shrink, and reuse the spent straw rather than tossing it.
Get these right, and a straw bale garden rewards you with a full season of produce, minus the digging.
That’s a Wrap
Straw bale gardening would not replace every garden, but it earns its place for anyone short on space, soil, or patience for digging.
A little conditioning upfront pays off in a full season of tomatoes, peppers, or greens tucked right where you need them.
Treat it as a flexible, temporary setup rather than a permanent fixture, and it tends to reward you generously.
Once you have tried it, the learning curve fades fast.
Have you grown anything in a straw bale before, or is this your first attempt? I would genuinely love to hear how your bale turns out.
Frequently Asked Questions (FAQs)
How Long Does a Straw Bale Garden Last?
A single bale typically lasts one growing season before it fully decomposes. Exact longevity depends on your climate, watering habits, and how the bale was conditioned.
Can You Plant Directly into Straw Bales?
Yes, but only once the bale has gone through proper conditioning. Planting into an unconditioned or still-hot bale can damage roots before they establish.
Can You Use Old Straw Bales for Gardening?
Weathered bales can work and often need less conditioning time than fresh ones. Still, check for mold, excess moisture, or structural breakdown before planting.
Can Straw Bale Gardening Be Done on Concrete?
Yes, as long as the spot gets enough sunlight and you can water it reliably. Patios, driveways, and other hard surfaces all work well for this setup.
What Happens to the Straw Bale After It Decomposes?
The bale breaks down into rich, carbon-heavy organic material by season’s end. You can add that spent straw to compost or work it into garden beds elsewhere.