Have you ever noticed how a beautifully framed piece can feel completely off in a room, even when everything else seems perfect?
The secret often lies in something surprisingly simple: where it hangs on your wall. Most of us eyeball it or follow that outdated “eye level” rule without considering our unique spaces.
But here’s the thing: getting your artwork at just the right height converts how a room feels, making ceilings appear taller and spaces more intentional.
We’re walking you through the art of placement, helping you create that effortlessly curated look on your very first try.
What is the Standard Picture Hanging Height?
You’ve probably heard the “eye-level” rule: that sweet spot where artwork feels naturally positioned for viewing.
Museums and galleries have perfected this science, consistently hanging pieces so their centers sit at a specific height.
That magic number? 57 inches from the floor to the center of the artwork. This measurement isn’t random; it’s based on average human eye level and creates a harmonious viewing experience for most people.
While this standard works beautifully in most spaces, it’s really just your starting point.
Your room’s proportions, furniture placement, and personal sight lines might call for subtle adjustments to make everything feel just right.
The 57-Inch Rule Explained
The 57-inch standard isn’t just a random number; it’s rooted in how we naturally view art.
Museums discovered that positioning artwork so its center aligns with the average eye level creates the most comfortable, balanced viewing experience.
This measurement accounts for how most people stand and move through a space, making it feel intuitive rather than forced.
Why do museums rely on this measurement?
- It aligns perfectly with the average human eye level across diverse viewers.
- Creates consistent visual harmony throughout gallery spaces.
- Prevents neck strain from looking too far up or down.
- Makes artwork feel approachable and naturally integrated into the space.
Calculating your hanging height? Start by measuring your artwork’s total height in inches, then divide that number by 2 to find the center point. Add 57 to that result, and you’ve got the exact spot where your nail or hook should go.
Example: For a 20-inch-tall piece, divide by 2 (= 10 inches), then add 57. Your hanging hardware should go at 67 inches from the floor.
How High to Hang a Picture Based on Room Type?
While the 57-inch rule is your foundation, different rooms call for thoughtful adjustments. Your furniture layout, ceiling height, and how you move through each space all influence the perfect placement.
1. Living Room
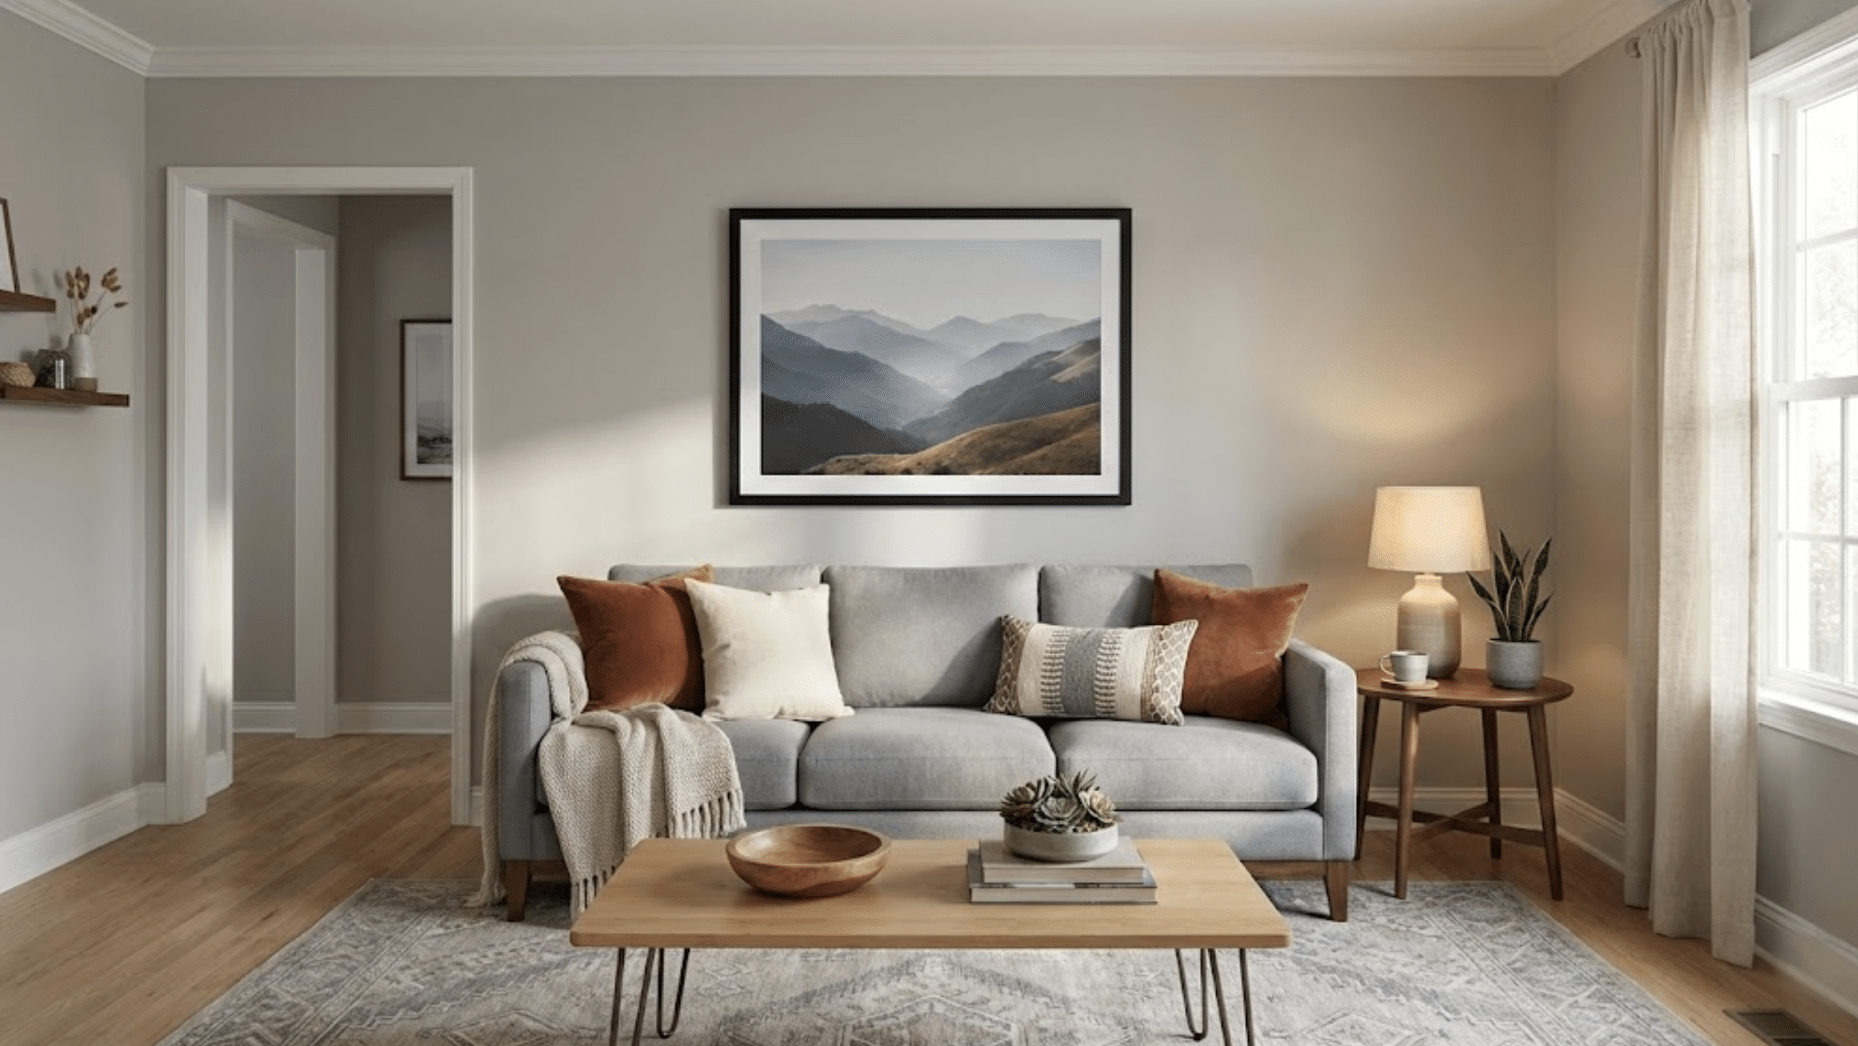
Your sofa or sectional becomes the anchor point here. Aim to hang artwork so there’s 4 to 8 inches of space between your furniture’s top edge and the bottom of your frame. This creates a visual connection without feeling cramped.
For gallery walls above a couch, treat the entire arrangement as one piece, keeping that same spacing from the lowest frame to your furniture.
2. Bedroom

Above your bed, center your artwork on the wall space between the headboard and ceiling; not on the entire wall. Leave 6 to 12 inches between your headboard’s top and the frame’s bottom edge.
This creates that serene, hotel-like symmetry that makes bedrooms feel intentionally designed. For pieces flanking the bed, align them with the headboard’s top or slightly higher.
3. Dining Room
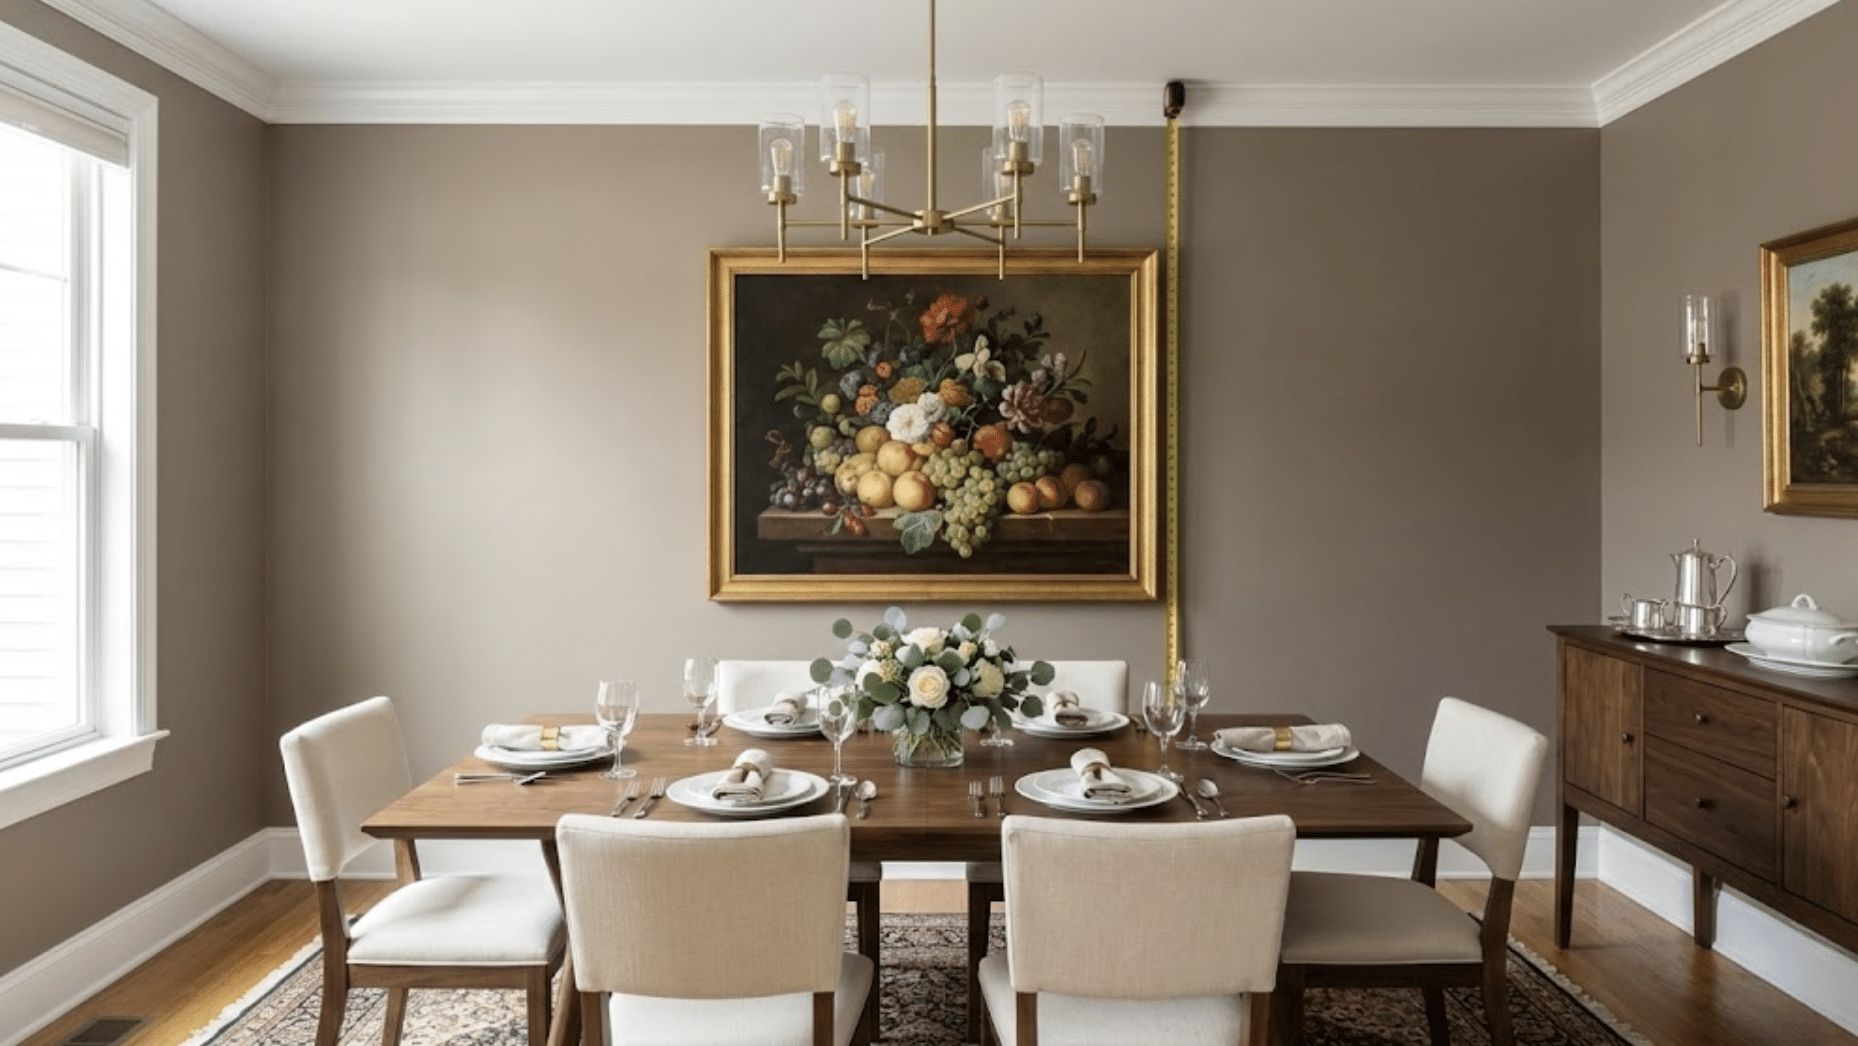
In formal dining spaces, stick closer to the standard 57-inch center point since people view art while seated and standing. Lower artwork slightly for casual breakfast nooks to maintain 4-8 inch clearance from the table.
Gallery walls work beautifully here; just ensure the arrangement’s visual center aligns with seated eye level for comfortable dinner party viewing.
4. Hallways & Staircases
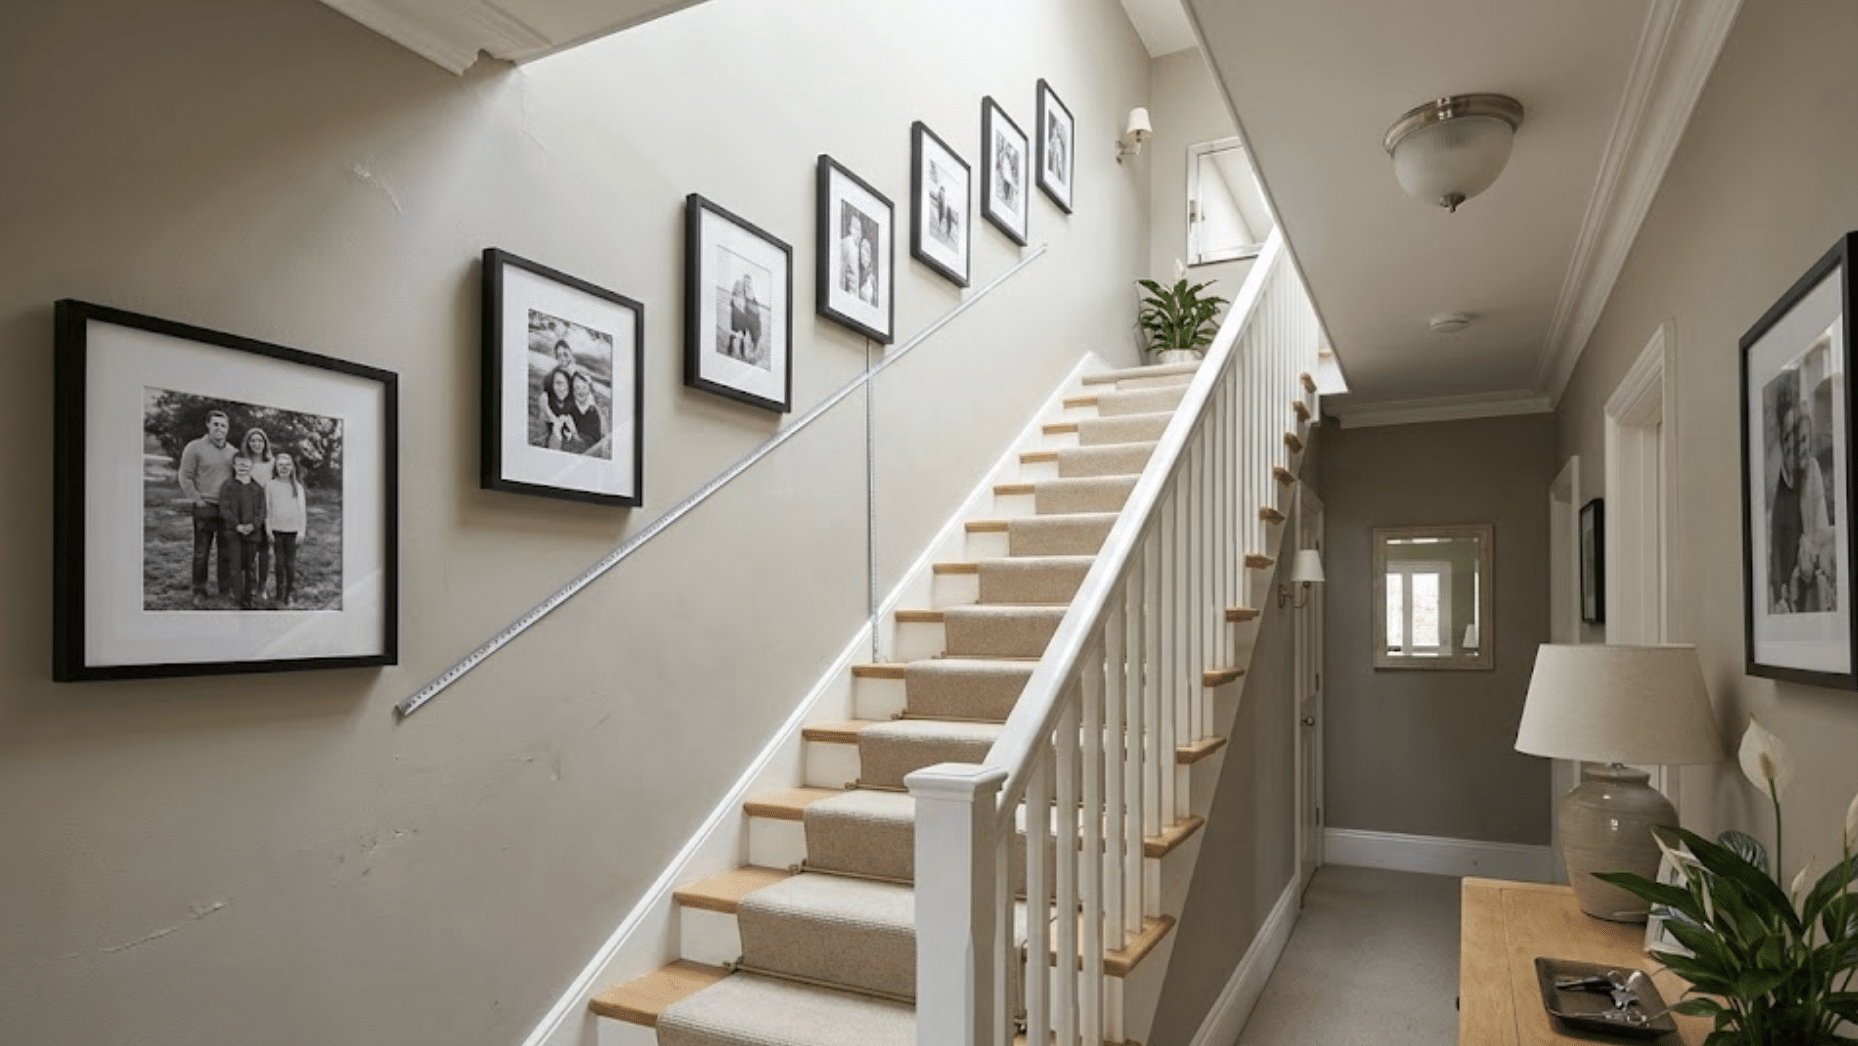
Hallways are all about the walking sightline, so maintain that 57 to 60-inch center height as you move through the space.
On staircases, keep artwork at a consistent height relative to each step, creating a line that follows the angle. A good rule? Measure 60 inches up from each individual stair tread to the artwork’s center.
How High to Hang a Picture Above Furniture?
When hanging art above furniture, forget the standard eye-level rule and focus on creating a visual connection.
The sweet spot is 4 to 8 inches between your furniture’s top edge and the frame’s bottom; close enough to feel anchored but with breathing room. For larger pieces or oversized sofas, you can stretch to 10 inches of space.
The key is proportion: your artwork should span roughly two-thirds to three-quarters of your furniture’s width to feel balanced.
Above beds, aim for 6 to 12 inches from headboard to frame, while console tables look best with 8 to 10 inches of clearance.
Picture Hanging Height for Gallery Walls
Gallery walls feel intimidating, but the secret is surprisingly simple: stop thinking about individual frames and start seeing them as one cohesive piece of art.
Here’s how to get that perfectly curated look.
- Step 1: Lay out your entire arrangement on the floor first to find the visual center of the grouping.
- Step 2: Measure the total height and width of your layout, treating it as a single artwork.
- Step 3: Position the arrangement so its center sits at 57 inches from the floor.
- Step 4: Keep 2 to 3 inches of space between frames for breathing room without feeling disconnected.
- Step 5: Use painter’s tape on the wall to map out frame positions before hammering a single nail.
Once everything’s up, step back and trust your eye; gallery walls should feel collected over time, not rigidly perfect.
Picture Hanging Height for Different Art Sizes
Size and orientation dramatically affect how an artwork reads in a space.
Here’s how to adjust your hanging height based on what you’re working with.
| Art Type | Hanging Height | Key Tip |
|---|---|---|
| Small Frames (under 16″) | 57 inches to the center | Group with other pieces to avoid a floating look |
| Large Art (over 40″ tall) | 54-56 inches to the center | Drop slightly lower to prevent top-heaviness |
| Vertical Artwork | 57 inches to the center | Use to draw eyes upward and heighten ceilings |
| Horizontal Artwork | 54-57 inches to the center | Works best above furniture for visual anchoring |
Pro Tip: When in doubt, mock it up first. Cut paper templates to your frame sizes, tape them to the wall at different heights, and live with them for a day; you’ll immediately feel what works best in your space.
How High to Hang a Picture on High or Low Ceilings?
Ceiling height changes everything. In rooms with standard 8-foot ceilings, stick with the 57-inch rule; it creates perfect balance without overwhelming the space.
High ceilings offer more flexibility: you can go slightly higher (up to 60-65 inches to the center) to fill vertical space, but resist hanging too high or the artwork feels disconnected.
On dramatic two-story walls, anchor pieces to furniture or architectural features rather than trying to center them on the entire wall.
The goal is creating intentional groupings that relate to where you actually live and look, not filling empty space for its own sake.
Designer Tips for Perfect Picture Placement
The difference between amateur and professional-looking walls often comes down to a few simple tricks.
Here’s what interior designers swear by before hanging a single frame.
- Use painter’s tape to mark frame edges on the wall; live with the layout for a day before committing.
- Step back at least 8-10 feet to check placement, mimicking how you’ll actually view the space daily.
- Align artwork across adjacent rooms or sightlines to create visual flow throughout your home.
- Hang pieces at a consistent height in connected spaces for a curated, intentional feel.
- Take photos of your mock-ups from different angles; your camera catches what your eye might miss.
Trust the process and don’t rush it. The best-styled homes are the ones where every piece feels like it’s exactly where it belongs, and that takes a little patience upfront.
Final Thoughts
Getting your picture hanging height just right might seem like a small detail, but these thoughtful touches are what turn a house into a home that feels uniquely yours.
You now have the confidence to tackle any space, any wall, and any frame with a professional eye.
Remember, there’s no single perfect formula. It’s about what feels balanced and beautiful to you.
Have your own hanging tricks or room dilemmas? Drop a comment below. We’d love to hear how you’re styling your walls!