Grass took over that back corner of the yard for three seasons straight.
A tiller never fixed it. Cardboard, compost, and mulch did, stacked on top and left alone.
This pattern underpins every method in this blog: beginning techniques, a seasonal routine, and solutions for problems that arise once you commit.
Some suit thick turf. Others fit rocky ground or beds you’re building from scratch.
Choose the option that fits your yard.
What is No-Till Gardening?
No-till gardening avoids the use of shovels and tillers.
You leave the soil structure alone and add layers on top: compost, mulch, organic matter.
Worms and microbes do the digging. Undisturbed soil holds onto its natural layers of fungi, bacteria, and nutrients. Tilling breaks all that apart every season, forcing the ecosystem to rebuild from scratch.
Skip the disruption, and roots grow deeper, water drains better, and weeds struggle to take hold.
Gardeners call it Lasagna Gardening sometimes, since you’re stacking layers instead of turning earth.
Less labor, healthier beds, and a growing system that gets stronger every year instead of starting over.
How to Start a No-Till Garden From Scratch?
Starting fresh doesn’t mean starting hard. Pick your spot, then build up instead of digging down.
I’ve converted a solid patch of Bermuda grass this way, and the smell of decomposing cardboard by week three was the first sign it was working.
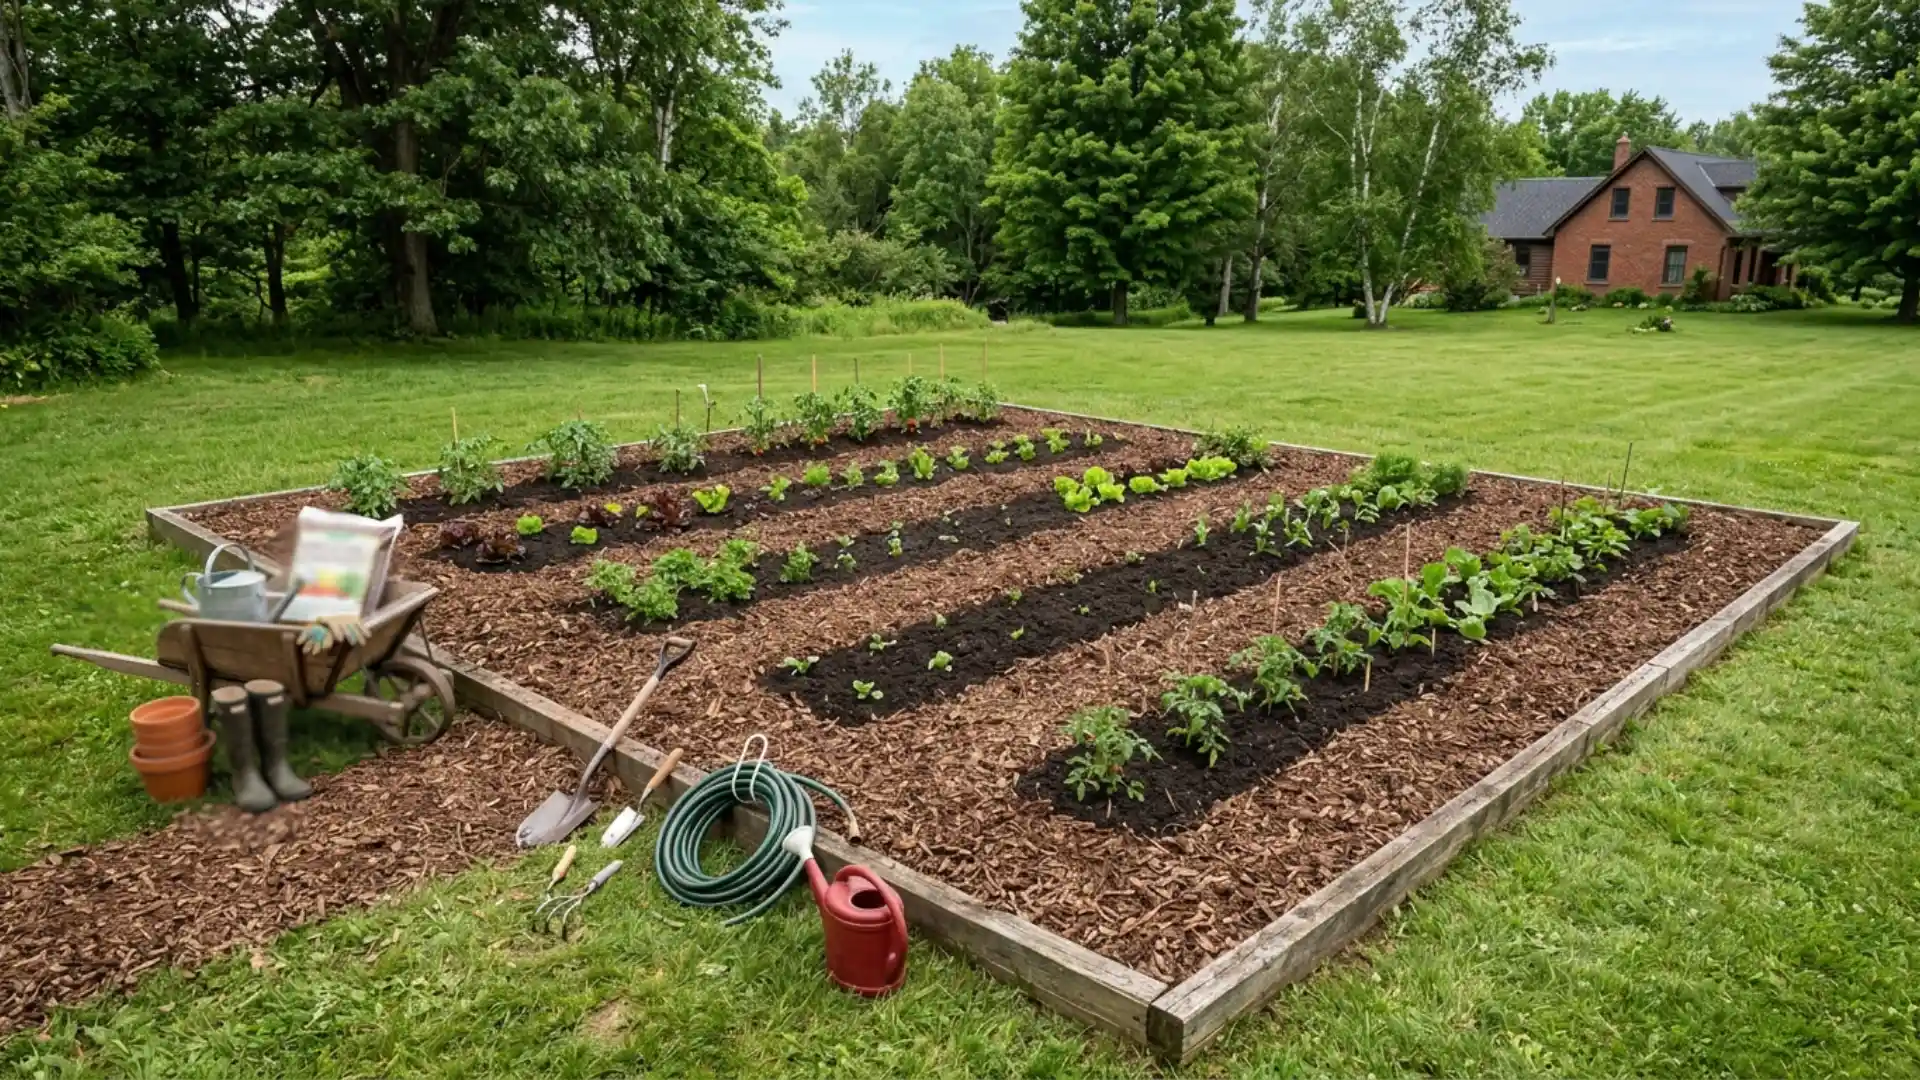
- Mark the garden bed with cardboard or newspaper to smother grass.
- Add a thick layer of compost right on top.
- Cover with straw or wood chips to control moisture.
- Water everything deeply to kickstart decomposition.
Let that bed sit for a few weeks before planting. The cardboard breaks down, grass dies underneath, and you’re left with rich, loose soil ready for seeds.
Skip synthetic weed killers entirely; the smothering method handles that job.
Patience here pays off quickly once roots take hold.
Best No-Till Garden Methods for Different Starting Conditions
Every yard starts in a different place, and your no-till method should match that starting point exactly.
1. Sheet Mulching (Lasagna Method)
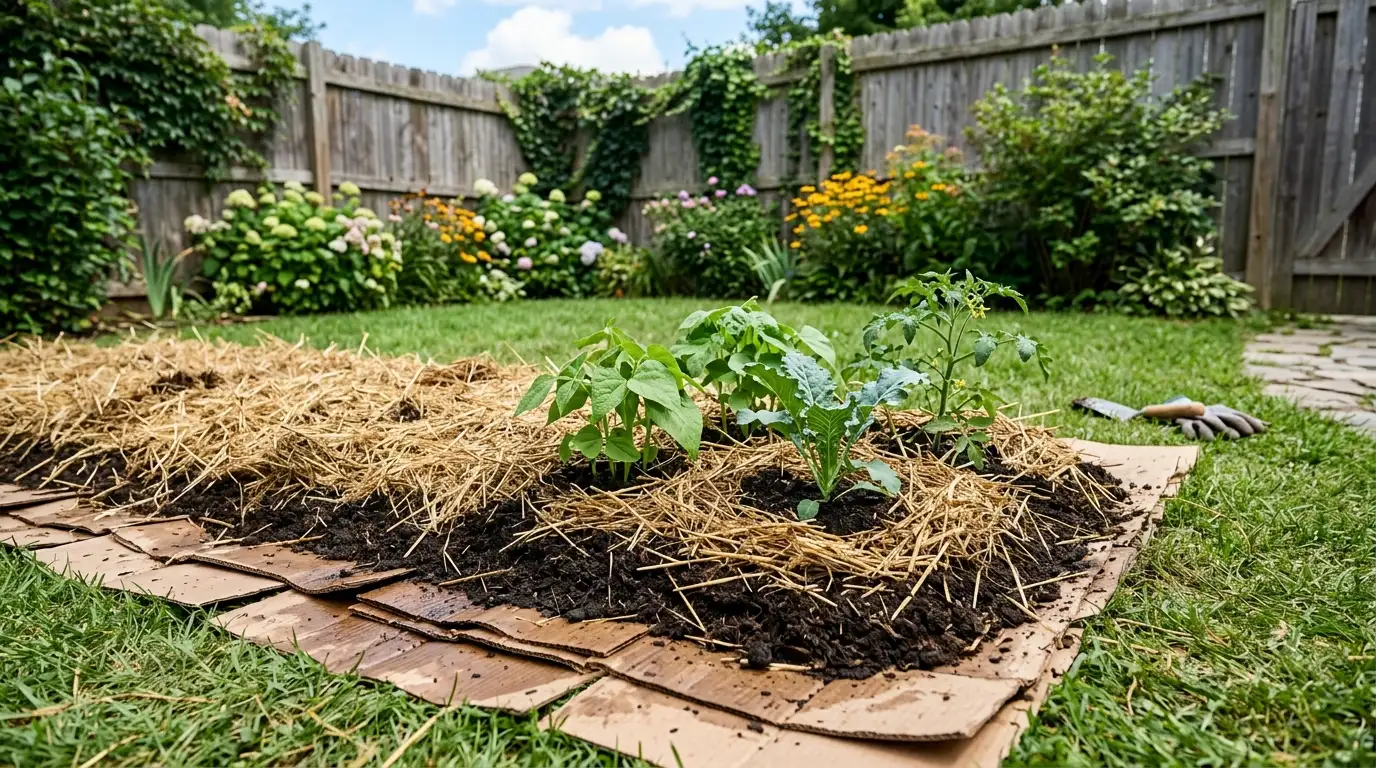
Layer cardboard, compost, and mulch directly over grass or bare dirt.
This method suits yards with thick turf you want gone fast. Skip digging entirely. Worms and microbes break down the layers over weeks, leaving soft, fertile ground underneath.
Best used in fall, giving materials time to decompose before spring planting arrives.
Squash, pumpkins, and potatoes push through loose layers easily, making them ideal first crops for mulched beds.
2. Straw Bale Gardening
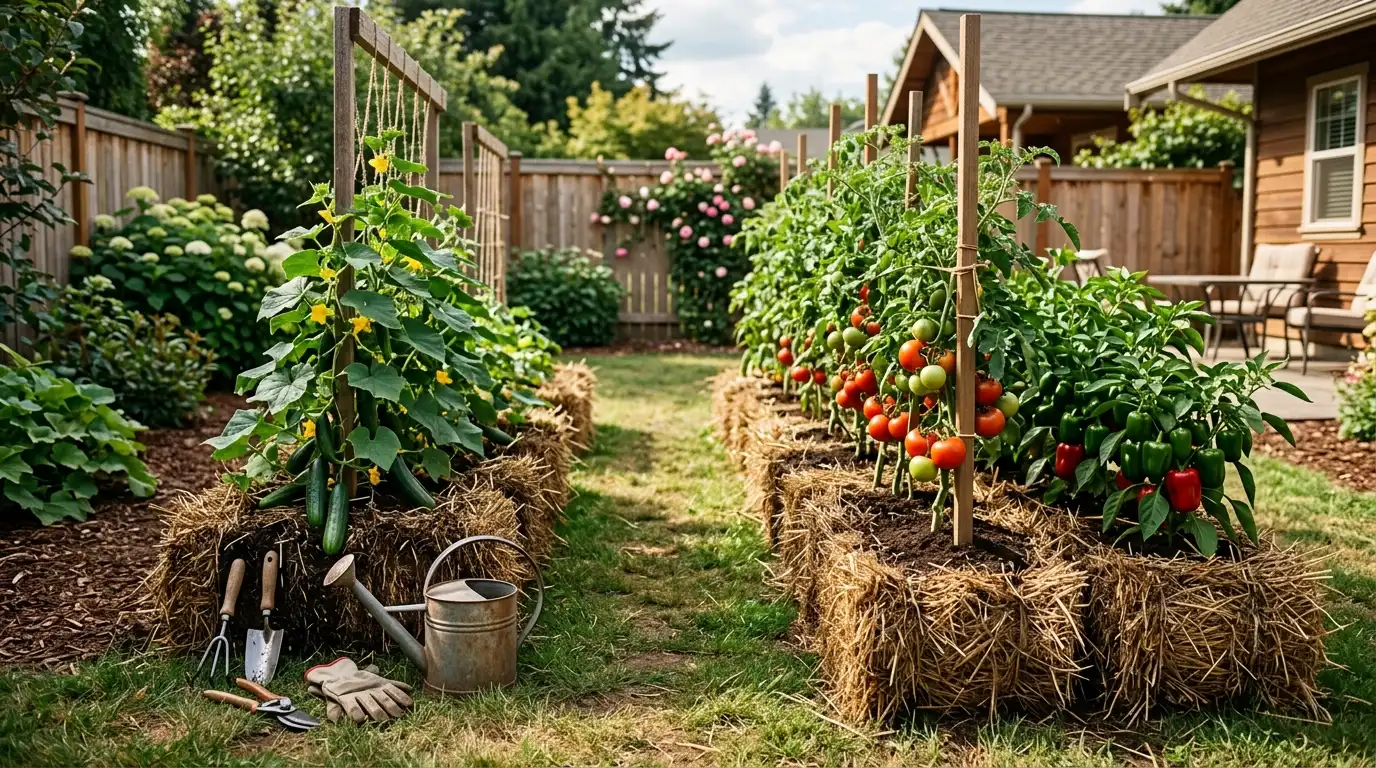
Stack straw bales in rows, then condition them with nitrogen fertilizer over ten days.
Plant seedlings straight into the bales once they heat up and cool down.
This works well on rocky or compacted land where digging isn’t practical.
Bales retain moisture nicely, and once the season ends, they break down into usable compost. Tomatoes, peppers, and cucumbers thrive in bale gardens because warm, aerated straw mimics ideal root conditions.
3. Raised Bed No-Till
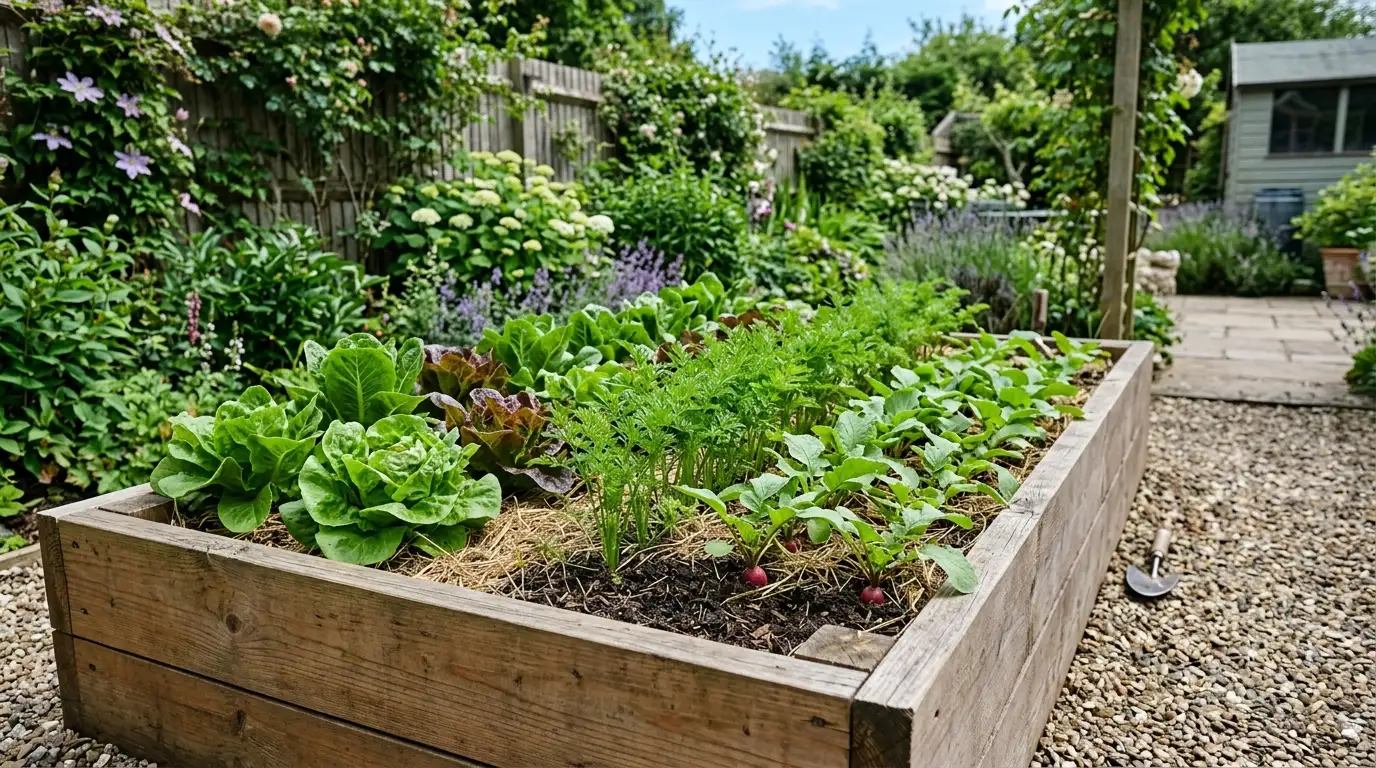
Build a frame, then fill it with layered soil, compost, and mulch. No native ground disturbance happens here.
This suits gardeners dealing with poor drainage or contaminated soil below.
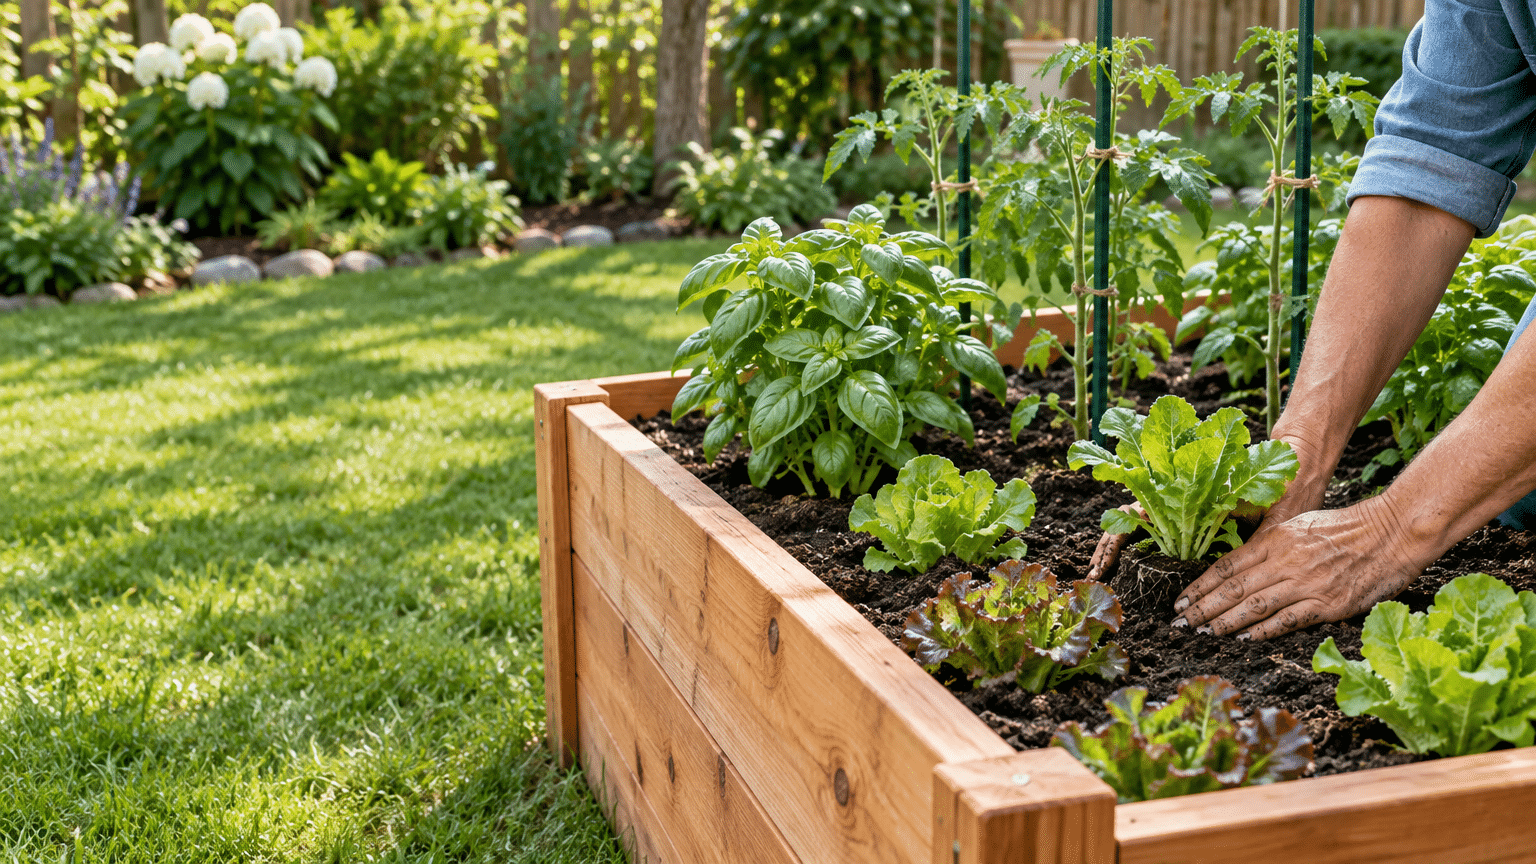
Height also helps with accessibility. Add fresh compost yearly instead of tilling, keeping the internal structure intact and microbial life thriving season after season.
Getting the layering right matters most here, and a walkthrough on building raised bed layers from scratch covers the order that keeps drainage and nutrients balanced.
Lettuce, carrots, and radishes grow cleanly in raised beds, where loose soil lets roots stretch without resistance.
4. Deep Mulch Method
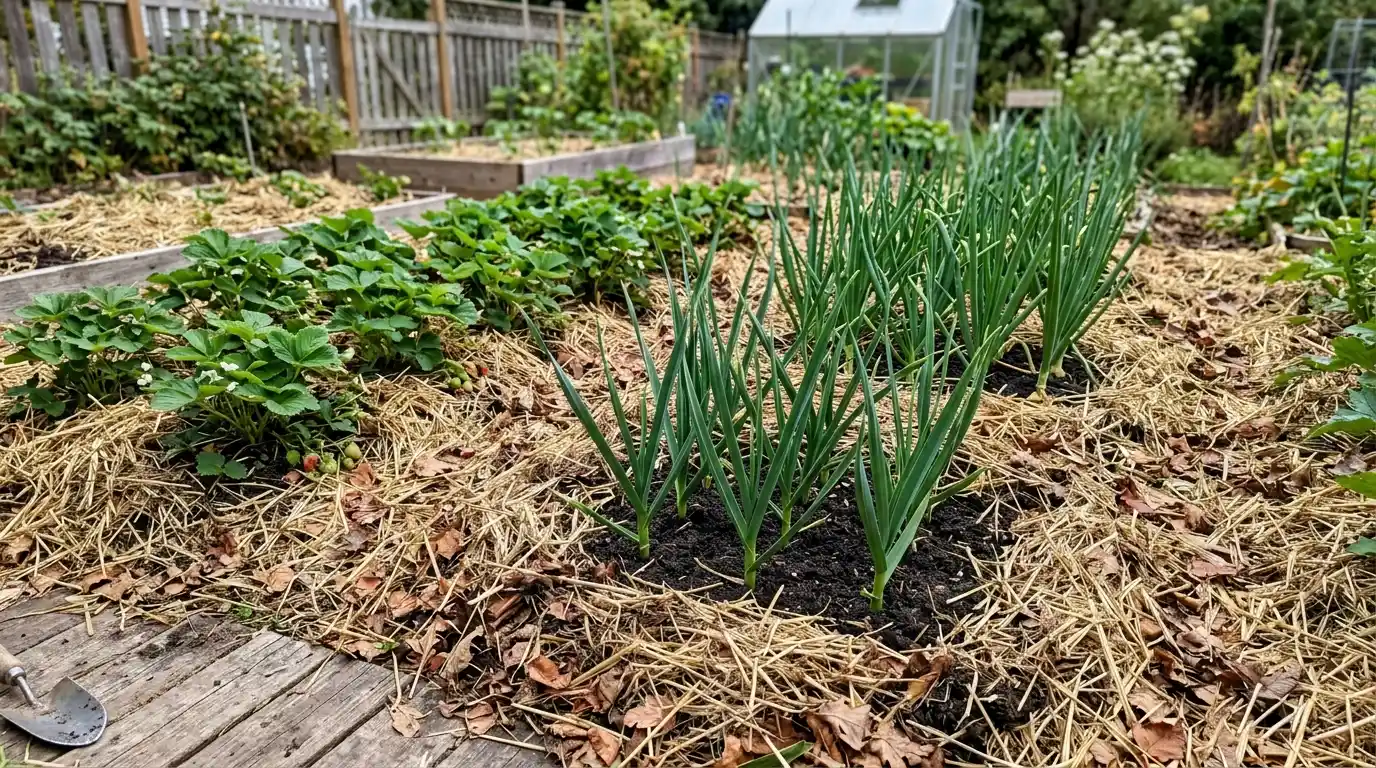
Pile straw, leaves, or wood chips six inches deep across your planting area.
Push mulch aside to plant, then push it back once seedlings establish.
This suits sandy or fast-draining soil needing extra moisture retention.
Mulch breaks down slowly, feeding soil continuously.
Weeds struggle to punch through such a thick barrier. Garlic, onions, and strawberries do well under deep mulch, since consistent moisture keeps bulbs and berries from drying out.
5. Tarping (Occultation)
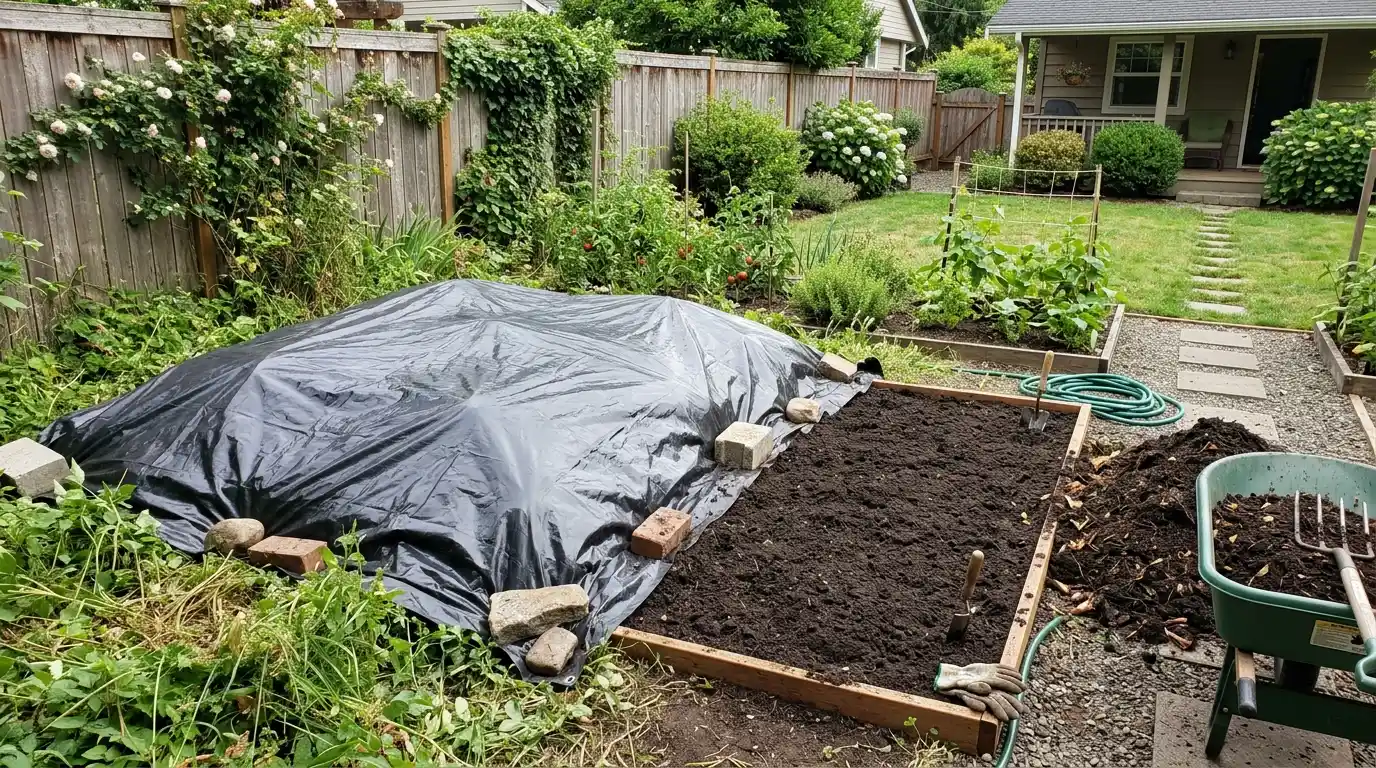
Cover an area with a heavy black tarp for four to eight weeks.
Sunlight gets blocked, weeds die off, and soil life stays undisturbed below. This method suits overgrown lots needing quick clearing before planting season.
Once removed, the ground sits bare and workable. Add compost right after uncovering for best results.
Beans, peas, and greens grow quickly on freshly tarped, weed-free soil.
6. Hugelkultur
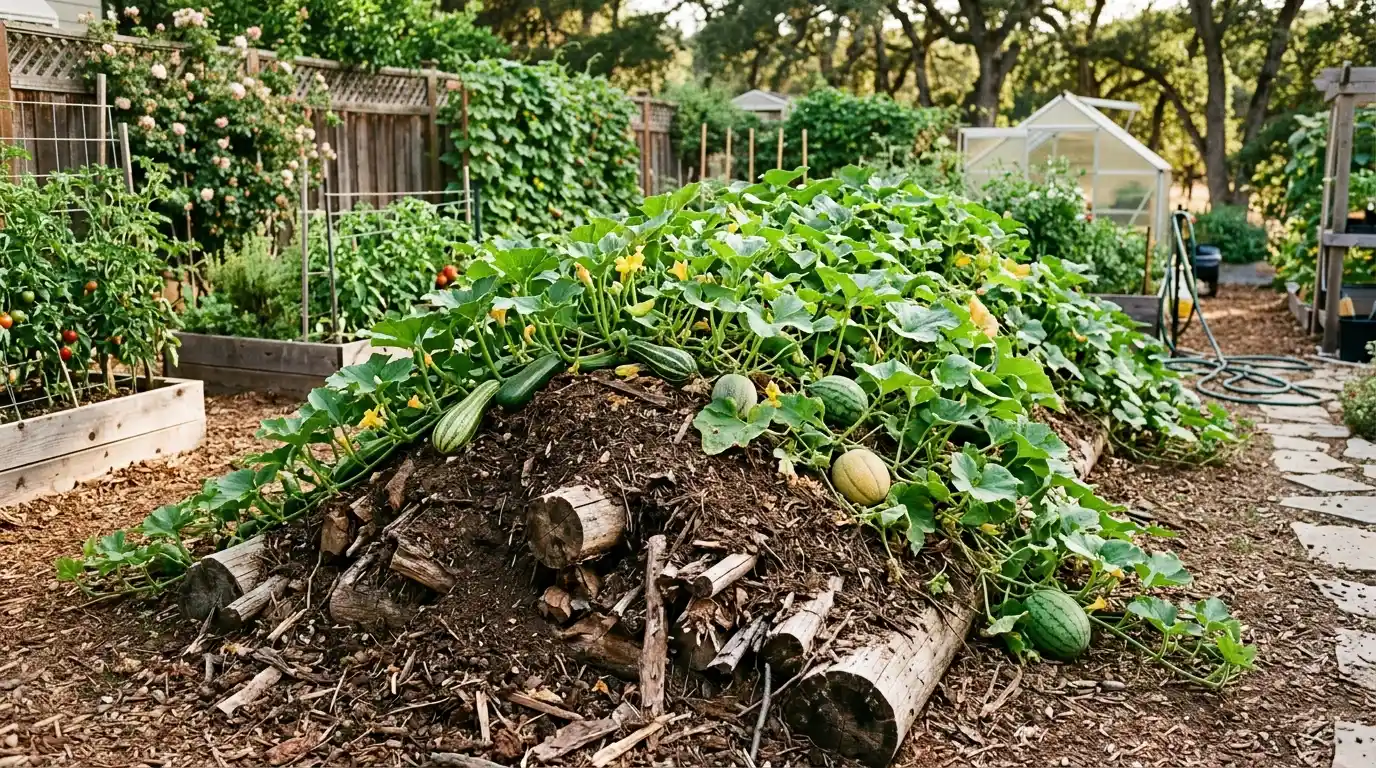
Bury logs and branches beneath soil and compost to form a raised mound.
Wood decomposes slowly, releasing nutrients for years. This suits properties with excess fallen timber or poor native soil quality. Mounds also improve drainage on waterlogged land.
Once built, these beds need minimal maintenance and hold moisture remarkably well through dry spells.
Squash and melons spread across hugelkultur mounds, feeding on nutrients from breaking down buried wood.
7. Cover Cropping Transition
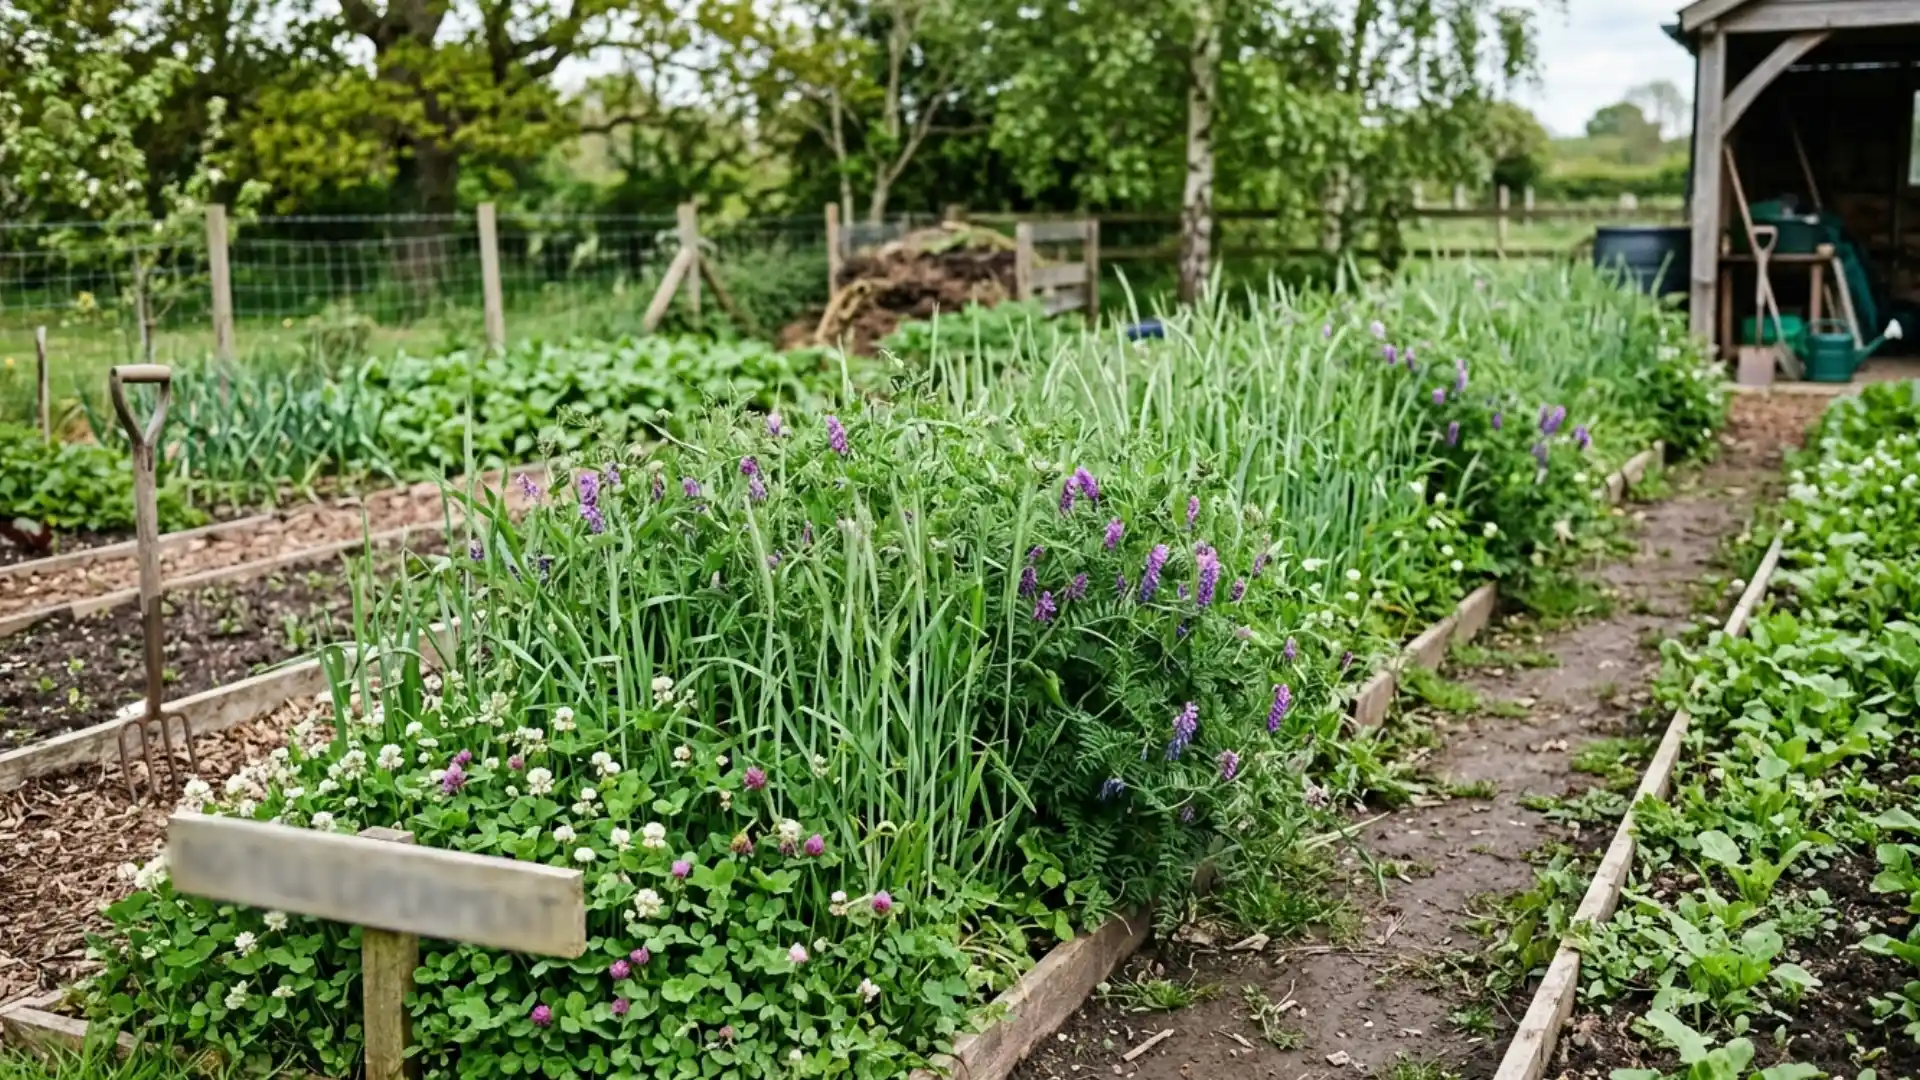
Plant clover, rye, or vetch across tilled ground you’re converting to no-till.
Chop the cover crop down before it seeds, leaving roots intact underground.
This method suits farmland or gardens transitioning away from conventional tilling practices. Roots decompose naturally, adding organic matter while soil structure gradually rebuilds over multiple growing seasons.
Corn and squash pair well because nitrogen-fixing cover crops enrich soil with nutrients these heavy feeders need.
Cover Crops and Living Roots in No-Till Gardening
Bare soil sits idle, but living roots keep working underground.
Plant clover, buckwheat, or oats in gaps between harvests.
Roots exude sugars that feed bacteria and fungi below the surface.
Chop plants down before flowering, dropping the greens as fresh mulch on top. This adds carbon without removing anything from the bed. Rotating cover crops between seasons also prevents nutrient gaps.
Living roots essentially keep the underground ecosystem running, even when nothing edible grows above ground.
How to Prepare Soil Without Tilling
Skip the tiller completely and let layering do the heavy lifting instead.
- Check soil pH and nutrient levels prior to adding any amendments.
- Remove surface debris such as rocks, sticks, and old roots.
- Apply a light, even layer of compost over the entire area.
- Add earthworm castings to enhance microbial activity.
- Pour water gently over the area to encourage proper settling of the layers.
- Add a layer of mulch on top to retain moisture.
- Gently rake to smooth the surface texture.
- Allow the bed to rest for two weeks before planting.
- Apply gypsum if a soil test shows compacted, sodic, or heavy clay ground; gypsum works best on that specific soil type, so testing first saves you from a wasted amendment.
What to Use as No-Till Mulch?
Mulch choice makes or breaks a no-till bed’s success.
Wood chips work great for pathways and perennial beds, breaking down slowly over months.
Shredded leaves add nitrogen back into the soil as they decompose through winter.
Grass clippings suit vegetable rows, but keep layers thin to prevent matting and rot.
Pine needles suit acid-loving plants like blueberries perfectly.
Newspaper layers block weeds before you even put down mulch. Cocoa hulls smell pleasant and deter certain pests naturally, though they’re toxic to dogs if eaten, so skip them in yards where pets roam.
Whatever material you choose, thickness matters more than type; aim for at least three to four inches of coverage.
How to Plant and Harvest Without Disturbing the Soil
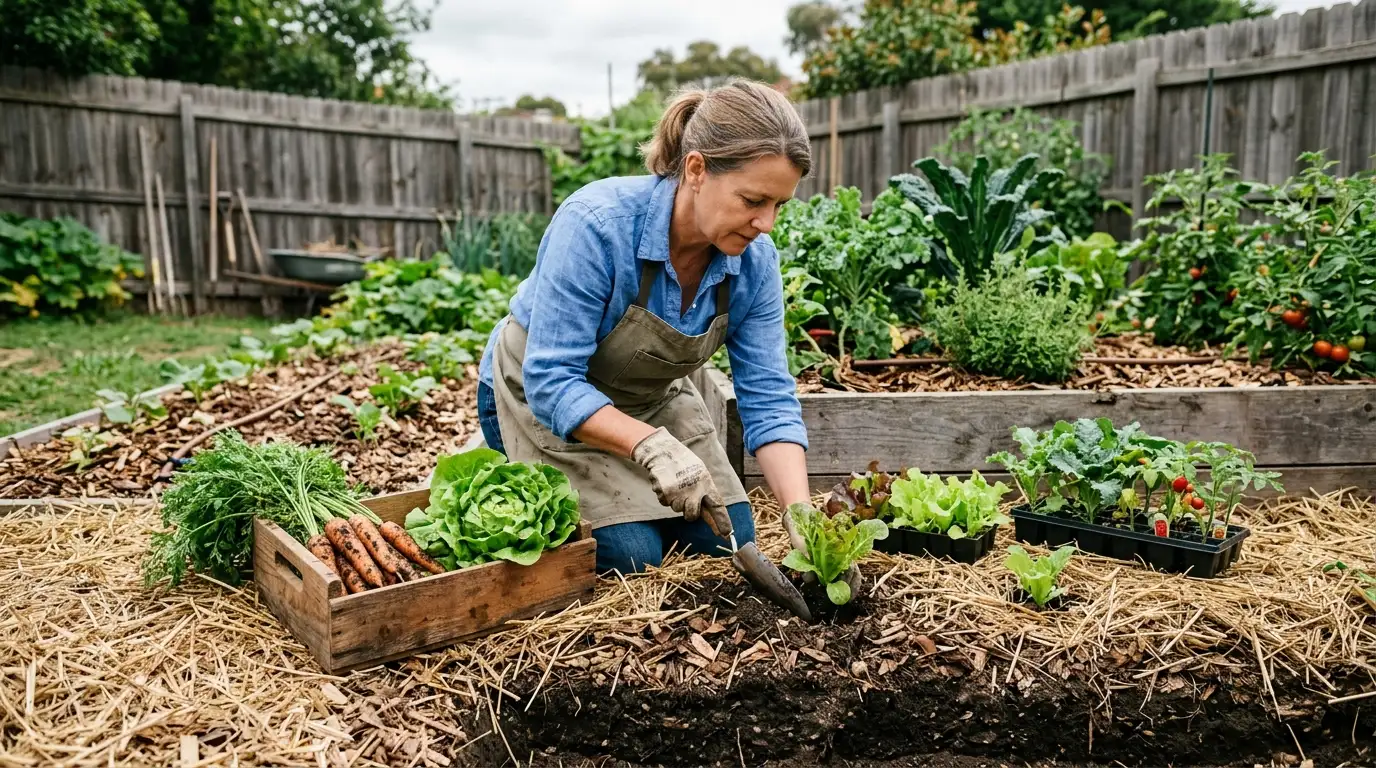
Planting without disturbing soil takes a gentler hand than usual digging methods allow.
- Use a dibber or narrow trowel to create planting holes.
- Gently push mulch aside instead of scooping soil out.
- Drop seeds or seedlings directly into small openings.
- Pat mulch back around stems once planting finishes.
- Water gently right after to help roots settle in.
Harvesting follows the same careful approach.
Pull root vegetables straight up rather than digging around them, keeping surrounding soil layers intact.
Cut leafy greens at the base instead of yanking plants, and snap beans or peppers off stems by hand.
This keeps fungal networks and worm tunnels intact, ensuring the bed continues functioning properly.
Watering and Soil Moisture in No-Till Beds
Undisturbed soil holds water far longer than freshly turned ground.
Mulch layers slow evaporation, so beds need watering less often than you might expect.
Check moisture by pushing a finger two inches down before reaching for the hose.
Drip lines work better than overhead sprinklers, delivering water straight to roots without wasting any. Water early in the morning, letting plants absorb moisture before the afternoon heat arrives.
Overwatering causes more problems than underwatering since dense mulch traps excess moisture near roots.
How to Manage Weeds in a No-Till Garden
Weeds struggle when soil stays covered and undisturbed year-round.
Thick mulch blocks sunlight, stopping most seeds from sprouting at all. Pull stray weeds by hand while they’re young and roots stay shallow. Avoid disturbing soil deeper than necessary during removal.
Overlapping cardboard beneath mulch adds another barrier against persistent growth.
Dense planting also crowds out space weeds might otherwise claim, and pairing that with the basics helps in effective garden weed control, keeping late-season regrowth from taking over.
Dense planting also crowds out space weeds might otherwise claim.
Consistency matters most here: a few minutes weekly beats one exhausting weekend battle every month.
How to Feed a No-Till Garden Throughout the Season?
Feeding happens on top, never mixed in.
Spread compost across the surface every few months, letting rain and worms carry nutrients downward naturally.
Brew compost tea for a quick nutrient boost during heavy fruiting stages. Add aged manure in early spring before planting begins. Sprinkle worm castings around established plants mid-season.
Fish emulsion works well for leafy greens needing extra nitrogen.
Feeding little and often beats one large dose, keeping soil life fed and active continuously.
Crop Rotation and Companion Planting in a No-Till Garden
Rotating crops and pairing them wisely keeps a no-till bed productive without exhausting any single nutrient.
| Crop Group | Rotate After | Good Companion |
|---|---|---|
| Tomatoes | Beans or peas | Basil, marigold |
| Beans/Peas | Corn or squash | Carrots, radishes |
| Corn | Leafy greens | Beans, cucumbers |
| Squash | Tomatoes | Nasturtium, corn |
| Leafy Greens | Root vegetables | Onions, garlic |
| Root Vegetables | Corn or squash | Lettuce, chives |
Pros and Cons of No-Till Gardening
Similar to other cultivation methods, this approach sacrifices some convenience to promote long-term soil health.
Pros of No-Till Gardening
- Gradually develops a more complex soil structure each year.
- Overall, it demands less physical effort.
- Improves more robust microbial and fungal networks.
- Lowers erosion levels during intense rainfall.
- Promotes consistent, long-term yield increases.
Cons of No-Till Gardening
- It takes more time to observe results at the beginning.
- Needs reliable access to organic materials.
- Can be difficult to work with highly compacted native soil.
Common No-Till Gardening Problems and How to Fix Them
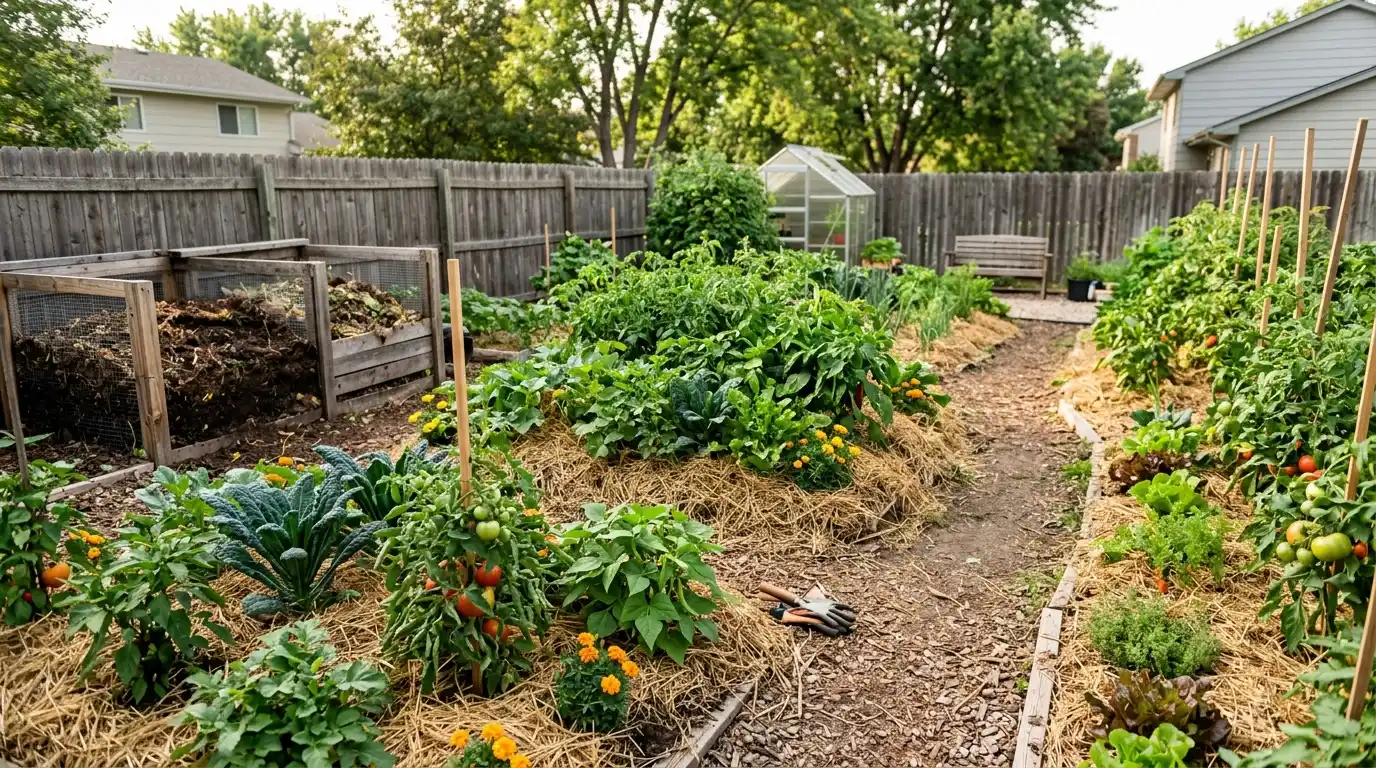
Even durable no-till beds can face issues; here’s how to resolve them quickly.
1. Slugs and Pests Hiding Under Mulch: Thick mulch shelters slugs and pests. Pull mulch back near stems, and use diatomaceous earth or beer traps to control populations without harming beneficial soil organisms.
2. Nitrogen Tie-Up from Fresh Wood Chips: Fresh wood chips pull nitrogen from soil as they break down.
Keep chips on top rather than mixing them in, and add extra compost nearby to balance the temporary deficit.
3. Soggy, Waterlogged Beds After Rain: Dense mulch can trap excess moisture during heavy rain.
Rake it thinner temporarily and ensure beds have proper drainage slopes to prevent pooling around roots.
4. Persistent Weeds Pushing Through Mulch: Aggressive weeds like bindweed can penetrate thick mulch.
Use a cardboard barrier underneath and reapply mulch generously until growth ceases.
5. Slow Soil Improvement in Compacted Areas: Heavily compacted soil takes longer to loosen without tilling. Add gypsum, plant deep-rooted cover crops like daikon radish, and be patient as roots naturally break up compaction.
A Simple No-Till Garden Routine for Each Season
A few consistent habits each season keep a no-till garden running smoothly year-round.
- Spring: Refresh mulch layers and direct-sow early cool-season crops.
- Summer: Monitor moisture closely and harvest steadily as crops mature.
- Fall: Sow cover crops and layer fresh compost before dormancy.
- Winter: Plan crop rotations and let beds rest undisturbed.
Is No-Till Gardening Right for Your Garden?
Small yards and raised beds suit this method especially well.
Gardeners short on time benefit most, since maintenance drops significantly after setup. Those with access to compost, mulch, or fallen leaves find the transition smoother.
Extremely rocky or heavily compacted land might need extra patience upfront.
Anyone wanting healthier soil without constant digging fits this approach naturally. Consider your available materials, time, and soil condition honestly before committing.
The right fit depends entirely on what your space and schedule allow.
No-Till Gardening Compared to Other Methods
Comparing methods highlights differences between soil-disturbing and soil-preserving approaches.
| Method | Soil Disturbance | Labor Level | Best For |
|---|---|---|---|
| No-Till | None | Low, ongoing | Long-term soil health |
| Traditional Tilling | High | High, seasonal | Quick bed preparation |
| Double Digging | Very high | Very high, one-time | Deep root vegetables |
| Container Gardening | None | Moderate | Limited or poor space |
| Raised Row Farming | Low | Moderate | Larger-scale production |
Frequently Asked Questions (FAQ’s)
1. Why Don’t More Farmers Use No-Till?
Large-scale equipment and current infrastructure favor tilling, making the switch costly and slow.
2. What Can I Do Instead of Tilling?
Layer compost, mulch, and organic matter directly on top of existing soil.
3. Will Tilling Get Rid of Grass?
Tilling only breaks grass roots temporarily, and most varieties grow right back.
4. What is the Best Way to Till a Garden?
Use a broadfork or shallow cultivator instead to disturb only the top few inches.
5. What is a Disadvantage to Using No-Till?
Results take longer to show compared to conventional, immediately loosened soil.
End Note!
Soil rewards patience far more than force, and no-till gardening proves that season after season.
Layers replace labor, and time replaces effort spent wrestling with tillers.
What starts as bare ground transforms into a self-sustaining system within a year or two. Every method covered here fits somewhere: rocky lots, sandy patches, compacted clay- none of it stands in the way permanently.
Start small if space feels overwhelming, then expand once you build confidence.
Tried one of these methods already?
Drop your results in the comments; it helps other readers pick the right starting point for their own yard.