Wallpaper has a funny way of overstaying its welcome. What once felt charming can slowly start to feel tired, and before you know it, you’re staring at the walls wondering where to even begin.
Peeling corners, dated patterns, or just the need for something new, all of it is reason enough to start over.
Getting it off might sound intimidating, especially with glue residue and stubborn layers in the picture, but the process is far more manageable than most people expect.
Everything you need to know about tackling any wallpaper type, any wall, and any stubborn patch is right here, waiting to make your walls smooth, clean, and completely yours again.
What to Know Before Removing Wallpaper?
Not all wallpaper comes off the same way. Vinyl wallpaper tends to peel in sheets, peel-and-stick varieties lift off with minimal effort, while traditional wallpaper soaked in old adhesive is where things get tricky.
Wall age and condition matter just as much as the wallpaper type, since older walls, especially drywall, can tear if handled too aggressively.
Before anything, gather your scraper, scoring tool, spray bottle, and drop cloths.
And mentally prepare for the process, because depending on how many layers you are working with, this can take anywhere from an afternoon to a full weekend.
Tools and Materials You’ll Need
Getting your tools ready before you start saves a lot of back-and-forth mid-project.
Here is everything you want within arm’s reach:
- Wallpaper scraper or putty knife for lifting and peeling away layers
- Spray bottle or garden sprayer to dampen and loosen the wallpaper
- Warm water mixed with a splash of fabric softener as your soaking solution
- Sponge, rags, and drop cloths to manage the mess as you go
- Painters tape and plastic sheets or garbage bags to protect your floors
- A steamer for walls that simply refuse to cooperate
Step-by-Step: How to Remove Wallpaper?
No special equipment, no overcomplicated products, just a solid process that actually works. Follow these steps and your walls will be clean before you know it.
Step 1: Peel Off the Top Layer
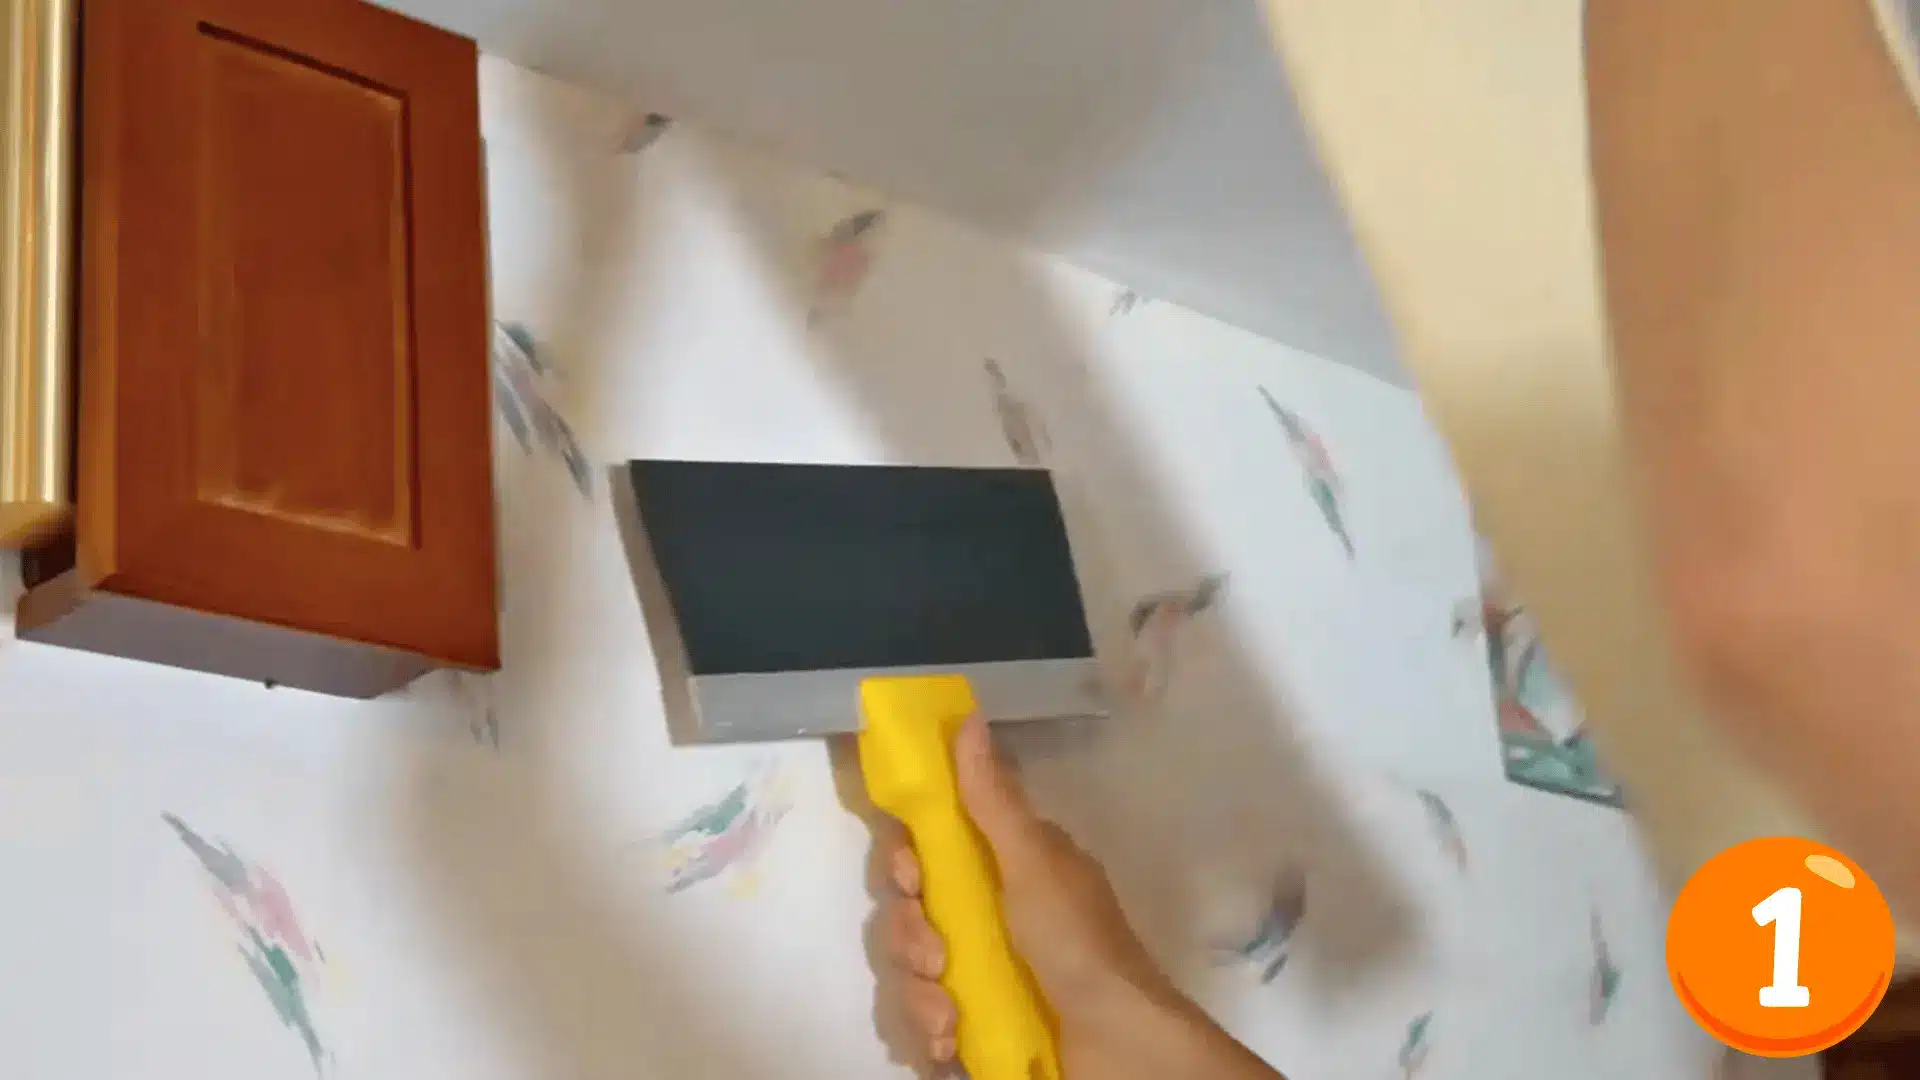
Start by scraping off the first layer using a putty or taping knife. Look for loose corners or edges and work your way across.
Your nails can actually help here for grabbing stubborn bits. This layer usually comes off dry, so no soaking needed just yet.
Step 2: Mix Your Wallpaper Solution
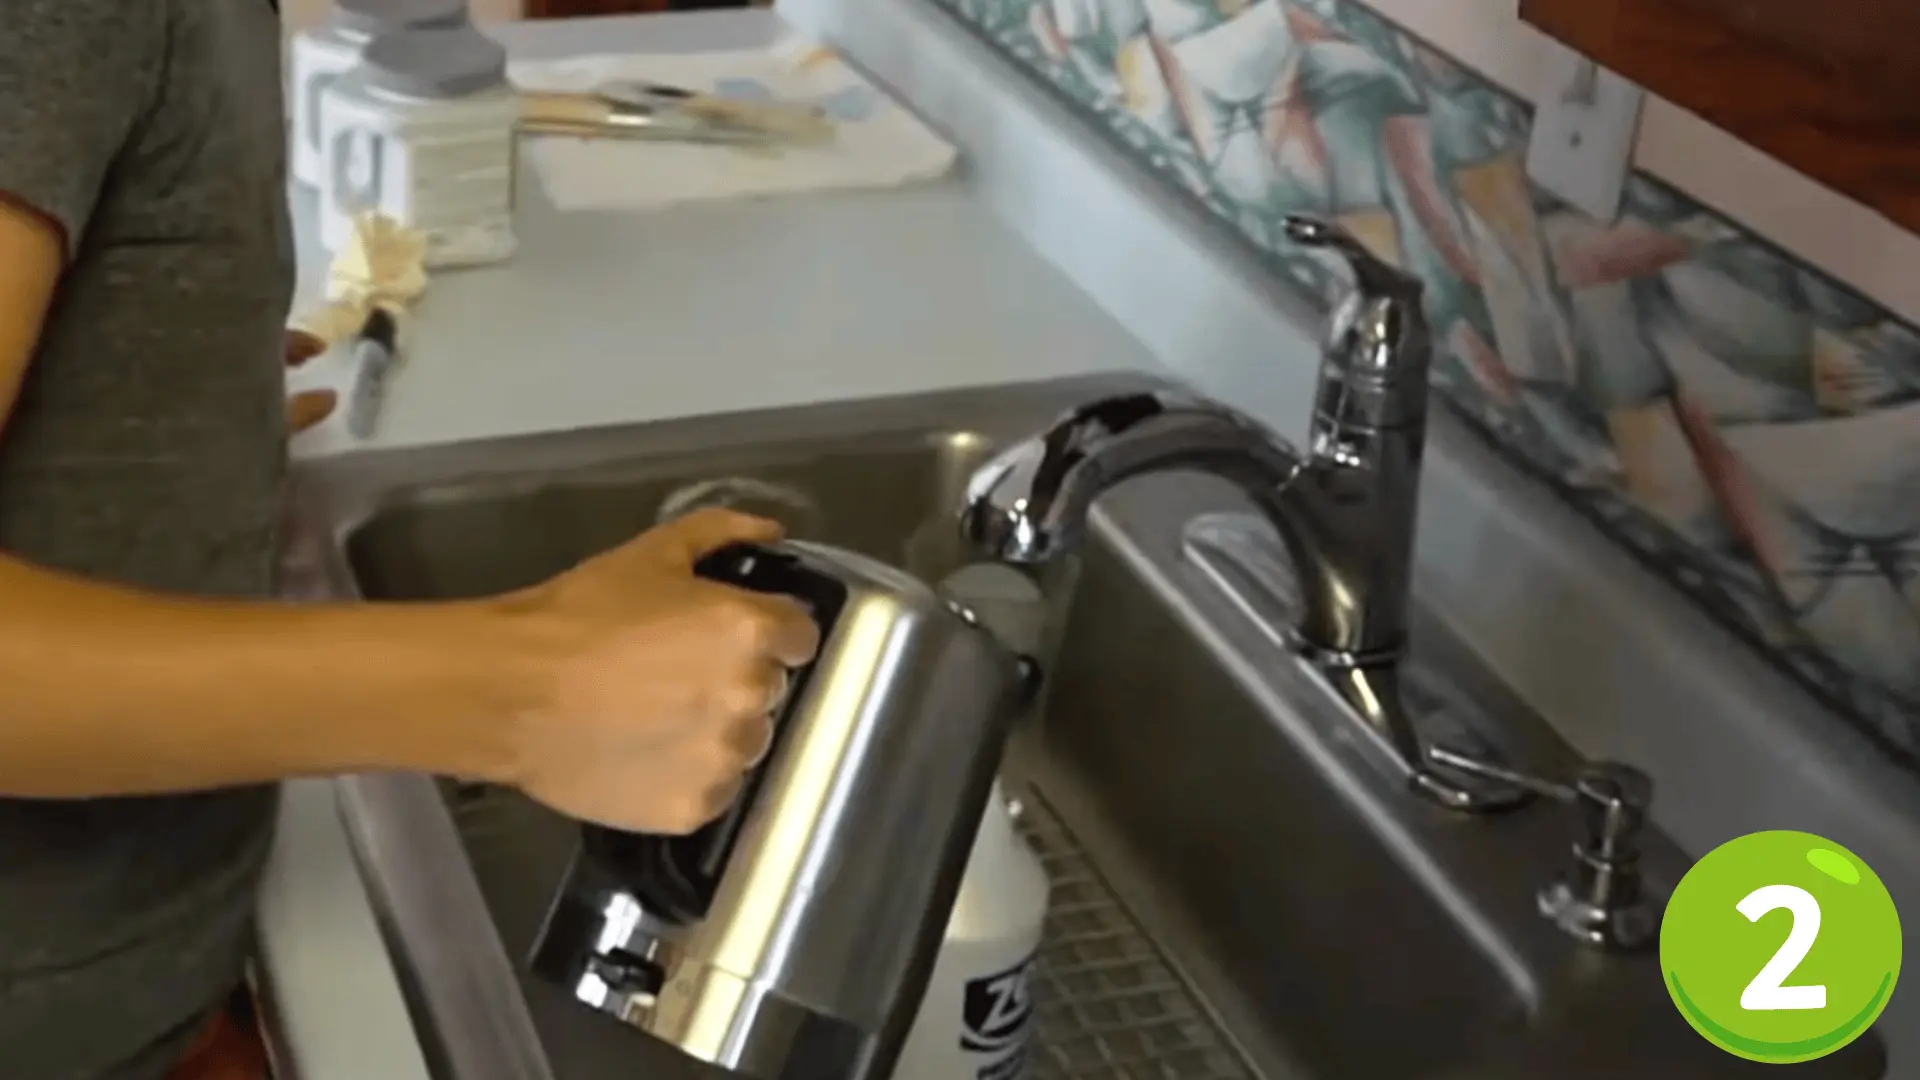
Combine 3 parts warm water with 1 part fabric softener for your removal solution. You do not absolutely need it, but it makes the process smoother and smells a lot better than plain water.
Pour it into a spray bottle or garden sprayer and get ready to go.
Step 3: Turn Off the Electricity
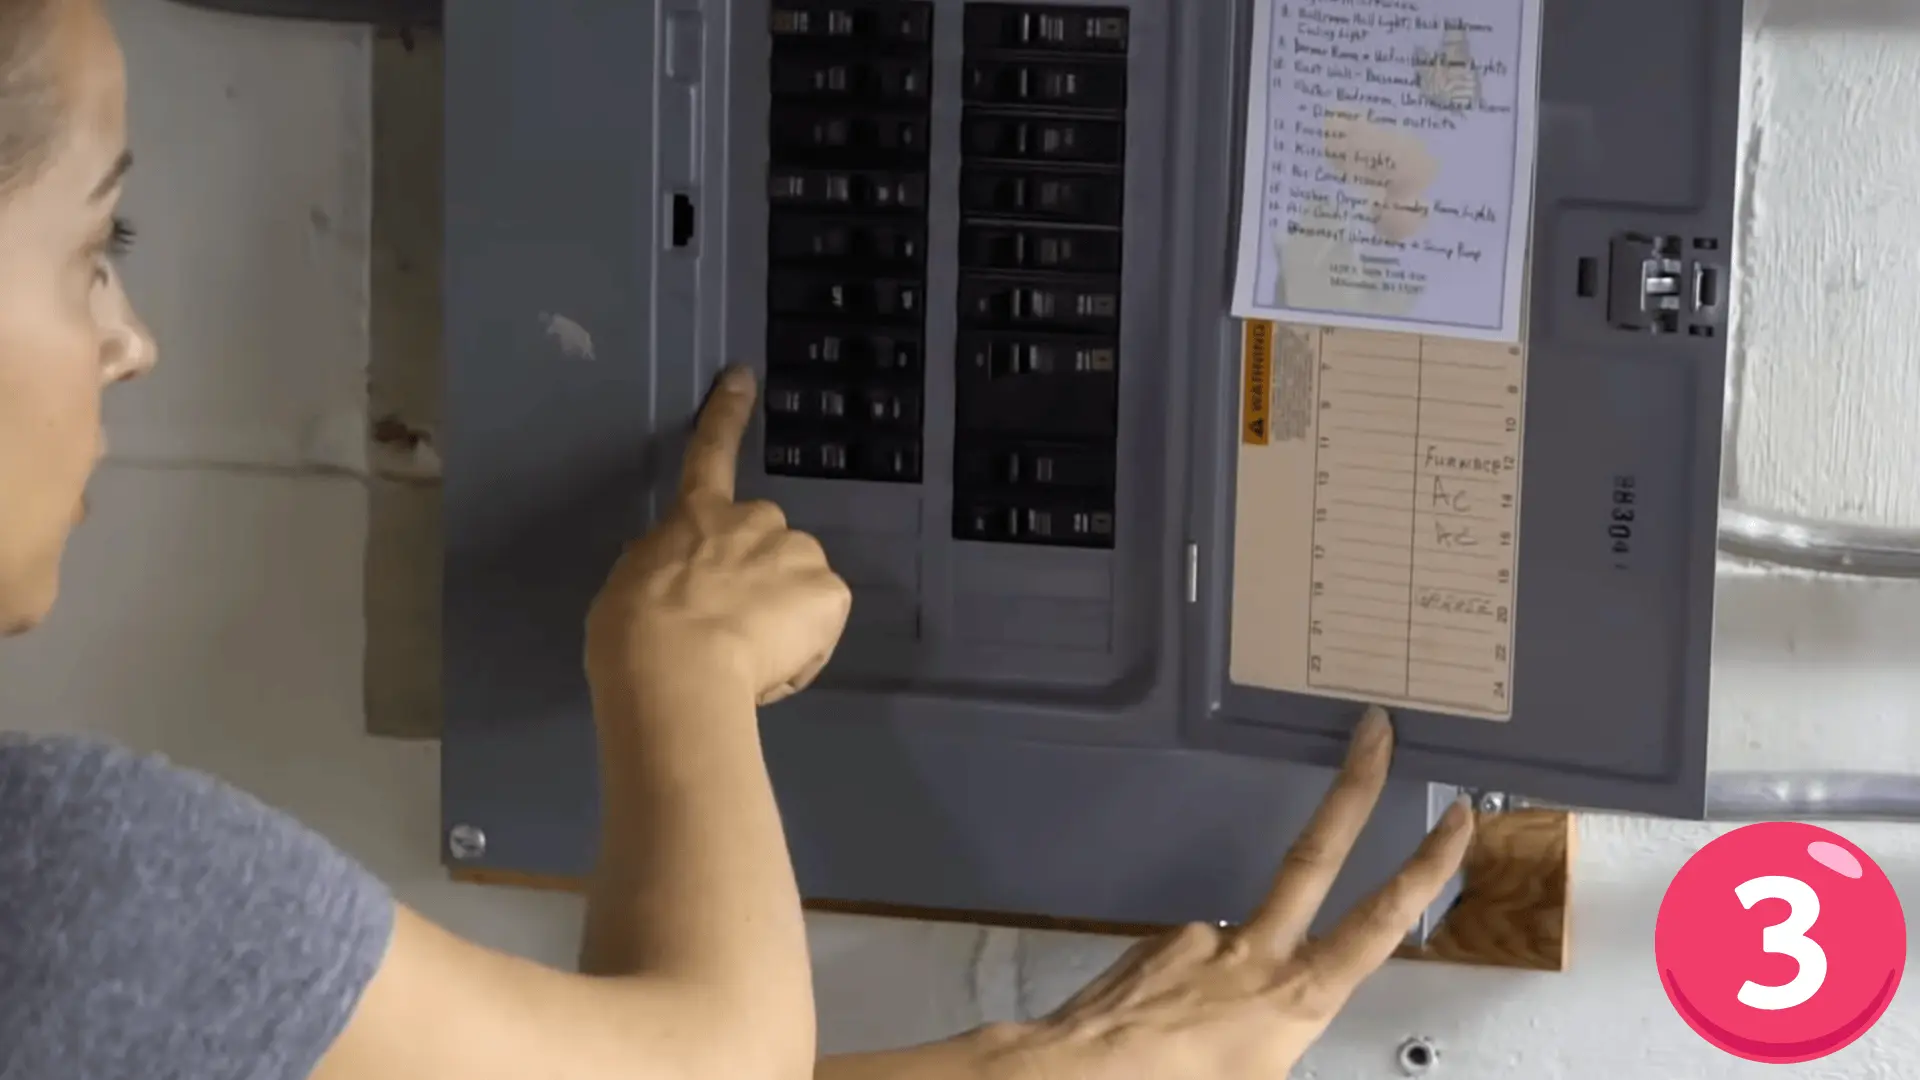
Before spraying anything, head to your circuit box and switch off the outlets in the room you are working in.
Water and electricity are not a good combination, and this is one step worth taking seriously before you start soaking the walls.
Step 4: Protect Your Floors and Spray the Wall
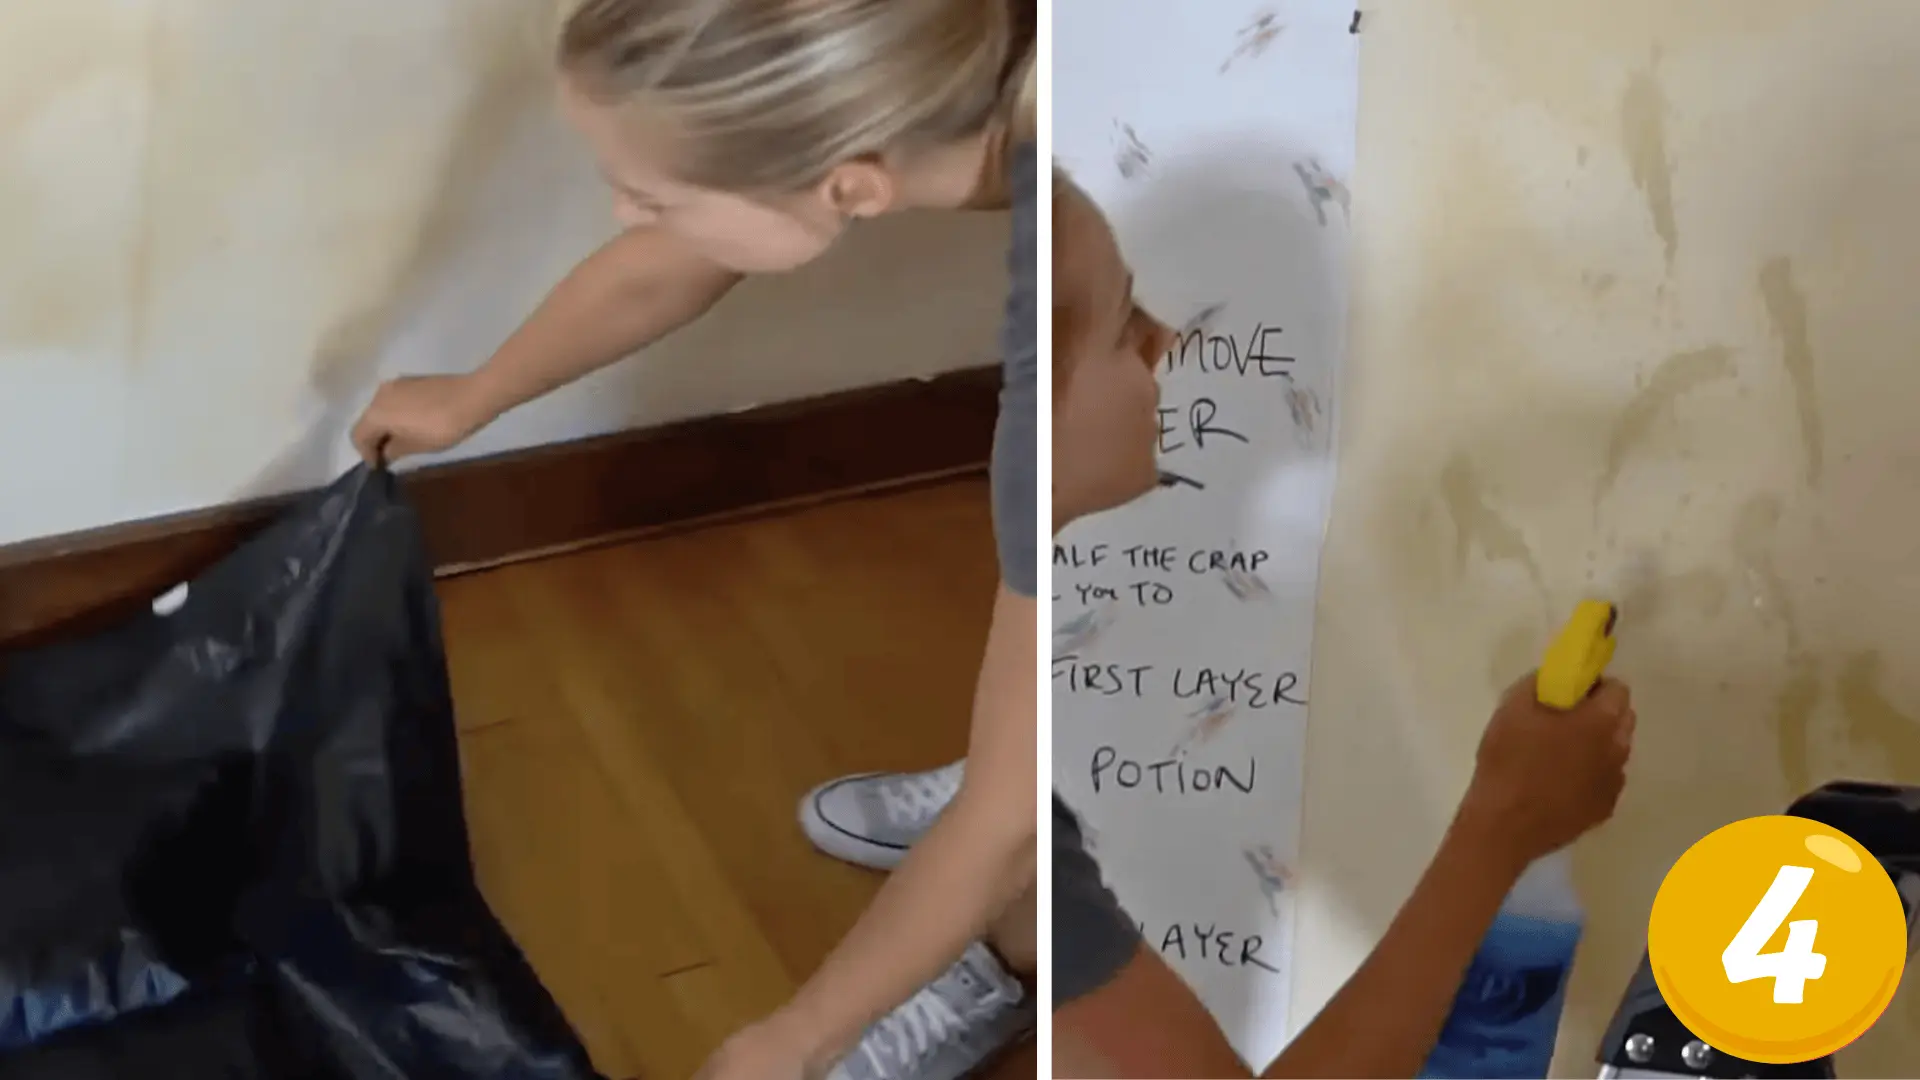
Lay down plastic sheets or garbage bags and secure them with painters tape.
Then spray the second layer generously with your solution, let it sit for about three minutes, and allow the fabric softener to re-loosen the glue underneath before you start scraping.
Step 5: Scrape Off the Remaining Layer
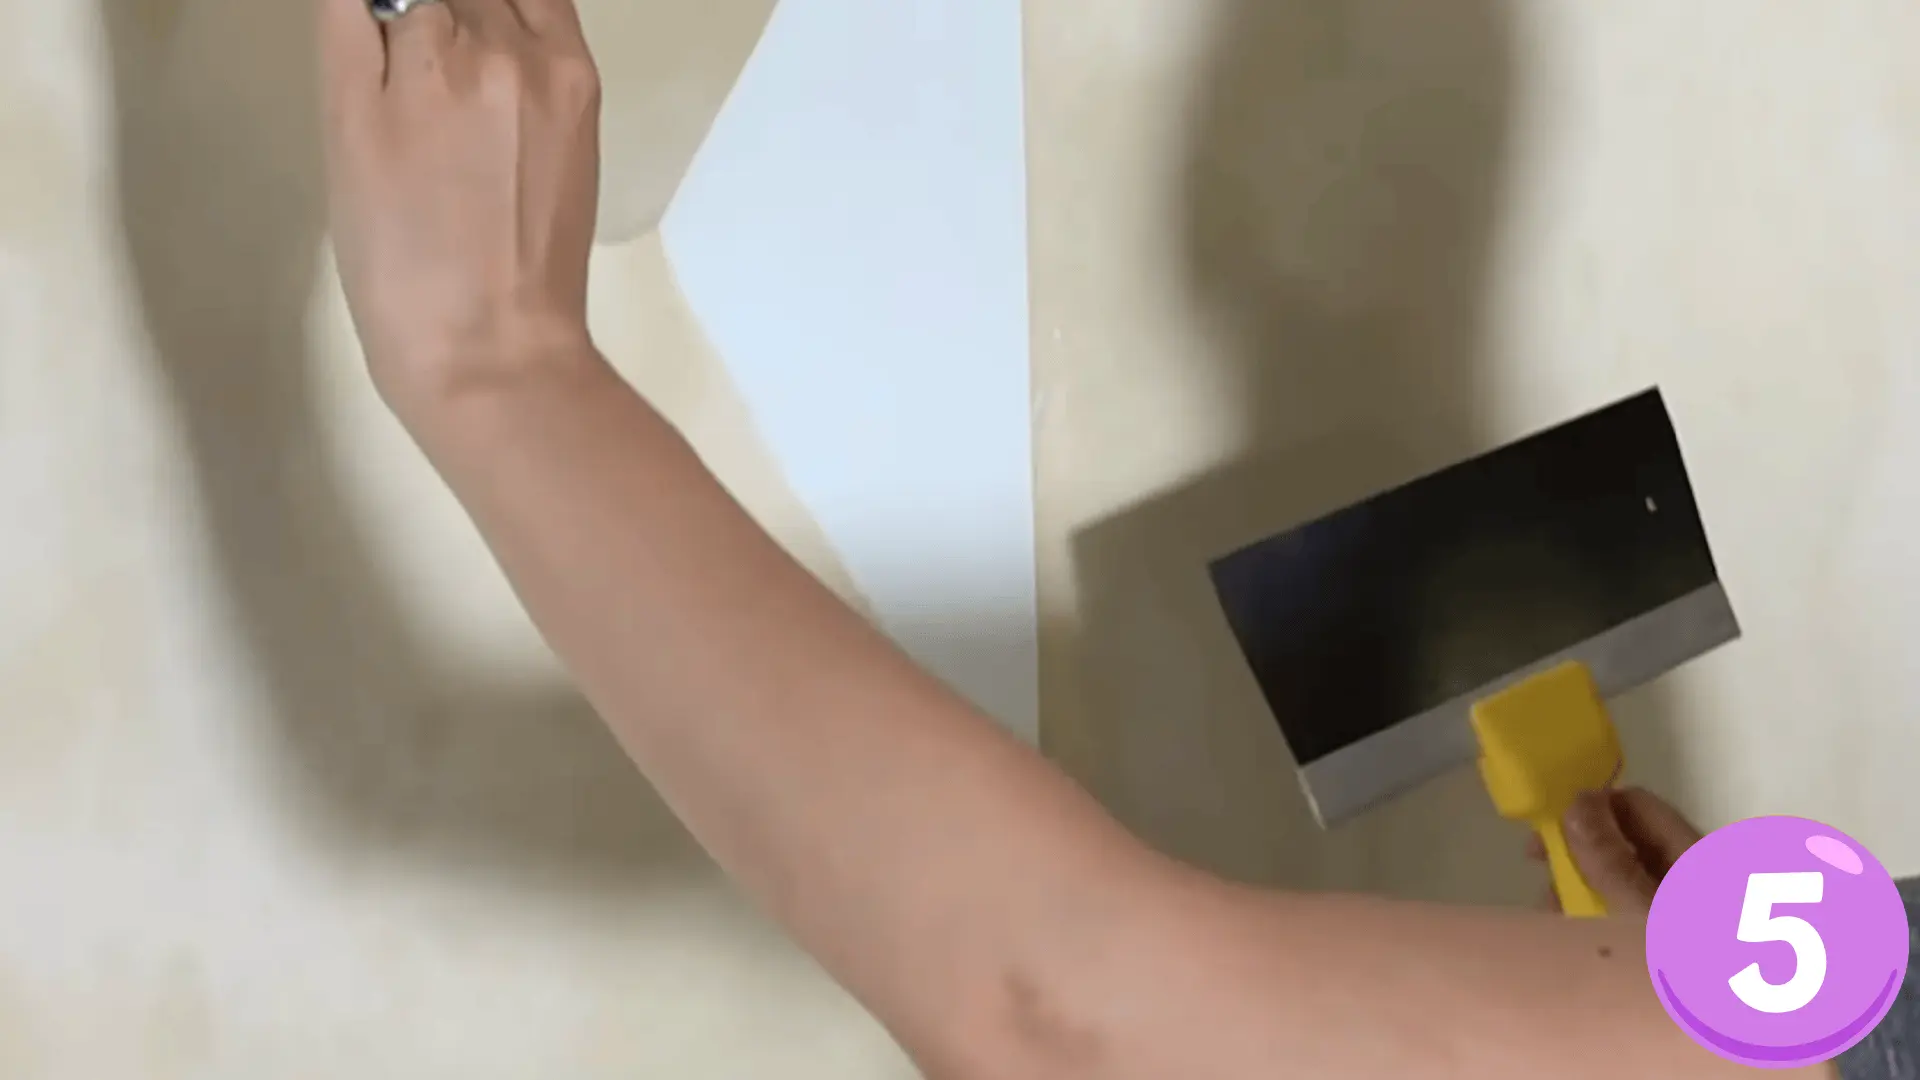
Once the wall has soaked, go in with your scraper and peel away the backing and adhesive. Work in sections, re-spraying as needed.
The glue should come off in satisfying strips, leaving your wall clean, smooth, and completely ready for whatever comes next.
For a more detailed walkthrough of the process, check out the complete video tutorial below by
Alex Wehrley.
Best Methods for Removing Wallpaper
Every wall tells a different story, and the removal method that works best really depends on what you are dealing with.
Here is a breakdown of the most effective approaches so you can pick what suits your wall best.
1. Soap and Water Method
The most budget-friendly option on the list, and honestly, it works better than most people expect.
A simple mix of warm water and dish soap is enough to loosen standard wallpaper without any harsh chemicals involved.
- Step 1: Mix warm water with a few drops of dish soap in a spray bottle
- Step 2: Spray the wall generously and let it soak for a few minutes
- Step 3: Start scraping from the edges using a putty knife or scraper
- Step 4: Re-spray stubborn sections and repeat until the wall is clean
2. Vinegar Solution Method
If you prefer keeping things natural, white vinegar is surprisingly effective at breaking down old adhesive.
It cuts through glue residue without damaging your walls, making it a great option for anyone avoiding chemical-based products.
- Step 1: Mix equal parts warm water and white vinegar in a spray bottle
- Step 2: Apply generously to the wall and let it sit for a few minutes
- Step 3: Scrape away the loosened wallpaper in slow, steady motions
- Step 4: Wipe the wall down with a damp cloth to remove any leftover residue
3. Commercial Wallpaper Remover
When soap and vinegar are not quite cutting it, a commercial remover gives you that extra strength without requiring much more effort.
Products like DIF Wallpaper Remover Concentrate are widely trusted and easy to use.
- Step 1: Dilute the solution as directed on the product label
- Step 2: Apply to the wall using a sponge, spray bottle, or garden sprayer
- Step 3: Allow it to penetrate for the recommended time before scraping
- Step 4: Work in sections to keep the wall consistently damp throughout
4. Steam Removal Method
For older homes, multiple wallpaper layers, or adhesive that has practically fossilized onto the wall, steam is your best option.
A wallpaper steamer like the Wagner Spraytech 725 Wallpaper Steamer softens even the most stubborn glue without soaking your walls in excess moisture.
- Step 1: Fill the steamer with water and allow it to heat up fully
- Step 2: Hold the steam plate against the wall for around thirty seconds per section
- Step 3: Scrape immediately while the adhesive is still warm and soft
- Step 4: Move across the wall in sections, steaming and scraping as you go
5. Peel-and-Stick Wallpaper Removal
This one is the easiest removal of the bunch. Peel-and-stick wallpaper is designed to come off cleanly, making it a low-stress, minimal-tool situation from start to finish.
- Step 1: Start at a corner or edge and peel back slowly at a low angle
- Step 2: Use a plastic scraper or your fingers to lift any sections that resist
- Step 3: If residue remains, a little warm water or adhesive remover will take care of it
- Step 4: Wipe the wall down once done to leave a clean, smooth surface
Tips for Faster and Easier Wallpaper Removal
A little strategy goes a long way when it comes to wallpaper removal. Keep these in mind and the whole process moves much more smoothly.
- Work in small, manageable sections so the solution does not dry out before you get to scraping.
- Keep re-spraying as you go, walls need to stay consistently damp for the adhesive to release properly.
- Always use a sharp scraper, a dull blade drags and damages the wall more than it helps.
- For large rooms, having an extra set of hands makes the job significantly faster and less exhausting.
- Score resistant wallpaper lightly before soaking so the solution can actually penetrate through.
Wallpaper removal does not have to be an all-day battle. A steady pace, the right tools, and a bit of patience are really all it takes to get your walls looking clean and fresh again.
What to Do After Removing Wallpaper?
The hard part is done, but your walls need a little love before anything new goes up.
Start by inspecting the surface for tears, dents, or gouges, and fill them in with spackling compound or joint compound.
Once dry, sand everything down until the wall feels smooth to the touch. Next comes priming, which is the step most people skip and later regret.
A good primer seals the surface, prevents moisture from warping your drywall, and gives paint or new wallpaper something solid to grip onto.
Skip it and you will likely run into peeling and uneven finishes down the line.
Final Thoughts
Removing wallpaper is one of those home projects that feels far more intimidating going in than it actually is once you get started.
With the right approach and a little patience, you can turn outdated walls into a completely fresh canvas without losing your mind over it.
Planning to paint over it or bring in something new entirely, knowing how to remove wallpaper properly makes all the difference in how the final result turns out.
Tried any of these methods yourself? Drop your experience in the comments below, would love to hear what worked best for you.