
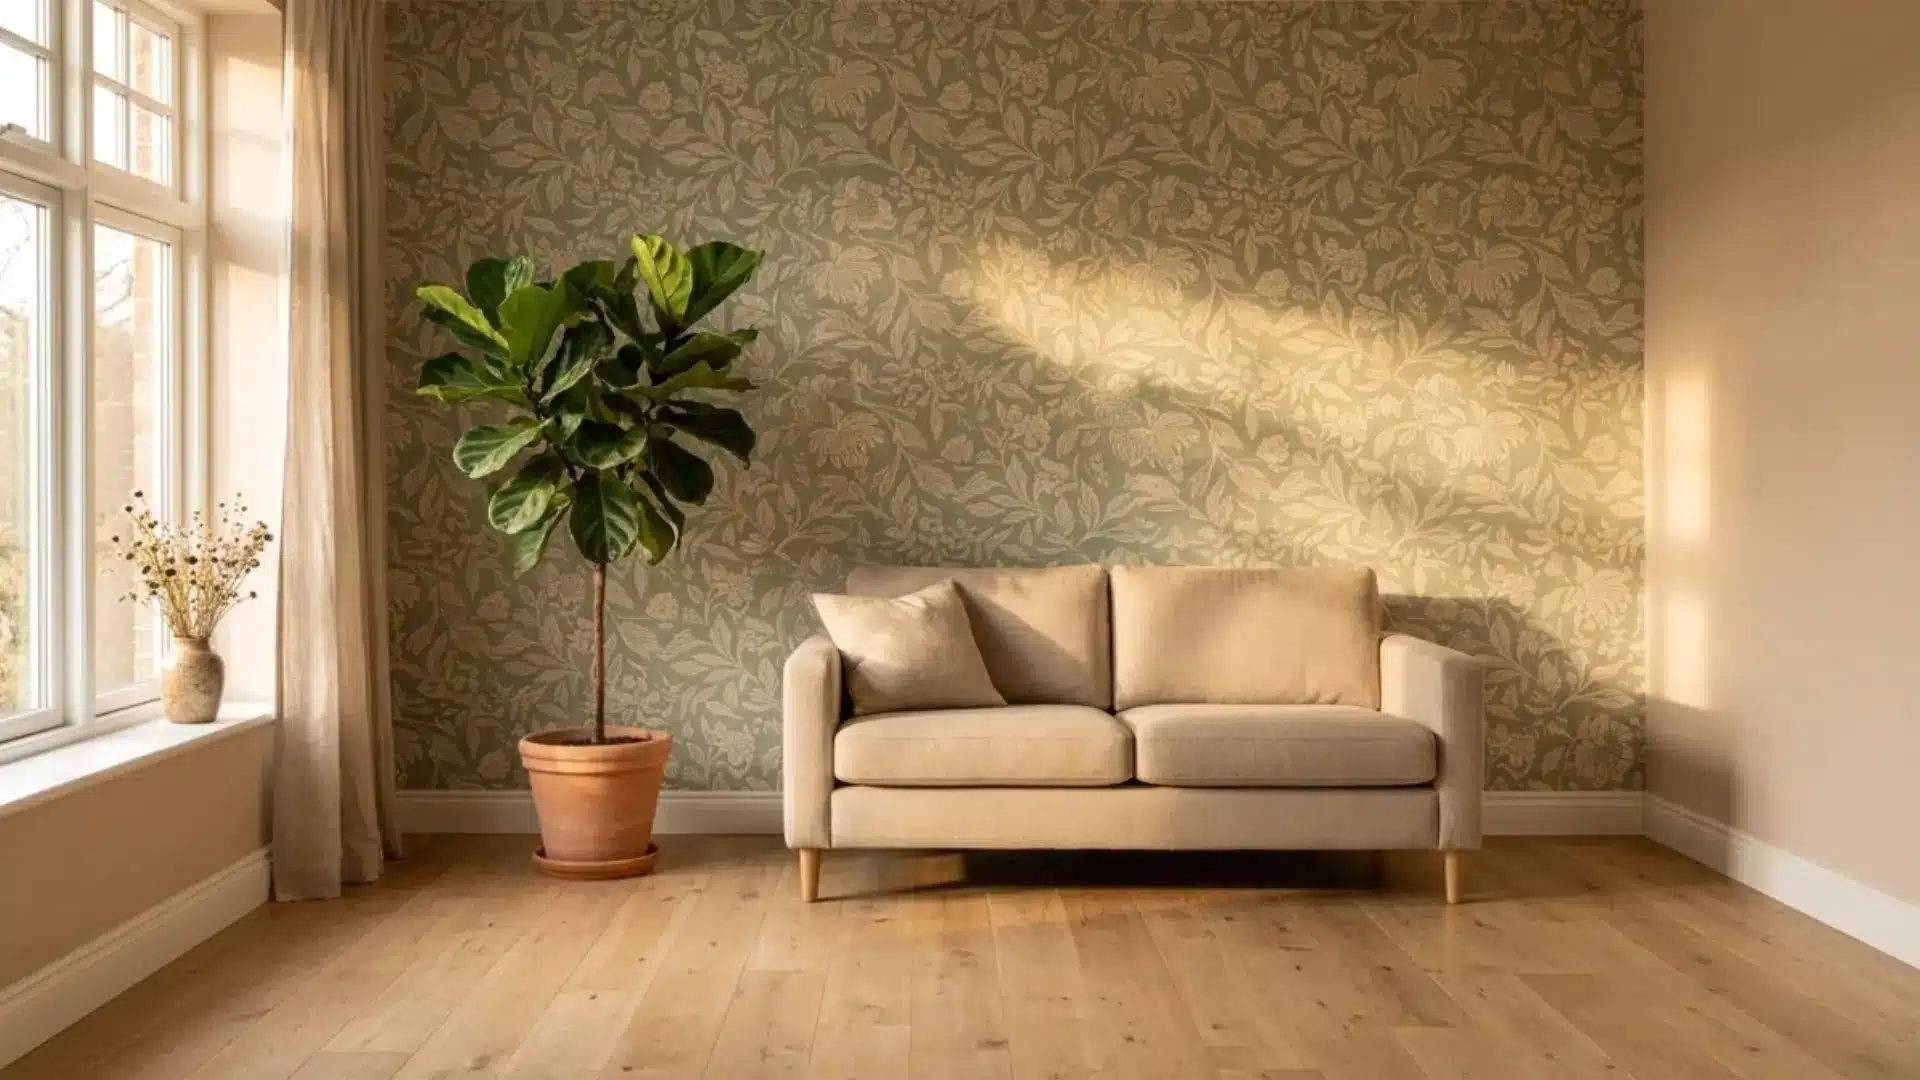
Wallpaper gives you an easy way to try something different with your walls. Learning to hang wallpaper doesn’t take special training.
All it takes is patience, basic tools, and a steady hand. I still get a little nervous every time I cut that first strip. But once the paste goes on, my hands just seem to know what to do.
A plain wall can gain pattern, texture, and color pretty fast. You can pick a design that fits your taste and space. Small mistakes happen along the way, but they are easy to fix.
So, clear some space, pick your favorite pattern, and get your wall ready for its new look.
What Makes Wallpaper Different From Painting?
Wallpaper and paint both cover walls, but they work differently. Paint gives a smooth, flat color with little variation. Wallpaper adds pattern, depth, and texture that paint cannot copy.
It offers more visual options, like florals, stripes, or textured finishes. Installation takes more care, since seams need to line up and edges must stay smooth.
Paint is quicker and more forgiving of small mistakes. Wallpaper can bring in fine patterns, from small prints to bold textures, giving a room more personality.
It also lasts for years, so the pattern choice matters for long-term style. Paint colors are easier to update when trends change.
What Are the Different Types of Wallpaper?
Every type of wallpaper has its own material and its own way of going up, something I picked up after a bit of trial and error. Here are the main types I keep in mind now:
| Wallpaper Type | Adhesive Method | Best For | Repositioning |
|---|---|---|---|
| Paste-the-wall | Adhesive is spread directly onto the wall, then paper is hung dry | Beginners looking for a simpler hanging process | Limited once paper touches the wall |
| Paste-the-paper | Paste goes onto the back of the sheet, then it rests briefly, a step called booking | Traditional or heavier wallpaper types | Limited after the booking period ends |
| Peel-and-stick | Backing is already sticky, so no separate paste is needed | Renters or short-term projects | Often repositionable during the hanging process |
Picking the right type makes the job easier. Renters should compare a few peel-and-stick wallpaper options first, since quality varies.
How to Prepare Walls for Wallpaper?
Good preparation has a major impact on how the finished wall turns out. A few simple steps at this stage can prevent most problems later.
- Remove any old wallpaper and leftover adhesive residue, then clean the surface well.
- Fill nail holes, dents, and cracks, letting the filler dry fully before sanding smooth.
- Clean the walls to remove dust, dirt, and grease, then let them dry completely.
- Sand rough patches and bumps that could show through the new wallpaper.
- Apply a wallpaper primer suited to the product, since it helps installation and future removal.
Taking time on these steps really pays off later. Remove any old paper still on the wall using safe wallpaper-stripping tips before you move on to filling and priming.
What Do You Need to Hang Wallpaper?
I always find that having the right supplies on hand makes my wallpaper project go a lot smoother. Since paste-the-wall wallpaper needs fewer prep steps than paste-the-paper types, here is the basic list I gather before starting:
| Supply | Estimated Cost Range (USD) |
|---|---|
| Wallpaper | $30 – $150 per roll |
| Wallpaper paste or adhesive | $15 – $40 per tub |
| Wallpaper smoothing tool | $8 – $20 |
| Utility knife with sharp blades | $10 – $20 |
| Seam roller | $5 – $15 |
| Spirit level or laser level | $10 – $50 |
| Step ladder | $40 – $100 |
| Wallpaper primer | $20 – $40 per gallon |
Prices can vary based on brand, quality, and room size. Gathering these items ahead of time helps the project move along without delays.
How Many Rolls of Wallpaper Will You Need?
A standard double roll of wallpaper covers about 56 square feet of wall space. Sizes vary by brand, so always check the label before you order.
Start by measuring your wall’s height and width, then multiply those numbers. Divide that total by 56 to get a rough roll count.
Round up to the next whole roll once you get your number. Add 10 to 15 percent extra for trimming and pattern matching. A wall that’s 10 feet wide and 8 feet tall covers 80 square feet.
That wall would need 2 double rolls once you add the extra buffer. Buying a little more always beats running short halfway through your project.
How to Hang Wallpaper: Step-by-Step Process
I have learned that hanging wallpaper comes down to careful measuring, pasting, and smoothing. Here is how I do it, step by step:
Step 1. Measure and Mark Your First Strip
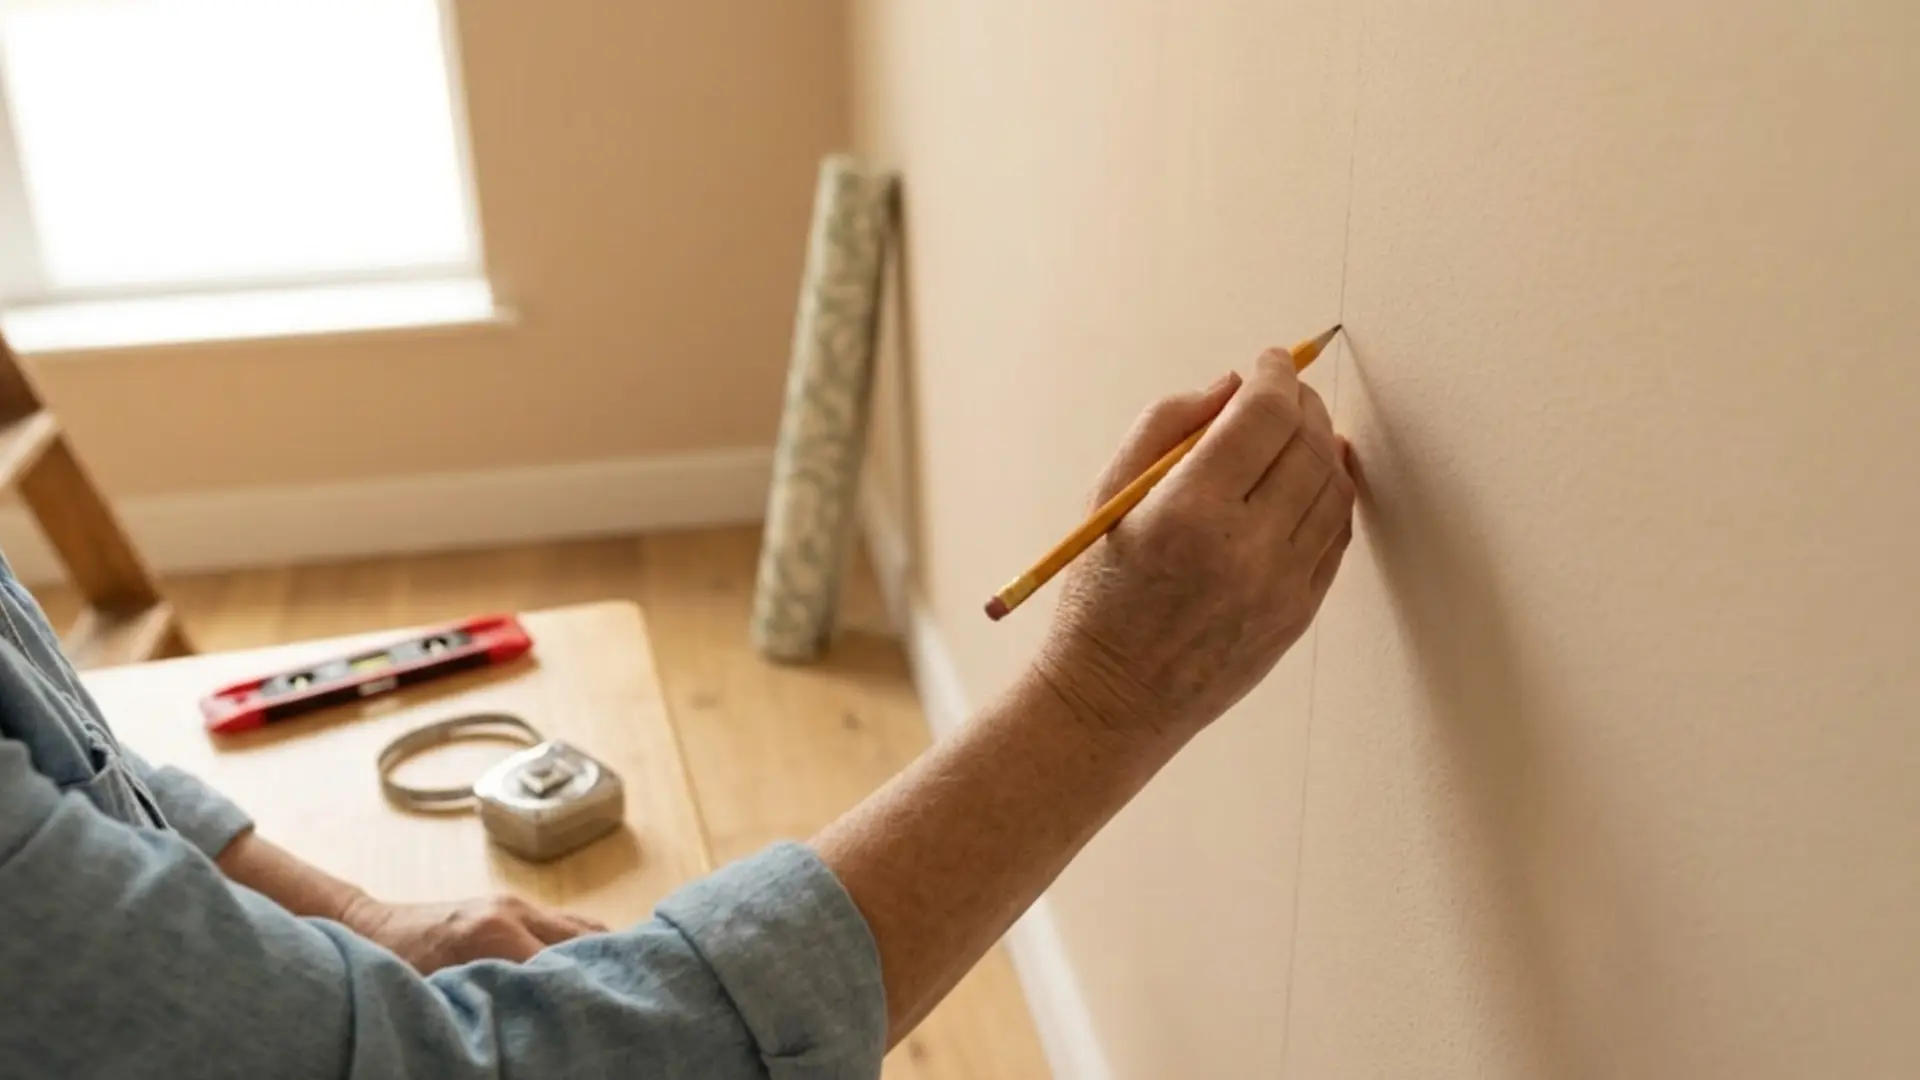
Start by measuring the full height of the wall from ceiling to baseboard. Add 2 to 4 extra inches at the top and bottom for trimming later.
Next, mark a straight vertical line about 20 to 22 inches from the starting corner. Check that line with a level before moving forward. Walls are rarely perfectly straight, so this guideline matters most.
Step 2. Cut the First Wallpaper Strip
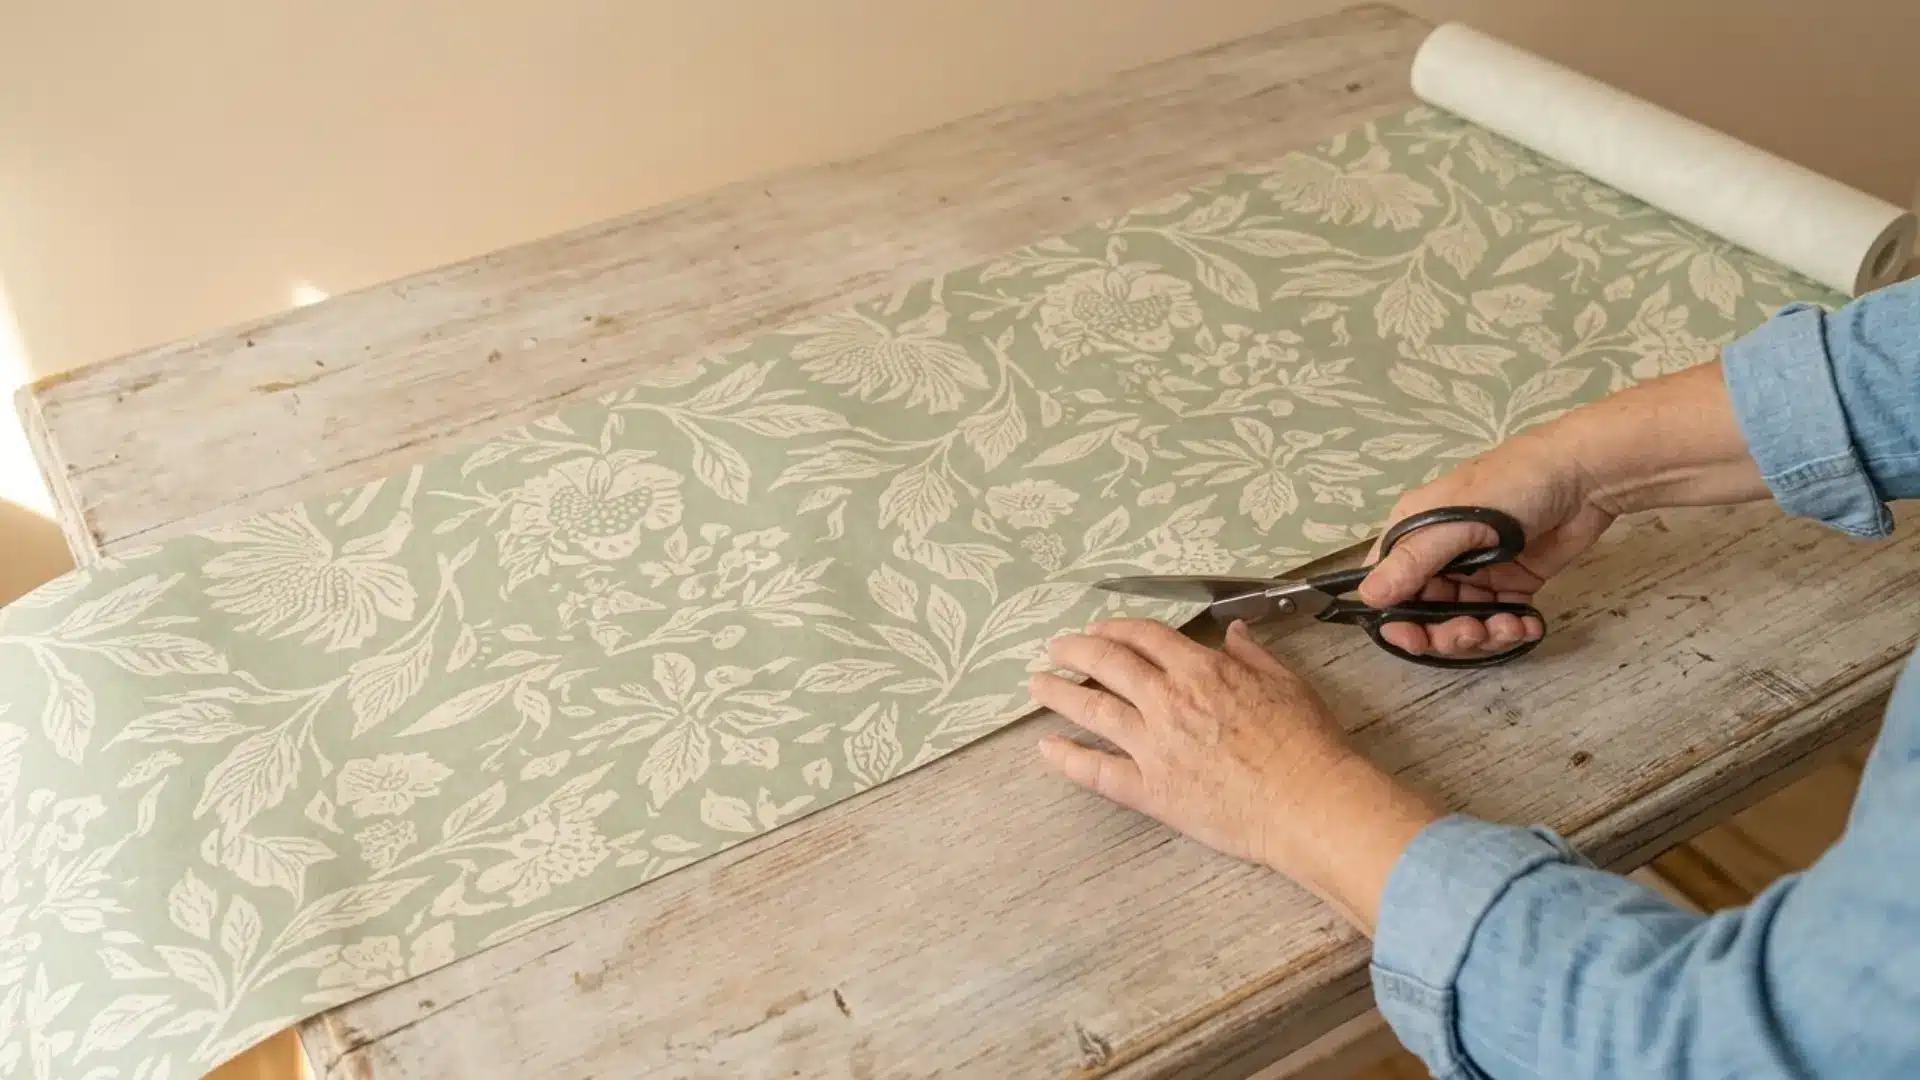
Cut the first strip 4 inches longer than the wall height to allow small adjustments. Before cutting, check which end of the roll is the top.
Keep the pattern facing the same direction on every strip. If the design needs to line up, measure the pattern repeat listed on the label before each cut. This extra step saves trouble later.
Step 3. Apply the Wallpaper Paste
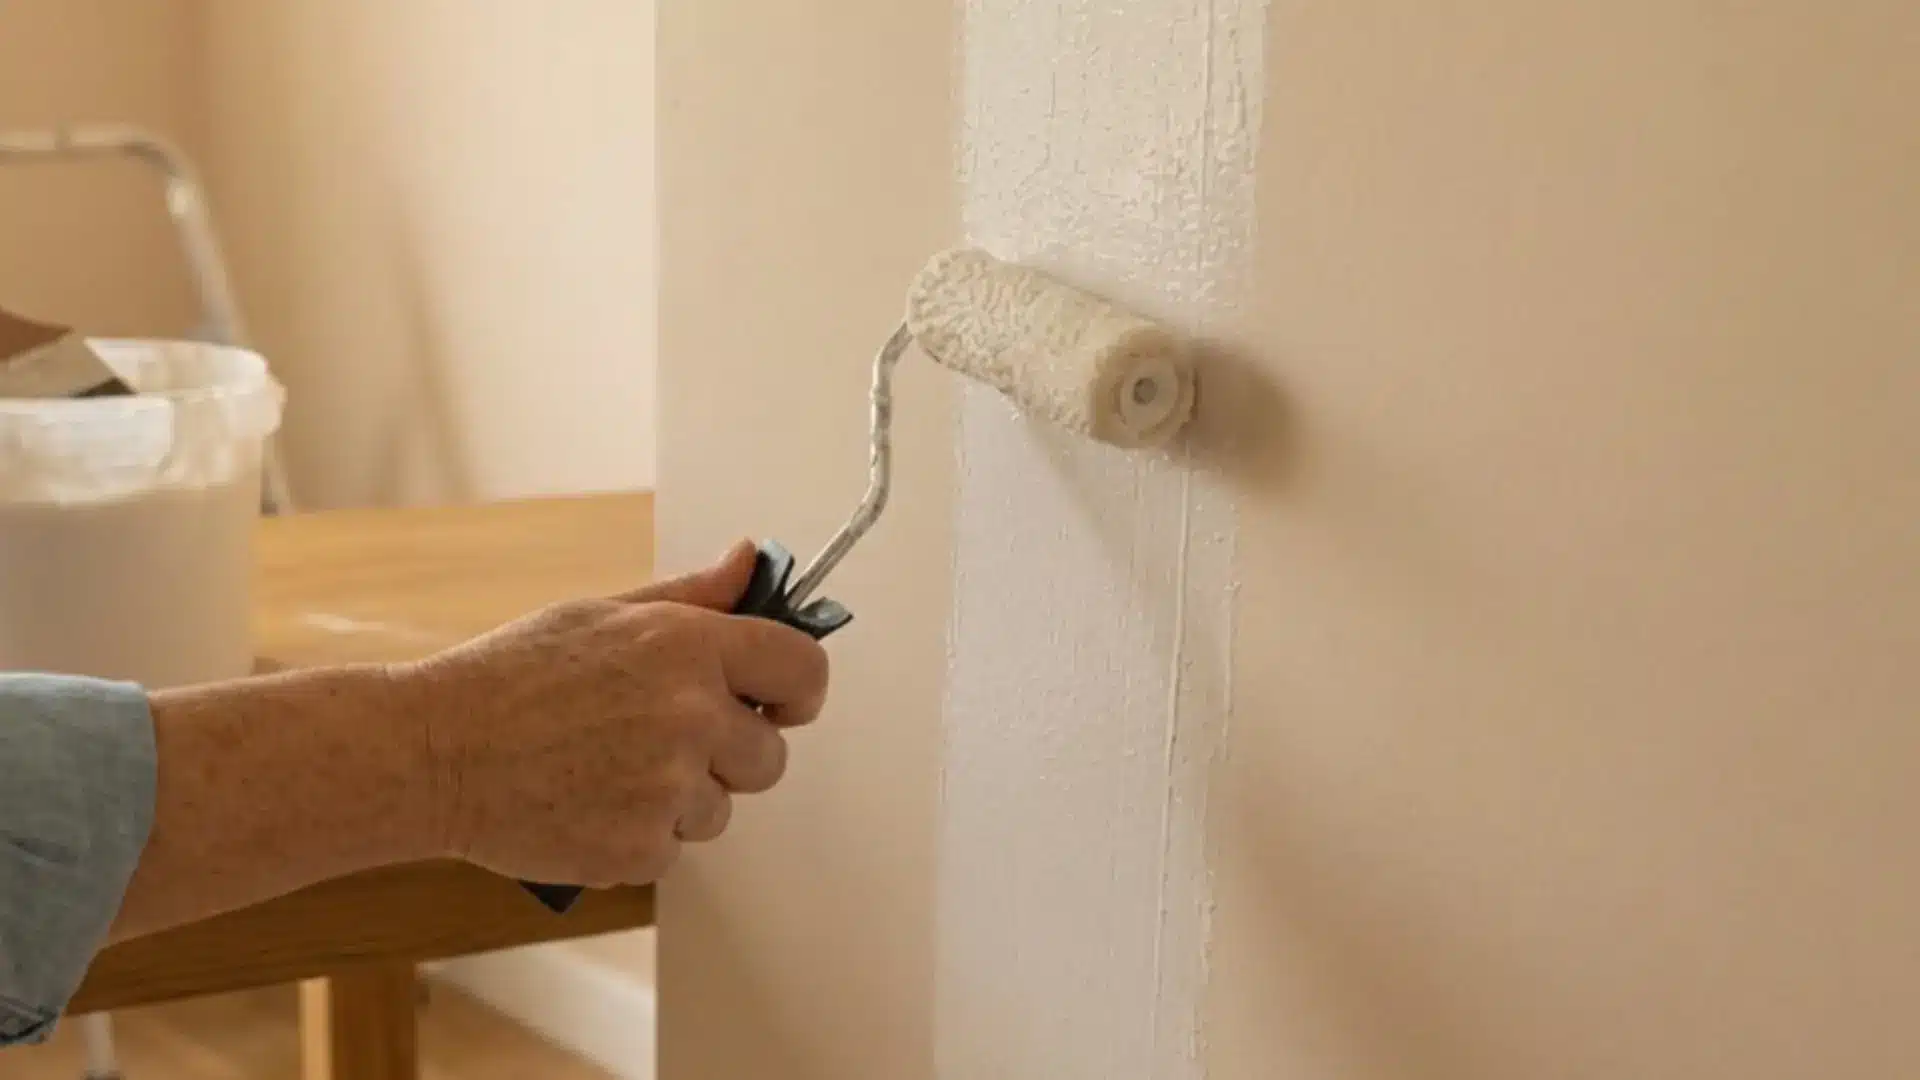
The right method depends on the wallpaper type. For paste-the-wall products, spread adhesive evenly across a section about 2 inches wider than one strip.
I always set a timer during this step, since I tend to lose track of time and let the paste sit too long.
For paste-the-paper products, coat the back evenly, then let it rest for 5 to 10 minutes, a step called booking. Either way, avoid letting the paste dry out before hanging the strip.
Step 4. Position the First Strip
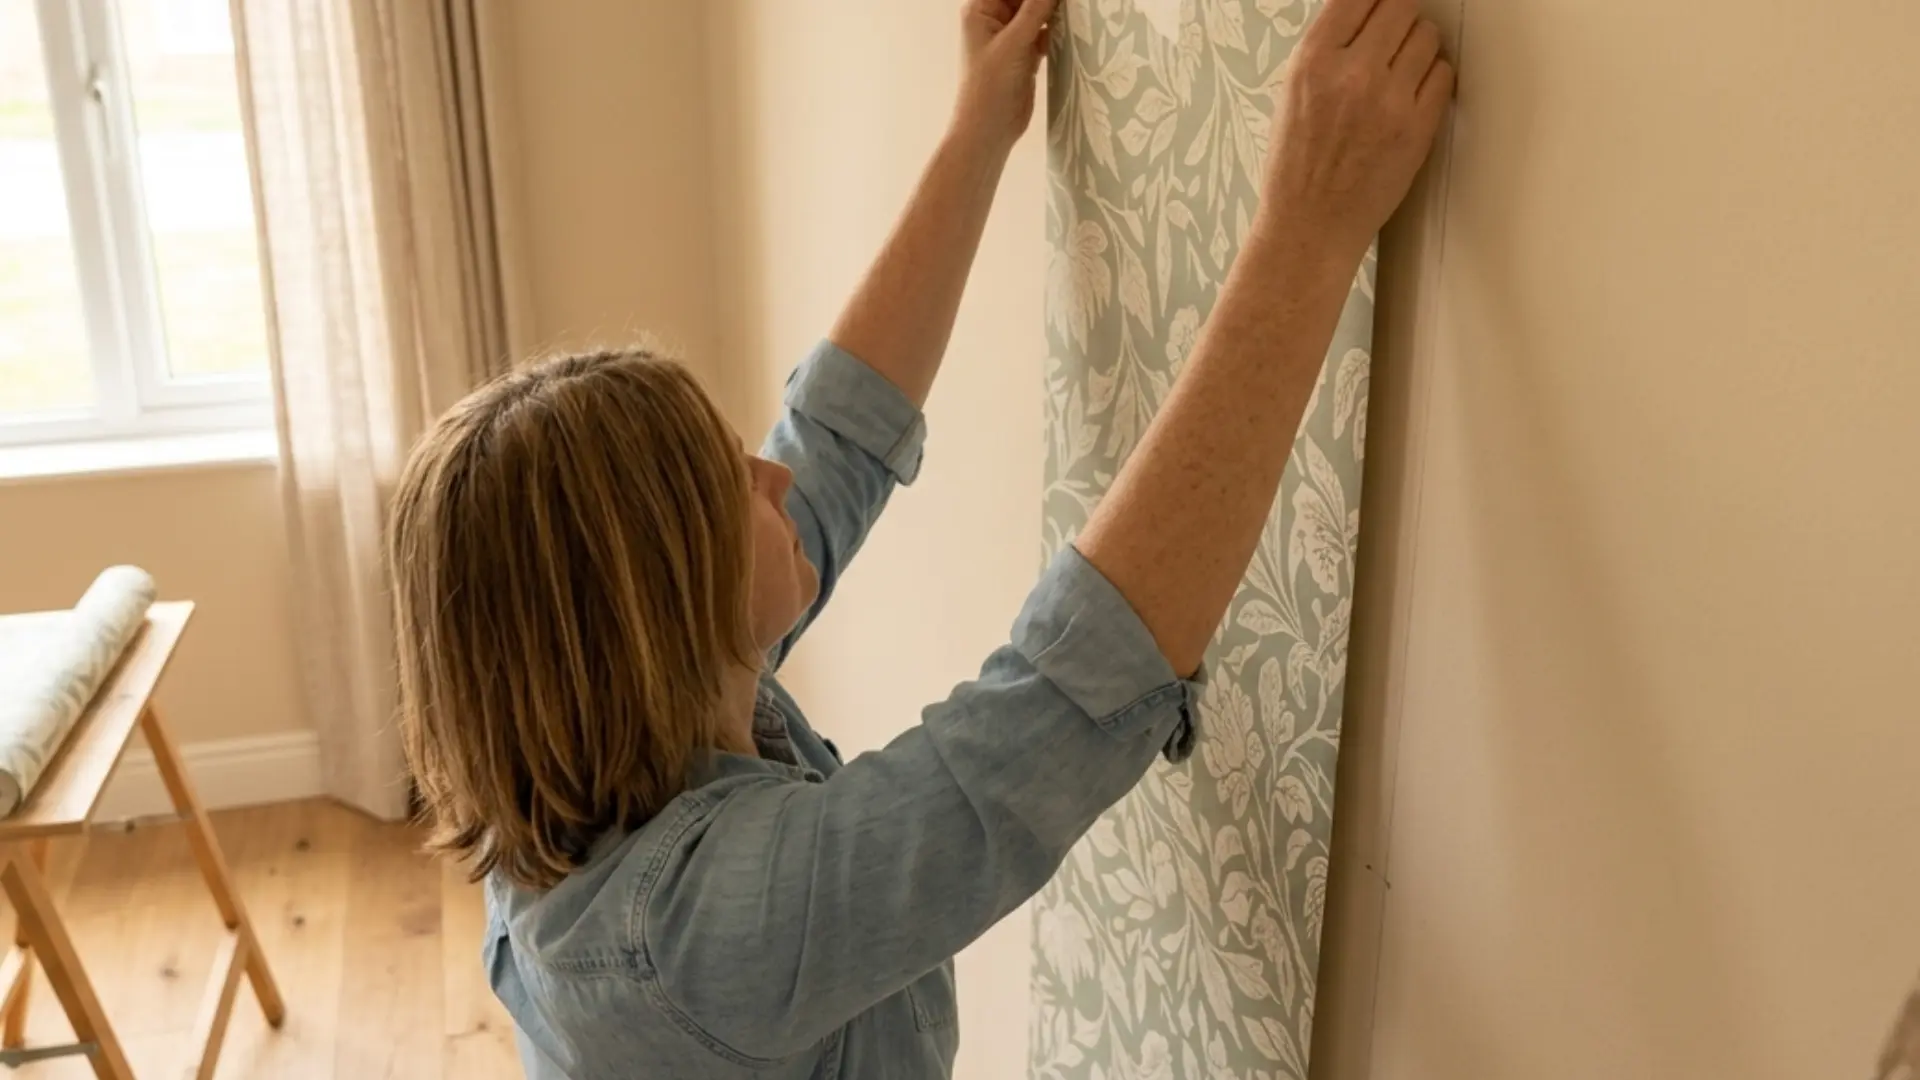
Begin hanging the strip from the top of the wall. Leave about 2 inches of overlap near the ceiling for trimming. Line up the edge carefully with the vertical guideline marked earlier.
Don’t assume the ceiling, corner, or trim is perfectly straight, since walls often shift slightly out of true. That guideline keeps the rest of the wall looking even.
Step 5. Smooth the Wallpaper
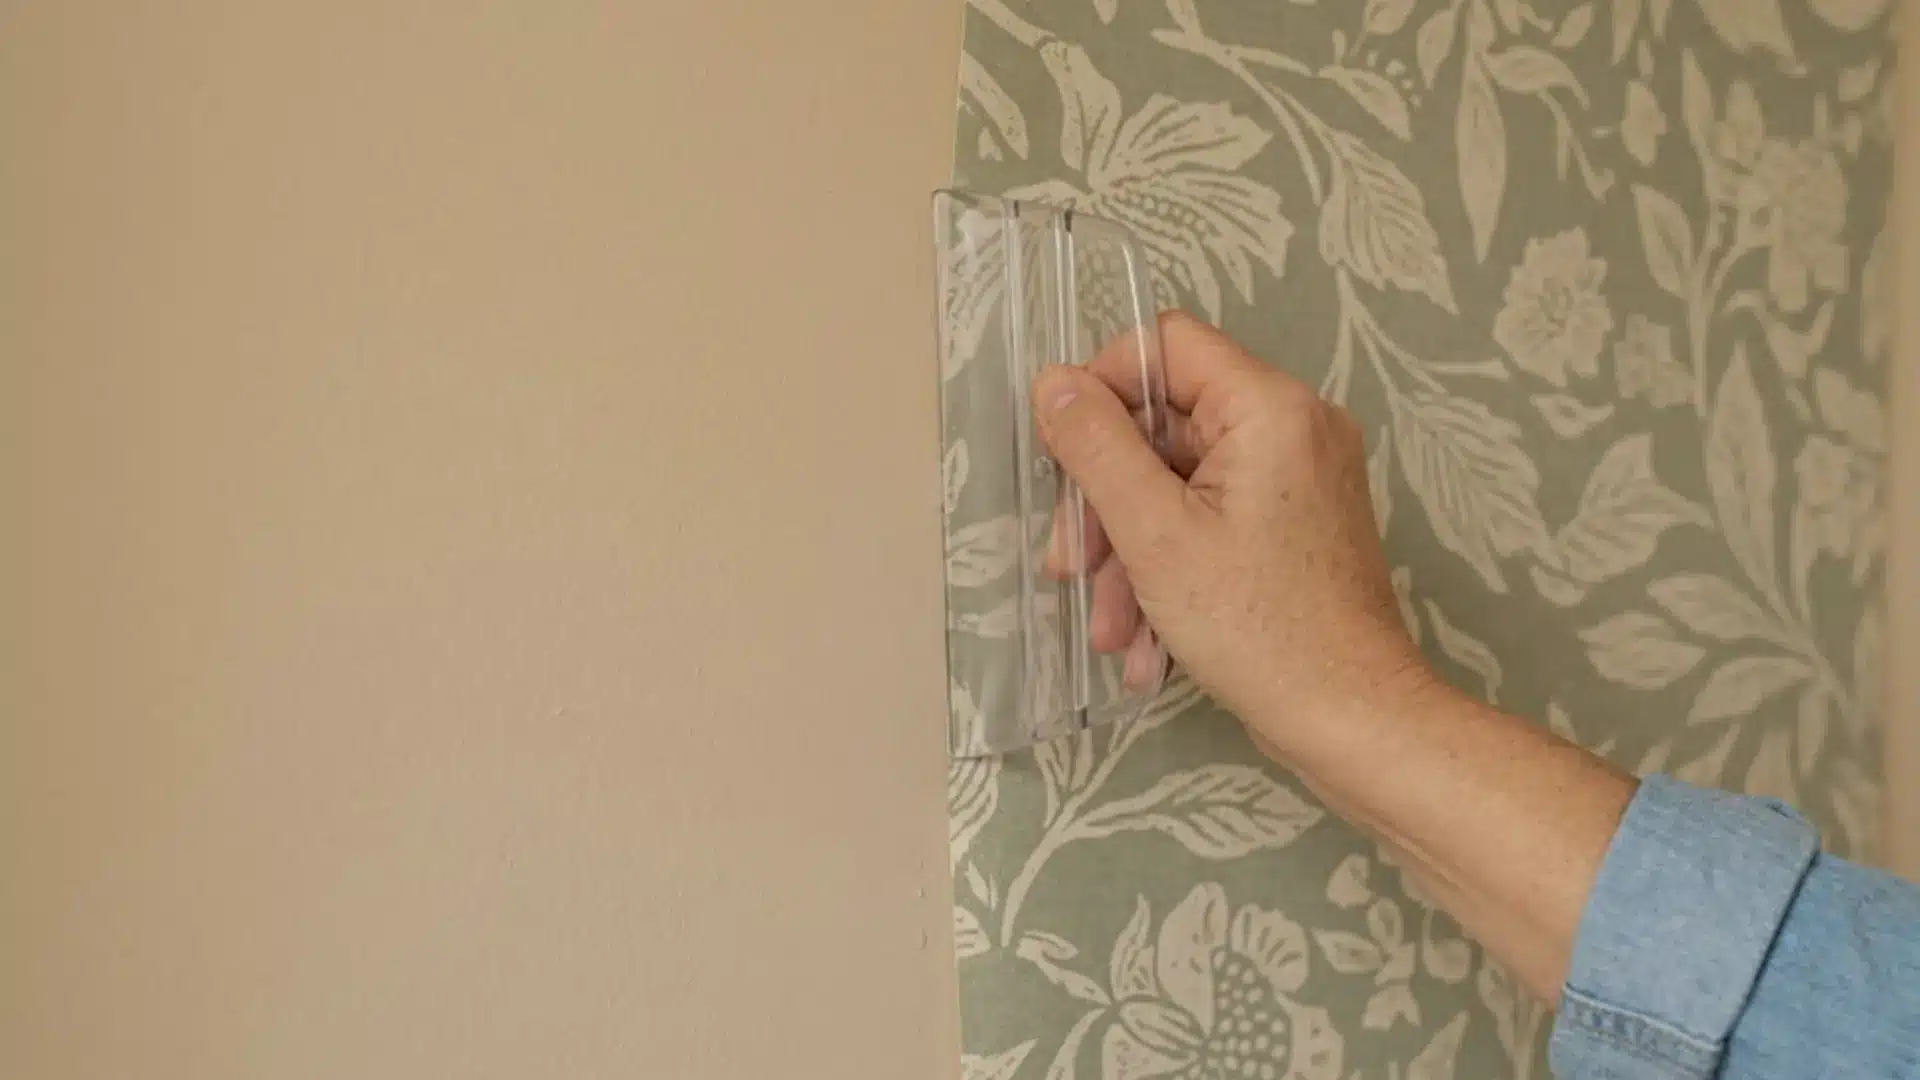
Once the strip is in place, start smoothing from the center outward using a plastic smoothing tool. This motion helps push out air pockets trapped underneath the paper.
My biggest lesson here was learning to slow down, since rushing this part is what caused most of my bubbles early on.
Wipe away extra paste within a minute or two, following the maker’s instructions. This helps prevent bubbles from forming later.
Step 6. Trim the Top and Bottom
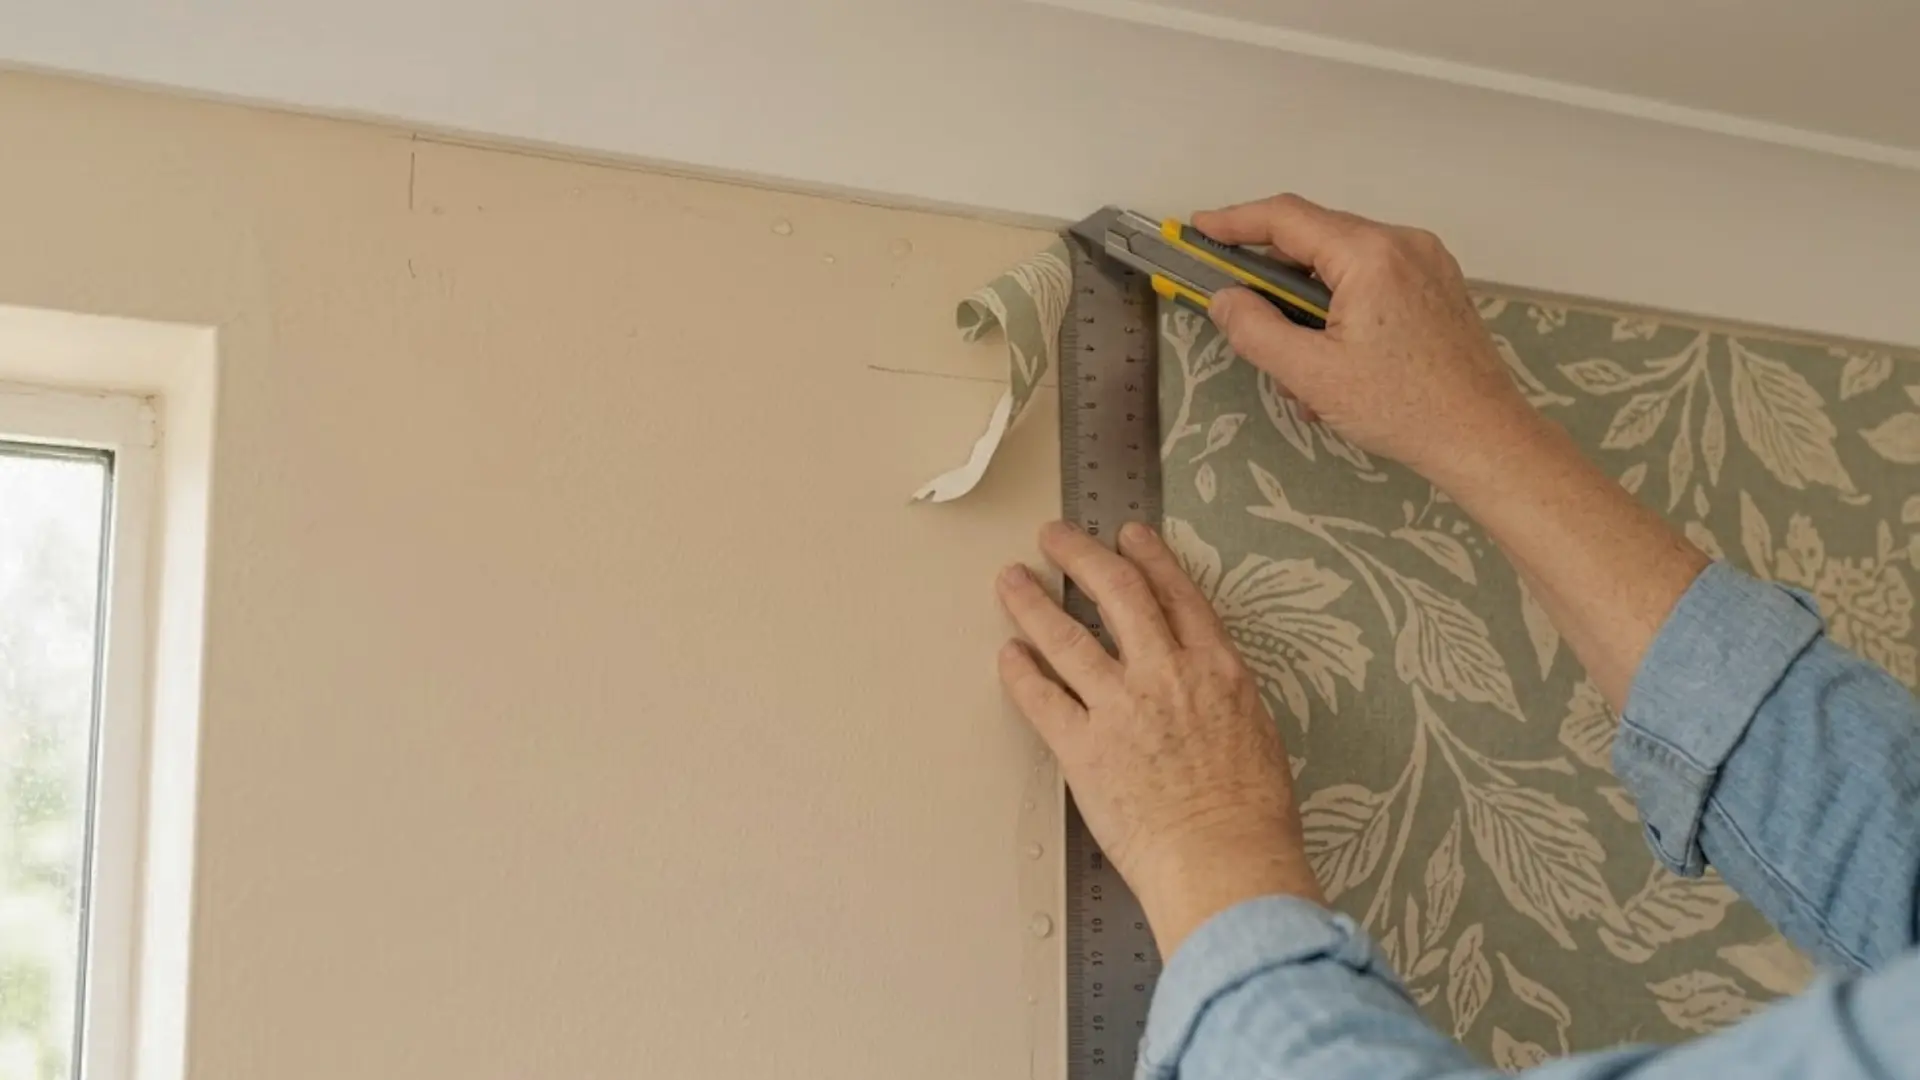
Press the wallpaper firmly into the crease where it meets the ceiling line. Do the same along the bottom edge near the baseboard trim.
Then use a straightedge to guide a sharp utility knife blade in one clean pass. Swap in a fresh blade every one or two strips, since dull blades tend to tear paper. A sharp blade makes trimming far easier.
Step 7. Hang the Next Strip and Match the Pattern
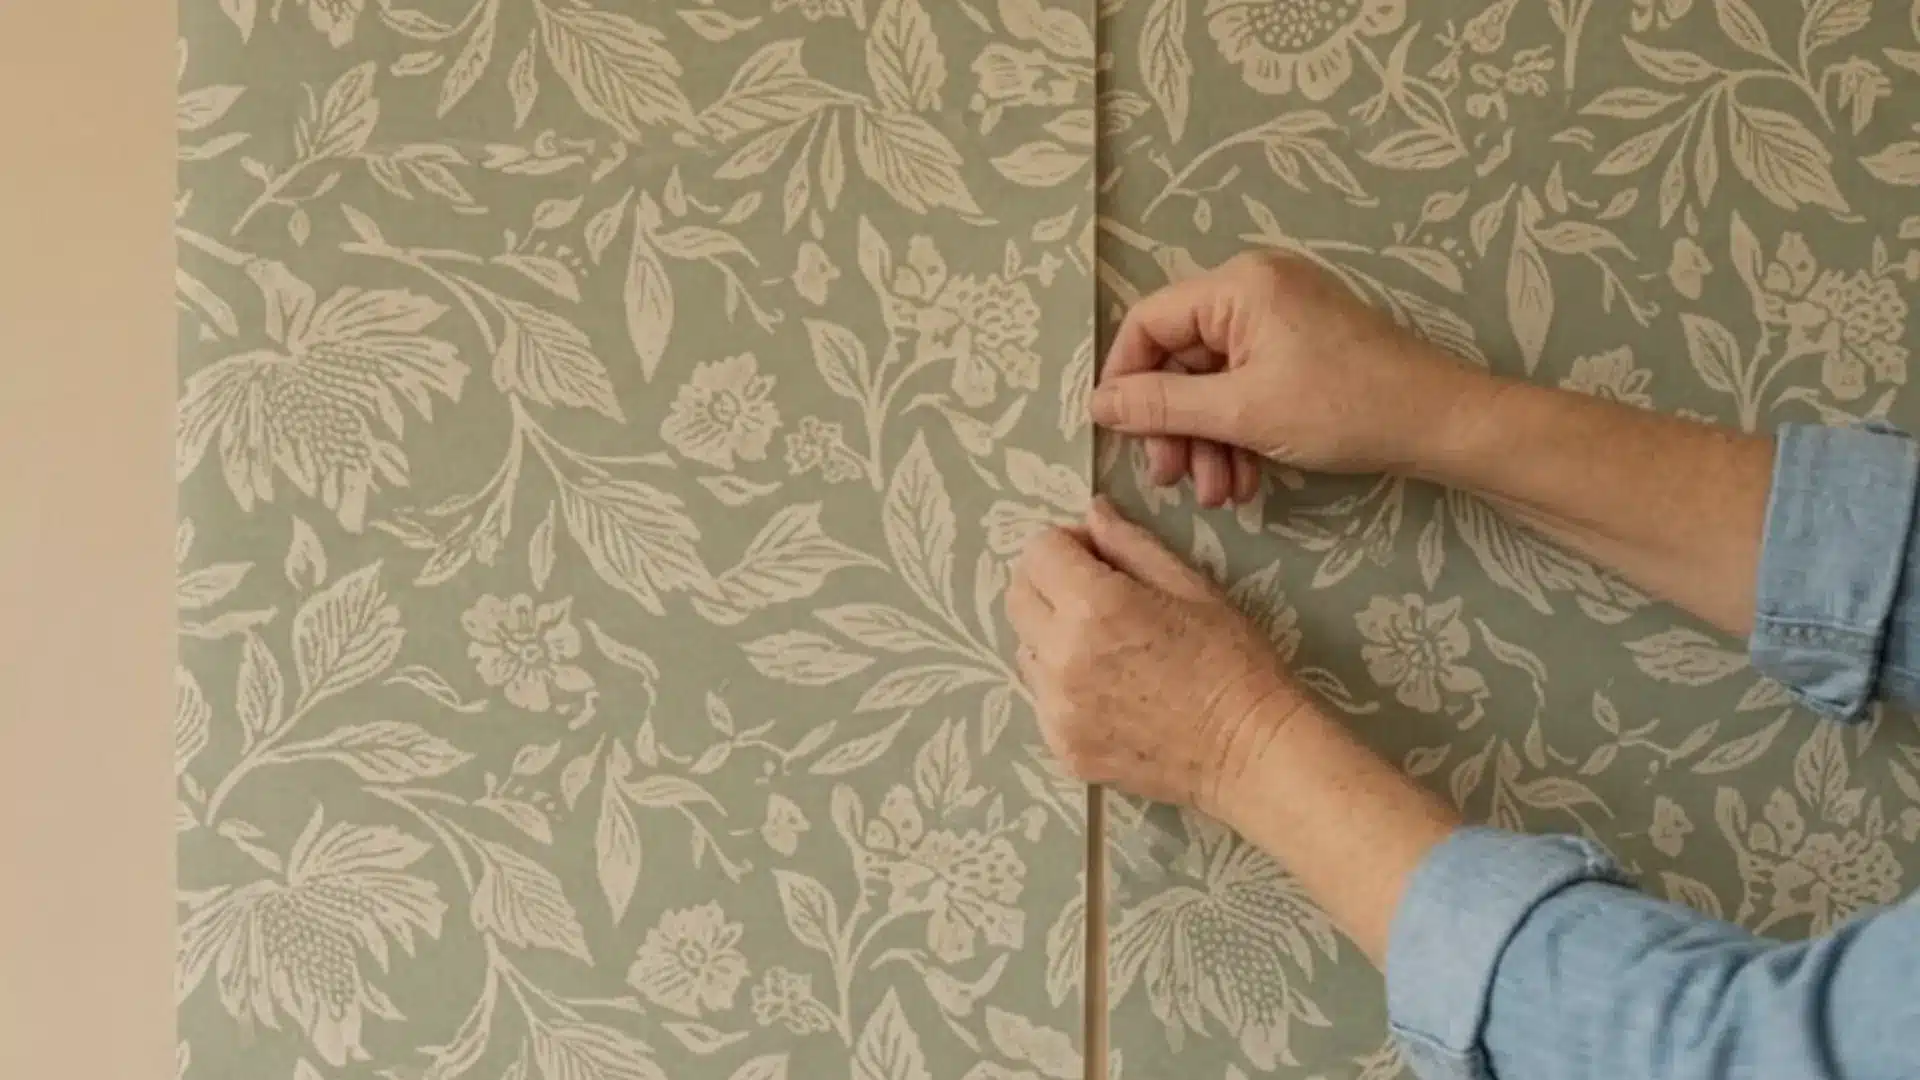
Place the next strip right beside the one already hung on the wall. Take time to match the pattern before smoothing it fully into place.
Push the edges together instead of overlapping them, unless the label says otherwise. Avoid stretching the paper just to force a pattern match.
A little patience keeps the seams tight and the wall looking even.
Step 8. Finish and Clean the Seams
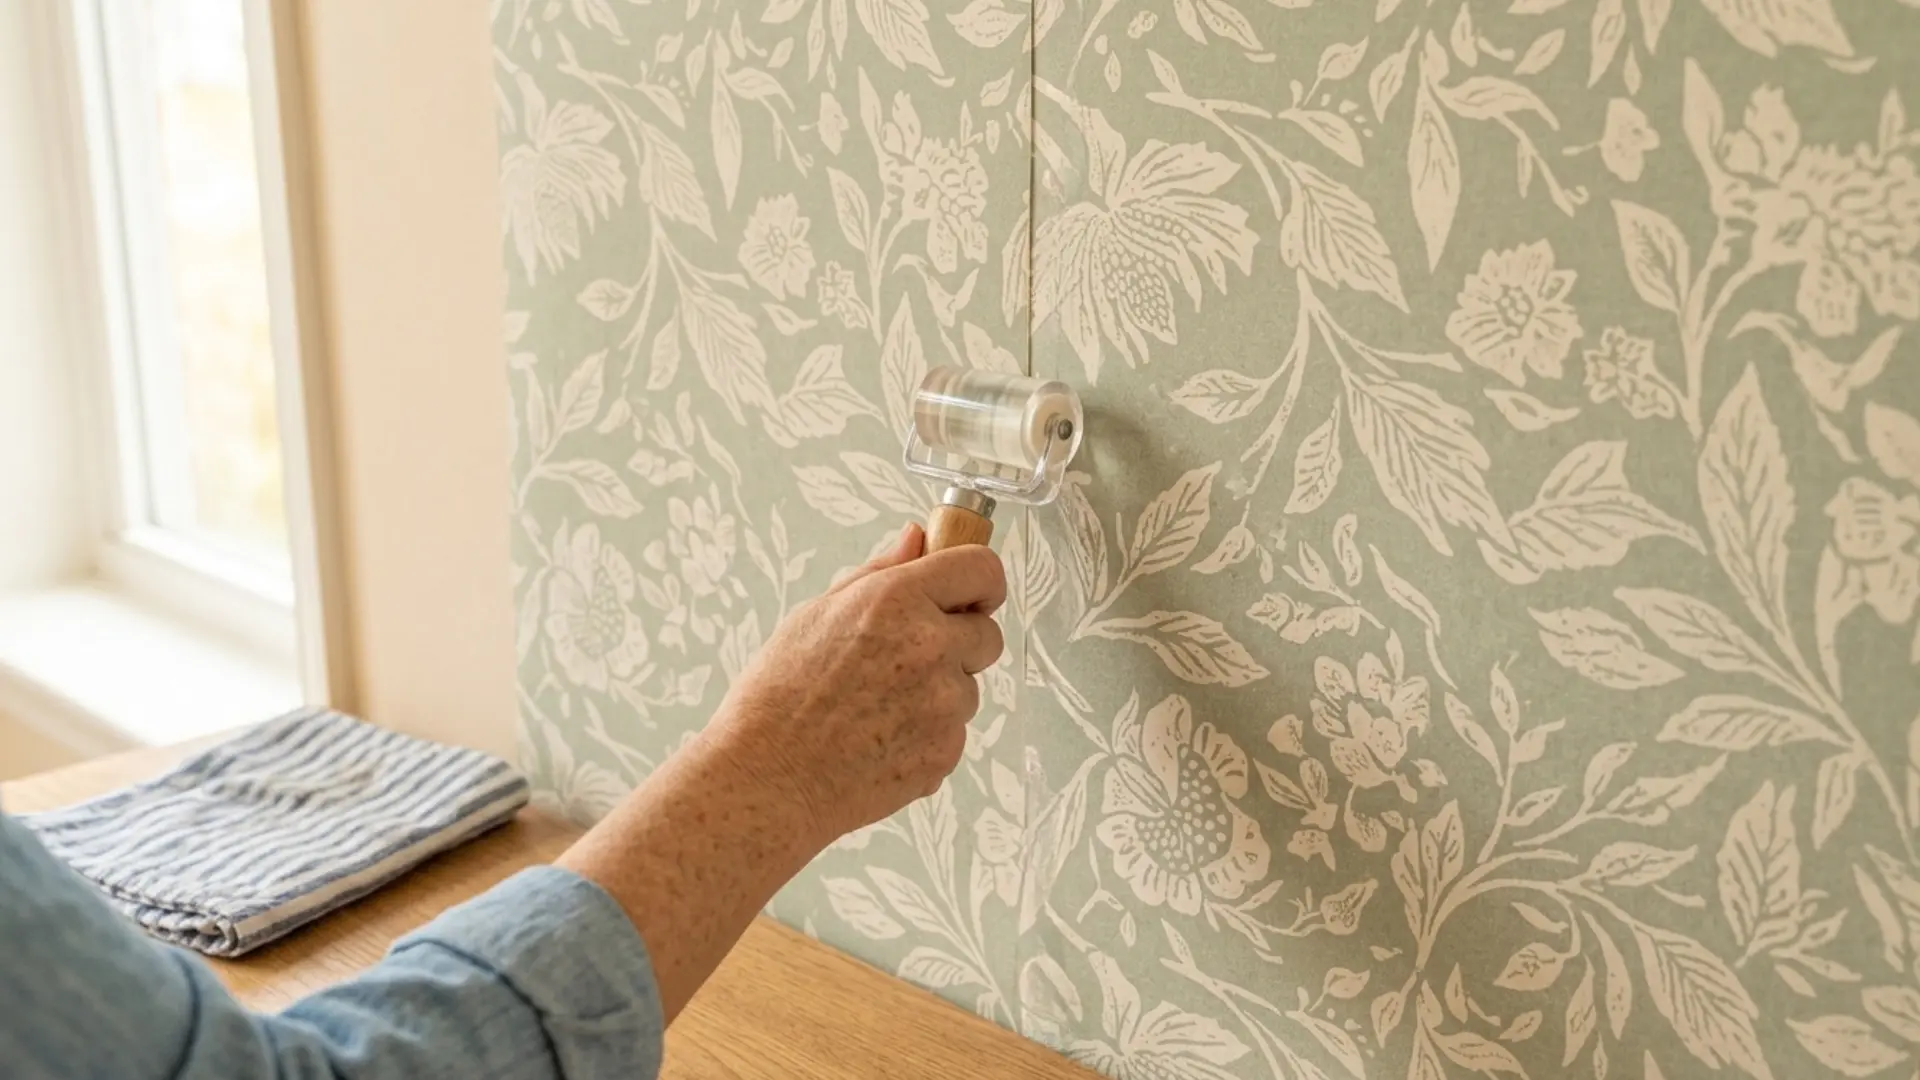
Check that each seam lies completely flat against the wall surface. Use a seam roller only if it suits your wallpaper type, pressing lightly along each edge.
I usually go back and wipe the seams a second time, since paste has a way of showing up again after it sits for a bit.
Keep checking pattern alignment every two or three strips as you move across the wall. This helps catch small mistakes early.
How Long Does Wallpaper Take to Dry and Why Does It Vary?
Drying time depends on a few different factors working together. Keep these points in mind as the wallpaper sets:
- Wallpaper type affects drying time, with most papers needing 24 to 48 hours to fully dry.
- Adhesive type plays a role, since heavier pastes can take up to 72 hours to fully cure.
- Wall surface texture matters, as rough or uneven walls may add several extra hours to drying.
- Room temperature affects drying speed, with cooler rooms often adding 12 hours or more.
- Humidity levels can extend drying time, sometimes adding a full day in damp conditions.
Keep furniture and wall decorations away until the wall is fully dry. Rushing this step can undo a lot of careful work.
How to Wallpaper Tricky Areas and Special Spots?
Corners, windows, and outlets are usually where I run into the most trouble on a wallpaper project. Over time, I have picked up a few tricks for handling each of these spots:
1. Inside Corners
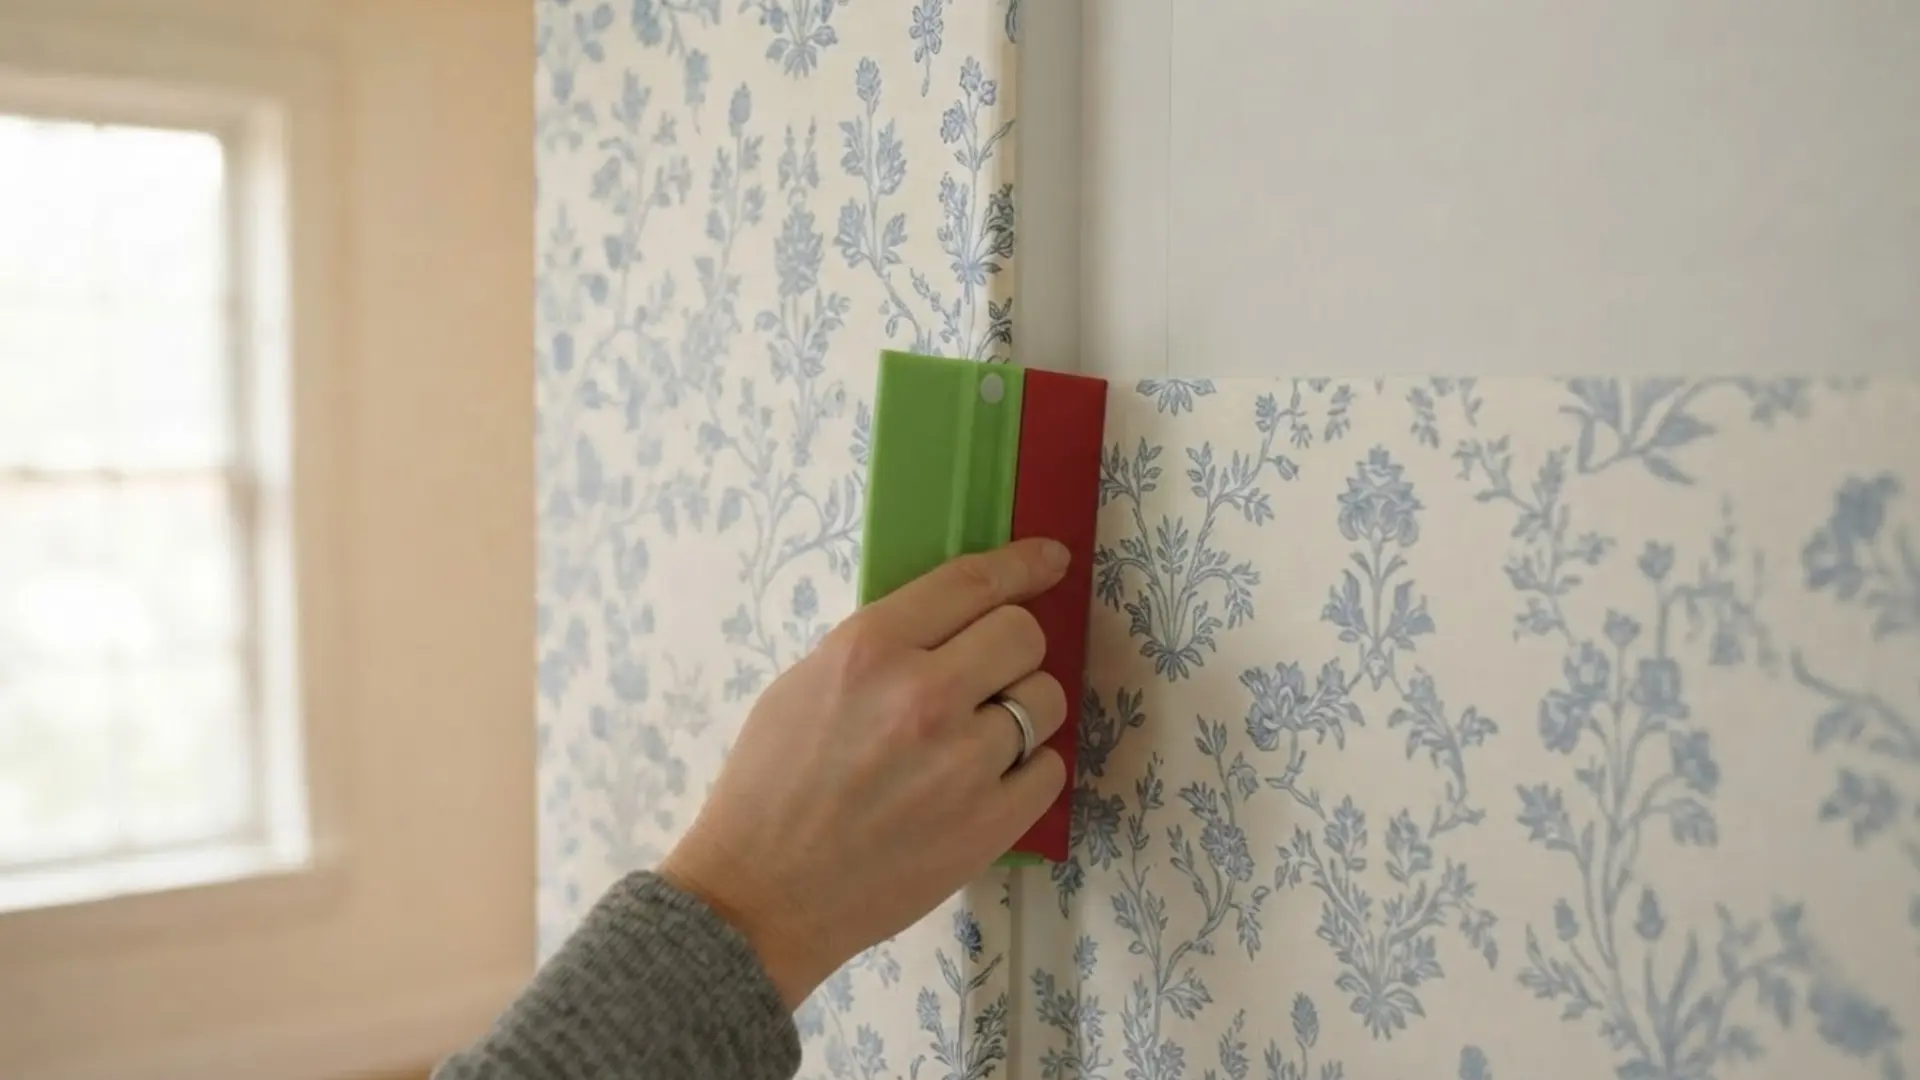
Corners can throw off even careful measurements if you are not paying attention. Most walls aren’t perfectly straight, so a little extra care goes a long way. Follow these steps:
- Measure the distance to the corner at the top, middle, and bottom of the wall.
- Cut the strip to wrap only a small amount around the corner, usually less than an inch.
- Mark a new vertical guideline before hanging the next strip.
These extra steps help keep the pattern looking straight. A little patience here prevents bigger problems down the wall.
2. Outside Corners
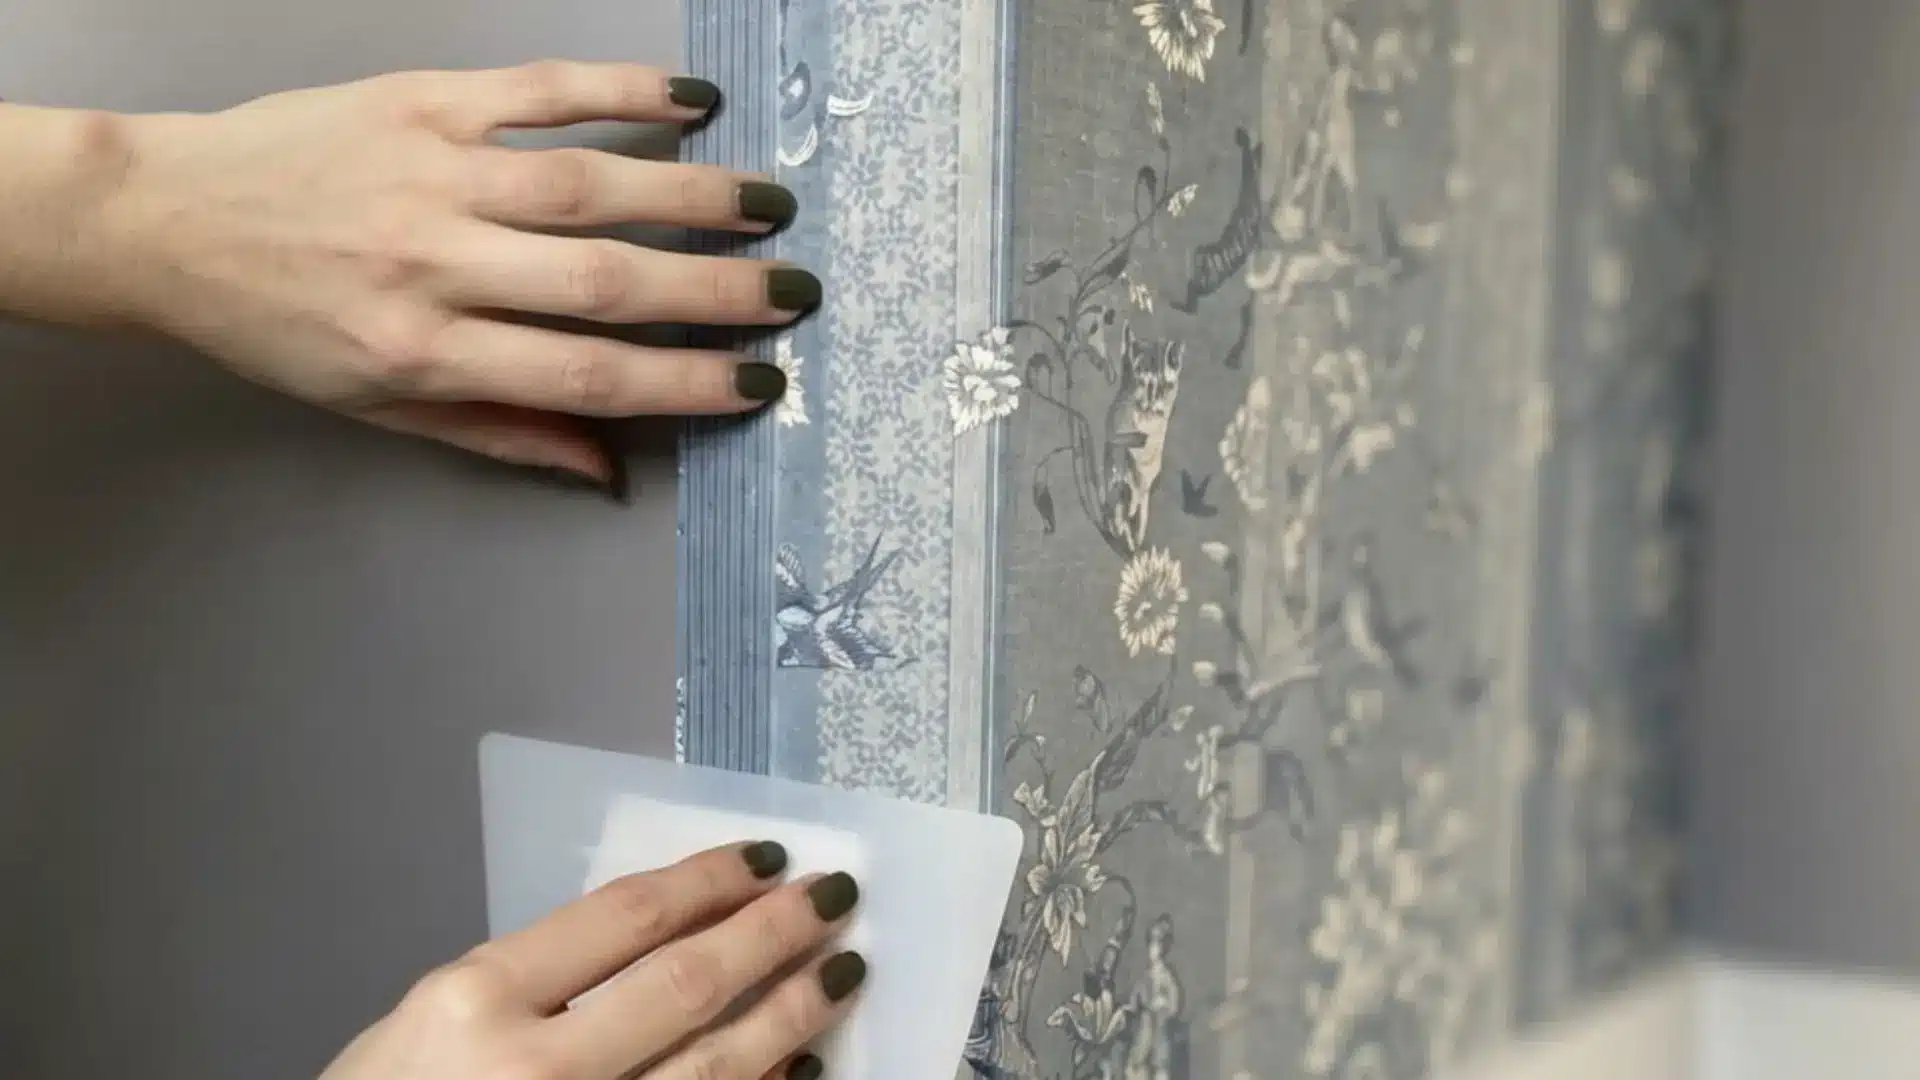
Outside corners show more than inside ones, so mistakes stand out fast. A clean wrap here makes the whole wall look more finished. Here is what usually works well:
- Wrap the wallpaper slowly and smoothly around the outer edge.
- Line up the pattern carefully as it turns the corner.
- Smooth out any wrinkles or trapped air right away.
Slow, steady wrapping makes a big difference here. This step often decides how polished the whole room looks.
3. Windows and Doors
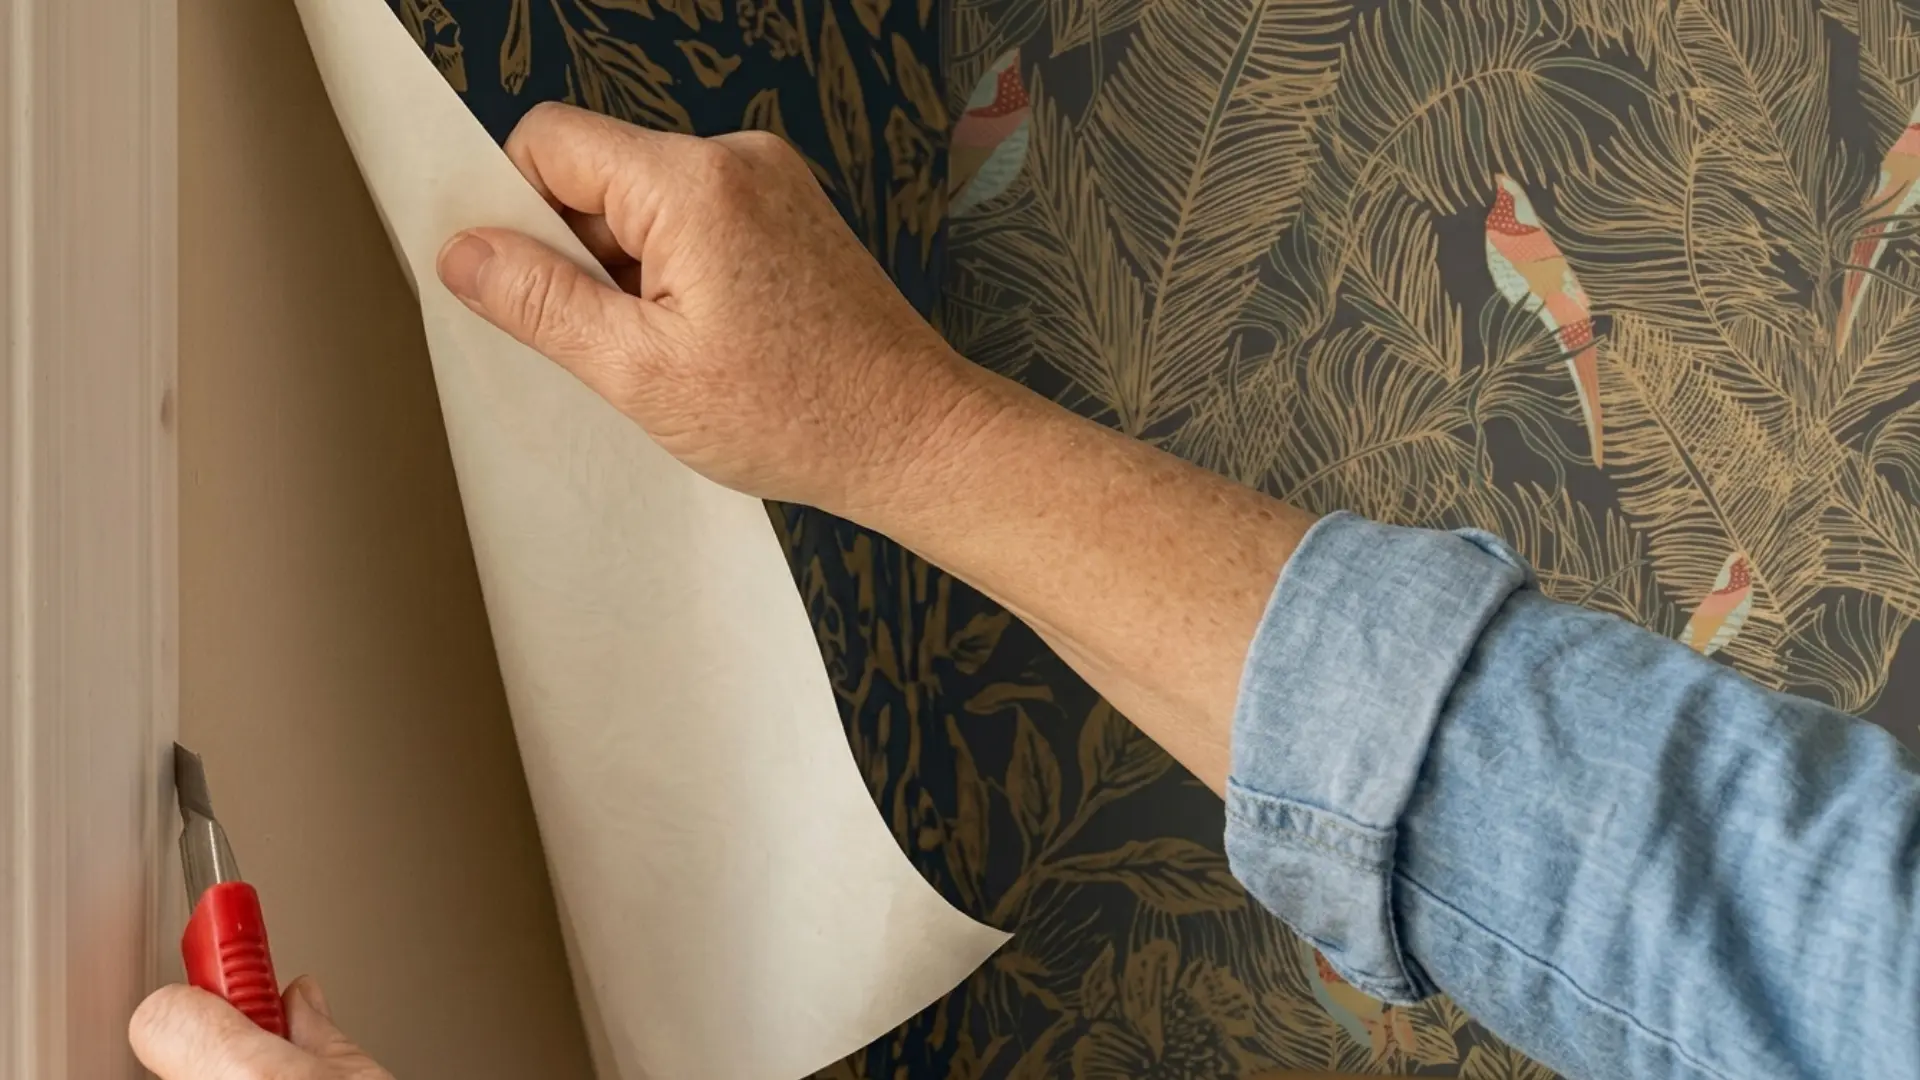
Openings like windows and doors need a bit of extra planning. Getting the cuts right here keeps the pattern looking clean around the frame. These steps tend to keep things on track:
- Hang the strip over the opening first, when the layout allows it.
- Make small, controlled relief cuts near the corners of the frame.
- Trim a little at a time, checking pattern alignment above and below.
Cutting too much too soon can cause problems later. It helps to slow down and check the fit often.
4. Electrical Outlets and Switches
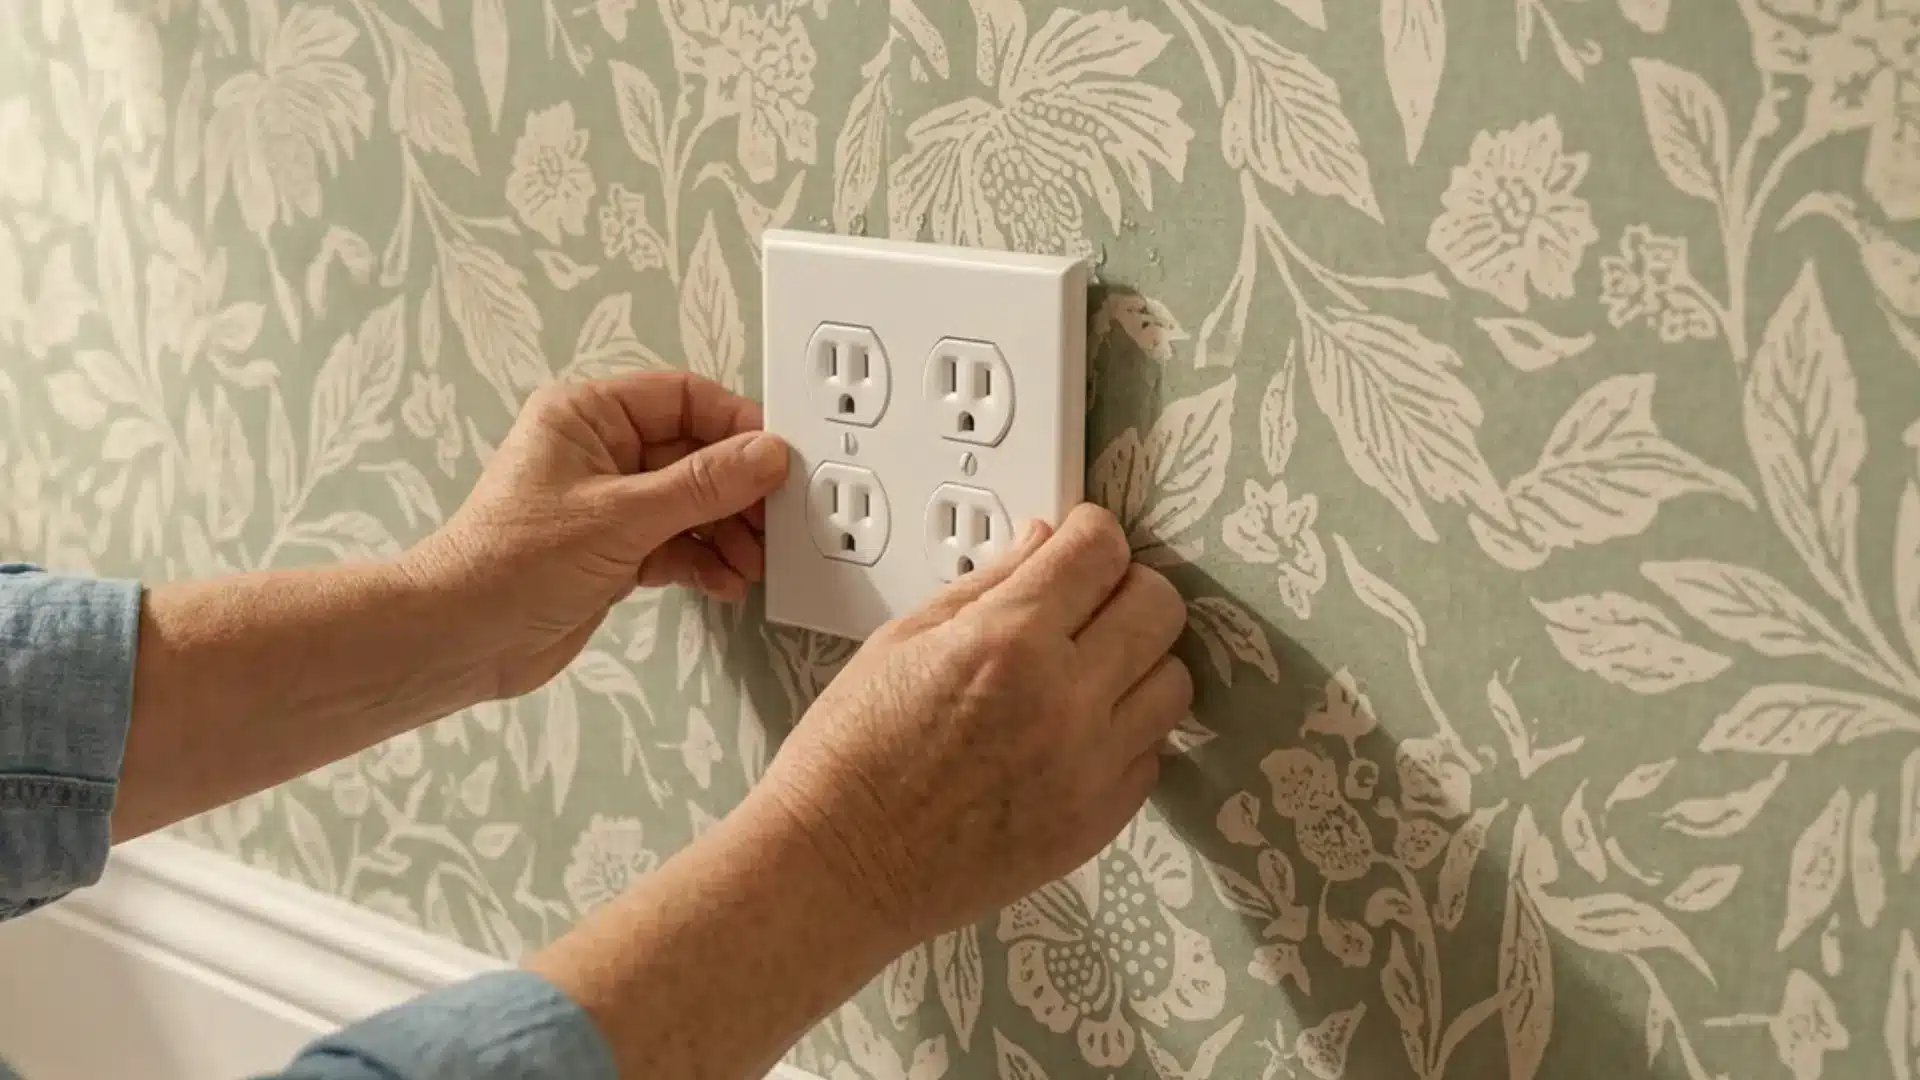
Working near outlets and switches calls for extra caution. Safety always comes first before any cutting begins. This is the order I always stick to:
- Turn off power at the breaker before starting any work nearby.
- Remove the faceplate, then hang the wallpaper right over the area.
- Cut carefully around the opening, staying clear of any wiring, then trim conservatively.
You can put the faceplates back on once the paper is fully dry. Taking it slow here keeps the whole process safe.
How to Deal With Common Wallpaper Problems?
Even careful work can run into small hiccups along the way. Here is a quick look at common issues and what usually causes them:
| Problem | Common Causes | Fix |
|---|---|---|
| Air bubbles | Trapped air pockets left after hanging | Slit the bubble with a blade and press fresh paste underneath |
| Seams opening | Weak bond along the edge, rough handling after hanging | Lift the edge gently, add adhesive underneath, and press flat |
| Pattern misalignment | Strips cut from the wrong point on the roll | Recheck the pattern repeat on the label before cutting new strips |
| Wrinkling | Wall surface not fully flat or smooth | Sand or patch the wall before hanging the next strip |
| Edges won’t stick | Dust, grease, or old paint residue on the wall | Clean the wall thoroughly and apply seam adhesive if needed |
Catching these problems early has saved me a lot of extra work down the line. I have found that slowing down at each step helps me avoid most of them in the first place.
Frequently Asked Questions (FAQs)
Can Wallpaper Be Hung over Existing Wallpaper?
It is usually better to remove old wallpaper first before hanging new paper. Hanging over old layers can trap moisture and cause bubbling later.
Does a Textured Wall Need Special Treatment Before Wallpapering?
Textured walls often need sanding or a skim coat before wallpaper goes up. A smoother surface helps the paper lie flat and stick evenly.
How Long Does Wallpaper Typically Last Once Installed?
Most wallpaper lasts between 10 and 15 years with proper care. Lifespan depends on material quality, room conditions, and daily wear.
Closing Thoughts
That covers everything you need to hang your first sheet of wallpaper. Clean walls, sharp cuts, and steady hands make a real difference. Small hiccups like bubbles or gaps are simple to fix.
Just give each seam a careful look before moving to the next strip. Corners and outlets need extra care, but you can handle them just fine.
Once the paste dries, your room gets a fresh new look. My own walls still remind me it was worth the effort. Grab your tools, pick a pattern you like, and get started.
Drop a comment below and tell me how your project turned out.


