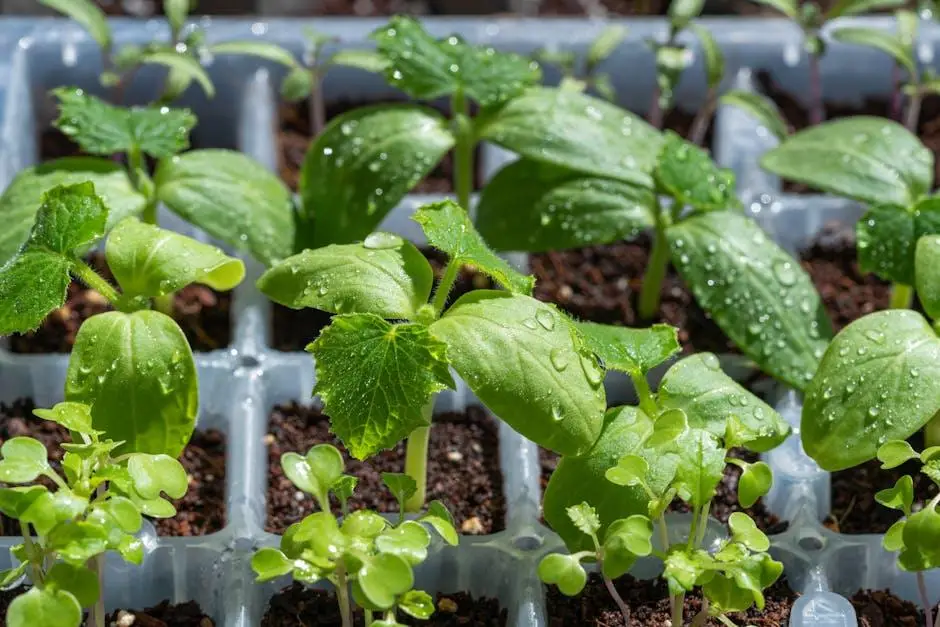
I still remember the moment a tiny speck moved on a leaf and I realized it wasn’t dust at all. I leaned in, hoping I was wrong, but nope, it was a bug settling into a plant I’d cared for all year.
That moment pushed me to learn how to get rid of bugs on indoor plants so I wouldn’t lose another one.
Now you get that same clarity. In this guide, you’ll learn why these pests show up, how to spot the common types, and the steps you can use to remove them quickly.
You’ll also learn simple habits that keep your plants protected long-term. By the end, you’ll know exactly what to do the moment you notice movement on a leaf.
Why Indoor Plants Get Bugs in the First Place
Indoor plants get bugs because the conditions inside your home can be just right for pests. Warm air, moisture, and still air create a cozy place for bugs like spider mites, fungus gnats, and aphids.
These bugs often come in with new plants, soil, or even from open windows and doors.
Sometimes we overwater plants, and that makes the soil too damp. This attracts pests that like wet spots to lay eggs.
Bugs also show up when plants are weak or not getting enough light. Sick or stressed plants are easier for bugs to attack.
Even store-bought plants can carry tiny bugs that you don’t see right away. And once one plant has bugs, they can quickly spread to others.
Keeping your plants healthy, checking new ones before bringing them home, and cleaning the leaves often can help keep bugs away.
A little care goes a long way.
How to Get Rid of Bugs on Indoor Plants: My Quick Take
Bugs on houseplants can sneak up on you. One day everything looks fine, and the next, you see tiny flies or weird sticky spots. I’ve been there and I’ve learned not to wait.
How to get rid of bugs on indoor plants? Act fast, stay gentle, and be consistent. Most of the time, bugs show up from overwatering, dirty leaves, or bringing in a new plant without checking it first.
Once I spot any trouble, I clean the leaves, check the soil, and keep that plant away from the others.
I’ve made it a habit to look over my plants once a week. A little effort early on saves a lot of time later. Trust me, the sooner you start, the easier it is to fix.
And your plants will grow healthier because of it.
Identify the Bugs: A Simple Symptom Checklist
Sometimes, bugs aren’t easy to spot at first. You might see the damage before you see the pest. That’s why it helps to know what signs to look for.
What Different Pests Look Like
Not all bugs look the same. Some crawl, some fly, and some just stick to your plant and stay still. Here’s how to spot the most common ones with just a quick look:
Mealybugs
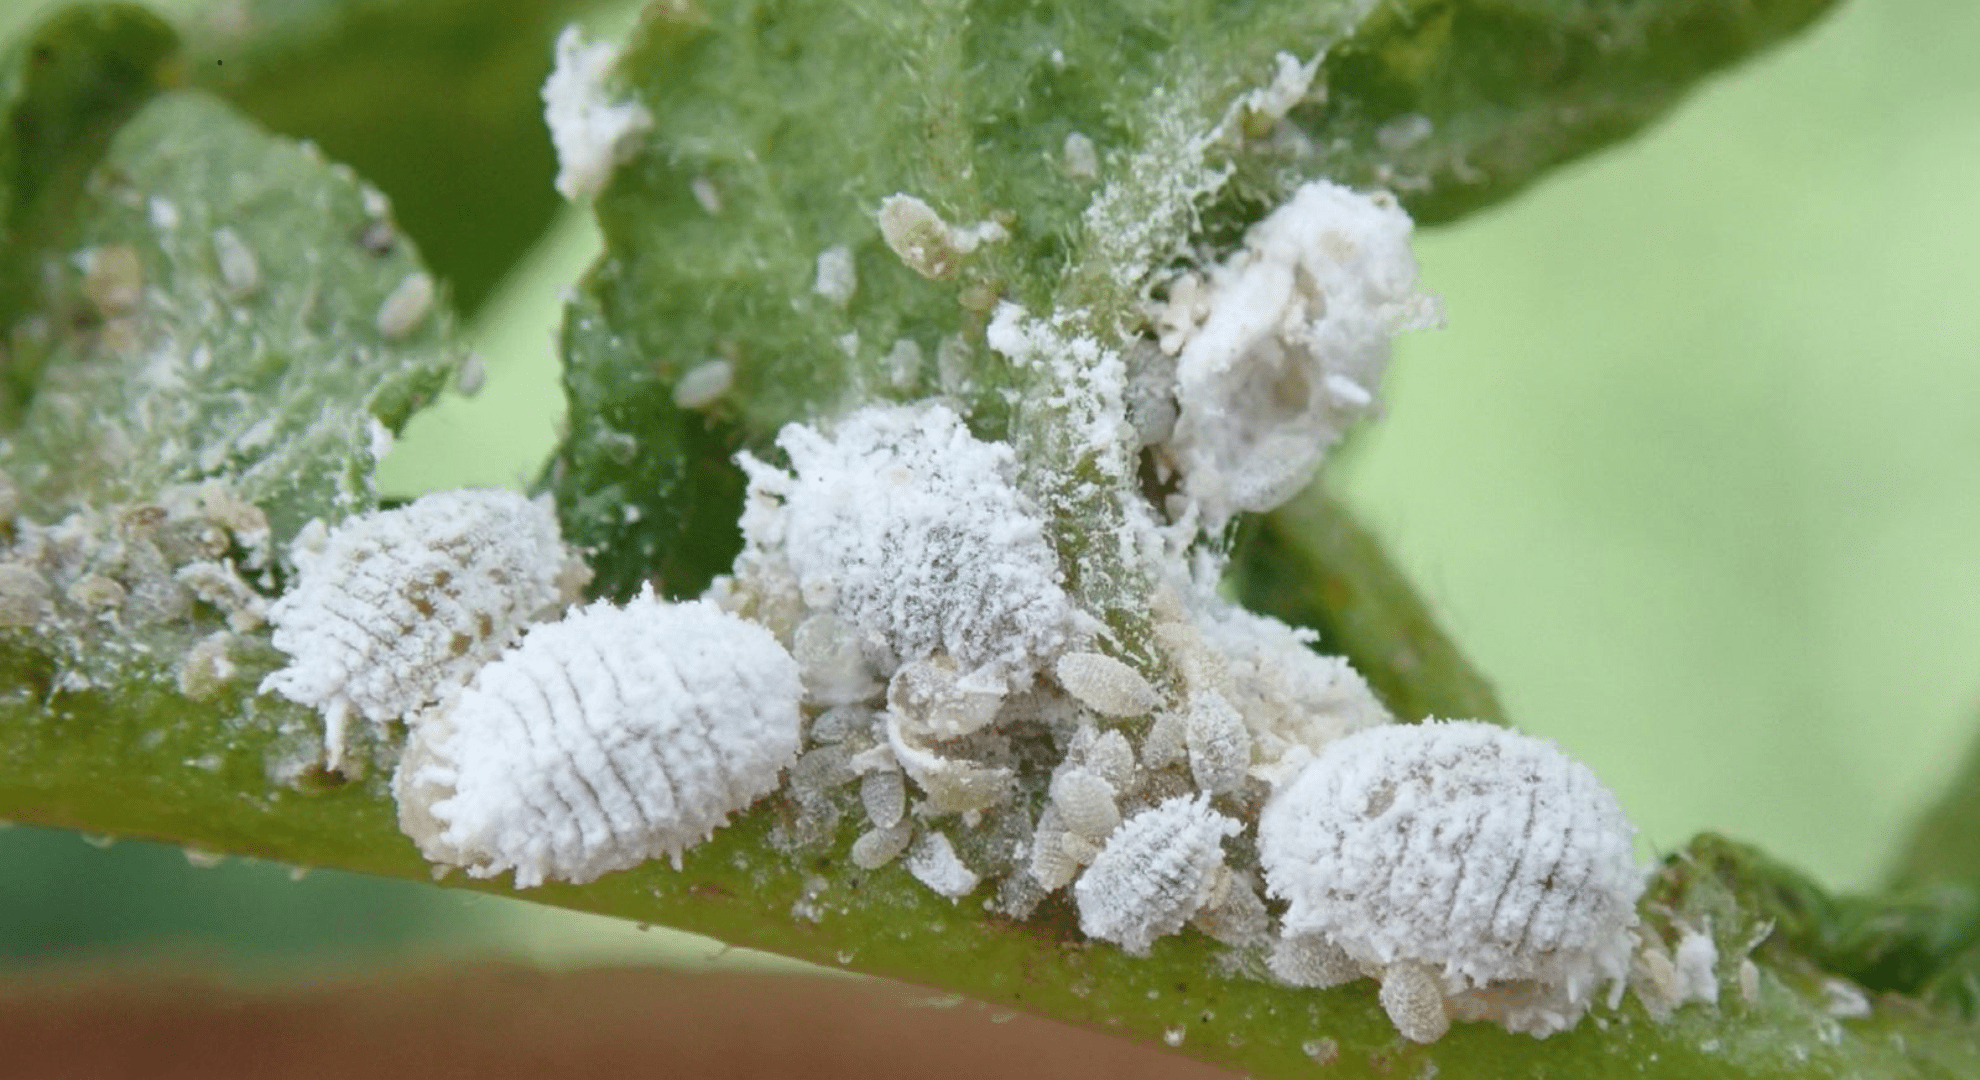
These look like tiny bits of white fluff stuck to your plant. They often hide where leaves meet the stem.
I noticed them when I saw white cottony clumps near the base of my plant leaves.
Spider Mites
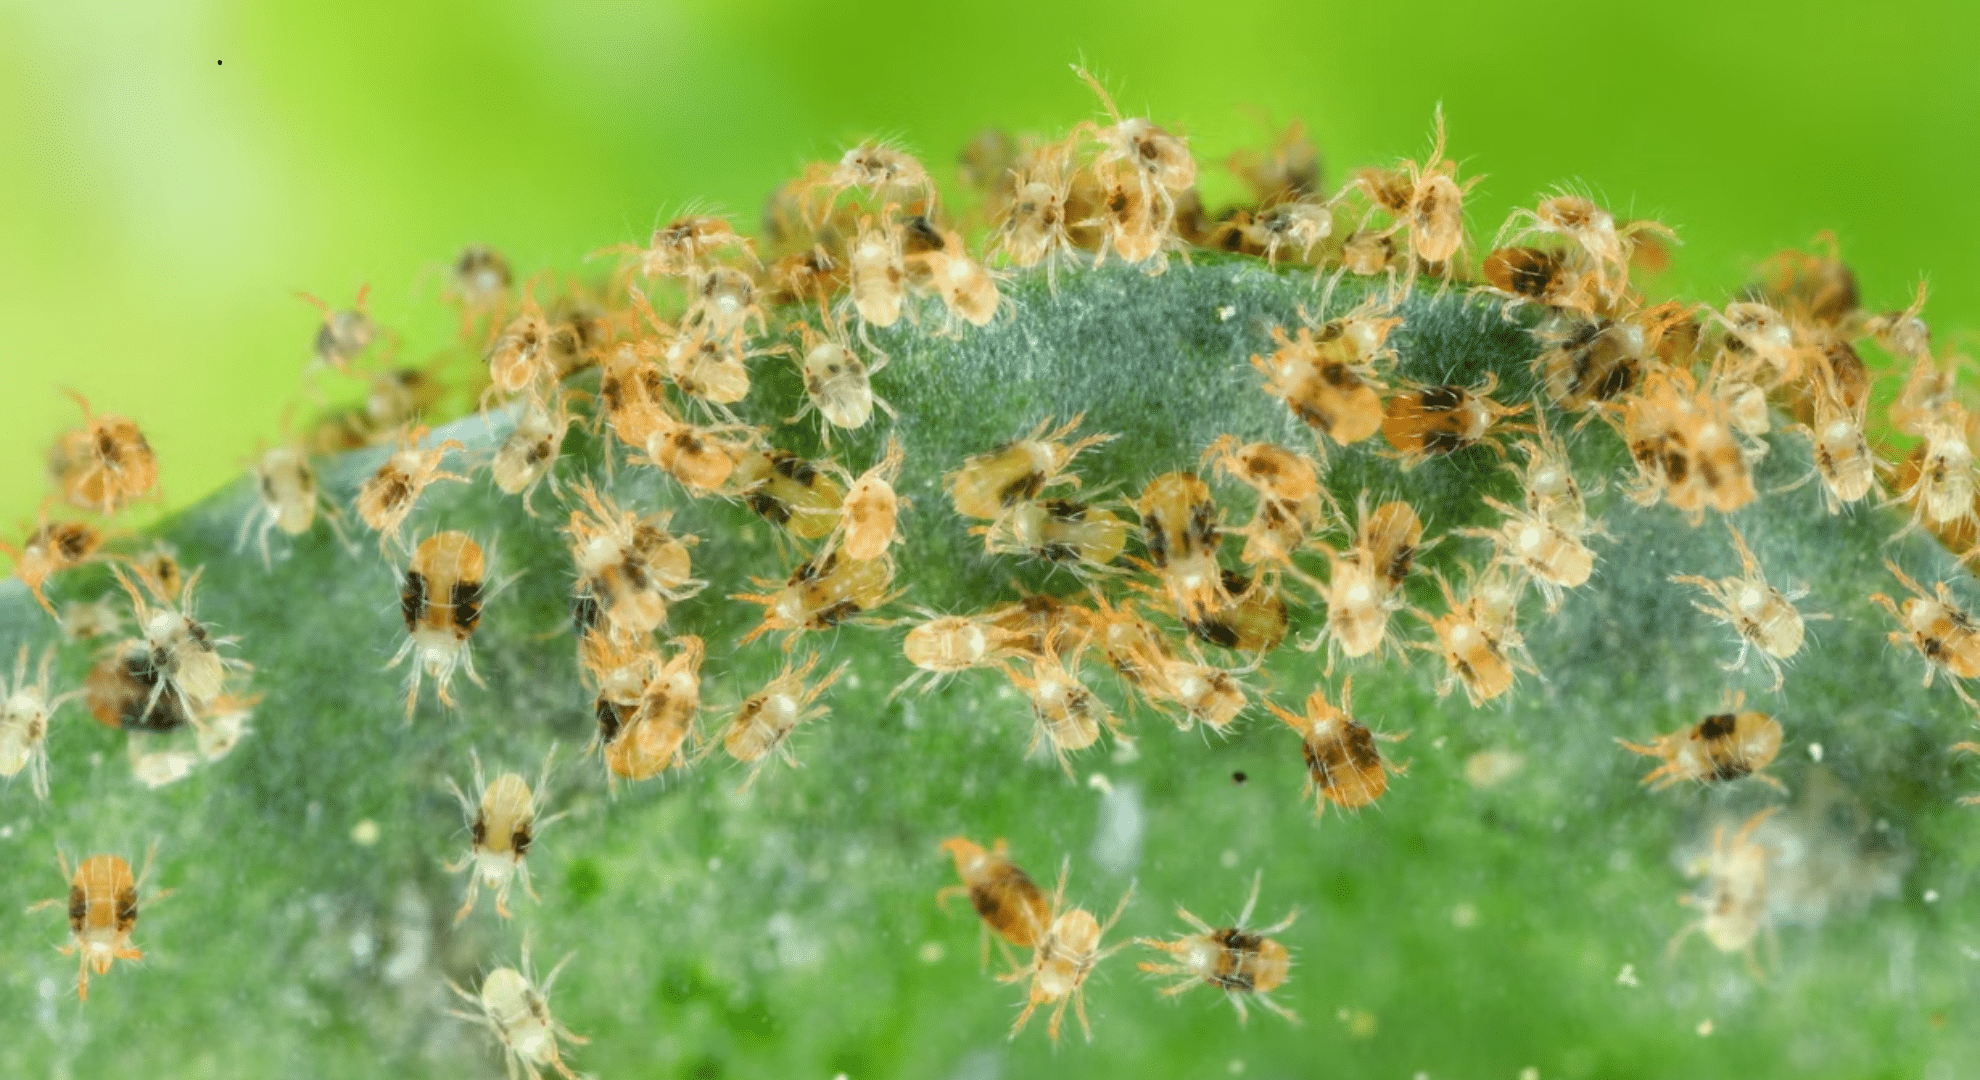
Too small to see clearly, but they leave fine, silky webbing; usually on the underside of leaves. They suck sap, leaving pale dots behind.
I knew I had spider mites when I saw pale speckles across the leaves, almost like they’d been sanded.
Aphids
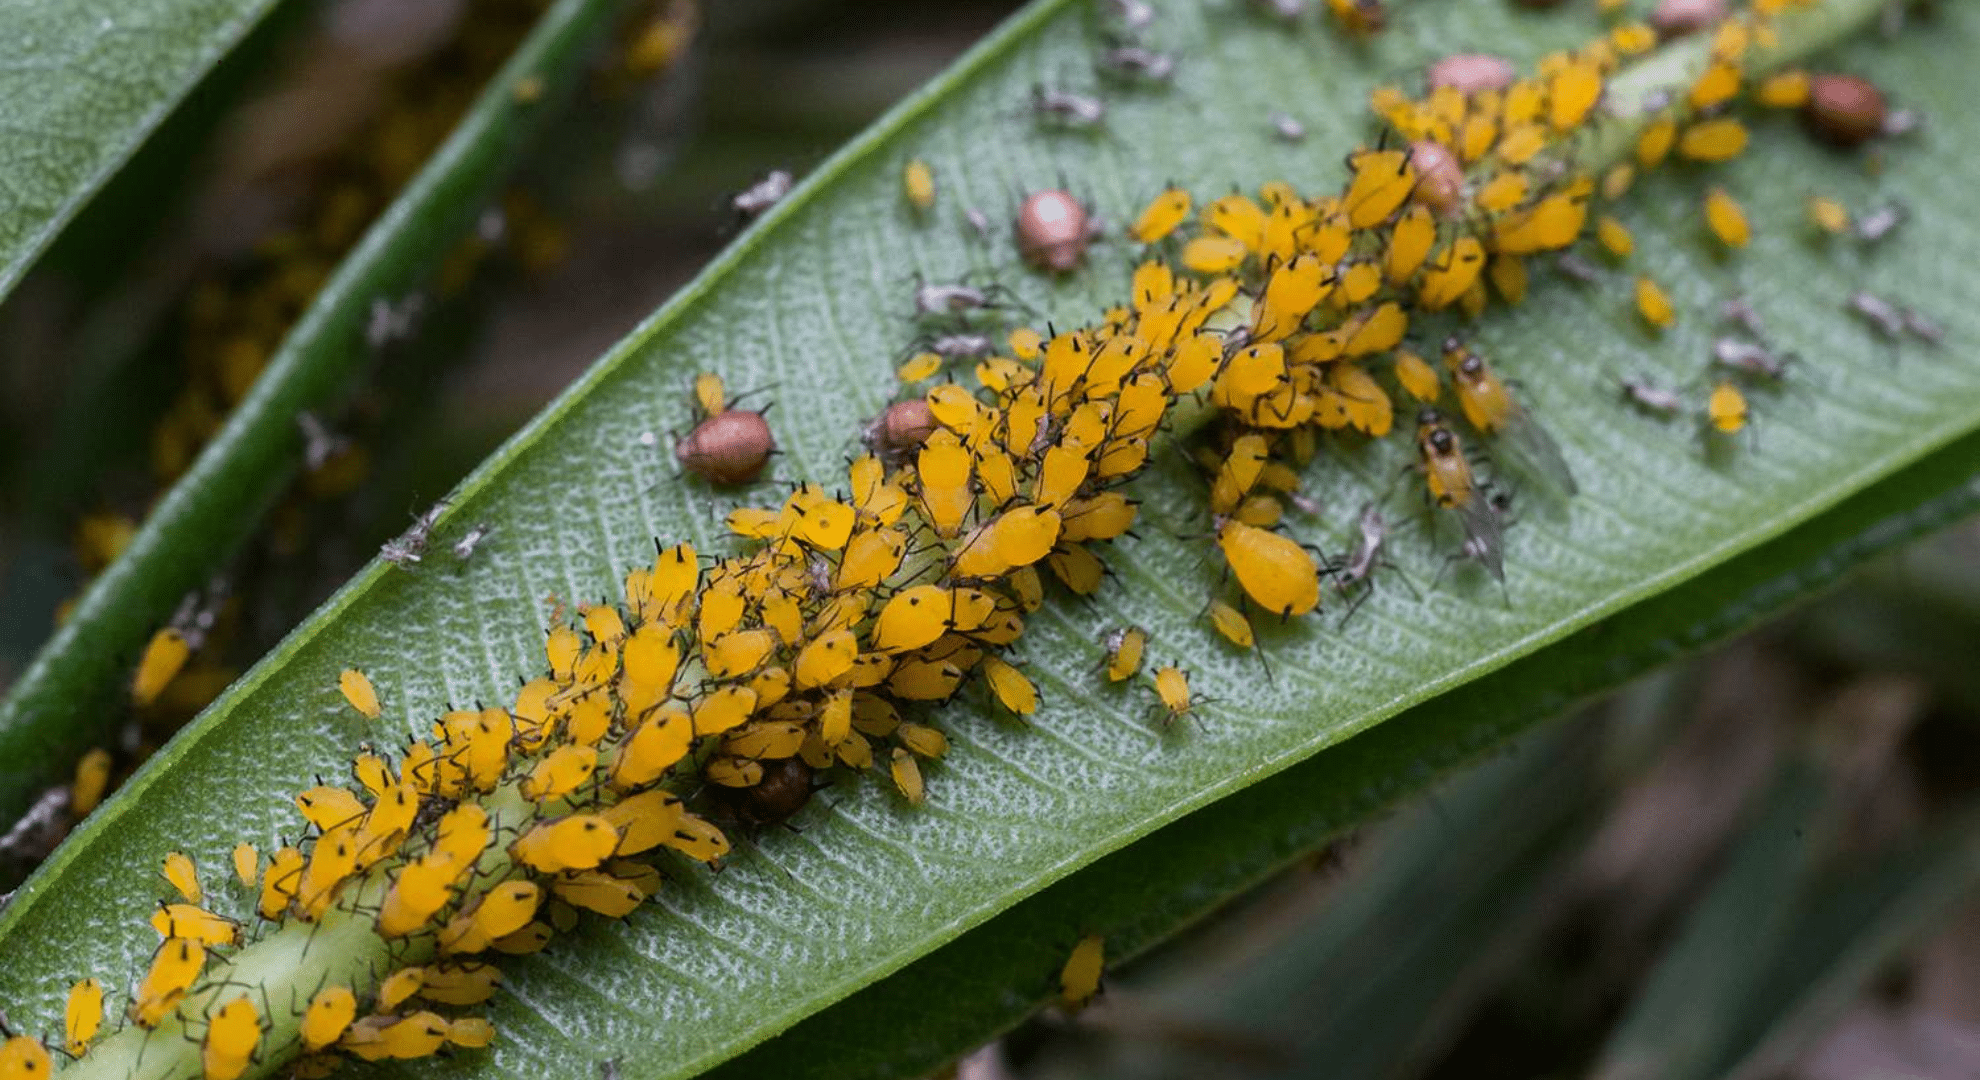
Tiny, soft bugs: green, black, or brown. They gather in clusters, usually on new growth. They also leave behind sticky goo.
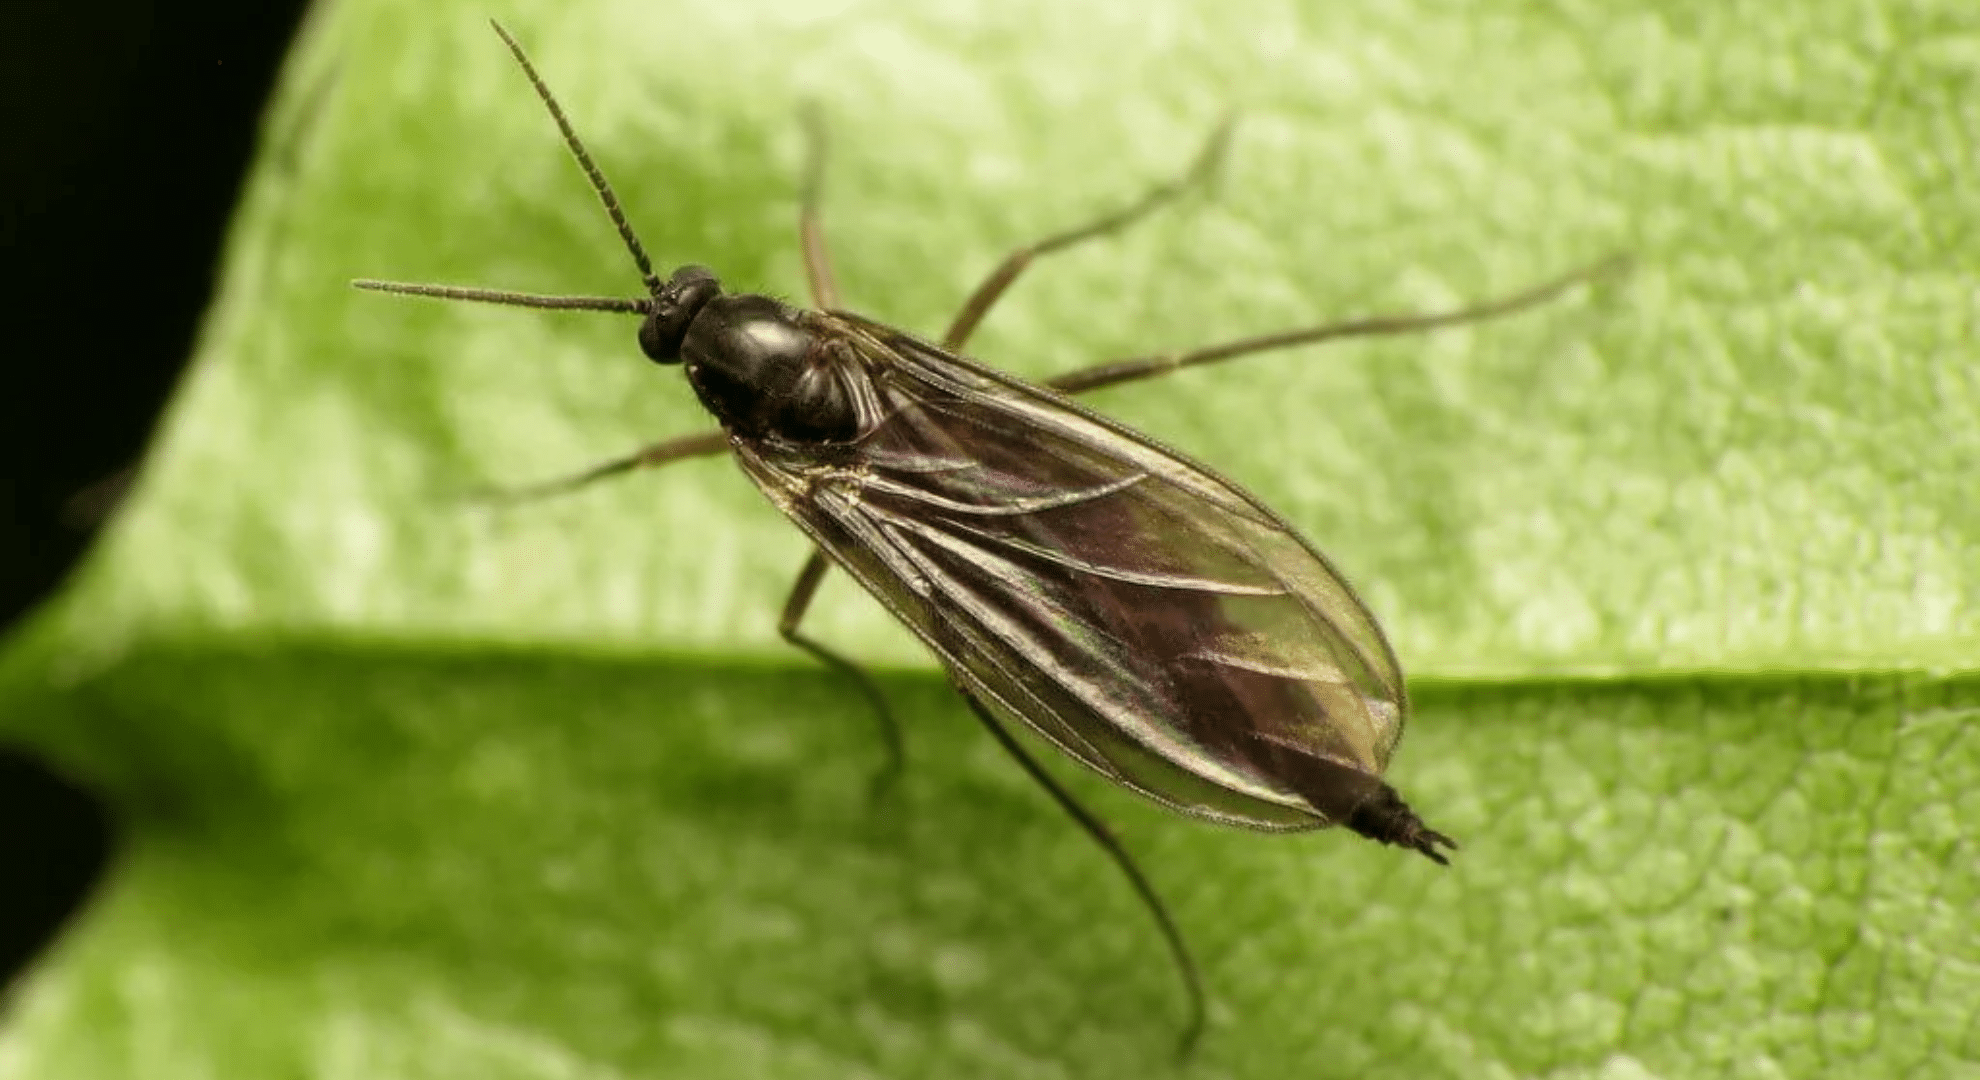
Thrips
These are thin, dark, fast-moving bugs. They’re hard to spot, but they leave streaks or silvery patches on leaves.
People notice thrips when they see their plant’s leaves turning silvery and dull-looking.
Scale
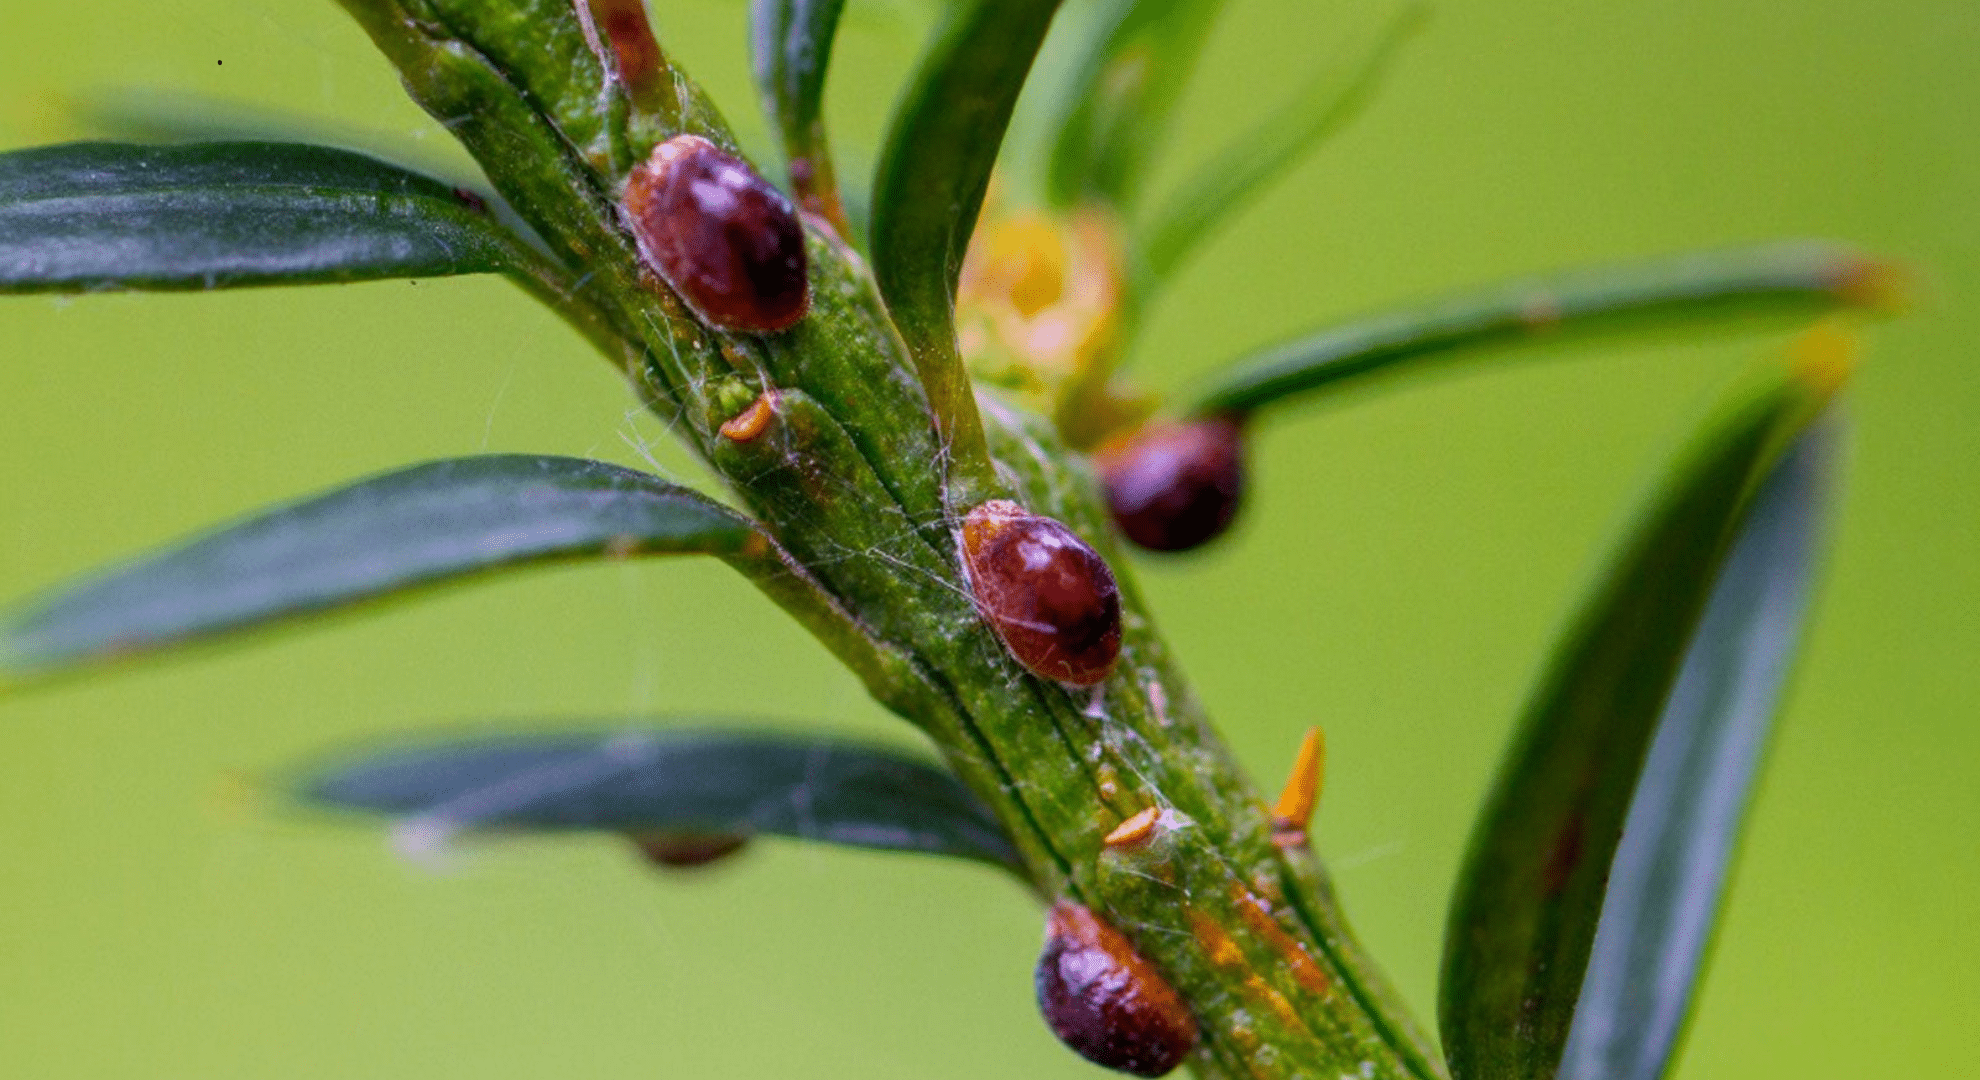
They look like little brown or tan bumps. They don’t move much, but they suck sap and weaken the plant.
People are part of the stem until they try to scratch one off and realize it was a bug.
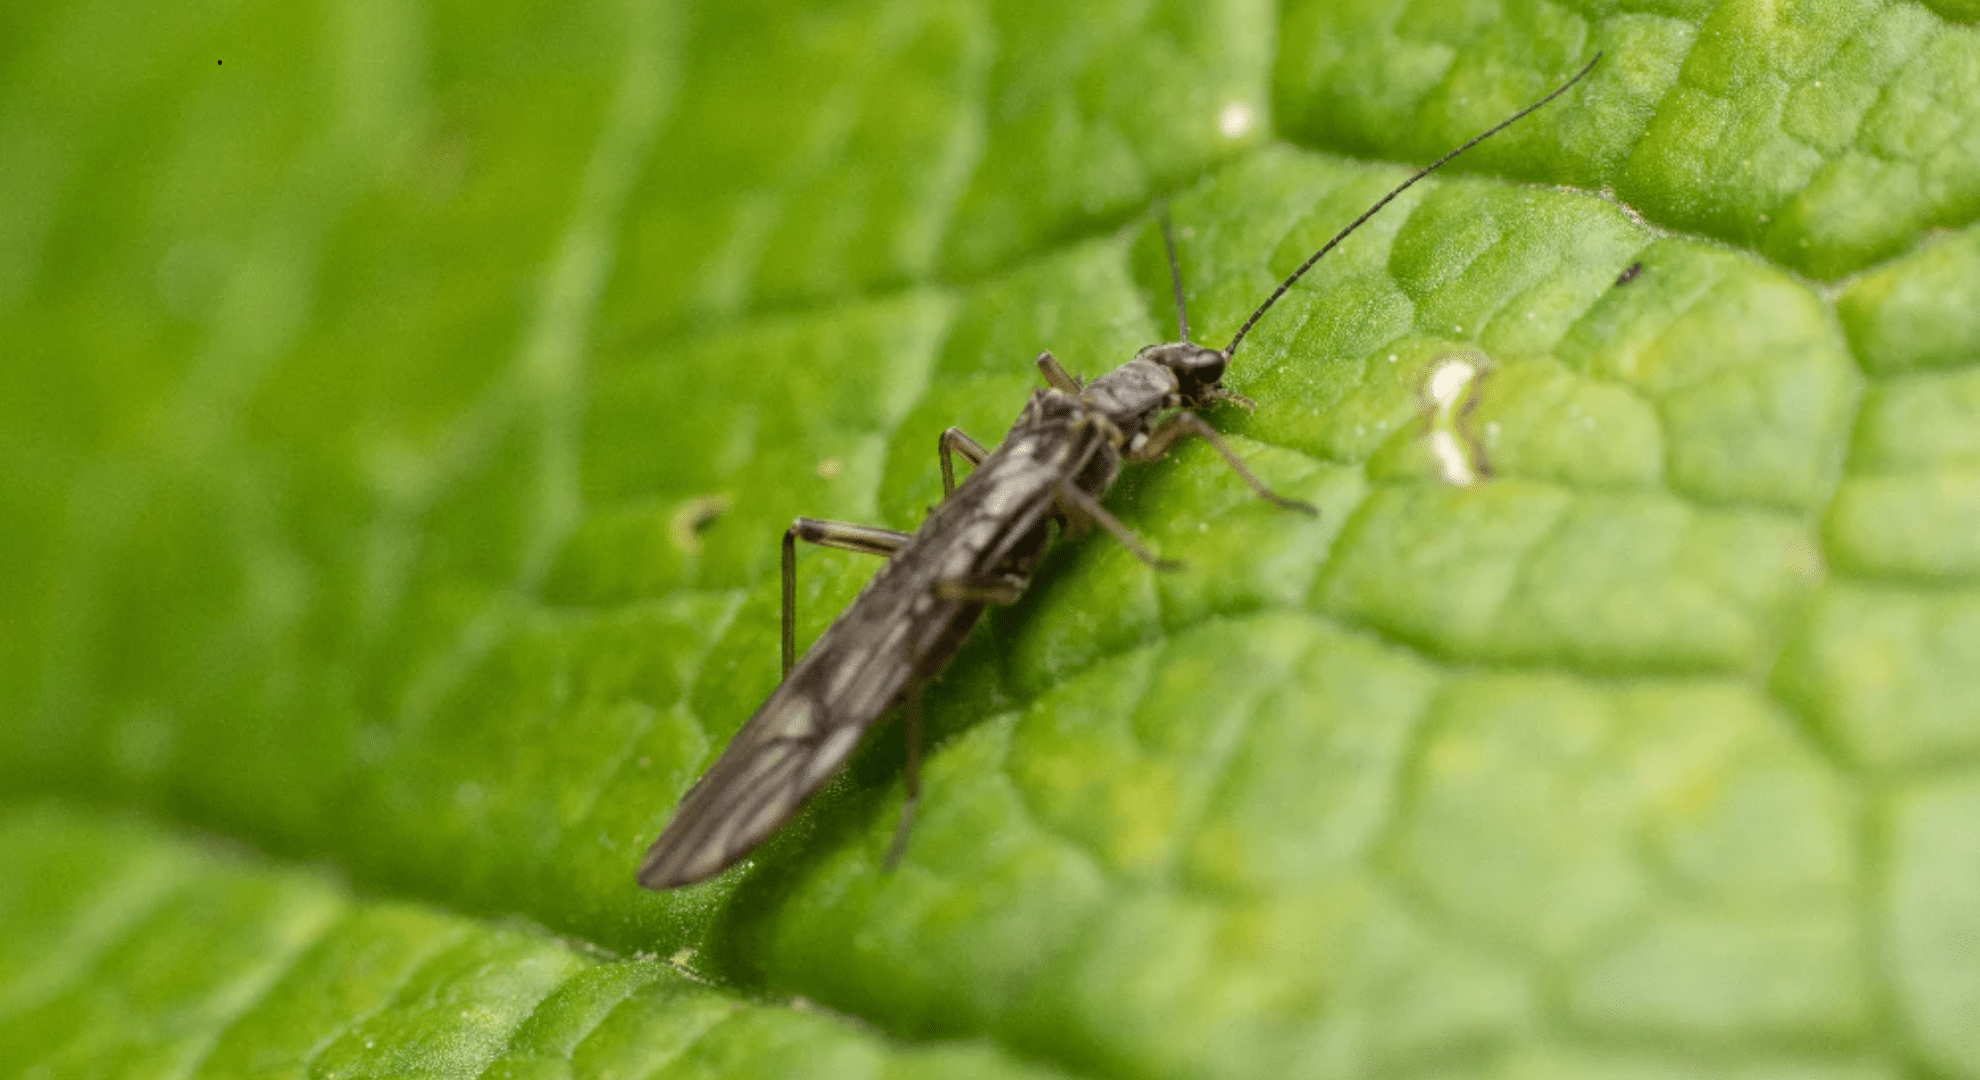
Fungus Gnats
These are tiny black flies, like fruit flies. You’ll usually see them flying around when you water your plant. Their babies live in the soil and eat roots.
Signs Your Plant is Under Attack
If you see any of these, a pest is probably the cause:
- Sticky residue on leaves or furniture: This is usually “honeydew” left behind by aphids or scale. It makes leaves look shiny or sticky.
- Webbing on or under leaves: This often means spider mites. The webs are fine, almost like dust.
- Tiny flying insects: Flying bugs near the soil? That’s likely fungus gnats. You’ll notice them most after watering.
- Cotton-like clusters: Soft, white fluff around stems or leaf joints often means mealybugs.
- Yellowing, curling, or twisted leaves: Most pests cause damage to leaves. If your plant’s leaves are getting weird, limp, or discolored, a bug might be behind it.
Tip: Use a magnifying glass or your phone’s camera zoom to check closely. A lot of these pests are tiny and easy to miss.
Once you spot which bug is causing the trouble, it’s way easier to choose the right fix. Don’t worry—there are safe, simple ways to treat each one (coming up next).
Immediate Actions to Stop the Spread
You spotted bugs, now what? Don’t panic. What you do next can stop the problem from spreading to your other plants. These steps are simple but very important:
Isolate the Plant (This Always Comes First)
Move the sick plant away from all other plants right away. Even a few feet apart helps.
Most plant pests can crawl or fly. If you don’t move the plant, they might jump to others. That’s how one bug turns into a big problem fast. I always set the plant on its own shelf or in another room. If I catch it early, the rest of my plants stay safe.
Rinse or Wipe Leaves the Right Way
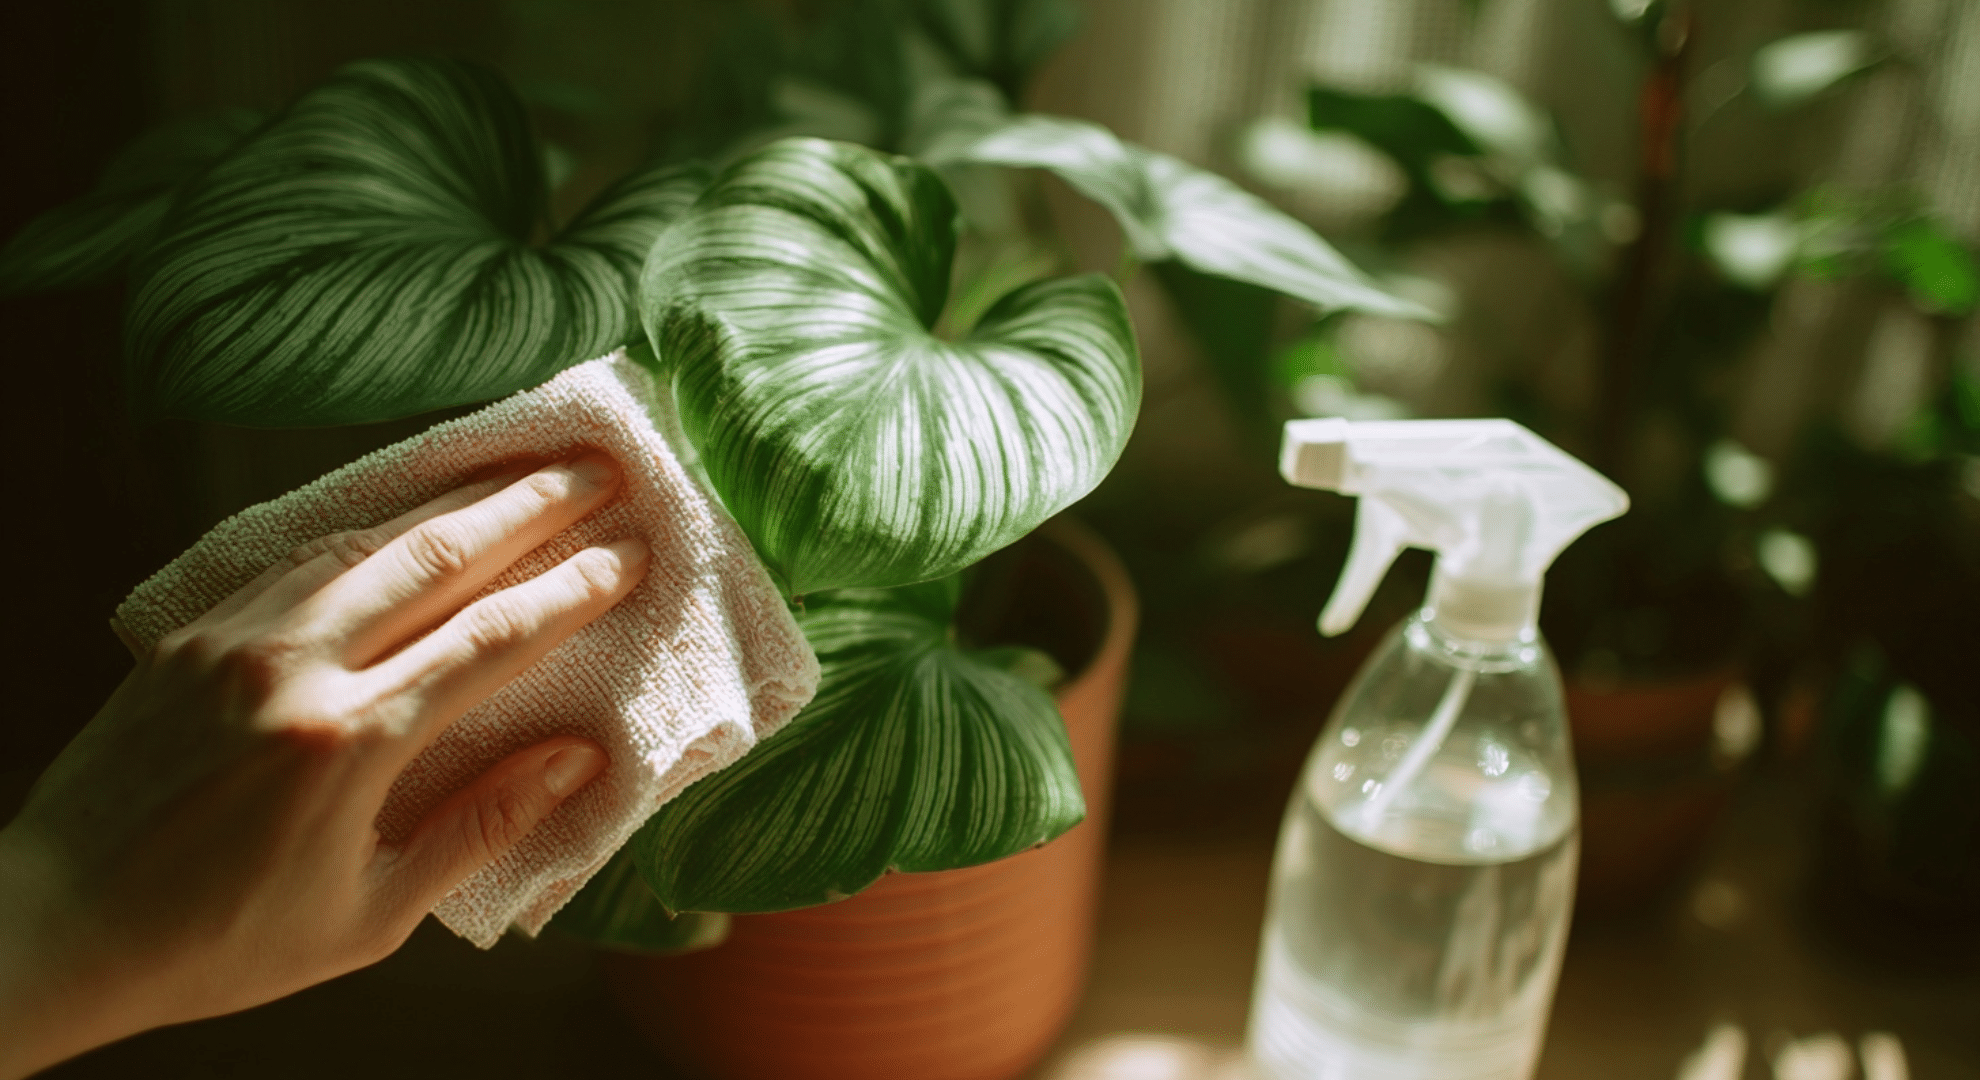
Once the plant is alone, clean the leaves. You can use:
- A spray bottle with water
- A soft cloth with soapy water (use a few drops of dish soap in warm water)
- Or rinse the plant under a gentle shower if it’s small enough
Wipe both the top and bottom of the leaves. Many bugs hide underneath. Be gentle, don’t scrub hard or tear the leaves.
Trim or Remove Heavily Infested Areas
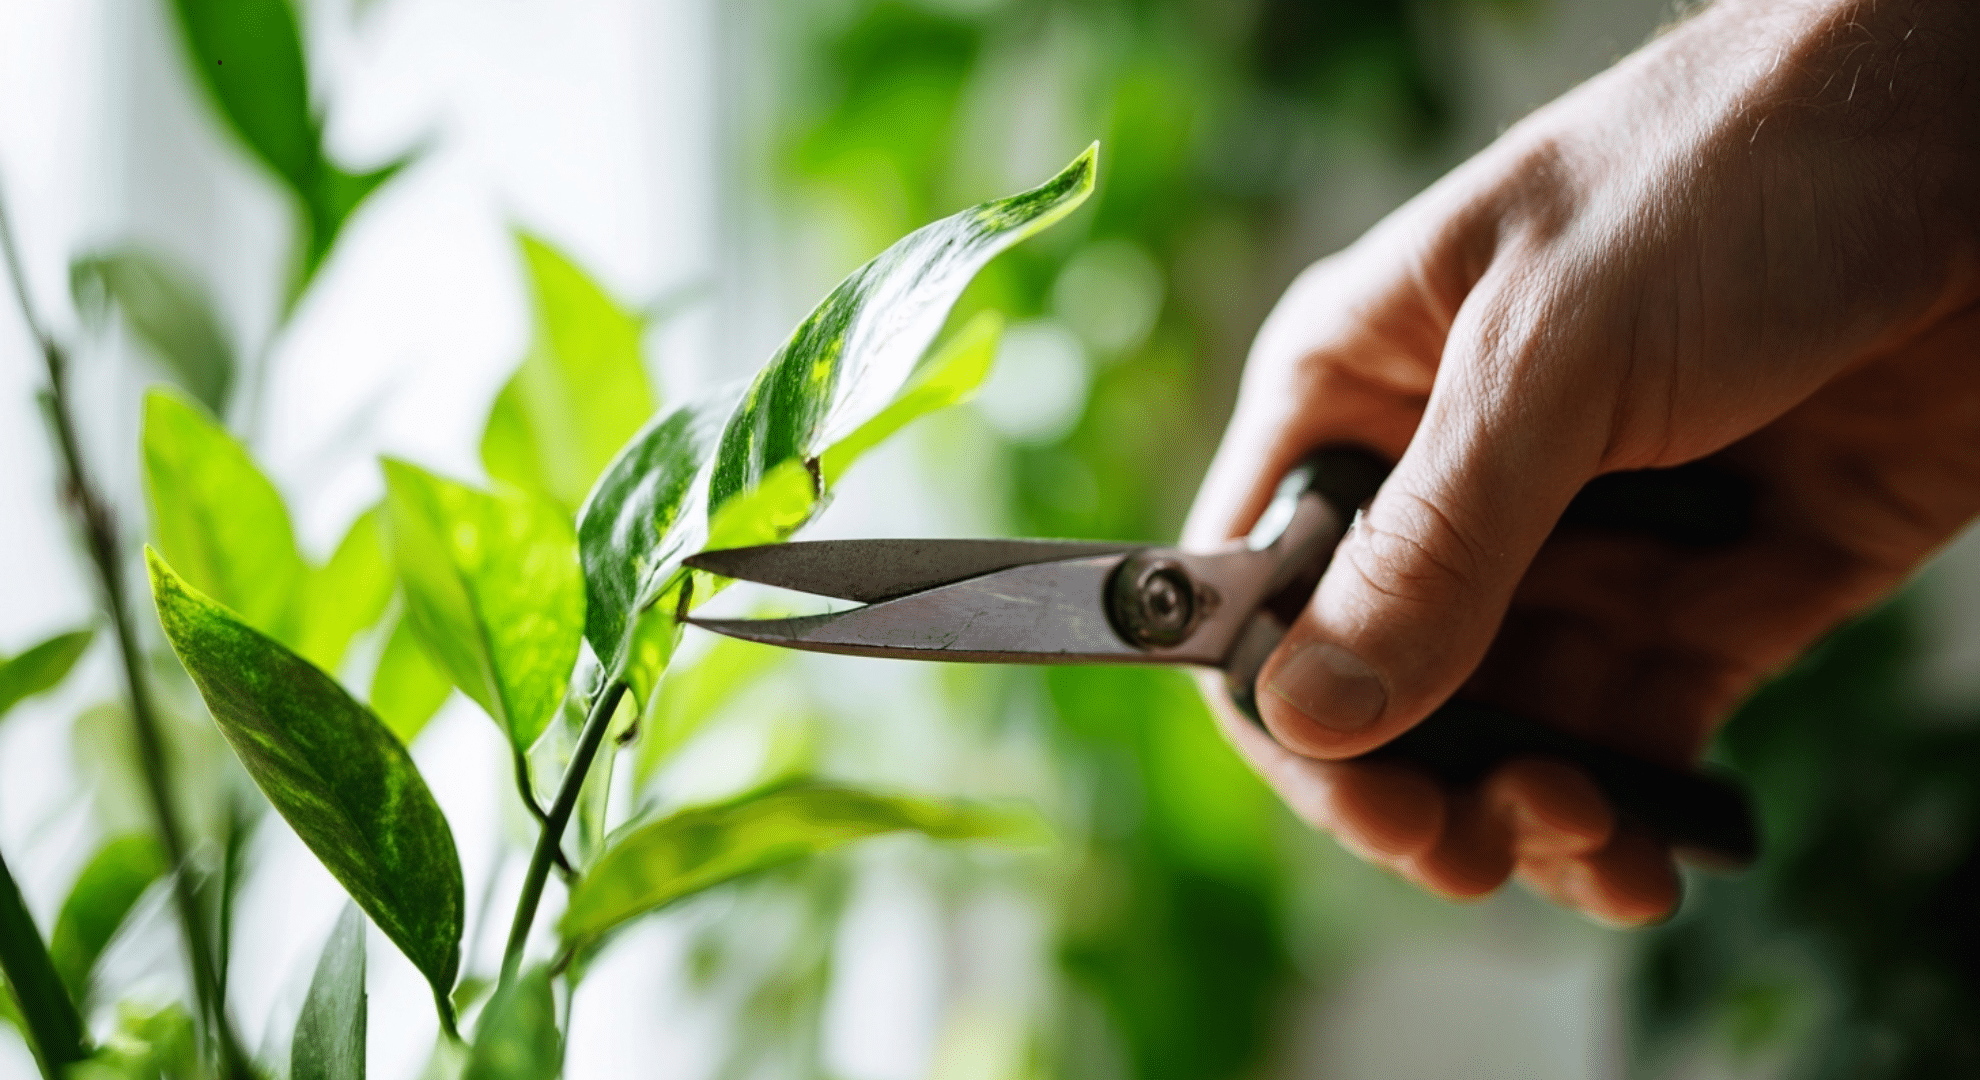
If some parts of the plant are full of bugs or badly damaged, cut them off with clean scissors or garden snips.
This helps because:
- You’re removing lots of bugs at once
- You’re getting rid of leaves that can’t heal anyway
- It gives the healthy parts of the plant a better chance
Always clean your scissors after cutting to avoid spreading bugs to the next plant you use them on.
Stopping the spread doesn’t take fancy tools or sprays. It just takes fast action, clean hands, and careful eyes.
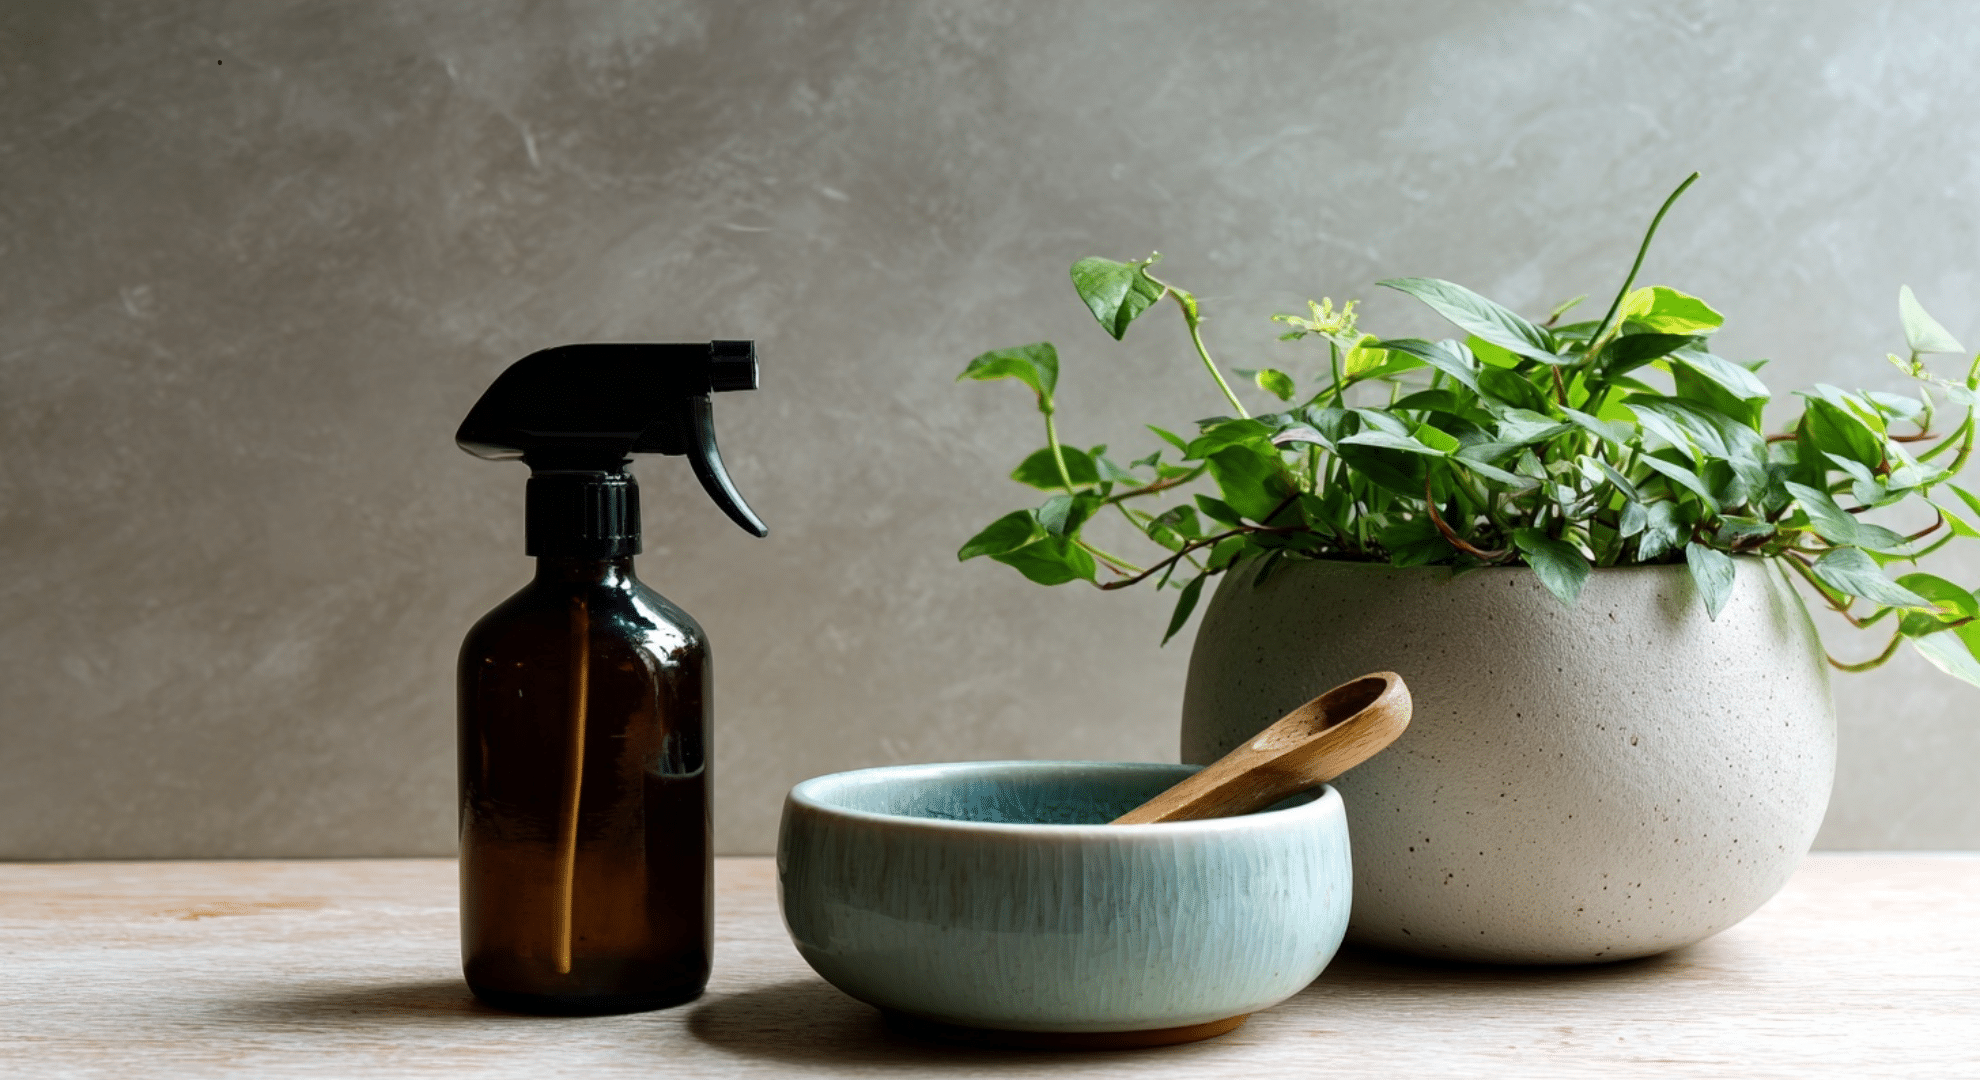
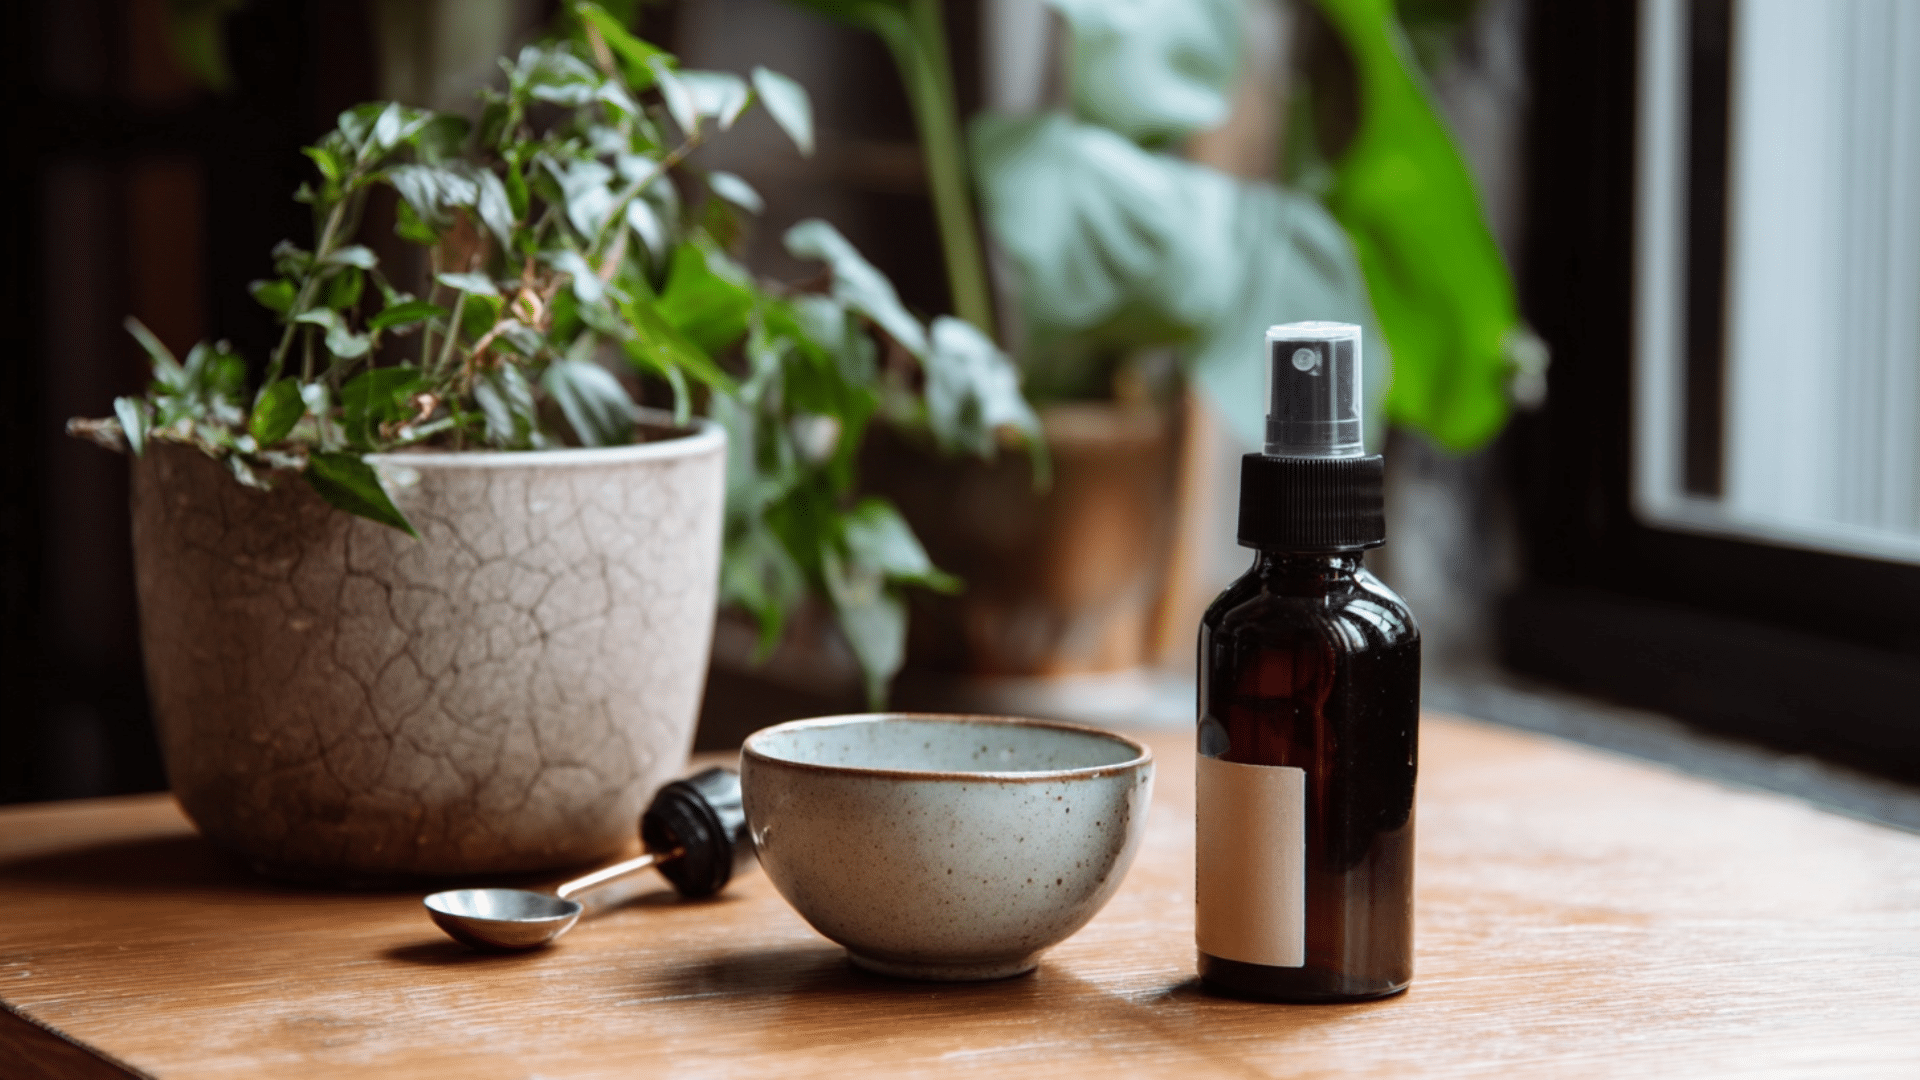
Natural Sprays and Solutions That I’ve Tested
I’ve tried a lot of sprays to get rid of bugs on my plants. Some worked well, some didn’t. These are the ones I keep going back to and the ways I learned to use them right.
Neem Oil
Neem oil is my go-to, but only if I use it the right way.
What works:
- Mix 1 teaspoon of neem oil, a few drops of dish soap, and 2 cups of warm water.
- Shake it well and spray it on the top and bottom of the leaves.
- Use it every 5–7 days, but only when the plant is out of direct sun.
Mistakes I’ve made:
- I sprayed too much and left it in the sun: my leaves burned.
- I didn’t shake the mix enough and the oil sat at the top.
After spraying, some of my plants stayed a little sensitive for a few days. I try not to spray more than once a week unless the bugs are really bad. Also, test on one leaf first, just in case.
Insecticidal Soap
This is just soap made for plants, and it’s been great for soft-bodied bugs like aphids and spider mites.
What I do:
- Use about 1 tablespoon of insecticidal soap in 1 quart of water.
- Spray the plant fully: top, bottom, and stems.
- Do it every few days until the bugs are gone.
It worked best for me on pothos, philodendrons, and ferns. But on thin-leaf plants like calatheas, I spray just a little to test first.
The bugs usually die in a day or two. I always rinse the plant a couple of days later to keep it clean.
Rubbing Alcohol for Spot Treatment
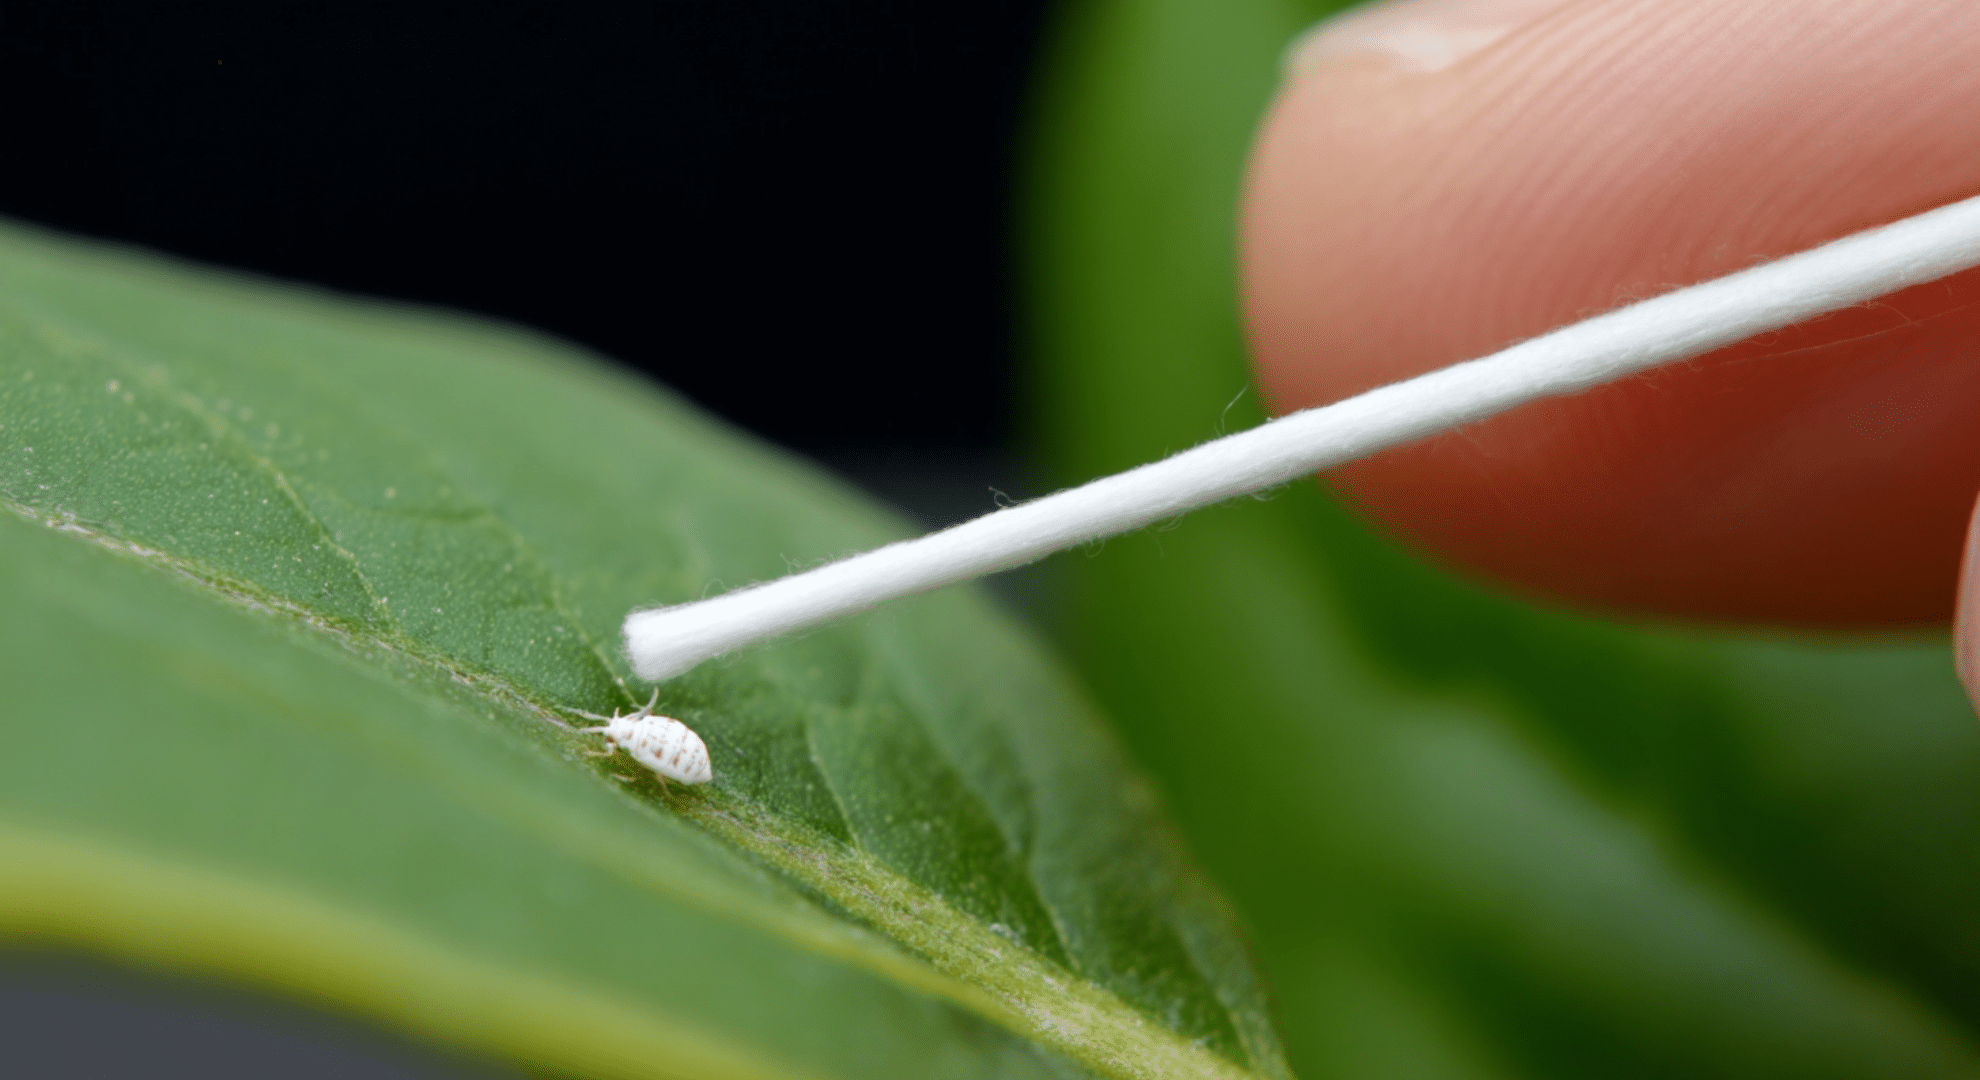
If I only see a few bugs, like mealybugs or scale, I use rubbing alcohol on a cotton swab. It’s fast and simple.
What I do:
- Dip a cotton swab in 70% rubbing alcohol.
- Dab it directly on the bug.
- The bug dies fast and comes off when I wipe.
When to use it:
- Only on thick or waxy leaves (like rubber plants, snake plants, or zz plants).
- Don’t use it on delicate plants, it can dry the leaves out.
It’s super quick and works best when you catch the problem early. I’ve cleared whole plants this way without needing sprays.
The Simple Soap-and-Water Spray
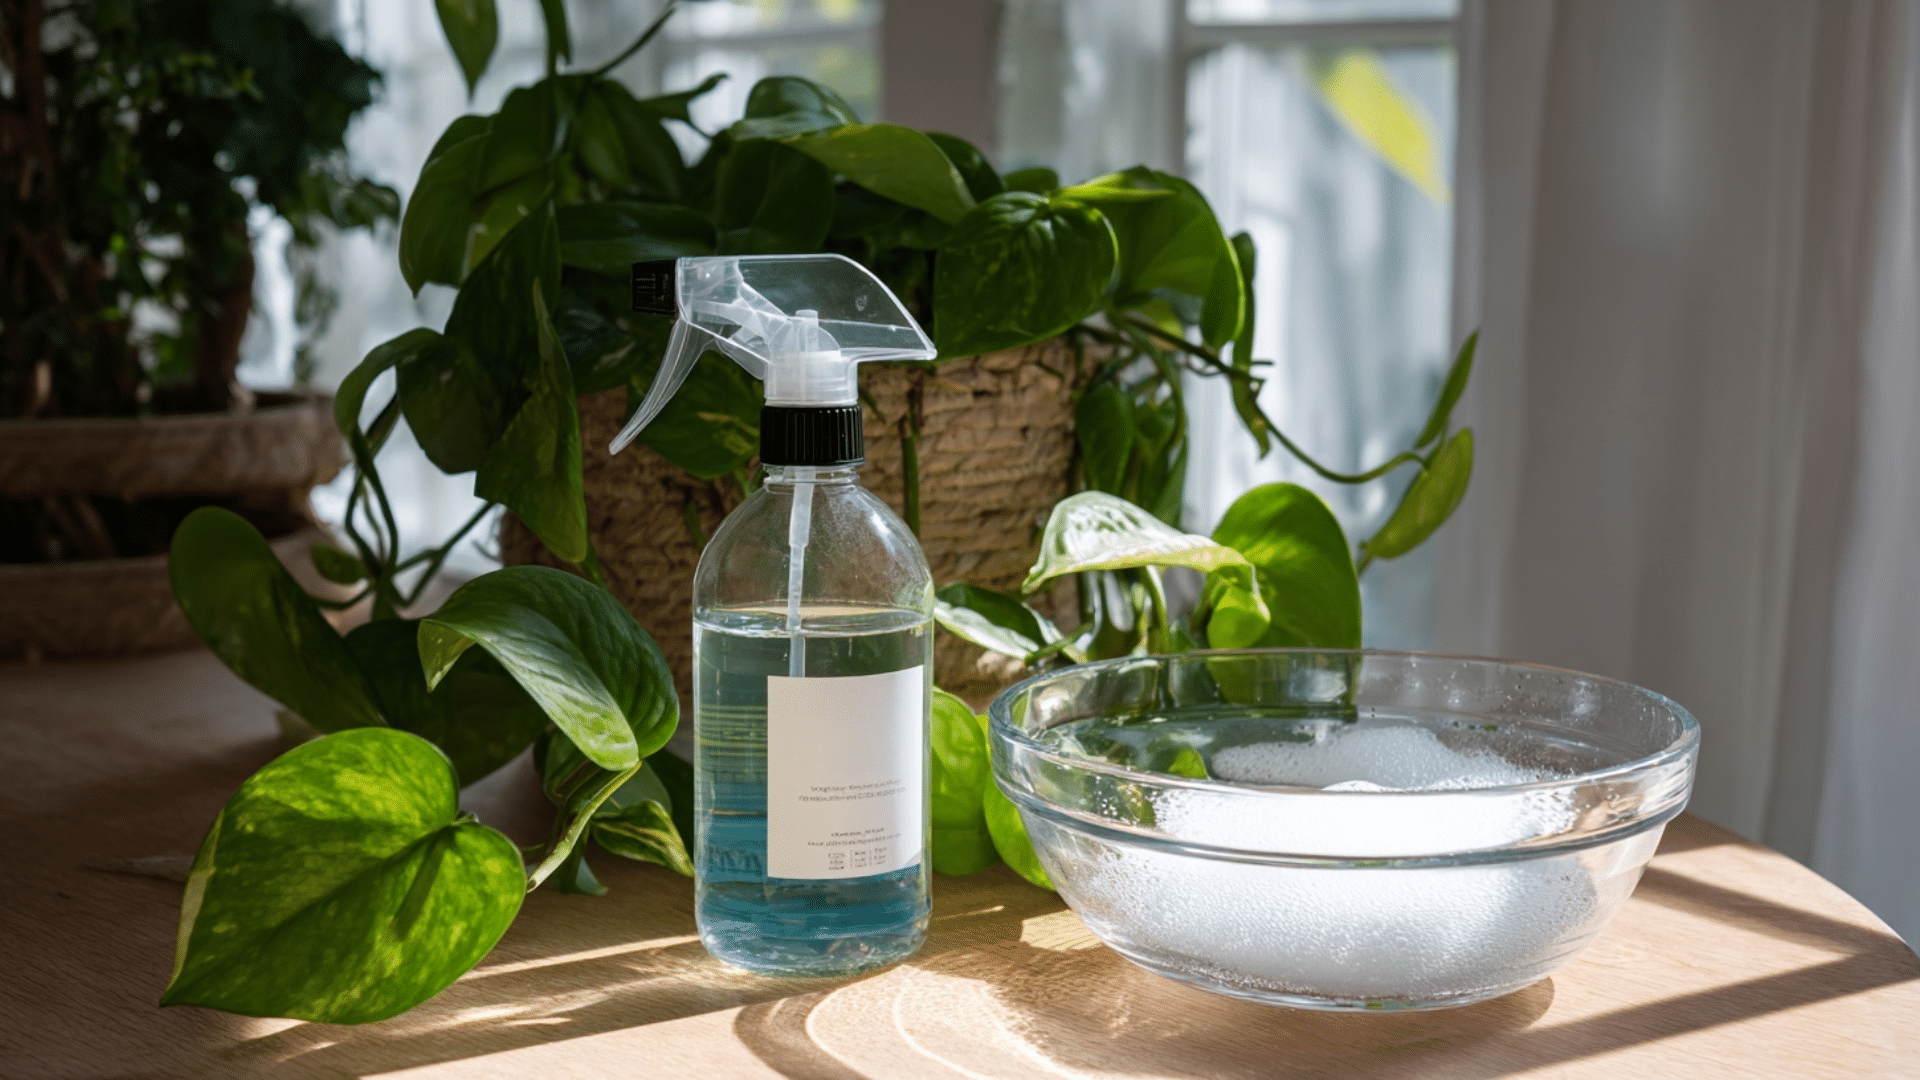
Sometimes, plain dish soap and water work just as well as the fancy stuff. This was one of the first things I tried—and it still works.
Here’s my mix:
- 1 teaspoon of mild dish soap (like Dr. Bronner’s or Dawn Free & Clear)
- 2 cups of warm water
I shake it up and spray the plant well. It’s gentle, but it takes a few tries. I wait a day or two, then wipe the leaves clean and repeat if needed.
What I learned:
- Don’t use soaps with bleach or scents.
- Always spray in the shade or during early morning/evening.
This works great on spider mites, aphids, and even fungus gnats if you spray the soil lightly.
These are sprays I actually use, not just stuff I read online. They’ve saved my plants more than once, and now I always keep the ingredients on hand.
Pest-Specific Treatment Guides
Not all pests should be treated the same way. This table gives you clear steps for identifying and dealing with each one the right way:
| Pest | How to Confirm | Best Treatment | How Often to Repeat | Mistakes to Avoid |
|---|---|---|---|---|
| Fungus Gnats | Tiny black flies near the soil, especially after watering | Let soil dry, use sticky traps, and spray the topsoil with hydrogen peroxide | Every 5–7 days until bugs are gone | Overwatering – it keeps the gnats alive and breeding |
| Mealybugs | White, cotton-like blobs in leaf joints or under leaves | Dab with rubbing alcohol, wipe off and spray neem oil | Weekly until they’re gone | Not checking deep inside leaf joints |
| Spider Mites | Pale speckles on leaves and fine webbing on the underside | Rinse leaves, wipe with soapy water, spray neem oil | Every 5 days for 2–3 weeks | Spraying in sunlight, can burn leaves |
| Thrips | Silver patches, dark specks (poop), thin fast-moving bugs | Insecticidal soap or neem oil, rinse leaves | Every 3–4 days for 2 weeks | Stopping too early, eggs hatch even after adults are gone |
| Aphids | Small green/black bugs in clusters on new growth, sticky leaves | Wipe with soapy water, rinse and spray neem oil | Weekly until clear | Ignoring leaf undersides where they hide |
| Scale | Small brown or tan bumps on stems or back of leaves | Scrape off gently, dab with alcohol, use neem oil weekly | Weekly for 3+ weeks | Just spraying, must also remove by hand |
This table saves me time when I need a quick answer. I’ve kept it pinned near my plant shelf as a reminder of what to look for.
Debugging Plants Before Bringing Them Indoors
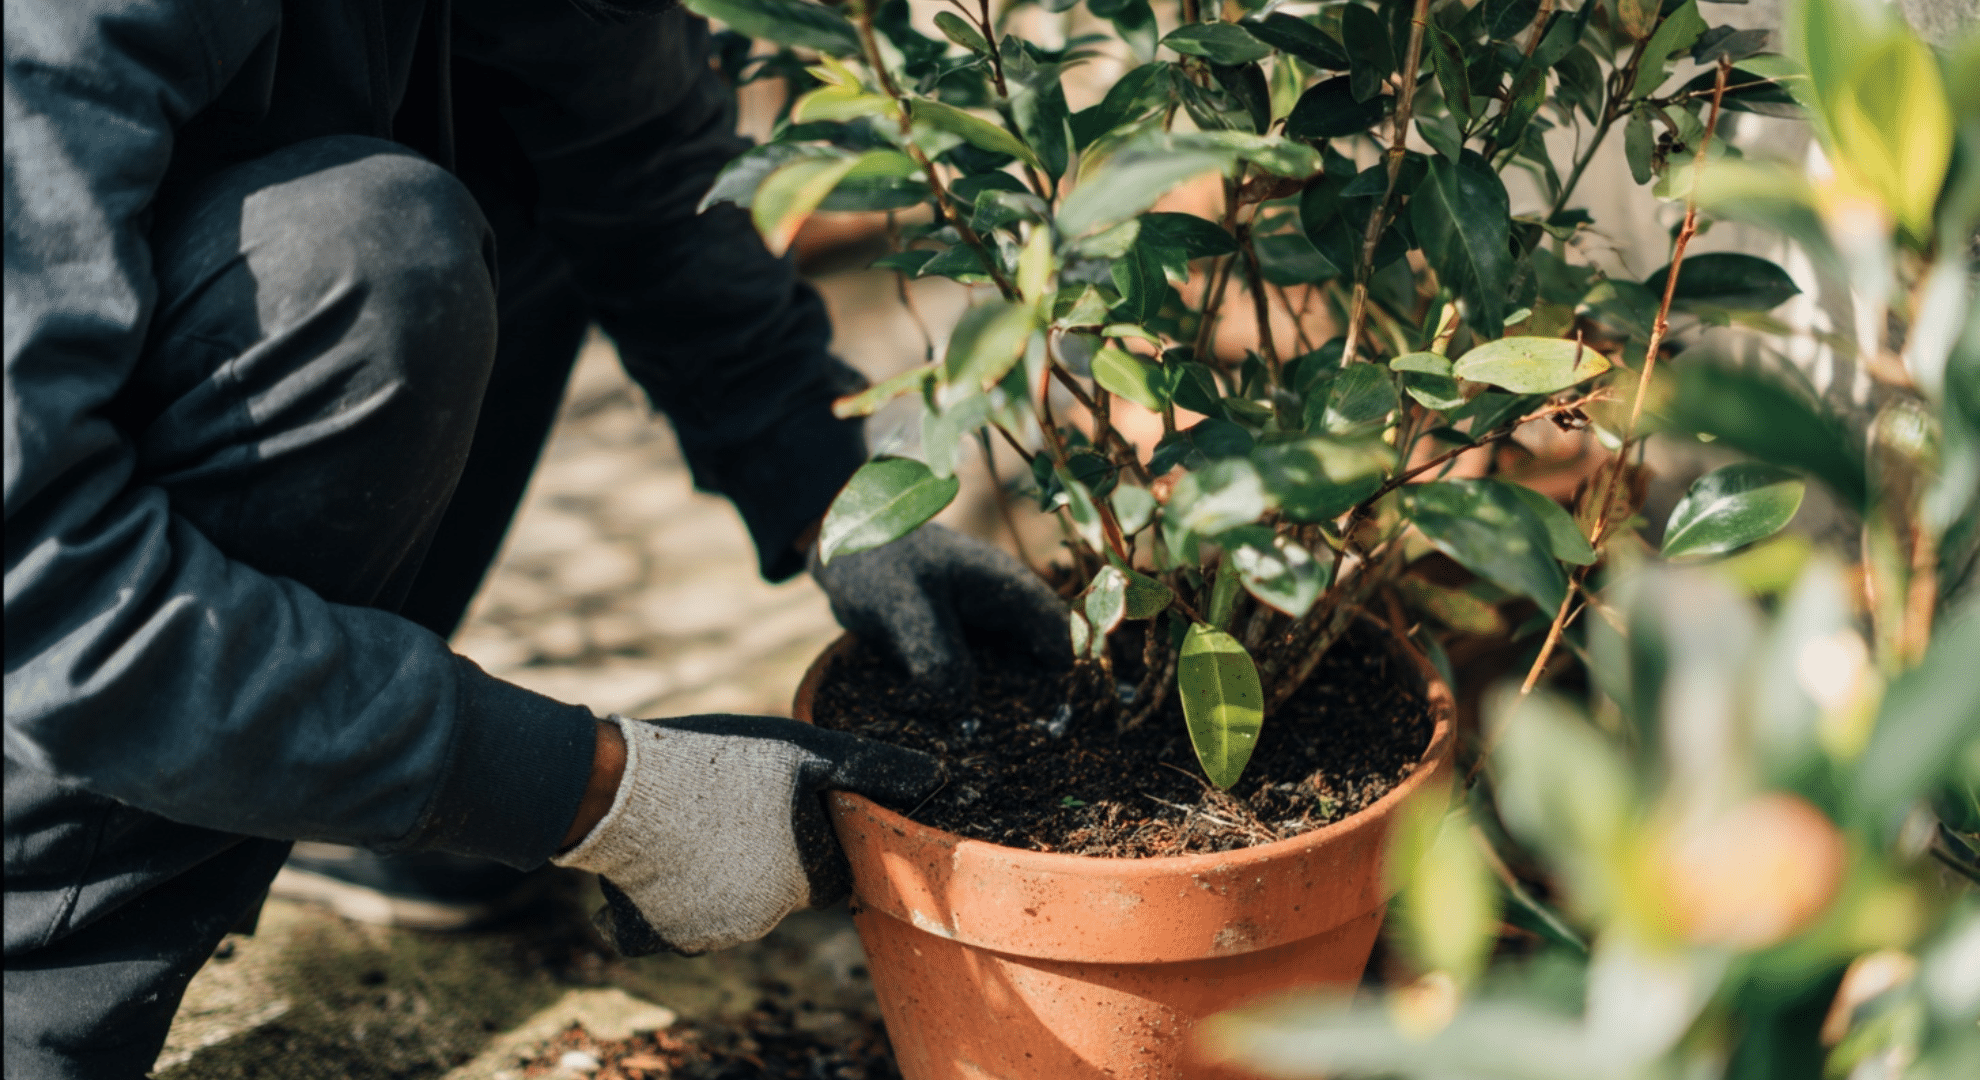
Before moving your plants inside for the season, it’s important to make sure you’re not bringing bugs in with them. I always take this step seriously because once pests get indoors, they spread fast and are harder to control.
Start by checking the leaves: top and bottom for any bugs, webbing, or sticky spots. Look closely at the soil, too. You can even tap the pot to see if any flying bugs come out.
Then, rinse the whole plant gently with water. For extra care, I spray the leaves with a simple mix of dish soap and water.
Next, soak the pot in a bucket of water for about 15–20 minutes. This helps push out soil pests like fungus gnats or their eggs. Let the plant dry completely before bringing it in.
A little time spent checking now will save you from a full-blown pest problem later. It’s always worth it.
Long-Term Prevention That Actually Works
Stopping bugs before they show up is easier than getting rid of them later. Over time, I’ve found a few simple habits that really help keep pests away for good.
- Check new plants before bringing them home: Bugs often come from the store or nursery.
- Wipe leaves once a week: Clean leaves stay healthy and give bugs fewer places to hide.
- Don’t overwater: Wet soil attracts fungus gnats and root-loving pests.
- Keep plants spaced apart: Good airflow helps stop pests and mold from spreading.
- Use sticky traps near plants: These catch early signs of flying bugs.
- Quarantine sick or new plants: Keep them separate for at least 1–2 weeks.
Small steps like these make a big difference. I’ve stuck with them, and now I rarely have bug problems. It’s all about being consistent and catching things early.
When to Use Chemical Treatments
Sometimes, natural methods aren’t enough, especially when bugs keep coming back or the infestation is out of control. That’s when chemical treatments might be the best option.
I only use them as a last step, after trying things like neem oil, soapy water, or rubbing alcohol.
If a plant is badly damaged or the pests are spreading fast, stronger sprays can help save it. Look for ones labeled safe for indoor use, and always read the directions carefully.
Use them in a well-ventilated space, away from kids and pets. Spray only the affected plants, and wear gloves if needed.
Don’t go overboard. One or two treatments are usually enough. Keep an eye on the plant for signs of stress or burning. Also, hold off on watering right after spraying, unless the label says it’s okay.
Using chemicals isn’t my first choice, but when nothing else works, it can make a big difference.
Conclusion
What surprised me most on my own plant-care path was how quickly things changed once I understood the signs, the pests, and the right steps.
That shift made it easier for me to handle problems and stay calm, even when I had to figure out how to get rid of bugs on indoor plants again later.
Now you get to use that same clarity. You can spot trouble early, act with confidence, and keep your plants steady with simple habits.
Let these steps settle into your routine and trust your instincts when something looks off. And if you want to build on what you learned today, keep researching other blogs. There’s always another tip waiting for you!