A deck changes how you use your backyard entirely.
Dinners are held outside, kids enjoy a new play area, and summer evenings seem to last longer.
I’ve watched neighbors buy lumber before checking a single permit, then spend a weekend redoing a corner post two months later. But jumping straight to lumber and screws skips the groundwork that actually matters.
Learning how to build a deck means starting with permits, materials, and layout before you cut a single board.
Skip a step, and you’ll pay for it later through rework, fines, or a structure that wobbles within a year.
This blog covers planning, tools, construction, costs, and upkeep to prevent surprises mid-project.
Start With the Deck You Actually Need
Hold off on considering any fancy add-ons. Learning how to build a patio deck starts with matching the size and shape to your actual space, not the other way around, before adding railing, lighting, or furniture.
A tiny balcony doesn’t need a wraparound design. A big backyard shouldn’t settle for a cramped 10×10 square.
Consider how you’ll mainly use it dinners, lounging, grilling, or a mix and pick a shape and size suited to that.
Keep your budget in mind, as material and labor costs rise quickly with larger sizes.
Get this foundation right first, and every decision after it gets easier and cheaper.
If you’re still deciding between an open deck and a covered outdoor space, comparing porch and veranda options can help clarify which fits your yard and budget best.
Check Codes, Permits, Property, and Utilities Before Digging
Grab a shovel too soon, and you could hit a gas line or violate a setback rule.
Call 811 first; utility marking services locate buried cables, pipes, and lines for free in most areas.
Next, check your local building department for permit requirements, as deck size and height often trigger inspections. Review your property survey to know the boundaries and required setbacks.
HOA rules add another layer, with material or color restrictions in some neighborhoods.
Skip these steps, and you risk fines, forced teardowns, or dangerous accidents during construction.
A quick phone call now saves serious headaches later.
This section offers general guidance only. Codes, setbacks, and utility rules vary by location, so verify requirements with your local building department or a licensed contractor before digging or building.
Choose the Right Deck Construction and Materials
Wood, composite, or PVC: each material affects your maintenance requirements, durability, and initial investment.
| Material | Lifespan | Maintenance | Cost |
|---|---|---|---|
| Pressure-treated wood | 10–15 years | Annual staining/sealing | Lowest |
| Cedar or redwood | 15–20 years | Periodic sealing | Mid-range |
| Composite | 25–30 years | Occasional washing | Higher |
| PVC | 30+ years | Minimal | Highest |
If your yard also needs a boundary update, several budget-conscious fence-building projects use similar fasteners and layout techniques, so the leftover screws and hardware rarely go to waste.
Gather the Tools and Build a Complete Materials List
Prevent a mid-project hardware visit by gathering all tools and materials before cutting the first board.
- Tape measure and chalk line: Essential tools for precise layout.
- Use a level and speed square to ensure accurate angles and correct alignment.
- Use concrete for footings or piers to secure posts.
- Post bases and anchors: Designed for contact with ground or concrete.
- Framing lumber: Designed for your span as joists, beams, and posts.
- Fasteners: Deck screws, joist hangers, and structural screws.
- Circular saw and drill: Used for cutting and fastening tasks.
- Safety equipment: Gloves, eye protection, and ear protection.
Lay Out the Deck on the Ground Before Building
Mark corners with stakes, then run string lines between them to see the footprint.
Check angles using the 3-4-5 triangle method for square corners. Walk the marked space, and picture furniture placement, walking paths, and door swings. Adjust dimensions now, since changes cost nothing at this stage.
Confirm clearances from trees, fences, or windows too.
This step catches sizing mistakes before anyone pours concrete or cuts a single board.
Prepare the Site and Plan for Water Drainage
Clear grass, roots, and debris from the marked footprint completely.
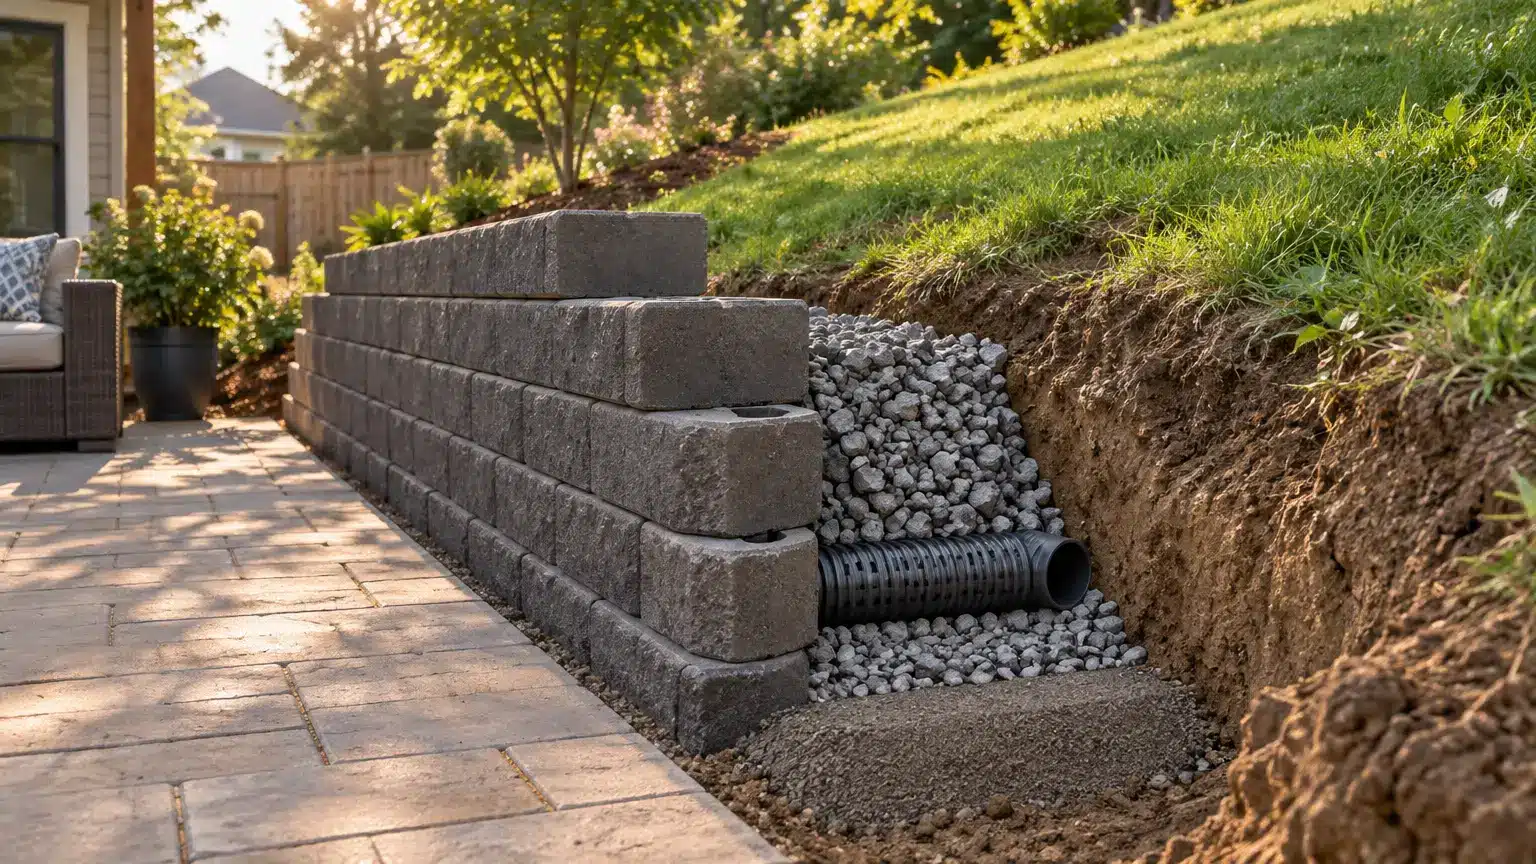
Grade soil so it slopes gently away from your house, stopping water from pooling near the foundation.
Spread gravel beneath footings for stable, drained support. Keep finished decking below door thresholds so rain stays outside. Handle grading correctly now, and you’ll avoid rot, mold, and warped boards for years.
Step-by-Step Process: How to Build a Deck
Watch this video for a detailed process from Bunnings WarehouseKnowing how to build a wooden deck from scratch comes down to following these steps in order, and you’ll move from bare ground to a finished deck without missing a critical detail.
Step 1: Confirm Permits and Assess the Ground
Contact your local council first, since permit rules vary by region and project size.
Once cleared, assess the surface you’re building on, whether concrete, soil, or a mix of both. This determines footing type, material choice, and construction method. Skipping this check risks fines or rework later.
A quick site assessment now sets the direction for every decision that follows in the build.
Step 2: Decide on Deck Height and Step Requirements
Figure out if your deck sits level with the door or needs a connecting step.
This depends on your home’s threshold height and surrounding ground level.
Measure carefully, since getting this wrong affects drainage, safety, and appearance. Note the height difference now so later stump and joist calculations match your actual site conditions, not guesswork.
Step 3: Select Decking Layout and Orientation
Pick a board orientation: perpendicular, parallel, or a combined pattern. Layout affects visual flow and how water sheds off the surface. Consider the deck’s shape and connection points to your house.
Mark your preferred direction on paper before cutting anything.
This choice shapes labor time and material cutting patterns, so lock it in early rather than adjusting mid-build.
Step 4: Choose Fasteners and Finishing Products
Select stainless or galvanized screws only, since regular fasteners rust quickly outdoors.
Rust weakens boards and stains the surface over time. For finishing, choose between stain and decking oil based on your desired sheen and protection level. Both options guard against weather damage.
Buy these supplies ahead of construction, so work doesn’t pause once boards go down.
Step 5: Mark the Area and Set String Lines
Use marking paint to outline the exact footprint on the ground. Position work hurdles away from this zone for easier movement. Run string lines along the marked edges to define precise dimensions.
Check the layout visually before committing.
This step confirms comfort with scale and spacing, catching sizing issues before any digging or cutting starts.
Step 6: Square the Deck Using the 3-4-5 Method
At each corner, measure three units one way and four units the other.
The diagonal connecting those two points should equal exactly five units. Alternatively, measure corner-to-corner diagonals and compare results across the layout. Matching numbers confirm a square structure.
Skipping this step risks uneven boards and a frame that looks crooked once built.
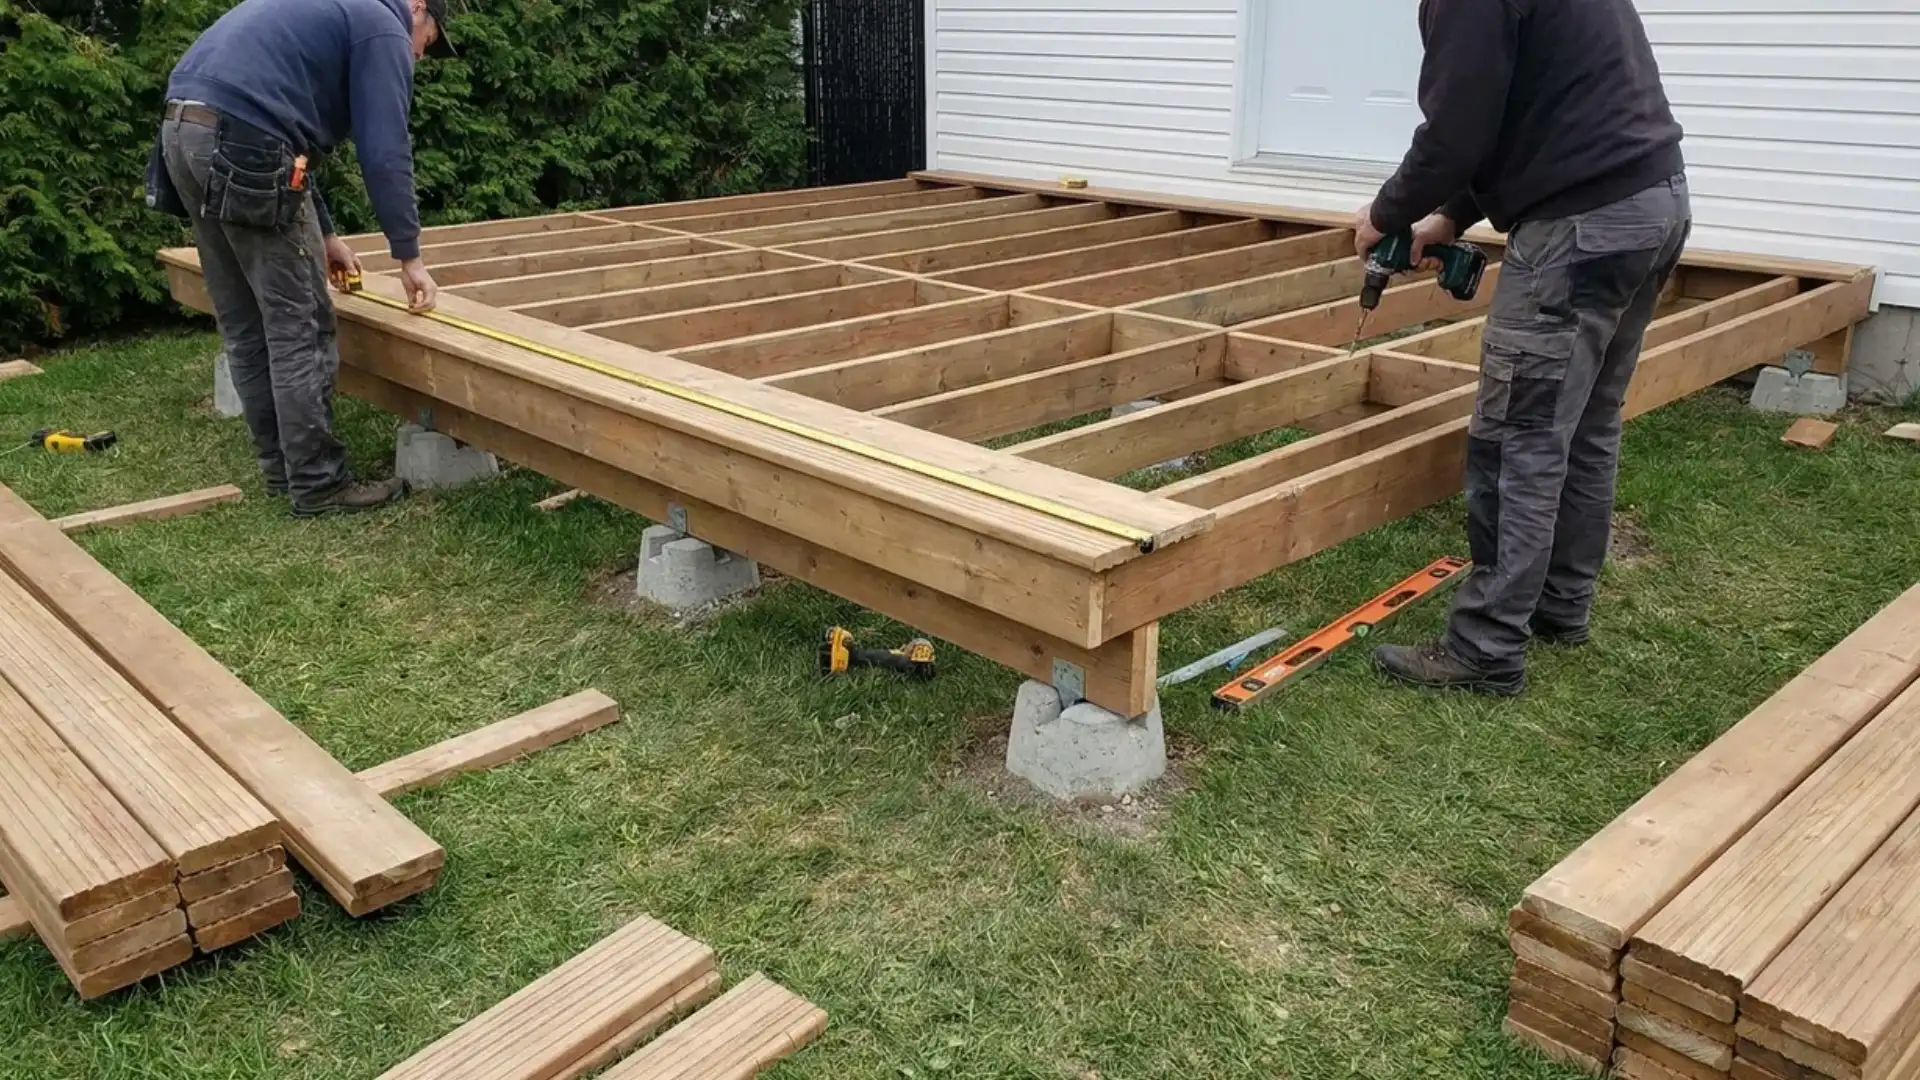
Step 7: Dig and Set Stumps or Footings
Determine the clearance height between ground and bearer based on local guidelines, removing soil if needed.
Dig holes sized appropriately for your timber stumps, coating each with bitumen paint to prevent rot.
Pour concrete halfway into each hole, then set stumps along the string line, checking plumb.
Backfill with soil and let everything cure overnight before continuing.
Step 8: Install Bearers Along the Stumps
Cut stumps to the correct height by subtracting joist, bearer, and decking thickness from your total deck height.
Measure from the house to the string line for bearer length.
Laminate two timber pieces together for added strength, securing with framing nails or hoop iron. The same lamination and bracing applies to garage framing, since both rely on getting load-bearing points right the first time.
Attach a bracket plate against the wall where the deck meets the structure.
Step 9: Position and Secure the Joists
Space joists evenly across the bearer width, keeping gaps under 450 millimeters apart.
Lay each joist across the bearers and secure with galvanized nails for rigidity.
Add noggins between alternating joists, reinforced with brackets and screws. This framework carries the entire weight of your finished surface, so accuracy here prevents sagging or bounce later.
Step 10: Build the Step Frame and Subfloor
Mark and dig stump holes for your step, and coat the timber with bitumen paint before setting.
Pour concrete, position stumps level with your string line, and backfill to cure overnight. Calculate stump height by halving the joist-to-ground distance, then subtract subfloor thickness.
Pre-build a step subfloor using matching joist spacing, then screw everything securely into place.
Step 11: Lay Boards and Attach Screening
Start by placing every fifth board first, using pre-drilled marks for spacing accuracy.
Stagger board joints so they land on joists, then insert wedges between boards for even gaps.
Trim overhanging edges with a circular saw guided by a straight edge. Finish by attaching screening from top to bottom, then repeat board-laying techniques across your step surface.
How Long Does It Take to Build a Deck
Most simple ground-level decks take about one long weekend for an experienced DIYer.
Multi-level or attached decks with stairs and railings often stretch the timeline to one or two weeks.
Weather delays add time. Concrete curing time adds more. Permit inspection scheduling can push the timeline further still. I’m not fully certain of exact figures for every region, so treat this timeline as a general estimate.
Check with your local contractor or building department for a realistic schedule based on your project and climate.
How Much Does the Complete Installation Cost
Total costs vary greatly depending on the deck type, size, material, and local labor rates.
| Deck Type | Size | Material | Estimated Cost Range |
|---|---|---|---|
| Ground-level (floating) | 10×10 ft | Pressure-treated wood | $1,500–$3,000 |
| Attached (raised) | 12×16 ft | Cedar or composite | $6,000–$12,000 |
| Multi-level or wraparound | 20×20 ft | Composite or PVC | $16,000–$32,000 |
| Rooftop or elevated | Any size | Steel-framed with PVC decking | $20,000–$40,000+ |
| Any type | Any size | Add-ons (railing, stairs, lighting) | $500–$5,000 extra |
Common Deck-Building Mistakes that Cause Problems Later
Small errors during the build often turn into big repair bills years down the road.
- Ignoring the correct footing depth according to your local frost line.
- The spacing between joists is too wide for the selected decking material.
- Using incorrect fasteners with treated lumber can lead to corrosion.
- Neglecting correct flashing at the deck-house junction.
- Constructing without minor gaps in the boards to allow for expansion and contraction.
- Assessing the attachment strength of the ledger board to the house’s structure.
- Selecting decking orientation that retains water rather than allowing it to drain.
- Neglecting to seal cut ends, which can lead to rot at exposed edges.
When to Build It Yourself and When to Hire a Professional
Simple ground-level decks with basic layouts suit confident DIYers who own the right tools.
Structural work involving ledger boards, footings, or multiple levels calls for licensed help instead.
Permit-heavy projects often move faster with a contractor familiar with local inspectors. Consider your timeline too, since professionals finish in days what DIY stretches into weekends.
Weigh safety risks honestly, especially for elevated or complex builds.
Select options by considering your skill level, available time, and your acceptable level of risk.
How to Make a Wooden Deck Last Longer
Every spring, clean the surface by sweeping away leaves and dirt that can trap moisture.
Reapply sealant or stain every 1 to 2 years based on sun and rain exposure.
Trim shrubs and trees so airflow reaches all boards. Check for loose fasteners or warped boards each season, and fix small issues immediately. planters and grills off direct wood contact, using pads or mats underneath.
Treat mildew spots with a gentle cleaner to prevent them from spreading.
These simple habits extend your deck’s lifespan without high costs.
Frequently Asked Questions (FAQ’s)
1. Do I Need a Permit to Build a Deck?
Most decks above a certain height or size require council or local permit approval.
2. What’s the Cheapest Decking Material?
Pressure-treated wood costs the least upfront but needs annual maintenance.
3. How Deep Should Deck Footings Be?
Footing depth depends on your local frost line and soil type.
4. Can I Build a Deck Myself?
Simple ground-level decks suit DIYers, while multi-level or structural builds need a professional.
5. How Often Should I Reseal a Wooden Deck?
Reseal every one to two years, depending on sun and rain exposure.
Wrapping It Up!
A deck rewards patience more than speed. Rushing past permits or skipping the layout stage usually costs more time and money later than it saves upfront, especially when an inspector gets involved.
Choose climate-appropriate materials based on your maintenance preferences, since they affect your deck’s durability over decades, not just the first summer.
Accurate measurements, footing, and fasteners from the start minimize future repairs.
I’d love to hear how your project is coming along.
Leave a comment with your deck material or surprise during the build, and I’ll do my best to help.