
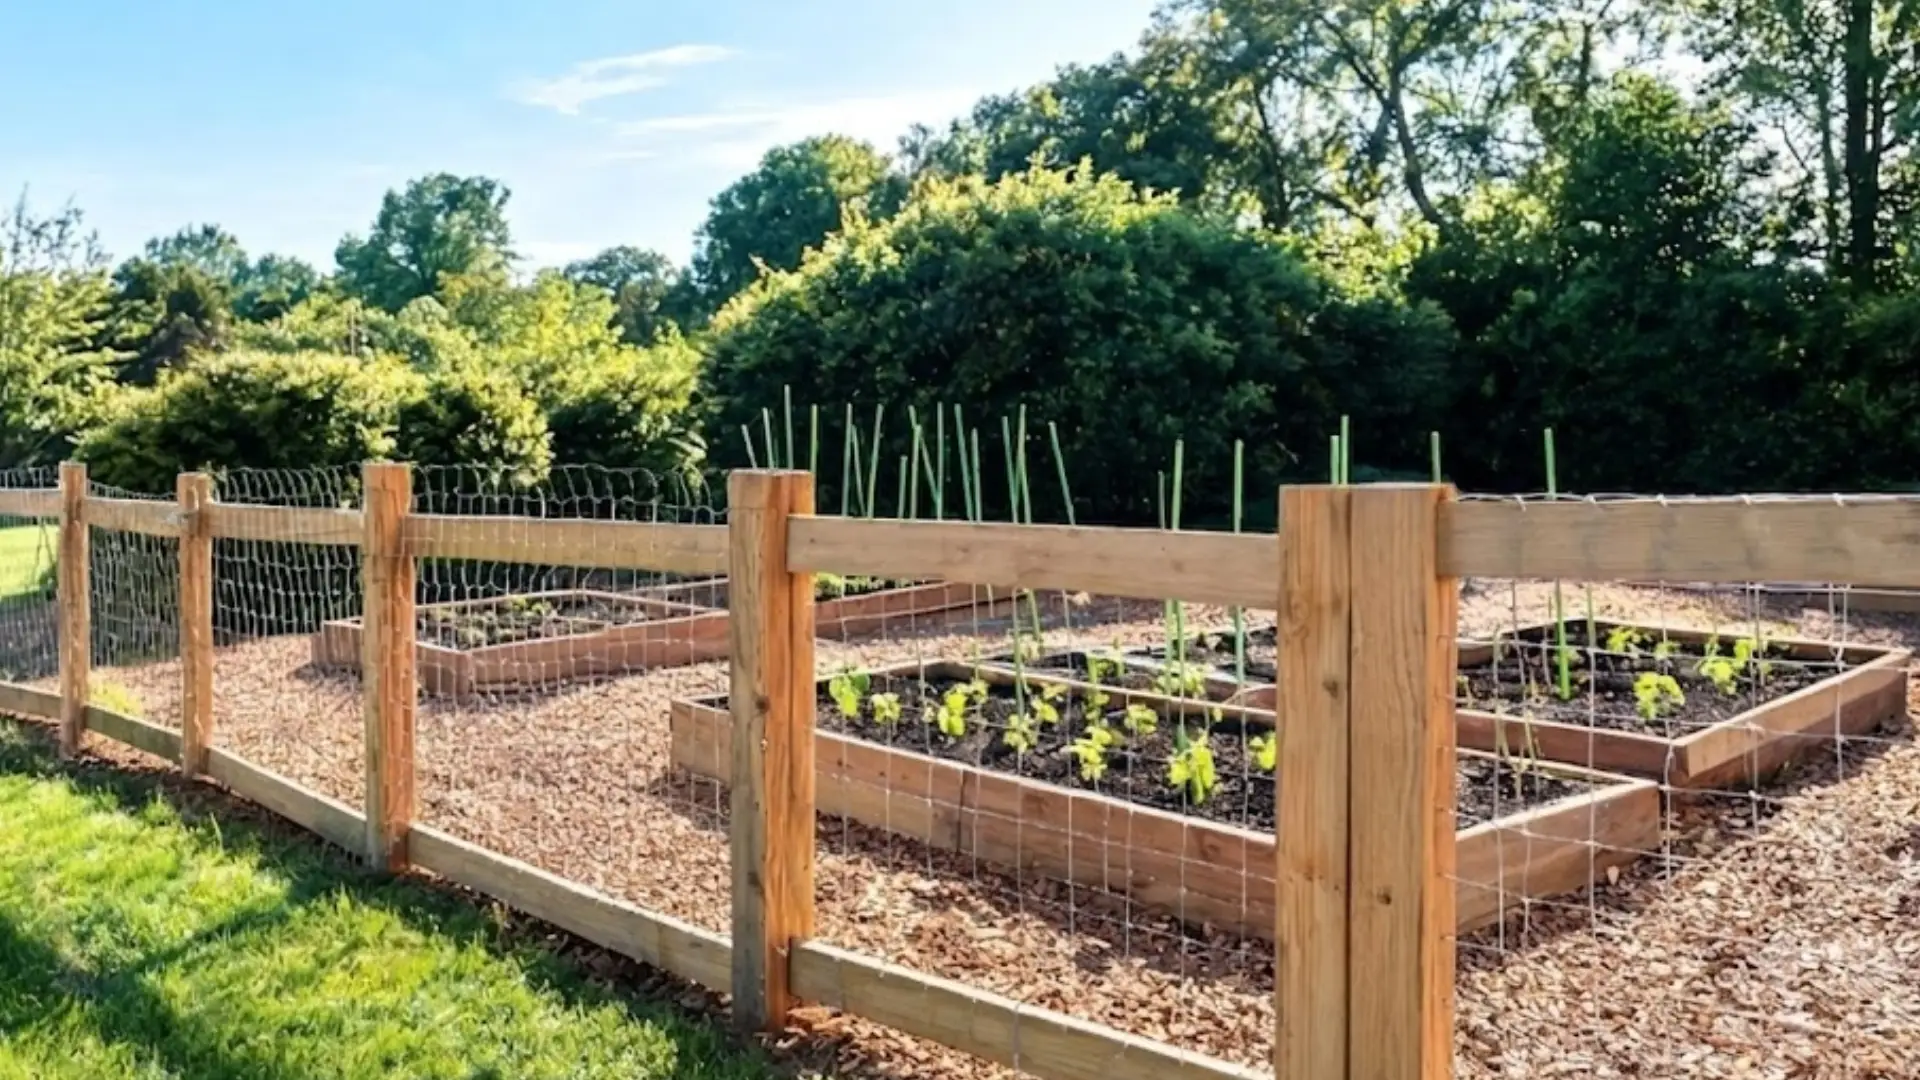
A garden is more than just growing flowers or raising pets; it should also make your place a feel-good space to walk in.
But an old, plain, or damaged boundary can quickly take away from the beauty you have worked hard to create.
I’ve replaced enough tired fence lines around my own vegetable beds to know a DIY garden fence is one of the better weekend projects out there: cheap, quick to finish, and something you notice every single time you step outside.
The right design can turn a simple outdoor area into a welcoming retreat that feels complete.
What Makes a Good DIY Garden Fence?
A good DIY garden fence starts with knowing what you actually need.
Budget and materials play a huge role when you’re working with leftover wood or splurging on cedar.
Think about purpose, too. Are you keeping critters out, marking plant beds, or just adding visual interest? Garden size and layout will guide your design choices, especially if you’re working with tight corners or sprawling veggie patches.
And honestly, your skill level matters. Some projects need just a hammer and nails, while others require saws, drills, and a bit of patience.
Matching the fence to your comfort zone makes the whole process enjoyable instead of overwhelming.
Materials Needed To Build a Fence
Building a fence requires a combination of strong framing materials and protective fencing supplies.
Choosing durable outdoor materials helps create a secure enclosure that can handle weather exposure while keeping chickens safely contained.
- Wooden fence posts for creating the main support structure
- Simpson Strong-Tie easy spikes or similar ground anchors for securing posts without digging holes
- 2×4 lumber for building the top and bottom fence stretchers
- Five-quarter deck boards for creating a finished top fence cap
- 2×2 boards for supporting the wire mesh inside the gate frame
- Galvanized wire mesh to prevent chickens from escaping and improve durability
- Simpson Strong-Tie rigid tie connectors for reinforcing the gate corners
- Exterior wood stain for protecting and finishing the fence structure
- Level and string line for keeping fence posts straight and evenly aligned
Using the right materials makes the construction process smoother and improves the fence’s strength and appearance.
These supplies can also be adapted for garden fencing or other small animal enclosures where durability and easy maintenance are important.
How To Build a Garden Fence?
Creating a sturdy chicken fence does not always require digging holes or using complicated methods. The following steps explain the complete process based on the video, with timestamps included to help capture the right screenshots for each stage.
Step 1: Prepare The Chicken Run Area
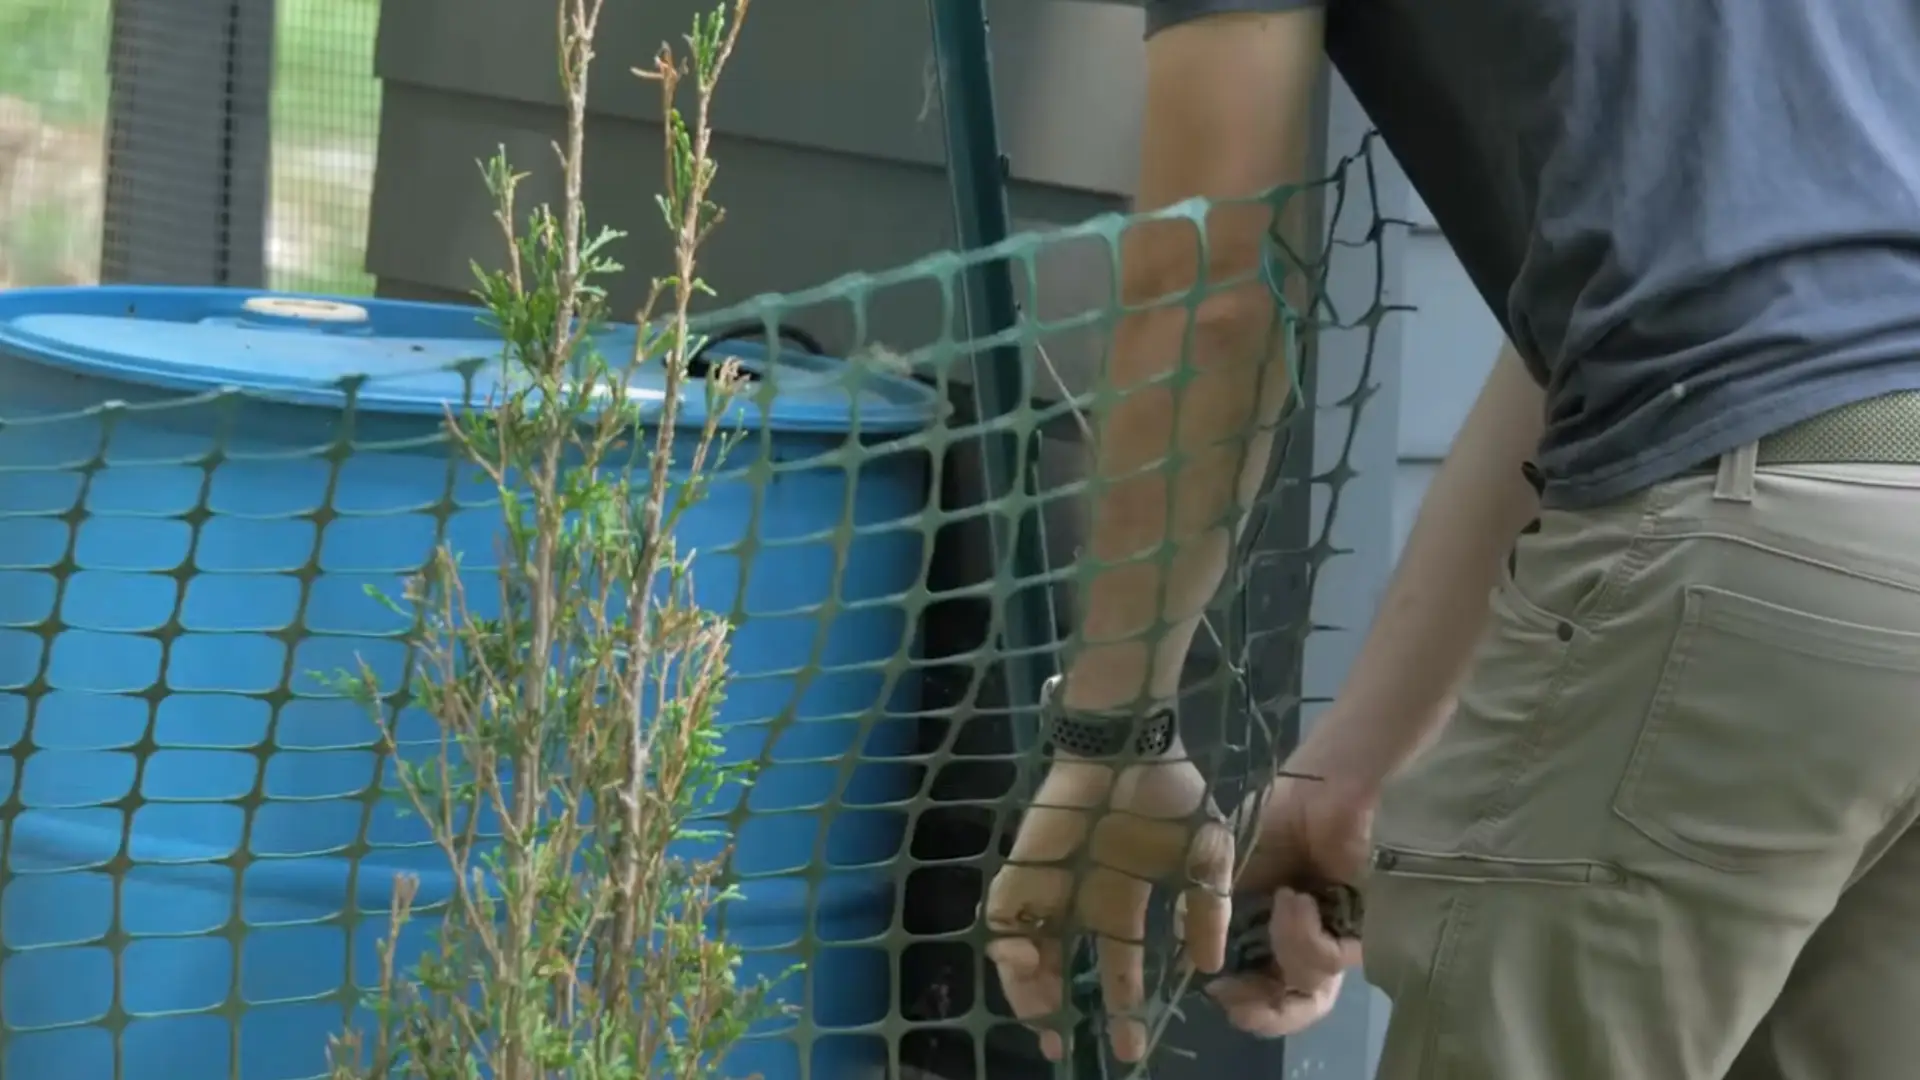
Before building the new fence, the chickens need to be moved safely into their coop so the existing enclosure can be removed and updated.
The old landscaping fence and temporary posts are inspected to identify areas that need improvement.
Clearing the workspace around the chicken run makes it easier to install the new structure without disturbing the birds or damaging nearby landscaping.
Step 2: Install Fence Posts With Ground Spikes
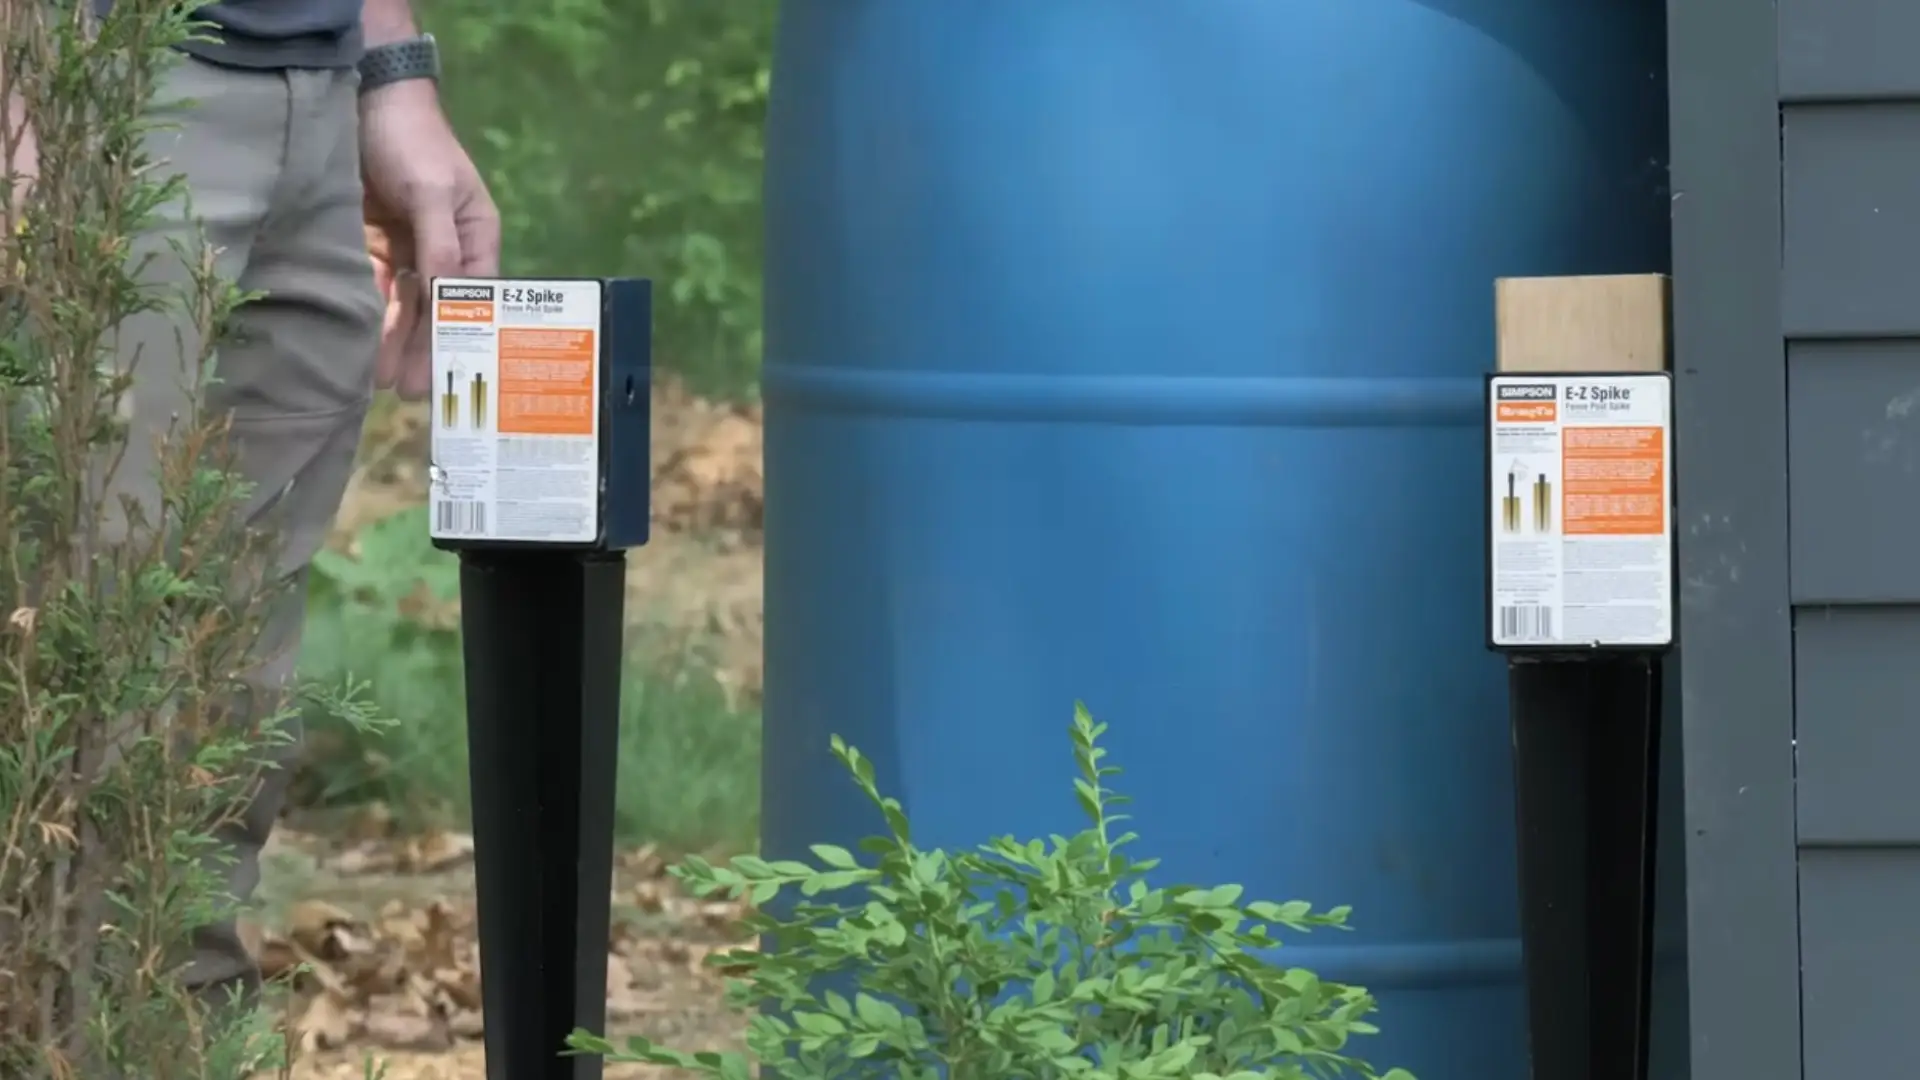
The fence posts are installed using Simpson Strong-Tie easy spikes instead of digging traditional post holes.
These metal spikes are positioned where each post will sit, checked for level, and hammered into the ground securely. Once installed, wooden posts are attached directly to the spikes using screws.
Starting with the corner and end posts creates a strong foundation and helps maintain the correct fence layout throughout the project.
Step 3: Align and Secure The Fence Frame
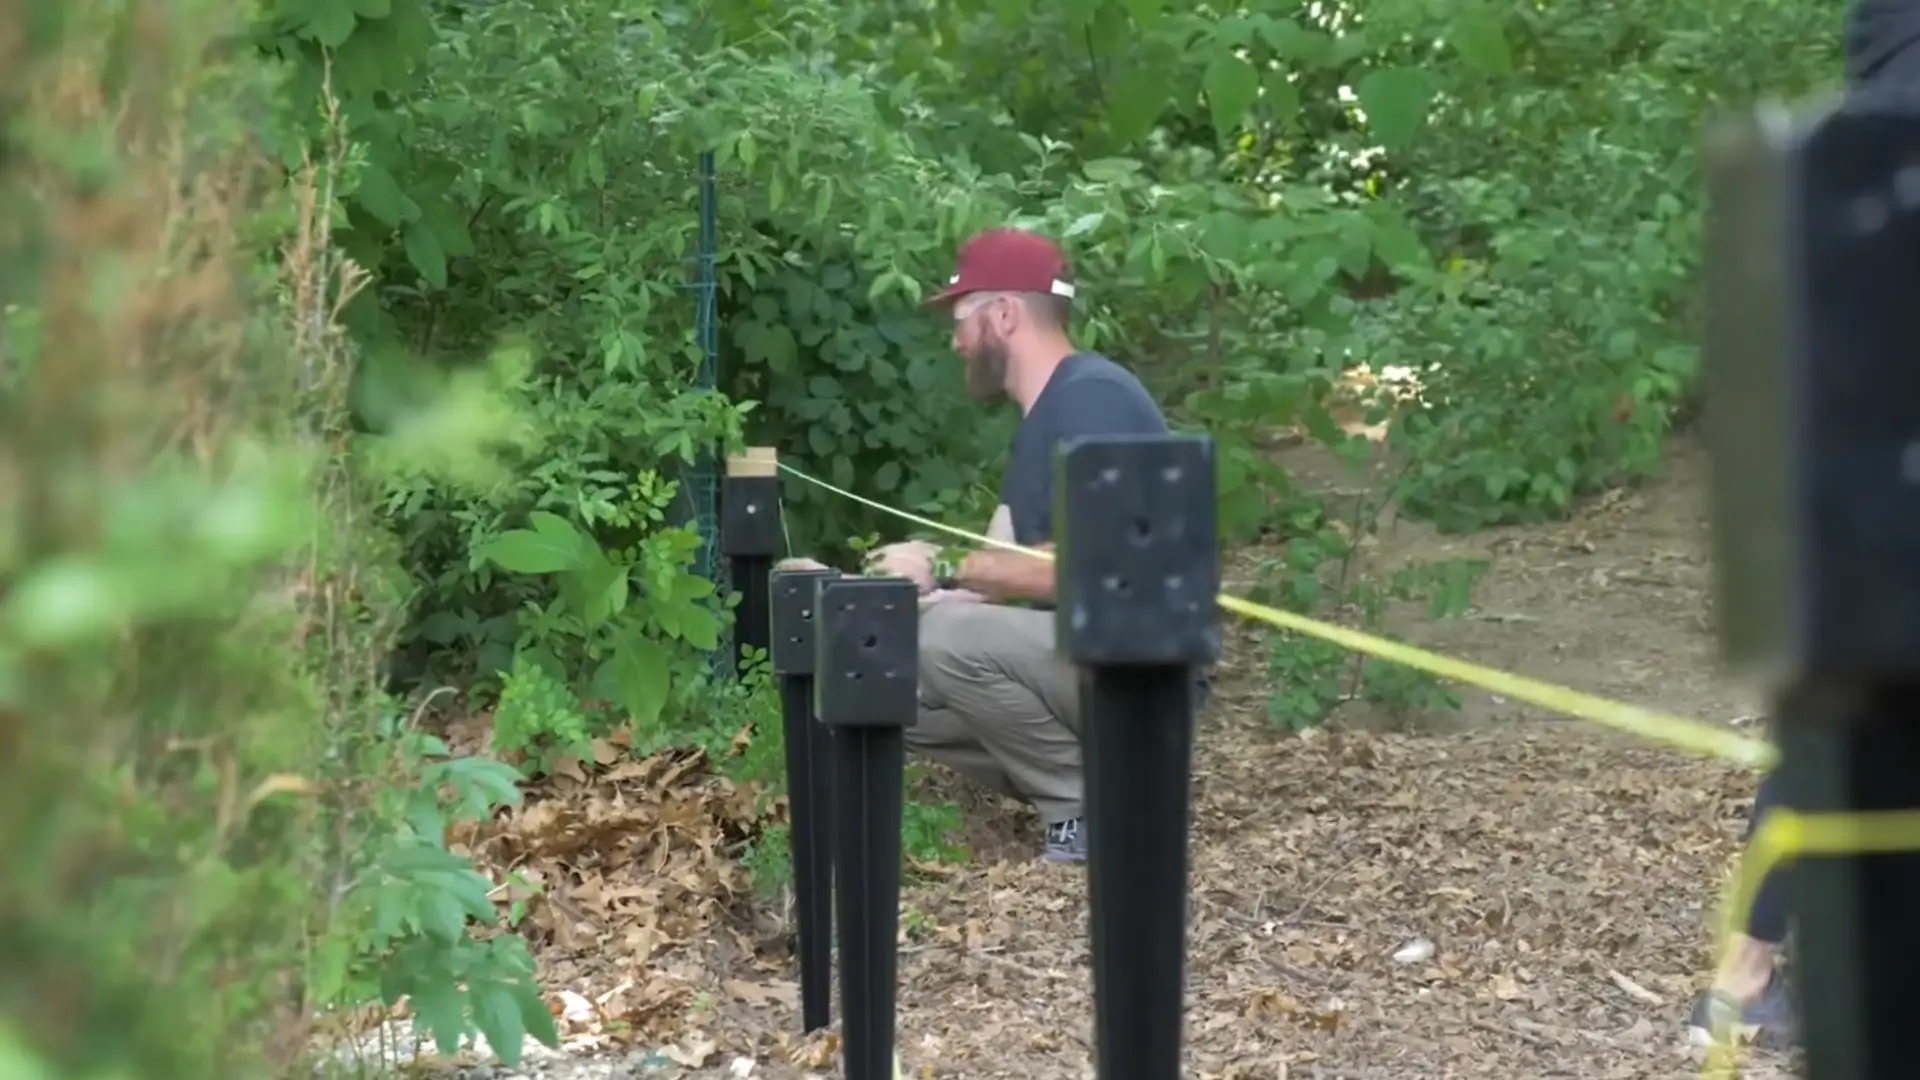
After setting the end posts, a string line is stretched between them to guide the placement of the remaining posts.
This method keeps every post properly aligned and evenly spaced, creating a straight fence line. Once all posts are positioned, they are secured firmly in place.
Using a level during this stage is important because uneven posts can affect the appearance and strength of the completed chicken fence structure.
Step 4: Cut Posts and Add Fence Stretchers
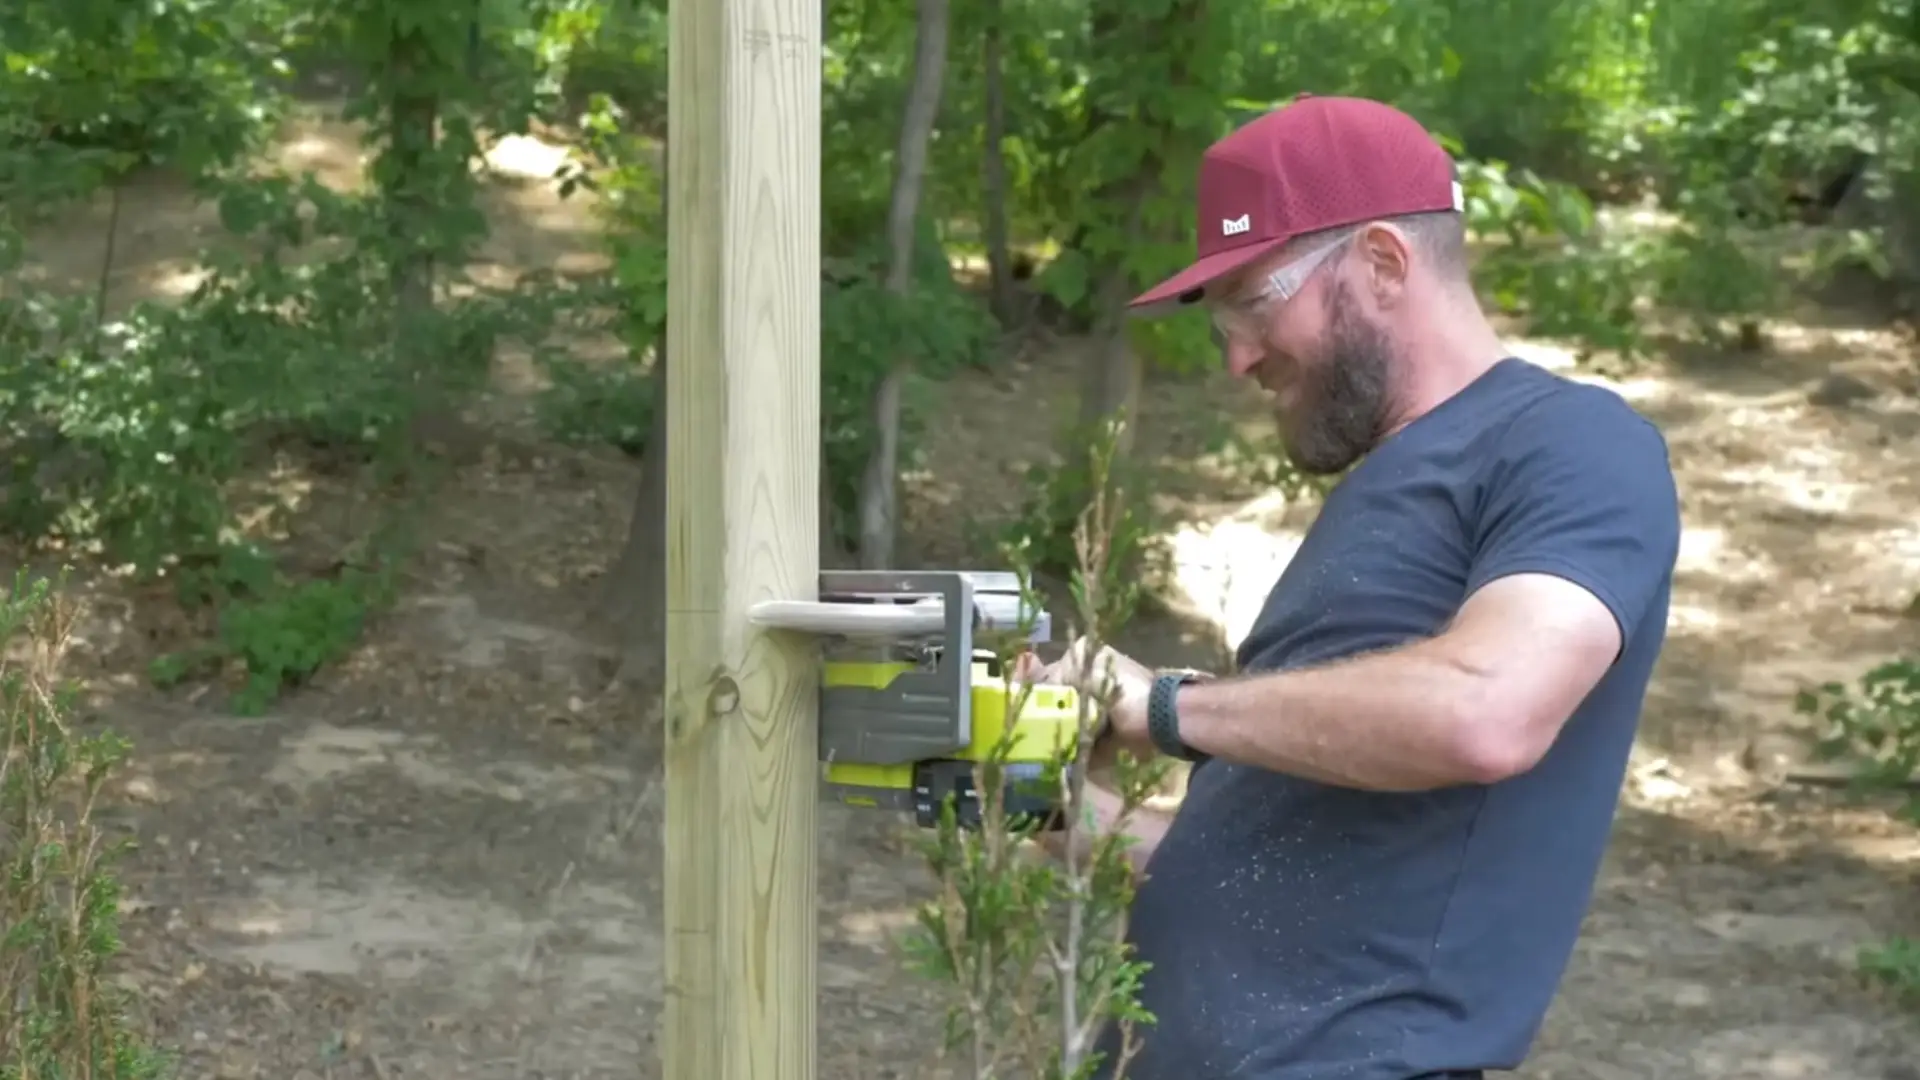
With the posts secured, the next step is cutting them to the correct height using a level string line as a guide.
After trimming the posts, add horizontal stretchers between each post at the top and bottom of the fence frame.
Drill pocket holes into the ends of the 2×4 boards to create stronger connections. These supports provide stability and prepare the frame for attaching the final fencing materials.
Step 5: Install The Fence Cap and Apply Stain
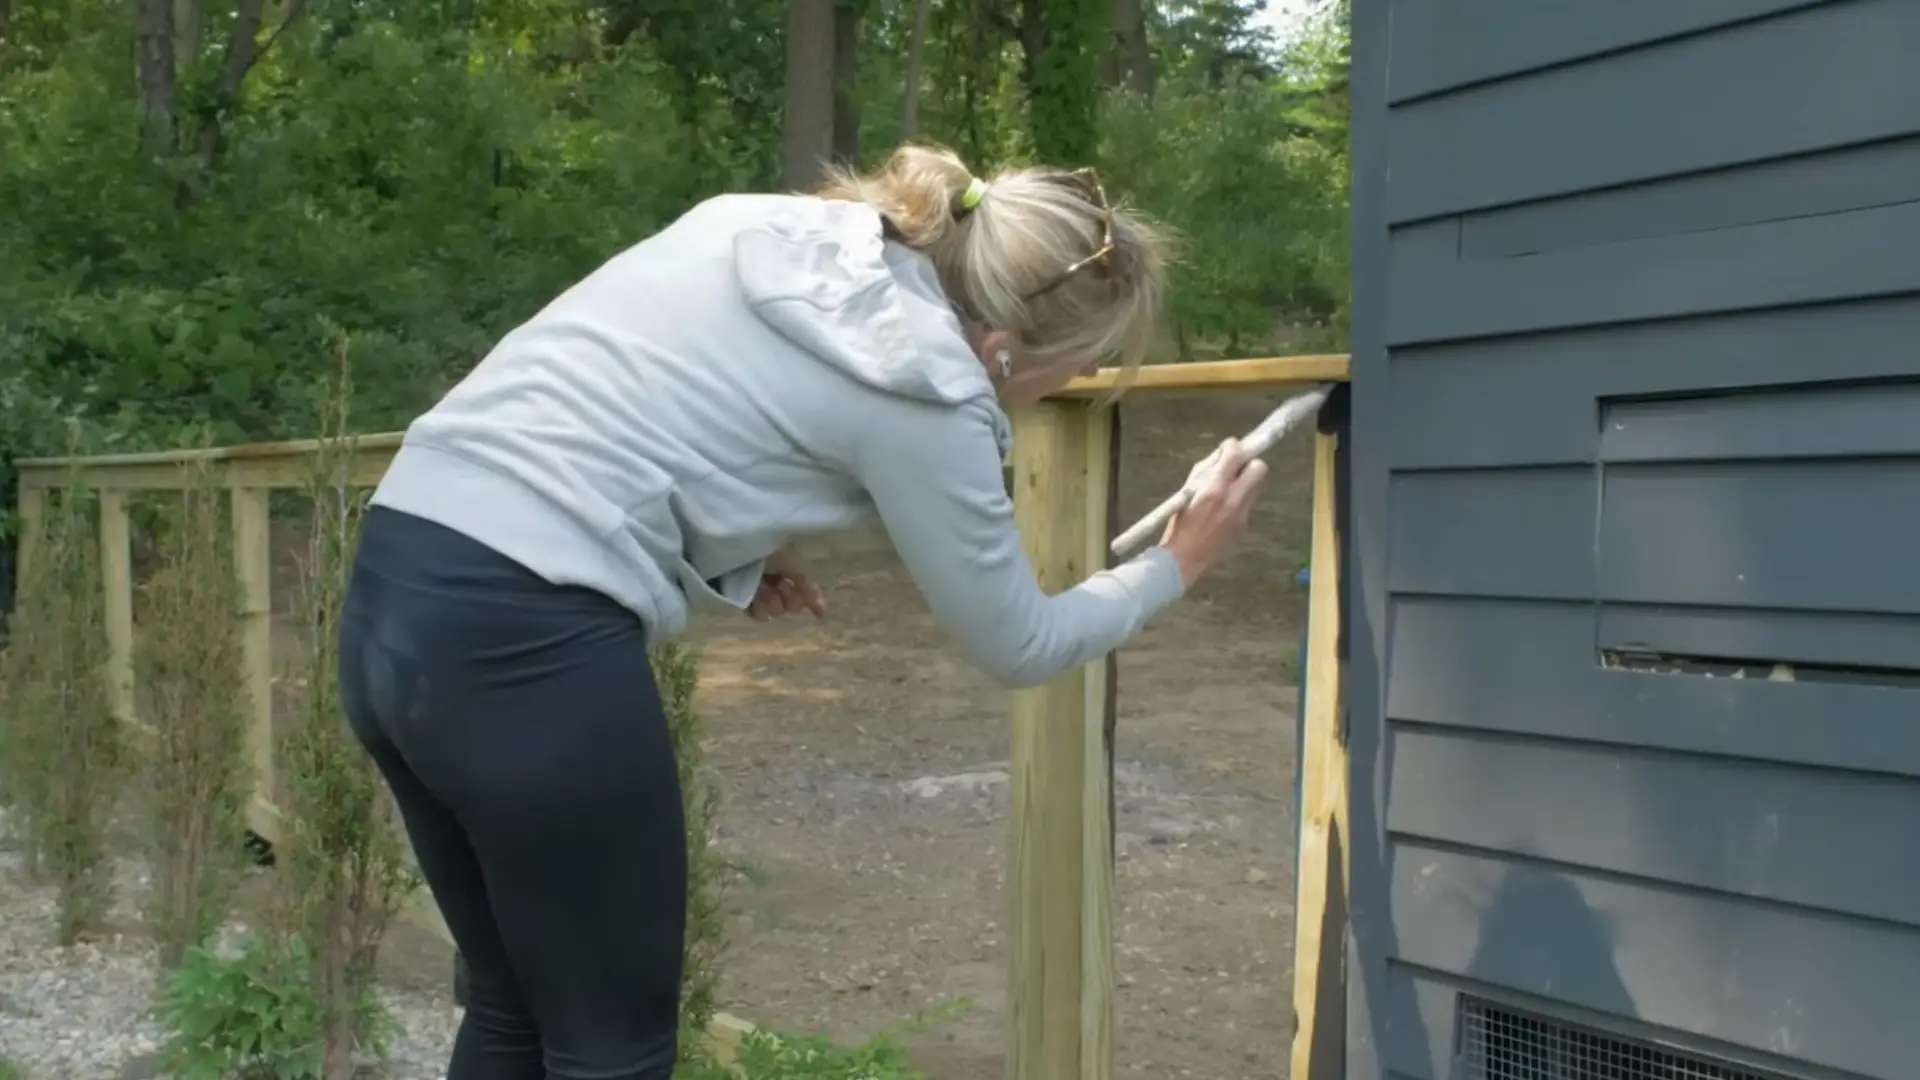
A five-quarter deck board is installed along the top of the fence frame to create a finished cap and improve the overall appearance.
Once the wooden structure is complete, a solid black exterior stain is applied to protect the wood while helping the fence blend into the surrounding landscape.
Staining the fence before adding wire mesh makes the finishing process easier and provides better coverage on all wooden surfaces.
Step 6: Build and Install The Chicken Fence Gate
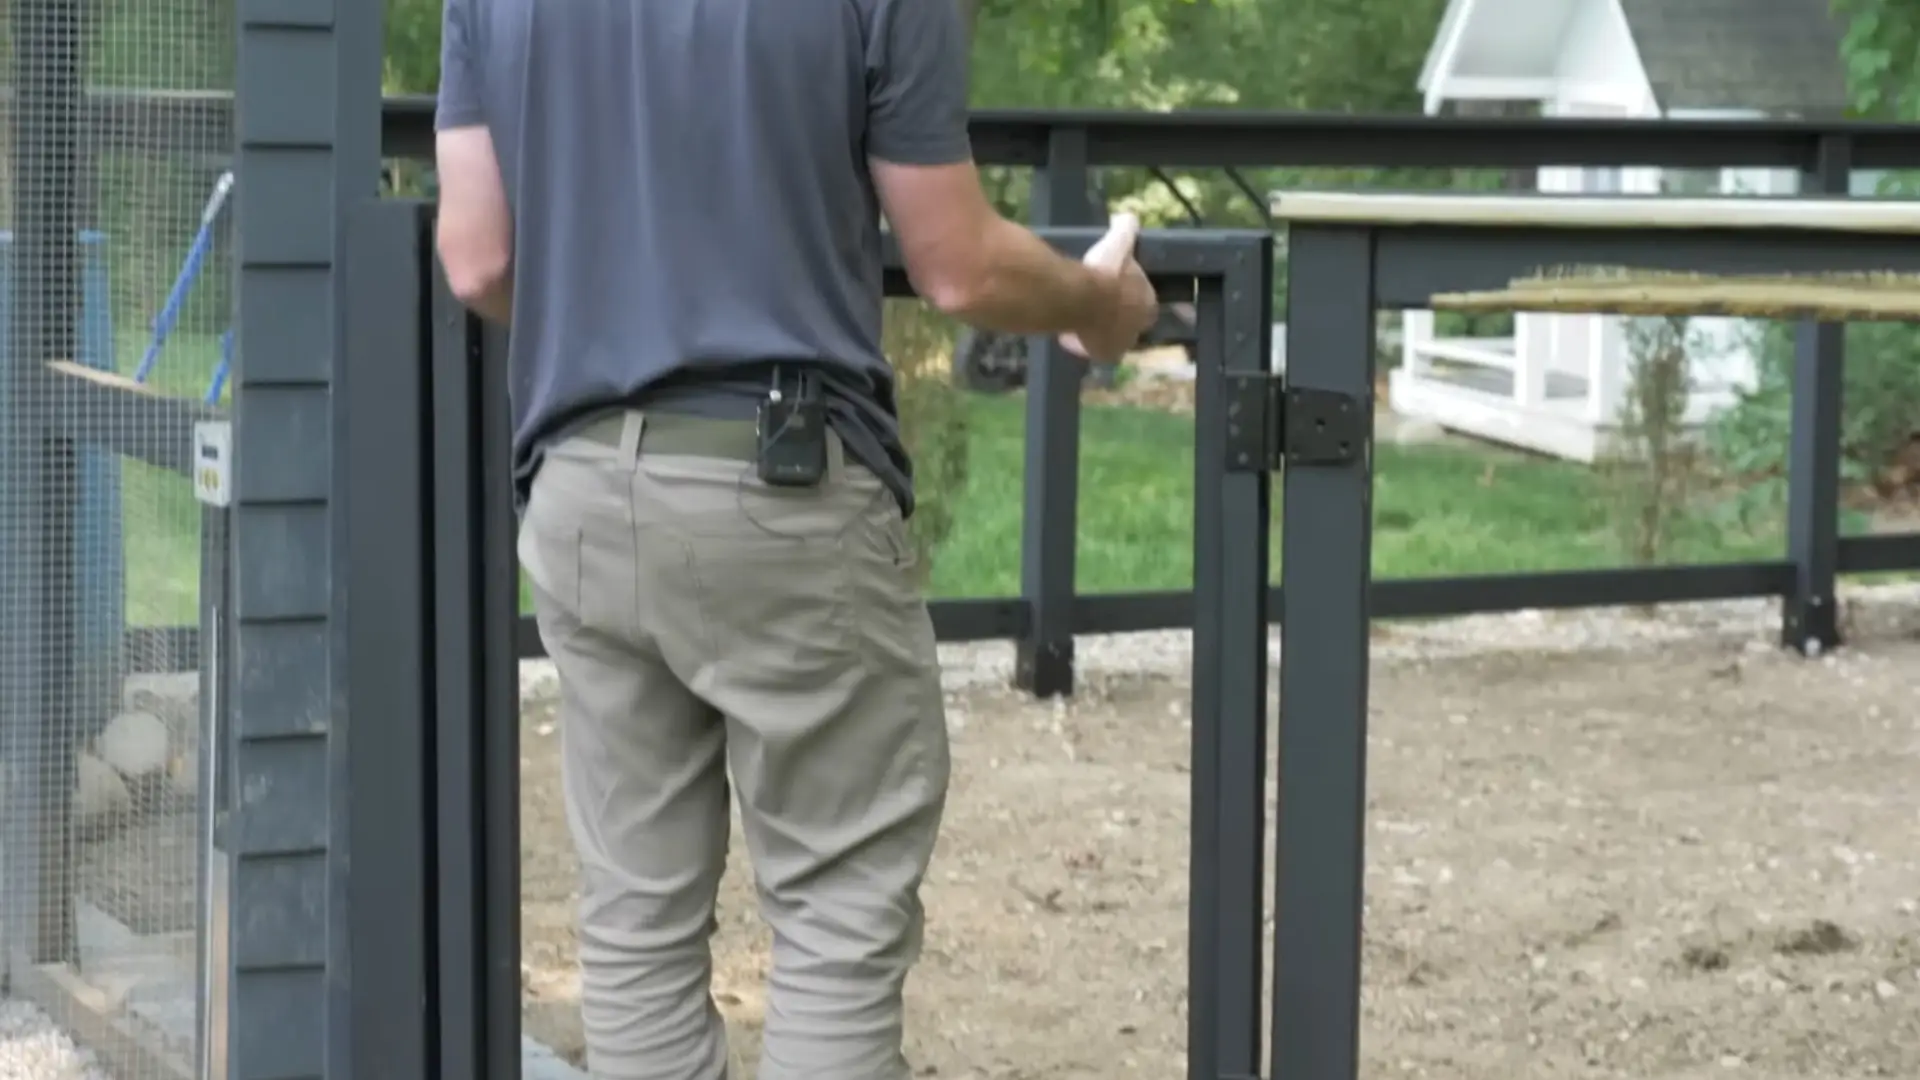
The gate is built using a simple 2×4 frame that matches the main fence structure.
After cutting and staining the frame, rigid tie connectors are attached to each corner to prevent the gate from sagging over time.
Additional 2×2 boards are installed inside the frame to create mounting points for the wire mesh. This creates a strong entrance that allows easy access to the chicken run while maintaining security.
Step 7: Attach Wire Mesh And Complete Final Touches
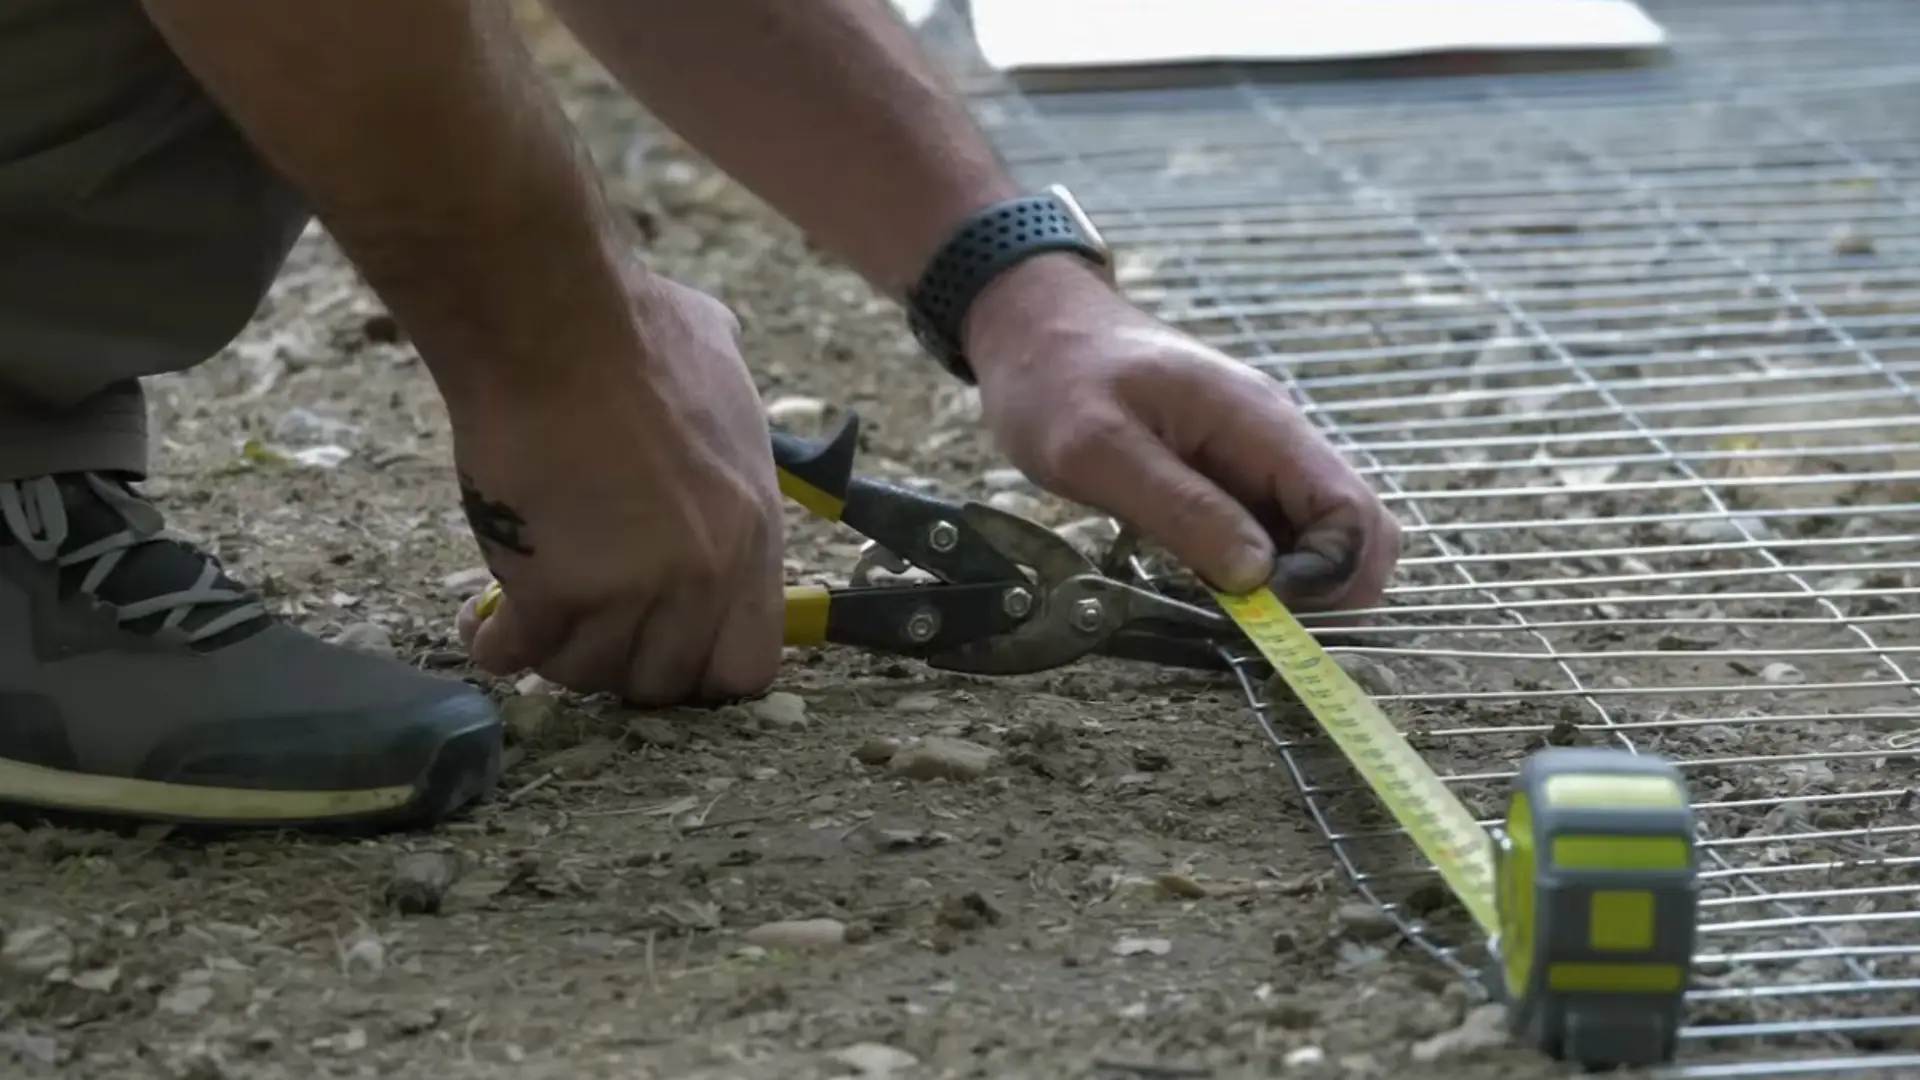
The final stage involves attaching galvanized wire mesh to the inside of the fence frame using staples.
The mesh creates a protective barrier that keeps chickens contained while improving durability compared to lightweight fencing.
A small privacy fence can also be added to hide equipment such as water barrels and improve the appearance of the area. Once completed, the upgraded chicken fence provides better protection, easier access, and a cleaner outdoor look.
This tutorial is based on a helpful video by Rogue Engineer. You can check out the original video on their YouTube channel here or watch it below.
Cheap & Creative DIY Garden Fence Materials
Finding the right materials can make or break your DIY garden fence project.
The good news? You don’t need to spend a fortune at the hardware store. Some of the most charming, durable fences come from unexpected places: salvage yards, your own backyard, or even items you were about to toss.
Choosing budget-friendly materials doesn’t mean sacrificing style. It just means getting a little creative with what’s available and letting texture, color, and character do the heavy lifting.
|
Material |
Best For |
Why It Works |
|---|---|---|
|
Reclaimed wood and pallets |
Rustic, cottage gardens |
Free or cheap, weathered charm |
|
Bamboo, branches, natural materials |
Organic, woodland spaces |
Lightweight, eco-friendly, blends with plants |
|
Wire, metal panels, mesh |
Minimalist or modern gardens |
Affordable, durable, supports climbers |
|
Repurposed household items |
Eclectic, whimsical designs |
Adds personality, reduces waste |
DIY Garden Fence Ideas
If you’re protecting your veggie patch, adding structure to flower beds, or simply defining garden zones with style, the right fence can convert your outdoor space.
These ideas range from ultra-budget-friendly to creatively ambitious, each offering something unique in terms of look, function, and ease of build.
1. Pallet Wood Garden Fence
Ideal for: Rustic, cottage-style gardens on a tight budget
One of the most beloved DIY options, pallet wood brings instant weathered charm without the price tag.
Pallets are often free from local businesses or distribution centers, and they’re surprisingly sturdy once cleaned up and reassembled.
You can leave them natural for a raw, farmhouse vibe or paint them to match your garden’s color palette. They work beautifully as short border fences or taller privacy screens, depending on how you orient and stack them.
2. Chicken Wire Garden Fence
Ideal for: Vegetable gardens and protecting young plants from critters
Lightweight and affordable, chicken wire gets the job done without blocking sunlight or airflow. It’s especially useful for keeping rabbits, birds, and other small pests away from tender greens and seedlings.
Pair it with wooden stakes or metal posts for stability, and consider adding a decorative wooden frame along the top for a more polished look.
When mapping out where beds and paths will go, sorting out your layout for the vegetable garden first makes it much easier to decide where the fencing actually needs to run.
3. Bamboo Garden Fence
Ideal for: Tropical or zen-inspired gardens needing privacy
Bamboo offers a natural, eco-friendly option that feels both exotic and calming. It’s surprisingly durable and weathers beautifully over time, developing a soft, silvery patina.
You can buy bamboo rolls for easy installation or use individual poles lashed together with wire or twine for a more handcrafted feel.
It works wonderfully as a tall privacy screen or a shorter accent fence around seating areas and water features.
4. Split Rail Fence with Wire Backing
Ideal for: Country or farmhouse gardens, balancing charm and protection
This classic style gives you the best of both worlds: the rustic appeal of split rail with the added function of wire backing to keep animals out.
The horizontal rails create a classic countryside look, while the wire mesh does the heavy lifting when it comes to keeping critters at bay.
5. Woven Willow or Branch Fence
Ideal for: Organic, woodland-style gardens with a handmade touch
Woven willow fencing, also called wattle, brings an earthy, artisanal vibe that feels straight out of a storybook garden.
You can weave fresh willow branches yourself or buy pre-made panels for easier installation. The natural texture blends beautifully with plants, and over time, it weathers into soft grays and browns.
It’s not the most durable long-term, but for charm and character, it’s hard to beat.
6. PVC Pipe DIY Garden Fence
Ideal for: Modern, budget-conscious gardeners looking for weather-resistant options
PVC pipe might not be the first material that comes to mind, but it’s surprisingly versatile and holds up well against the elements.
You can create sleek, minimalist designs or even paint the pipes for a pop of color.
It’s lightweight, easy to cut and assemble, and perfect for small garden beds or decorative boundaries. Plus, it won’t rot, rust, or splinter, making it a low-maintenance choice.
7. Recycled Metal or Wire Panel Fence
Ideal for: Industrial or modern gardens with climbing plants
Salvaged metal panels or wire grids bring an edgy, urban feel to garden spaces.
They’re incredibly durable and provide excellent support for climbing roses, beans, or flowering vines. You can leave the metal raw for a weathered patina or paint it black for a sleek, contemporary look.
The open design keeps sightlines clear while still creating visual separation and structure.
8. Picket-Style Fence on a Budget
Ideal for: Defining garden beds without the cost of full yard fencing
You don’t need to fence your entire property to enjoy the charm of a picket fence.
Mini picket sections around vegetable beds, flower borders, or pathways add instant curb appeal without the expense.
Use narrower pickets or space them further apart to stretch your materials. Paint them white for a classic look, or try soft pastels for a more whimsical, cottage vibe.
9. Living Garden Fence
Ideal for: Gardeners wanting a natural, evolving boundary
Hedges, shrubs, or tall ornamental grasses create soft, living borders that change with the seasons.
Growing lavender is another solid option here, since established plants form a naturally low, fragrant hedge, and growing lavender from seed is inexpensive if you’re filling a long fence line.
Boxwood, privet, and lavender work beautifully for formal shapes, while ornamental grasses offer movement and texture.
10. Rope or Twine Garden Fence
Ideal for: Decorative boundaries in low-traffic, protected gardens
Rope or twine fences are all about aesthetics. They won’t keep animals out, but they’re perfect for gently defining spaces, guiding foot traffic, or adding a nautical or farmhouse touch.
Strung between wooden posts or metal stakes, they create soft, flowing lines that feel relaxed and welcoming.
Use natural jute for an earthy look or dyed rope for a playful pop of color.
11. Corrugated Metal Garden Fence
Ideal for: Modern farmhouse or industrial-style gardens
Corrugated metal brings texture, durability, and a bit of edge to garden fencing. It’s weather-resistant, low-maintenance, and pairs beautifully with wood framing for a balanced look.
The ridged surface catches light in interesting ways throughout the day, adding visual interest even in small spaces.
It works particularly well as a backdrop for raised beds or as a privacy screen along property lines.
12. Repurposed Door or Window Fence
Ideal for: Eclectic, artistic gardens with bold personality
Old doors and windows make for some of the most unique and conversation-starting fences around.
They add height, architectural interest, and a sense of history to garden spaces. You can leave them weathered for a shabby-chic feel or refinish them to match your garden’s palette.
Arrange them in a row for a whimsical border, or use a single statement piece as a garden focal point.
13. Minimalist Wire & Post Fence
Ideal for: Small, urban, or contemporary gardens
Sometimes less really is more. A simple wire strung between clean posts creates boundaries without visual clutter.
It’s inexpensive, quick to install, and keeps the focus on your plants rather than the fence itself. This style works especially well in modern or minimalist gardens where you want structure without bulk.
Add climbing plants for softness, or keep it bare for a crisp, architectural look.
Cost Breakdown: How Much Does a DIY Garden Fence Cost?
Understanding the price range for each option helps you plan realistically and make smart choices about where to splurge and where to save.
|
Fence Type |
Cost (per 10 ft) |
Money-Saving Tip |
|---|---|---|
|
Pallet Wood |
$0–$20 |
Source free pallets locally |
|
Chicken Wire |
$15–$30 |
Buy bulk rolls, reuse posts |
|
Bamboo |
$25–$60 |
Use poles instead of panels |
|
Split Rail with Wire |
$40–$80 |
Shop farm supply stores |
|
Woven Willow |
$30–$70 |
Harvest and weave your own |
|
PVC Pipe |
$20–$45 |
Use plumbing-grade PVC |
|
Recycled Metal |
$10–$50 |
Visit salvage yards |
|
Budget Picket |
$30–$60 |
Use wider picket spacing |
|
Living Fence |
$15–$50 |
Start with small plants |
|
Rope/Twine |
$10–$25 |
Choose natural jute |
|
Corrugated Metal |
$35–$70 |
Buy from metal suppliers |
|
Repurposed Doors |
$0–$40 |
Check salvage stores |
|
Wire & Post |
$15–$35 |
Use T-posts over decorative ones |
Where to Save Without Sacrificing Durability: Source materials locally through salvage yards and farm supply stores. Reuse existing posts, choose rot-resistant wood only where it touches the ground, and buy off-season when outdoor supplies go on sale.
Tips to Make Your DIY Garden Fence Look Professional
The difference between a homemade fence and a professional-looking one often comes down to the details. A few thoughtful finishing steps can elevate your project from functional to genuinely beautiful.
- Protect Wood With Stain: Apply stain or sealant early to prevent weather damage and create a polished, long-lasting fence finish.
- Keep Lines Straight: Use a string line between corner posts to maintain alignment and avoid an uneven or wavy fence appearance.
- Match Garden Style: Choose fence height and design elements that complement your garden theme for a cohesive outdoor look.
- Maintain Even Spacing: Use spacer boards between slats or posts to create consistent gaps and a professionally finished appearance.
Conclusion
Building a DIY garden fence is one of those projects that keeps giving back long after the last post goes in.
You get a custom boundary that fits your space, your budget, and your personal style in ways a generic store-bought option never could.
Reclaimed pallets, bamboo, or something wonderfully unexpected; your garden now has structure and character that’s entirely your own.
You made it happen with your hands and a little creativity, and that’s something worth celebrating.
Tell us which fence idea you tried or what you’d do differently next time.
Frequently Asked Questions
Do I Need a Permit to Build a Garden Fence?
Many areas only require a permit for fences over a certain height (often 4 to 6 feet) or for fences built on a property line. Check with your local building department before you start, since rules vary a lot from place to place.
How Long Does a Diy Garden Fence Usually Last?
It depends heavily on the material and how much ground contact it has. Untreated pallet wood or willow fencing might hold up for 2 to 4 years, while stained cedar, treated posts, or metal panels can last a decade or longer with basic upkeep.
Can I Combine Materials in One Fence Design?
Yes, and it’s one of the easiest ways to stretch a budget. A wood frame with wire mesh infill, or a split rail base with a living hedge growing through it, both work well and let you balance cost, style, and function.


