
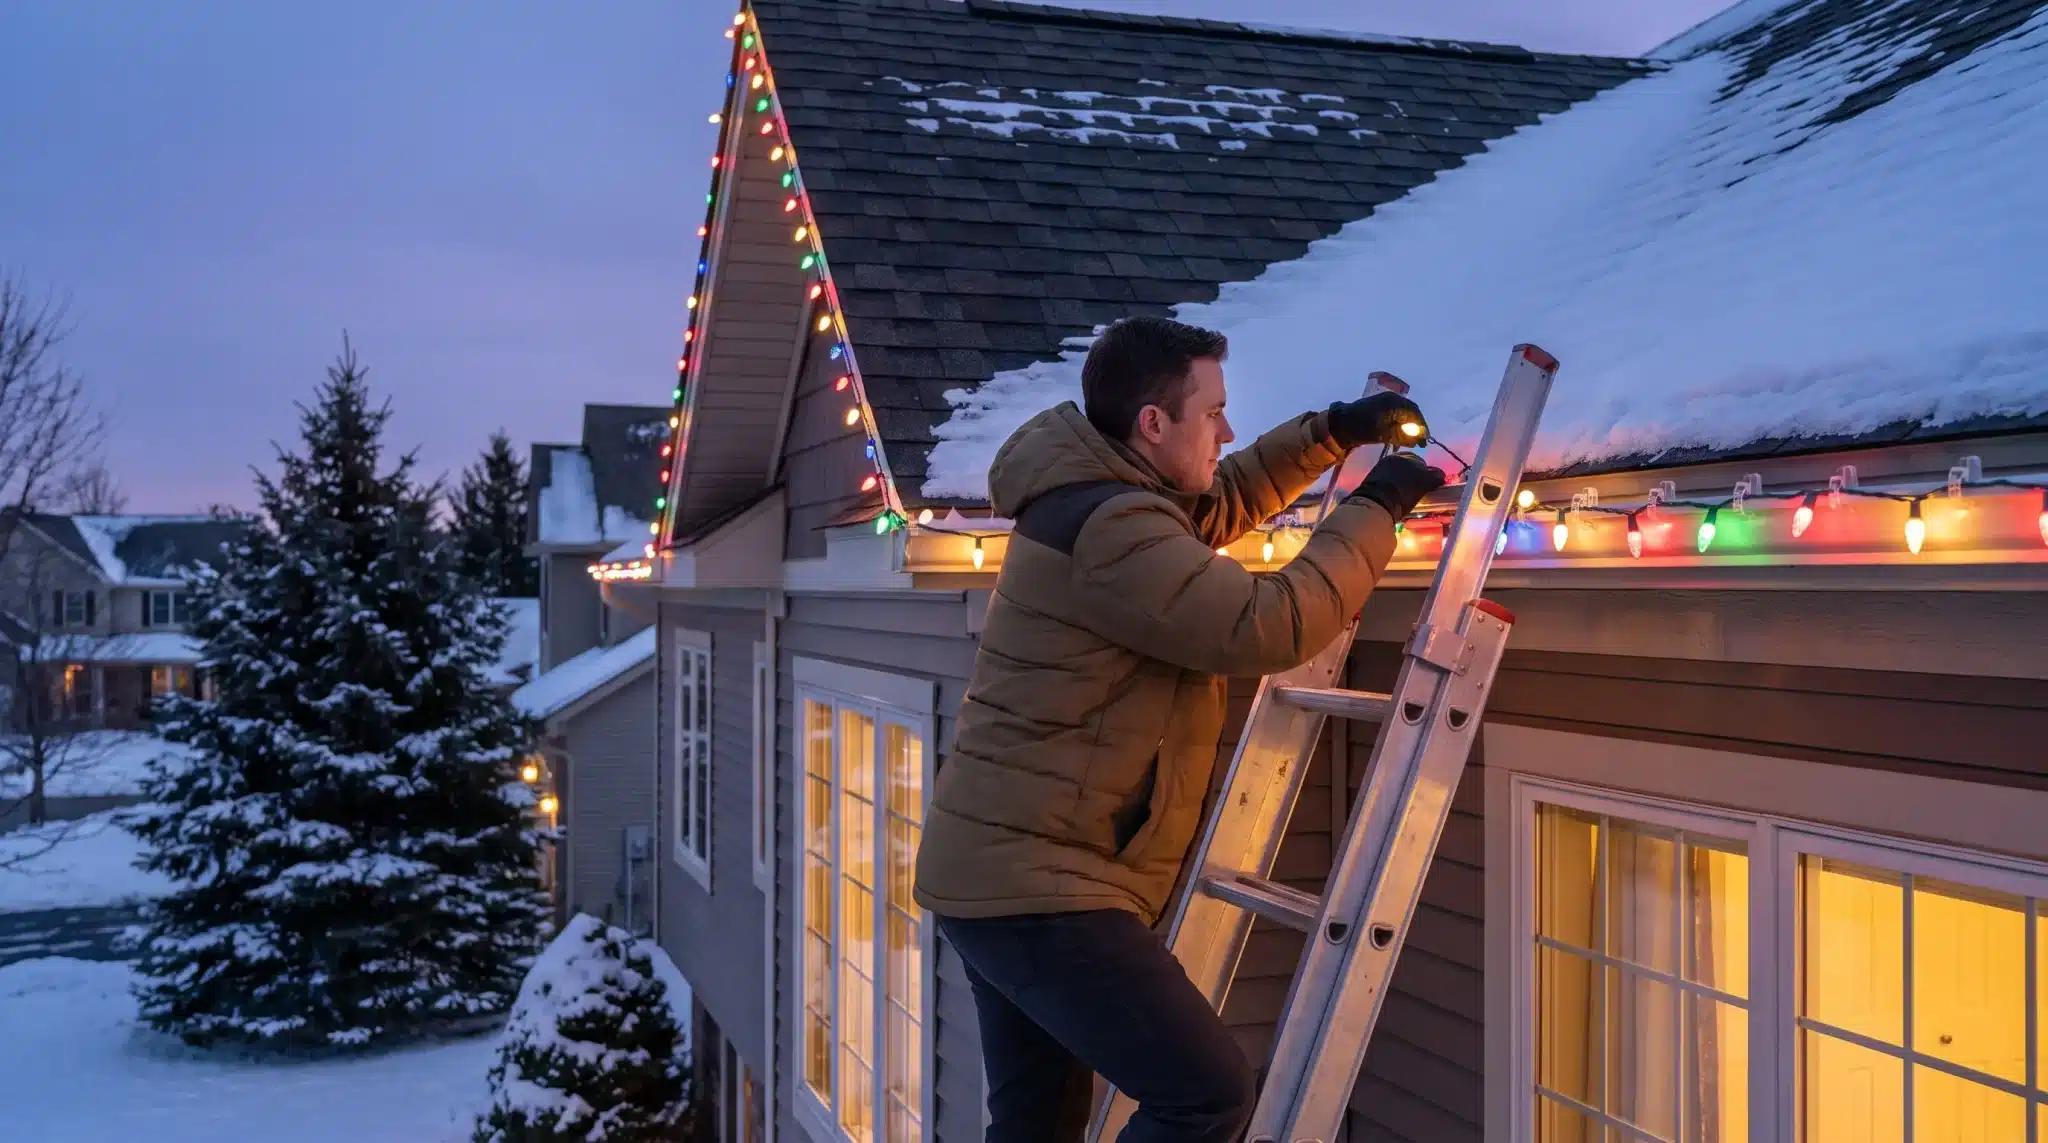
Getting Christmas lights on a roof to look clean and stay put through an entire season comes down to using the right clips for your specific roof type — not tape, nails, or staples. This year’s most reliable methods to hang Christmas lights on a roof focus on no-puncture attachment, which protects both the light strand and the roof surface underneath it. Here’s what actually works, and when it makes more sense to bring in Christmas Light Professionals instead of tackling it yourself.
The Right Way to Hang Christmas Lights on a Roof
The attachment method of Christmas lighting depends entirely on the roofline itself. For standard asphalt shingles, small plastic tabs slide gently under the shingle edge without lifting or breaking the seal underneath. For rooflines with gutters, C-shaped clips hook directly over the gutter lip, giving a quick, damage-free hold. Metal roofs need a different approach altogether — magnetic or seam-hugging clips designed specifically for metal panels, since anything that punctures the surface can compromise the roof’s weatherproofing long after the season ends. Matching the clip of Christmas light installation to the roof, rather than grabbing whatever’s cheapest at the store, is the single biggest factor in a display that survives the winter intact.
How to Secure Christmas Lights on Roof Peaks and Ridges
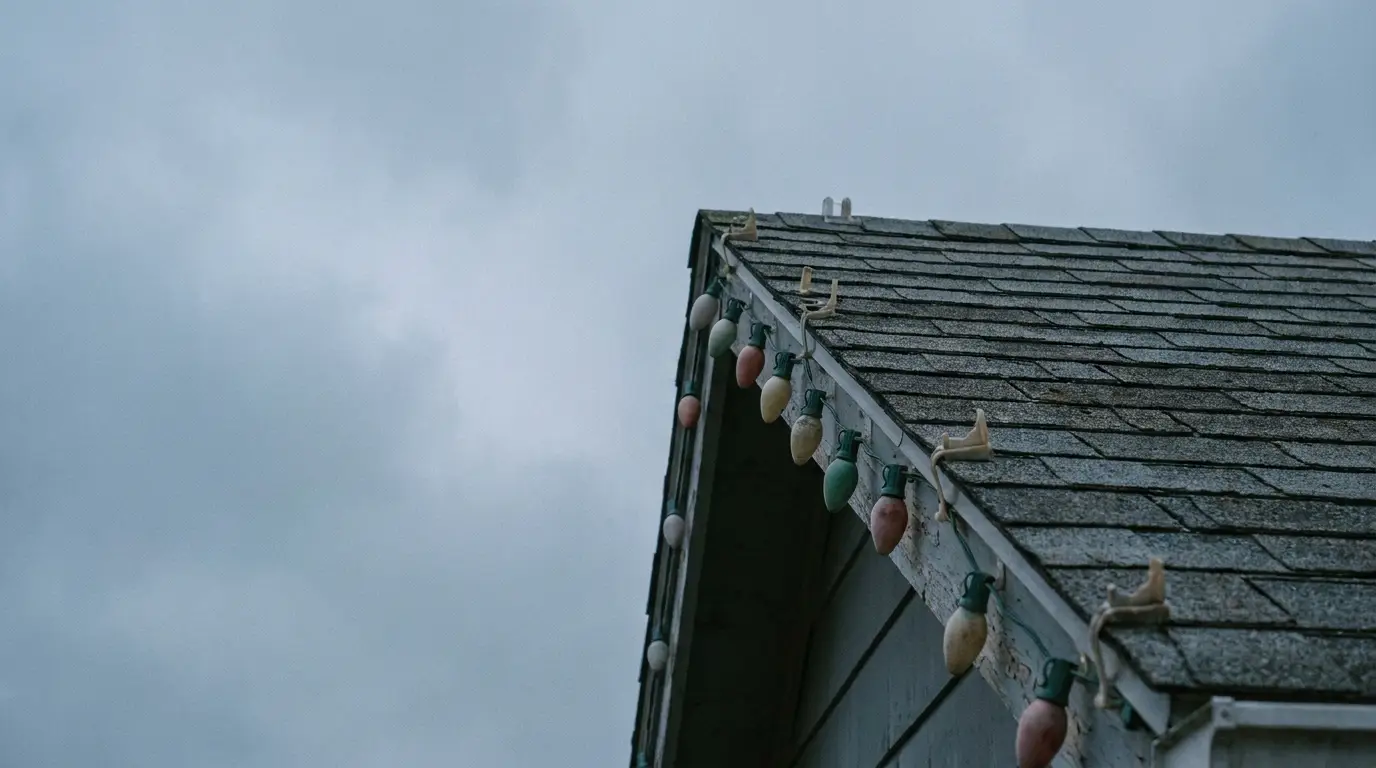
Roof peaks and ridge lines are where displays tend to look their best — and where mistakes are most common. Ridge clips are built to grip the cap shingle from both sides, holding the strand upright along the highest point of the roof so it’s visible from every angle. Spacing matters for Christmas light installation here: most manufacturers recommend a clip every 8 to 12 inches for standard bulb strands, tighter for larger C7 or C9 bulbs. Skipping clips to save time is the most common reason lights sag, twist, or come loose in wind, so consistent spacing is worth the extra few minutes it takes.
Steps to Install Christmas Lights on Roof Safely
- Test every strand on the ground before climbing — replace any dead bulbs first.
- Set an extension ladder on firm, level ground, never against gutters alone.
- Attach the first clip near your power source, then work outward in one direction.
- Keep strands snug but not stretched tight, which stresses both the wire and the clips.
- Use weather-rated extension cords and tape connection points against moisture.
Cold weather, ice, and short winter daylight all make this a slower, more careful job than it looks from the ground.
Why Homeowners Turn to Christmas Light Professionals
Ladder work on a roofline carries real risk, especially once ice or frost sets in — which is exactly the season this job happens in. Beyond safety, professional installers know which clip system fits which roof material, how to keep spacing even along peaks and hips, and how to route wiring so nothing pulls loose in wind. For homeowners who want a roofline that looks sharp from the first night through New Year’s without a mid-season repair climb, hiring Christmas Light Professionals is often the simpler, safer, and longer-lasting choice. Our experts are available to visit throughout the season, as needed, to troubleshoot or repair the lighting.


