
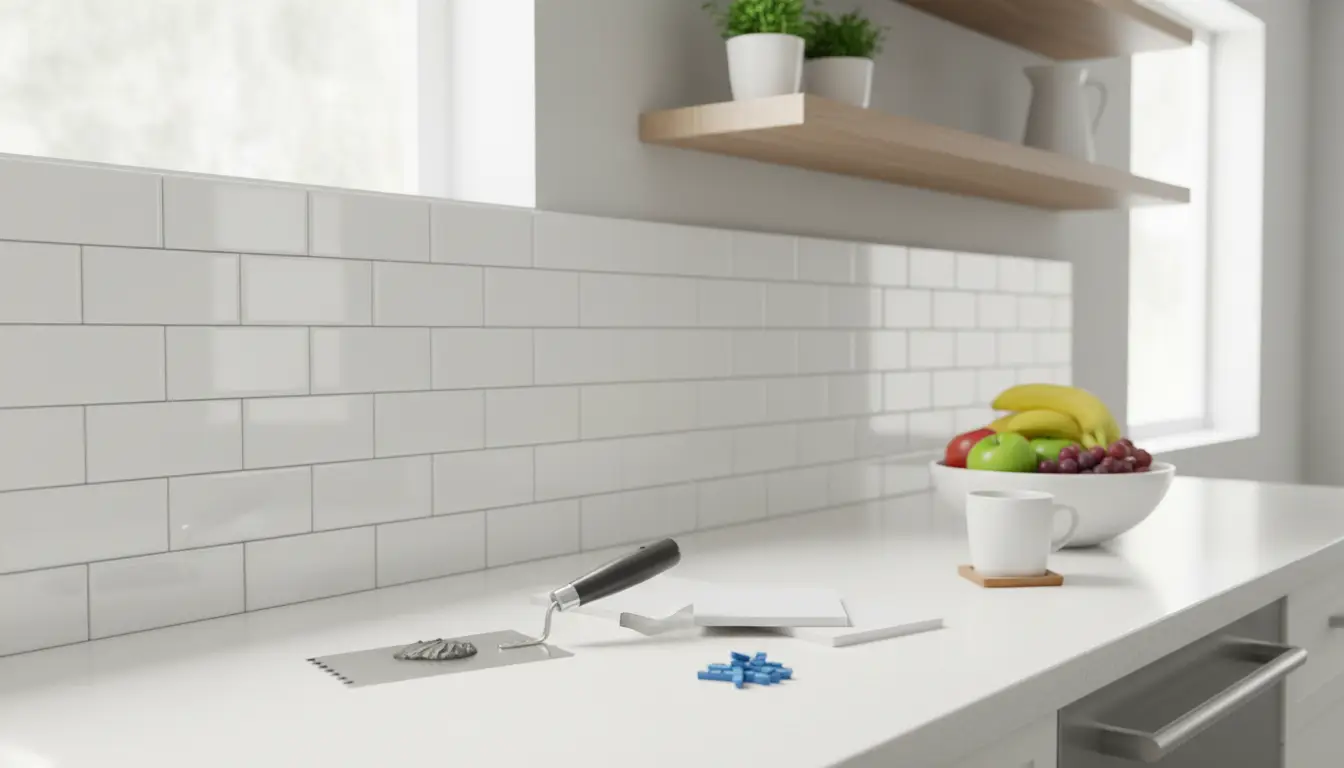
Let’s be honest—most of us want a kitchen that looks sharp but don’t have endless time (or cash) to pour into renovations. That’s exactly why I’m such a fan of easy to install ceramic backsplash tiles.
I remember the first time I took on this project; I was nervous about messing up, but it turned out to be surprisingly satisfying. If you’re on the fence, let me walk you through it—mistakes, wins, and all.
Why Homeowners (Like Me) Love Ceramic Backsplash Tiles
First off, ceramic tiles are just plain practical. They stand up to heat, spills, and my not-so-gentle cleaning habits. And the color choices? Endless. The toughest part for me was deciding between classic white and a funky mosaic. (I went with white—safe but classy!)
A Few Everyday Perks
- Easy Clean-Up: I’m a messy cook, so being able to wipe away spaghetti sauce in seconds is a lifesaver.
- So Many Looks: I’ve seen friends go bold with teal, while I kept it neutral. Personal taste rules here.
- Budget-Friendly: I did my whole backsplash for less than a fancy dinner out.
Getting Set Up: No Fancy Tools Needed
Here’s what I grabbed before getting started:
- A box of ceramic tiles (always buy a few extra—trust me)
- Tile adhesive, a bag of grout, and spacers
- A notched trowel and a simple tile cutter
- A bucket and a couple of old towels
I cleaned the wall, sanded a few rough patches, and did a quick dry-fit with the tiles. This step saved me big headaches later.
Step-by-Step: Tiling Without the Stress
- Layout First: I laid the tiles out on my countertop. Turns out, visualizing the pattern helped me avoid awkward cuts near the edges.
- Adhesive Time: I spread adhesive in small patches (learned the hard way not to rush this part).
- Place and Space: Each tile got pressed in with spacers between. If a tile slipped, I just nudged it back—no drama.
- Wait a Bit: Letting the adhesive dry overnight made the next step easier.
- Grout the Gaps: Honestly, grouting is messy, but seeing those clean lines appear was oddly satisfying.
- Final Clean: I buffed off the haze, stood back, and felt like a pro.
Main Points to Keep in Mind
Don’t Forget:
- Patience matters—rushing leads to crooked tiles (I learned this firsthand).
- Ceramic tiles are a win for style, price, and clean-up.
- Prepping your wall is half the battle. Take your time!
Little Tips and Real-Life Lessons
Here’s something nobody told me: grout gets everywhere, so keep a damp cloth close. Also, don’t stress about tiny imperfections—guests will notice your new backsplash, not the uneven edge behind the toaster.
Some friends have mixed and matched colors or added a border for fun, and it always looks great. If you’re feeling adventurous, go for it!
FAQs
Q1: Will this really only take a weekend?
Yes! I finished mine between Saturday morning and Sunday night.
Q2: Do I need to buy expensive tools?
Nope. Borrow from a neighbor or pick up simple versions at the hardware store.
Q3: Can I put new tiles over old ones?
Yes, as long as the old tiles are solid and clean. I skipped this step, but my cousin did it and it worked out fine.
Q4: How to keep the shine on tiles?
Just wipe with a soft sponge and gentle cleaner—no special products required.
Q5: Are peel-and-stick tiles any good?
They’re handy for renters or a super quick fix, but for the long haul, standard tiles hold up better.
Conclusion
I won’t pretend tiling was perfectly smooth, but it was totally doable—and honestly, it made me proud every time I walked into my kitchen. If you want a simple, affordable upgrade, ceramic backsplash tiles are a fantastic place to start.


