

Your shower still looks dull even after you just cleaned it.
Soap scum clings to the glass, hard water leaves cloudy spots on the tile, and scrubbing harder never seems to fix it for long.
The real issue is usually your cleaner, not your effort. I have made this same mistake in my own bathroom more times than I would like to admit.
A DIY shower cleaner made with things already sitting in your kitchen can cut through that grime faster, cheaper, and with far fewer harsh chemicals than most bottles on store shelves.
If your shower has stone tile, colored grout, or glass doors, there is a homemade recipe built for it below.
Why DIY Shower Cleaners Work Well?
Shower grime is not one problem; it is three, and a homemade cleaner lets you match the fix to each:
- Vinegar’s acidity dissolves hard water mineral deposits.
- Dish soap cuts through the oily film soap scum leaves behind.
- Baking soda’s gentle abrasion lifts stubborn residue without scratching.
- Skips the harsh fumes most commercial sprays rely on.
- Costs far less than store-bought bottles; pantry staples do the job.
And since you are mixing it yourself, you decide exactly what goes into every batch.
What Causes Soap Scum and Stains?
Before you clean, it helps to know what you are fighting. Shower grime usually comes from three sources working together.
Soap scum forms when soap combines with body oils and skin residue, creating a sticky film that clings to tile and glass.
Hard water stains come from mineral deposits like calcium and magnesium left behind as water evaporates.
An estimated 85% of U.S. homes have hard water, according to USGS-based estimates, so these chalky spots are extremely common.
Mildew and mold thrive in warm, damp spaces with poor airflow, which makes showers an easy target.
Each of these needs a slightly different approach to break down, which is exactly why the recipes below are built around different ingredients.
Best DIY Vinegar Shower Cleaner Recipes
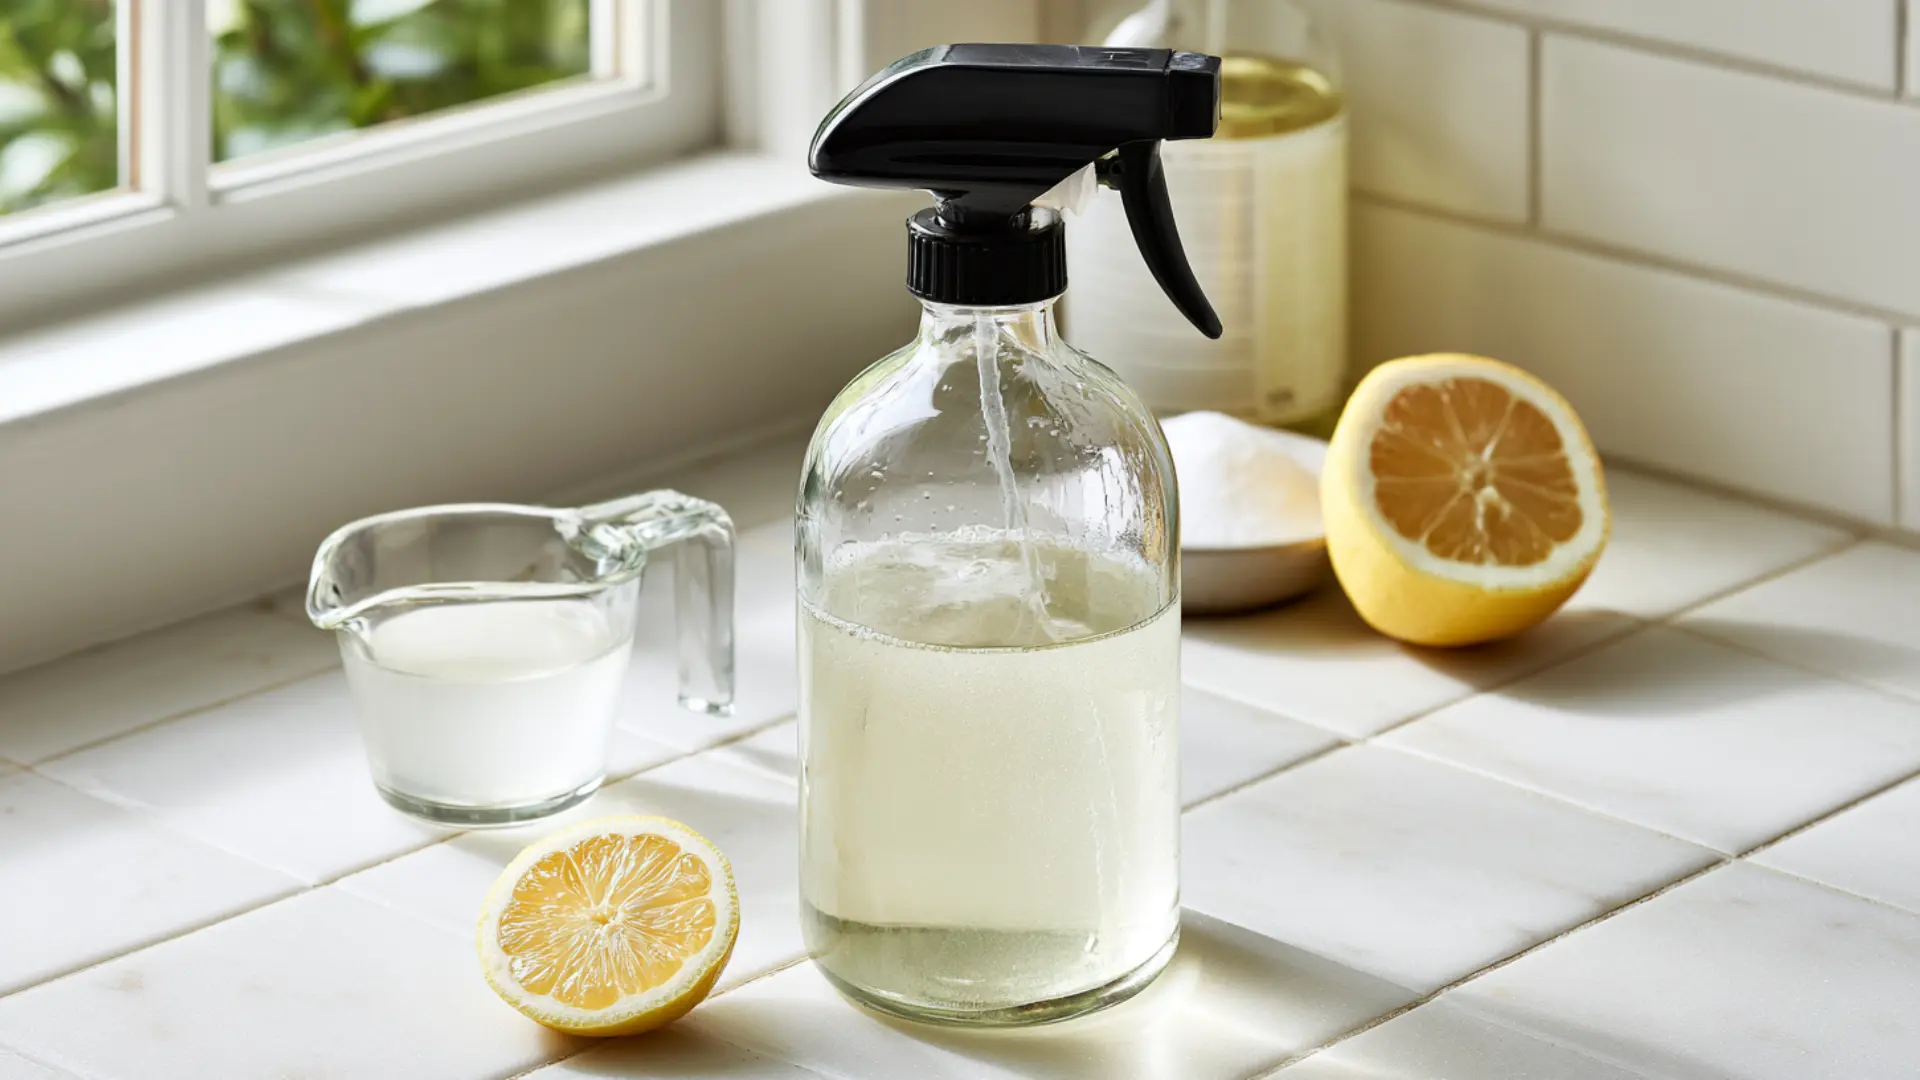
Vinegar shows up in almost every good shower cleaner recipe, and for good reason. Its acidity breaks down mineral buildup and soap residue better than most other pantry ingredients.
Below are four vinegar-based recipes, each suited to a different cleaning need:
1. Vinegar and Dish Soap Spray
Materials:
- 1 cup white vinegar,
- 1 cup dish soap,
- 16-ounce spray bottle
Instructions:
- Step 1: Pour 1 cup of white vinegar into the spray bottle.
- Step 2: Add 1 cup of dish soap to the same bottle.
- Step 3: Screw the top on and shake gently to combine.
- Step 4: Spray the mixture evenly over shower walls, doors, and tile.
- Step 5: Let it sit for 15 to 30 minutes to break down grime.
- Step 6: Scrub lightly with a sponge or brush, then rinse with warm water.
Application tip: Spray this on a dry shower rather than a wet one. Water on the surface dilutes the mixture and weakens how well it clings to grime.
2. Vinegar, Dish Soap, and Baking Soda Spray
Materials:
- 1 cup white vinegar
- 1/4 cup dish soap
- 1/2 cup baking soda
- 16-ounce spray bottle
Instructions:
- Step 1: Pour 1 cup of white vinegar into the spray bottle.
- Step 2: Add 1/4 cup of dish soap to the bottle.
- Step 3: Add 1/2 cup of baking soda slowly, since it will fizz.
- Step 4: Screw the top on and shake well until fully combined.
- Step 5: Spray generously over areas with heavy soap scum or buildup and let sit for 20 to 30 minutes.
- Step 6: Scrub with a brush, then rinse clean with warm water.
Application tip: Focus this recipe on corners, grout lines, and the shower floor, where baking soda’s gentle grit does the most work breaking up caked-on scum. Grout lines are often the hardest part of a shower to keep clean over time, which is part of why some homeowners weigh groutless shower layouts when planning a renovation.
3. Vinegar and Essential Oil Daily Spray
Materials:
- 1 cup white vinegar
- 1 cup water
- 10 to 15 drops essential oil (lemon or lavender)
- 16-ounce dark spray bottle
Instructions:
- Step 1: Pour 1 cup of white vinegar into the spray bottle.
- Step 2: Add 1 cup of water.
- Step 3: Add 10 to 15 drops of your chosen essential oil.
- Step 4: Shake well to combine before each use.
- Step 5: Spray lightly over shower walls and doors after each shower.
- Step 6: Let it air dry without rinsing.
Application tip: Spray this while the shower walls are still damp and warm from your shower. The residual heat helps the mixture spread evenly and prevents new residue from settling in.
4. Diluted Vinegar and Water Rinse
Materials:
- 1/2 cup white vinegar
- 1.5 cups water
- 16-ounce spray bottle
Instructions:
- Step 1: Pour 1/2 cup of white vinegar into the spray bottle.
- Step 2: Add 1.5 cups of water.
- Step 3: Shake gently to combine.
- Step 4: Spray over glass doors or lightly soiled surfaces.
- Step 5: Wipe down with a microfiber cloth, rinsing with water if any residue remains.
Application tip: Wipe in one direction with the microfiber cloth instead of circles. It prevents streaking on glass, which this diluted mix is prone to if buffed unevenly.
DIY Shower Cleaner Recipes Without Vinegar
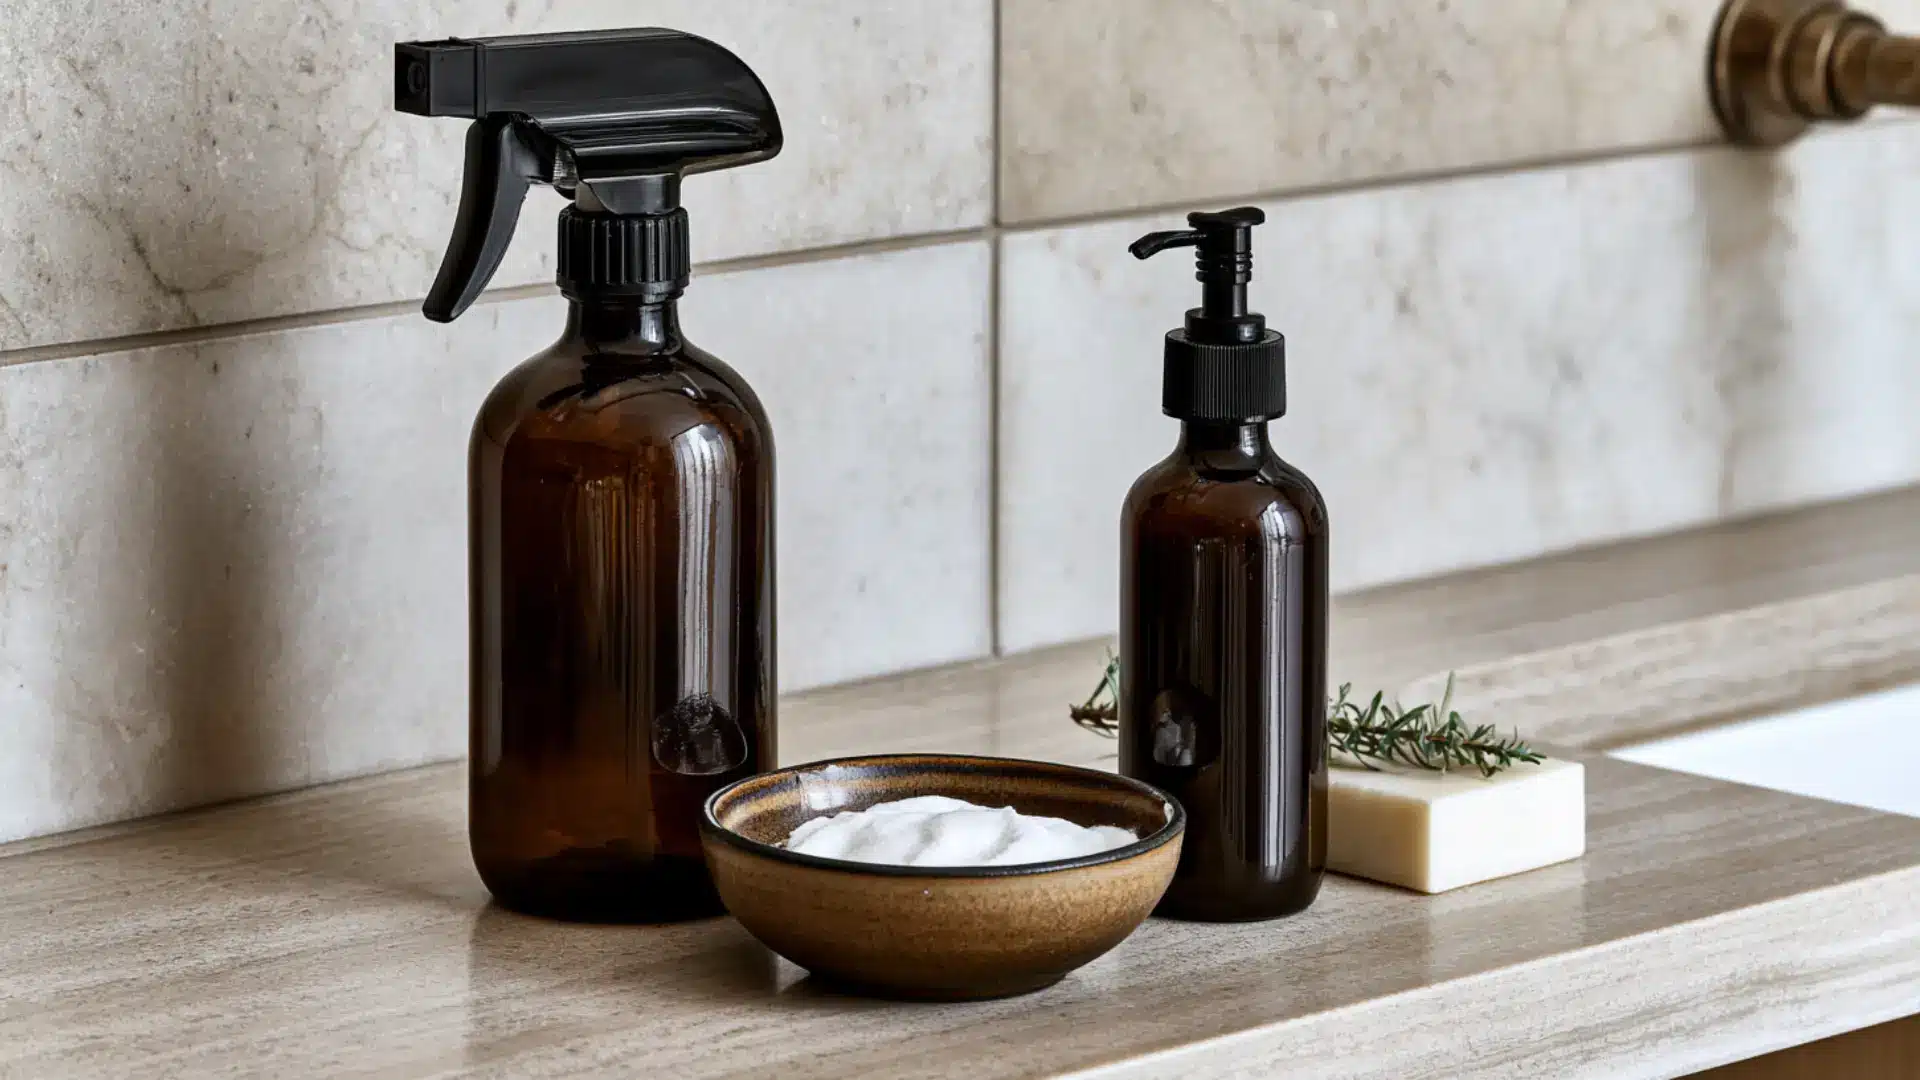
If your shower has natural stone like marble, granite, or travertine, vinegar isn’t a safe choice. Its acidity can etch and dull the surface over time, something most recipes don’t warn you about.
These four alternatives clean just as effectively while staying gentle on stone:
5. Baking Soda and Dish Soap Paste
Materials:
- 1/2 cup baking soda
- 2 tablespoons dish soap
- small bowl for mixing
Instructions:
- Step 1: Add 1/2 cup of baking soda to the bowl.
- Step 2: Add 2 tablespoons of dish soap.
- Step 3: Stir until a thick, spreadable paste forms.
- Step 4: Scoop the paste onto a damp sponge or brush.
- Step 5: Apply directly to soap scum or light stains and scrub gently.
- Step 6: Rinse thoroughly with warm water.
Application tip: Mix only what you’ll use right away. This paste dries out and loses its scrubbing power if left sitting for later.
6. Hydrogen Peroxide and Rubbing Alcohol Spray
Materials:
- 1 cup hydrogen peroxide
- 1 cup rubbing alcohol
- 16-ounce dark spray bottle
Instructions:
- Step 1: Pour 1 cup of hydrogen peroxide into the spray bottle
- Step 2: Add 1 cup of rubbing alcohol
- Step 3: Screw the top on and shake gently to combine
- Step 4: Spray lightly over shower walls and doors after each shower
- Step 5: Let it air dry without rinsing
Application tip: Keep this mix in a dark bottle. Light exposure breaks down hydrogen peroxide fast, so a clear bottle shortens how well it works.
7. Castile Soap and Water Spray
Materials:
- 2 tablespoons liquid castile soap
- 2 cups water
- 5 to 10 drops essential oil
- 16-ounce spray bottle
Instructions:
- Step 1: Pour 2 cups of water into the spray bottle.
- Step 2: Add 2 tablespoons of liquid castile soap.
- Step 3: Add 5 to 10 drops of essential oil if using.
- Step 4: Shake gently to combine, since castile soap foams easily.
- Step 5: Spray over shower walls, doors, and stone surfaces.
- Step 6: Wipe down with a cloth and rinse if needed.
Application tip: Use a light hand with the soap. Too much leaves a filmy residue on stone that needs a second rinse to fully clear.
8. Baking Soda and Hydrogen Peroxide Paste
Materials:
- 1/2 cup baking soda
- 3 tablespoons hydrogen peroxide
- Small bowl for mixing
Instructions:
- Step 1: Add 1/2 cup of baking soda to the bowl.
- Step 2: Slowly pour in 3 tablespoons of hydrogen peroxide.
- Step 3: Stir until it forms a thick paste.
- Step 4: Apply the paste to tough grime, light mold, or dulled grout lines.
- Step 5: Let it sit for 5 to 10 minutes before scrubbing.
- Step 6: Scrub gently with a brush, then rinse well with warm water.
Application tip: Give the paste time to sit before scrubbing. Those extra few minutes let the peroxide break down stains, so you scrub less.
9. Dish Soap and Warm Water Spray
Materials:
- 1/4 cup dish soap
- 2 cups warm water
- 16-ounce spray bottle
Instructions:
- Step 1: Heat 2 cups of water until warm, not boiling.
- Step 2: Pour the warm water into the spray bottle.
- Step 3: Add 1/4 cup of dish soap.
- Step 4: Screw the top on and shake gently to combine, since dish soap foams easily.
- Step 5: Spray over shower walls, doors, and stone surfaces.
- Step 6: Wipe down with a sponge or cloth, then rinse with warm water.
Application tip: Use warm water, not cold. The heat helps the dish soap break down body oils and light grease faster, which is what this recipe handles best.
How to Apply DIY Shower Cleaners Correctly?
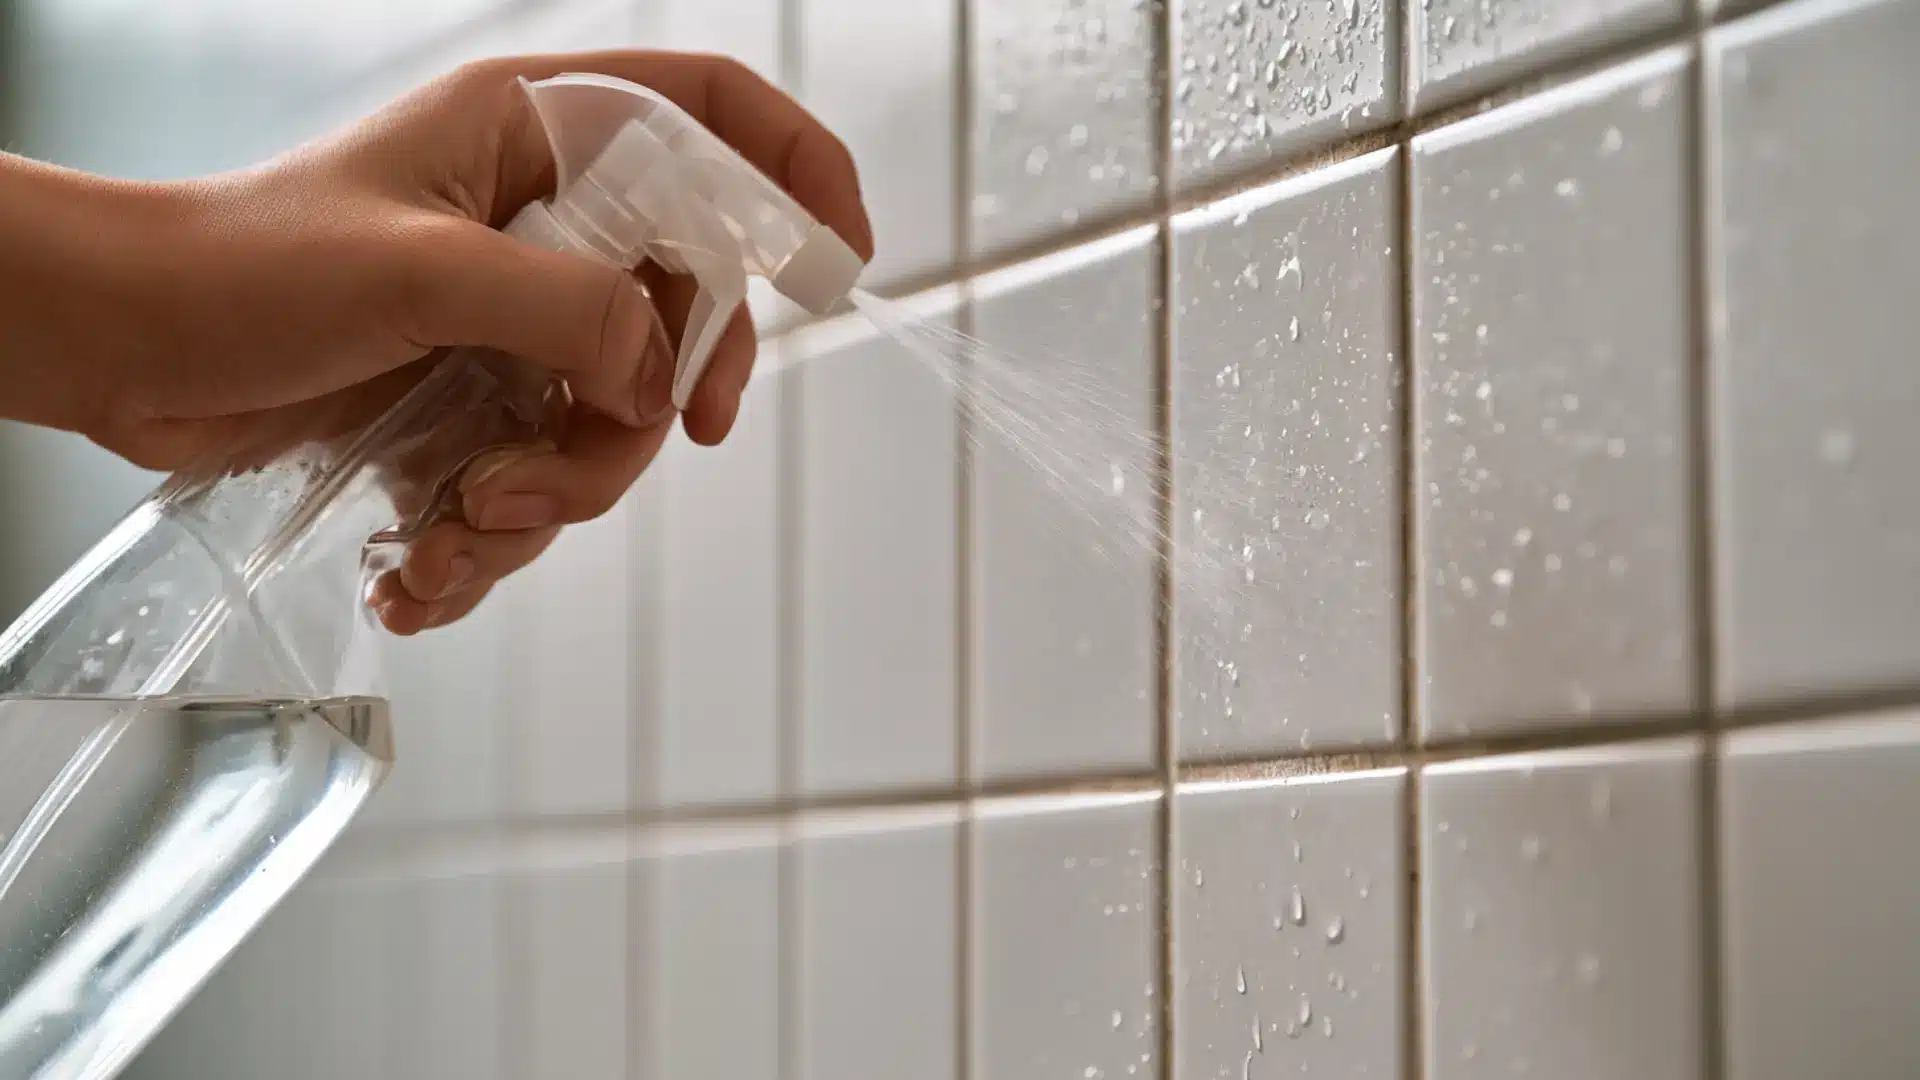
The recipe matters, but technique makes the real difference between a shower that looks clean and one that actually is.
- Spray or apply the cleaner starting at the top of the shower and work downward, so runoff cleans areas below as you go
- Let it sit for 15 to 30 minutes to fully break down grime before scrubbing
- Use a microfiber cloth on glass and tile, and a soft brush for grout lines
- Rinse thoroughly with hot water to remove residue completely
Match the recipe to your surface: vinegar-based sprays suit glass, tile, and fiberglass, while stone showers need the non-vinegar options above. Following this order keeps every recipe working the way it’s meant to.
Safety Precautions and Chemicals to Avoid
This section covers general household safety practices. If anyone in your home has respiratory sensitivities or fume sensitivity, ventilate thoroughly and consider testing a small area first.
Homemade cleaners are safer than most commercial sprays, but a few mixing mistakes can still turn a cleaning session dangerous.
Never combine vinegar or hydrogen peroxide with bleach or ammonia-based products. The reaction releases toxic fumes that are harmful to breathe in, even in small amounts.
Always check that your bathroom cleaner, mold spray, or toilet bowl cleaner doesn’t contain either before mixing anything nearby.
Keep the bathroom ventilated while cleaning. Open a window or run the exhaust fan, since strong smells from vinegar or alcohol-based sprays can linger in small spaces.
How Often Should You Use It?
Not every recipe follows the same schedule. Using the right one at the right time keeps your shower cleaner with less scrubbing:
| Recipe | Frequency | Why |
|---|---|---|
| Vinegar and Essential Oil Daily Spray, Hydrogen Peroxide and Rubbing Alcohol Spray | Daily, after each shower | No-rinse formulas that stop buildup before it starts |
| Dish Soap and Warm Water Spray, Castile Soap and Water Spray | 2 to 3 times a week | Gentle enough for frequent use on everyday grease and oils |
| Vinegar and Dish Soap Spray | Weekly | Clears moderate soap scum before it hardens |
| Vinegar and Baking Soda Spray, Baking Soda and Dish Soap Paste | Weekly to biweekly | Tackles tougher buildup daily sprays can’t prevent |
| Baking Soda and Hydrogen Peroxide Paste | Biweekly to monthly | Best for stubborn grime, light mold, or dulled grout |
| Diluted Vinegar and Water Rinse | As needed, for glass | Light enough for streaky glass anytime |
How Long Can You Store DIY Shower Cleaners?
Knowing how long each recipe lasts keeps you from using a cleaner that’s lost its power.
- Vinegar-based sprays hold up well, lasting a few weeks at room temperature. No need to refrigerate them.
- Peroxide-based mixes break down faster, especially with light exposure. Keep these in a dark bottle and remake the batch every one to two weeks.
- Pastes don’t store well at all. Mix only what you need for that session, since leftovers dry out and lose their scrubbing power within a day.
Label each bottle with the date you made it. A sticky note or piece of tape helps you know at a glance when it’s time to toss the old batch and mix a fresh one.
Easy Habits to Keep Showers Clean
Small habits done right after a shower do more to prevent buildup than any deep clean can undo later.
- Squeegee walls and glass doors right after showering.
- Wipe down glass with a towel if no squeegee is handy.
- Hang shower curtains fully open, not bunched together.
- Wipe down shower shelves and caddies weekly to stop soap residue from spreading.
- Leave the bathroom door cracked or fan running for a few minutes after showering.
These small steps take seconds but save real cleaning time later. Building them into your routine means less scrubbing, fewer stains, and a shower that stays looking clean between deeper cleaning sessions.
Showers with fewer glass panels tend to collect less standing water day to day, which is part of why open, doorless shower designs have grown popular for easier upkeep.
DIY Shower Cleaner vs. Store-Bought Cleaners
DIY recipes cover most situations well. They’re affordable, easy to customize, and effective for routine maintenance, soap scum, and light mineral buildup.
Store-bought products earn their place in specific situations, like severe rust, established mold, or when time is tight.
| Factor | DIY Shower Cleaner | Store-Bought Cleaner |
|---|---|---|
| Cost | Very low, uses pantry ingredients | Higher, priced per bottle |
| Ingredient control | Full control over what goes in | Fixed formula, less control |
| Best for | Routine maintenance, soap scum, light stains | Severe rust, black mold, heavy buildup |
| Prep time | Requires mixing before use | Ready to use immediately |
| Customization | Easy to adjust scent and strength | Limited to product as sold |
| Shelf life | A few weeks, needs remaking | Long shelf life, no upkeep |
| Fumes/chemicals | Minimal, ingredients are known | Can be stronger, sometimes harsh |
Store-Bought Best Shower Cleaning Products Worth Trying:
- The Pink Stuff: a scrubbing paste effective on tile, glass, and stainless steel, well-suited for tougher, built-up grime.
- Method Daily Shower Spray: a no-scrub daily spray designed to prevent soap scum and stains from forming in the first place.
- Mr. Clean Magic Eraser Bath Scrubber: a melamine sponge useful for lifting stubborn scum without heavy scrubbing.
Choosing between the two comes down to the job at hand: DIY for upkeep, store-bought for the tougher exceptions.
Tips to Prevent Future Soap Scum
Daily habits help, but a few structural changes make the biggest long-term difference.
- Run the bathroom fan during and after showers, or crack a window. Lower humidity keeps mildew and mineral deposits from settling in.
- Consider a water softener if hard water is severe. Less mineral content means fewer stains and less scrubbing.
- Rinse bottle bottoms before storing them in the shower. Dripping residue adds to buildup on shelves and caddies.
These changes take more effort upfront, but they reduce how often you need to deep clean.
Closing Thoughts
A clean shower comes down to matching the right recipe to your surface and sticking with a simple routine.
In my experience, the recipes that stick long-term are the ones that fit into a routine you’ll actually keep up, not the ones that promise a miracle in one pass.
Start with just one recipe, whichever matches your shower and schedule best, before trying the rest.
Which recipe are you trying first? Tell us in the comments, or share what’s worked (or flopped) in your own shower.
Frequently Asked Questions
Can I Use Vinegar on All Shower Surfaces?
No. Vinegar works well on glass, tile, and fiberglass, but its acidity can etch natural stone like marble, granite, or travertine. Use a non-vinegar recipe for stone showers instead.
How Often Should I Deep Clean My Shower Versus Use a Daily Spray?
Deep clean weekly or biweekly using vinegar or baking soda recipes to remove existing buildup. Use daily sprays like peroxide or essential oil mixes after each shower to prevent new residue from forming.
Is Baking Soda Safe to Use on Glass Shower Doors?
Yes, in small amounts as a paste with dish soap. Use gentle pressure to avoid scratching, and always rinse thoroughly afterward, since leftover residue can leave glass looking cloudy or streaked.
How Long Does Homemade Shower Cleaner Last Before It Goes Bad?
Vinegar-based sprays last a few weeks at room temperature. Peroxide-based mixes break down faster and need to be stored in a dark bottle. Pastes should be mixed fresh each time, since they don’t store well.
When Should I Use a Store-Bought Shower Cleaner Instead of a DIY One?
Reach for a store-bought product when dealing with severe rust, established black mold, or heavily neglected showers. It’s also a practical choice when time is limited, and mixing isn’t an option.


