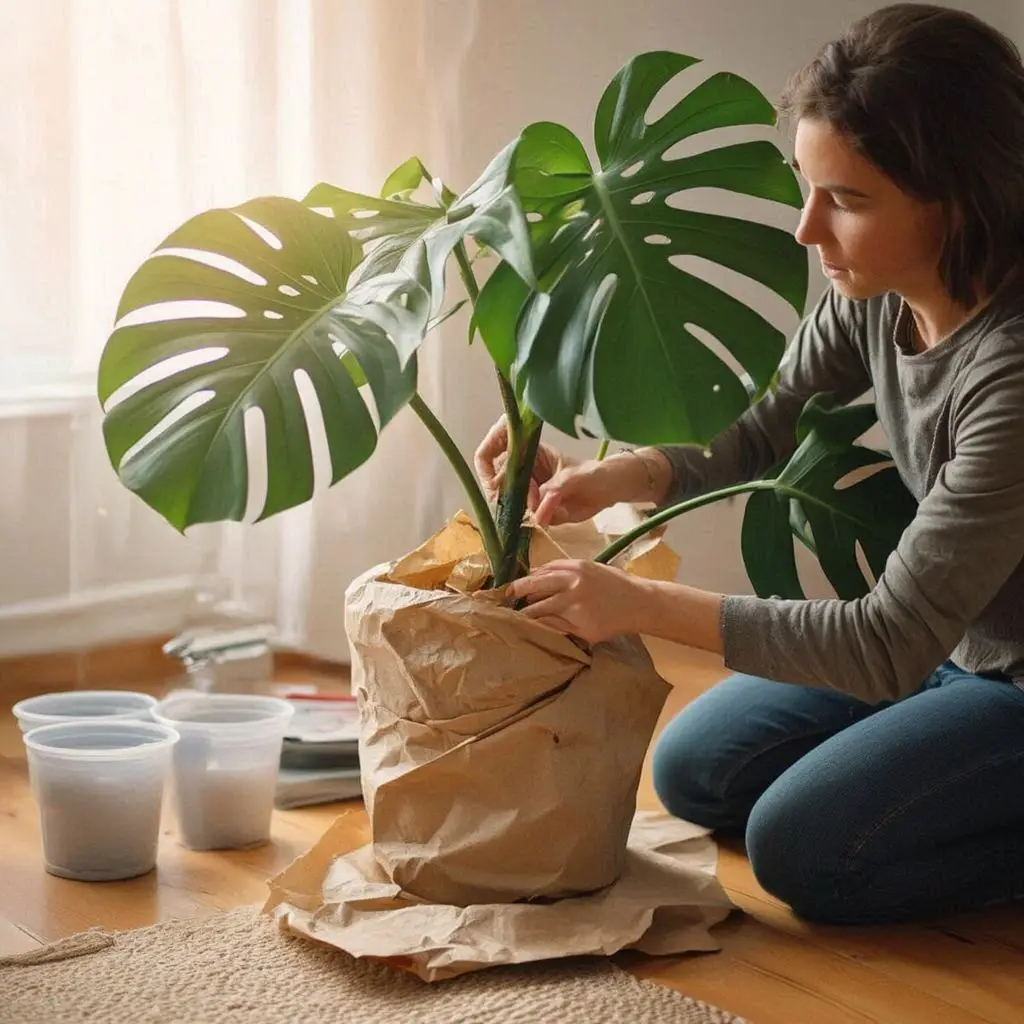
I was staring at an old wooden pallet one afternoon, thinking it was junk. Then it hit me, what if this could grow dinner? That thought kicked off my first DIY raised garden bed with layers.
I didn’t have great soil or much room, but I had scraps, curiosity, and a real craving for fresh tomatoes.
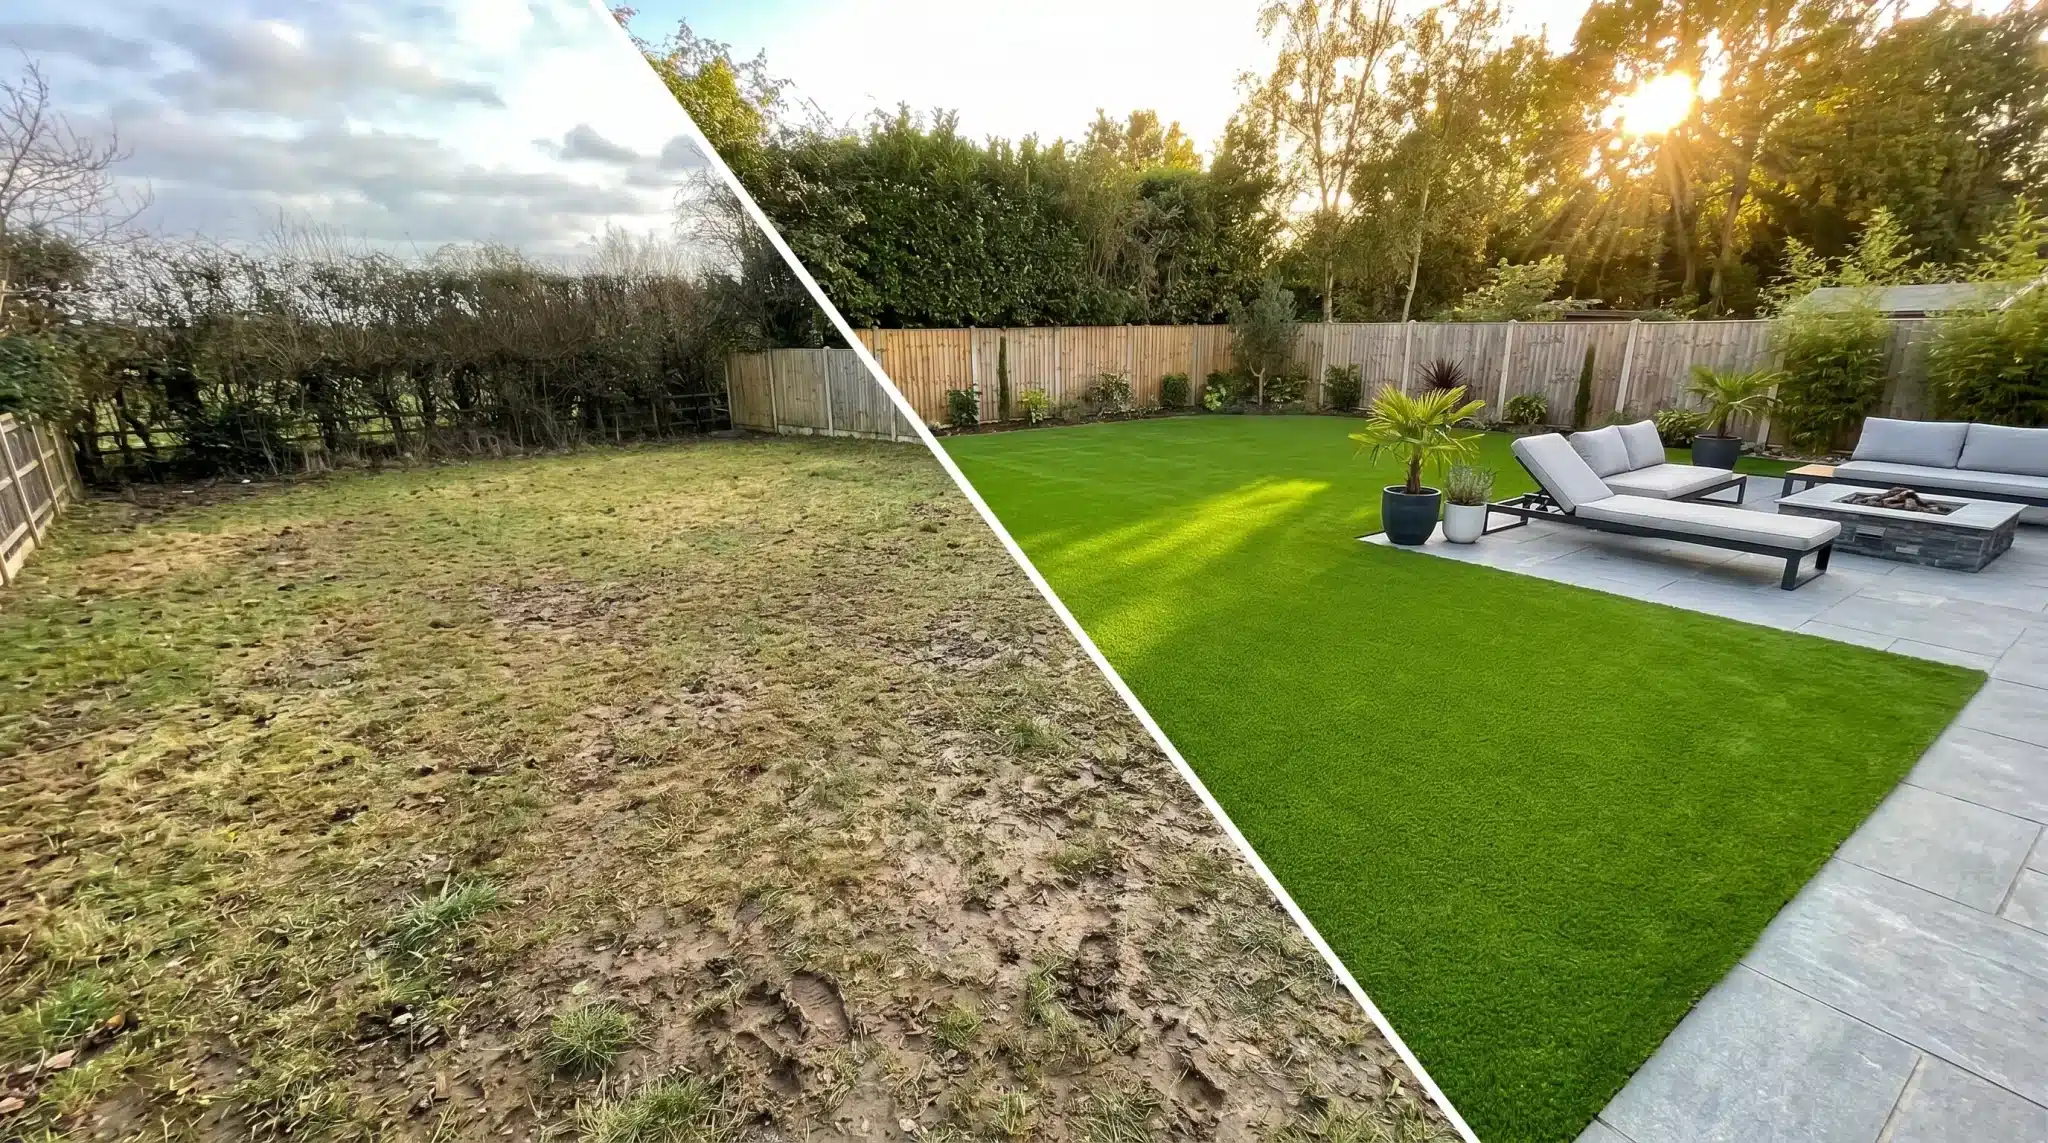
Layer by layer, I built something that actually worked. It kept weeds down, held moisture, and gave my plants a solid start.
If you’ve got a small spot and big ideas, this blog’s for you. I’ll show you how to build your own layered bed, step by step.
You’ll learn what to put where, how it helps your plants, and why this setup makes gardening a whole lot easier.
What Raised Garden Bed Layering is (and Why People Use It)
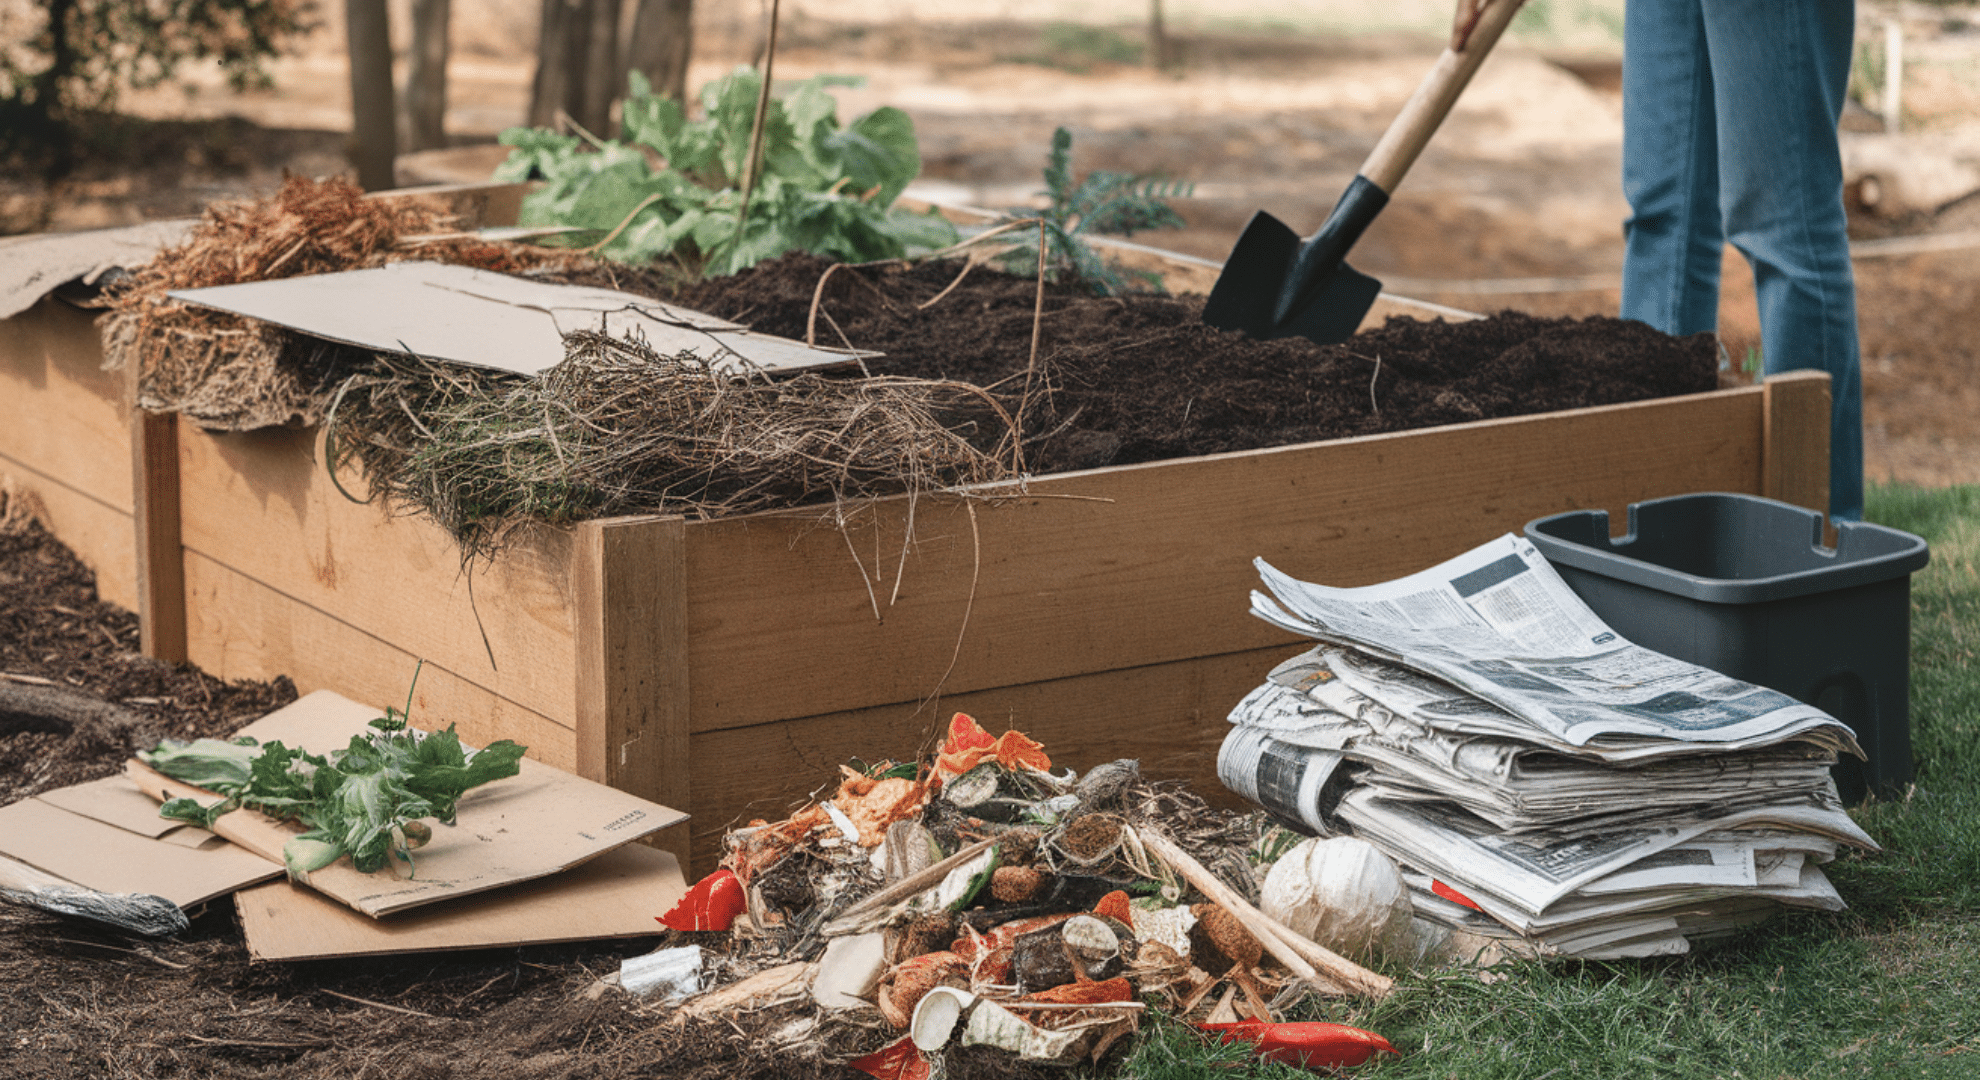
Layering in raised garden beds means stacking different types of natural materials to build healthy soil from the bottom up.
Instead of filling the whole bed with just soil, gardeners use layers like sticks, leaves, compost, and topsoil. Each layer plays a role, helping plants grow stronger with less effort.
People layer instead of using only soil because it makes a big difference. It helps with drainage so water doesn’t sit around and rot roots.
It also keeps moisture in during dry days. Plus, the mix of layers feeds the soil life: worms and microbes that plants need to grow well.
This idea became more popular with methods like hugelkultur and lasagna gardening.
Both use natural layers to build beds that work like forest floors: rich, spongy, and full of life. It’s an innovative, low-cost way to make your garden soil better over time.
DIY Raised Garden Bed Layers Explained
Let’s break down the layers of a DIY raised garden bed with layers so you know exactly what goes where, and why it matters.
Each layer has a job, and when stacked right, they create a strong foundation for healthy plants.
Bottom Layer: Weed Control and Ground Separation
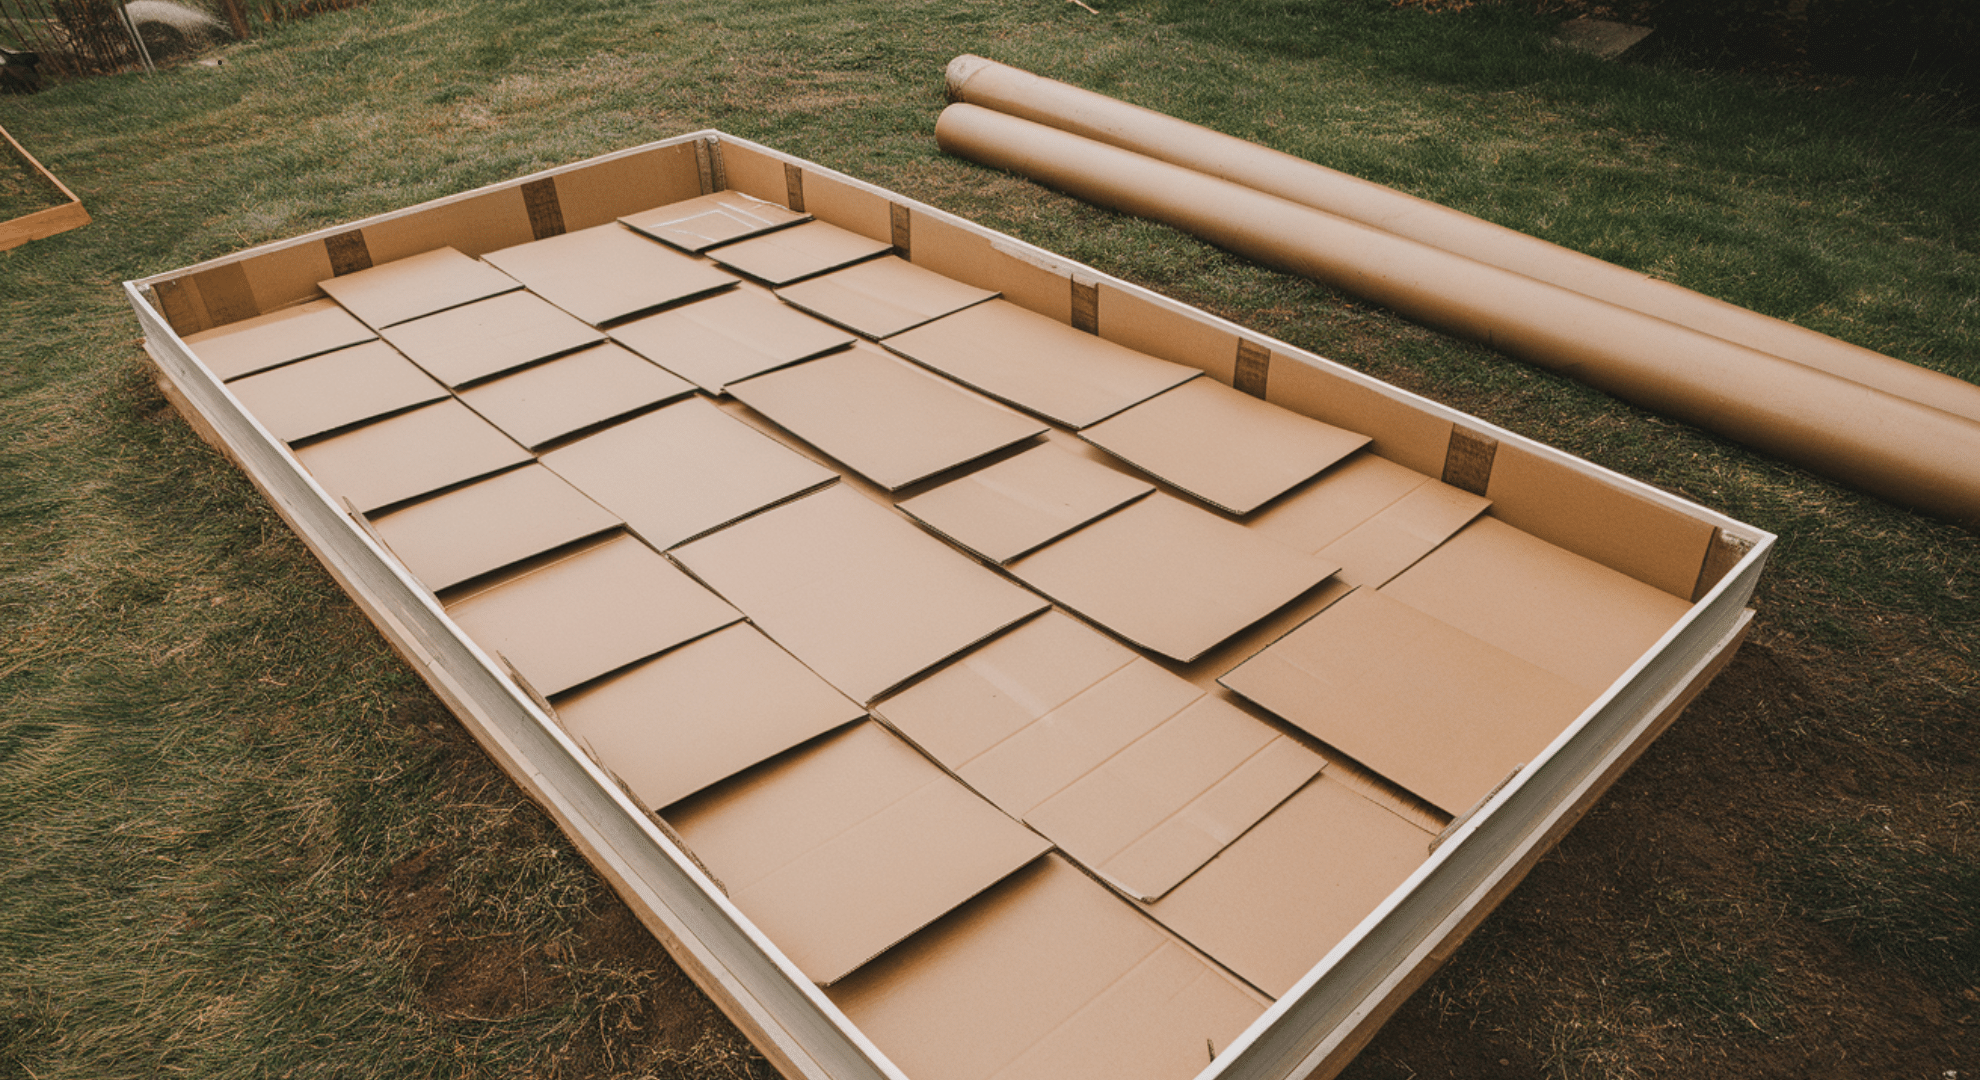
This layer stops weeds from creeping in. Most people use cardboard because it breaks down slowly but still smothers grass.
Others use landscape fabric, but that doesn’t decompose and can block soil life over time. Weed barriers are useful if your bed sits on a lawn. But if your area is already weed-free or on concrete, you can skip this layer.
Base Layer: Large Organic Materials
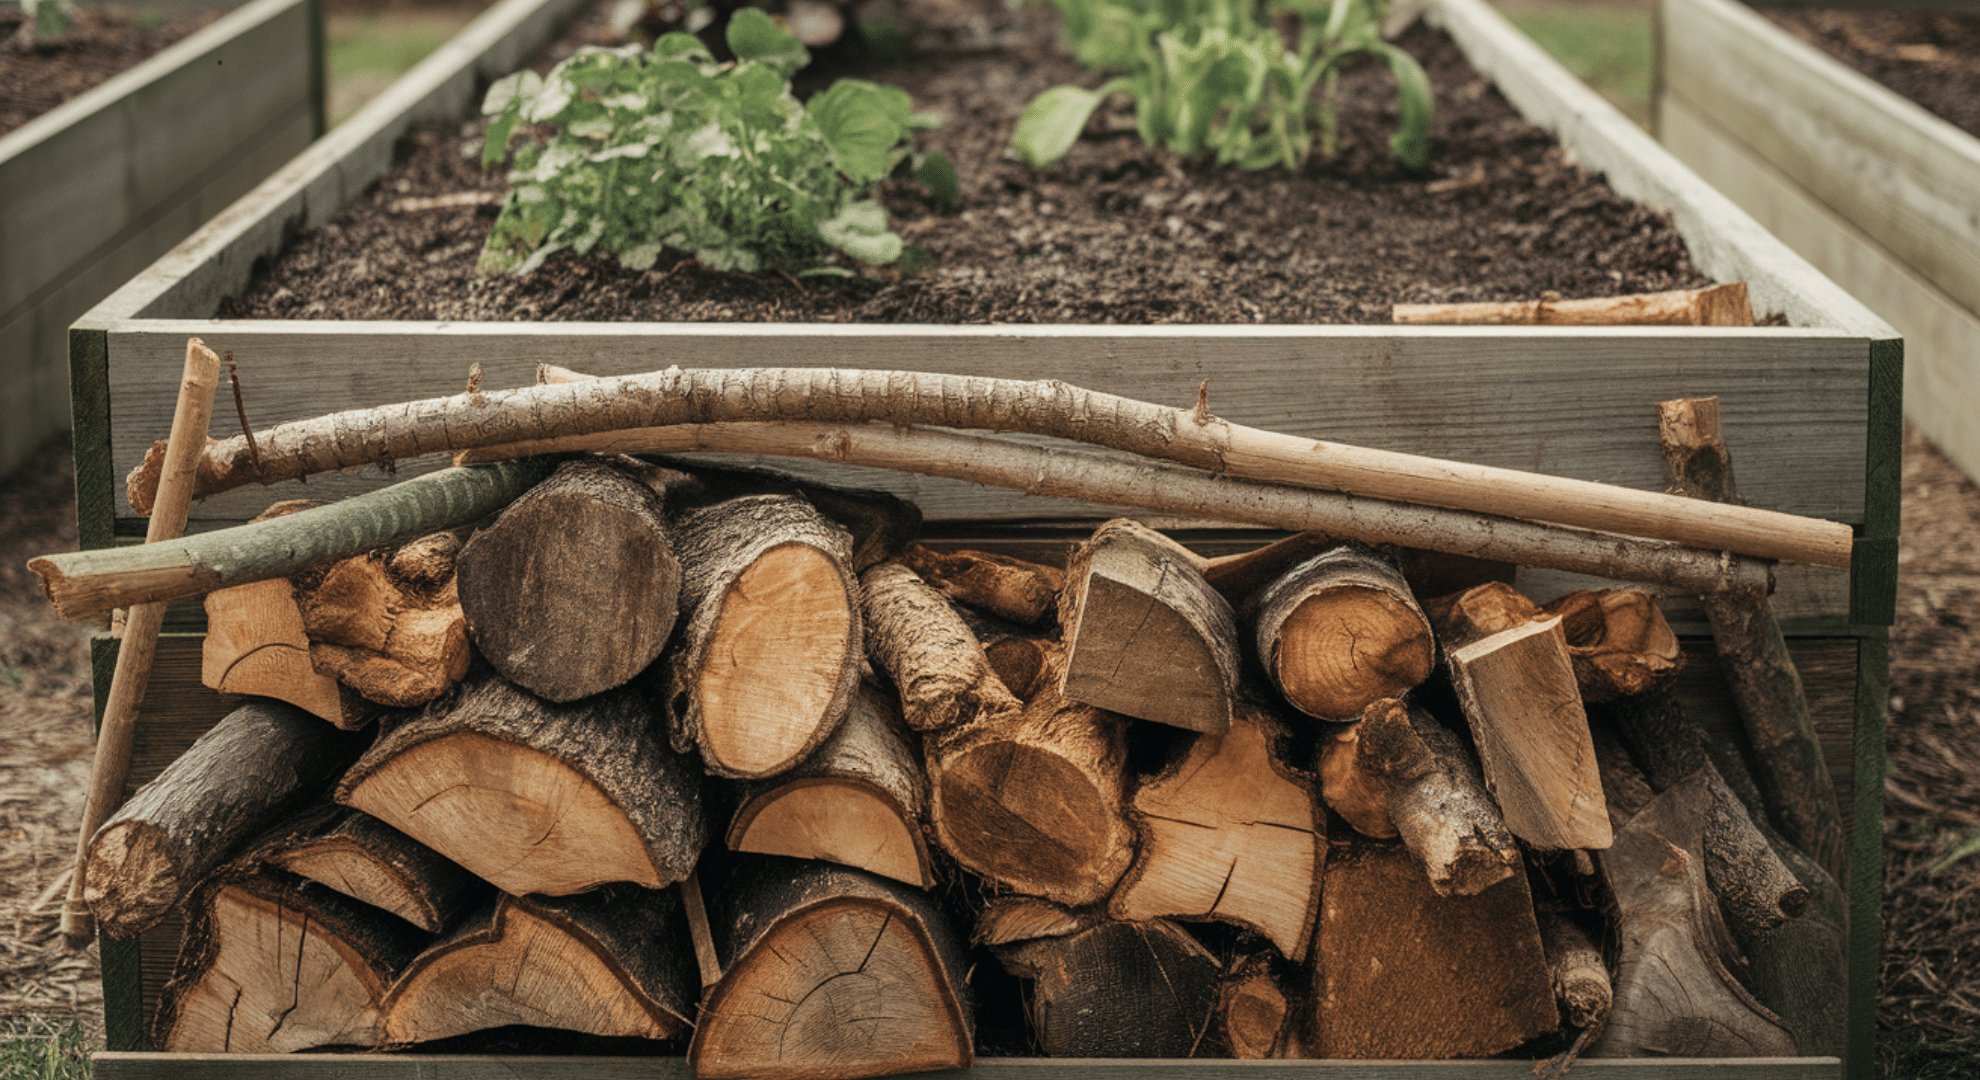
Logs, thick branches, and sticks go next. They break down slowly, add air pockets, and hold water like a sponge. Over time, they feed the soil and improve its structure.
Some say this layer causes pests or drains poorly, but that’s usually from using fresh wood or poor stacking. Use dry, old wood and space it out well for good results.
Middle Layer: Yard Waste and Bulk Fillers
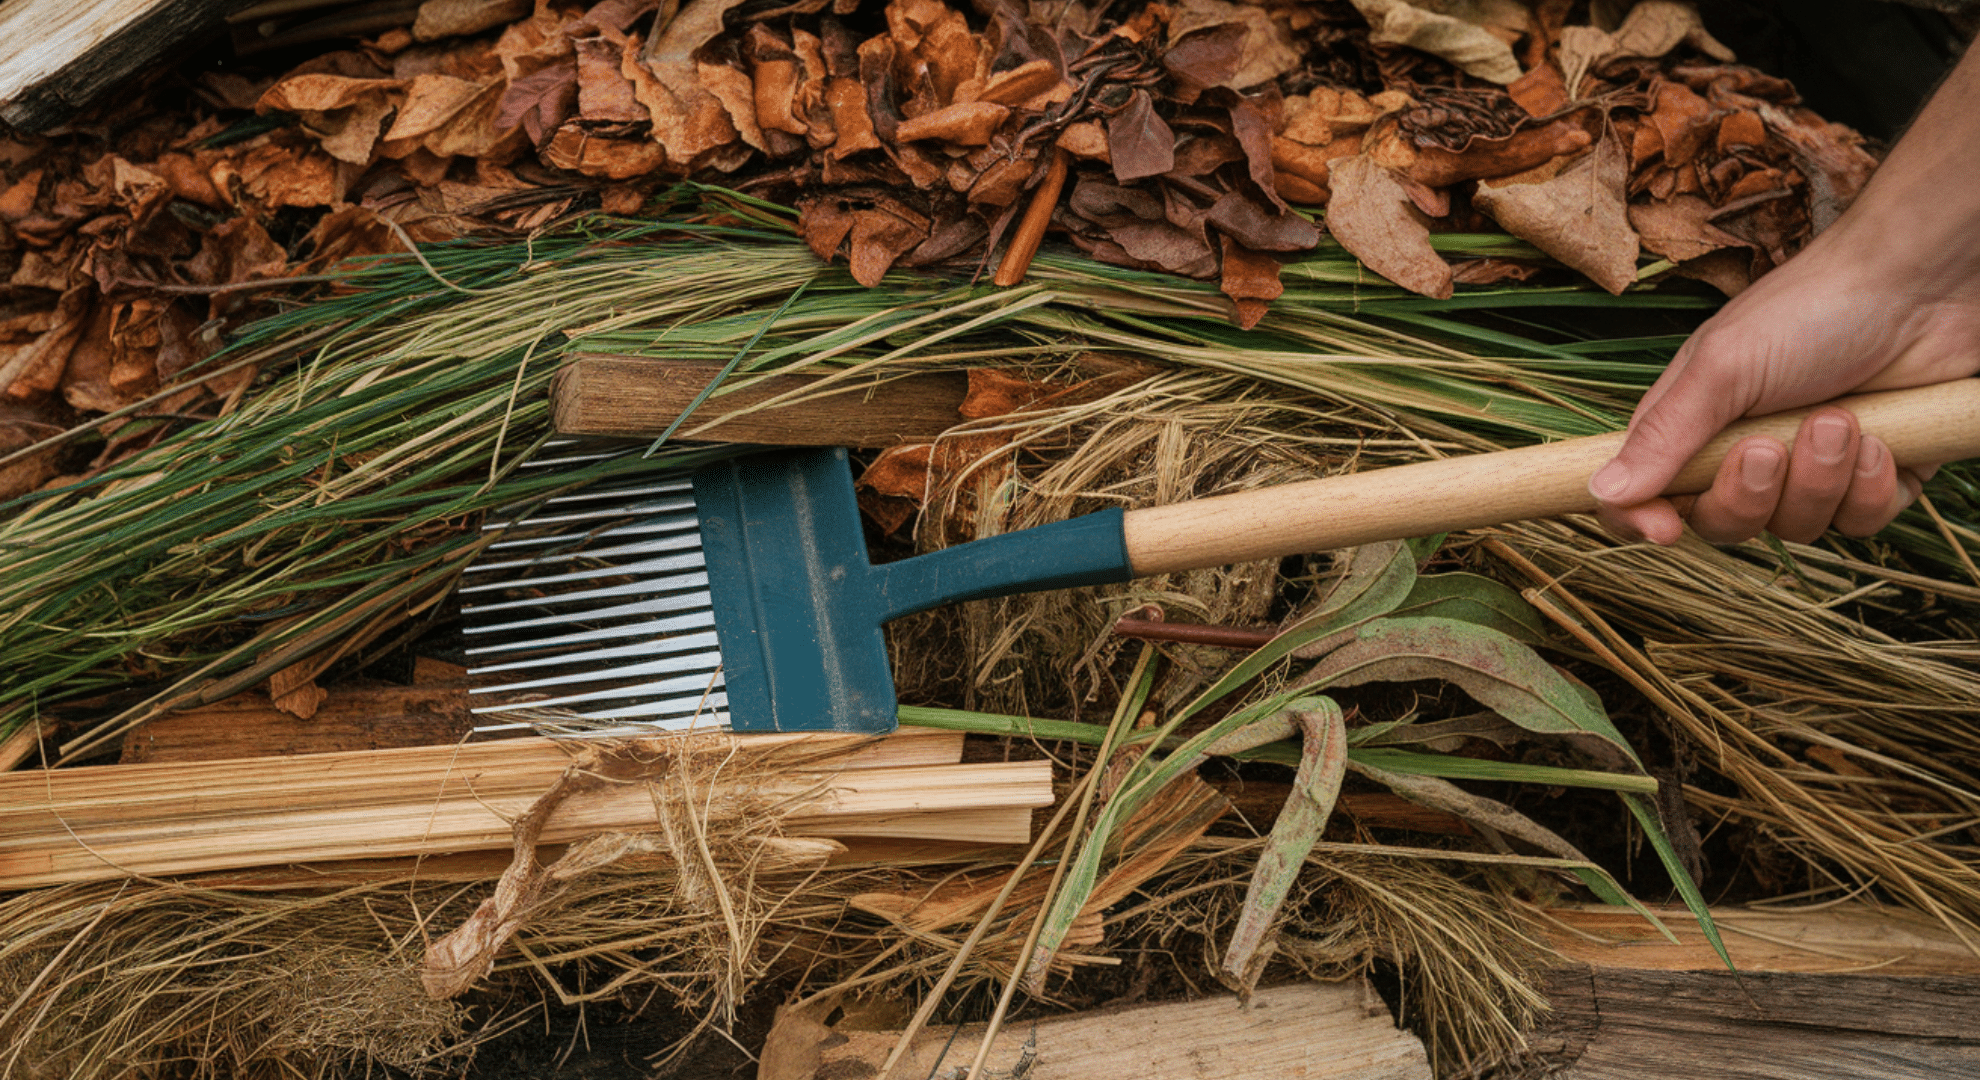
This layer uses lighter, softer materials like leaves, grass clippings, straw, or pulled garden plants. These fill gaps and break down faster than wood.
The key is balancing green stuff (like grass) with brown stuff (like dry leaves). Too much green can get smelly. Too much brown breaks down slowly. Water it lightly to help settling, and pack it down a bit, but not too tight.
Nutrient Layer: Compost and Aged Organic Matter
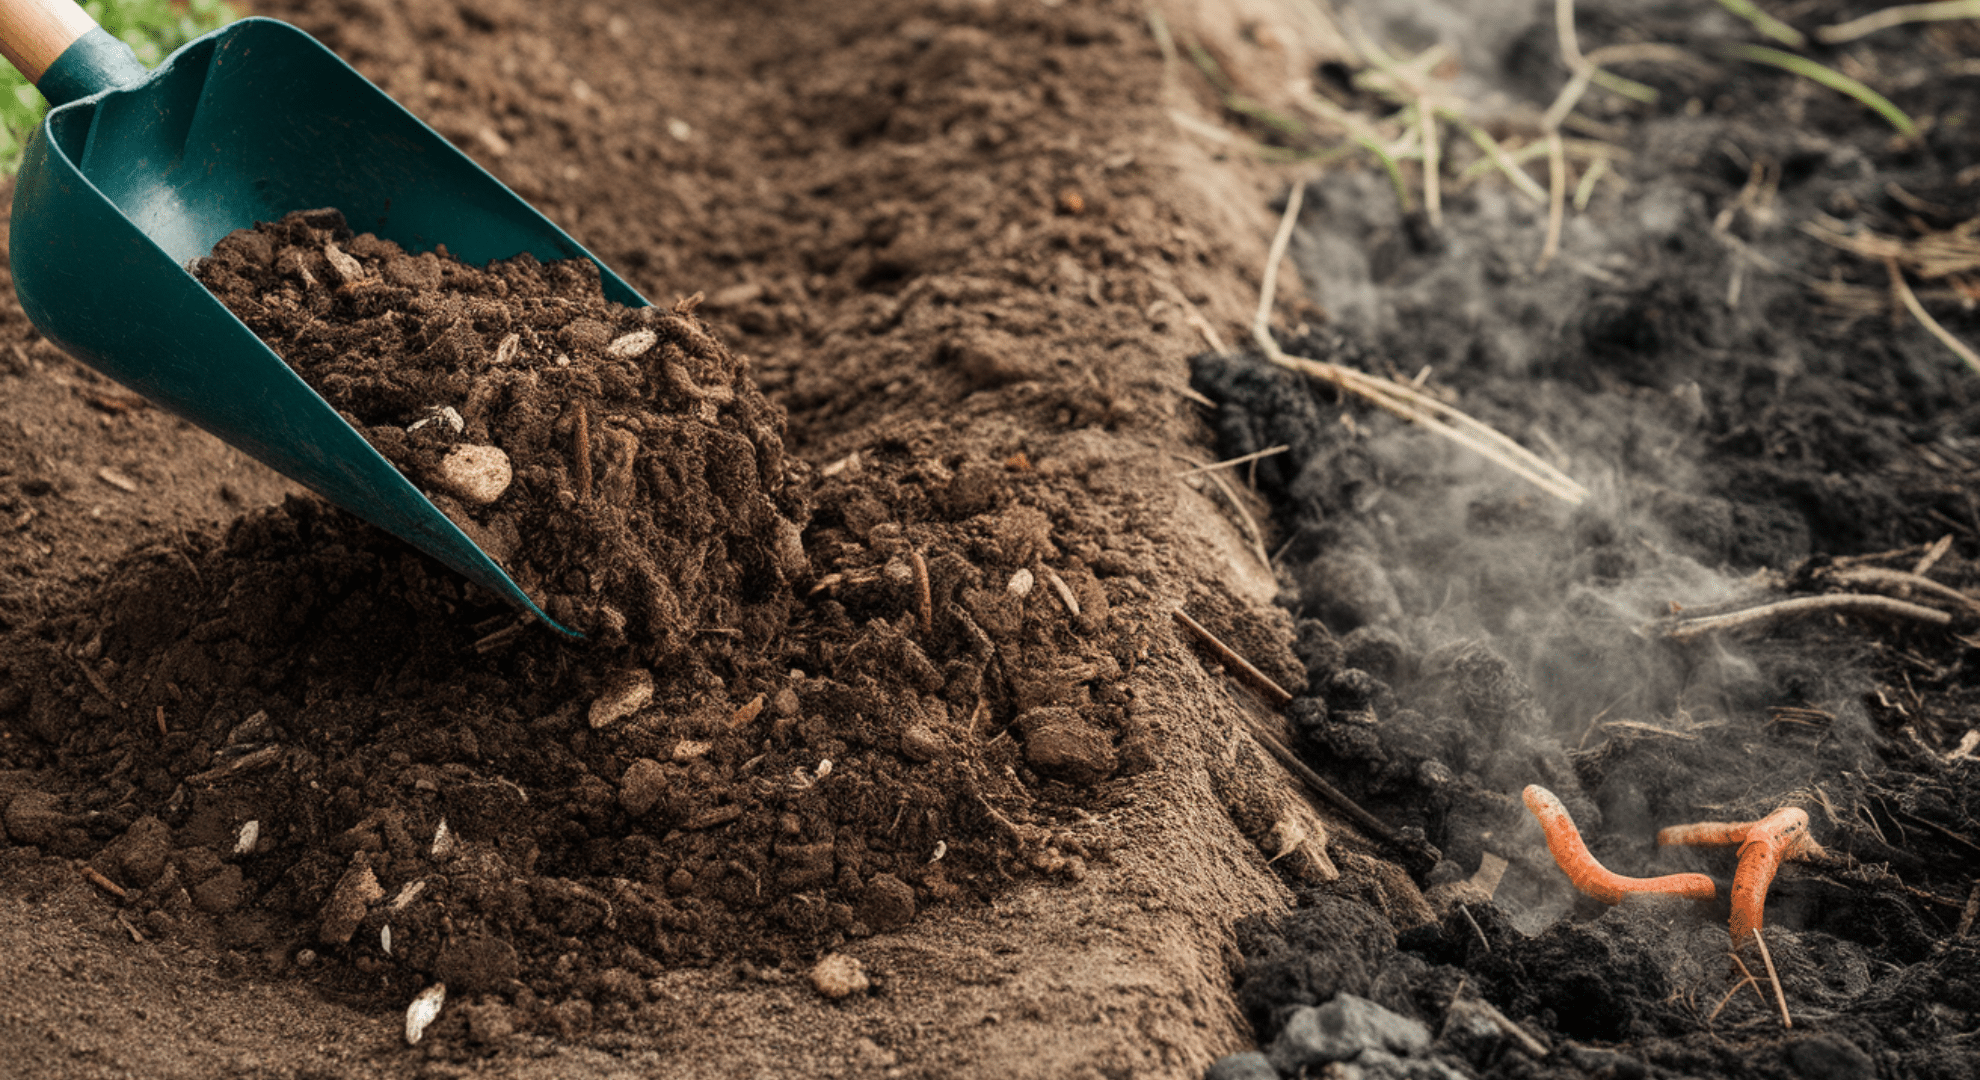
This is where the magic happens. Compost or aged manure feeds your plants with rich nutrients. Compost from your kitchen scraps or yard waste works well.
Aged manure is great too, but it must be fully rotted to avoid burning roots. This layer should be at least 4–6 inches deep so plants can pull nutrients from it as they grow.
Top Layer: Soil for Planting
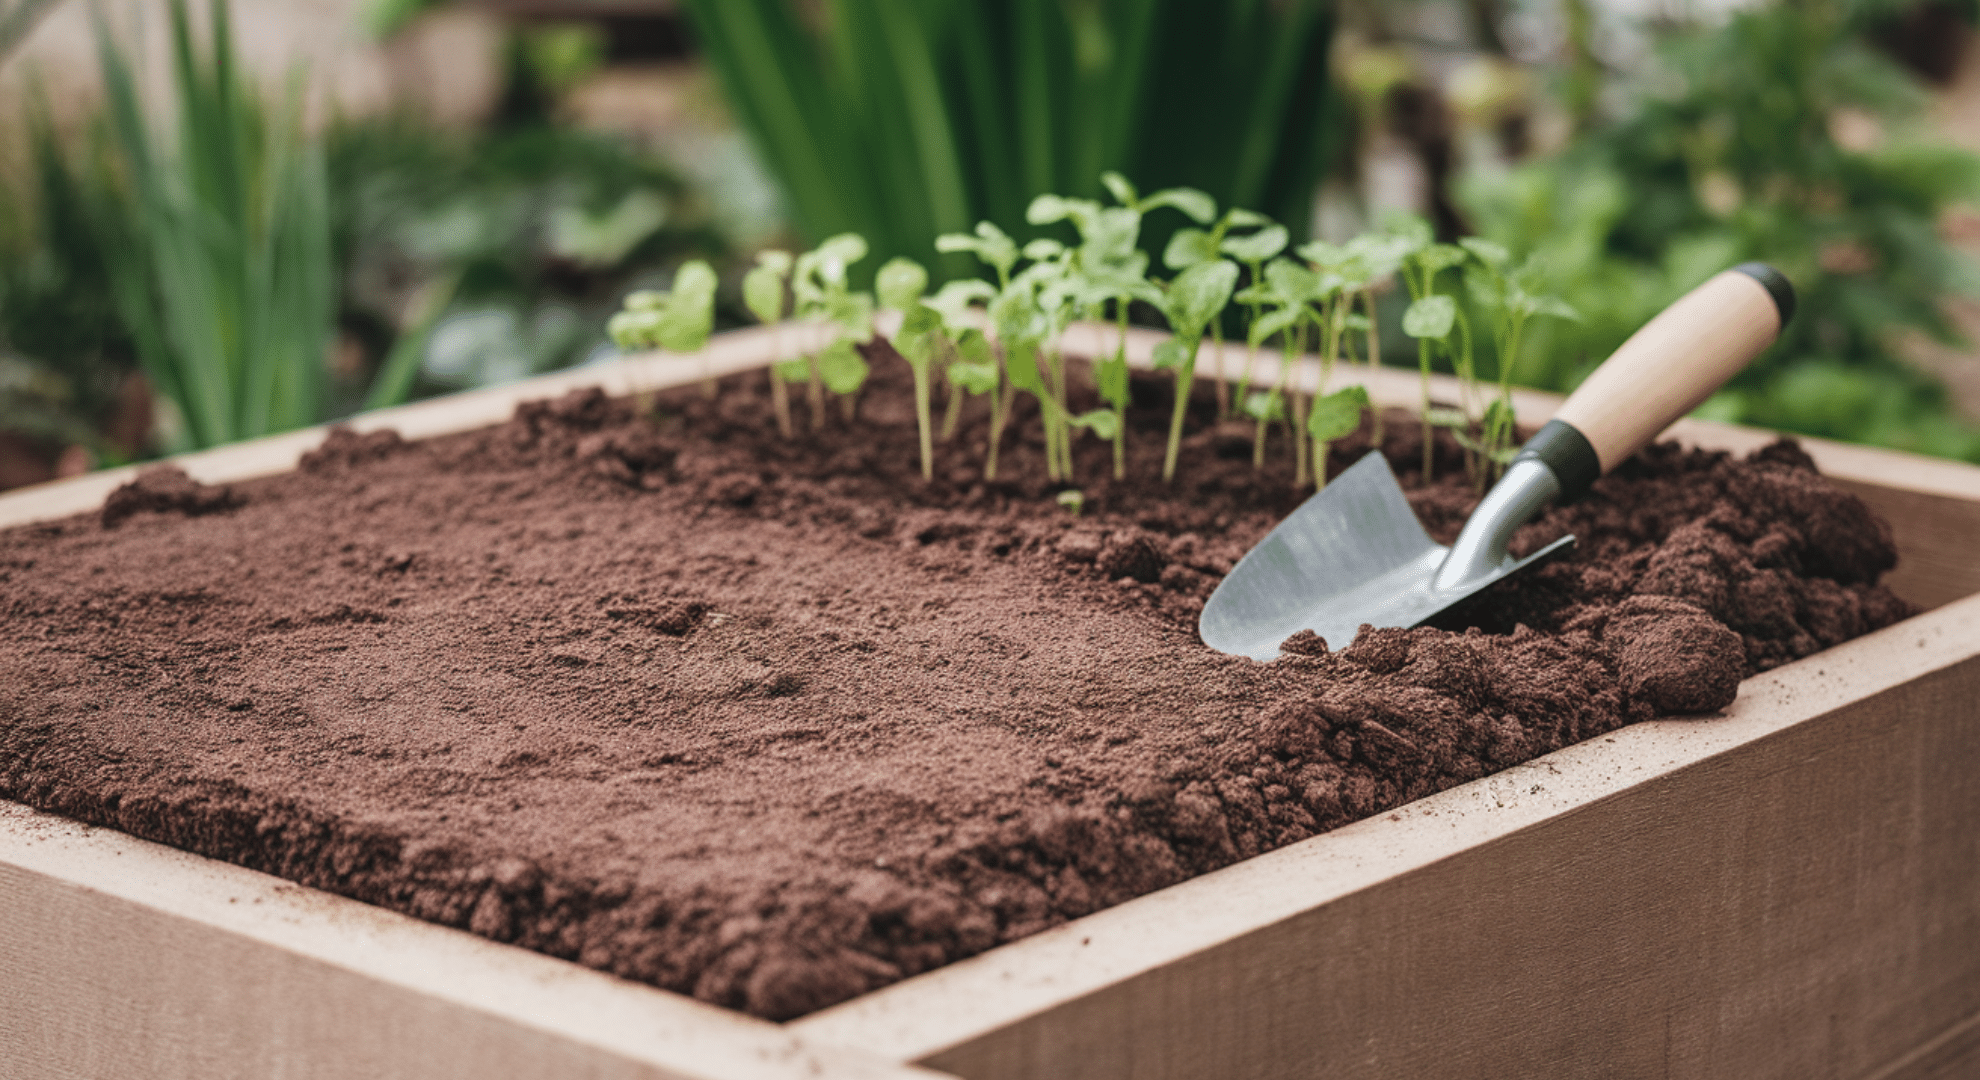
This is the layer your seeds and seedlings will grow in. It matters most because roots live here. It should be soft, rich, and deep, around 6–12 inches, depending on what you’re planting.
You can use bagged raised bed mix for ease, or make your own by blending compost, topsoil, and some sand or perlite for better texture and drainage.
How to Fill a Raised Garden Bed Based on Bed Depth
Not all raised beds need the same filling method. The depth of your bed decides how much layering you need; or if you need it at all.
Here’s how to fill a raised garden bed based on how deep it is, so you don’t waste money or hurt your plants:
Shallow Beds
With shallow beds, layering isn’t needed. There’s just not enough depth for it to work well. Instead, focus on using high-quality soil.
A mix of topsoil and compost works best: about 60% topsoil and 40% compost. Avoid adding bulky fillers like sticks or logs.
They’ll take up too much space and compete with plant roots. You want every inch of depth to count for growing. Keep it simple, rich, and loose.
Medium Beds
These beds are deep enough for layering without being too tall. A good mix is:
- 30% base fillers (sticks, twigs)
- 30% yard waste or compostable material
- 40% planting soil on top
This mix helps roots grow strong while saving some cost on soil. Make sure the top 8–10 inches is good planting soil. That’s where most roots will grow, especially for veggies like tomatoes, peppers, or greens. Balance is key, don’t pack layers too tight or leave them too loose.
Deep Beds
This is where layering really pays off. Filling the whole thing with soil would cost a lot. Instead, you can safely use big logs and thick branches at the bottom. Add a mix of leaves, grass clippings, and compost in the middle. Top it off with 10–12 inches of rich soil.
Deep beds settle more over time, especially in the first year. That’s normal. Just top off the soil as needed each season. Use dry, aged wood and avoid fresh or treated lumber. This setup keeps the bed lighter, drains well, and holds moisture deep down where roots can still reach.
Can You Plant Right After Layering a Raised Garden Bed?
Yes, you can plant right after layering a raised garden bed, but only if the top layer is fully finished and safe for roots.
Make sure the compost is aged and the topsoil is rich, loose, and at least 6–12 inches deep. If your planting layer is fresh and not too hot (from unfinished compost), planting is safe.
Some crops handle settling better, like leafy greens, herbs, radishes, and bush beans. These have shallow roots and can grow even as the bed sinks a bit in the first few weeks.
To prepare for settling, water the bed deeply after layering. This helps materials shift and settle in place before planting.
You can also slightly overfill the top layer to allow for natural drop. If needed, add more soil after a few weeks. Settling is normal and easy to manage with a little planning.
Hugelkultur vs. Simple Layering: What’s the Difference?

Both hugelkultur and simple layering use stacked organic materials to build a raised bed, but they work a bit differently. Let’s look at how each method works and which might be better for your space.
| Feature | Hugelkultur | Simple Layering |
|---|---|---|
| Main Base Material | Large logs and woody debris | Cardboard, sticks, yard waste |
| Bed Height | Usually taller (can be 2–3 feet or more) | Works with shallow to medium beds |
| Breakdown Time | Slower – logs can take years | Faster – most materials break down yearly |
| Cost | Low if you have wood available | Moderate, needs more compost and soil |
| Moisture Retention | Excellent (wood holds water well) | Good, depends on material balance |
| Best For | Large gardens, long-term beds | Small to medium home gardens |
| Challenges | Needs planning, settles a lot | Less settling, easier setup |
If you’re working with a smaller bed or want an easier setup, simple layering is the way to go. Hugelkultur can be great if you have space, time, and access to old wood.
Budget and Sustainable Layering Options
You don’t have to spend a lot to build a healthy raised garden bed. Many layering materials are free or already around your home. Using what you have keeps costs low and makes your garden more eco-friendly.
Use cardboard, dry leaves, twigs, and grass clippings from your yard. Collect coffee grounds from local cafés and ask tree services for free wood chips.
Save food scraps for compost. These simple items build strong layers without spending much.
Shredded newspaper, untreated sawdust, garden trimmings, and veggie scraps are great. Avoid weeds with seeds, meat, and dairy.
Tips for Reducing Store-Bought Soil Use:
- Fill the bottom half of tall beds with logs or sticks
- Use compost from your own pile whenever possible
- Ask neighbors or local gardeners for extra compost or soil
- Mix topsoil with homemade compost instead of buying raised bed mix
- Layer materials a few weeks early to allow settling before planting
By using free local materials and cutting back on bagged products, you can build a healthy raised bed that’s good for your plants and your wallet.
Common Raised Garden Bed Layering Mistakes to Avoid
Layering a raised garden bed can be simple, but small mistakes can lead to poor growth, drainage problems, or wasted effort. Here are the most common errors and how to avoid them.
- Do not use plastic sheets or trash bags. They trap water and block airflow.
- Avoid treated or painted wood. It can leak harmful chemicals into the soil.
- Do not add too much fresh wood. It can use up nitrogen your plants need.
- Skip thick layers of grass clippings. They clump together and start to smell.
- Do not leave out the top layer of rich soil. That is where plant roots grow.
- Avoid using only compost. It works best when mixed with soil.
- Do not pack layers too tightly. Loose soil lets air and water move better.
- Do not assume all raised beds need the same layers. Depth and surface type matter.
By watching for these issues, you can build a bed that works better and lasts longer.
Conclusion
I once filled a raised bed with just soil, thinking that was enough. A few weeks in, my plants were struggling, and I had no idea why.
That’s when I learned the value of smart layering. Building DIY raised garden bed layers changed everything. It gave my plants better roots, better growth, and fewer problems to deal with.
Now you know what works and why. You don’t need a big budget, just a clear plan and the right mix of materials. Think about your bed’s depth, use what’s already around you, and give your plants a strong start.
Keep it real, keep it simple. Want more helpful tips that actually make sense? Head over to the other blogs and keep building your garden the easy way!