I’ve fallen head over heels for my baby rubber plant, and I’m pretty sure you will too.
This charming Peperomia obtusifolia has become my go-to recommendation for anyone starting their plant collection. With its glossy, plump leaves and easygoing nature, it thrives in cozy apartments and brings life to the tiniest corners.
If you’re working with limited space or simply want a low-maintenance green companion, this little beauty delivers.
I’m here to walk you through everything: daily care rituals, propagation secrets, and troubleshooting those occasional hiccups. Let’s grow together.
What is a Baby Rubber Plant?
The baby rubber plant, scientifically known as Peperomia obtusifolia, often gets confused with its larger namesake, but they’re completely different species.
While the true rubber plant (Ficus elastica) grows into a towering tree, this petite peperomia stays compact and manageable.
Native to the rainforests of Central and South America, it naturally thrives in humid, shaded environments beneath the forest canopy.
You’ll find it labeled as pepper face or American rubber plant at nurseries. Its thick, succulent-like leaves store water beautifully, making it incredibly forgiving if you forget a watering session.
This tropical charmer brings rainforest vibes without overwhelming your space.
Baby Rubber Plant Care Basics (At a Glance)
I love how straightforward baby rubber plant care can be once you understand the basics. This plant thrives with minimal fuss, making it perfect for your first foray into indoor gardening or adding to your existing collection.
Here’s your quick-reference guide:
| Care Aspect | Requirement |
|---|---|
| Light | Bright, indirect light (tolerates medium light) |
| Water | Allow the top 1-2 inches of soil to dry between waterings |
| Soil | Well-draining potting mix with perlite or orchid bark |
| Temperature | 65-75°F (18-24°C) |
| Humidity | Average household humidity (40-50%+) |
| Growth Rate | Slow to moderate |
| Mature Size | 10-12 inches tall and wide |
The beauty of this peperomia lies in its forgiving nature. It won’t throw a tantrum if conditions aren’t absolutely perfect, and it stays beautifully compact.
Those glossy leaves will tell you everything you need to know about its happiness level.
Light Requirements for Baby Rubber Plants
Lighting can make or break your baby rubber plant’s glow-up. I’ve learned that finding that sweet spot makes all the difference in how lush and vibrant those leaves become.
Here’s what you need to know:
- Place near east or north-facing windows for ideal bright, indirect light that won’t scorch the leaves.
- Low light tolerance exists, but expect slower growth and less vibrant foliage over time.
- Pale, leggy stems signal too little light, while brown, crispy leaf edges mean too much direct sun.
- Rotate your plant a quarter turn weekly to encourage balanced, symmetrical growth on all sides.
- Sheer curtains work wonders for filtering harsh afternoon light in south or west-facing spaces.
Getting the light right sets the foundation for everything else. Once your plant settles into its perfect spot, you’ll notice those thick leaves developing that signature glossy sheen we all love.
How Often to Water a Baby Rubber Plant?
Watering my baby rubber plant has taught me that less is truly more. The key is responding to what your plant actually needs rather than sticking to a rigid schedule.
1. Finding Your Watering Rhythm
Forget the “water every X days” rule. I check my plant by sticking my finger 1-2 inches into the soil. If it feels dry at that depth, it’s time to water.
During the growing season (spring and summer), this usually means watering every 7-10 days. In winter, I stretch it to every 2-3 weeks.
Your home’s temperature, humidity, and light levels will shape your unique rhythm, so stay observant and flexible with your routine.
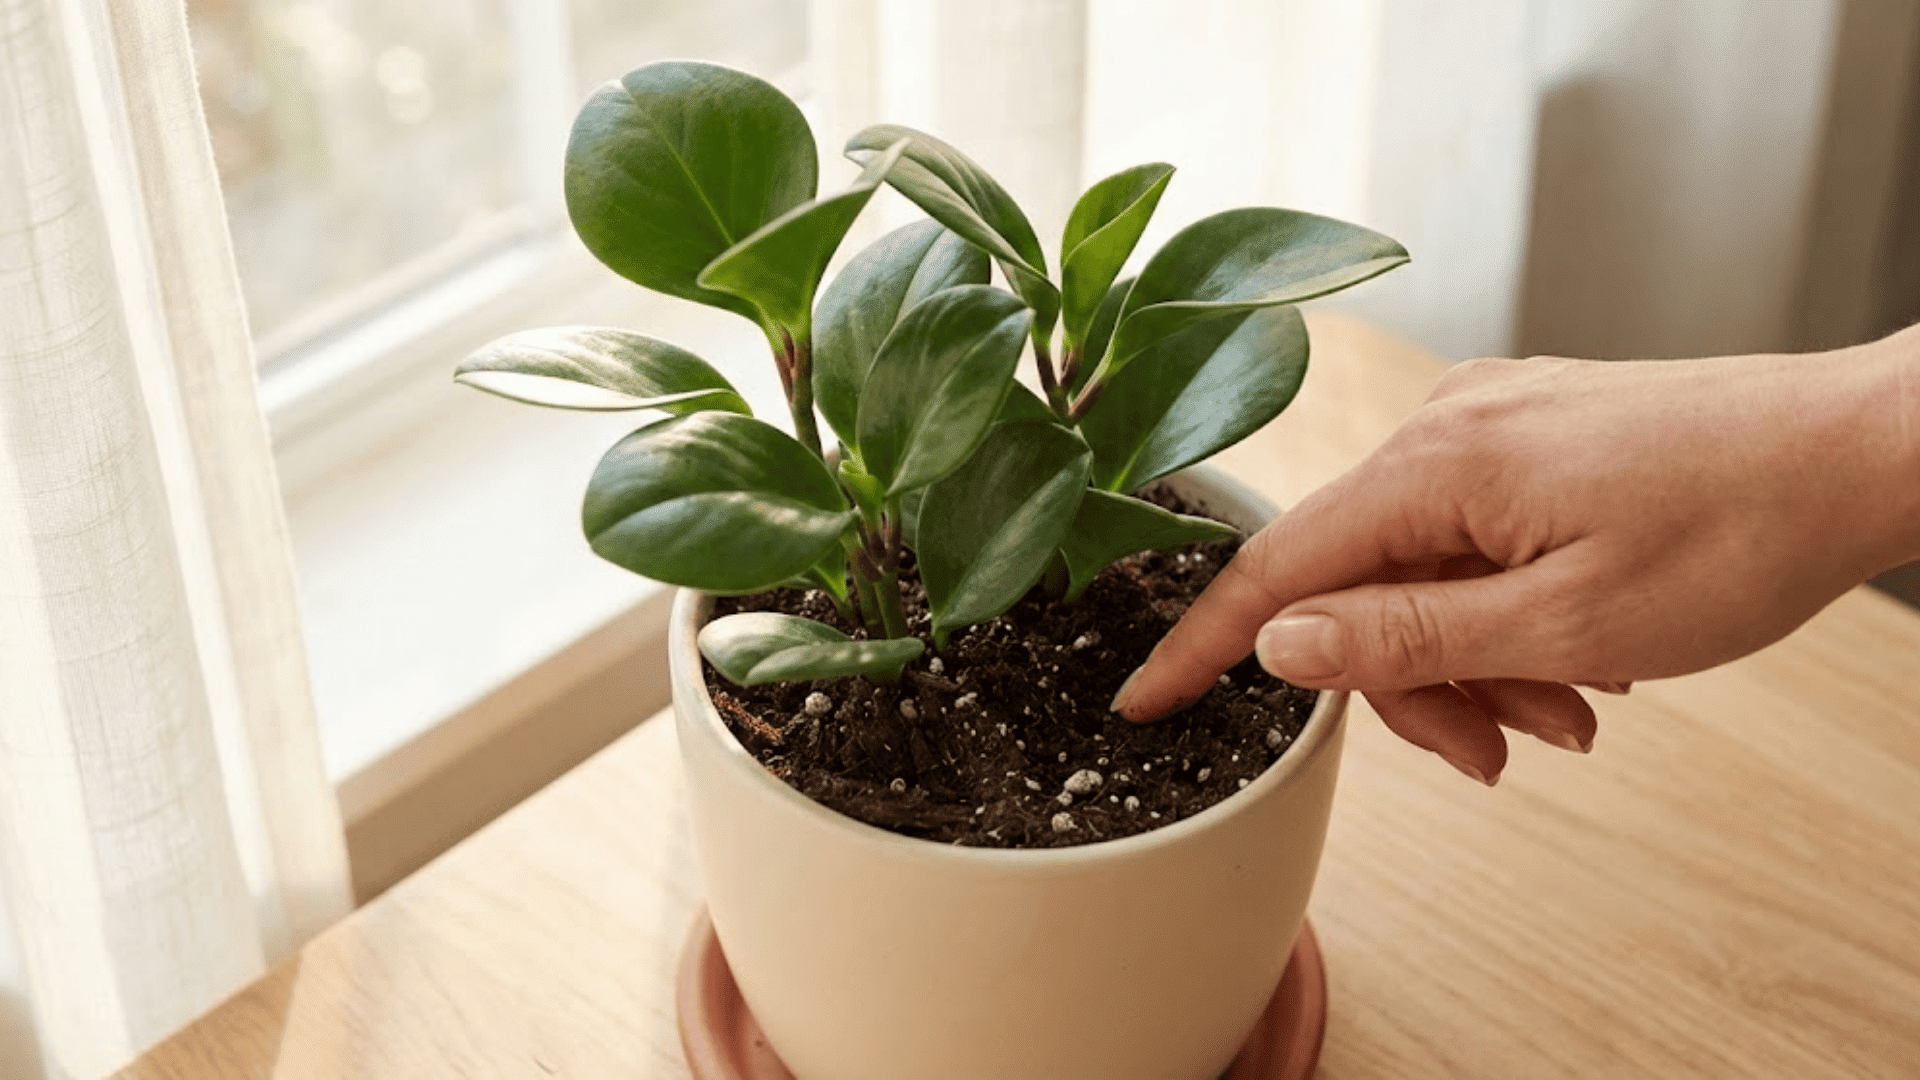
2. The Finger Test and Other Moisture Checks
The finger test remains my go-to method, but I also lift the pot to gauge weight.
A light pot signals dry soil, while a heavy one means there’s still moisture. You can also use a wooden chopstick inserted into the soil.
Pull it out after a few minutes and check for dampness. These tactile methods beat any fixed calendar schedule because they respond to your plant’s real-time needs.
3. Reading the Warning Signs
Your plant speaks through its leaves, and learning this language prevents bigger problems down the road:
- Overwatering: Yellowing leaves, mushy stems, funky soil smell, and dark water-soaked spots on foliage.
- Underwatering: Wrinkled, drooping, or curled leaves that look deflated and lack their usual plumpness.
- Recovery is possible: Baby rubber plants bounce back quickly once you correct the watering approach.
4. Adjusting for the Seasons
Different seasons call for different watering approaches, and I’ve learned to shift my habits accordingly:
| Season | Watering Frequency | Why |
|---|---|---|
| Spring/Summer | Every 7-10 days | Active growth, increased light, warmer temperatures boost water uptake |
| Fall | Every 10-14 days | Slowing growth as daylight decreases and temperatures cool down |
| Winter | Every 2-3 weeks | Dormant period with minimal growth despite dry indoor heating air |
Baby Rubber Plant Care: Best Soil & Potting Mix
The right soil mix can make all the difference for your baby rubber plant’s health. I’ve found that drainage is everything when it comes to keeping those roots happy and rot-free.
Creating the Perfect Soil Blend
Your baby rubber plant needs a mix that balances moisture retention with excellent drainage. Here’s the recipe I swear by:
| Ingredient | Ratio | Purpose |
|---|---|---|
| Potting soil | 50% | Provides nutrients and base structure |
| Perlite or pumice | 30% | Creates air pockets and improves drainage |
| Orchid bark or coco coir | 20% | Adds chunkiness and prevents compaction |
| Optional: Activated charcoal | Small handful | Keeps soil fresh and prevents odors |
This airy mix mimics the well-draining forest floor conditions these plants love in their natural habitat. Always ensure your pot has drainage holes because even perfect soil can’t save a plant sitting in trapped water.
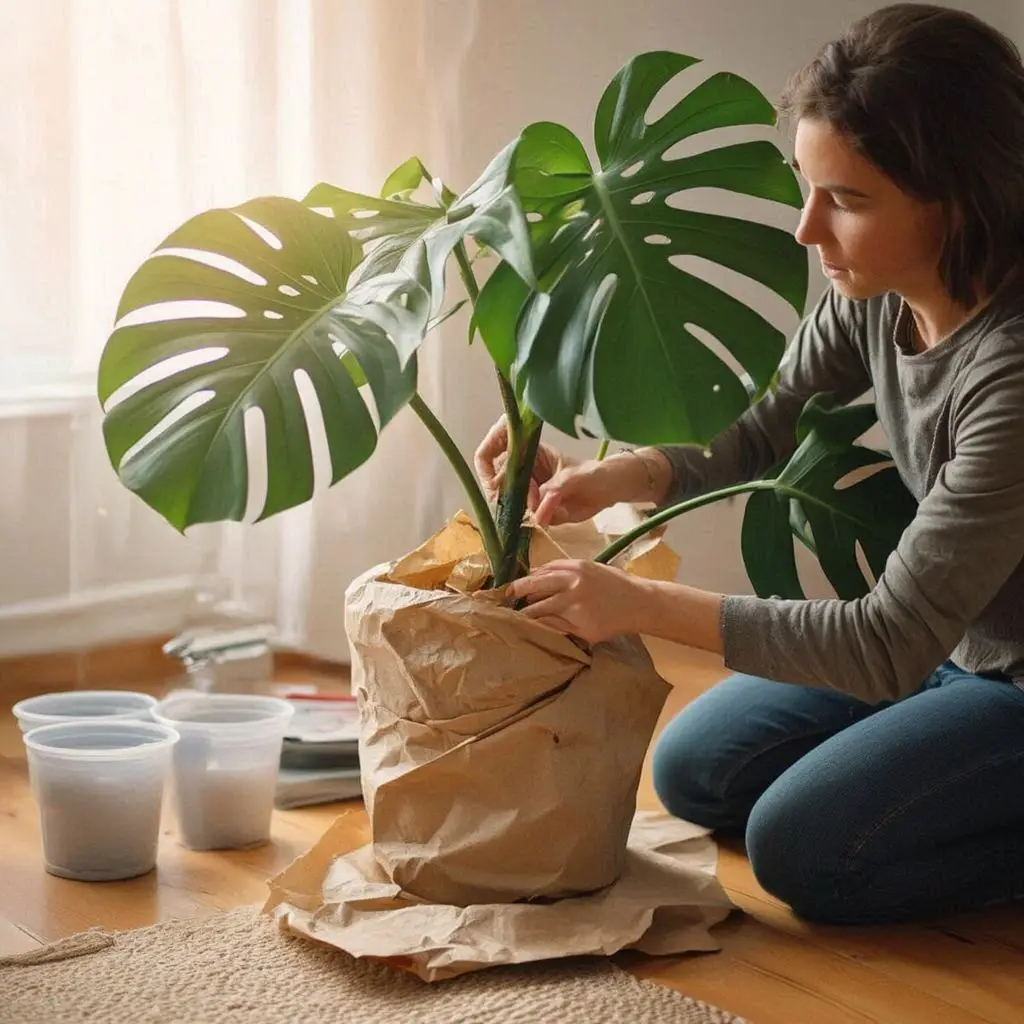
When and How to Repot
Most baby rubber plants need repotting every 2-3 years, and spring is your ideal window for this refresh:
- Step 1: Choose a pot only 1-2 inches larger than the current one to prevent overwatering risks.
- Step 2: Gently remove the plant and inspect roots for any brown, mushy sections that need trimming.
- Step 3: Add fresh soil mix to the bottom third of the new pot with drainage holes.
- Step 4: Center your plant at the same soil level as before and fill around the sides with the mix.
- Step 5: Water thoroughly and place in bright, indirect light to help it settle into its new home.
Temperature, Humidity & Placement Tips for Baby Rubber Plant
I’ve discovered that baby rubber plants are wonderfully adaptable when it comes to indoor conditions. Creating a comfortable environment doesn’t require fancy equipment or constant monitoring.
- Maintain temperatures between 65-75°F, as this tropical plant struggles below 50°F and shows stress in extreme heat.
- Average household humidity (40-50%) works perfectly, so skip the daily misting that can actually cause leaf spots.
- Bathrooms and kitchens make excellent homes due to naturally higher humidity levels and consistent warmth.
- Keep away from heating vents, air conditioners, and drafty windows that create temperature fluctuations and dry air blasts.
- Group plants together for a humidity boost as they create their own microclimate through collective transpiration.
The beauty of this peperomia is its easygoing nature. It thrives in the same conditions you find comfortable, making placement simple and stress-free.
Fertilizing a Baby Rubber Plant
I treat fertilizing as a light seasonal boost rather than a necessity. Baby rubber plants are slow growers that don’t demand heavy feeding, so less truly is more here.
During spring and summer, I use a balanced liquid fertilizer diluted to half strength once a month. A 10-10-10 or 20-20-20 formula works beautifully. Come fall and winter, I stop completely since the plant enters its rest period and can’t process extra nutrients.
Watch for these over-fertilization red flags:
- White crusty buildup on the soil surface or pot rim
- Brown, crispy leaf tips and edges that spread inward
- Stunted growth despite proper care conditions
- Wilting leaves even when soil moisture is adequate
If you spot these signs, flush the soil with water and skip fertilizing for several months.
How to Propagate a Baby Rubber Plant?

Propagating my baby rubber plant has been one of my most rewarding plant experiences. Watching those tiny roots develop feels like pure magic, and it’s surprisingly straightforward once you know the technique.
1. Stem Cutting Propagation (Most Reliable)
Stem cuttings give you the best success rate and fastest results. I’ve propagated dozens this way with consistent results:
- Step 1: Cut a 3-4 inch stem section below a leaf node using clean, sharp scissors or pruning shears
- Step 2: Remove the bottom leaves, keeping only 2-3 leaves at the top of your cutting
- Step 3: Place in water (changing weekly) or directly into moist, well-draining soil mix
- Step 4: Keep in bright, indirect light and maintain consistent warmth around 70-75°F
- Step 5: Expect roots in 3-4 weeks for water propagation, 4-6 weeks for soil propagation
Water propagation lets you watch the roots develop, which I find incredibly satisfying. Soil propagation skips the transplant shock but requires more faith since you can’t see progress. Both methods work beautifully.
2. Leaf Cutting Propagation
Leaf propagation is trickier and slower, but it’s possible if you’re patient.
Here’s what I’ve learned:
| Aspect | Details |
|---|---|
| Success Rate | Lower than stem cuttings, more experimental |
| Method | Cut a healthy leaf with the petiole attached, and insert the stem into the soil |
| Timeline | 6-8 weeks or longer for any visible growth |
| Common Mistake | Cutting the leaf without enough petiole (stem) attached |
| Another Mistake | Keeping the soil too wet, causing rot before roots form |
| Best Practice | Use hormone rooting powder to boost success chances |
Honestly, I stick with stem cuttings since they’re so much more reliable. Leaf propagation can be fun to experiment with, but don’t expect the same success rate.
3. Aftercare for New Cuttings
Once those roots reach 1-2 inches long, your cutting is ready for its permanent home.
Plant in the same well-draining soil mix you’d use for mature plants. Keep the soil consistently moist (not soggy) for the first few weeks as roots establish.
Bright, indirect light remains essential, but avoid direct sun that could stress the developing plant. Within a few months, you’ll notice new leaf growth signaling your propagation success.
Baby Rubber Plant Care: Pruning & Maintenance
Pruning keeps my baby rubber plant looking full and healthy. I view it as a gentle shaping session rather than a major overhaul, and the plant rewards this attention with bushier growth.
- Prune in spring or early summer when active growth allows the plant to recover and fill in quickly.
- Pinch or cut just above a leaf node to encourage branching and create that full, compact appearance.
- Remove yellowed, damaged, or leggy stems at their base to redirect energy toward healthy foliage.
- Wipe leaves monthly with a damp cloth to remove dust that blocks light absorption and photosynthesis.
- Use your pruned cuttings for propagation instead of tossing them, giving you free baby plants.
The more you prune strategically, the bushier your plant becomes. Those glossy leaves also look their absolute best when kept clean and dust-free, so don’t skip that quick wipe-down.
Common Baby Rubber Plant Problems (and Solutions)
Even the easiest plants throw us curveballs sometimes. I’ve encountered most of these issues myself, and the good news is they’re all fixable with quick adjustments.
Problem 1: Yellowing Leaves
Overwatering is the usual culprit here. Let the soil dry out completely before watering again, and check that your pot has proper drainage holes to prevent water from sitting at the bottom.
Problem 2: Drooping or Soft Stems
This signals severe overwatering and possible root rot. Remove the plant, trim any mushy brown roots, repot in fresh soil, and reduce your watering frequency going forward.
Problem 3: Pests (Mealybugs, Spider Mites)
Isolate your plant immediately and wipe leaves with rubbing alcohol on a cotton swab. For heavier infestations, spray with neem oil or insecticidal soap weekly until pests disappear completely.
Problem 4: Leaf Drop
Sudden environmental changes or underwatering cause leaves to fall. Maintain consistent conditions and check soil moisture more frequently, ensuring you’re watering when the top few inches feel dry.
Is the Baby Rubber Plant Toxic?
I always breathe easier knowing my baby rubber plant is non-toxic to cats, dogs, and humans.
This makes it one of the safest houseplants you can bring into your home, especially if you have curious pets or little ones who like to explore.
While it won’t cause serious harm if nibbled, ingestion might still cause mild stomach upset or irritation in some pets.
I keep mine on shelves or plant stands, not because it’s dangerous, but because those thick leaves can be tempting chew toys. The peace of mind this plant offers is honestly one of its best features.
Final Thoughts
Taking care of your baby rubber plant doesn’t have to be complicated or stressful. I’ve shared everything I wish I’d known when I started, and now you have all the tools to help yours thrive beautifully.
Those glossy leaves will reward your gentle attention with steady growth and that signature lush appearance we all love.
Remember, baby rubber plant care is really about observation and responding to what your plant tells you.
I’d love to hear about your experiences in the comments below. What’s been your biggest challenge or favorite discovery with this delightful peperomia?