
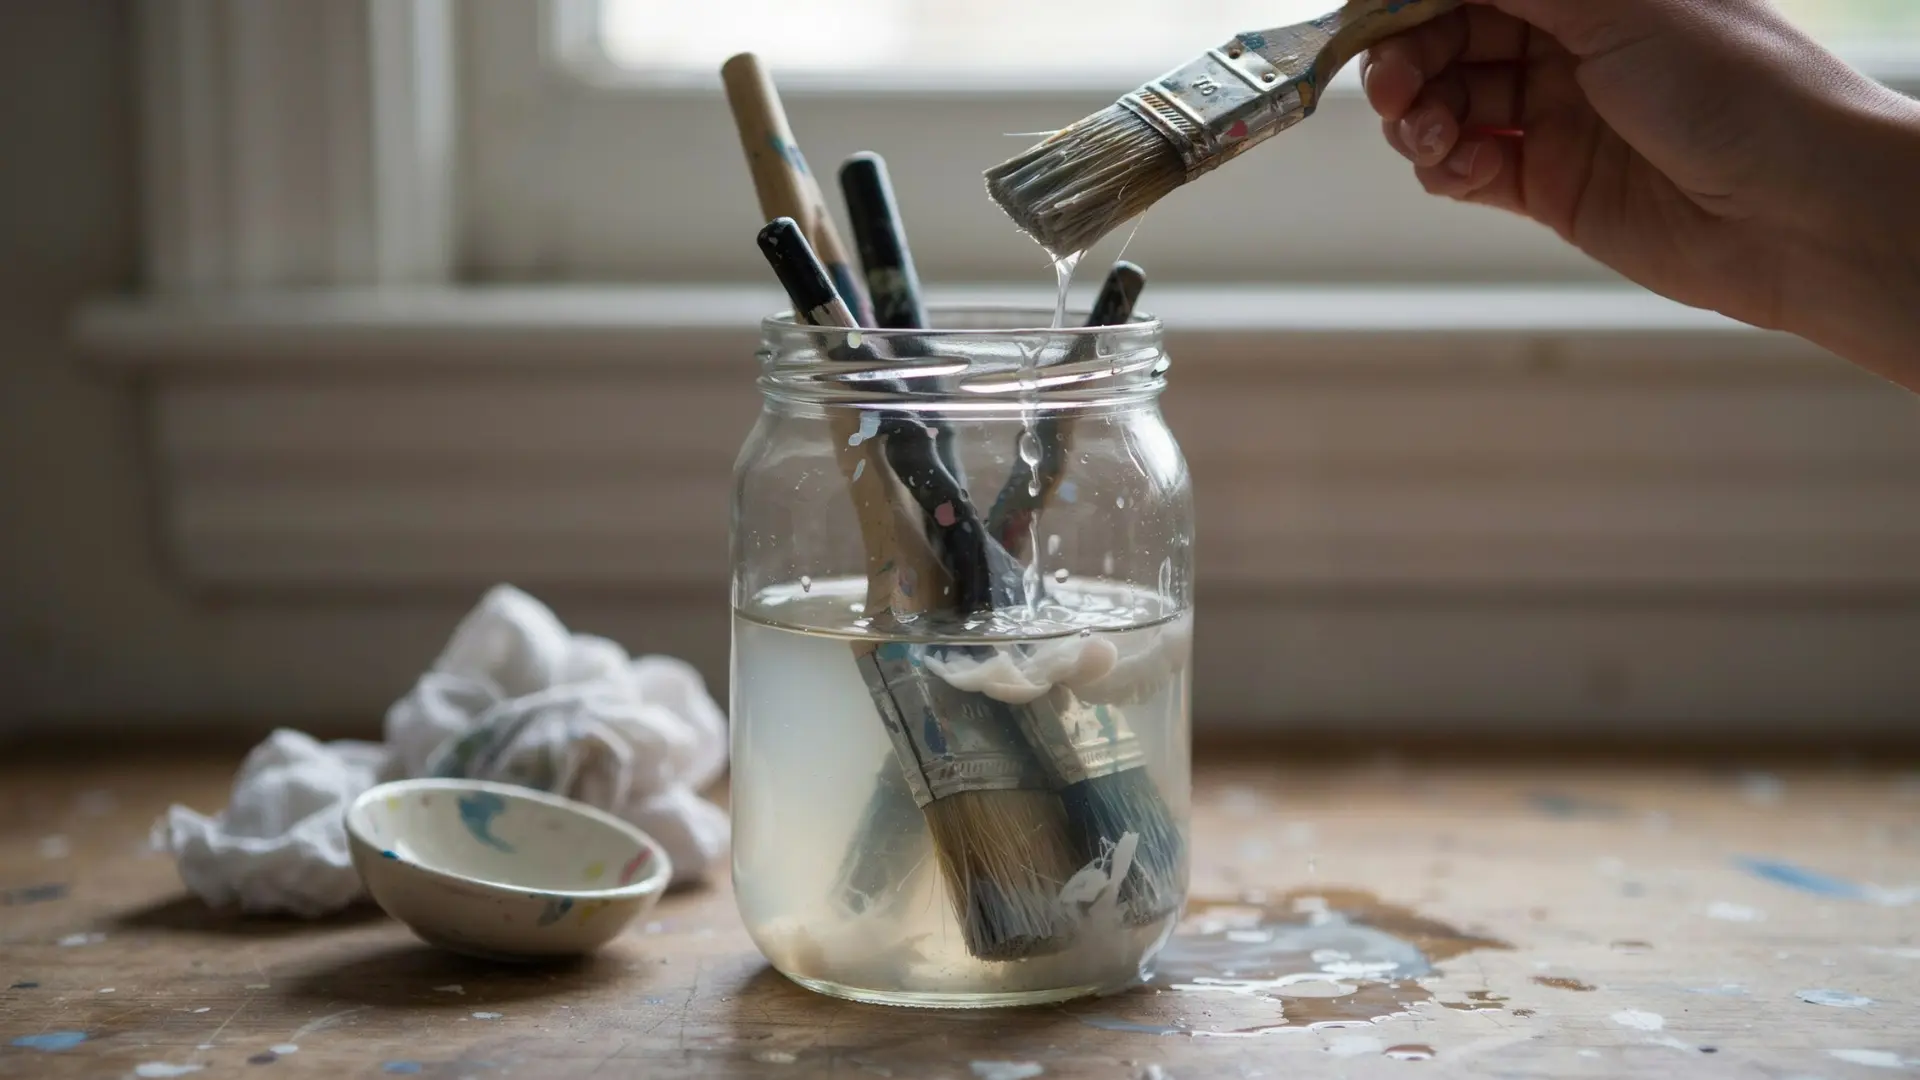
A dried paint brush is easy to fix once you know what to do. Learning how to clean paint brushes the right way makes all the difference.
Dried paint clings to bristles fast, especially near the base. A few household items and a little patience can bring a brush back to life.
I have cleaned brushes that looked stiff and unusable. The trick lies in matching the cleaning method to the paint type. Latex, acrylic, and oil paints all behave differently once they dry.
With the right method, a hard brush softens quickly.
Why Do Paint Brushes Become Hard and Stiff?
Wet paint stays soft only while it touches air in a thin, open layer. Once a brush sits unused, paint clings to each bristle and starts to dry.
Air reaches the paint from every side, so it hardens fast between the bristles too. This dried paint acts like glue, holding bristles together in clumps.
The brush loses its soft, bendy feel almost right away. Bristles that once moved apart now stick in one stiff shape.
Paint left near the base of the bristles causes the worst damage, since that spot rarely gets cleaned well. Over time, this buildup makes the brush stiff, brittle, and hard to use again.
Identify the Paint Type Before Cleaning Your Brush
Every paint type dries at its own pace. This matters most on bigger jobs, like refreshing an accent brick wall. Here are the differences to know:
| Paint Type | Why It Behaves This Way | Reaction to Air | Ideal Timing |
|---|---|---|---|
| Water-Based or Latex Paint | Mixes easily with water, so it stays soft longer. | Thickens slowly, then hardens with continued air exposure. | Address while still wet and workable. |
| Acrylic Paint | Contains plastic-like binders that harden fast in air. | Forms a firm, rubbery layer within minutes. | Address within minutes, before it sets. |
| Oil-Based Paint | Relies on slow-evaporating oils, so it stays workable longer. | Dries gradually into a sticky film before hardening. | Address before the oils fully evaporate. |
Understanding these patterns makes brush care much easier. A little awareness goes a long way toward keeping bristles soft and usable.
How to Clean Dried Paint Brushes: Methods to Try
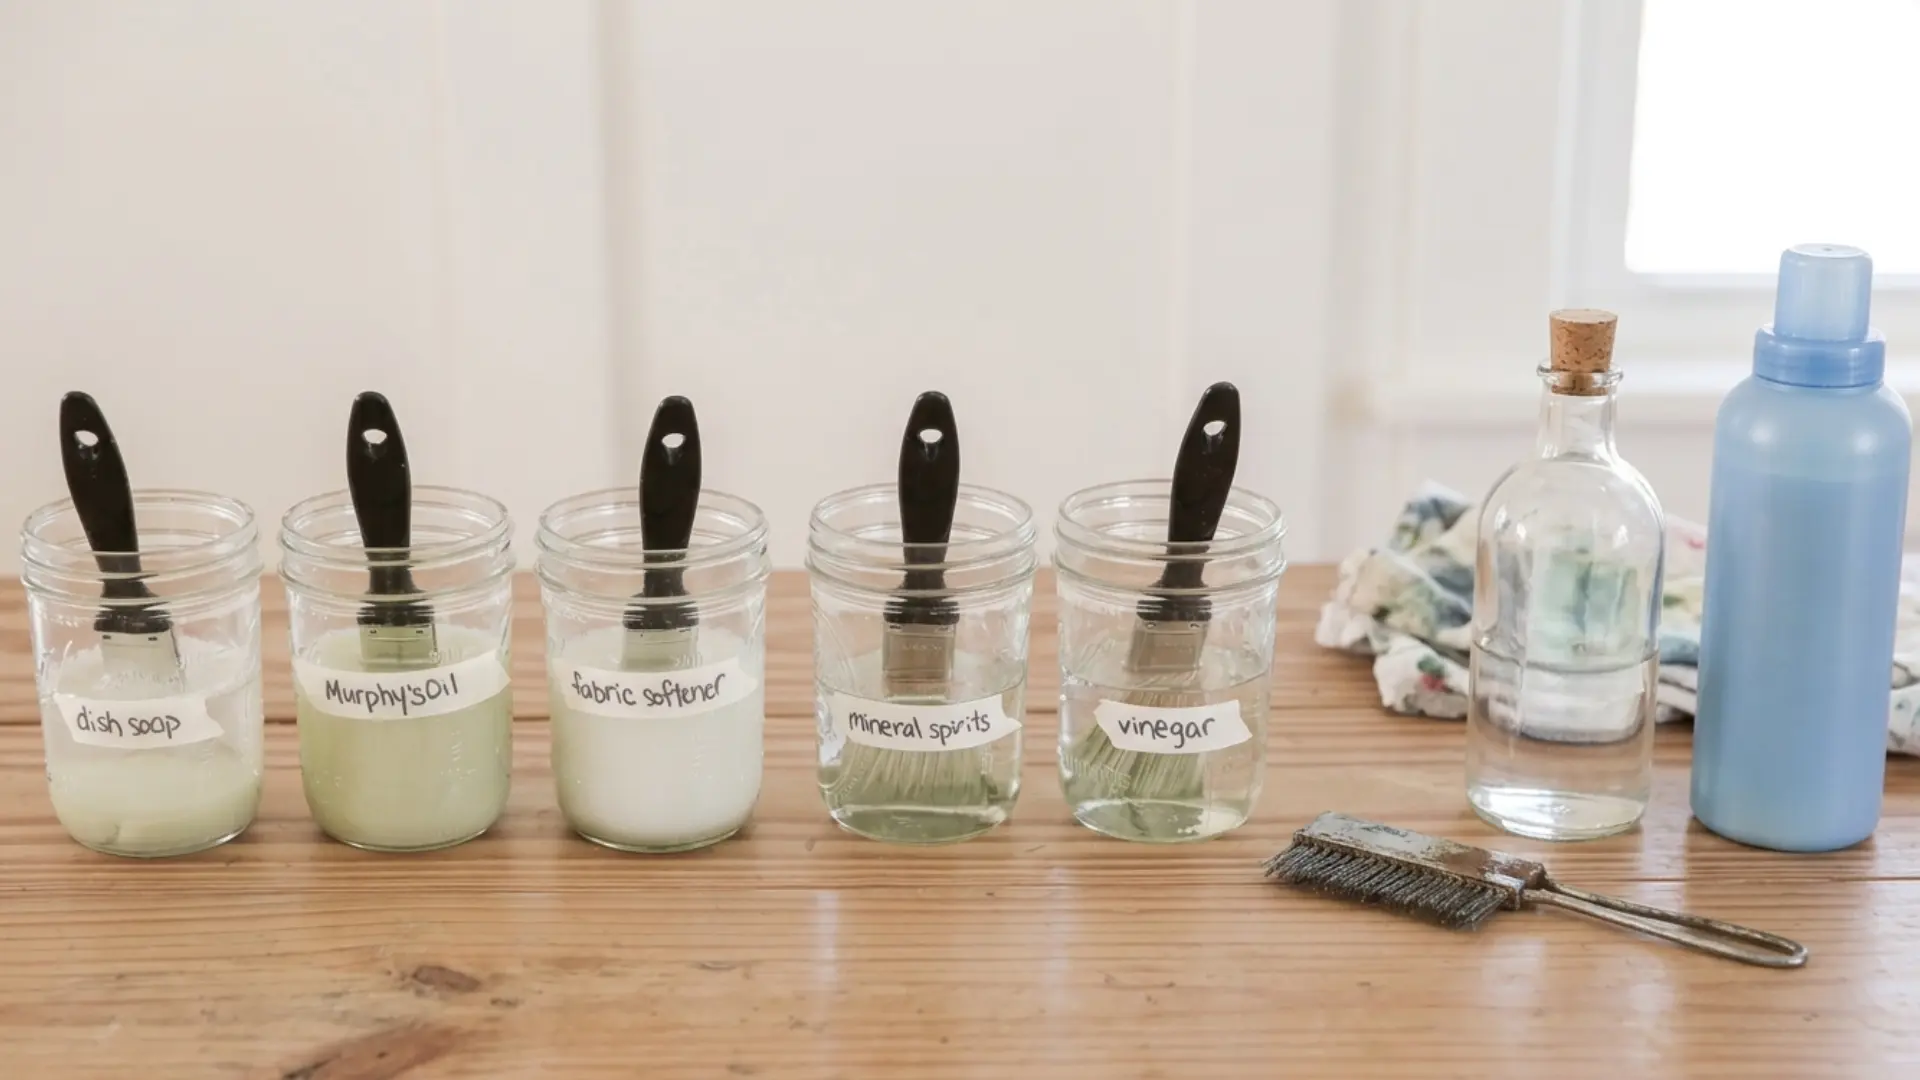
I’ve tried more than a few methods over the years to bring stiff brushes back to life. Here are 9 that have actually worked for me, depending on the paint and brush type:
1. Soak the Brush in White Vinegar
Warm vinegar works well on dried water-based or latex paint. Heat softens the paint and loosens its grip on the bristles.
This is actually the first method I try, since it costs little and uses items found in most kitchens. It works best on paint that has not fully cured for months.
Bristles often need gentle combing after the soak to fully separate. This option suits people who want a mild, low-cost first attempt.
How to do it:
- Warm white vinegar on the stove or in the microwave.
- Pour the warm vinegar into a small container.
- Soak the brush bristles for fifteen to twenty minutes.
- Gently comb the bristles to remove loosened paint.
2. Use a Commercial Paint Brush Restorer
A brush restorer is built for one job: breaking down paint that will not budge. These products often work faster than home remedies on badly hardened brushes.
They suit brushes with paint buildup near the base, where damage runs deepest. Most restorers come with clear directions for soak time and rinsing.
This option fits anyone ready to invest a bit more for reliable results. Always check the label for the brush materials it supports.
How to Do It:
- Pour the restorer into a container per the label directions.
- Submerge the bristles fully without soaking the handle.
- Let the brush sit for the time listed on the label.
- Rinse the brush and reshape the bristles by hand.
Safety Note: Mineral spirits, thinner, alcohol, and acetone are flammable. Use ventilation, gloves, and follow label directions closely.
3. Clean With Mineral Spirits
Mineral spirits target dried oil-based paint that resists water and soap. The solvent breaks the bond between paint and bristle fibers.
This is the method that saved a favorite brush of mine after soap alone failed. Proper ventilation matters since mineral spirits carry strong fumes.
Disposal should follow local guidelines, since the runoff counts as hazardous waste. This option works best for brushes with natural or oil-safe bristles.
How to Do It:
- Pour mineral spirits into a glass or metal container.
- Dip the bristles and swirl them for several minutes.
- Wipe away the softened paint with a clean cloth.
- Rinse the brush and let it dry fully.
4. Use Denatured Alcohol
Denatured alcohol works on certain shellac-based coatings that other cleaners cannot touch. It breaks down the resin structure that holds the coating together.
This method works for brushes used on shellac finishes or similar specialty products. Check the brush material first to avoid damaging synthetic fibers.
Denatured alcohol evaporates quickly, so work in a ventilated space. Reserve this option for shellac-specific cleanup jobs.
How to Do It:
- Pour denatured alcohol into a small, shallow container.
- Soak the bristles for a few minutes at a time.
- Work the alcohol through with light finger pressure.
- Rinse the brush and reshape the bristles.
5. Soak in a Compatible Paint Thinner
Paint thinner suits dried oil-based or solvent-based paint that has fully set. The solvent breaks the paint down layer by layer inside the bristles.
This method takes patience, since heavy buildup may need a longer soak. Avoid fully submerging brushes with wooden handles to prevent swelling.
This option fits brushes used regularly for oil-based coatings. Matching the thinner to the original paint improves the results.
How to Do It:
- Fill a container with the recommended paint thinner.
- Soak the bristles, keeping the handle above the liquid.
- Check the brush every ten minutes for softening progress.
- Rinse thoroughly once the paint loosens completely.
6. Use Acetone for Compatible Paint and Brushes
Acetone handles some of the toughest dried coatings, including certain lacquers. Its strength makes it effective, but also risky for delicate bristle types.
This is the one I reach for only after every other cleaner has failed me. Testing a small section first helps confirm the bristles can handle it.
Gloves and ventilation matter, since acetone produces strong fumes. Use this option sparingly and only when other cleaners fail.
How to Do It:
- Test a small section of bristles for acetone compatibility.
- Pour acetone into a glass or metal container.
- Soak the bristles briefly, checking often for softening.
- Rinse the brush right away once paint loosens.
7. Use a Citrus-Based Solvent Cleaner
Citrus-based cleaners offer a gentler option compared to harsher chemical solvents. Natural oils in the formula help break down certain dried coatings over time.
This method suits people who prefer fewer strong fumes in their workspace. Results may take longer compared to stronger solvents like acetone.
This option works well for brushes with light to moderate paint buildup. Checking label compatibility with the coating type still matters.
How to Do It:
- Pour the citrus-based cleaner into a small container.
- Soak the bristles for the time listed on the label.
- Work the cleaner through the bristles with your fingers.
- Rinse the brush thoroughly with warm water.
8. Soften With Fabric Softener
Fabric softener works well for water-based and acrylic paint, making it a solid pick alongside vinegar. It coats the bristles and breaks down binders without any sharp solvent smell.
Bristles come out noticeably softer than with vinegar, which suits brushes used often. It will not touch oil-based or shellac coatings, so save it for latex and acrylic jobs only.
How to do it:
- Mix fabric softener and warm water at roughly a 1:32 ratio (about 2 tablespoons of softener per half gallon of water).
- Swirl the brush in the mixture until paint starts loosening and sinking to the bottom.
- Rinse the bristles under warm water and wipe with a paper towel.
- Reshape the bristles and let the brush dry flat.
9. Use a Brush Spinner and Comb After Chemical Softening
This method combines chemical softening with mechanical cleaning for stubborn cases. A spinner uses quick rotation to fling loosened paint from the bristles.
This combination became my go-to once soaking alone stopped doing the job. This approach suits brushes with heavy paint buildup near the base.
This option restores shape and flexibility to badly damaged brushes.
How to Do It:
- First, soften the dried paint with a compatible solvent.
- Securely attach the brush to a spinner tool.
- Spin the brush over a bucket to remove residue.
- Gently comb the bristles to finish separating them.
How to Clean Paint From the Ferrule and Handle?
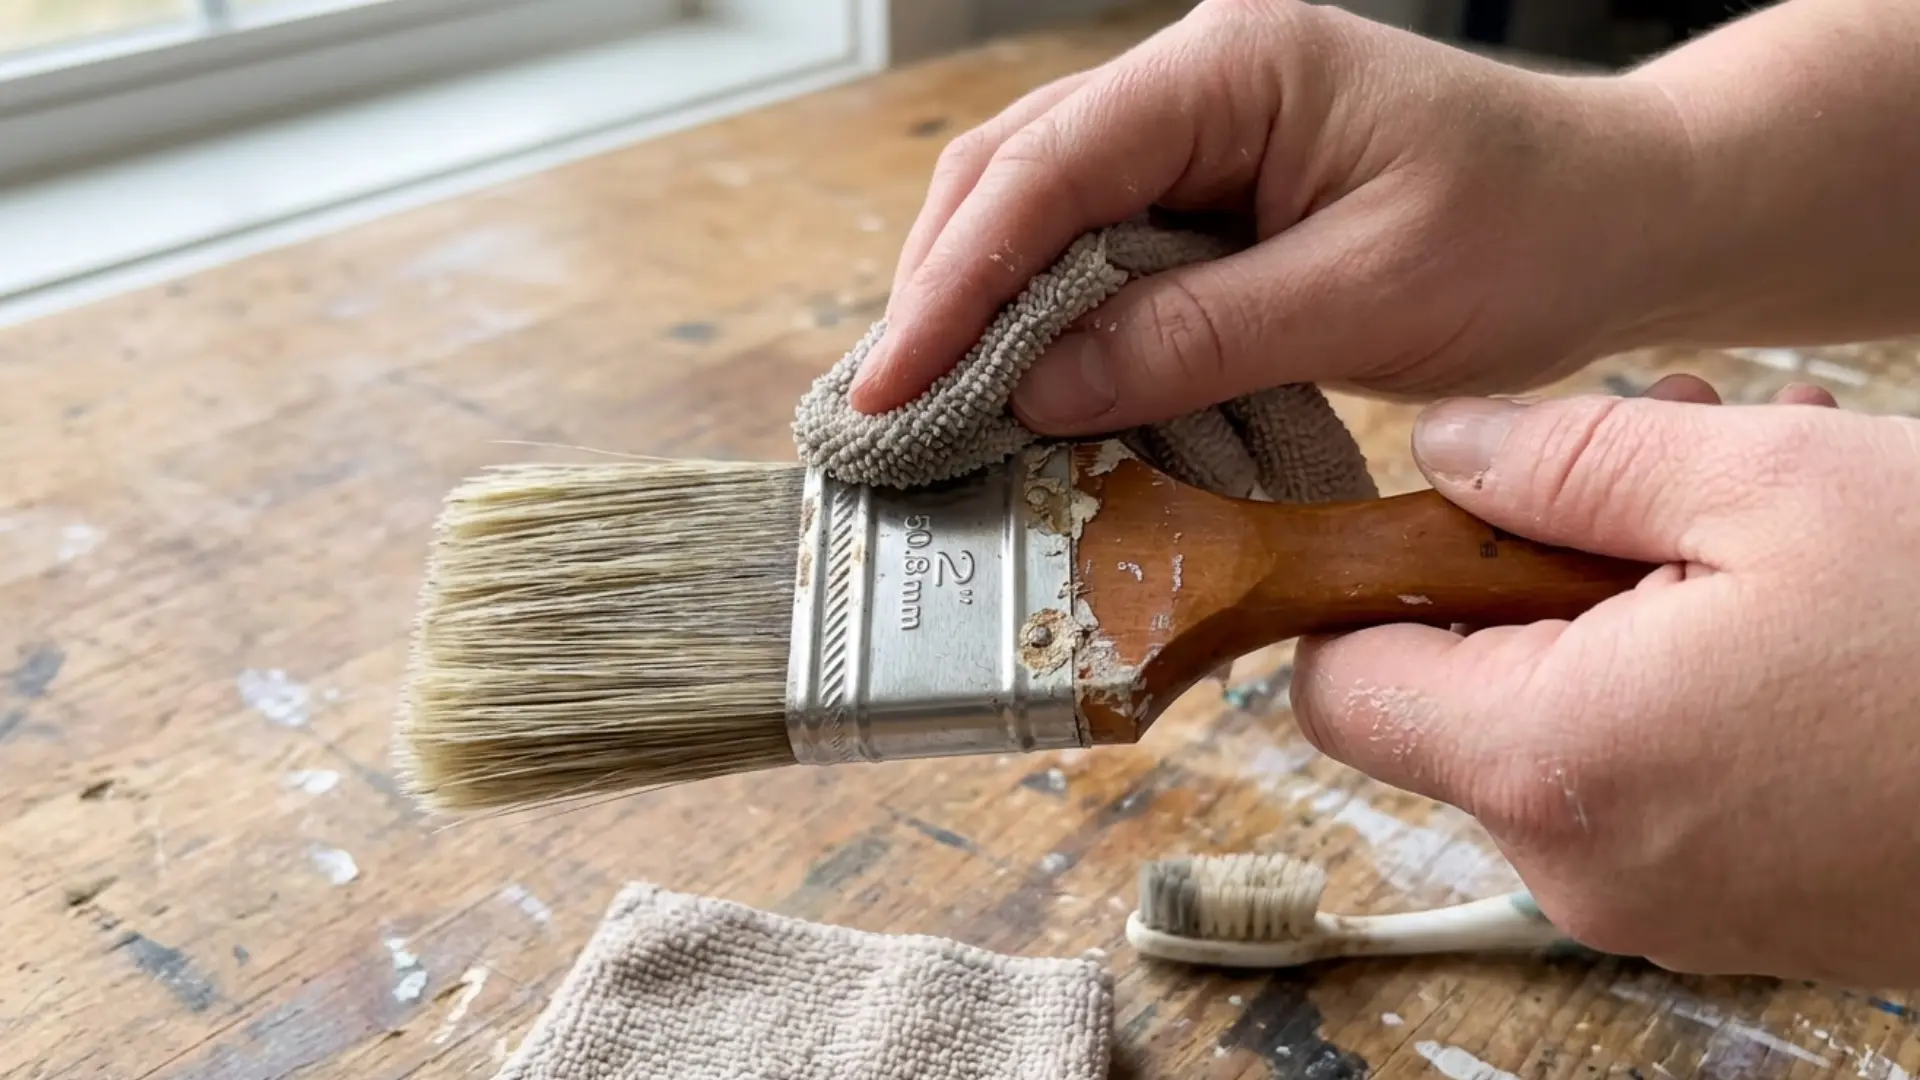
The ferrule and handle need just as much care as the bristles. A few careful steps keep both parts in good shape for years:
- Step 1: Carefully remove paint buildup around the ferrule, since dried paint here restricts bristle movement the most.
- Step 2: Wipe paint from handles before it hardens, using a damp cloth for quick, easy removal.
- Step 3: Avoid soaking wooden handles for extended periods, since trapped moisture causes swelling, cracking, and loose ferrules.
- Step 4: Remove trapped paint near the base of the bristles without aggressively pulling them, to protect their shape.
- Step 5: Check the ferrule for cracks or looseness after cleaning, since minor issues turn serious over time.
Cleaning these areas takes only a few extra minutes each time. That small effort keeps brushes working well and lasting much longer.
How to Dry and Store Paint Brushes Properly?
Paint brushes last longer when stored the right way after cleaning. Bristles keep their shape better when they are not left to bend or dry flat in a tight space.
Here are a few ways to store paint brushes properly:
| Storage Method | How It Works | Best For |
|---|---|---|
| Hanging storage | Hang brushes by a hole in the handle on a hook or rack | Keeping bristles untouched and fully visible |
| Flat storage | Lay brushes flat in a drawer or tray | Brushes without a hanging hole |
| Brush roll or wrap | Slide brushes into fabric or canvas pockets and roll up | Protecting bristles during travel or transport |
| Original packaging | Return brushes to their factory sleeve or box | Short-term storage between projects |
| Upright in a container | Stand brushes bristle-side up in a jar or holder | Quick access to frequently used brushes |
| Toolbox or drawer organizer | Store brushes in labeled compartments | Keeping a full brush set organized by size |
A little care after each project keeps my brushes ready for the next job. I’ve also found that picking the right storage spot helps mine hold their shape for years.
How to Care for Paint Brushes After Cleaning?
Short breaks during a project can still damage a brush if you leave it exposed. A few simple habits, ones I now follow without thinking, keep bristles soft while the work is still in progress:
- Cover brushes during short painting breaks to block air from reaching the bristles.
- Avoid leaving brushes exposed to air, since even brief exposure starts the drying process.
- Do not leave brushes sitting unnecessarily in paint, since this causes paint to creep upward.
- Prevent paint buildup near the ferrule, where dried paint causes the most lasting damage.
- Clean brushes promptly after finishing the project, before any paint has a chance to harden.
These small habits take little time but protect a brush for the long run. Following them consistently keeps every brush ready for the next project.
When Is a Paint Brush Too Damaged to Save?
Some brushes just reach the end of the road. Bristles that stay stiff and hard even after soaking are usually done for good.
Bristles that spread out or bend to one side will not lie flat again. A brush that keeps shedding bristles will leave loose hairs in your paint.
A loose or wobbly ferrule means the brush cannot hold its shape while you work.
Paint that hardens deep inside the base is nearly impossible to clean out. If a brush still paints unevenly after a good cleaning, it may be time to let it go.
Trying to save it further just wastes time and paint.
Frequently Asked Questions (FAQs)
How Long Can a Wet Brush Sit Before Real Damage Starts?
Most brushes start hardening within thirty minutes to an hour, depending on paint type. Acrylic hardens fastest, while oil-based paint allows a little more time.
Is It Safe to Store Brushes Standing Bristle-down in Water?
Leaving bristles standing in water for long periods can permanently bend their shape. Brushes should rest flat or hang so no pressure sits on the tips.
Can a Hair Dryer or Heater Speed up Brush Drying After Cleaning?
Direct heat can warp bristles and loosen the glue near the ferrule. Instead, brushes should air-dry naturally in a flat or hanging position.
Closing Thoughts
Cleaning a paint brush comes down to using the right method for the paint type. Once you know how to clean paint brushes properly, the process becomes second nature.
A soft brush holds its shape, spreads paint evenly, and lasts longer. I always rinse mine right after use, and it saves trouble later.
You can save brushes that look stiff and worn out with patience. Store them properly, keep them dry, and check them often for damage.
Small habits protect your tools for years to come. Try these steps on your next project and see the difference. Drop your favorite brush cleaning trick in the comments below.


