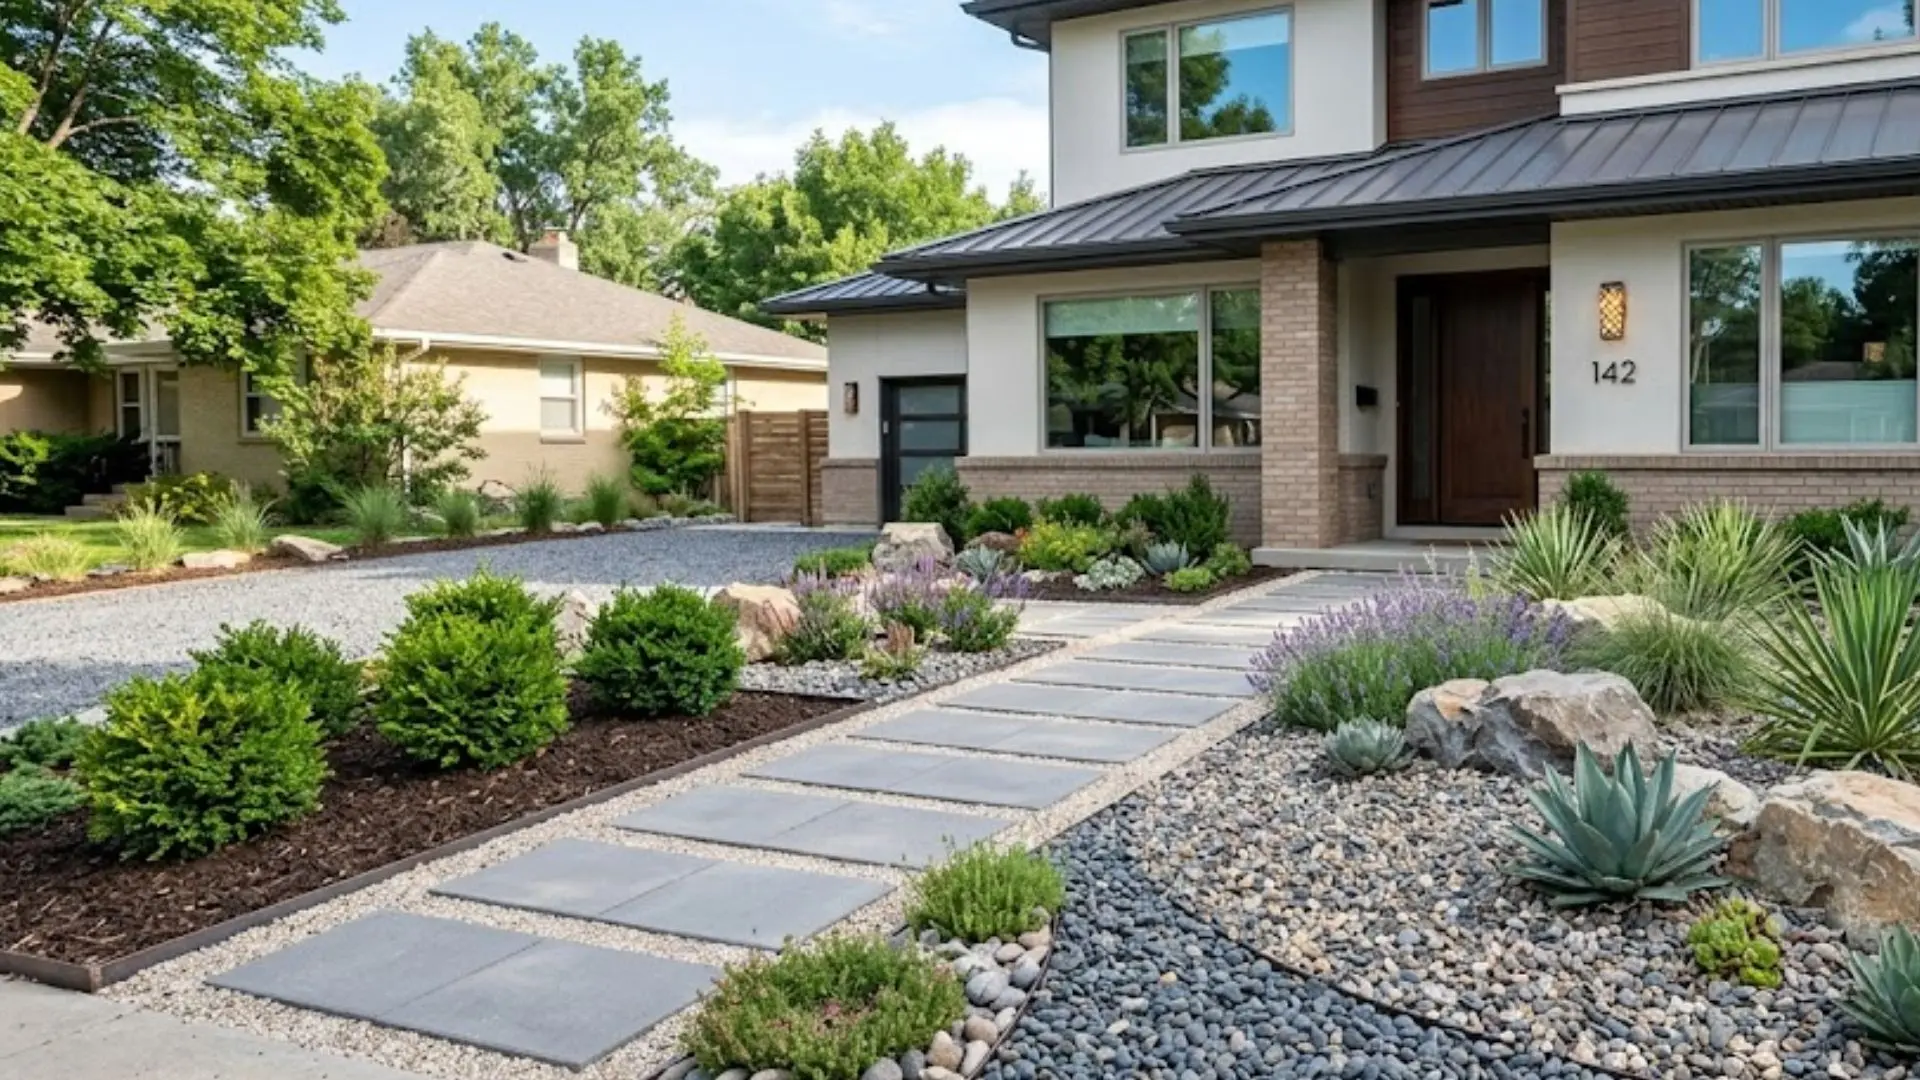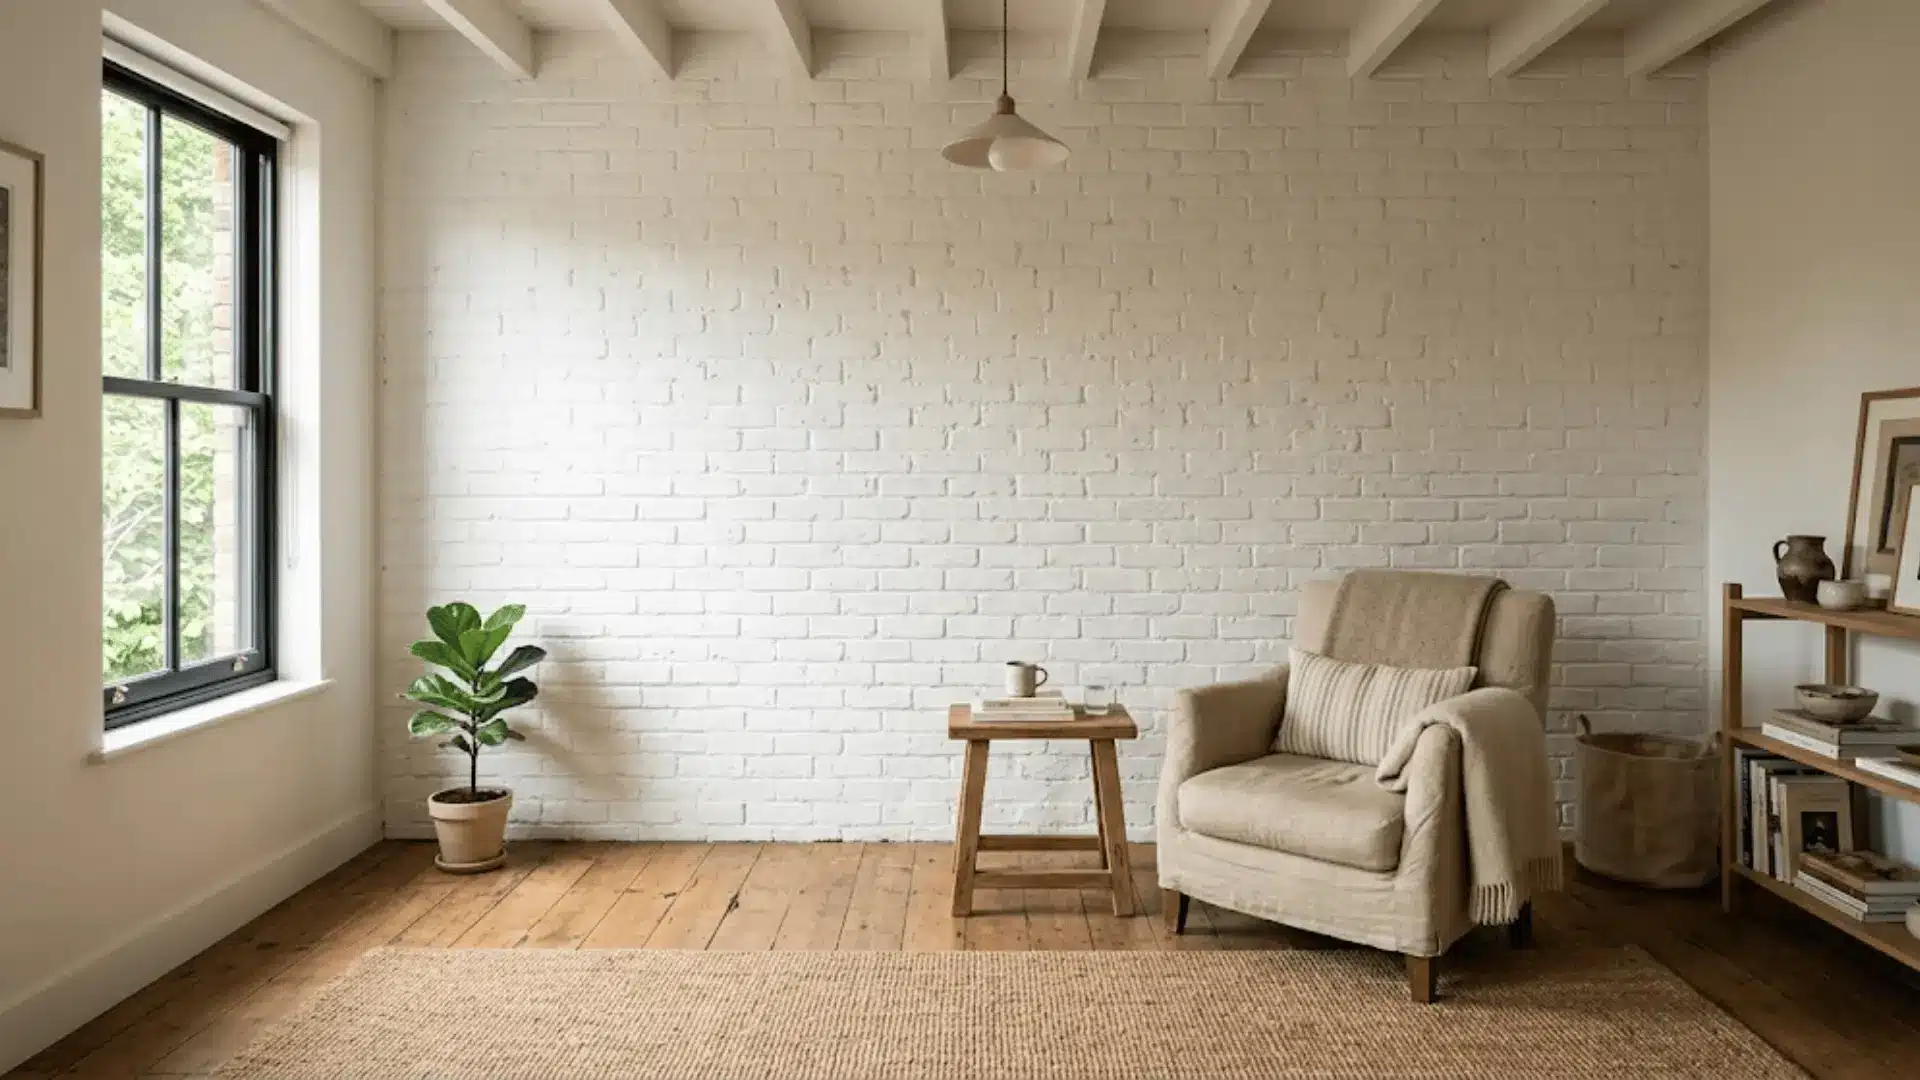
That old brick wall you’ve been staring at? It might be one coat away from becoming your favorite corner of the house.
Painting brick has this quiet power to take a space from builder-grade and forgettable to warm, intentional, and completely yours.
But since brick is naturally porous and loves to hold onto moisture, rushing through the process almost always comes back to haunt you.
Get the prep and materials right, and you’re looking at a finish that actually lasts.
Should You Paint Brick?
Painting brick is a commitment, and honestly, it deserves to be treated like one. It can completely refresh a tired, outdated surface and open up a whole world of color possibilities.
But once you paint, going back is rarely simple.
Skipping proper prep can seal in moisture, which quietly causes damage over time. It’s not a decision to make on a whim, but when done right, it’s absolutely worth it.
Go for it if…
- You want to modernize a dull or stained surface.
- You’re ready to commit to a color long-term.
- You’re willing to prep properly and maintain it over time.
Think twice if…
- You love the natural look and might want it back someday.
- You’re not ready for occasional touch-ups and upkeep.
- Moisture issues in your walls haven’t been sorted yet.
What You Need Before Painting Brick?
Before you even crack open a can of paint, getting your supplies in order makes the whole process smoother.
Here’s everything you’ll want to have on hand:
Tools
- Wire brush or hard scrubbing brush
- Paintbrush
- Microfiber roller
- Drop sheets
- Masking tape
Materials
- Sugar soap
- Flexible gap filler
- 3-in-1 primer, undercoat, and sealer
- Good quality internal paint
Step-by-Step: How to Paint Brick?
Painting brick isn’t complicated, but it does require patience. Follow these steps in order, and your finish will look clean, last longer, and actually do its job.
Step 1: Prep Your Space
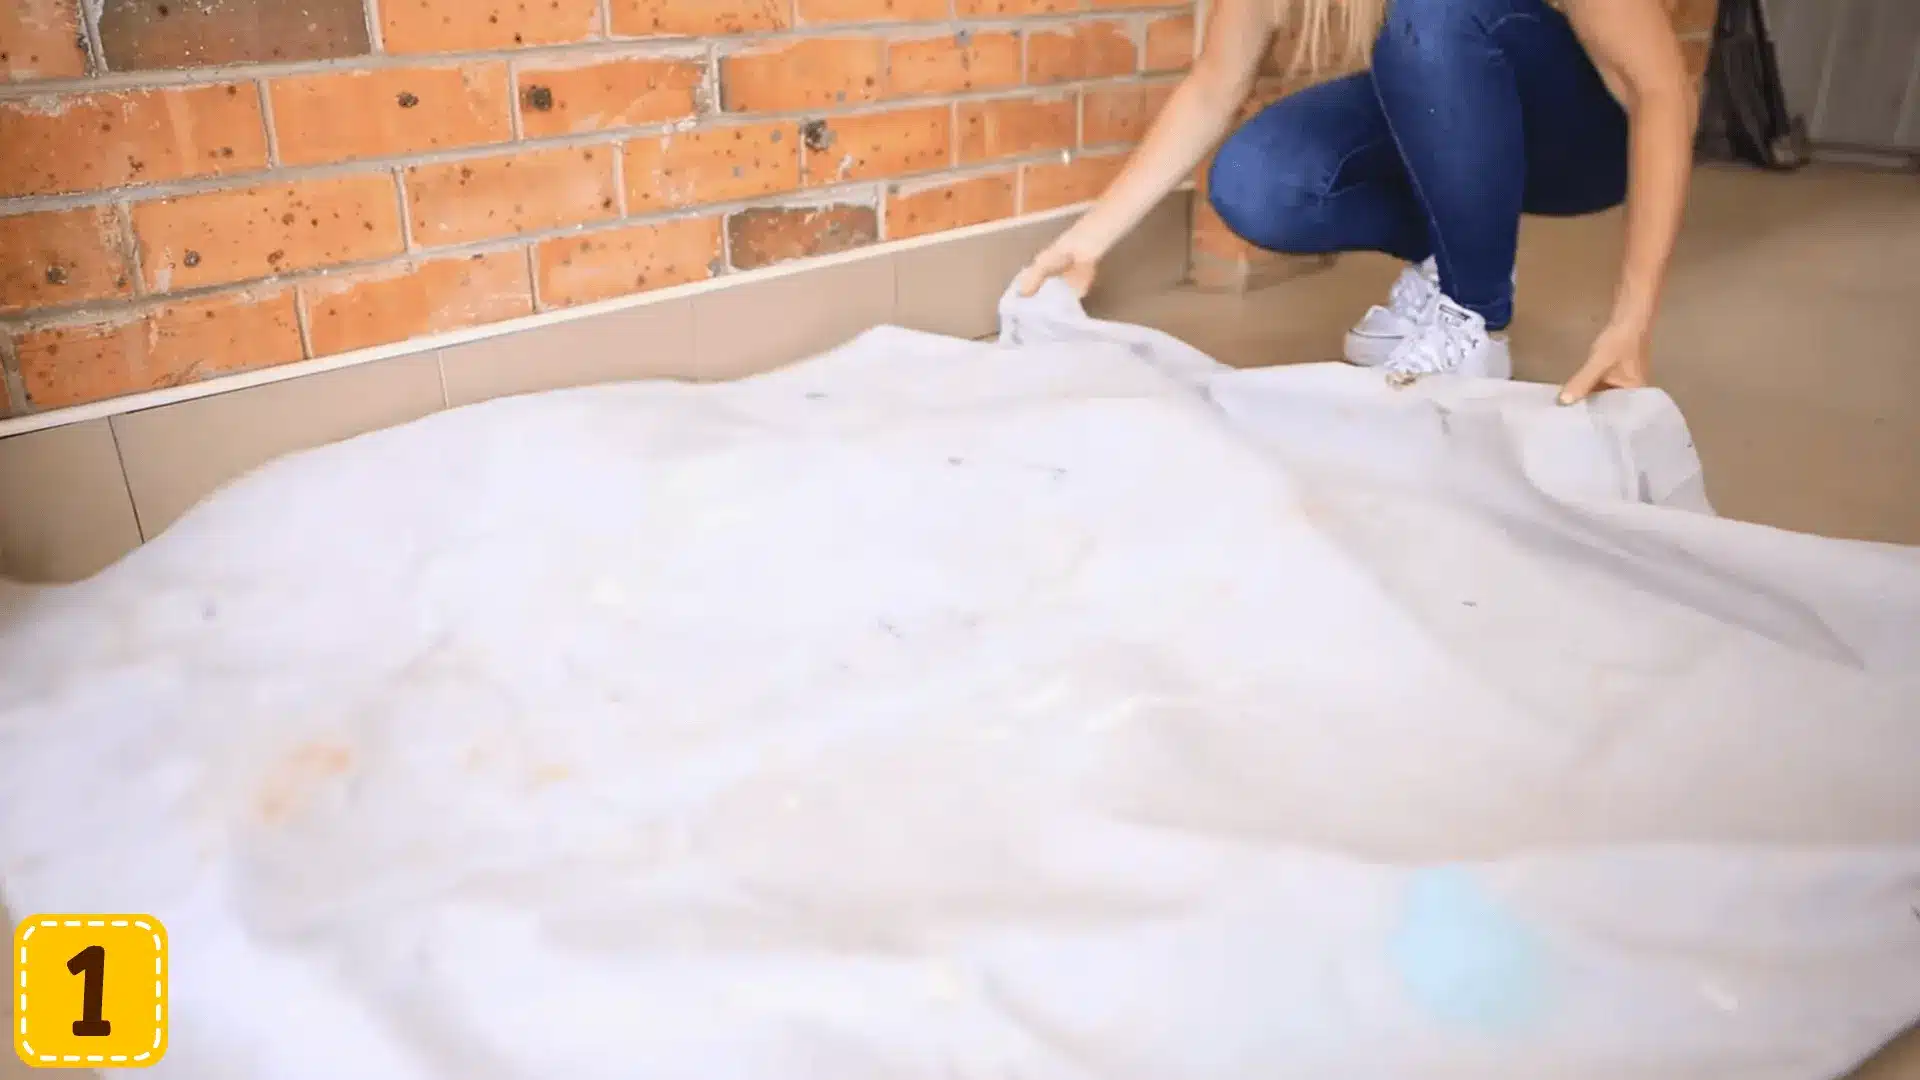
Before anything touches the wall, take a few minutes to properly protect your space. Mask off skirting boards, window frames, light switches, and anything else nearby that you’d rather not repaint.
Lay drop sheets generously across the floor since brick painting can get messier than a regular wall. It feels like an extra step, but skipping it almost always means extra cleanup or accidental paint where you really don’t want it.
Step 2: Remove Fixtures
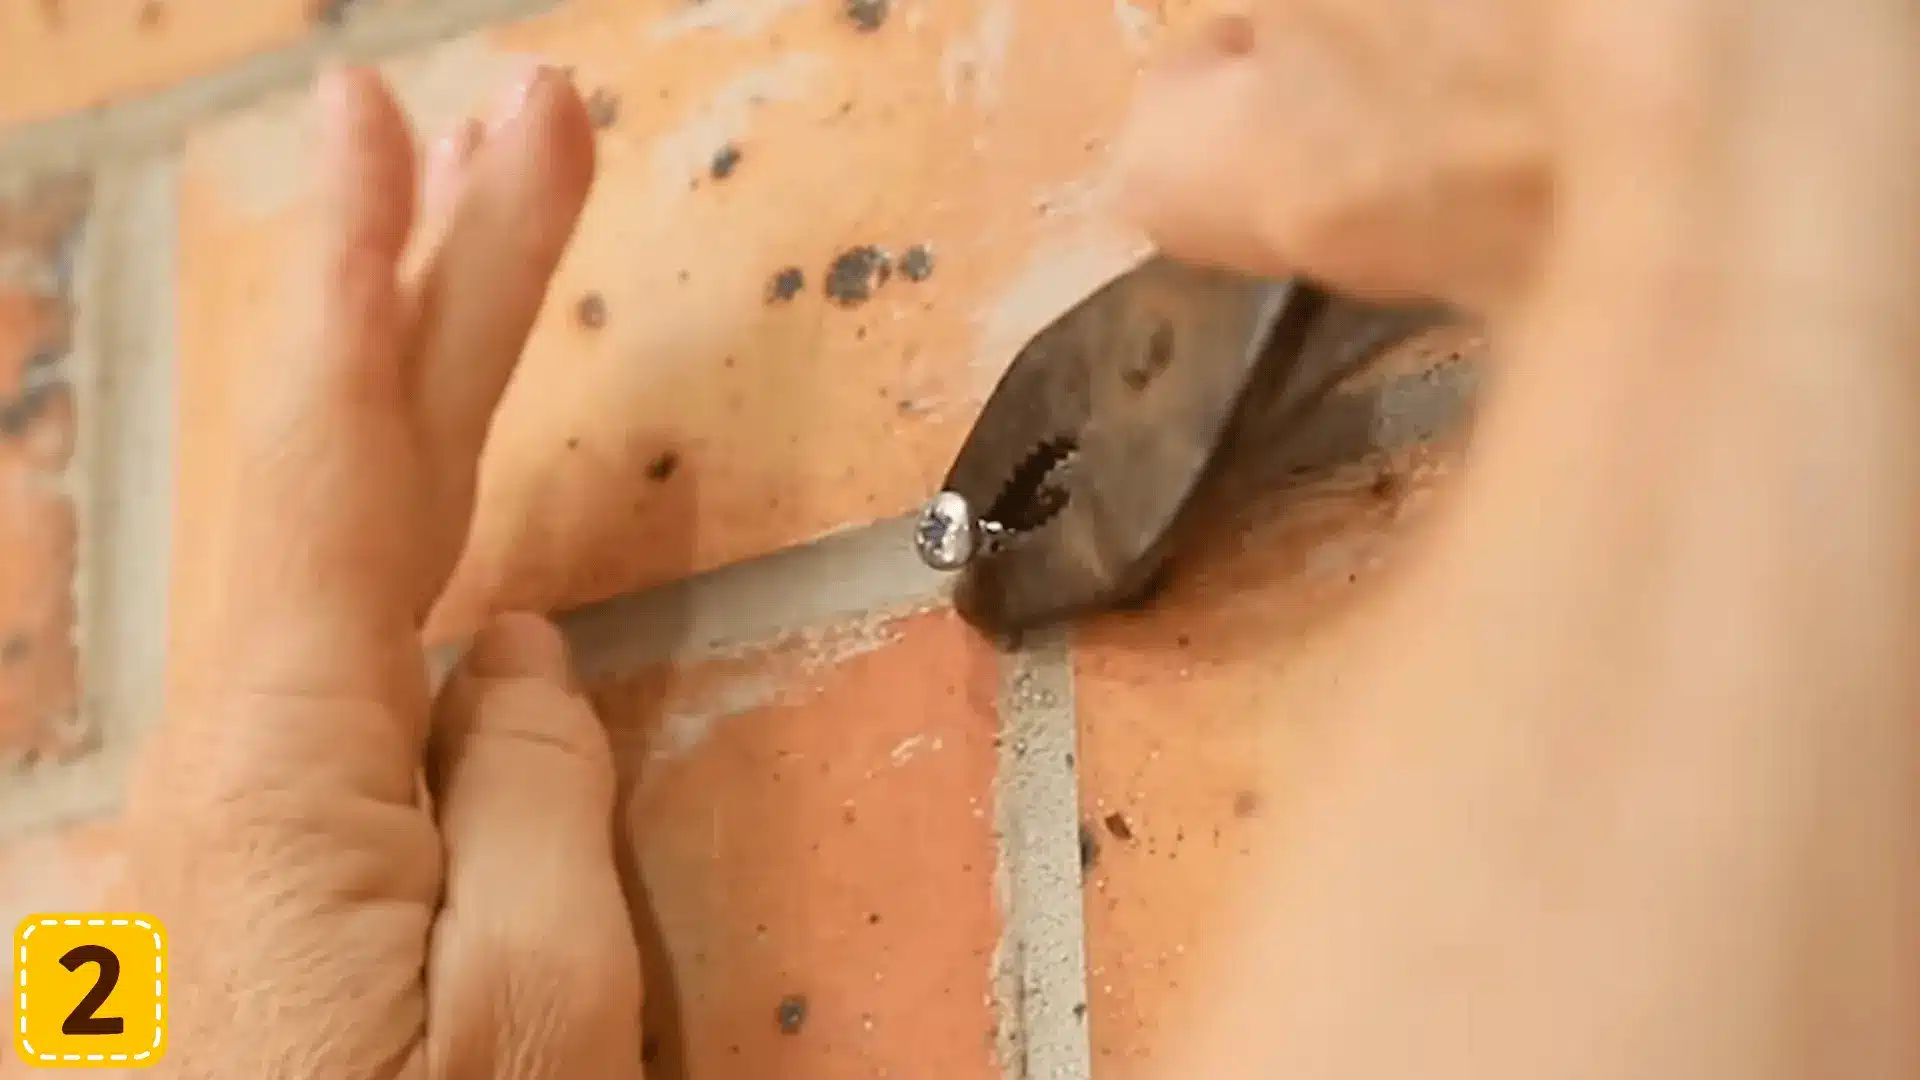
Take down wall-mounted fixtures, fittings, and anything else attached to the surface you’re painting. Trying to cut around them mid-job leads to patchy edges and frustrating touch-ups.
With everything cleared off, you get a clean, uninterrupted surface to work across, which makes the whole process faster, neater, and a lot less stressful. It takes five minutes now and saves you considerably more later.
Step 3: Clean the Brick

Brick holds onto dust, grime, and efflorescence, that chalky white mineral buildup that shows up on older surfaces, more than you’d expect. Go over the entire wall with a wire brush or a stiff scrubbing brush to loosen everything up.
For grease marks or stubborn stains that won’t budge, sugar soap is your best friend here. Paint simply won’t adhere well to a dirty surface, so this step really does set the tone for everything that follows.
Step 4: Fill Cracks and Holes
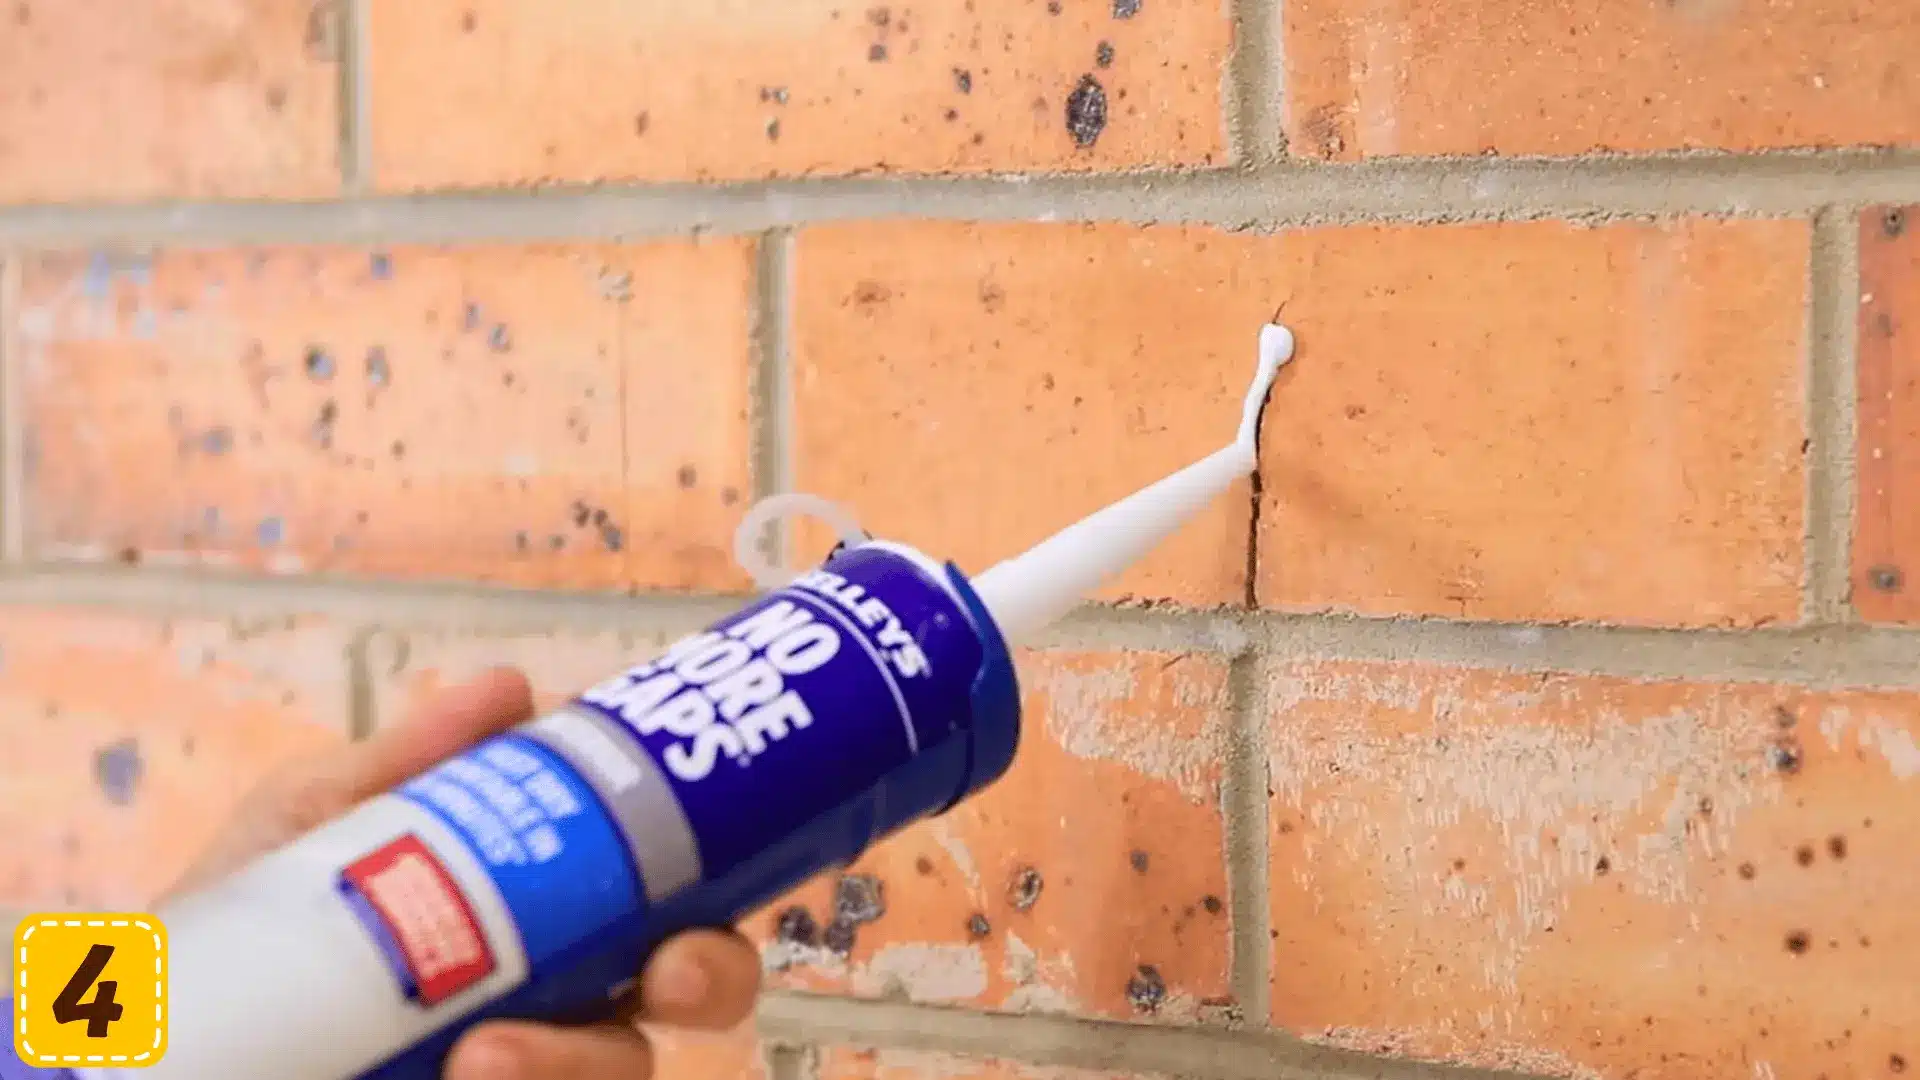
Take a good look across the wall in decent lighting and fill any visible cracks, holes, or gaps with a flexible gap filler. The flexible part is important since brick naturally shifts a little with seasonal temperature changes.
A rigid filler tends to crack back open once the wall moves, which defeats the purpose entirely. Getting this right means your finished surface stays smooth and intact long after the paint has dried.
Step 5: Apply the Sealer
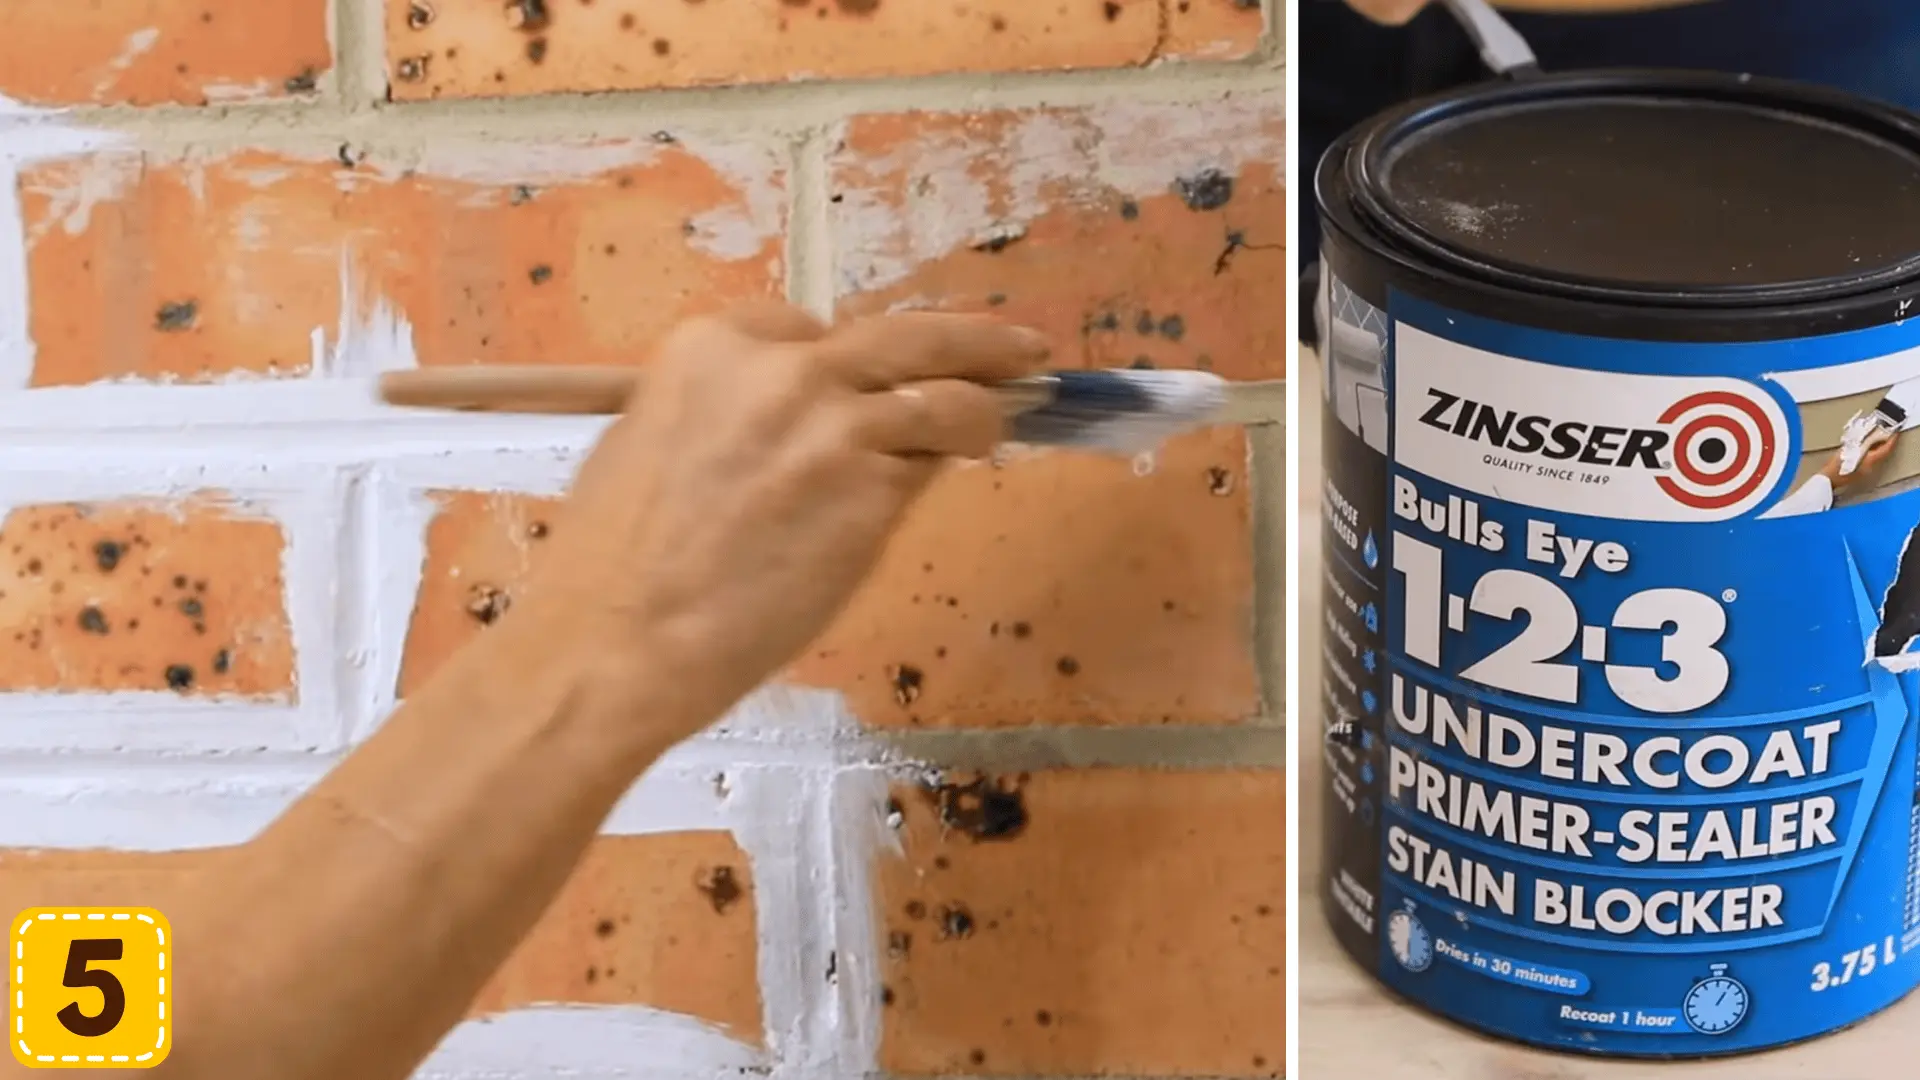
A 3-in-1 primer, undercoat, and sealer is the product you want here since it handles everything in one coat. Start by brushing the sealer into the mortar lines carefully, then follow up with a microfiber roller across the face of the bricks.
Work in small, manageable sections so the brushed and rolled areas stay wet enough to blend together seamlessly. Visible cutting-in marks are the most common rookie mistake, and working in sections is exactly how you avoid them.
Step 6: Paint
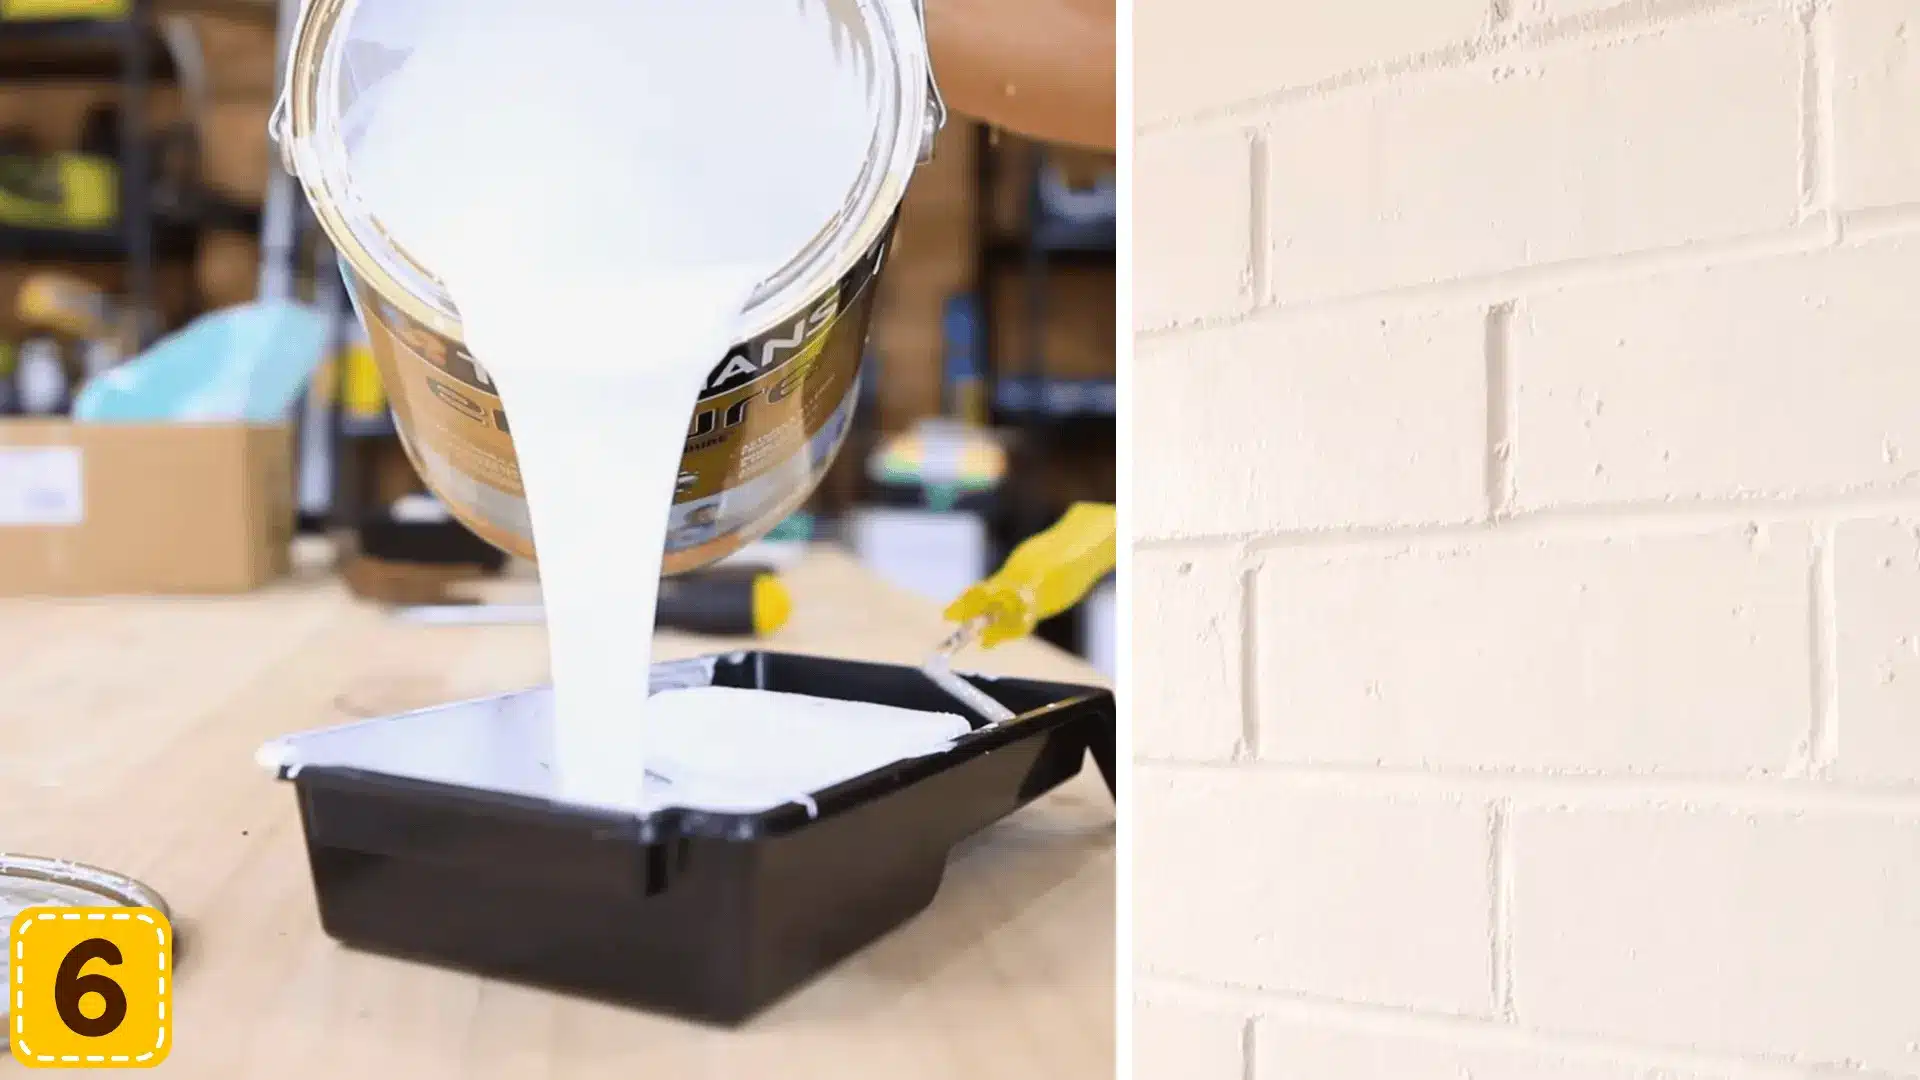
With your sealer fully dry, apply two coats of good-quality internal paint using the exact same technique: brush the mortar lines first, then roll across the brick face.
Two coats do more than add color; they create a protective layer for daily wear. Ensure the first coat dries fully before applying the second. Rushing this step compromises the quality finish.
For a more detailed walkthrough of the process, check out the complete video tutorial below by Cherie Barber.
Best Paint for Brick Surfaces
Not all paints are created equal, and brick is one surface that really shows the difference. Choosing the right formula upfront saves you from peeling, cracking, and moisture headaches down the line.
| Paint Type | Key Benefit | Breathable | Best For |
|---|---|---|---|
| Latex | Flexible and easy to apply | Yes | Interior brick |
| Elastomeric | Waterproof and highly durable | Partially | Exterior or high-moisture walls |
| Masonry | Made specifically for porous surfaces | Yes | Interior and exterior brick |
Whatever you pick, breathability should be your baseline. A paint that traps moisture rather than releasing it will quietly cause more damage than it prevents.
Interior vs. Exterior Brick Painting
Painting interior brick is generally the more forgiving project. You have more freedom with color, finish, and style, and maintenance is relatively straightforward.
Exterior brick, on the other hand, faces rain, heat, and everything in between, so weather-resistant, breathable paint is non-negotiable. The prep work is also more involved since the surface takes a harder beating year-round.
Both are very doable, but knowing which one you’re working with shapes every decision that follows, from the paint you buy to how thoroughly you prep.
Painted Brick Maintenance Tips
Painted brick is low-effort to maintain, but a little routine attention goes a long way in keeping it looking fresh.
- Wipe down the surface gently with a damp cloth to clear dust and buildup; no harsh scrubbing.
- Inspect the wall every few months for early signs of peeling, bubbling, or hairline cracks.
- Touch up small chips or worn patches before they spread into a bigger repair job.
- Keep an eye on moisture; damp spots showing through paint are worth investigating sooner rather than later.
- Plan for a fresh coat every few years to keep the finish looking intentional and well-kept.
Staying on top of these small things means you’ll rarely ever need to deal with a full repaint ahead of schedule.
Alternatives to Painting Brick
If you love the idea of refreshing your brick but aren’t ready to fully commit to paint, there are softer ways to get there.
These alternatives let the natural texture breathe and show through, which is a look that a lot of people actually prefer.
| Method | Finish Look | Breathable | Reversibility |
|---|---|---|---|
| Limewash | Soft, chalky, aged appearance | Yes | Partially reversible |
| Whitewash | Semi-transparent, rustic wash of color | Yes | Difficult to reverse |
| Brick Stain | Rich, tinted tone with texture intact | Yes | Very difficult to reverse |
Cost of Painting Brick
The cost really comes down to how much of the work you’re taking on yourself.
- DIY projects typically run between $100 and $300, covering paint, primer, and basic supplies.
- Hiring a professional shifts that range to anywhere from $800 to $3,000 or more, depending on the size of the area and the condition it’s in.
Paint quality, the extent of prep work needed, and surface size are the biggest cost drivers either way. Investing in better materials upfront almost always works out cheaper than fixing a poor finish later.
Wrapping It Up
Learning how to paint brick the right way is honestly one of the more rewarding home projects you can take on.
It’s the kind of change that makes a space feel considered and completely refreshed without needing a full renovation.
Get the prep right, choose a paint that lets your walls breathe, and maintain it every so often, and that finish will carry the space for years.
Tried this yourself or planning to? Drop your questions, results, or before-and-after stories in the comments below!