
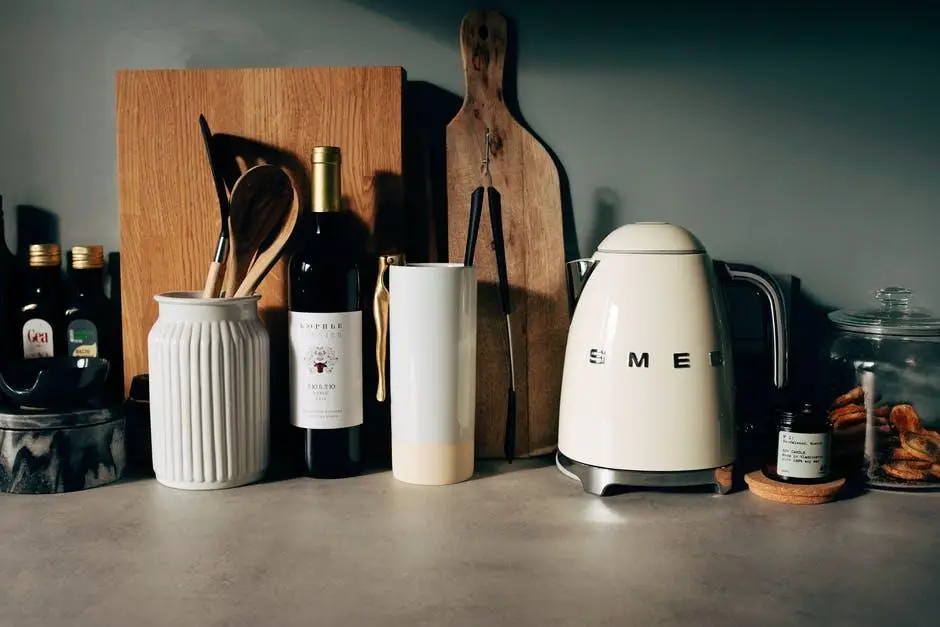
Wooden spoons, prep blocks, and serving boards add timeless character to any home prep space. Daily use exposes timber surfaces to moisture, food acids, and heat from hot cookware. Left untreated, high moisture levels cause wood fibers to swell, warp, or split along natural grain lines. Proper care steps keep kitchen tools smooth, sanitary, and functional for decades.
How Moisture Affects Natural Wood
Raw wood absorbs liquids quickly when left exposed on kitchen counters. Liquid deep inside timber fibers causes uneven expansion across the grain, creating micro cracks that collect food residue. Hand drying right after washing stops standing liquid from soaking into deep layers of the board.
Leaving items to soak in a sink filled with soapy water destroys structural strength rapidly. Constant soaking lifts wood fibers and causes surfaces to feel rough under your hands. Keeping timber dry prevents permanent warping and keeps surfaces smooth for daily food prep.
Micro Cracks and Bacteria Risks
Cracks in wood surfaces trap food fragments and moisture, creating ideal spots for bacterial growth. Regular checks spot small surface splits before structural damage spreads across the board. Smooth, sealed wood repels liquid and keeps food and bacteria on the surface where washing removes it.
Selecting the Right Conditioning Products
Standard mineral oil hydrates dry fibers beneath the top surface. Applying a high-quality cutting board wax creates a protective barrier that seals in moisture and keeps liquid out. Freshly treated boards maintain a rich sheen that resists stubborn food stains.
Select products crafted from safe food-grade ingredients for kitchen items. Pure food-grade mineral oil penetrates timber deeper than thick vegetable pastes. Avoid cooking oils like olive, vegetable, or canola oil on wooden surfaces. Vegetable-based cooking oils turn rancid as weeks pass, leaving sticky residues and bad odors on prep surfaces.
Daily Hand Washing Techniques for Prep Tools
Clean timber items with lukewarm water and a small amount of mild dish soap. Use a gentle sponge or soft brush to lift food residue from cutting surfaces. Rinse thoroughly to remove soap films without drenching the entire piece of wood.
- Wash boards immediately after cutting fresh meat or raw vegetables
- Avoid abrasive steel wool pads that scratch polished timber coatings
- Wipe off excess moisture with a clean cotton towel before air drying
Never clean wooden spoons or prep boards inside an automatic dishwasher. Dishwasher cycles expose wood to intense heat, harsh detergents, and prolonged water sprays. Severe conditions strip natural oils, fade natural colors, and split solid timber pieces in half within a few washes.
How Oil and Wax Work Together for Protection
Oil and wax perform two different roles when caring for timber kitchen tools. Mineral oil penetrates deep into timber layers to keep individual wood fibers flexible. Wax sits on top of the timber structure to form an outer shield against kitchen spills.
Beeswax penetrates oils to build a soft, water-resistant barrier. This outer barrier keeps water drops standing on top of the board rather than soaking inside. Combining both products creates long-lasting protection against hot water and food dyes.
Using both treatments together reduces total maintenance time each month. The surface wax layer slows down oil evaporation from inside timber fibers. Boards stay conditioned longer between routine touch-ups, saving effort and product.
Combining Ingredients for Better Protection
Blending liquid oils with wax ingredients creates maximum protection for wooden prep tools. Natural beeswax combines with food-safe mineral oil to form a versatile multifunctional board wax. This rich paste fills microscopic pores across cutting surfaces.
- Rub paste in small circular motions across dry wooden prep surfaces
- Let paste rest for 15 minutes to bond with timber fibers
- Buff with a soft cloth until the surface glows and feels smooth
Deep conditioning treatments protect wood during cold winter months when indoor air turns dry. Dry heating systems pull moisture out of natural timber, causing hidden tension within board seams. Applying conditioning paste twice a month keeps internal moisture levels stable throughout seasonal weather shifts.
Fixing Common Surface Scratches and Light Stains
Knife marks and light scratches appear naturally after months of chopping vegetables and bread. Light sanding restores smooth surfaces without taking off too much wood depth. Use medium 180 grit sandpaper followed by fine 220 grit paper along the direction of the wood grain.
Remove fine wood dust with a damp rag before applying fresh oil or wax blends. Sanding exposes raw wood fibers that need immediate conditioning to seal out moisture. Fresh conditioning coats return old boards to original rich colors and smooth finishes.
Remove food stains with natural household ingredients like lemon juice and coarse salt. Sprinkle coarse salt over stained spots and scrub gently using half a cut lemon. Rinse with lukewarm water, dry thoroughly, and apply conditioning paste once the timber dries.
Correct Storage Practices for Wooden Kitchen Tools
Store wooden boards vertically in well-ventilated drying racks or wire stands. Stacking wet boards flat on countertops traps moisture underneath, leading to warping or mold growth. Good air circulation around all sides allows timber to dry completely between uses.
Keep wooden kitchenware far away from direct heat sources like stoves, ovens, or sunny windows. Extreme temperature changes dry out wood fibers rapidly. Store wooden utensils in open crocks where air flows freely around handles.
Protect stored boards from heavy weight or stacked cast iron pans. Heavy metal cookware presses down on wooden edges, causing uneven pressure points and surface denting. Storing prep boards separately maintains clean edge lines and smooth flat surfaces.
Spotting Signs That Your Board Needs Maintenance
Recognizing early signs of dryness keeps kitchen tools in peak condition for years. Pale colors or chalky appearances indicate timber fibers need fresh moisture. Addressing dry spots quickly prevents deep splits that render boards unusable.
Water drops soaking into wood instead of forming beads signal an urgent need for wax treatment. Rough or fuzzy textures under your fingertips during washing indicate worn protective layers. Lingering food odors after standard soap washing mean raw wood pores sit exposed to liquids.
Regular monthly care takes under 10 minutes and extends kitchenware lifespans. Setting a regular care routine preserves wood grain beauty and keeps prep surfaces safe for meal preparation.

Investment in quality timber kitchenware pays off through decades of reliable daily use. Simple habits like quick hand washing, air drying, and regular surface conditioning protect natural wood from damage. Taking time to care for wooden tools preserves rich natural textures and keeps kitchen prep safe and enjoyable.


