That tall tomato seedling on your windowsill is giving signs, so it’s time to pay attention.
I’ve watched this exact plant stretch toward a window more times than I can count, and it always means the same thing. Knowing when to transplant seedlings separates a thriving garden from a frustrating one.
Too early, and roots snap under the stress. Too late, and stems grow weak, reaching desperately for light.
This blog covers both potting up indoors first, then heading outside once the weather cooperates.
You’ll learn to read plant signals, from crowded roots to sturdy stems, and match each one to the right move.
Is Potting Up and Transplanting Seedlings Similar?
They share the same goal but serve different purposes.
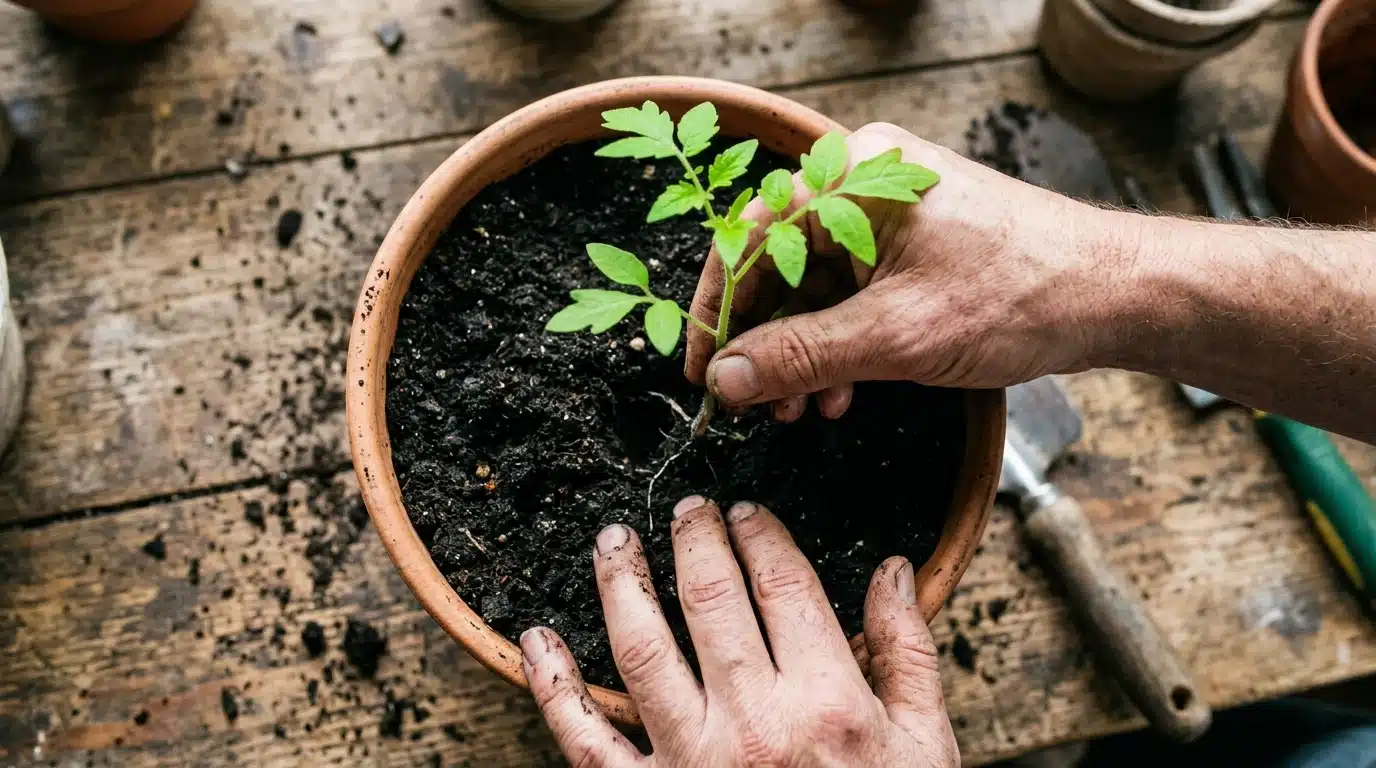
Potting up moves a seedling into a bigger container, still indoors or in a sheltered spot.
Transplanting moves that seedling outdoors, into garden soil or a permanent home. Potting up happens multiple times as roots grow. Transplanting typically happens once, when conditions align.
Both require gentle handling and quick watering afterward. Both protect roots from stress during the move.
The key difference lies in destination and timing.
Potting up buys growth time indoors. Transplanting marks the shift to real garden life outside.
When Should You Transplant Seedlings?
Two transplants stand between your seedlings and a thriving garden bed.
The first happens indoors, once true leaves appear, and roots crowd the tray.
Move each seedling into its own small pot and give those roots room to stretch.
The second move comes weeks later, after the danger of frost passes and nights stay mild.
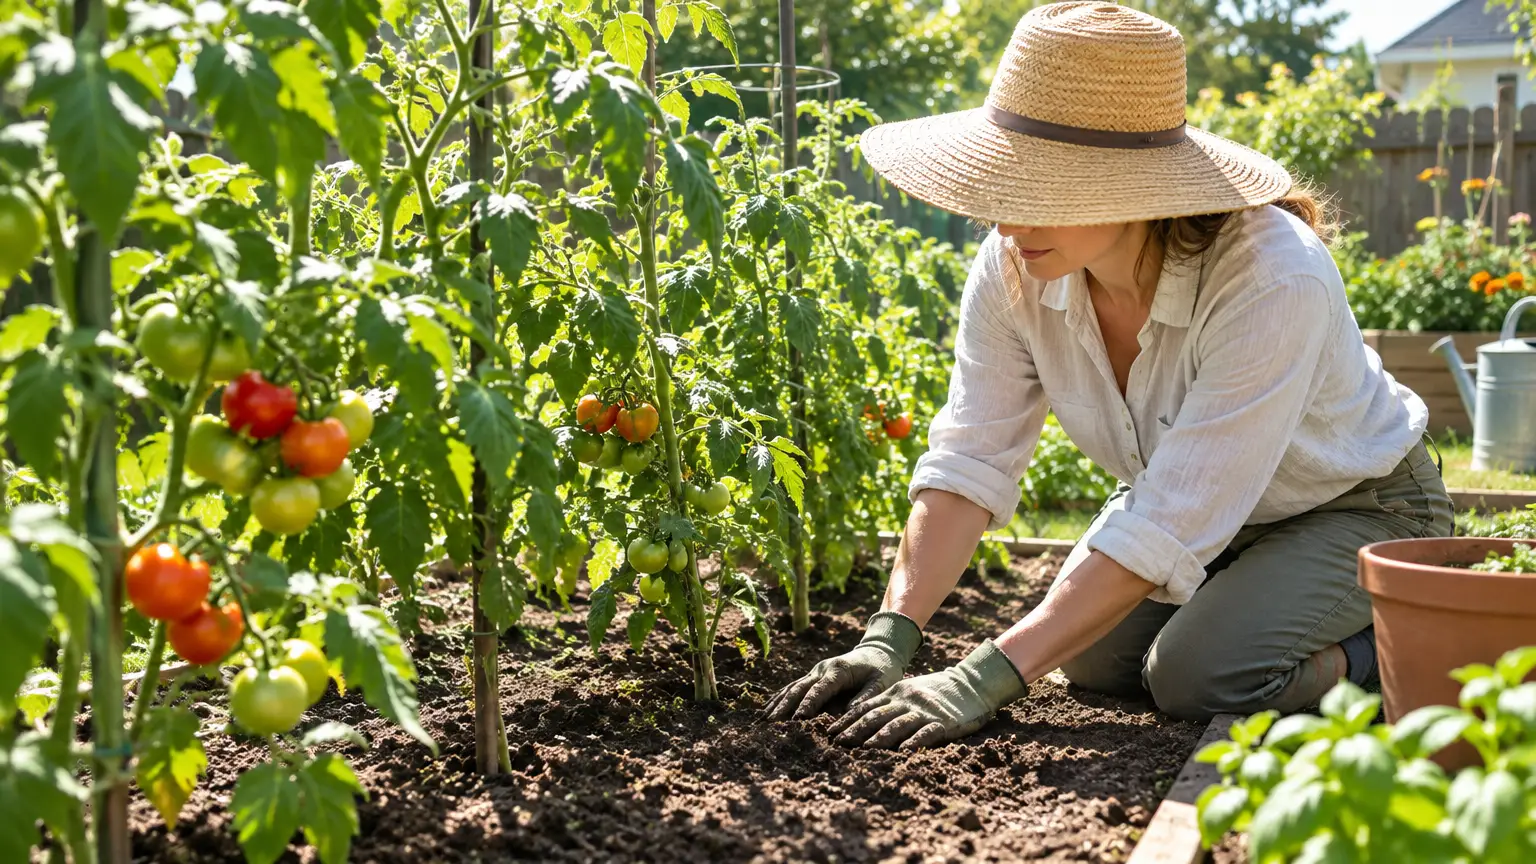
That’s when seedlings head outdoors for good, into garden soil or larger containers. Rushing either step stresses young plants and stunts growth. Watch the leaves, check the calendar, and time both moves with care.
Your seedlings will thank you with sturdy stems and fast growth.
How to Tell When a Seedling is Ready to Be Transplanted
Your seedling will send clear signals when it’s ready to move. Here’s what to look for:
- Two sets of leaves have unfurled, not just the first tiny pair.
- Stems feel firm and upright, not floppy or thin.
- Roots poke through the drainage holes at the bottom of the tray.
- Growth has slowed or stalled in the current container.
- Leaves show healthy color, with no yellowing or curling at the edges.
- The soil dries out faster than it used to, since roots now fill the space.
Hardening off: Indoor Seedlings and Outdoor Soil
Indoor air and outdoor soil are worlds apart, so bridge that gap slowly.
| Day | Outdoor Time | Conditions | Pot Up Into Larger Container | Transplant Outdoors |
|---|---|---|---|---|
| 1-2 | 1-2 hours | Shade, calm wind | Check for root crowding first | Not yet; frost risk remains |
| 3-4 | 3-4 hours | Partial sun | Move up a size if roots show | Monitor nighttime temps closely |
| 5-6 | 5-6 hours | Full sun, brief | Settle into new pot, water well | Confirm mild nights ahead |
| 7 | All day | Leave overnight if mild | Growth should resume steadily | Ready for garden bed |
What to Prepare Before Transplanting Seedlings
Good prep saves you from scrambling mid-transplant.
Gather your tools first: a trowel, clean pots or garden beds, and fresh potting mix.
Check your soil’s drainage and loosen it if compacted.
If you’re setting up a raised bed for the first time, getting the soil layers right from the start makes this whole step easier. Water seedlings an hour beforehand so roots hold together during the move.
Pick a spot that matches the plant’s sunlight needs, whether that’s full sun or dappled shade.
Label each variety if you’re working with multiple types, since seedlings look nearly identical once separated.
Keep a watering can nearby for immediate use after planting.
A little organization now means less stress and fewer damaged roots later.
How to Pot Up Seedlings without Damaging the Roots
Gentle hands and the right technique keep roots intact when to pot up seedlings.
- Step 1: Loosen soil around the edges of the current container first.
- Step 2: Tip the pot sideways and slide the seedling out slowly.
- Step 3: Support the root ball from underneath, never by the stem.
- Step 4: Tease apart tangled roots only if they’re tightly wound.
- Step 5: Set the seedling into its new pot at the same depth.
- Step 6: Fill gaps with soil, pressing lightly to remove air pockets.
- Step 7: Water immediately to help soil settle around the roots.
How to Transplant Seedlings Into the Garden Step by Step
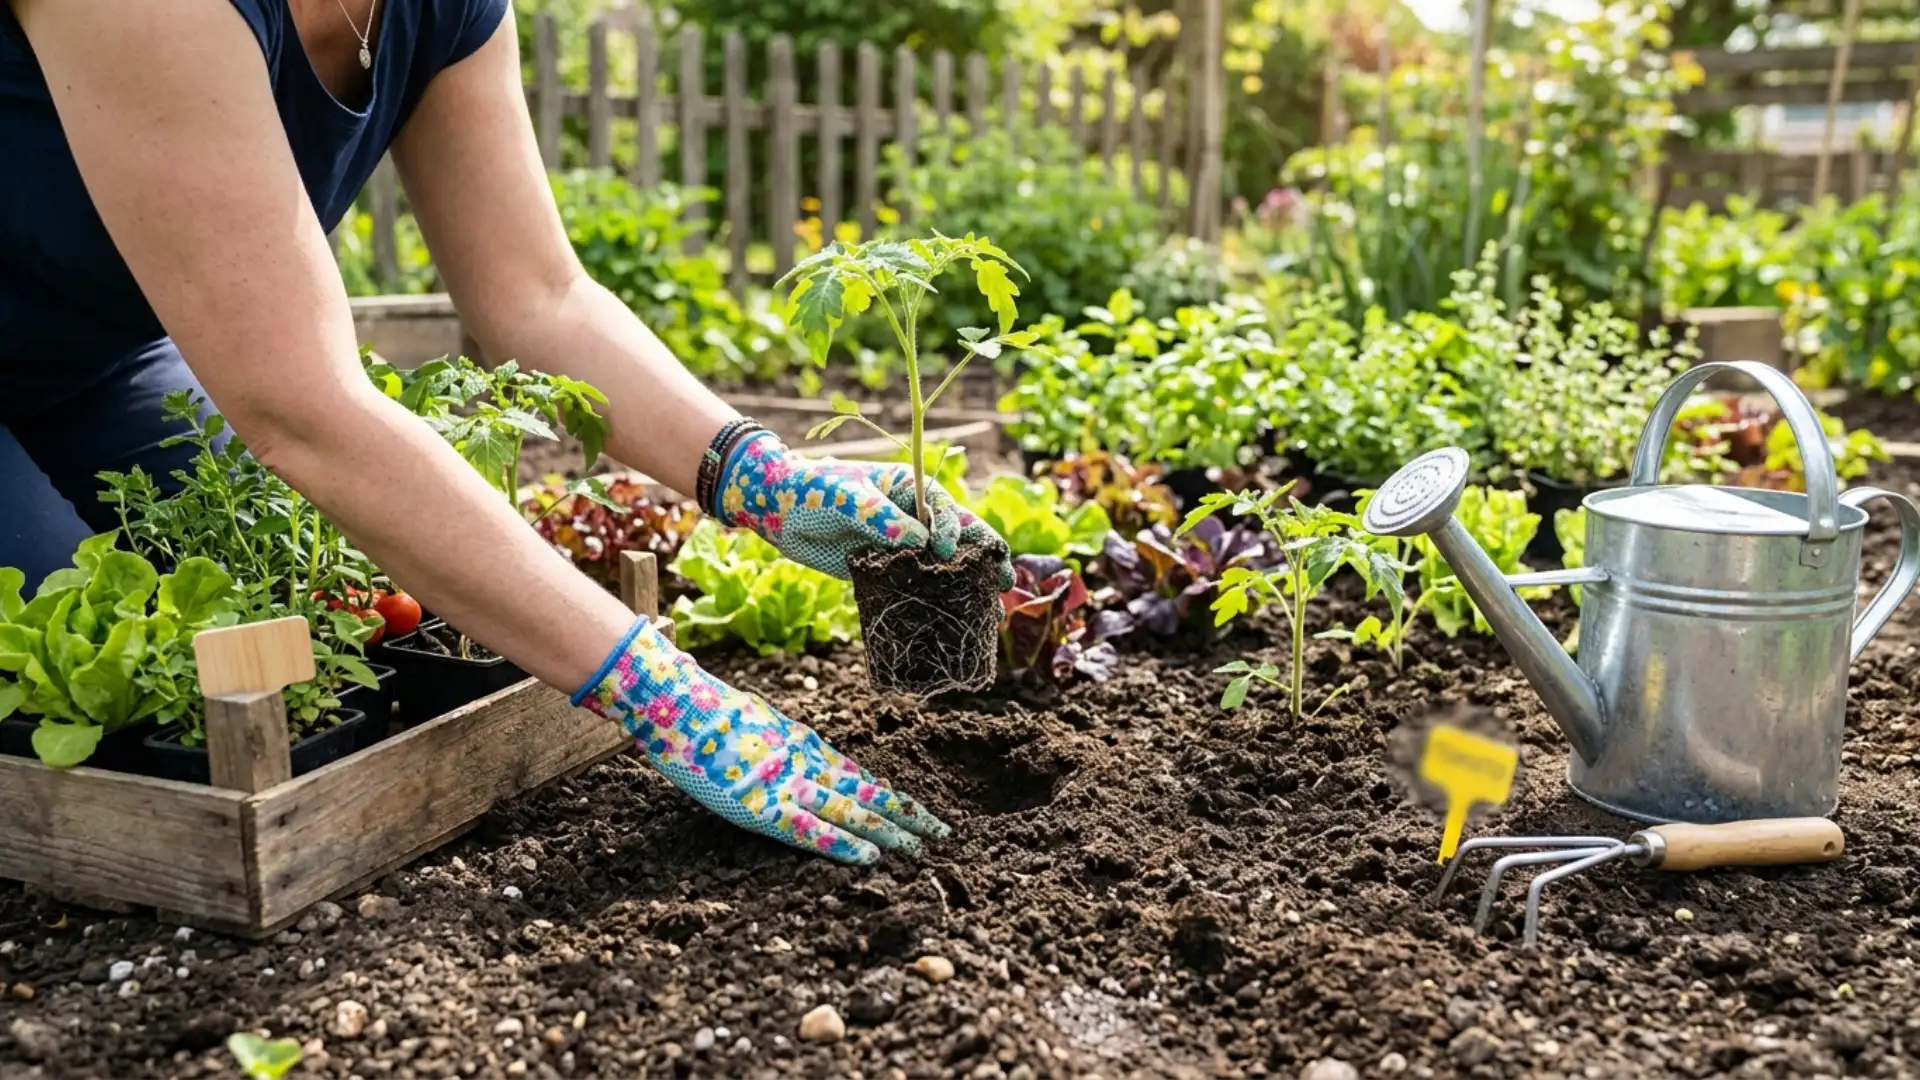
Moving seedlings outside requires careful planning and steady hands. Follow these steps for a smooth transition.
Step 1: Pick the Right Time of Day
Transplant during early morning or late evening, never under harsh midday sun.
Cooler temperatures reduce stress on tender roots and leaves. Cloudy days work even better, since plants avoid direct heat while settling in. Avoid windy conditions too, as strong gusts can snap fragile stems.
Timing this correctly gives your seedlings a calmer start outdoors and significantly reduces transplant shock.
Step 2: Dig the Right Size Hole
Dig a hole slightly wider and deeper than the seedling’s root ball.
Loose soil around the edges lets roots spread without resistance.
Avoid digging too narrow, since cramped holes force roots to bend unnaturally.
Measure against the container first for accuracy. A properly sized hole gives roots room to establish quickly, setting the stage for strong, uninterrupted growth once the plant settles into its new spot.
Step 3: Space Seedlings Properly
Leave enough room between each seedling based on its mature size. Crowded plants compete for sunlight, nutrients, and airflow later on. Check seed packets or plant tags for recommended spacing guidelines.
Wider spacing reduces disease risk, since air circulates freely between plants.
Skipping this step causes tangled roots and stunted growth later; measure twice before planting.
Step 4: Place the Seedling at Correct Depth
Set the seedling so its base sits level with the surrounding soil surface.
Planting too deep can smother stems, while planting too shallow exposes roots to drying air.
Match the depth it had in its previous container, unless the plant benefits from deeper burial.
Fill in gently around the base, avoiding heavy pressure.
Correct depth keeps the plant stable and supports healthy nutrient uptake from day one.
Step 5: Backfill and Firm the Soil
Add soil around the seedling gradually, pressing lightly as you go.
Avoid packing soil too tightly, since compacted ground blocks root expansion.
Leave the surface slightly loose to allow water and air movement. Check that the seedling stands upright without wobbling. Firm but gentle handling here prevents air pockets that dry out roots.
This step anchors the plant securely into its permanent garden spot.
Step 6: Water Thoroughly After Planting
Give each seedling a deep, slow watering right after backfilling. This helps soil settle naturally around the roots, closing gaps left during planting. Avoid a hard, fast stream that displaces soil or exposes roots.
Check moisture levels the next day, since newly transplanted seedlings dry out faster.
Consistent watering during this first week supports root establishment and reduces the risk of transplant shock.
Step 7: Apply Mulch Around the Base
Spread a thin layer of mulch around each seedling, keeping it away from the stem.
Mulch retains soil moisture and regulates temperature during the adjustment period. It also suppresses weeds that would otherwise compete for nutrients. Straw, shredded leaves, or bark work well for most garden setups.
This finishing touch protects young roots as they settle into their new outdoor environment.
How Deep Should You Plant Different Seedlings?
Depth requirements shift depending on what you’re growing, so one rule doesn’t fit every plant.
- Tomatoes: bury deep, up to two-thirds of the stem, since buried stems grow extra roots.
- Peppers: plant at the same depth as their nursery pot, no deeper.
- Lettuce and leafy greens: keep crowns level with soil, never buried.
- Squash and cucumbers: match container depth exactly; roots are sensitive to burial.
- Herbs like basil: plant slightly deeper than original depth for sturdier stems.
Root vegetables need shallow placement since disturbing their taproot causes forking. Tomatoes and peppers are two of the most overlooked crops here, and show up so often on lists of easy vegetables for beginners.
Check plant-specific guides when unsure, since guessing wrong here affects yields later.
How to Water Seedlings Before and After Transplanting
Water plays a bigger role than most gardeners realize.
Soak seedlings an hour before the move, letting excess drain away completely. This keeps the root ball intact and easier to handle. After planting, water slowly and deeply until moisture reaches the deeper soil layers.
Skip shallow sprinkling, since it only wets the surface.
Check soil daily for the first week, adjusting based on weather and drainage.
Overwatering suffocates roots just as much as neglect does.
Balance matters here, so aim for consistently moist, never soggy, soil
How to Minimize Transplant Shock After Moving Seedlings
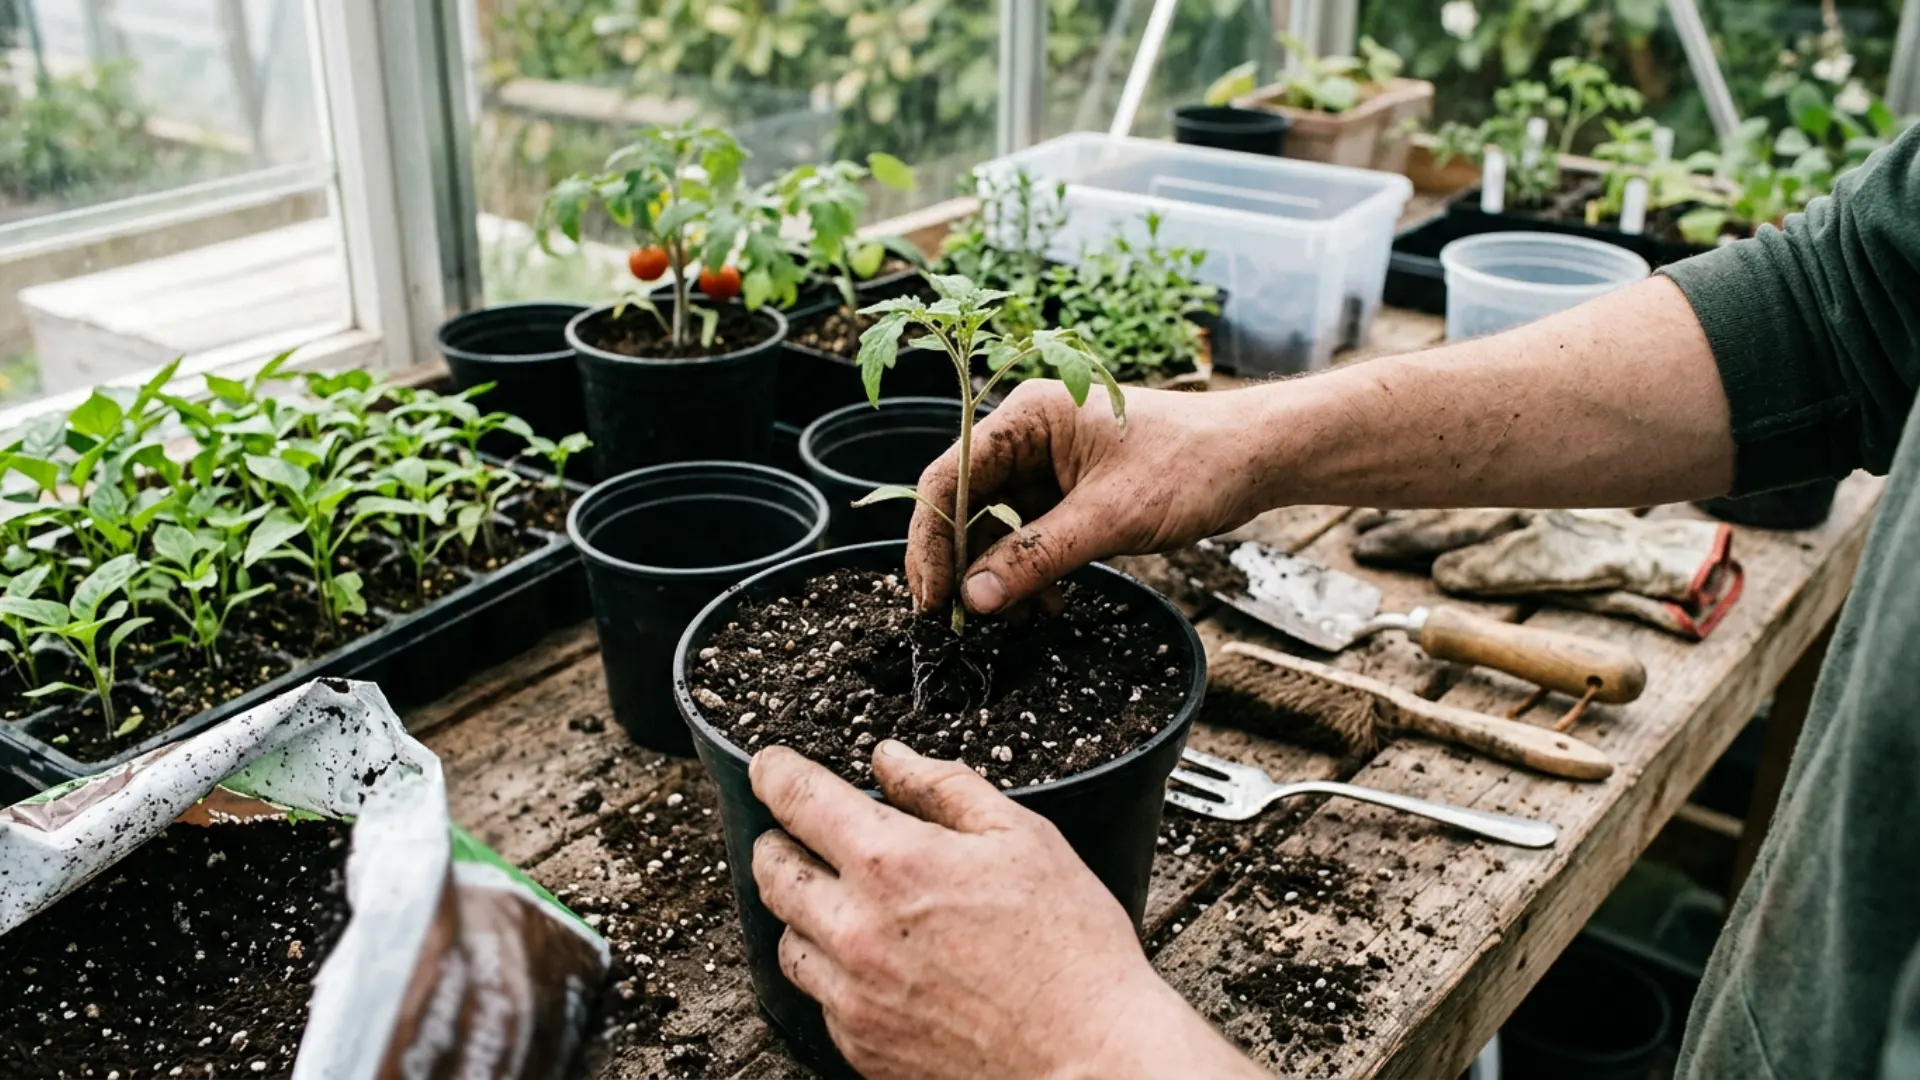
Shock shows up fast: wilting leaves, drooping stems, and stalled growth.
Reduce it by keeping root disturbance minimal during the move.
Water seedlings before and after planting to ease the transition. Shield new transplants from harsh sun with temporary cover, like a cloth or upside-down basket, for a day or two.
Avoid fertilizing immediately, since stressed roots can’t absorb nutrients well yet.
Handle stems and leaves as little as possible throughout the process.
Allow plants a few days to adjust before visible growth. Patience avoids setbacks delaying the season.
What to Do With Leggy, Root-Bound, or Overgrown Seedlings
Not every seedling grows perfectly, but most problems have simple fixes.
| Problem | Sign | Fix |
|---|---|---|
| Leggy growth | Tall, thin, weak stems | Plant deeper to bury the stretched stem |
| Root-bound | Roots circling tightly in a dense mass | Gently tease roots apart before planting |
| Overgrown | Plant too large for its container | Transplant immediately; don’t delay further |
| Yellowing leaves | Pale or fading lower leaves | Check for nutrient deficiency or overwatering |
| Damping off | Stem rot near the soil line | Discard affected seedling, improve airflow |
| Slow growth | Stunted size for its age | Inspect roots for compaction or disease |
Best Time of Day to Transplant Seedlings
Soil temperature and light intensity matter more than the clock itself.
Aim for moments when soil feels cool, not hot. Overcast skies extend your window throughout the day, reducing pressure to rush. Late afternoon works well, giving roots time to settle before facing the sun again.
Check wind forecasts beforehand, since calm conditions matter as much as temperature.
Avoid transplanting before rainfall extremes or cold snaps, as unstable weather stresses vulnerable roots.
How Long Does It Take Seedlings to Recover After Transplanting?
Recovery time varies, but most seedlings bounce back within a week or two.
Fast-growing plants like lettuce adjust in just a few days. Tomatoes and peppers often take slightly longer, showing new growth after seven to ten days. Watch for fresh leaves as the clearest sign of successful recovery.
Wilting that persists beyond three or four days signals deeper stress worth investigating.
Weather conditions during that window matter too, since cold snaps or heat waves slow the process further.
Consistent care throughout this stretch shortens recovery and gets plants growing steadily again.
Common Seedling Transplanting Mistakes that Set Plants Back
A few overlooked details often cause more damage than the obvious errors. Watch for these:
- Using cold tap water straight after planting, shocking warm roots.
- Forgetting to label varieties, leading to mixed-up care routines later.
- Planting seedlings too close to fences or walls, blocking airflow.
- Skipping soil testing beforehand, missing pH imbalances that stunt growth.
- Reusing old containers without cleaning, spreading fungal spores to new plants.
- Leaving exposed roots in open air for too long during transfer.
Frequently Asked Questions (FAQ’s)
1. How Big Do My Seedlings Be Before Transplanting?
Seedlings should have two to three sets of true leaves and reach two to three inches tall.
2. Is It Possible to Transplant Seedlings Too Early?
Yes, transplanting before roots and leaves develop fully leads to weak, struggling plants.
3. When Should You Not Transplant Plants?
Avoid transplanting during extreme heat, frost, heavy rain, or when plants show signs of stress or disease.
4. What Helps Seedlings Grow Faster?
Adequate light, consistent watering, warm soil, and balanced nutrients speed up seedling growth.
5. What is the Best Fertilizer for Seedlings?
A balanced liquid fertilizer with equal nitrogen, phosphorus, and potassium is best for young seedlings.
End Note!
Getting the timing right pays off in stronger roots, faster growth, and fewer setbacks down the line.
Every step, from checking leaf count to hardening off, builds seedlings that settle into soil without a hitch.
Mistakes happen, roots get disturbed, and weather doesn’t always cooperate.
Yet with the right approach, recovery stays quick, and growth resumes on schedule.
Have a transplant story of your own, a seedling that bounced back from a rough move or one that didn’t make it?
Drop it in the comments. I’d love to hear what’s worked in your garden this season.