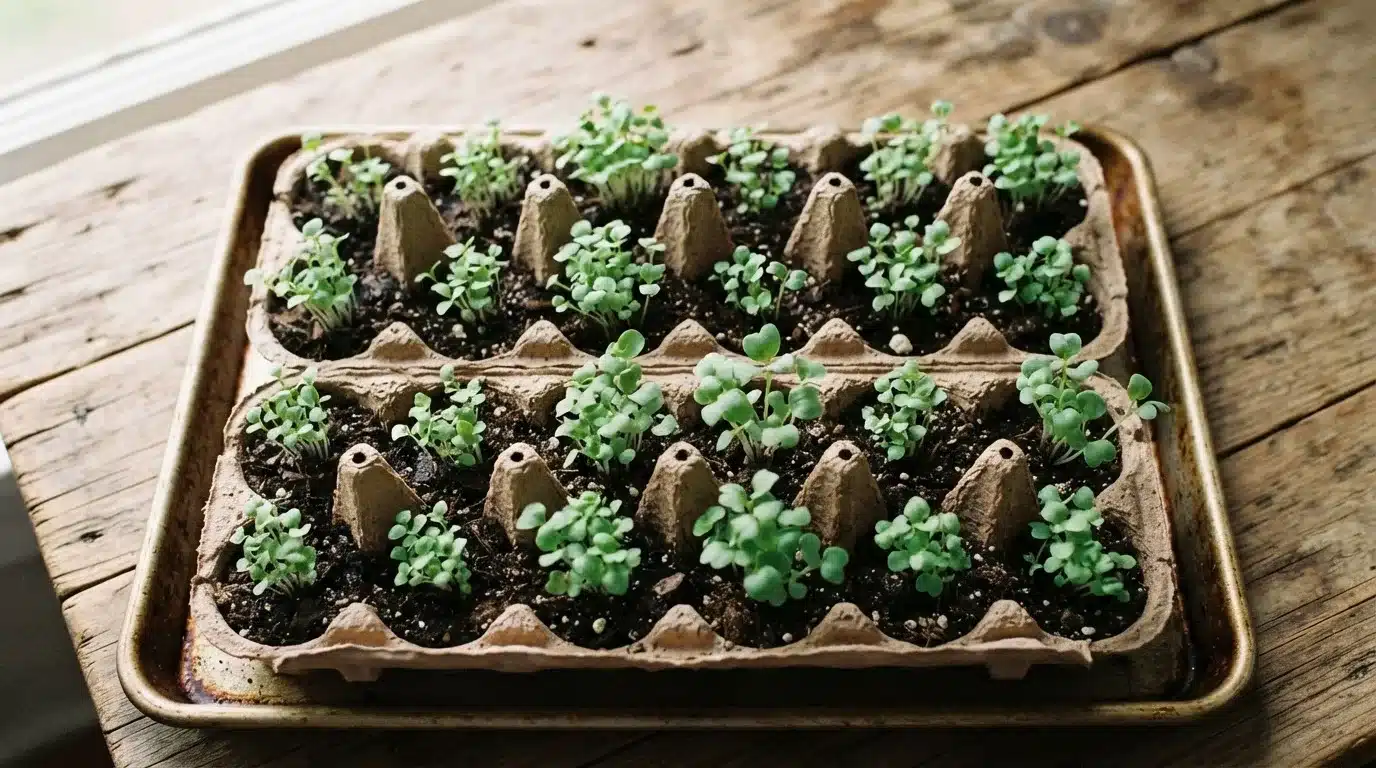
A windowsill with seed trays in February might seem chaotic, but it represents boundless potential.
Proper timing makes transplanting easy; wrong timing means babysitting weak seedlings.
Knowing when to start seeds indoors is more important than fancy grow lights or fertilizers. I’ve lost more than one pepper tray to starting too soon, which is exactly why frost dates come first here, not last.
Frost dates, crop-specific windows, and a bit of planning turn random seed packets into a working schedule.
This blog covers everything you need to know for planting seeds indoors.
Use Your Last Frost Date: When to Start Seeds Indoors
Your last frost date is the anchor for everything else. Mark it on your calendar and count backward.
Most seed packets tell you exactly how many weeks before that date to start indoors, so check each one.
Tomatoes need six to eight weeks. Peppers want closer to ten. Squash barely needs three or four. Starting too early leaves you with leggy, root-bound seedlings sitting in tiny pots for weeks.
Starting too late means transplanting into cold soil that stunts growth.
Find your zone’s average date through a local extension office, then build your schedule around it.
Seed Starting Times by Crop: How Many Weeks Before Frost
Different crops run on different clocks. Use this table to plan your sowing dates.
| Crop | Weeks Before Frost | Notes |
|---|---|---|
| Tomatoes | 6–8 | Transplant after soil warms |
| Peppers | 8–10 | Slow to germinate, needs heat |
| Eggplant | 8–10 | Loves warmth, hates cold shock |
| Broccoli | 6–8 | Tolerates light frost outdoors |
| Cabbage | 6–8 | Hardy once hardened off |
| Lettuce | 4–6 | Fast grower, quick turnaround |
| Cucumbers | 3–4 | Resents root disturbance |
| Squash | 3–4 | Direct sow works too |
| Melons | 3–4 | Keep soil consistently warm |
| Basil | 6–8 | Sensitive to cold snaps |
How to Start Seeds Indoors Step by Step
For a fuller video walkthrough of this exact process, see The Millennial Gardener’s beginner seed-starting series.
Planting seeds into trays requires more than just tossing them into soil. Here are steps that make a real difference.
Step 1: Gather Your Supplies
Collect a transplant tray, humidity dome, plant labels, and an oil-based paint pen that won’t fade.
Add a chopstick for handling tiny seeds precisely.
Grab a seed-starting mix, plus a heat mat and thermostat to control germination. Having everything ready before you start prevents scrambling mid-process and keeps your seedlings from sitting exposed longer than necessary.
Step 2: Fill and Pre-Moisten the Tray
Fill each cell loosely with mix before compressing anything down. Run your hands across the top to level it, then compress gently to create room for seeds. Add a light amount of water and let it absorb fully.
Dry mix repels water at first, so patience matters.
This pre-moistening step keeps seeds from floating away once you start watering after sowing.
Step 3: Label Before You Sow
Assign one label per row if planting in straight lines, or sketch a diagram for random patterns.
Do this before seeds go in, not after.
Skipping it creates confusion once seedlings sprout and look nearly identical. A quick diagram or labeled stick now saves you from guessing later which tray holds cabbage and which holds mustard greens.
Step 4: Overseed to Offset Germination Rates
Seeds rarely hit 100 percent germination, often landing closer to 80 percent.
Place two seeds per cell instead of one, using a wet chopstick tip to grab and position each one precisely. Expensive hybrid seeds might only need overseeding in every other cell.
Cheaper heirloom varieties handle full overseeding without much cost, giving you better odds across the tray.
Step 5: Set the Heat Mat and Watch for Germination
Set your thermostat based on what you’re growing, since different crops germinate best at different soil temperatures. Brassicas favor 70 to 75°F, while peppers need it warmer.
Check daily for moisture without soaking the mix, since overwatering invites damping-off disease.
Once sprouts break through, move them under strong light immediately to prevent legginess.
How to Calculate Your Own Seed-Starting Dates
Doing the math yourself beats guessing every season. Grab a calendar and work through these steps:
- Check the extension office or almanac to find your regional average last frost date.
- Find the weeks before transplanting figure on every seed packet.
- Use the packet number to count backward from your frost date.
- Mark the resulting sow date directly on your calendar.
- Add a few extra days to account for unpredictable spring weather fluctuations.
- Repeat this process for each crop individually, as their timelines often differ.
- Adjust annually if your local frost pattern changes significantly.
How to Read Seed Packets Before Starting Seeds
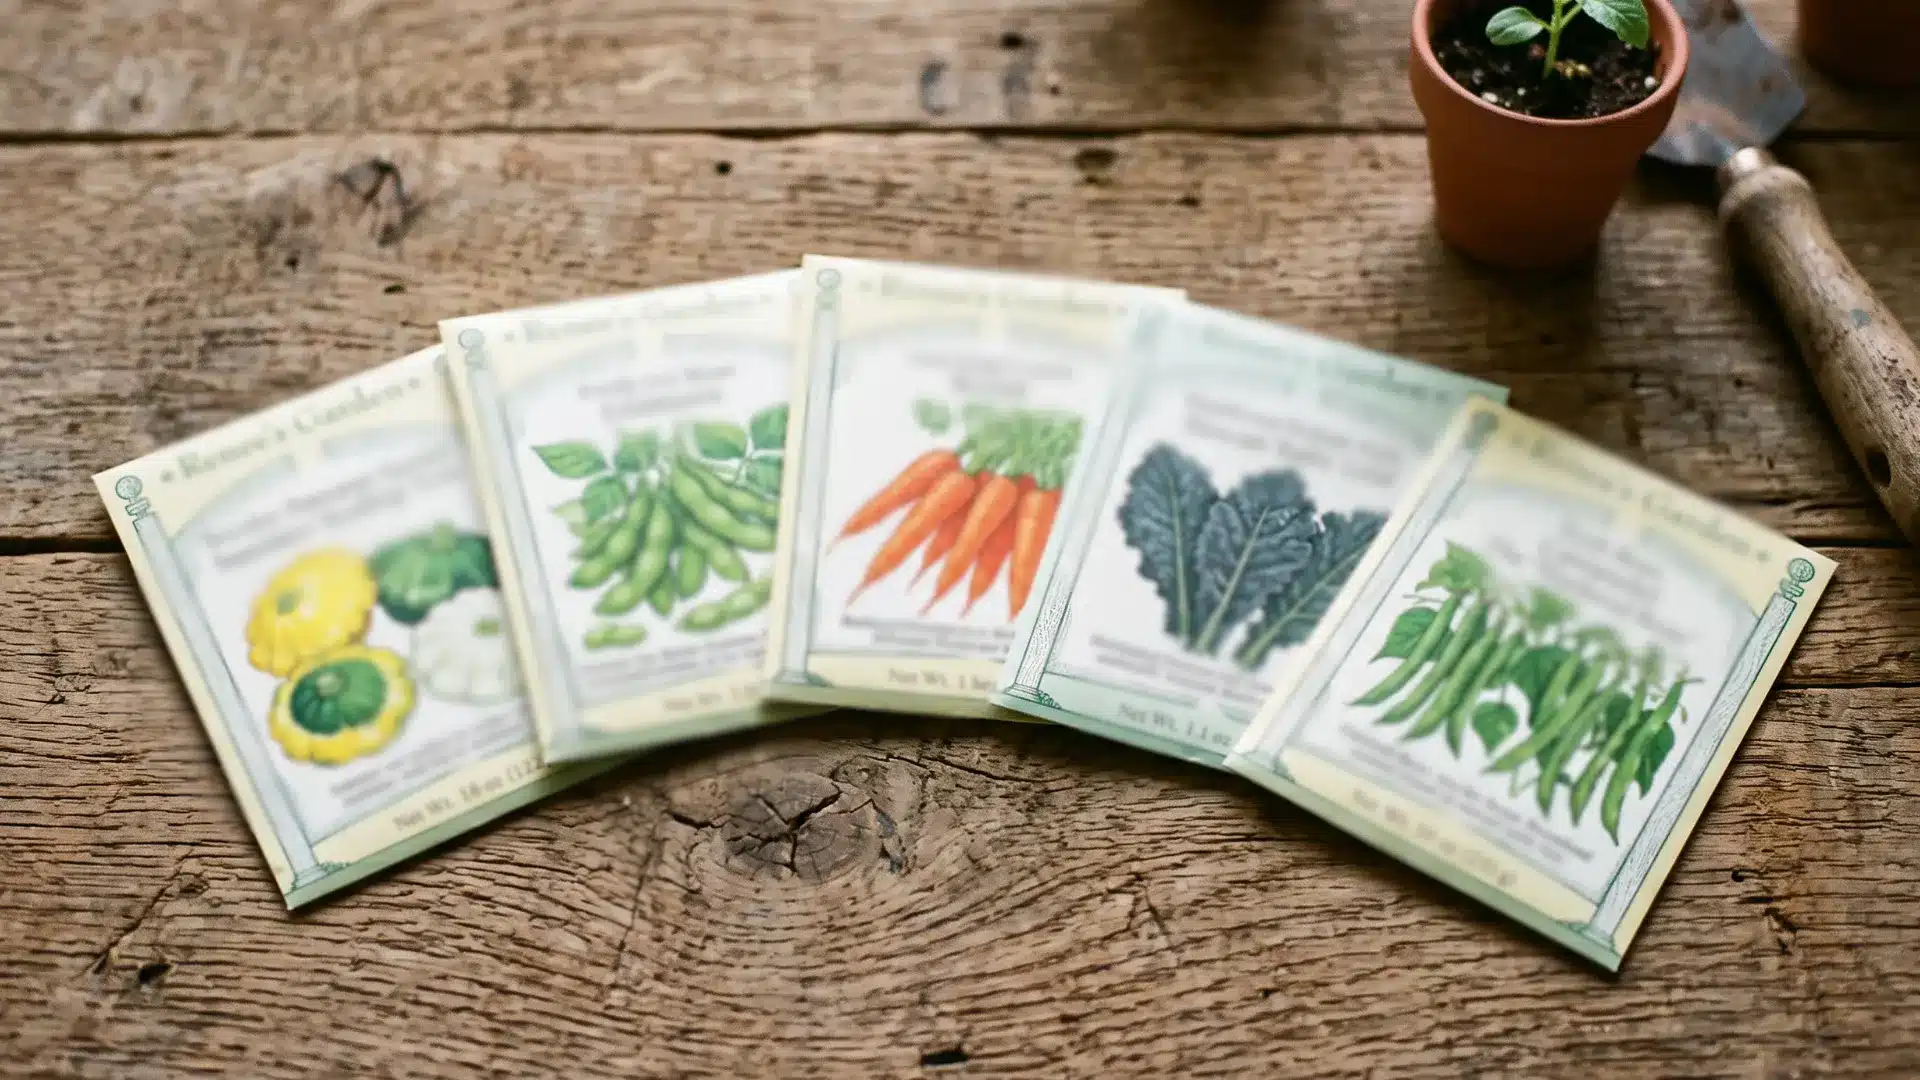
Seed packets pack more information than most people glance at. Look past the pretty photo first.
Check the days-to-germination number, since that tells you how patient to be.
Find the planting depth and spacing requirements, both critical for healthy roots. Note whether the variety prefers full sun or partial shade. Look for disease-resistance codes if growing tomatoes or squash.
Check the packed-for-year date too, since old seeds germinate poorly.
These small details on a tiny paper sleeve shape your entire growing season.
How to Care for Seedlings until Transplanting
Seedlings need steady attention once they’re up and growing.
Feed them a diluted liquid fertilizer at half strength every two weeks.
Watch leaf color closely, since pale green often signals hunger. Keep airflow moving with a small fan to build sturdy stems and prevent fungal issues. Pot up into larger containers if roots crowd the current ones before frost passes.
Wipe down trays and tools occasionally to avoid spreading disease.
Check for pests like aphids or gnats daily. Steady care now means fewer setbacks after transplanting outdoors.
When to Move Seedlings from Indoors to the Garden
Moving day relies on clear signals rather than guesswork. Here’s what to verify before transplanting:
- Nighttime lows stay consistently above your crop’s tolerance range.
- Seedlings show two or more sets of true leaves.
- Stems feel sturdy enough to resist light wind.
- Garden soil has warmed to the right depth.
- Overcast, calm days make the best transplant window.
- Final spacing accounts for each plant’s mature spread.
How to Harden Off Seedlings Before Planting
Hardening off toughens seedlings up before they face the real world.
Start by setting trays outside for an hour in a sheltered, shaded spot. Add an extra hour daily over a week, gradually increasing sun exposure. Wind and temperature swings signal the plant to thicken its cell walls.
Skip windy or freezing days entirely during this stretch.
Bring trays back indoors each night until the final few days. By day seven or eight, seedlings should handle a full day outside comfortably and be ready for their permanent spot in the ground.
Which Seeds Should Be Started Indoors vs Direct-Sown
Some crops flourish when given an early start, while others dislike being relocated.
| Crop | Best Method | Reason |
|---|---|---|
| Tomatoes | Indoors | Needs a long season to fruit |
| Peppers | Slow, heat-loving germination | |
| Broccoli | Transplants handle cold snaps well | |
| Cabbage | Head start beats pests | |
| Onions | Tiny seeds, slow early growth | |
| Carrots | Direct-sow | Taproot hates disturbance |
| Beans | Germinates fast in warm soil | |
| Peas | Prefers cool soil, quick start | |
| Corn | Shallow roots resent transplant shock | |
| Radishes | Matures too fast to bother |
What Happens If You Start Seeds Too Early or Too Late
Timing errors become apparent quickly, and plants seldom overlook them.
Starting too early keeps seedlings in cramped pots, stunting roots and growth after transplant.
They often turn yellow or stretch thin, chasing scarce light. Starting too late shrinks your growing window, leaving crops rushed and less productive before summer heat or fall frost arrives.
Fruiting plants especially suffer, producing smaller harvests.
While neither mistake completely ruins a season, both reduce the yield and energy you could have gained.
Common Indoor Seed-Starting Mistakes to Avoid
Minor mistakes often undermine seed-starting success more than bad luck. Watch for these common errors:
- Overwatering trays can lead to root rot and attract fungus gnats.
- Foregoing thinning results in weak seedlings competing for space.
- Utilizing old seeds that have expired and exhibit low germination rates.
- Failure to label trays leads to mixes of different varieties later.
- Positioning trays too far from the light source results in elongated stems.
- Ignoring airflow can weaken stems and increase the risk of disease.
- Transplanting outdoors without prior hardening off.
- Using garden soil instead of a sterile starting mix.
Frequently Asked Questions (FAQ’s)
1. Do I Need a Heat Mat to Start Seeds Indoors?
Not always, but it speeds germination for slow, heat-loving crops like peppers.
2. Can I Reuse Last Year’s Leftover Seeds?
Yes, if stored properly, though germination rates drop each year past the packed date.
3. Why are My Seedlings Tall and Floppy?
They’re stretching toward weak light, so move them under stronger light immediately.
4. How Often Should I Water Indoor Seedlings?
Check daily with a fingertip test rather than watering on a fixed schedule.
5. Can I Start All My Seeds on the Same Day?
No, since each crop has a different number of weeks before frost.
Wrap Up!
Once you understand when to start seeds indoors for each crop, frost dates stop feeling like guesswork.
Begin functioning as a planning aid.
The foundations- strong roots, sturdy stems, and vibrant color all originate from the early weeks under grow lights.
Mistakes are common, but many can be prevented with patience and proper timing.
What’s the one crop you always start too early or too late?
Drop it in the comments; it might save someone else’s tray this season.