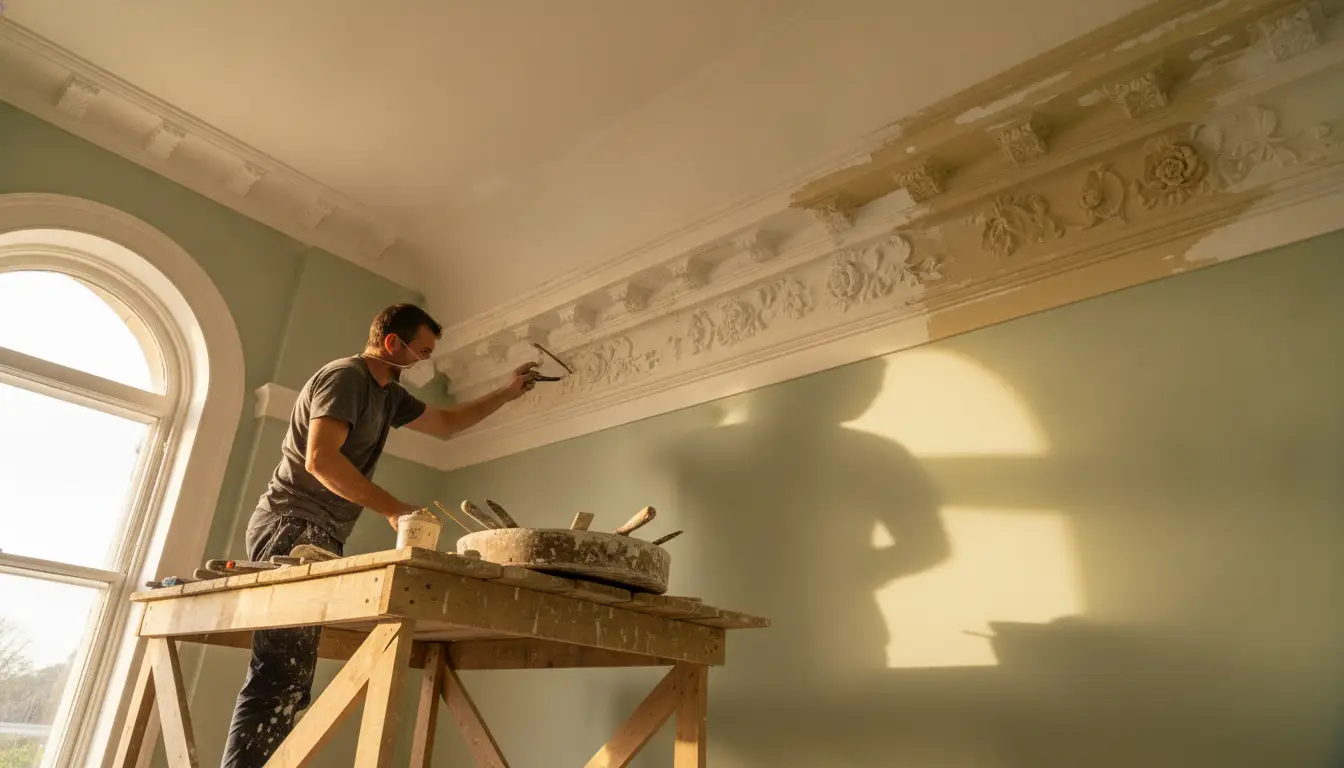
Restoring the original charm of a period property often begins with the delicate task of reviving the intricate plaster cornice. Taking the time to properly assess and repair these features is a vital part of home improvement. This article will guide you through the essential factors you should keep in mind to ensure your restoration project is successful and yields a result that looks both authentic and refreshed.
Assessing the Current Condition of Your Plasterwork
Before you begin any physical work, examine the entire length of the cornice to identify areas of cracking or significant water damage. Larger gaps could suggest that the timber laths are starting to rot or pull away from the joists. If you notice that sections of the decorative moulding are loose or sagging, it is important to secure them to prevent further deterioration or potential safety hazards in your home.
Removing Old Paint Layers to Reveal Original Detail
One of the satisfying parts of a restoration project is stripping away decades of distemper and gloss paint to uncover the sharp lines. Avoid using harsh scrapers that gouge the soft plaster and instead opt for chemical poultices that gently dissolve the paint. As you carefully peel back the layers, you will discover beautiful floral motifs or crisp geometric shapes that have been buried and forgotten for generations.
Sourcing Matching Materials for Missing Sections
If parts of your cornice are missing entirely, find a way to replicate the profile so the new pieces blend with the old ones. Plaster Cornice can take a physical mould of a healthy section using silicone or liquid rubber to create a template for casting new plaster lengths. Use traditional lime plaster to ensure the weight and texture of the new sections are consistent with the historical materials used in your home.
Ensuring a Secure Bond to the Wall and Ceiling
The longevity of your restoration depends on how well the plaster cornice is attached to the surfaces of your room. Make sure that the background surfaces are clean, which does not interfere with the adhesive properties of the new plaster. Using a combination of modern adhesives and traditional mechanical fixings can provide the stability needed to keep heavy sections of cornice firmly in place for decades.
Smoothing Joints and Refining the Final Surface
Spend time carefully sanding and filling the joints to create a continuous and unbroken line around the room. Use a fine-grade filler and small artist tools to replicate any missing details in the corners where different lengths of the cornice meet at an angle. Achieving a smooth transition requires a keen eye and a bit of artistic flair, as you want to avoid any visible bumps or ridges that catch the light and look untidy.
Selecting the Right Paint Finish for Period Plaster
Choosing the correct type of paint is crucial because modern vinyl emulsions can sometimes trap moisture within the plaster feature. Consider using traditional chalk-based paints or breathable mineral paints that offer a soft, matte finish and allow the plaster to regulate humidity naturally. Take note that using these types of finishes helps to highlight the depth and texture of the decorative mouldings.
Maintaining the Integrity of the Restored Features
After the restoration is complete, establish a gentle cleaning routine to keep the plaster looking its best. Using a soft-bristled brush or a vacuum cleaner with a brush attachment is enough to remove dust from the intricate crevices of the design. Keep an eye on the humidity levels in your home, as extreme changes in moisture can cause plaster to expand and contract, potentially leading to new cracks.
Achieving a Successful Plaster Transformation
Successfully finishing a restoration project brings a wonderful sense of accomplishment. Your efforts will not only improve your daily living environment but also protect the story of your property for many years to come. Once the scaffolding is down and the paint is dry, you can sit back and enjoy the timeless elegance that a beautifully restored period cornice brings to your cherished living space.