
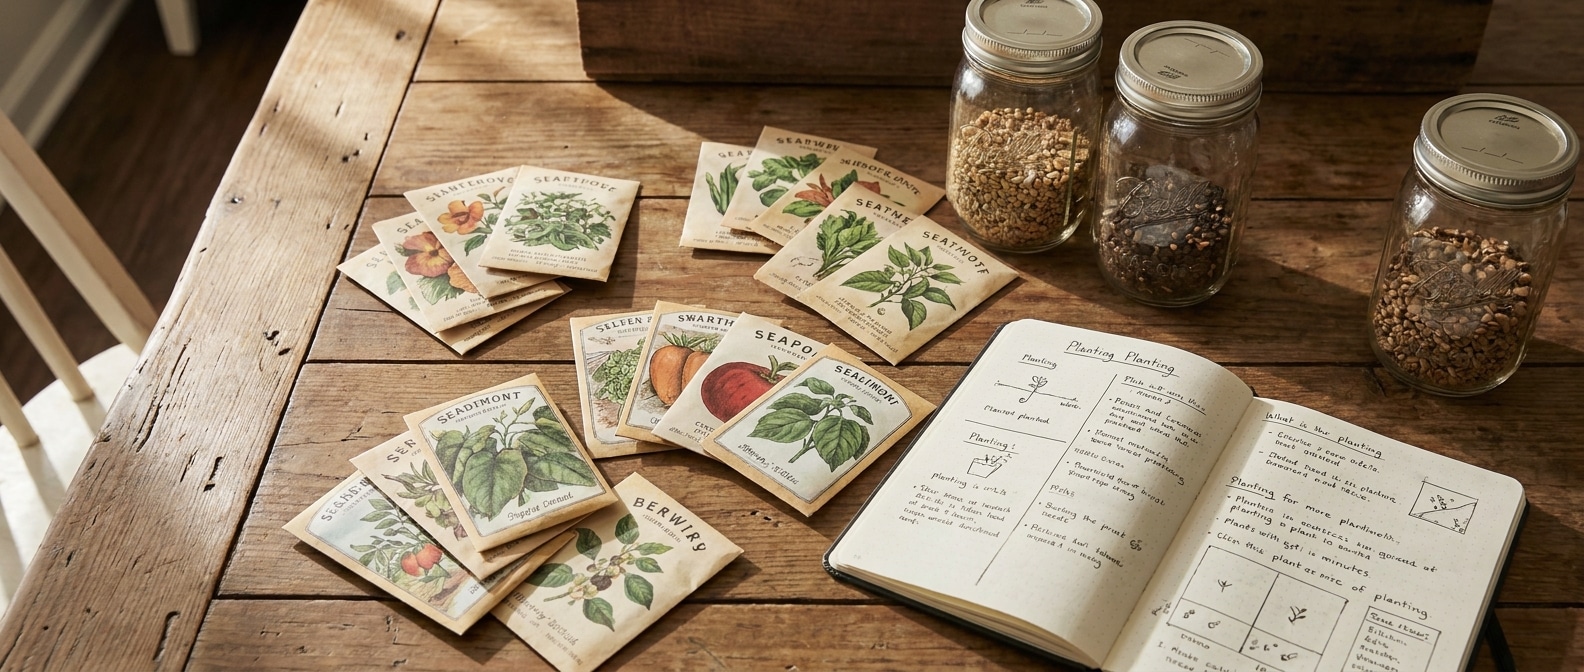
I cleaned out a kitchen drawer last February and found seed packets going back four years. Tomatoes from 2022. A half-empty packet of basil with a date I could no longer read.
Some carrots from a friend that I had meant to plant but had forgotten. About sixty packets total, jammed behind a stack of menus. I planted a handful as a test. The basil germinated.
The carrots did nothing. The tomatoes were patchy. Half of what I had was wasted because I had stored them like junk mail and could not even find them when I needed them.
Most home gardeners I know have a version of this drawer. Seeds are cheap individually, so we treat them as disposable. Then we lose track, buy duplicates, and let perfectly good seeds die from neglect.
This guide is about fixing both halves of that problem. How to keep seeds viable so they germinate when you sow them, and how to organize them so you actually use what you have.
|
Key Takeaways
|
|---|
Why Seeds Die in Your Kitchen
A seed is alive. It is dormant, but alive, and like anything alive, it has a finite shelf life. The clock runs faster or slower depending on three things: temperature, humidity, and light.
The conventional wisdom that seeds last “two to three years” is doing a lot of hiding. Stored properly, most vegetable seeds last five to ten years. Stored in a kitchen drawer next to a sunny window, the same seeds may not make it to year two.
The University of Minnesota Extension summarizes the rules well: cool, dry, and dark. Cool means below 50°F if you can manage it. Dry means below 40% relative humidity. Dark means out of direct light entirely. The closer you get to all three, the longer your seeds stay viable.
There is a useful rule of thumb from the seed storage research community. The sum of temperature (in °F) and humidity (in %) should be under 100 for long-term storage.
A pantry at 70°F and 50% humidity sits right at the edge. A fridge at 40°F and 40% humidity is comfortably under. A freezer at 0°F with seeds that have been dried first is essentially indefinite storage.
The container actually matters
A lot of beginner advice says to store seeds in their original paper envelopes inside a shoebox. That works for one season. It does not work for five. Paper breathes.
Humidity in the room reaches the seeds. The packet absorbs water in summer and releases it in winter, and each cycle shortens the seed’s life.
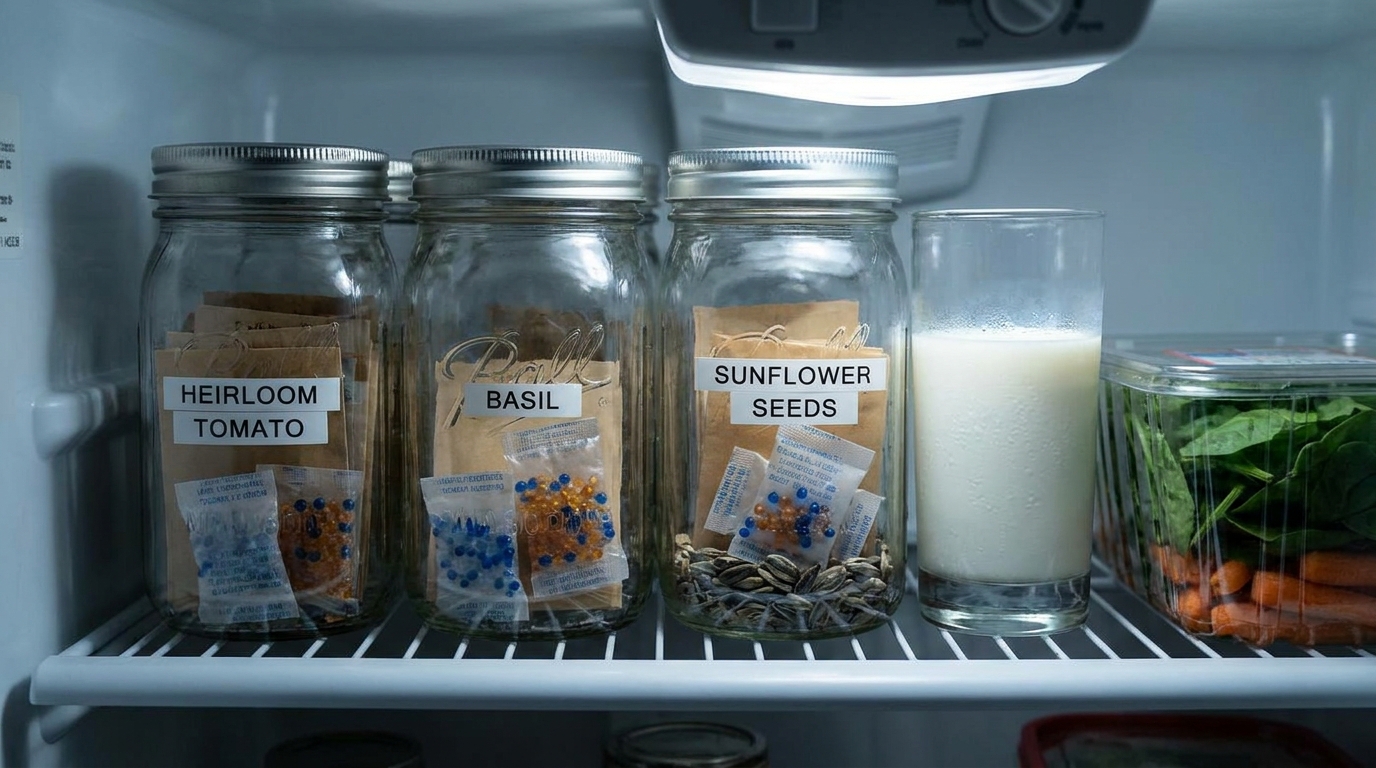
What you want is an airtight container. Glass jars with rubber-sealed lids are ideal. Mason jars work fine. Repurposed pasta sauce jars work fine.
Plastic containers with snap-on lids work too, though glass is better because it does not stain or hold smells. My absolute favorite is our fabric gardening container.
The container seals out humidity, not in, so you want to seal it when the air in the room is dry. Sealing a jar on an August afternoon traps that humidity with your seeds for the year.
Desiccants do the heavy lifting
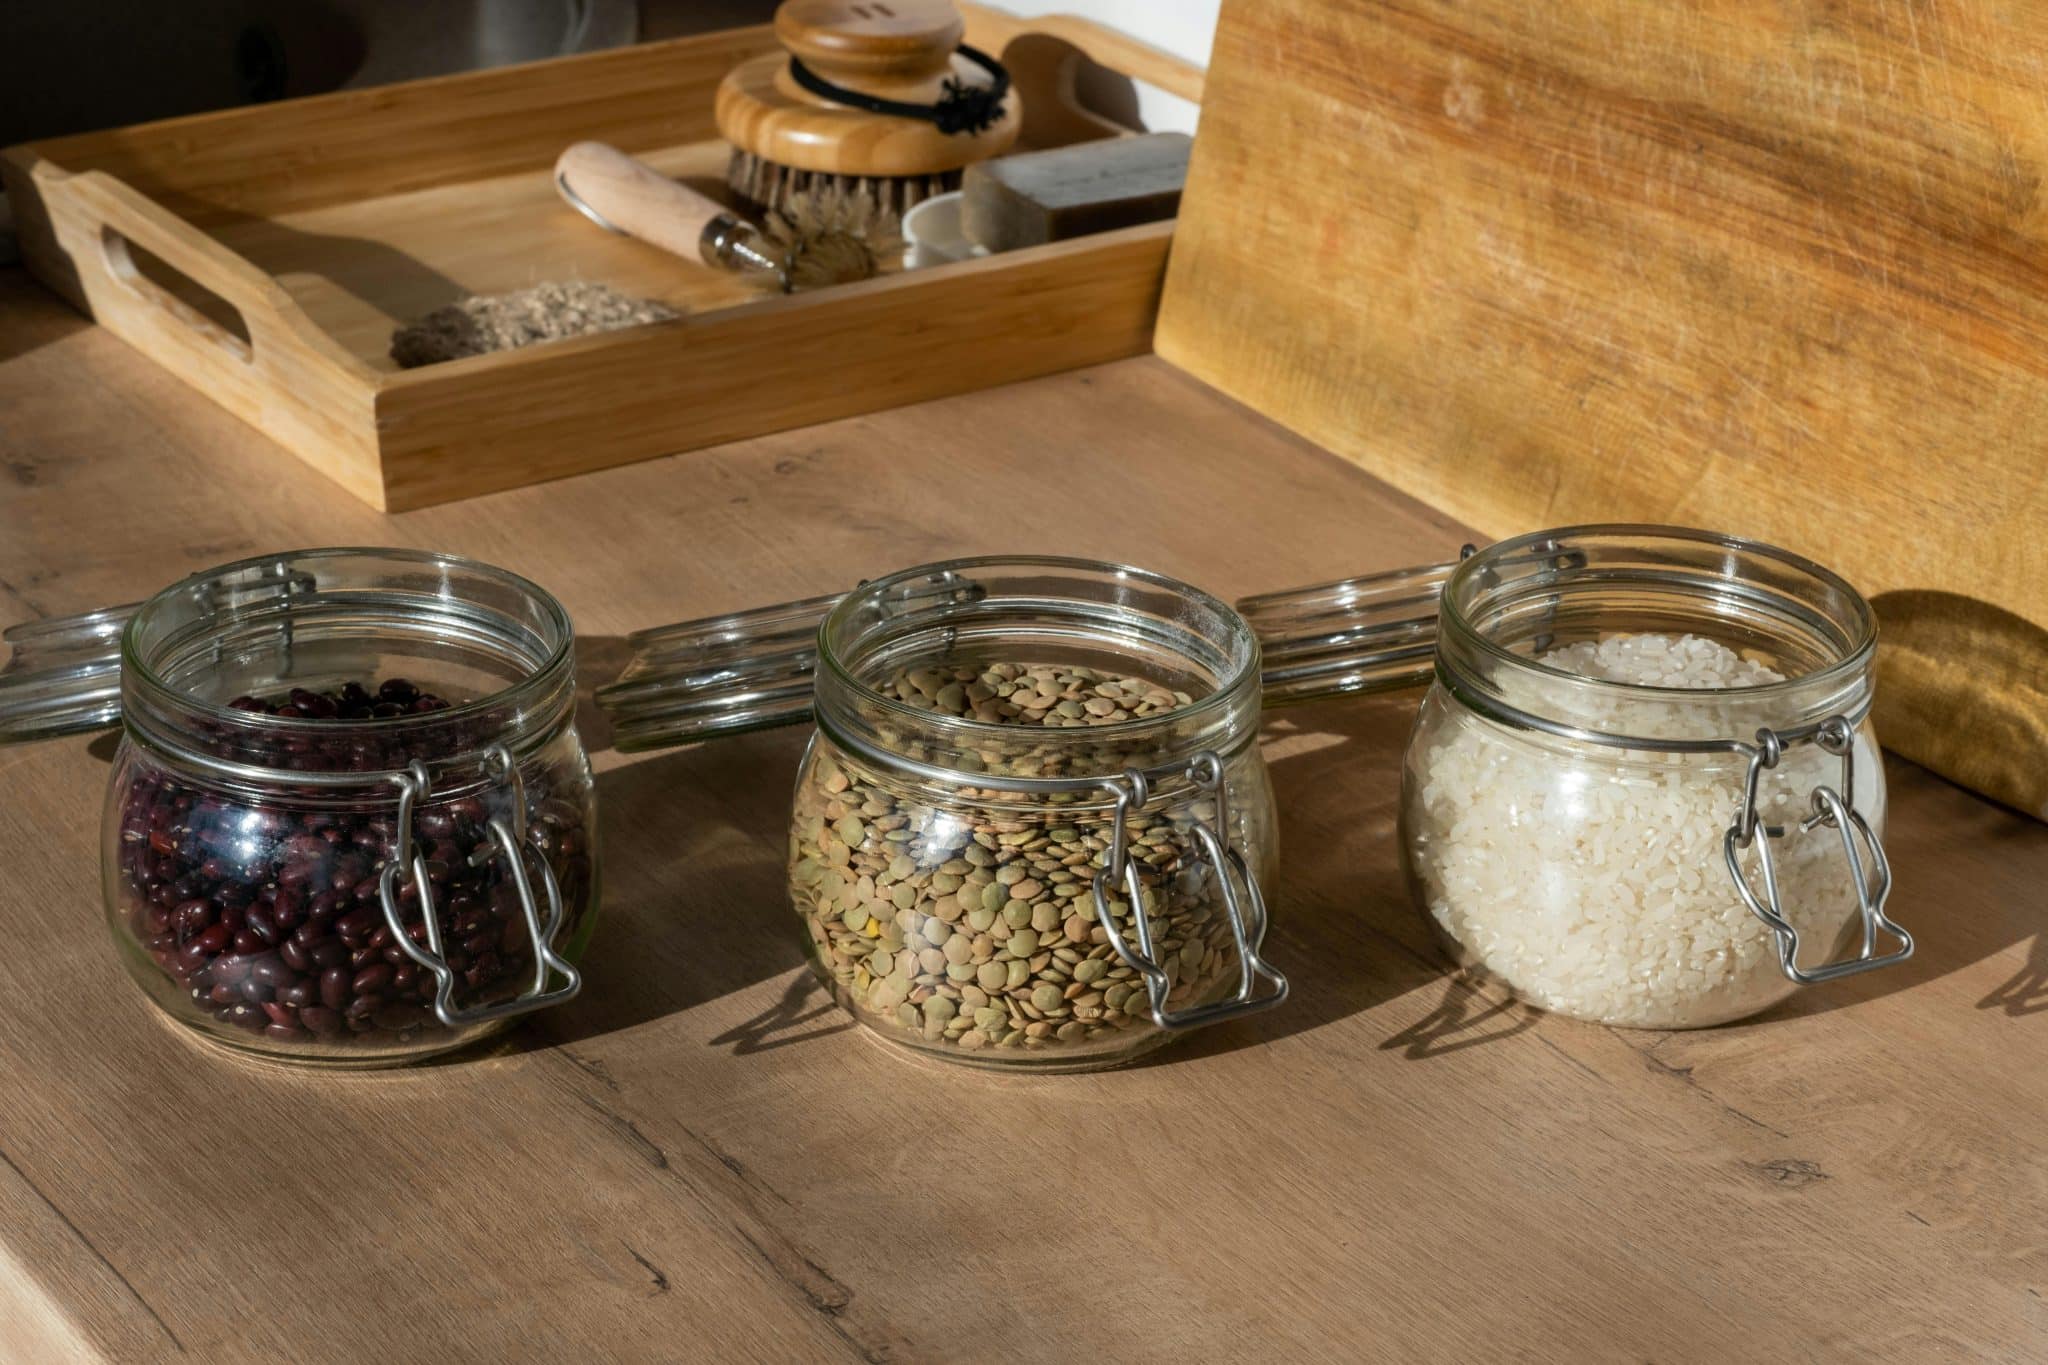
A few packets in each jar pull moisture from the air and keep the interior dry for months. When they feel heavy or the beads change color, bake them at 200°F for a couple of hours to drive the moisture back out and reuse them.
A tablespoon of powdered milk wrapped in a coffee filter works as a budget alternative and lasts about six months. Rice does not work as well as people claim; the grains are too large to absorb much, and they pick up smells from your pantry.
Cold storage extends life dramatically
A standard refrigerator roughly doubles the shelf life of dried seeds compared to room temperature. Bring a jar out, let it come to room temperature for a couple of hours before opening (this prevents condensation from forming on cold seeds), and only take what you need.
For seeds you want to keep for a decade or more, the freezer is even better, provided the seeds are dried to 8% moisture or less first. Moisture in a wet seed causes it to expand and rupture the cell walls.
Once You Have More Than Twenty Packets, You Need a System
Storage keeps seeds alive. Organization is what makes you use them. Seeds you cannot find when you need them are not planted, and unplanted seeds are wasted, whether they are still viable or not.
The home gardening community has converged on a few different organizing systems, and you can hear several discussed on the joegardener podcast about seed organization, which is a useful listen if you want to hear how serious gardeners think about it.
The right system for you depends on how many seeds you have and how you plan your garden.
By plant family (good for small collections)
If you have fewer than thirty packets, alphabetical by plant works. Beans, beets, carrots, lettuce, peppers, and tomatoes. A single index card box or a small file organizer holds everything.
You see all your seeds at once when you open it. There is nothing to remember. This is what most home gardeners should start with.
By season (good for medium collections)
Once you push past forty or fifty packets, alphabetical order starts to break down because you spend half your time flipping past things you cannot plant yet. Better to organize by when each seed gets sown.
Cool-season crops in one section (peas, spinach, lettuce, broccoli, brassicas). Warm-season crops include tomatoes, peppers, beans, squash, and cucumbers. Fall plantings in a third.
You pull out only the section you need each month, and you are not staring at tomato seeds in March when you should be sowing peas.
By garden bed (good for planners)
The most ambitious version is organizing your seed storage by where each crop is going. Bed one: lettuce, carrots, radishes. Bed two: tomatoes, basil. Bed three: beans, cucumbers.
This works if you have a fixed garden layout and you plan your rotation in advance. It does not work if your garden plan changes every year, because you spend more time reshuffling the storage than planting.
Pick the system that matches how you actually garden, not the one that looks tidiest in someone else’s photos.
Keep an inventory that you can find
Whatever system you use, write down what you have. A sheet of paper taped inside the storage box is enough. Crop, variety, year purchased, source. When you sow some, cross it off.
When you finish a packet, draw a line through it. This sounds excessive until the first of February, when you spend ten minutes looking for the kale seeds you swore you had, only to find them in the wrong section after buying more.
What to Do When the Label Is the Weakest Link
Here is the failure mode nobody talks about. Your seeds are stored beautifully. Glass jars, desiccants, fridge, full system. Five years later, you open a jar and the paper label has yellowed, the ink has faded, and you have no idea what variety is inside.
The seeds are fine. The information is gone.
This is the part of seed storage where the materials really matter, especially if you are saving heirloom or family seeds you intend to keep for decades.
Three things commonly fail:
- Paper envelopes get damp in the fridge, smudge if you write on them while they are cold, and tear when handled repeatedly.
- Sharpie ink fades within a few years, especially if it gets any UV exposure when the jar is sitting out.
- Printed labels (from a label maker) lose adhesion as the glue dries out, and then the label falls off the jar.
For most seeds, none of this matters. You replace the packets every couple of years anyway. The varieties are easy to repurchase. The labels only need to last as long as the seeds inside.
For heirloom and family seed collections, the math changes. If you are saving Cherokee Purple tomato seeds from your grandfather’s garden and you want them to outlast you, the label has to outlast the seed. This is where engraved metal tags earn their place.
The collection I keep in mason jars uses small Monterey Company custom charms tied to the jar lids with twine. The variety and source are engraved into the metal. They do not fade, peel, or smudge, and they will still be readable when the jar is opened in twenty years.
For ordinary garden seeds, it is overkill. For seeds you genuinely intend to preserve, it is the only labeling that will last as long as the seeds themselves.
If you are saving seeds you intend to share or sell, organizations like Seed Savers Exchange have detailed guidance on documentation that goes beyond what most home gardeners need. The principle is the same. The seed and the information about it have to travel together.
Start With What You Already Have
The trap with any storage system is buying the system before fixing the habit. Before you order anything, pull out every seed packet in your house and put them on the kitchen table. Sort by crop. Note the dates.
Throw out anything older than five years that has been sitting in a paper envelope in a warm cupboard, because those seeds are gone, whether you accept it or not. What is left is your starting collection.
Put the survivors into whatever airtight containers you already own. Mason jars, repurposed sauce jars, a snap-lock plastic box all work. Slip in any silica gel packets you have lying around.
Move the whole thing to the back of a cool cupboard or the bottom shelf of the fridge. That is 80% of seed storage done in an afternoon, with nothing purchased.
The fancier the system, the more likely you are to abandon it. The seeds you actually plant next spring are the ones you can find, in a jar that opens, with a label you can still read. Everything else is gardening theater.


