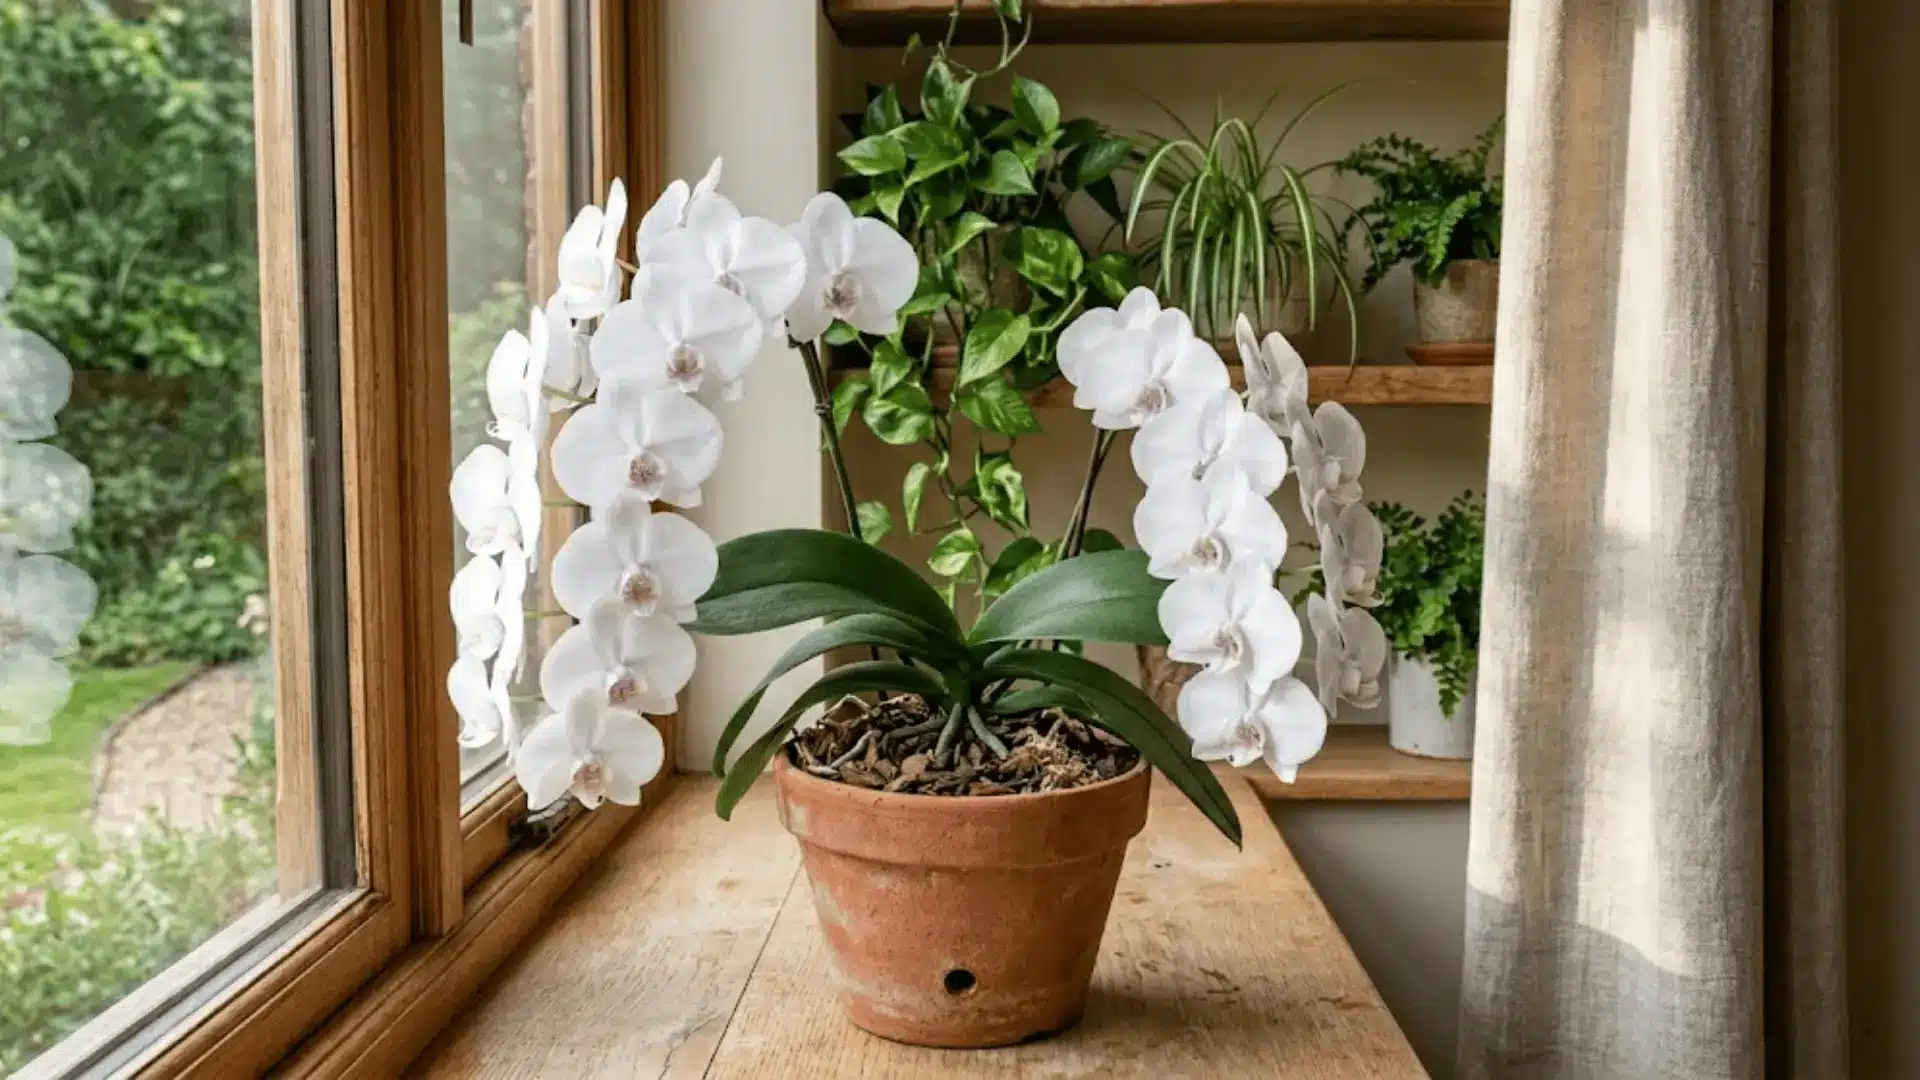
Most people assume moth orchids are reserved for experienced gardeners with a very particular green thumb.
Spoiler: they’re not!
Phalaenopsis orchids are actually one of the most forgiving flowering plants you can bring indoors, which is exactly why they’ve become a quiet favorite among plant lovers of all levels.
Picked one up on a whim or got one as a gift, you’re already in good hands.
We’re covering everything from watering and light to coaxing those gorgeous blooms back for another season.
What is a Phalaenopsis Orchid (Moth Orchid)?
Phalaenopsis, commonly called the moth orchid, gets its nickname from the way its blooms loosely resemble moths in flight.
Native to the tropical regions of Southeast Asia and Australia, these plants are epiphytes by nature, meaning they grow on tree bark rather than in soil, absorbing moisture and nutrients from the air and rain around them.
That background tells you a lot about how to care for them.
Indoors, they adapt beautifully to the warmth and indirect light of a typical home, which is precisely what makes them so reliably easy to grow.
Light Requirements for Moth Orchid Care
Moth orchids love light, just not too much of it. Getting the balance right is honestly one of the easier parts of Phalaenopsis orchid care.
Finding the Sweet Spot
Bright, indirect light is what these plants genuinely thrive in. An east-facing windowsill is the ideal spot, offering gentle morning sun without the harshness of afternoon rays.
Filtered light through a sheer curtain works beautifully for south or west-facing windows, too.
What to Avoid?
- Direct sunlight will scorch the leaves and stress the plant.
- Low light environments slow growth and discourage blooming.
- Dark green leaves signal the plant needs more light.
- Yellowing leaves indicate too much sun exposure.
How to Water Phalaenopsis Orchids Properly?
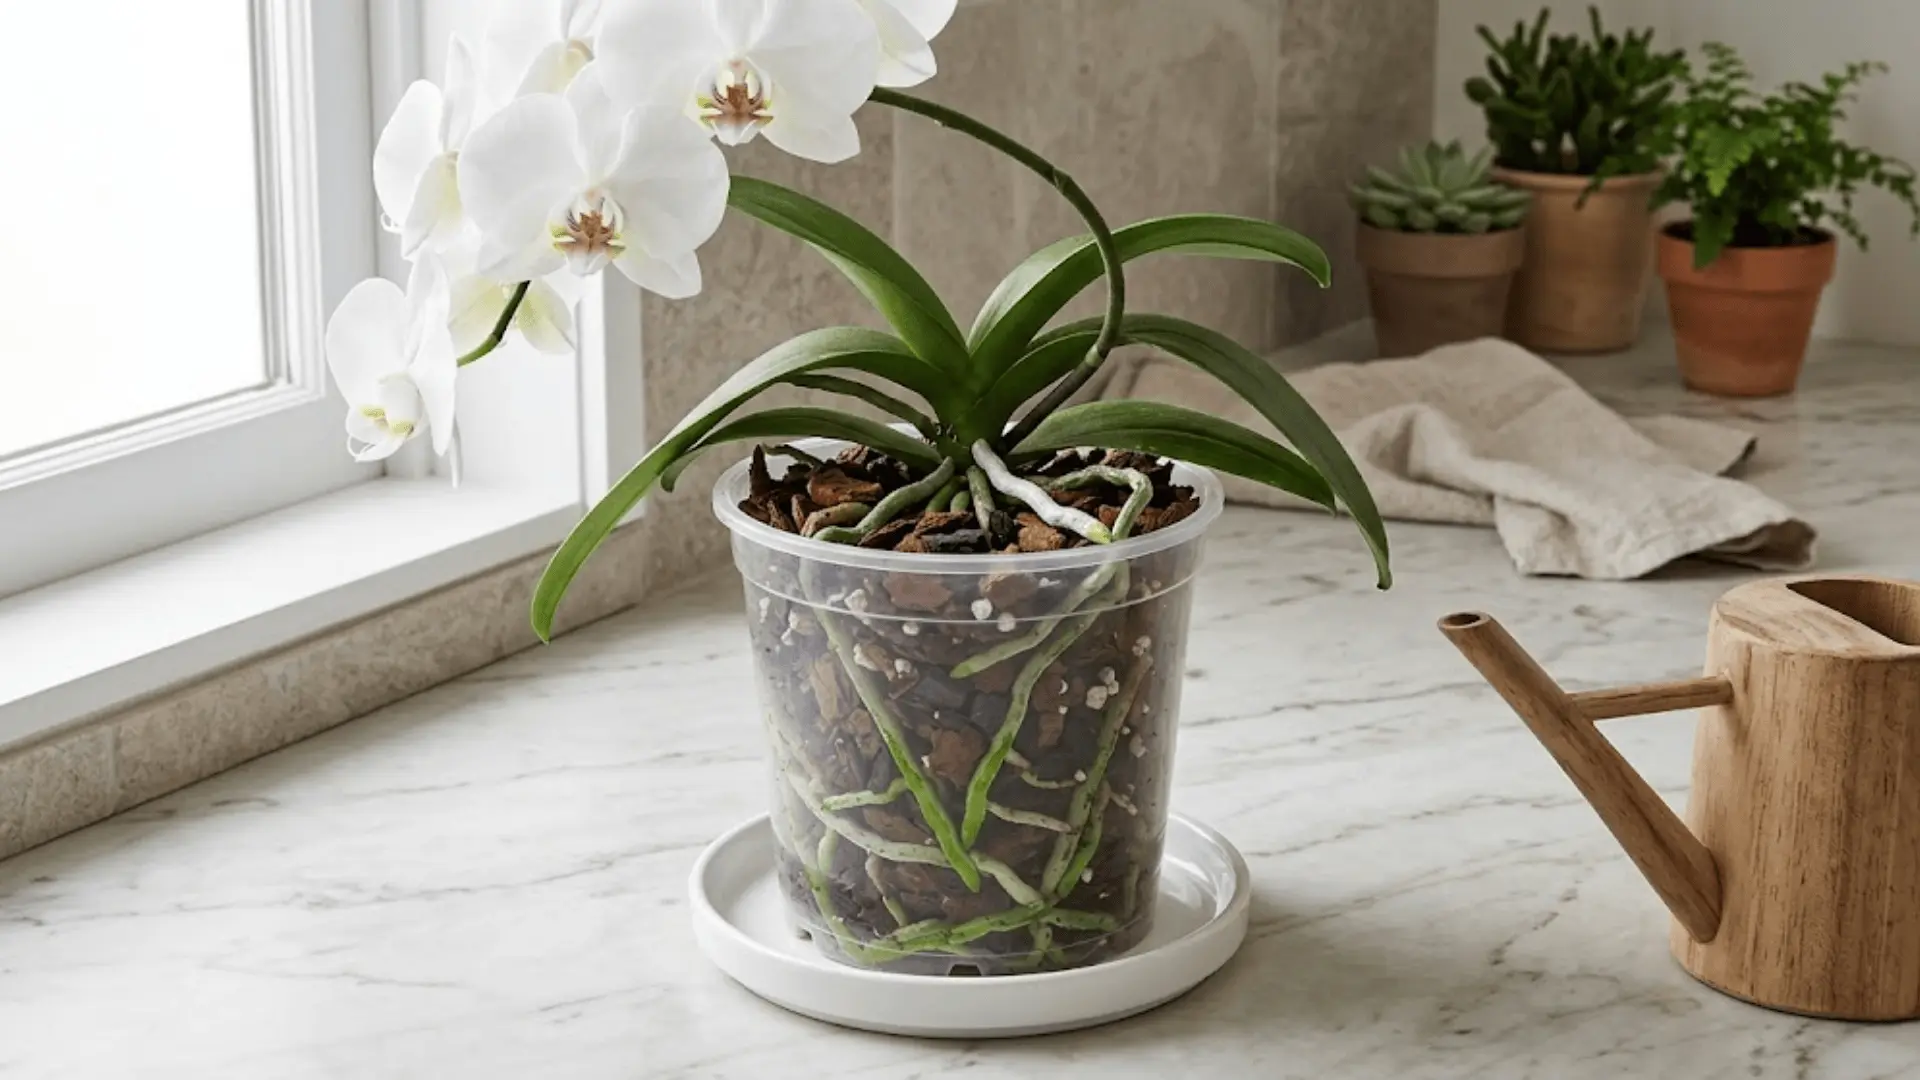
Overwatering is where most people go wrong with moth orchid care, and it’s an easy trap to fall into. Phalaenopsis orchids prefer to dry out slightly between waterings rather than sitting in constant moisture.
Check the roots before reaching for the watering can. They’ll tell you everything:
- Silvery-white roots mean it’s time to water
- Bright green roots mean it can wait
- Dry, pulling-away bark is another sign the plant is ready for a drink
Best Watering Method
Once you know it’s time, the process itself is simple and takes just a few minutes.
- Step 1: Take the orchid to a sink and water it slowly and evenly until it flows freely out of the drainage holes.
- Step 2: Let it drain completely, giving it a few minutes before moving it back.
- Step 3: Check that no water is sitting in the crown or between the leaves, and gently tip it out if needed.
- Step 4: Place it back in its spot and repeat the process when the roots turn silvery-white again.
Moth Orchid Temperature and Humidity Guide
Phalaenopsis orchids are tropical plants at heart, so they appreciate warmth, but not without a little variation.
A slight dip in temperature at night actually works in your favor, as it’s one of the natural cues that encourages the plant to set new flower spikes.
Temperature
Aim to keep your orchid in a space that stays comfortably warm through the day and slightly cooler come evening.
Avoid placing it near air vents, cold drafts, or windows that get very cold at night, as sudden temperature swings can stress the plant.
- Daytime: 21–27°C is the ideal range
- Nighttime: a slight drop to 16–18°C encourages blooming
Humidity
Being native to tropical environments, moth orchids do best with a bit of moisture in the air around them.
Most homes run a little dry, especially in winter, so it’s worth giving this some attention.
- A pebble tray filled with water placed beneath the pot is a simple, low-effort fix.
- A small humidifier nearby works well if you have multiple plants.
- Grouping plants together naturally raises the humidity around them.
Best Potting Mix for Phalaenopsis Orchids
Since Phalaenopsis orchids are epiphytes, their roots are used to breathe freely in the open air.
Regular potting soil is too dense for them and will suffocate the roots fairly quickly. What they need instead is a loose, chunky mix that holds just enough moisture while still letting air circulate.
| Potting Medium | Airflow | Moisture Retention | Best For |
|---|---|---|---|
| Bark Mix | Excellent | Low | Most indoor conditions |
| Sphagnum Moss | Moderate | High | Drier environments |
| Regular Potting Soil | Poor | Very high | Not suitable |
Fertilizing Moth Orchids
Phalaenopsis orchids are light feeders, so less is genuinely more here.
During the active growing season, a diluted orchid fertilizer every one to two weeks gives them the steady nutrition they need without overwhelming the roots.
Come winter, ease off and reduce feeding as the plant naturally slows down.
Over-fertilizing is one of those quiet mistakes that shows up later in the form of damaged roots and burnt leaf tips, so when in doubt, dilute a little more than you think you need to.
How to Get Phalaenopsis Orchids to Rebloom?
Getting a moth orchid to bloom again is very doable; it just asks for a little patience and the right conditions.
Here’s what actually moves the needle:
- Trim the flower spike just above a healthy node once the last bloom drops.
- Introduce slightly cooler nights for a few weeks to naturally trigger a new spike.
- Keep it in bright, indirect light throughout this period.
- Resume regular fertilizing as soon as you notice new growth.
- Avoid moving the plant around too much, as stability encourages blooming.
Give it the right nudge at the right time, and a second bloom is well within reach.
Repotting Phalaenopsis Orchids
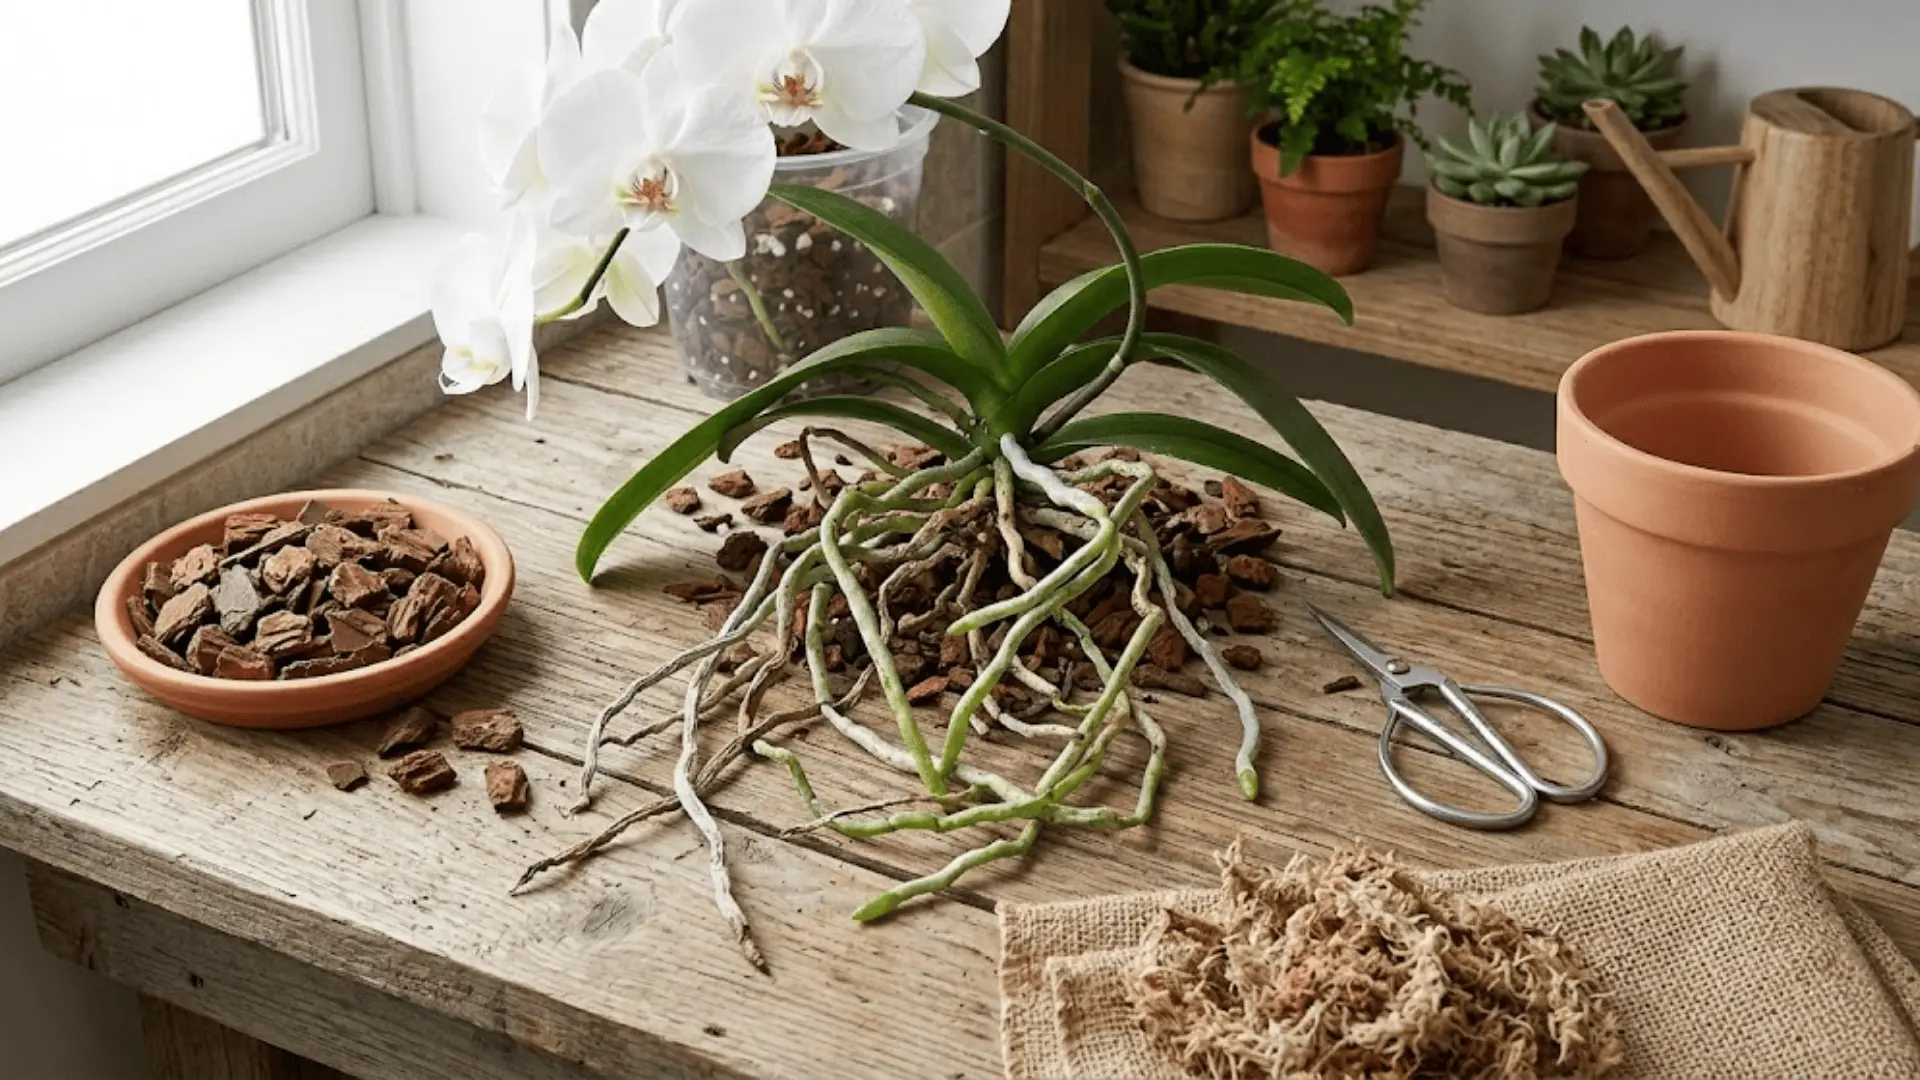
Phalaenopsis orchids don’t need repotting often, but when they do, timing matters. The best window is right after the blooming cycle ends, when the plant is shifting its energy toward root and leaf growth.
Watch for roots creeping out of the drainage holes or a potting mix that’s breaking down and staying soggy. Those are your clearest signs it’s time.
How to Repot?
Fresh medium and a slightly larger pot are really all you need to set your orchid up for its next season of growth.
- Step 1: Gently remove the orchid from its pot and shake off the old potting medium.
- Step 2: Trim any dead, mushy, or dried-out roots with clean scissors.
- Step 3: Place the orchid in a fresh pot with new bark mix or sphagnum moss.
- Step 4: Hold off on watering for a day or two to let any trimmed roots settle.
Common Phalaenopsis Orchid Problems and How to Fix Them?
Most Phalaenopsis orchid problems show up in the leaves, roots, or blooms, and they’re usually the plant’s way of telling you something specific is off.
Learn to read the signs, and you’ll know exactly what to adjust.
Problem 1: My Orchid’s Leaves are Turning Yellow
The Fix: This usually comes down to too much direct light or overwatering. Move it to a softer, indirect light spot and let the potting medium dry out a little more between waterings.
Problem 2: My Orchid’s Roots Look Brown and Mushy
The Fix: Excess moisture is almost always the culprit here. Trim the affected roots, repot in fresh medium, and scale back how frequently you water going forward.
Problem 3: My Orchid’s Buds are Falling Off Before They Open
The Fix: Sudden temperature changes or being moved around too often can cause this. Find a stable, draft-free spot for your plant and leave it there.
Problem 4: My Orchid Hasn’t Bloomed in Months
The Fix: It’s likely not getting enough light, or the temperature stays too consistent day and night. Introduce brighter indirect light and let the nights run a little cooler to nudge it back into bloom.
Indoor Placement Tips for Moth Orchids
Where you place your orchid indoors can make or break its overall health and blooming. A few thoughtful choices go a long way.
- East-facing windowsills offer the gentlest, most consistent light through the day.
- Bright rooms with sheer curtains are a great alternative for south or west-facing spaces.
- Keep the plant away from AC and heating vents, as dry artificial airflow stresses it quickly.
- Drafty windows, especially in winter, can trigger bud drop and leaf stress.
- Rotating the pot slightly every few weeks encourages even, balanced growth.
Get the placement right from the start, and your orchid will do most of the work on its own.
Final Thoughts
Phalaenopsis orchid care really does come down to a few simple rhythms: the right light, mindful watering, and a little patience around blooming season.
Once you understand how this plant naturally lives and breathes, everything else starts to click. These are plants that genuinely reward attention without demanding too much of it.
Keep showing up for yours consistently, and it will keep surprising you.
Got questions or a moth orchid you’re proud of? Drop it in the comments below, would love to hear how yours is doing.