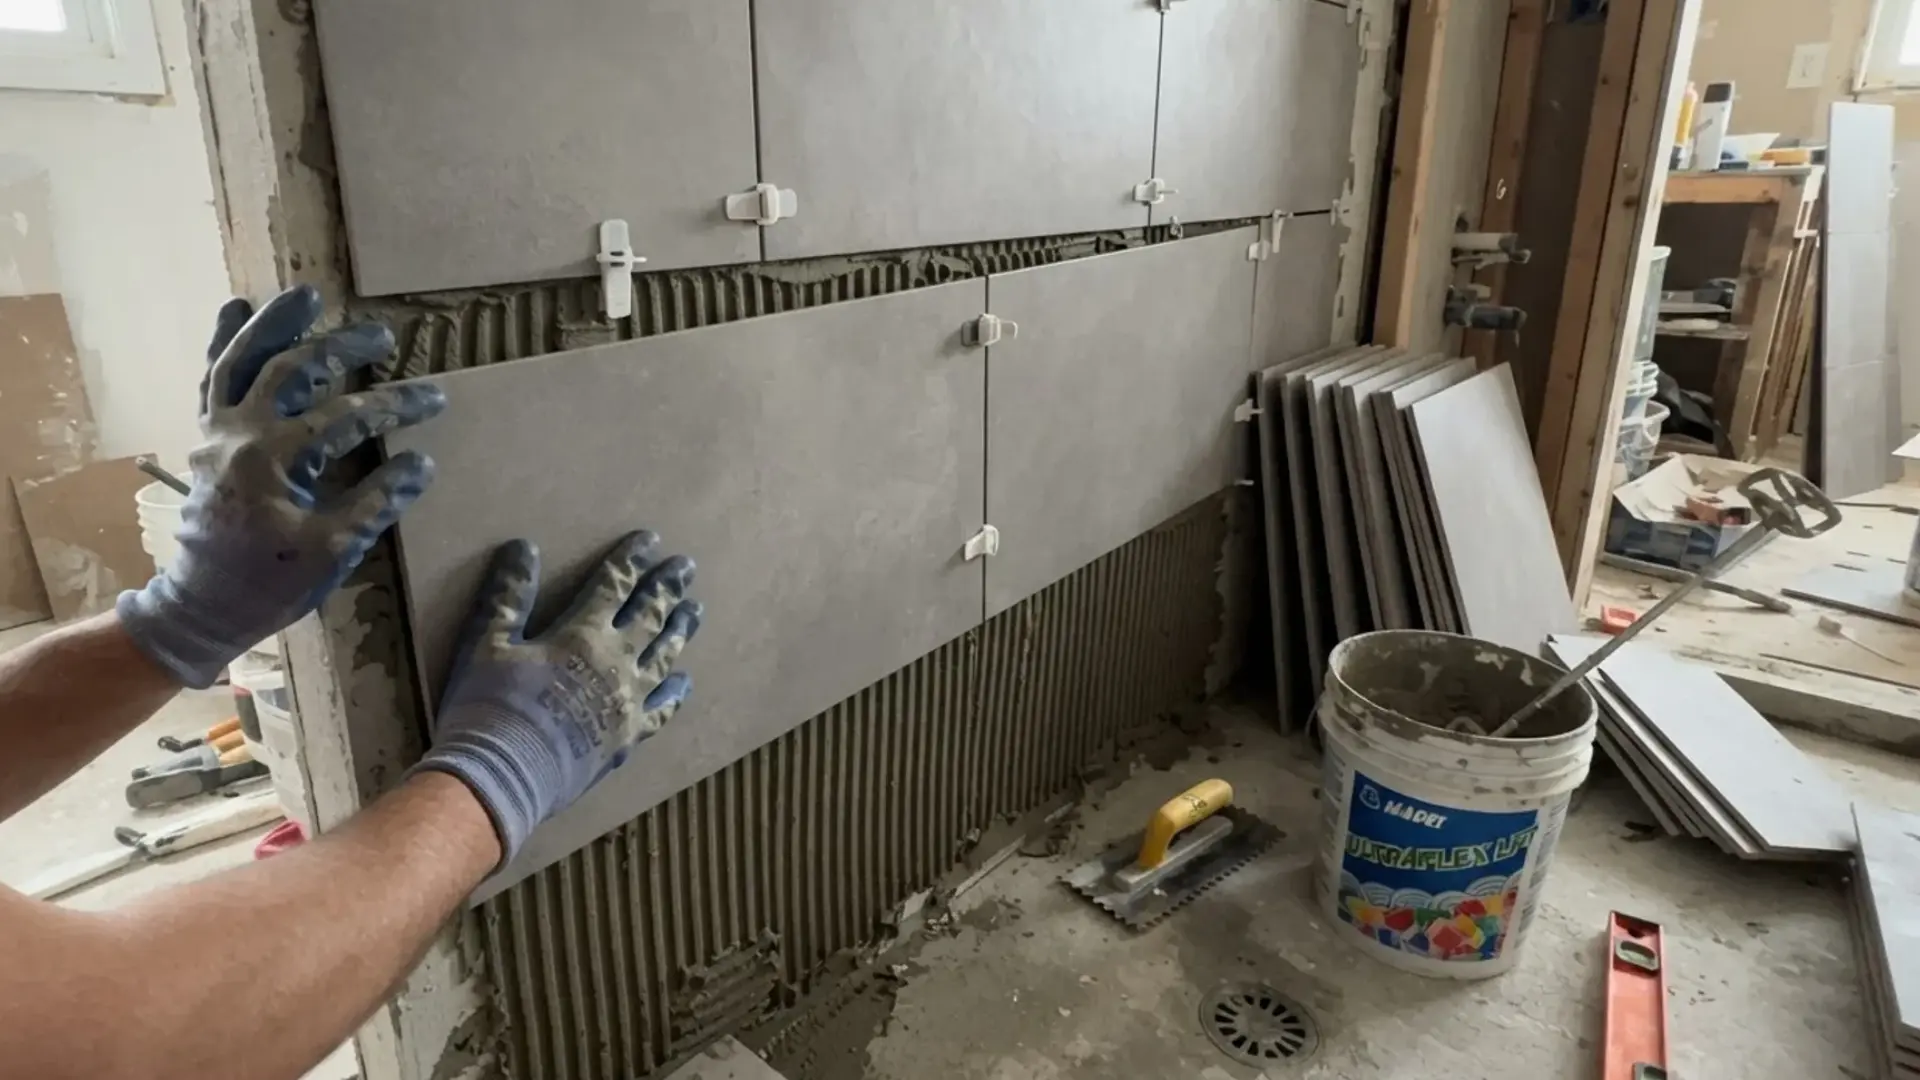
A tiled shower can look great or fall apart fast, depending on the work underneath. Learning how to tile a shower takes more than sticking pieces to a wall.
This project involves several stages, from measuring walls to setting tile and sealing corners. Each stage builds on the last, so order matters throughout the job.
Skipping steps now often leads to costly repairs later. Simple steps make the whole job easier to follow. You do not need fancy tools or years of practice to get great results.
Grab your gear, clear your space, and get ready to build a shower that lasts for years.
What Makes Shower Tiling Different?
Shower walls deal with water and humidity every single day, unlike most kitchen walls. This constant moisture makes proper waterproofing far more important than in dry areas.
Showers also have plumbing fixtures and pipes that tile has to fit around carefully. Corners, niches, and shelves add extra angles that need careful planning and cutting.
A regular backsplash rarely deals with standing water or constant steam as a shower does. Mistakes in a shower can lead to leaks, mold, or damage hidden behind the wall.
That’s why shower tiling demands more precision and better waterproofing than a simple kitchen project.
What You Need Before You Start
Tiling a shower takes more than just tile and grout to get the job done right. Having the right tools and materials ready makes the whole process much smoother, so here’s a quick breakdown:
| Tools | Materials |
|---|---|
| Level, straight board, drill | Thinset, water |
| Notch trowel, wet saw | Tile spacers, leveling wedges |
| Safety glasses, ear protection | Porcelain tile, Mosaic accent tile |
| Diamond sponge, carpenter’s pencil | Bullnose trim |
| Putty knife, knee pads, rubber mallet | Tub and tile silicone, waterproofing membrane, painter’s tape |
Gathering everything ahead of time helps the project move along without unnecessary stops. Most of these items are easy to find at any hardware or tile shop.
How to Tile a Shower: Step-by-Step Process
A successful shower tile installation depends on careful planning, accurate measurements, and steady progress. Follow each step in order to keep the tiles level, evenly spaced, and securely bonded:
Step 1: Choose the Tile, Pattern, and Shower Features
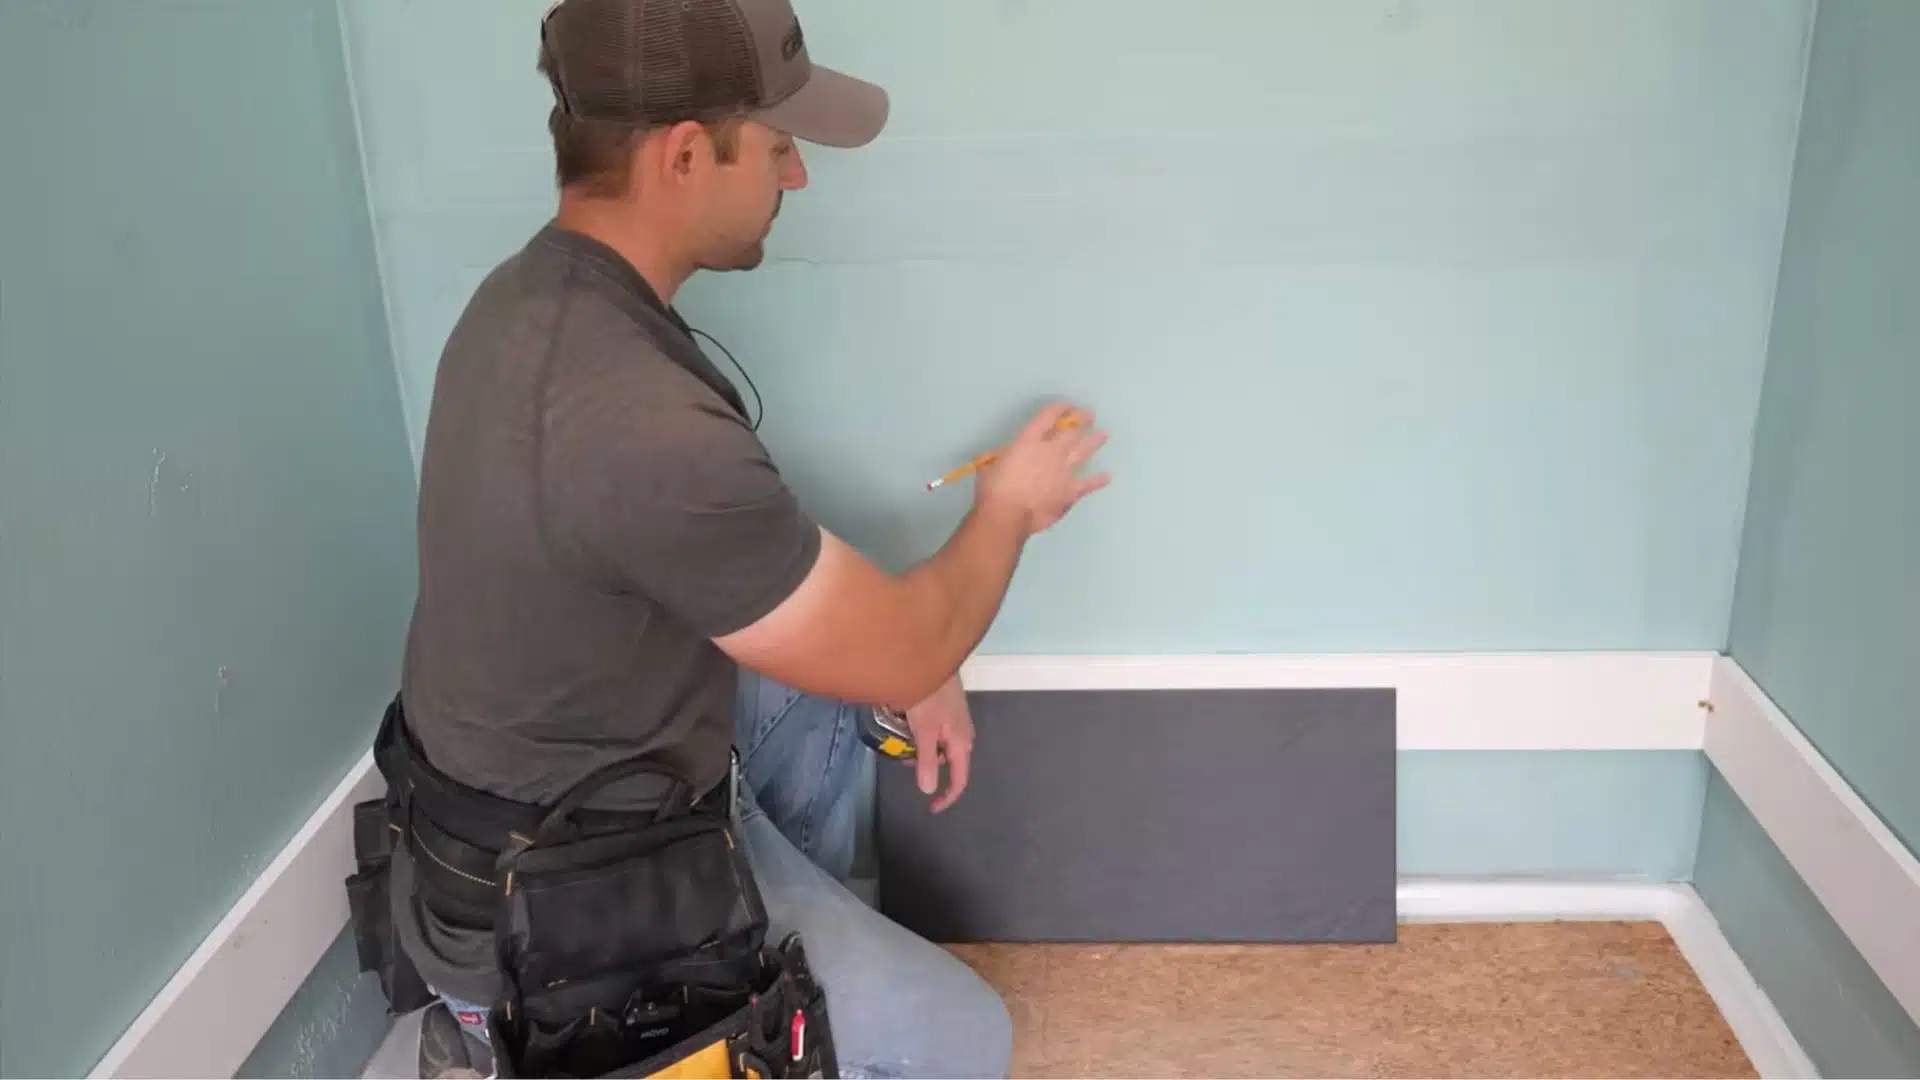
Choose tile material, size, direction, grout-joint width, and accent placement before marking walls.
The video uses 24-inch porcelain tiles laid horizontally in a staggered pattern, with a decorative strip about six feet high.
Dry-lay tiles with spacers first. Sizing and material choices for everyday bathrooms matter as much as your pattern.
Step 2: Measure the First Row and Mark a Level Line
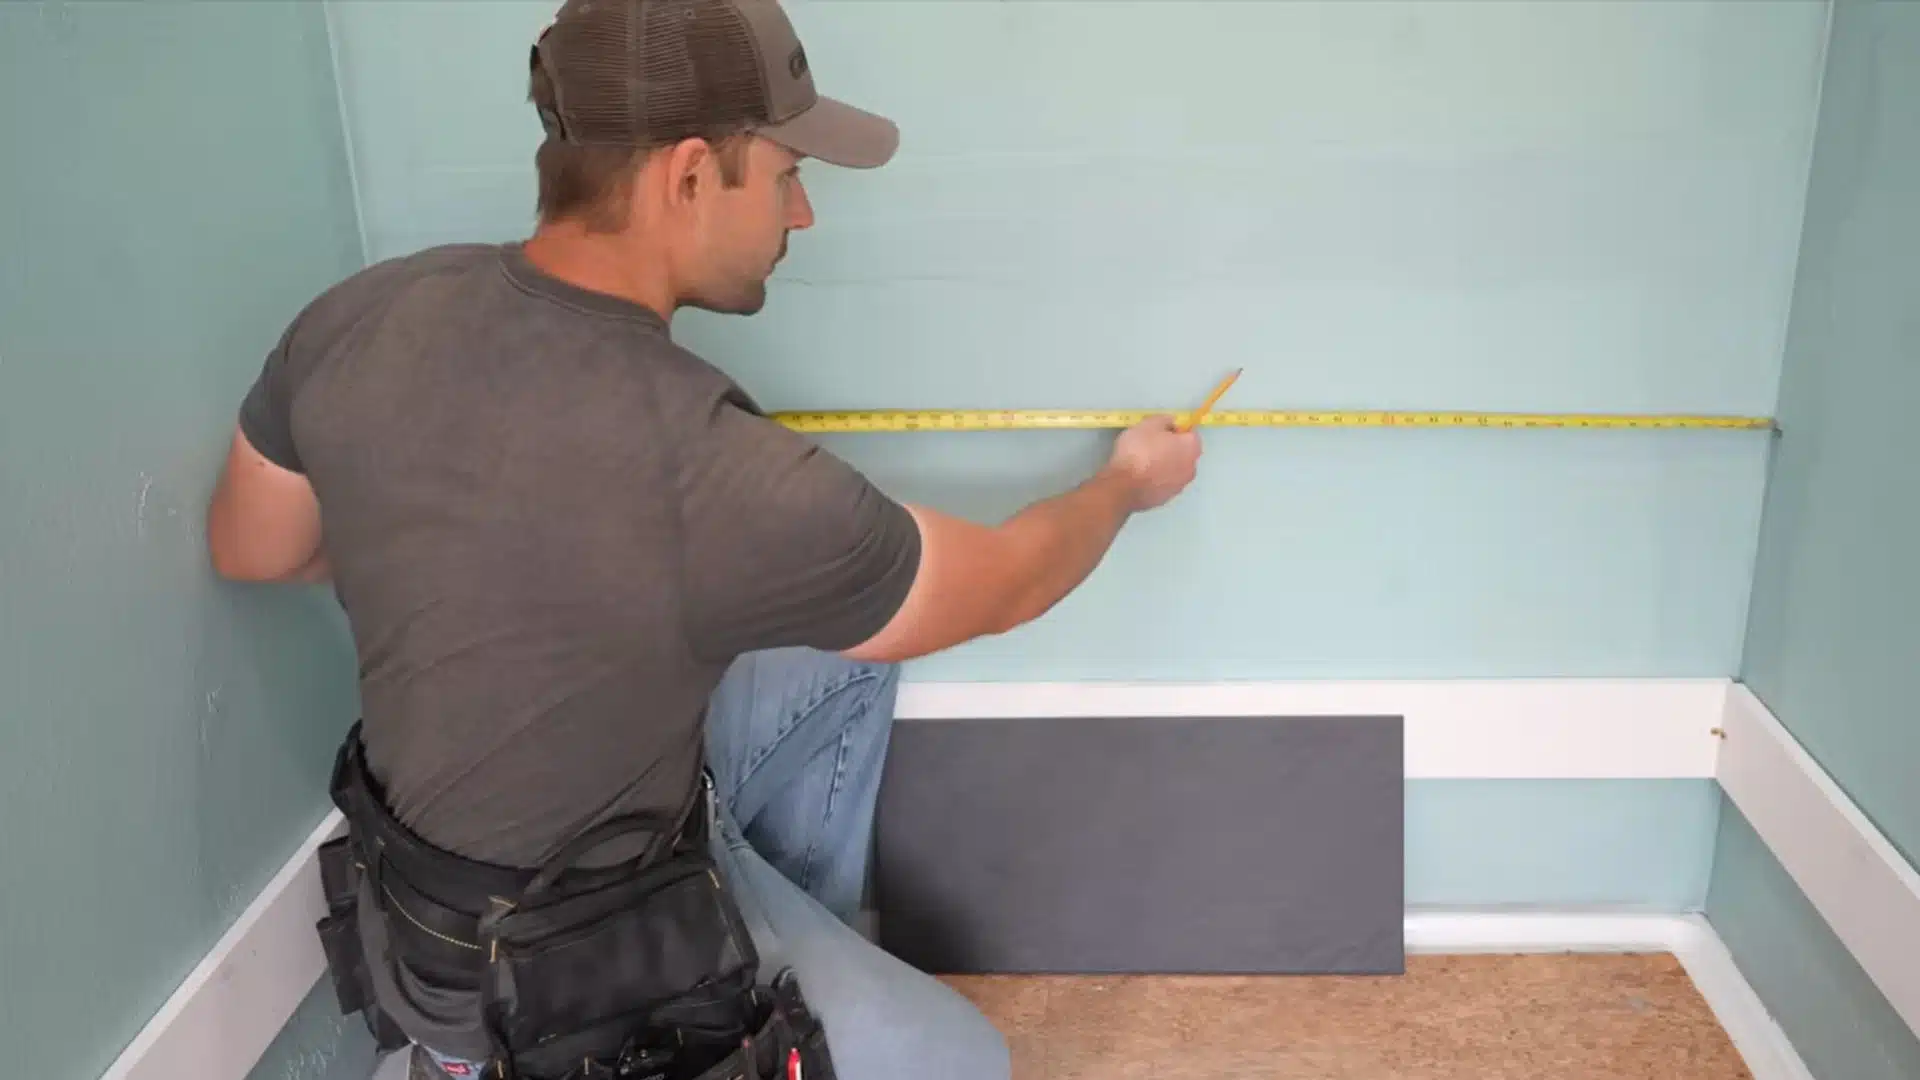
Measure the tile width (11 and a quarter inches), add an eighth-inch gap above the shower pan, and add grout joint spacing.
Mark that total height on the wall, then use a level to draw a straight line across it.
Shower pans are rarely level, so this reference line, not the pan itself, controls the entire first row and keeps every row above it straight.
Step 3: Install Ledger Boards on All Three Walls
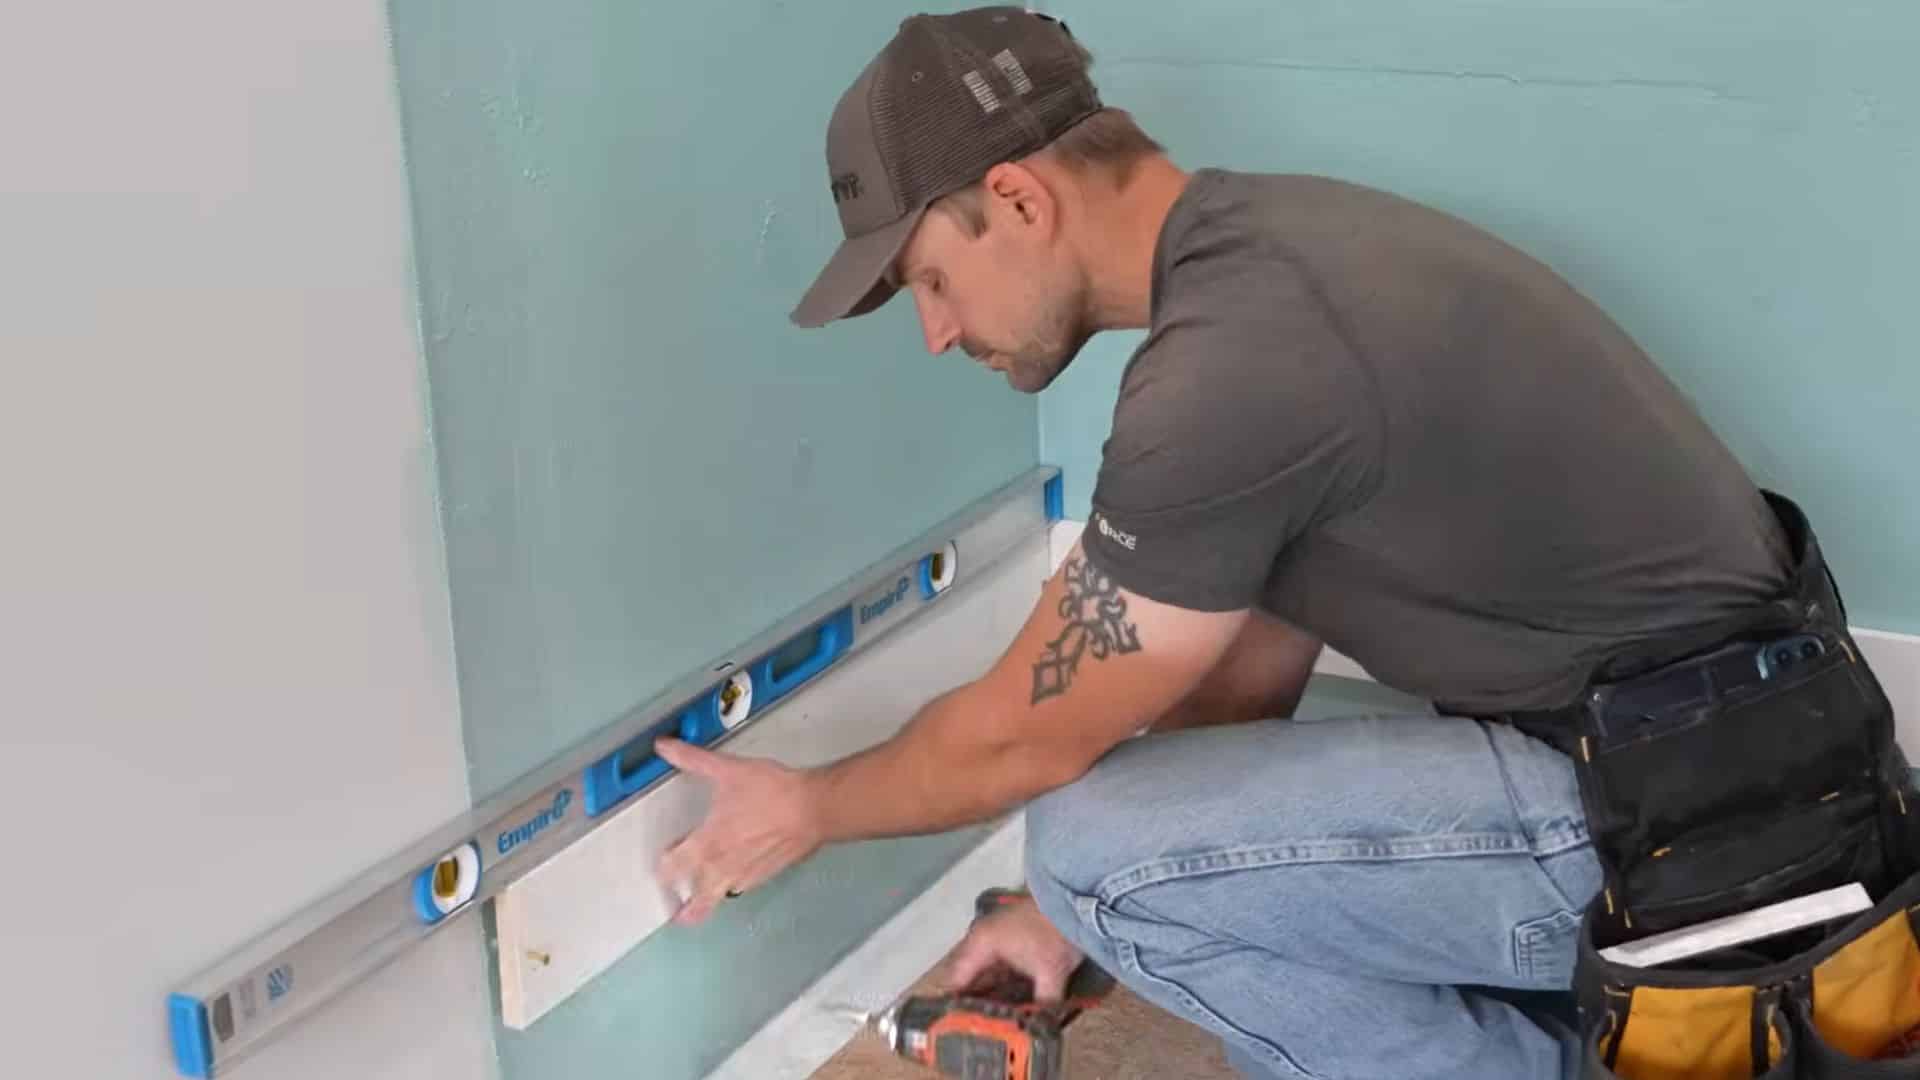
Fasten a straight board flush with the level line, screwed into marked wall studs, starting with the back wall.
Add matching boards on both side walls so the first row has firm support all around. Use minimal screws, just one on each end, with an extra center screw on longer spans.
Starting at the back wall keeps grout joints less visible from the shower entrance.
Tip: Mark the stud locations before lifting the boards so the screws can be installed without repeated adjustments.
Step 4: Find the Wall Center and Mark the Tile Layout
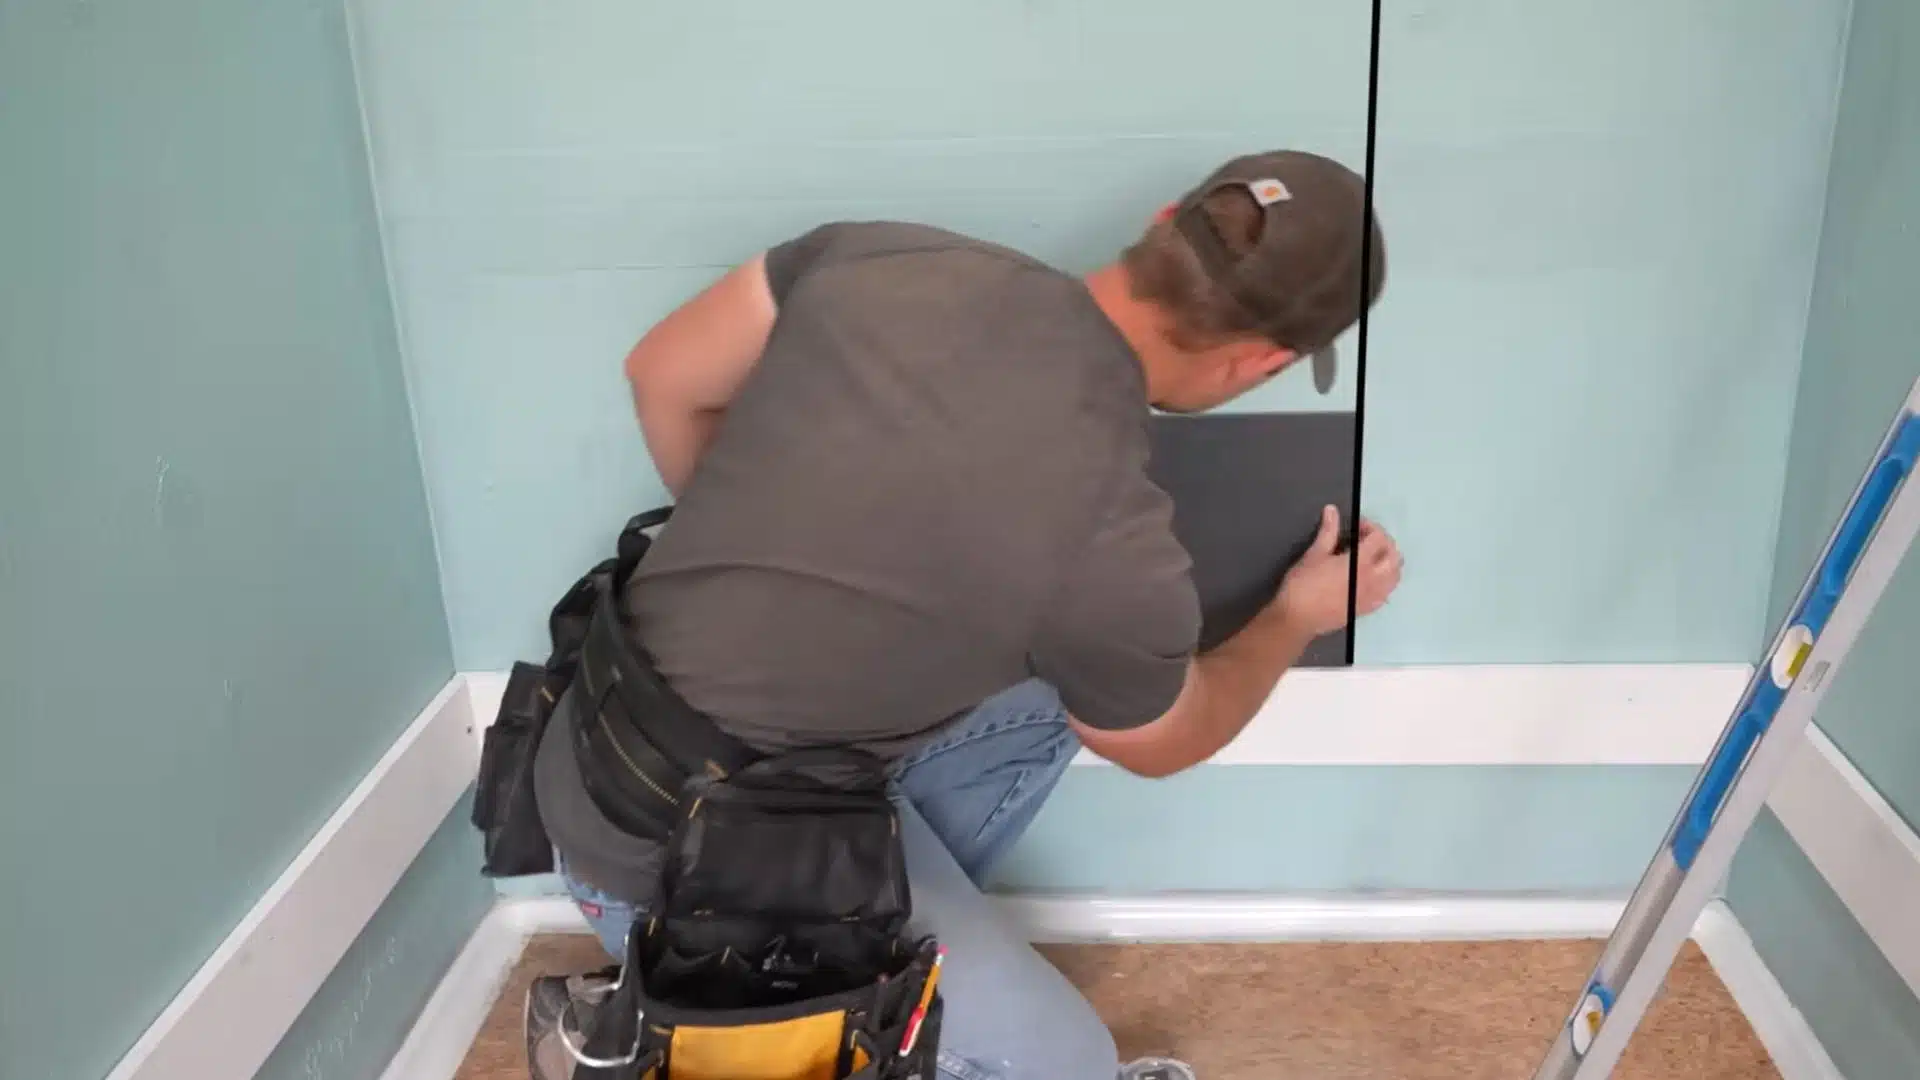
Measure the wall length, find its exact center, then offset a sixteenth inch to account for an eighth-inch grout joint.
Mark the tile’s center point, roughly 11 and seven-eighths inches on a 23 and three-quarter inch tile, and hold it against that mark.
Plumb that line straight up the wall to guide the staggered pattern across alternating rows as you build upward.
Step 5: Mix and Slake the Thinset Mortar
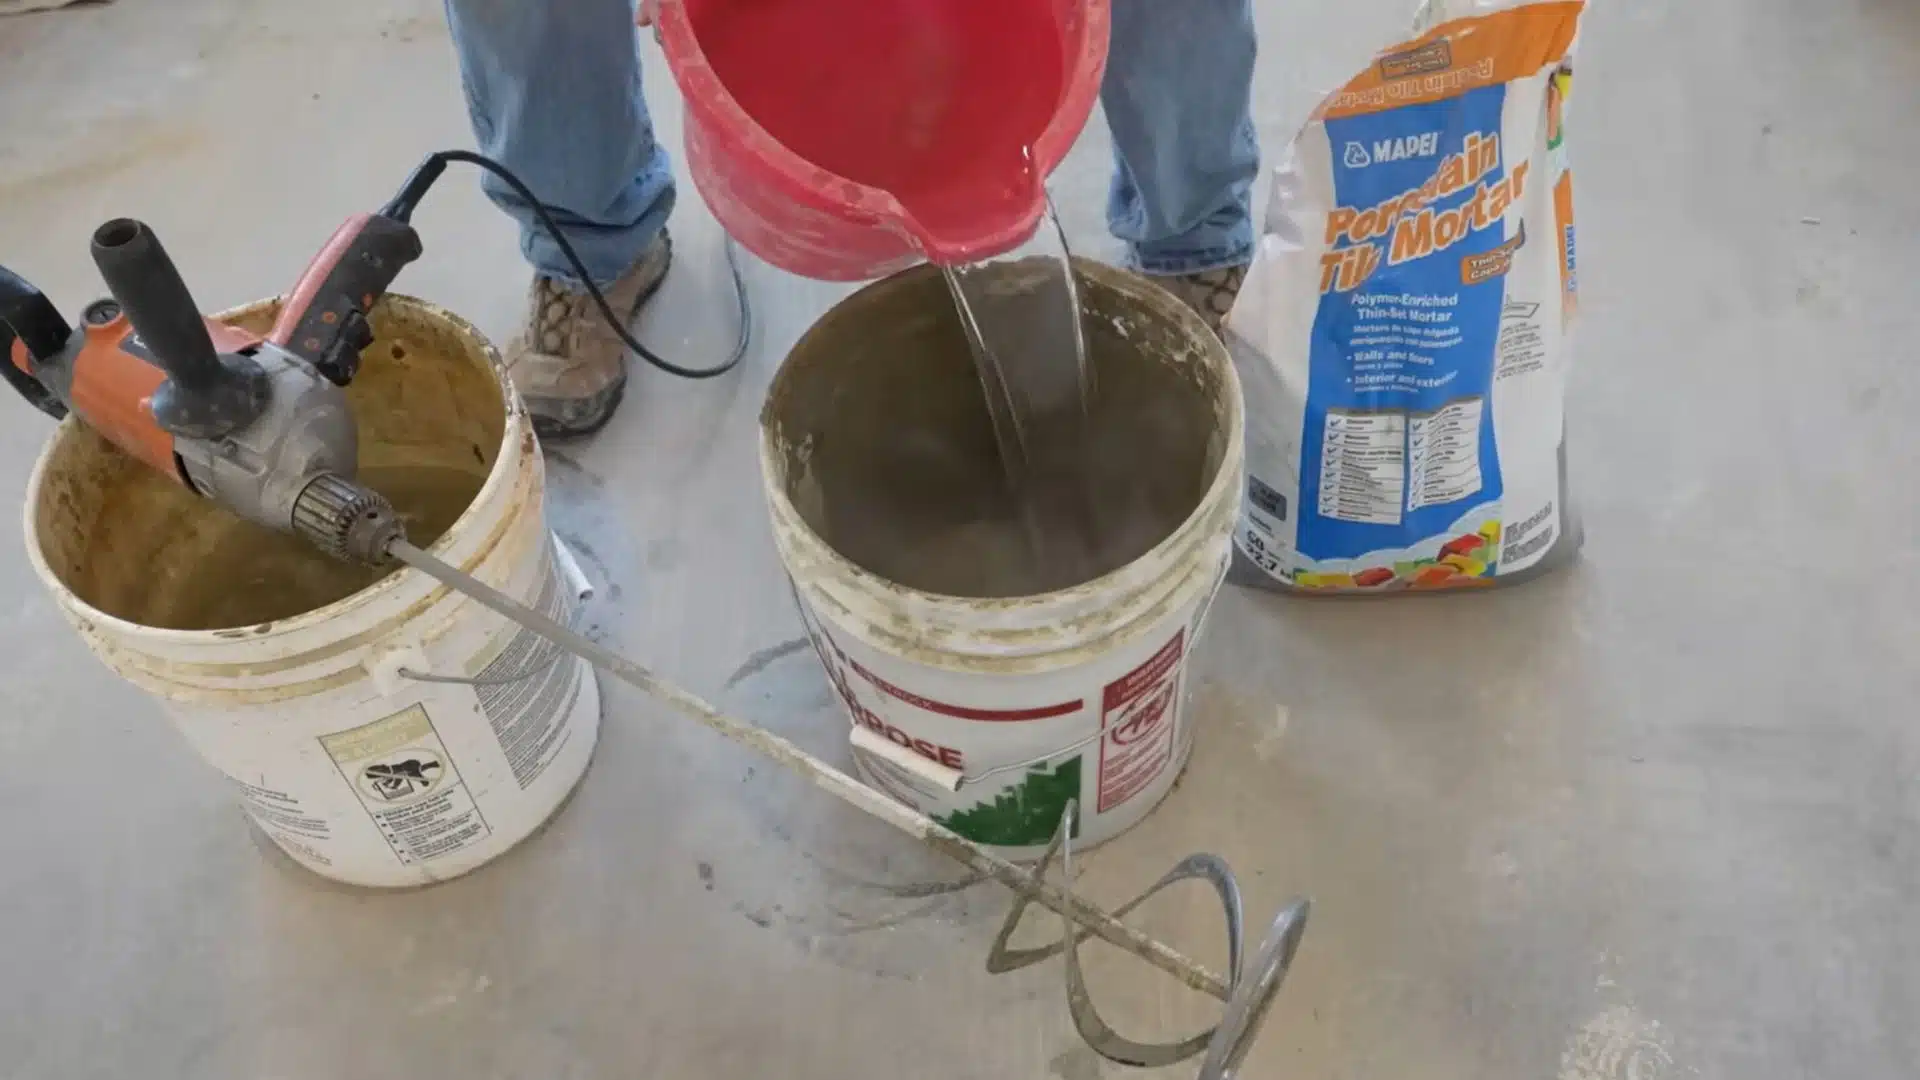
Pour a little water into a bucket, add thinset rated for the tile type, either porcelain or ceramic, and mix it using a half-inch drill fitted with a mixing blade.
Aim for a smooth, peanut-butter-like consistency, adding small amounts of water as needed.
Let the mix rest for five minutes, then remix it without adding more water before spreading it on the wall.
Tip: Measure the water for each batch to maintain the same mortar consistency throughout the installation.
Step 6: Spread Thinset and Back-Butter the First Tile
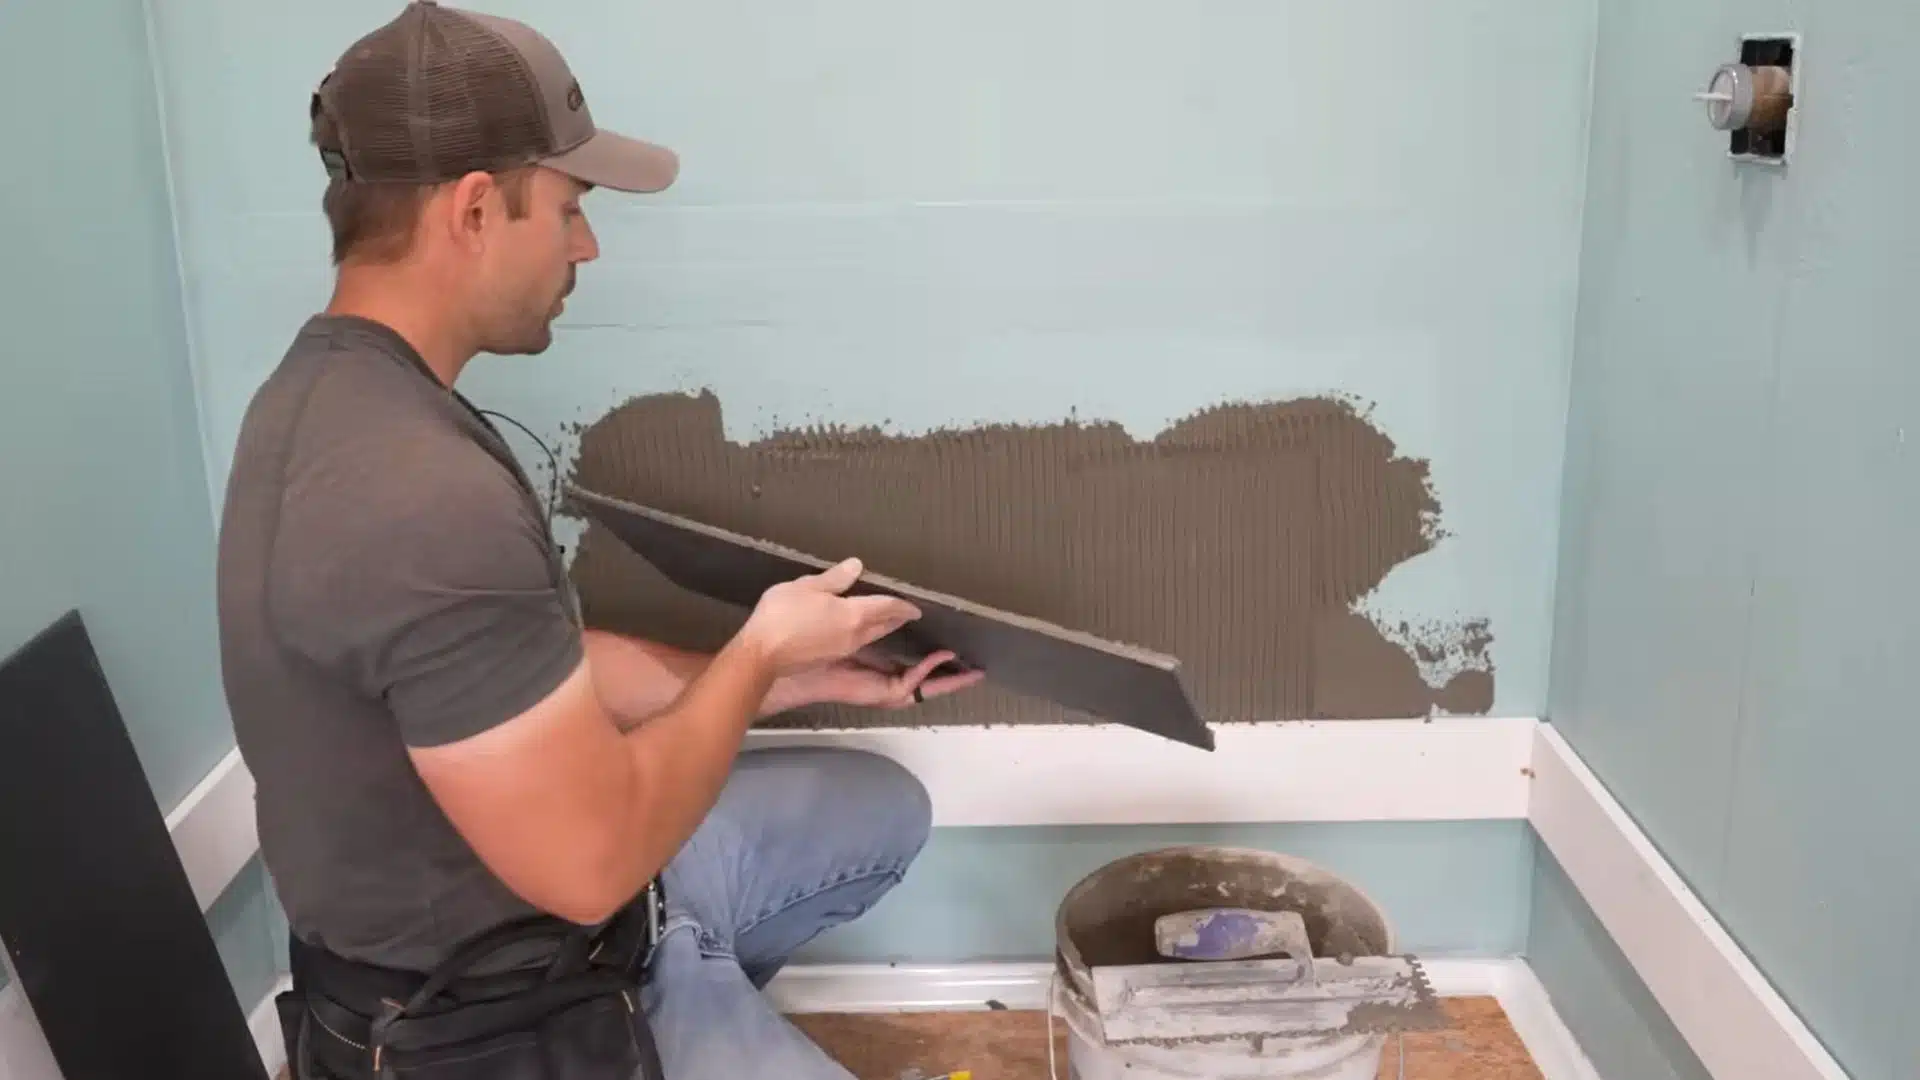
Use a quarter-inch notch trowel to spread thinset across the wall, keeping the notches running in one consistent direction.
Back-butter the tile as well, making sure every square millimeter is coated, with lines running in the same direction for even coverage.
Press the tile into place along the reference line and wiggle it gently to create a strong, even bond with the wall.
Step 7: Set the Back-Wall Tiles with Spacers
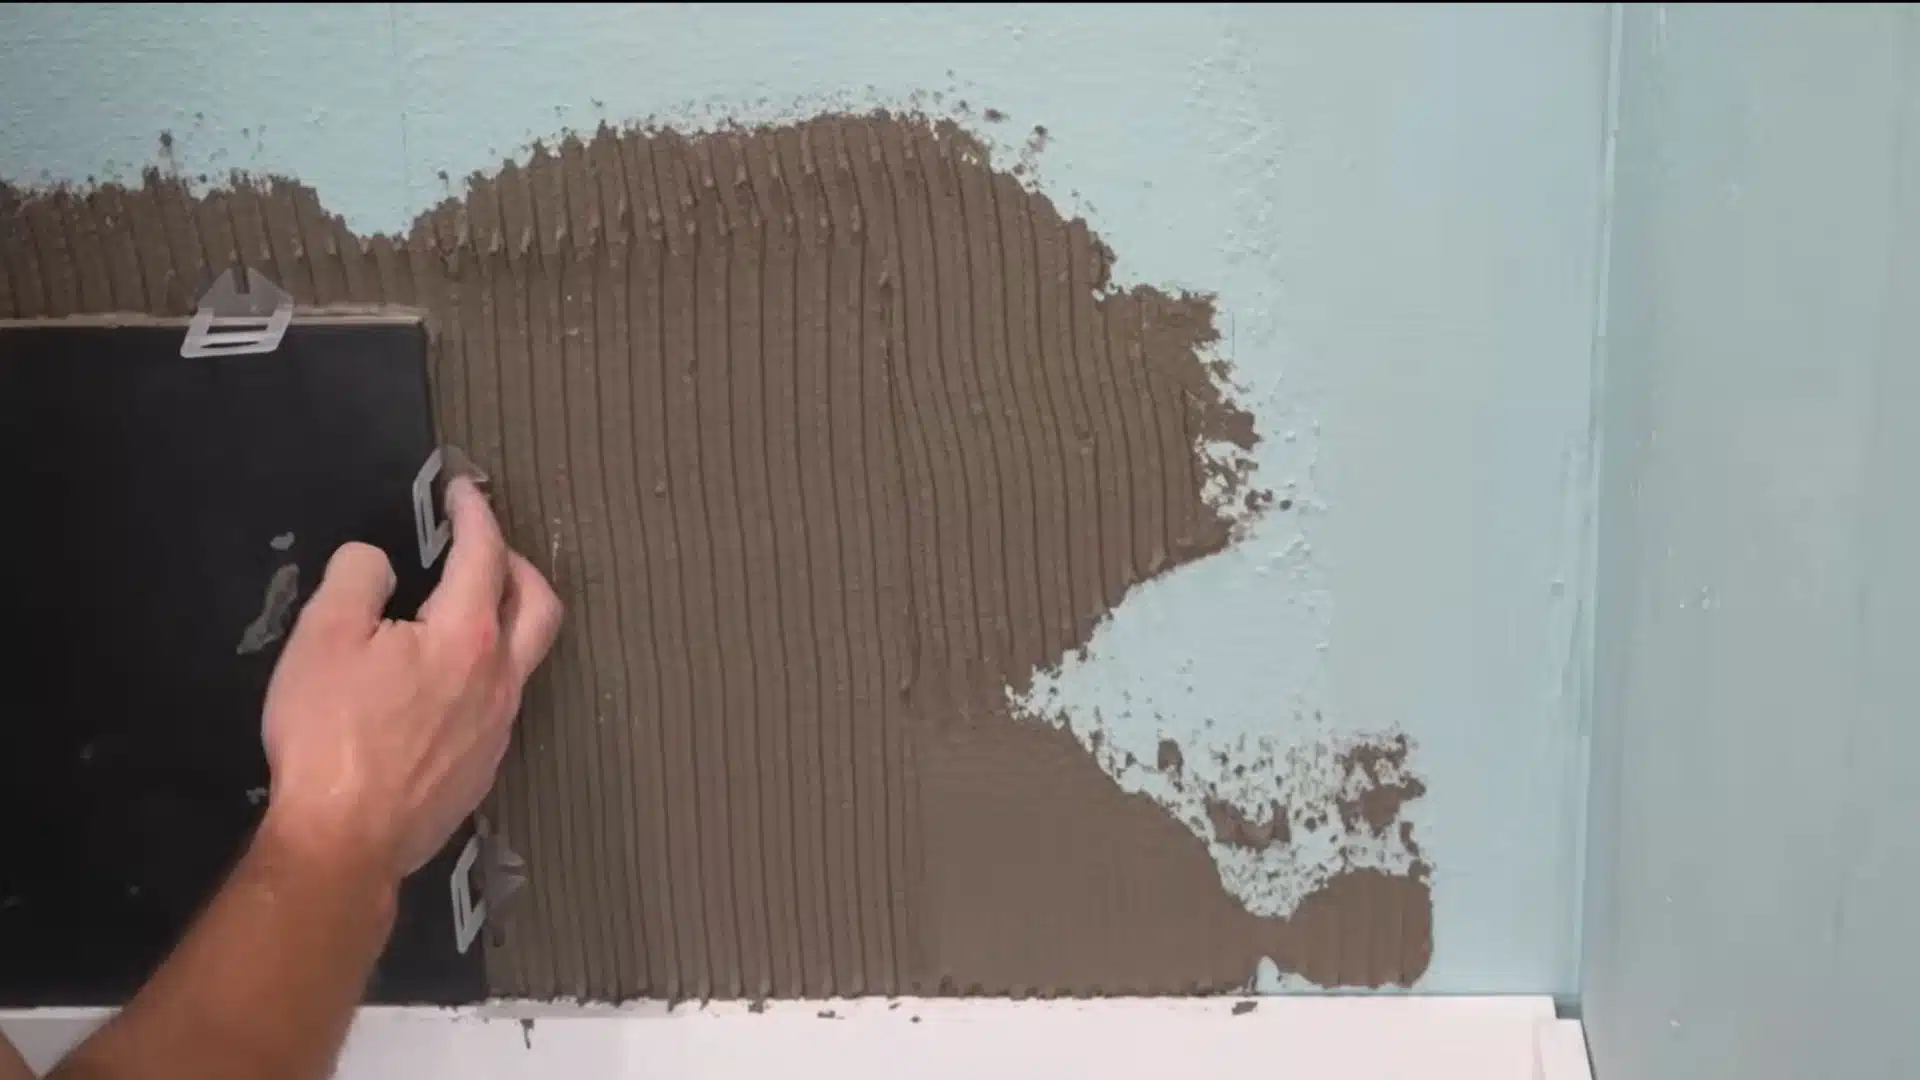
Place spacers in each corner of the tile and near upcoming joints, about two inches from the edge.
Use the leveling system’s wedges, notched side facing up, and tighten them with the pull tool until neighboring tiles sit flush and lippage disappears.
Check each tile with a small level before moving to the next one, working outward from the centered starting tile toward both corners.
Step 8: Measure, Cut, and Smooth the Edge Tiles
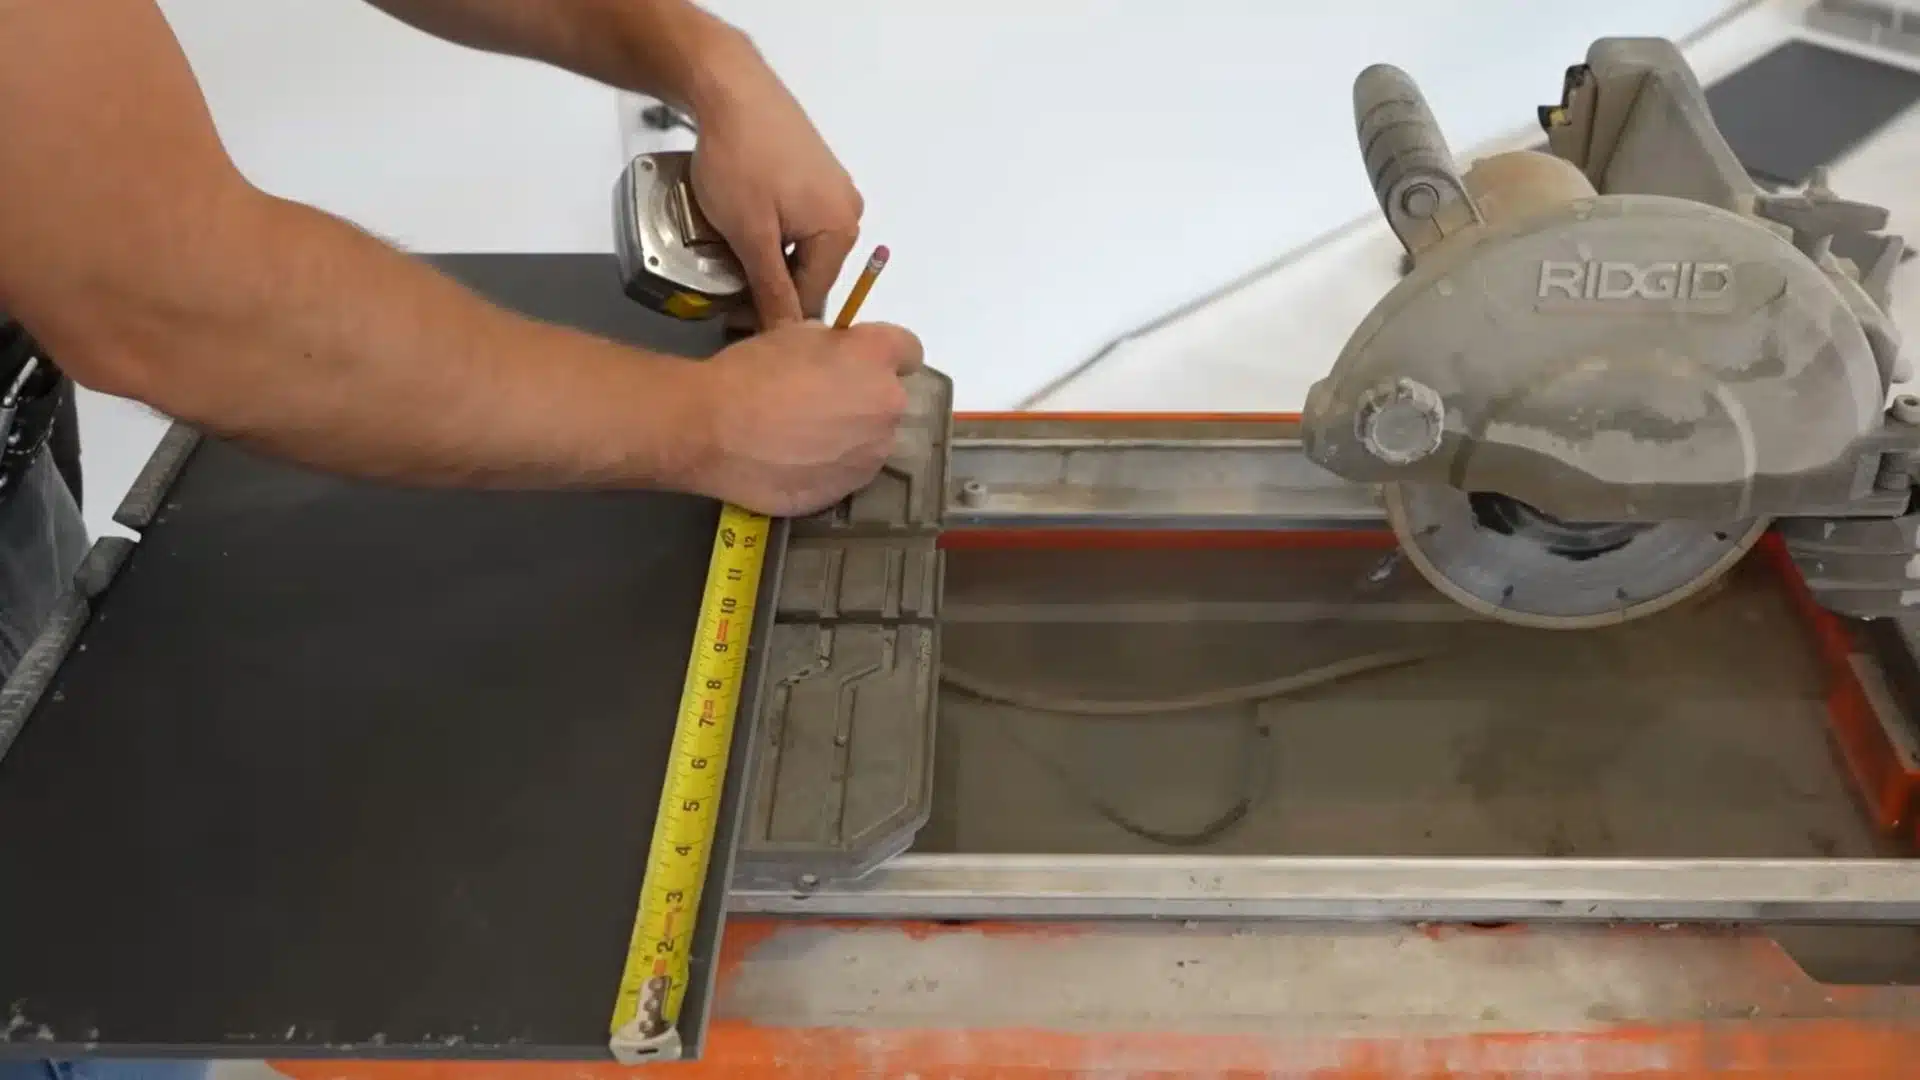
Measure the remaining space to the wall, subtracting an eighth inch for expansion room, then mark the tile and cut it slowly on a wet saw while wearing safety glasses and ear protection.
Dry the tile off afterward so surface water doesn’t affect adhesion. Keep factory edges facing outward when possible, and smooth any exposed cut edges with a diamond sponge for a cleaner look.
Tip: Label each cut tile by its wall and row so similar pieces do not become mixed up.
Step 9: Tile the Side Walls and Maintain Straight Edges
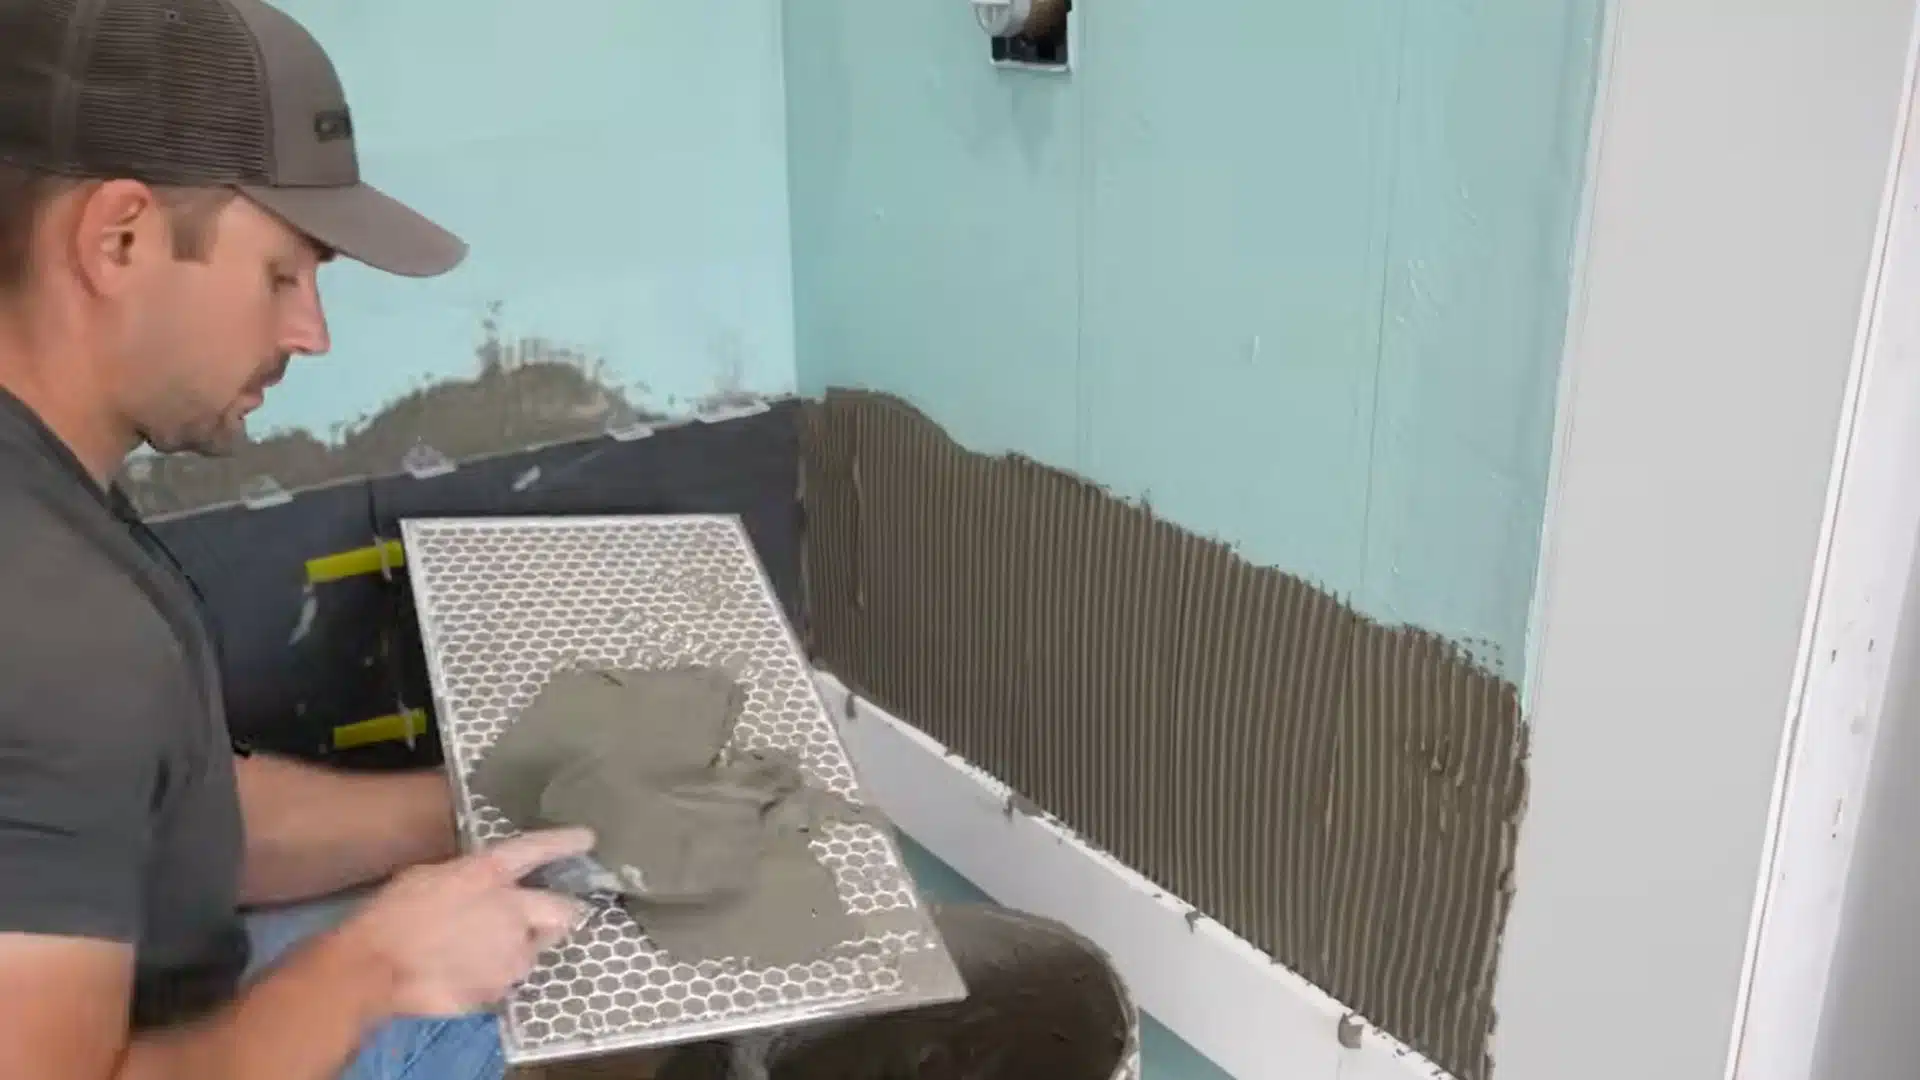
Level a line up the drywall edge to guide a straight cut where the tile will meet trim later, such as bullnose. Measure each corner separately, since shower walls are rarely perfectly square.
Use plastic wedges as makeshift spacers where the leveling system can’t fit into tight inside corners, and scrape off excess thinset from the wall before it hardens overnight.
Tip: Smooth any exposed cut edge before installing the tile because it will be harder to reach afterward.
Step 10: Continue the Staggered Pattern and Check Each Row
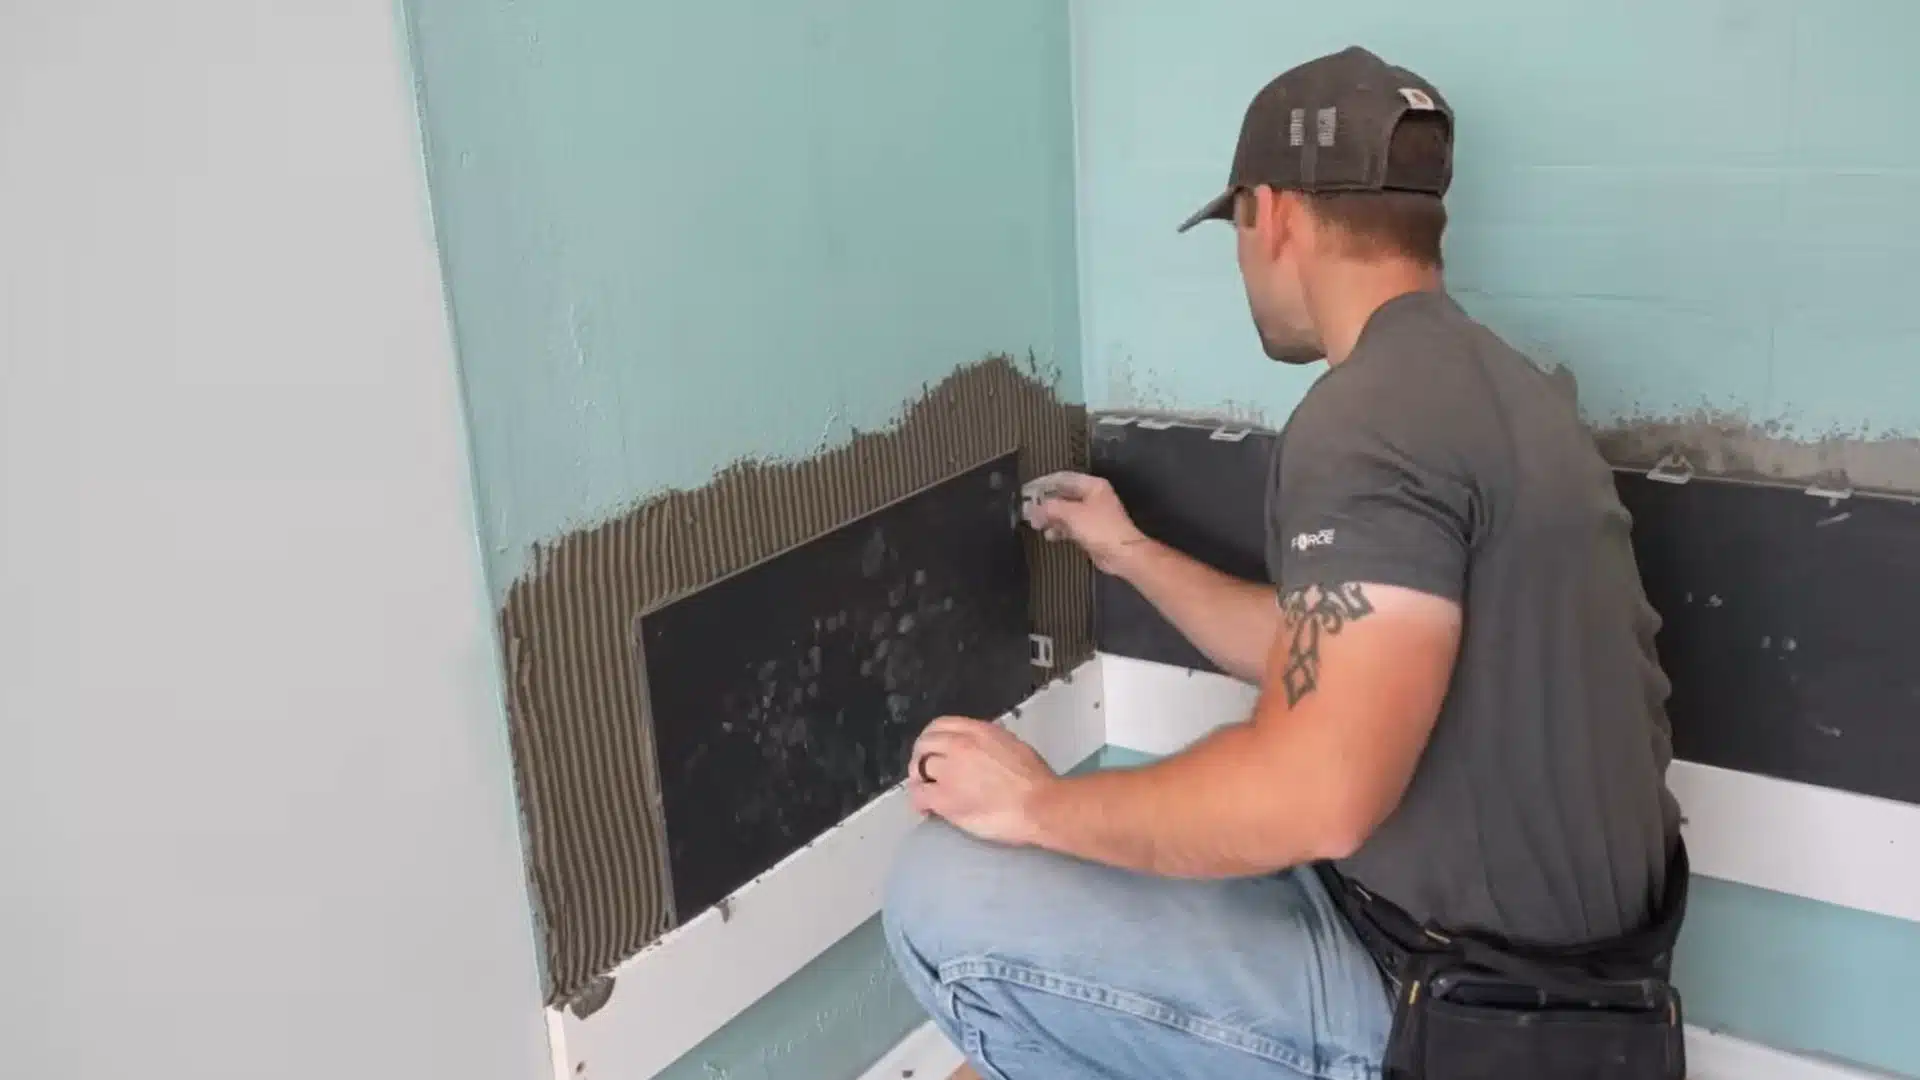
Mark each tile’s center point with a pencil before spreading mortar so your reference lines stay visible underneath.
Alternate between the two plumb lines established earlier to keep the staggered look consistent row after row.
Expect slight bows in large-format tiles, so perfectly flush surfaces aren’t always possible; double-check every completed row with a level before moving up to the next.
Tip: Check every completed row with a level before moving upward to prevent small errors from increasing.
Step 11: Build and Install the Corner Shower Shelf
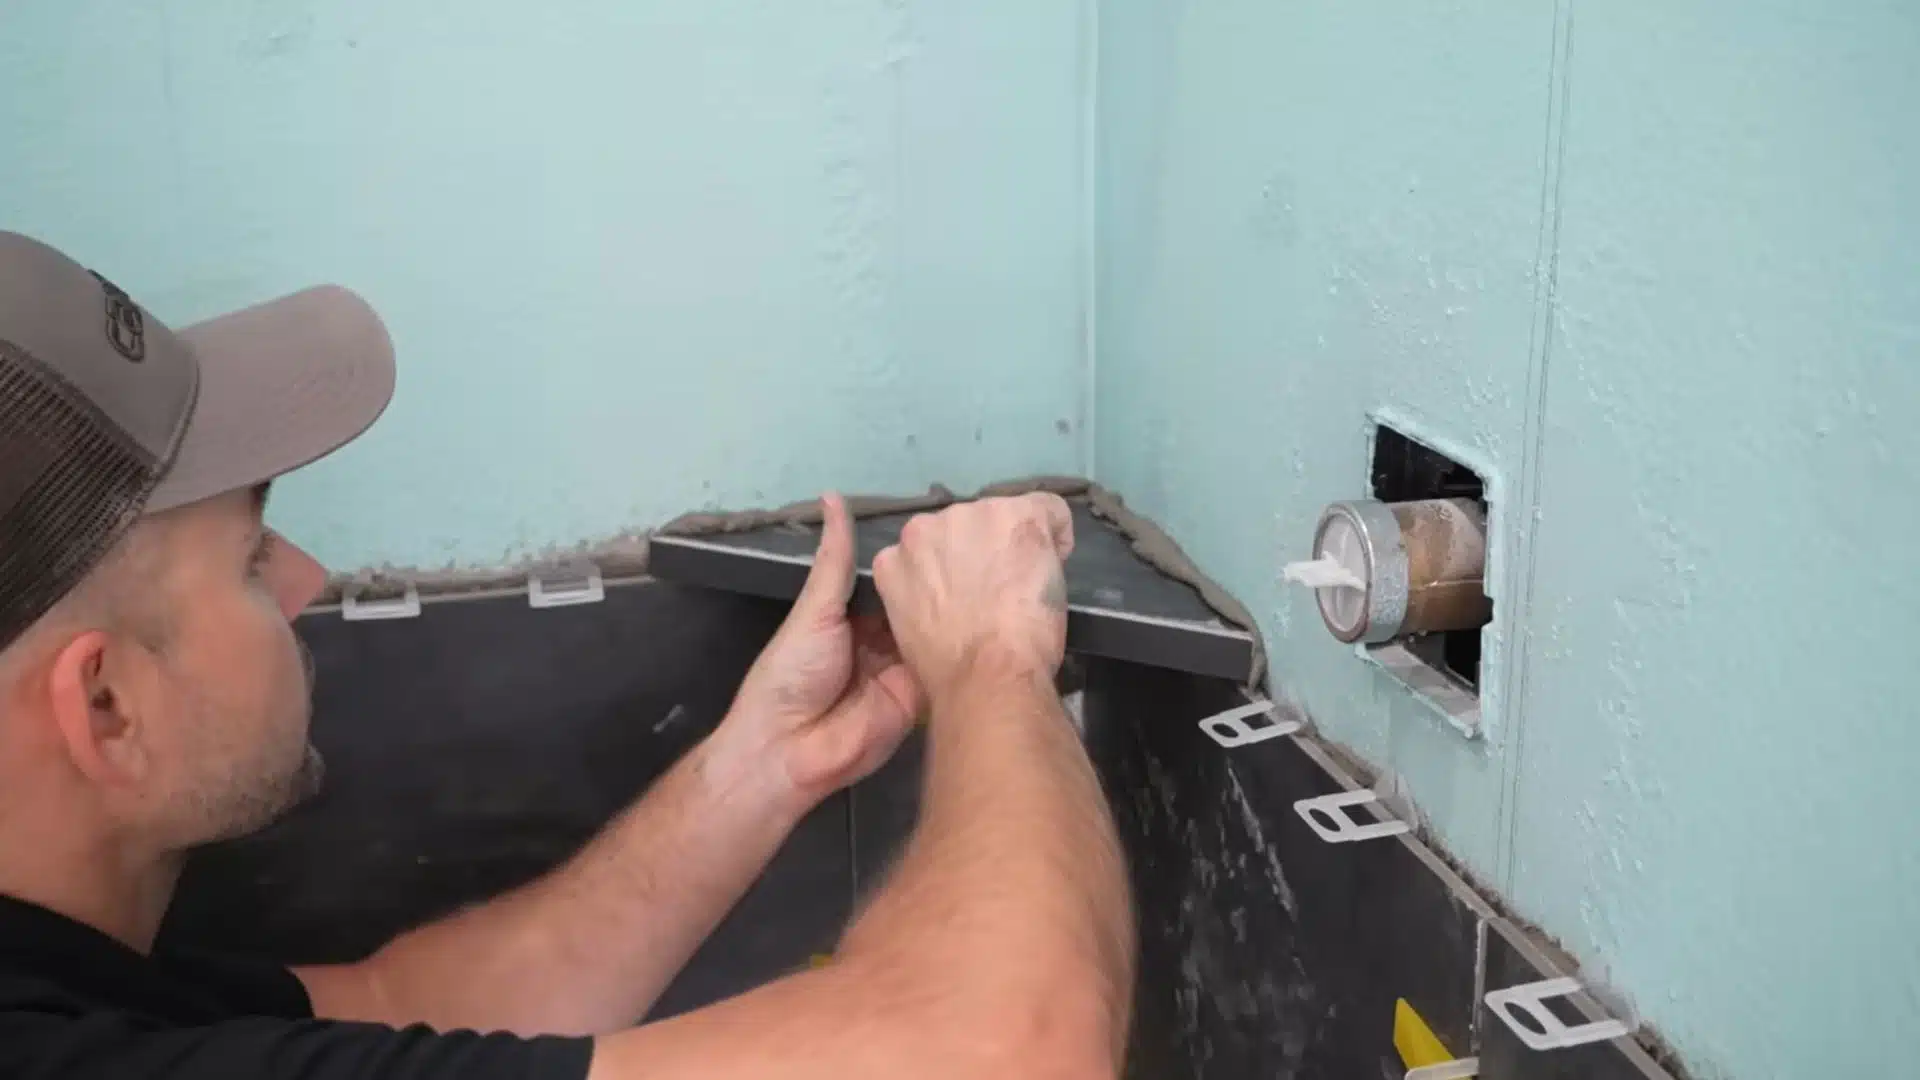
Cut a square tile into two nine-and-one-eighth-inch pieces, back-butter both sides with thinset, and sandwich them together to form a thicker shelf base.
Let the bonded piece cure for 24 hours, then attach a beveled front-facing strip using tub-and-tile silicone for a clean look.
Set the finished shelf into the corner with thinset, shimming it level with a slight slope toward the shower for drainage.
Tip: Use a tile with minor edge damage for the hidden shelf layers instead of discarding it.
Step 12: Cut Tiles Around Shelves, Valves, and Shower Pipes
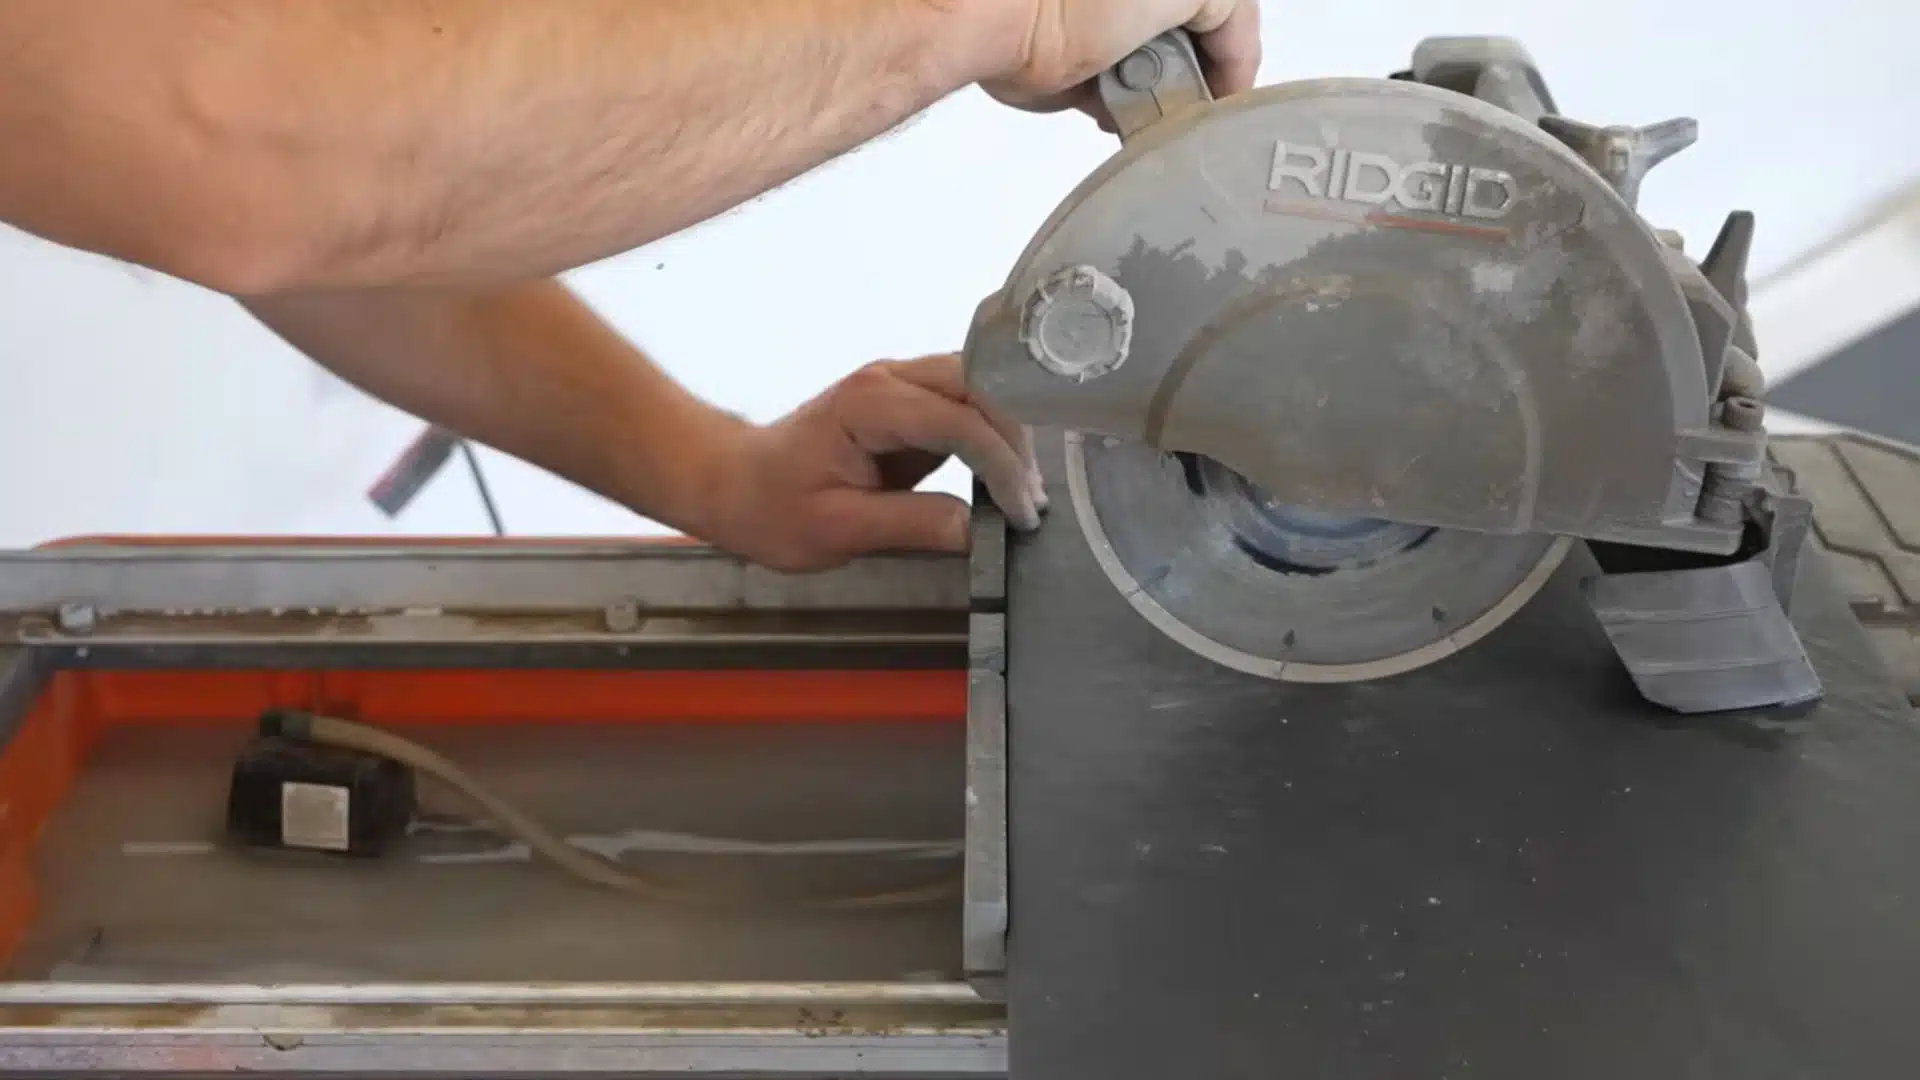
Dry-fit each tile around the shelf, shower valve, and pipe openings before applying mortar. For shelf notches, measure about nine and one-eighth inches from each edge before cutting.
For a valve cutout, score the line first, then make a controlled plunge cut with the wet saw.
Use a diamond hole saw, around one and three-eighths inches, for round pipe openings. Smooth sharp edges with a diamond sponge and test the fit before installing.
Tip: Confirm the size of each trim plate before cutting so the finished opening remains fully concealed.
Step 13: Reposition Ledger Boards and Waterproof Screw Holes
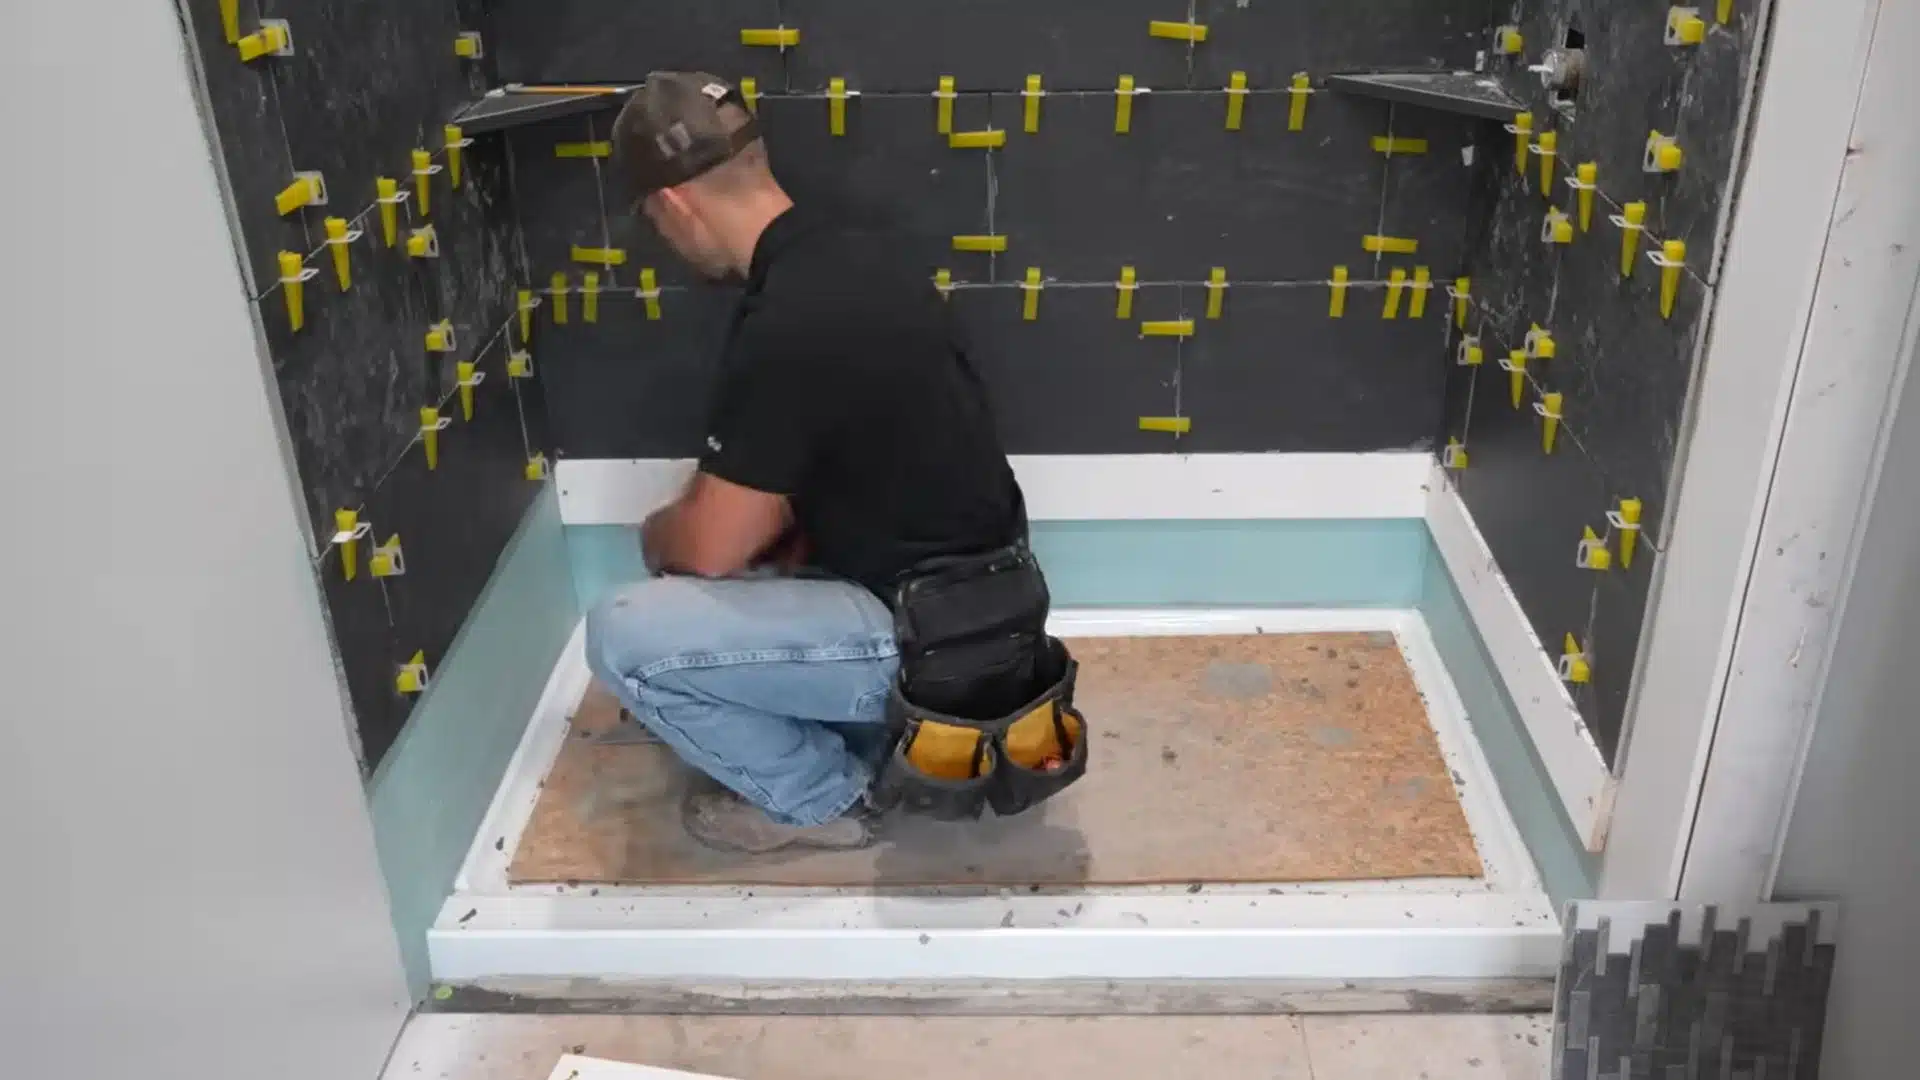
After the tile above the first section has cured, move the ledger boards higher to support the rows around the accent strip.
Carefully remove the lower boards, fill every screw hole with thinset, and allow the patches to set. Cover each repaired spot with the same waterproofing product used on the shower walls.
Restoring these penetrations protects the backer board before the bottom tiles are installed and reduces the chance of moisture reaching the wall cavity later.
Tip: Mark every ledger screw hole before patching so none are missed beneath the surrounding mortar.
Step 14: Install the Mosaic Accent Strip and Bullnose Trim
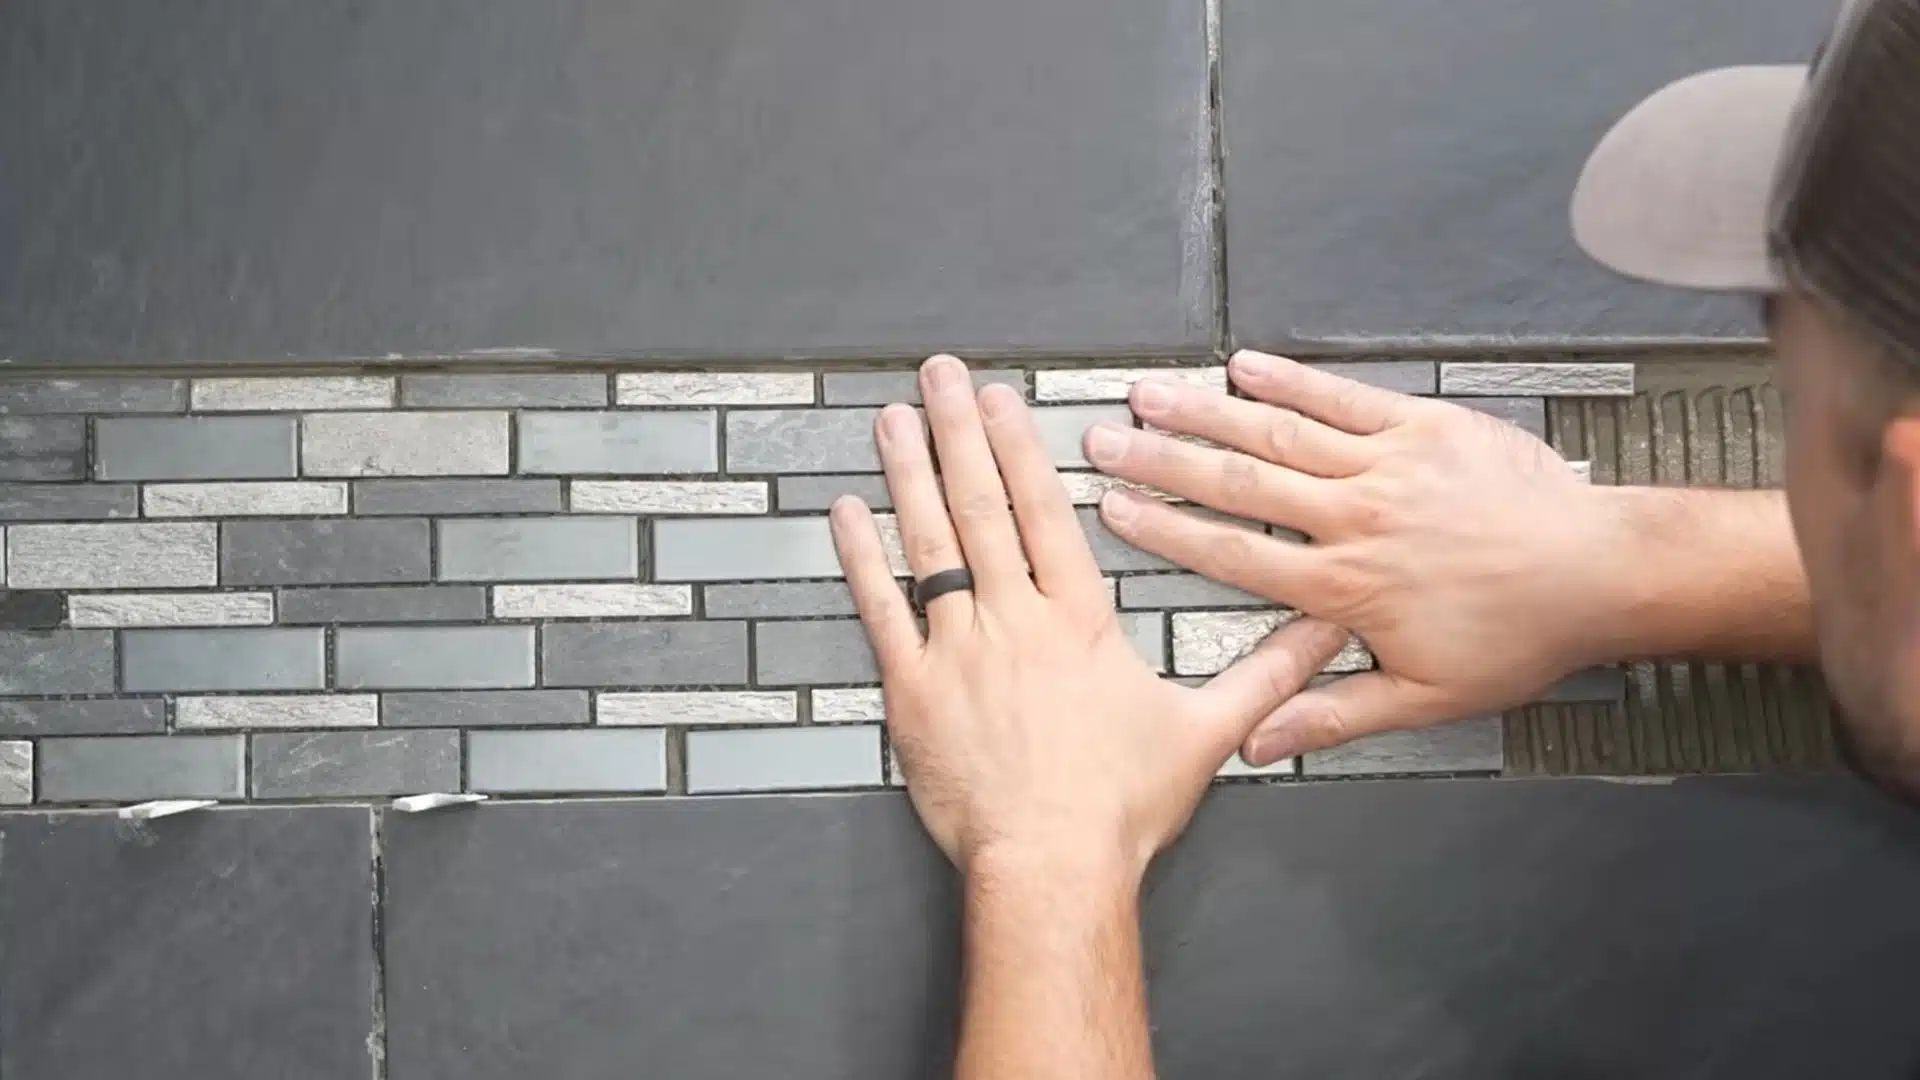
Cut the mosaic sheets to the planned accent height and square the starting edge before installation.
Apply thinset to the wall, place each sheet into position, and press it evenly with a grout float. Remove mortar from the small joints before it hardens.
Install bullnose trim along the outside edges to create a neat transition to drywall. Use spacers and painter’s tape to hold the trim steady, and confirm that the mosaic face sits close to the field-tile surface.
Tip: Build out thin mosaic sheets when needed so they do not sit noticeably behind the surrounding tile.
Step 15: Tile to the Ceiling and Prepare for Grout and Caulk
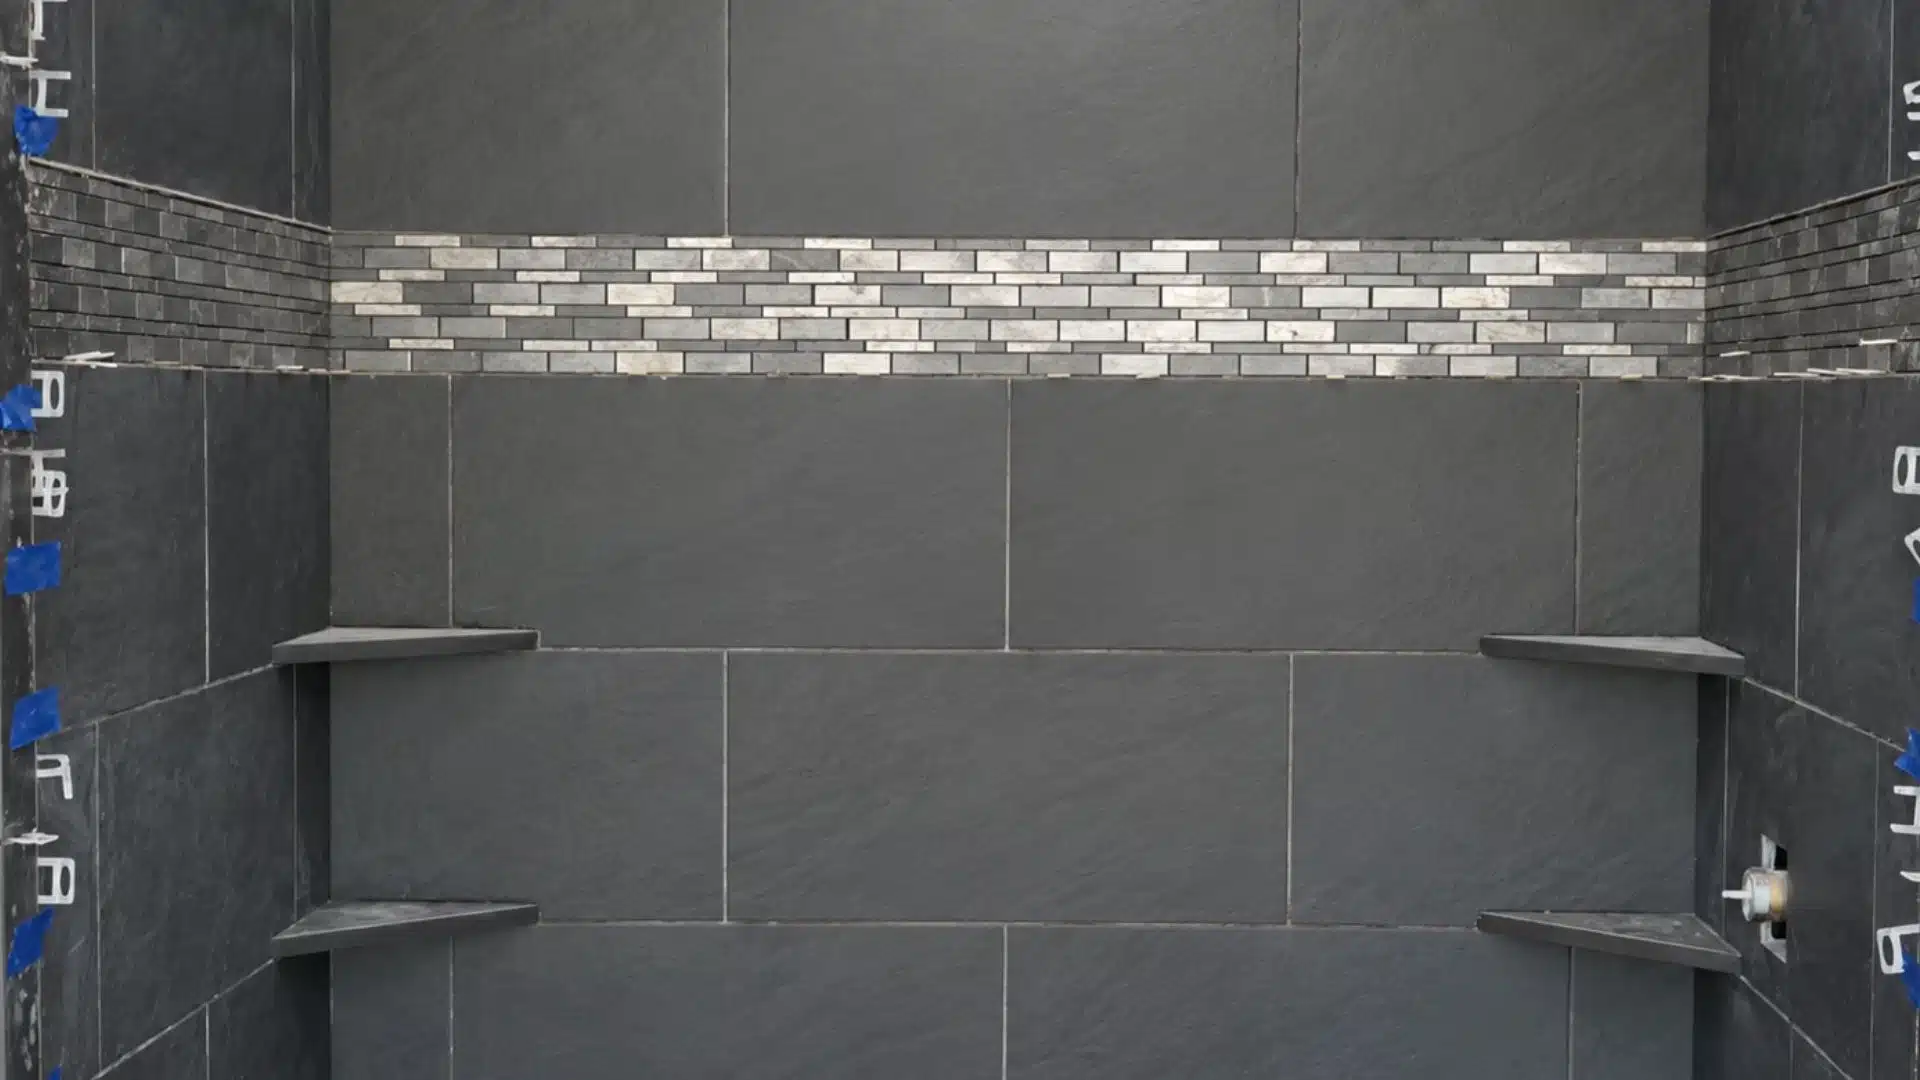
Continue the field tile and bullnose trim toward the ceiling, checking the level, spacing, and surface alignment after each row.
Make the final cuts around the showerhead pipe and along the ceiling line, then allow the mortar to cure before removing clips and wedges.
Clean all grout joints and scrape away dried residue from the tile faces. Leave the installation ready for grout in the field joints and flexible silicone at corners, edges, and other changes of plane.
Safety note: Wear safety glasses and ear protection any time the wet saw is running, and keep the floor around your work area dry so wet tile scraps and mortar don’t turn into a slipping hazard.
For more detailed information, check out the complete video tutorial by The Excellent Laborer
How to Fix Uneven, Loose, or Poorly Aligned Tiles?
Tile problems are much easier to fix before the thinset fully hardens. Catching issues early saves a lot of extra work later on. Here’s how to handle the most common problems:
| Problem | Cause | Fix | Timing |
|---|---|---|---|
| Uneven tile | Inconsistent mortar depth | Lift, adjust mortar, reset with spacers | Before thinset hardens |
| High or low spots | Uneven trowel application | Remove or add thinset as needed | Before thinset hardens |
| Loose tile | Poor mortar bond | Clean, apply fresh thinset, reset | As soon as noticed |
| Cured tile removal | Mortar already hardened | Score grout joints, remove carefully | After thinset cures |
| Cracked tile | Damage during cutting | Replace with new piece | Before grouting |
Fixing these issues properly now prevents bigger headaches down the road. A little patience during this step keeps your tile job looking sharp for years.
How to Clean and Maintain a Newly Tiled Shower
Taking care of your new tile keeps it looking fresh for years. Some people skip grout entirely, though going grout-free comes with its own long-term trade-offs worth knowing before you commit either way. Here’s what to focus on:
- Use tile-safe cleaning products: choose cleaners made for your specific tile and grout type to avoid damage.
- Wipe away water and soap residue: remove standing water and soap buildup regularly to prevent stains and buildup.
- Check sealant joints often: make sure caulk and flexible seals stay intact around corners and fixtures.
- Inspect grout and transitions: look for cracks or gaps periodically, especially where tile meets the shower pan.
- Reseal when needed: follow the sealing schedule for natural stone or other porous materials to protect the surface.
A little regular upkeep goes a long way toward protecting your investment. Skipping harsh, abrasive cleaners helps your shower tile stay looking new much longer.
When to Hire a Professional Tile Installer?
Some shower tiling jobs call for professional help rather than a DIY approach.
Hire a professional when the shower has water damage, uneven framing, plumbing changes, a damaged pan, or uncertain waterproofing.
Expert help also makes sense for large-format tile, natural stone, ceiling tile, detailed mosaics, built-in benches, and niches needing precise cuts and drainage slopes.
A qualified installer can inspect the substrate, complete flood testing, and protect the waterproofing system throughout installation.
Professional labor raises the upfront cost, but it can prevent leaks, loose tiles, and expensive repairs later. Check references, insurance, and warranty coverage before hiring anyone.
Frequently Asked Questions (FAQs)
Can shower tile be installed over old tile?
Removing old tile first gives better results. Layering new tile over old tile adds weight and hides hidden damage.
How many people are needed to tile a shower?
One person can handle most steps alone. A second person helps with large tiles, high walls, and awkward corner cuts.
What causes tile to sound hollow after installation?
Hollow sounds usually mean weak mortar coverage underneath. Low spots or dried thinset often stop tiles from bonding fully.
Final Thoughts
Tiling a shower comes down to careful planning, steady work, and the right order of steps. Once you learn how to tile a shower, future projects feel less scary.
Straight rows and solid waterproofing keep your shower safe for years. Small mistakes are easy to fix if you catch them early. Big mistakes usually mean tearing out tile and starting over.
Take your time with measurements, mortar, and layout lines. Rushing through steps almost always shows up later. Patience now saves you money and stress down the road.
Check your work often and finish with clean, careful cuts. Drop your questions in the comments below!