Meta description: Saving your own garden seeds costs nothing and gets easier every year: here’s how to harvest, dry, and store seeds from ten beginner-friendly plants so they’re actually viable next spring.
How to Save Seeds From Your Garden: A Beginner’s Guide to 10 Easy Plants
Every fall, a lot of perfectly good seeds end up in the compost bin instead of an envelope. Buy a new packet every spring, and you’re re-solving a problem your own garden already solved for you last year.
Most gardening ideas stop at what to plant and where: layout, raised beds, what looks good on a balcony, and never get to what happens after harvest: saving the seeds themselves for next year.
That’s the part almost nobody covers, and it’s simpler than it looks. Here’s what to actually save, how to process it, and how to keep it alive until spring.
Why Bother Saving Your Own Seeds
The obvious reason is cost: a packet of tomato or bean seeds isn’t expensive on its own, but it adds up once you’re restocking a dozen varieties every spring instead of just the ones that didn’t work out. The less obvious reason is that seeds you save yourself get slightly better at growing in your specific garden with every generation.
A tomato plant that thrived in your soil, your light, and your watering habits passes some of that advantage on to its seeds, in a way a fresh packet from a warehouse three states away never will.
There’s also a simpler appeal to it. Buying seeds every year means the relationship with your garden resets every spring. Saving them closes the loop: this year’s harvest becomes next year’s planting, without a store in between.
It won’t replace buying seeds entirely, especially for anything you’re growing for the first time, but for the plants that already worked, it’s one less thing to think about and one more reason to pay attention to which plants actually earned a second season.
There’s a slower payoff too. Varieties that get passed down season after season, sometimes for generations, tend to be the ones that were worth saving in the first place, which is exactly how most heirloom vegetables got that label to begin with.
Somebody, at some point, decided a particular tomato or bean was worth the extra step, and kept doing it long enough that the seed outlived the person who first saved it. That’s a bigger reason than cost savings, even if it’s a less practical one.
What You’ll Need Before You Start
None of this requires specialized equipment. A handful of small paper envelopes or a stash of clean glass jars covers most of what needs storing.
A fine-mesh strainer and a jar or two make wet-processing straightforward, and a simple screen or a few paper plates give dry-processed seeds somewhere to cure with good airflow.
A permanent marker for labeling is arguably the single most important tool on this list, more important than anything else here, since an unlabeled envelope of seeds in March is close to useless no matter how well it was dried.
For wind-pollinated or insect-prone plants, a small piece of cheesecloth or a mesh bag is worth keeping on hand to protect a seed head before it’s fully ready to harvest.
Dry-Processing vs. Wet-Processing Seeds
Almost every seed-saving method on this list falls into one of two categories, and knowing which one you’re dealing with before you start saves a lot of confusion later.
Dry-processing is for seeds that mature dry, right on the plant. Beans, peas, lettuce, and most herbs fall here. You wait until the seed pod, head, or stalk has dried out and turned brown or brittle, then crack it open and the seeds are essentially ready to store as-is, after a short additional dry-down.
Wet-processing is for seeds that come packed inside fruit, still surrounded by pulp or a gel coating. Tomatoes, cucumbers, and squash all need this step.
The coating around these seeds actually contains chemicals that suppress germination while the fruit is still whole, which makes sense if you think about it: a seed germinating inside an uneaten tomato doesn’t do the plant any favors. Removing that coating, usually through a short fermentation or a good rinse, is what tells the seed it’s safe to treat itself as viable.
Getting this distinction right matters more than any other single decision in the process. Dry-processing a wet-seeded plant just means picking seeds too early or skipping a step that affects germination; wet-processing a dry-seeded plant is mostly harmless, just unnecessary work. Either way, knowing which bucket a plant falls into before you start is worth the thirty seconds it takes to check.
10 Easy Plants to Start With
One caveat before the list: this only works reliably with open-pollinated or heirloom varieties. Hybrid seeds, usually labeled F1 on the packet, won’t grow true to the parent plant, so seeds saved from them can produce something unpredictable, or nothing worth growing at all. Check the seed packet or plant tag before you commit time to saving from a specific plant.
- Tomatoes: Wet-processed. Scoop out the seeds and gel with some pulp, drop them in a jar with a little water, and let the mixture ferment at room temperature for two to three days until a layer of mold forms on top. That mold is doing the same job an acidic tomato’s stomach does in the wild, breaking down the germination inhibitor. Rinse the seeds clean, then dry them on a coffee filter or paper plate, not a paper towel, which they’ll stick to permanently.
- Beans: Dry-processed, and about as easy as this list gets. Leave a few pods on the plant well past the point you’d normally pick them for eating, until they’re brown, dry, and rattle when shaken. Shell them, and they’re essentially ready.
- Peas: Same process as beans. Let a handful of pods dry out on the vine until they’re brittle, then shell and store.
- Lettuce: Dry-processed, but easy to miss the window on. Lettuce bolts, sends up a tall flower stalk, and eventually produces small, fluffy seed heads that look a little like dandelion fluff. Wait until most of the heads have turned this fluffy and dry, then rub them between your hands over a bowl to release the seeds.
- Peppers: Dry-processed, despite growing inside a fruit. Let a pepper ripen well past the point of eating, usually until it starts to wrinkle, then scrape the seeds out and let them air-dry for a week on a plate.
- Cucumbers: Wet-processed, and the one exception to “pick it when you’d eat it.” A cucumber for seed-saving needs to go yellow and oversized, well past the crisp green stage. Scoop the seeds and pulp, ferment for a day or two the same way as tomatoes, rinse, and dry.
- Squash: Dry-processed once the fruit itself is fully mature, which for summer squash means letting it grow far larger and tougher-skinned than you’d ever want to eat. Scoop the seeds out, rinse off any clinging pulp, and dry thoroughly.
- Dill and cilantro: Dry-processed. Both bolt quickly and produce seed heads that turn brown and papery. Cut the heads into a paper bag before they fully shatter on their own, and let them finish drying inside the bag, which catches any seeds that drop early.
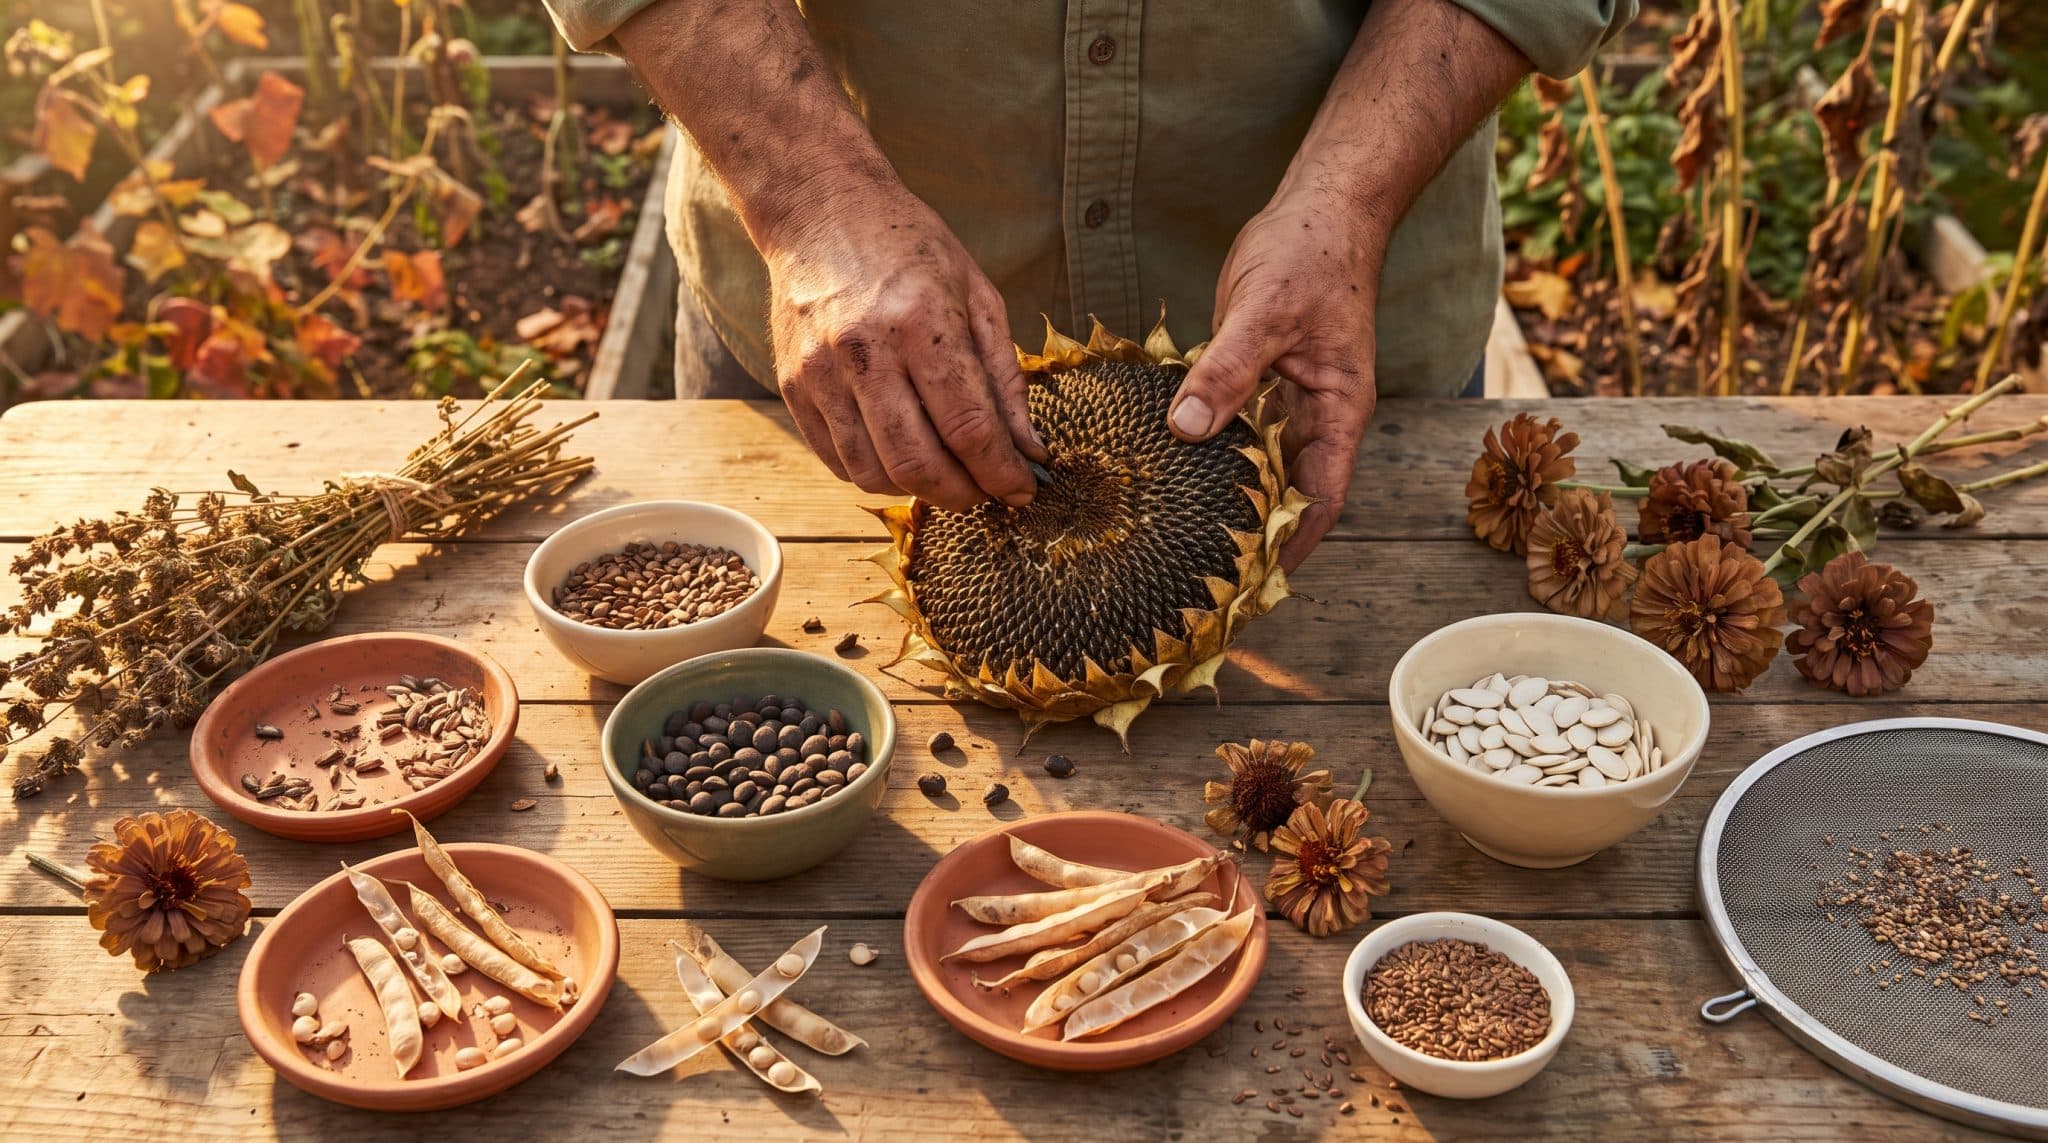
- Zinnias: Dry-processed, and a good one to start with since the process is almost impossible to get wrong. Let a flower head dry out completely on the plant until it turns brown and papery, then pull it apart. The seeds are the arrow-shaped pieces at the base of each petal.
- Sunflowers: Dry-processed. Let the flower head droop and turn brown on its own, then cut it and hang it upside down somewhere dry for a week or two before rubbing the seeds loose. A thin layer of cheesecloth around the head keeps birds from beating you to it.
Drying and Curing Seeds the Right Way
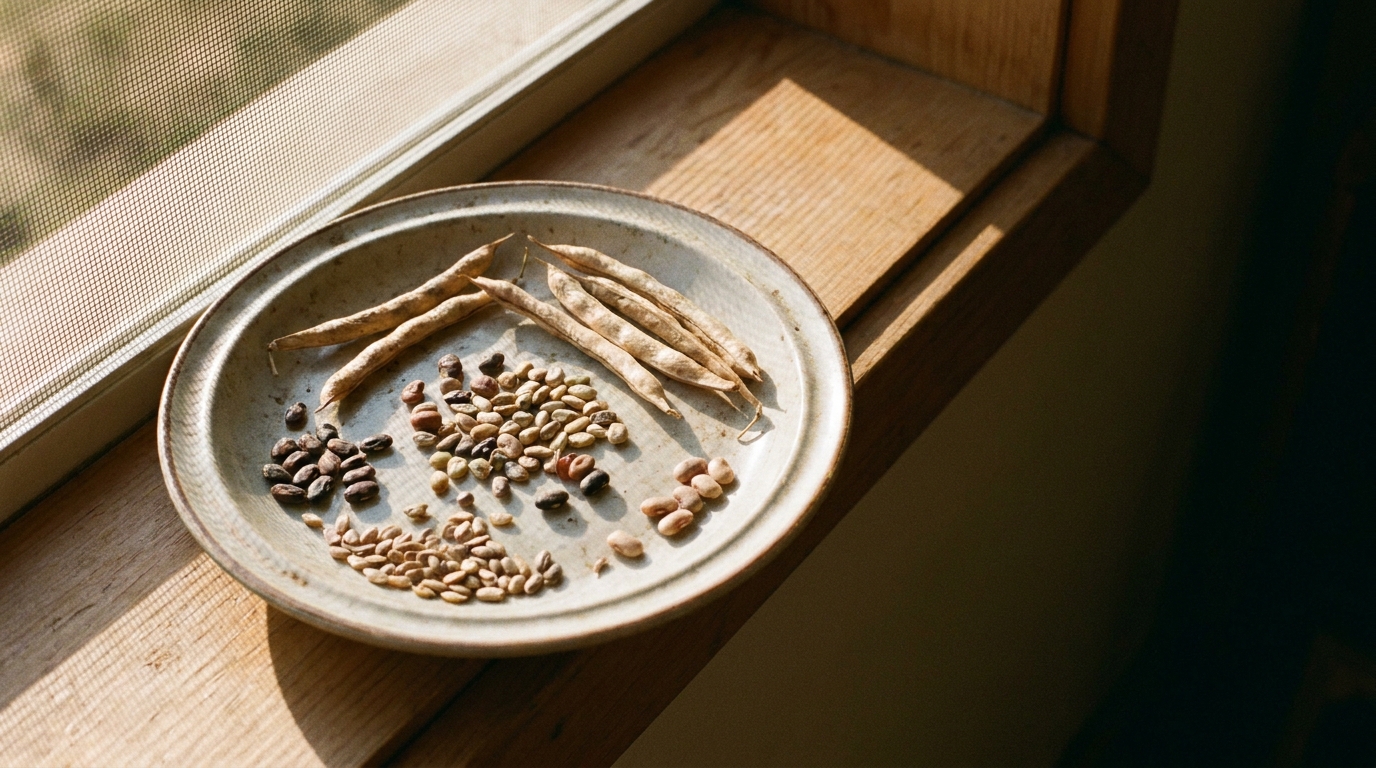
Whichever method you use to get seeds out of the plant, they need a proper dry-down before storage, and this step gets rushed more than any other.
A seed that feels dry on the outside can still be holding onto moisture at its core, and sealing that seed into an envelope or jar too early is one of the most common ways a season of saving ends in mold.
Spread seeds in a single layer on a plate, a screen, or a paper plate, somewhere with good airflow and out of direct sun, and leave them for one to two weeks depending on size. Small seeds like lettuce or zinnia dry faster; larger seeds like beans and squash take longer and are worth checking on.
A simple test: a fully dry bean or pea should snap cleanly rather than bend, and a fully dry tomato seed should feel brittle rather than tacky. If there’s any doubt, give it a few more days. A few extra days of drying costs nothing; too little costs the whole batch.
Storing Seeds So They’re Still Viable Next Spring
Once seeds are fully dry, how you store them matters almost as much as how you saved them. This isn’t complicated: small paper envelopes or glass jars, a label with the plant name and the year written on immediately, not “later,” and a spot that stays cool, dark, and consistently dry.
A kitchen cabinet near the stove or a garage that swings from freezing to hot works against you here; a closet shelf or a labeled box in a spare room works in your favor.
Finding that spot has less to do with gardening than with the same storage ideas that keep the rest of a home organized, so it’s worth borrowing a page from general organizing advice rather than gardening advice alone. A small silica gel packet dropped into each jar helps if your storage spot runs at all humid.
For seeds you want to keep viable well past the usual two-to-five-year window, an airtight jar in the freezer extends things considerably, as long as the seeds are completely dry before they go in and the jar isn’t opened and closed often enough to introduce condensation. It’s a step most casual seed-savers can skip, but it’s the same principle seed banks use at a much larger scale.
Labeling deserves its own moment of attention, because it’s the step that feels least necessary in September and most necessary in March. Seeds from three different tomato varieties look identical once they’re dry, and “I’ll remember which is which” rarely survives the winter.
Write the plant name, the variety if you know it, and the year on the outside of every envelope or jar before it goes into storage, not after.
Viability also varies a lot by plant, and it’s worth planning around that rather than assuming every seed keeps forever. Onion seeds tend to lose viability within a year or two even under good conditions, while tomato and pepper seeds can stay viable for four or five years, and some especially hardy seeds hold on even longer.
When in doubt, label generously and plan to use anything short-lived, like onions or parsnips, within the first year rather than banking on it lasting.
Mistakes That Ruin a Season of Saved Seeds
A few errors account for most seed-saving failures, and all of them are avoidable once you know to look for them.
- Harvesting too early is the most common mistake. Seeds saved from an unripe fruit or an underdeveloped pod often look fine but germinate poorly or not at all, since the seed hadn’t finished maturing when it was picked. When in doubt, leave it on the plant longer than feels natural.
- Saving from hybrids catches people off guard. It’s the second most common mistake, since the plant itself performed perfectly well. The seed packet or tag is the only reliable way to know whether a variety is open-pollinated before you invest time in saving from it.
- Cross-pollination is the biggest risk for plants like squash and corn. They cross easily with other varieties of the same species growing nearby, so seeds saved from a garden growing three types of squash may not produce anything resembling the parent plant. If variety purity matters to you, either grow one variety of a cross-prone plant per season or hand-pollinate and bag the flowers.
- Poor storage undoes everything that came before it. Seeds that were harvested, dried, and labeled correctly can still fail if they spend the winter in a humid garage or a spot that swings through temperature extremes. This is the step most likely to get skipped simply because it happens after the satisfying part of harvest is already over.
- Sealed plastic bags are a smaller but common mistake. Plastic traps whatever residual moisture is left in a seed, even one that felt fully dry, and can encourage mold over months of storage. Paper envelopes or glass jars breathe enough to avoid this, which is why they’re the standard recommendation over sealed plastic for anything you’re not immediately freezing.
Before You Plant Again
Seeds that make it through a full winter in storage are usually fine, but a quick check before planting season removes any guesswork. Wrap ten seeds in a damp paper towel, seal them in a plastic bag, and leave them somewhere warm for about a week.
If seven or more sprout, that batch is good to plant as-is. If closer to half sprout, plant it more thickly than usual to account for the lower germination rate. If almost nothing sprouts, it’s a sign to source fresh seed for that particular plant next time, not a reason to give up on saving seeds altogether.
It’s also worth keeping a simple record, even something as basic as a note on the envelope itself, of how a variety actually performed: how it tasted, how it held up to a dry spell, whether pests left it alone.
That record is what turns seed saving from a one-off trick into something that actually improves your garden over time, since next year’s decision about what’s worth saving again gets easier every season you keep track.
That’s really the whole loop: pick the right seeds at the right time, dry them properly, store them somewhere that won’t undo the work, and check them before you trust them again.
None of it requires special equipment or much technical skill, just a bit of patience and one habit most gardeners never build, treating the end of one season as the start of the next one instead of two separate events.