
I didn’t start with a green thumb. I just wanted my small porch to smell like something other than city dust.
That’s when I got curious about how to plant lavender seeds.
My first attempt, a discount store packet, gave me leggy, pale sprouts.
My second try, with proper English lavender, was a different story. That’s when I realized setup and variety matter just as much as effort.
I thought it would be hard. Turns out, it just needed care, not perfection. The first sprout felt like winning a quiet prize.
Now it’s your turn.
Why Lavender Seeds Can Be Tricky?
Lavender seeds are tiny, slow to wake up, and can test your patience. They often take a long time to sprout and don’t always pop up at the same time.
This is totally normal, but it can feel like something’s wrong if you’re new to growing them.
One reason they’re slow is that some lavender seeds need cold stratification, which means giving them a fake “winter” in the fridge before planting. It helps them know it’s safe to start growing.
Cold Stratification:Place seeds in a damp paper towel inside a zip bag, then store in the fridge for 3–4 weeks. Some growers extend this to 40 days for stubborn varieties; anywhere in that range works fine.
After that, move them to warmth and light to begin sprouting.
Lavender seeds like three things: steady warmth, bright light, and light moisture. If it’s too cold, too wet, or too dark, they may rot or stay asleep. Don’t bury them deep; just press them gently onto the soil surface.
- Keep soil temps around 70°F.
- Use a seed-starting mix that drains well.
- Mist the soil, don’t soak it.
One common issue is damping-off, a mold that kills baby sprouts. Good airflow and clean tools help stop this. Also, don’t give up too soon; lavender can take 14 to 30 days to sprout.
Sometimes, you’ll see just one seedling at first. That’s okay. Keep the rest warm and lit, they’re on their way.
Best Lavender Varieties for Beginners Growing From Seed
Not all lavender germinates equally. If you’re starting from seed for the first time, sticking to beginner-friendly varieties saves a lot of frustration.
Here’s a quick breakdown of what works best and why.
| Variety | Type | Ease from Seed | Best For |
|---|---|---|---|
| Vera | English (L. angustifolia) | Easiest | First-timers, any space |
| Hidcote | English (L. angustifolia) | Easiest | Compact gardens, containers |
| Munstead | English (L. angustifolia) | Easy | Small spaces, cold climates |
| Grosso | Lavandin hybrid | Moderate | Fragrance; better from cuttings |
| Spanish (L. stoechas) | Spanish | Tricky | Advanced growers only |
For sourcing, look for clearly dated seeds from trusted suppliers: Botanical Interests ($3–$5), Johnny’s Selected Seeds, or Strictly Medicinal Seeds are all reliable. Avoid garden center packets older than a year.
Getting Ready Before You Start With Lavender Seeds
Before planting lavender seeds, setting things up the right way makes a big difference. Start by choosing fresh, high-quality seeds; old seeds often don’t sprout well.
Quick Supplies Checklist:
- Fresh lavender seeds (English lavender or Munstead for beginners)
- Seed-starting mix (not regular garden soil)
- Small pots or seed trays with drainage holes
- Clear plastic covers or plastic wrap
- Spray bottle for misting
- Zip-top bags and paper towels (for stratification)
- Grow light or a south-facing sunny window
- Labels and a marker
Plan where you’ll keep the seeds while they grow; they need warmth and at least 6–8 hours of direct light daily. Label containers with your start date, and clean all tools before use to reduce mold risk.
When to Plant: Regional Timing Guide
Lavender timing depends heavily on where you live. Getting your start date right means healthier seedlings and a smoother transition outdoors.
Here’s a simple guide by zone.
- Zones 5–6: Begin cold stratification in late December; start seeds indoors in late January–February; transplant after last frost (late April–May).
- Zones 7–8: Start seeds indoors February–March; transplant late March–April; fall direct-sowing is also an option.
- Zones 9–10: Start in late winter or fall; avoid peak summer heat for germination.
Not sure of your zone? Search your zip code on the USDA Plant Hardiness Zone Map; it’s free and takes ten seconds.
How to Grow Lavender From Seed?
Growing lavender from seed takes time and patience, but it’s a budget-friendly way to grow lots of plants.
If you set things up right from the start, you can get strong, healthy lavender without buying pricey transplants. Here’s how to do it step by step:
Step 1: Prepare Your Plate and Seeds
Place a paper towel on a clean plate and wet it lightly. Don’t soak it. Spread the lavender seeds evenly on the towel, no clumps. This method gives you control and keeps seeds from rotting. It’s a clean and simple way to start them indoors.
Step 2: Cold Time in the Fridge
Place the plate inside a zip-top bag and store it in the fridge for 30–40 days. This gives the seeds a fake winter, which lavender needs to wake up.
Most seeds like warmth, but lavender needs cold first. This trick helps improve your sprouting success.
Step 3: Move Seeds Into the Light
After the cold time, take the plate out and place it by a sunny window. The seeds need direct sunlight and warmth to start growing.
Do not cover them with soil. Keep the towel damp, not soaked. Use a spray bottle to mist it every day lightly.
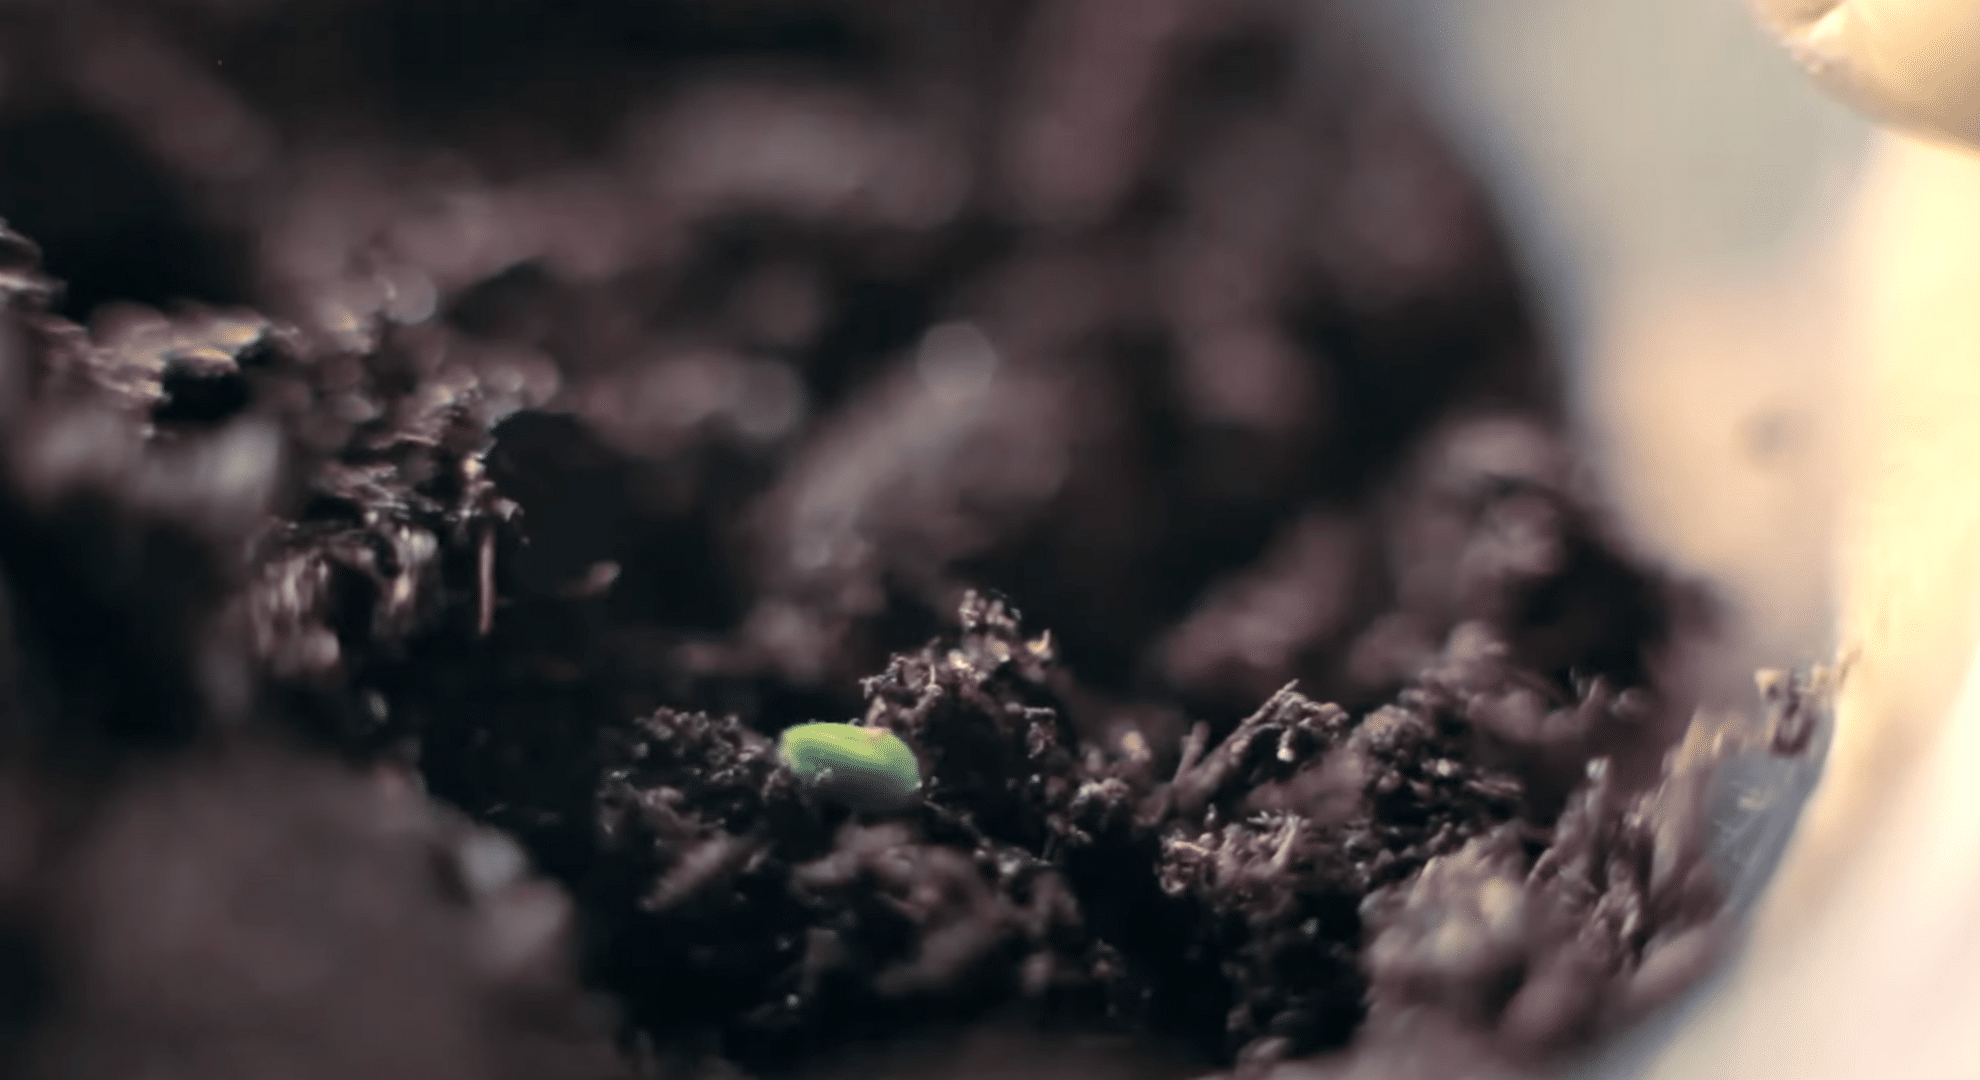
Step 4: Watch for Sprouts
Be patient, lavender takes time. You may see sprouts after 7 to 14 days. If your seeds are fresh, you could get up to 80% of them to grow.
If nothing happens at first, wait longer. Some seeds take their time. Make sure they still get light.
Step 5: Move Sprouts to Soil
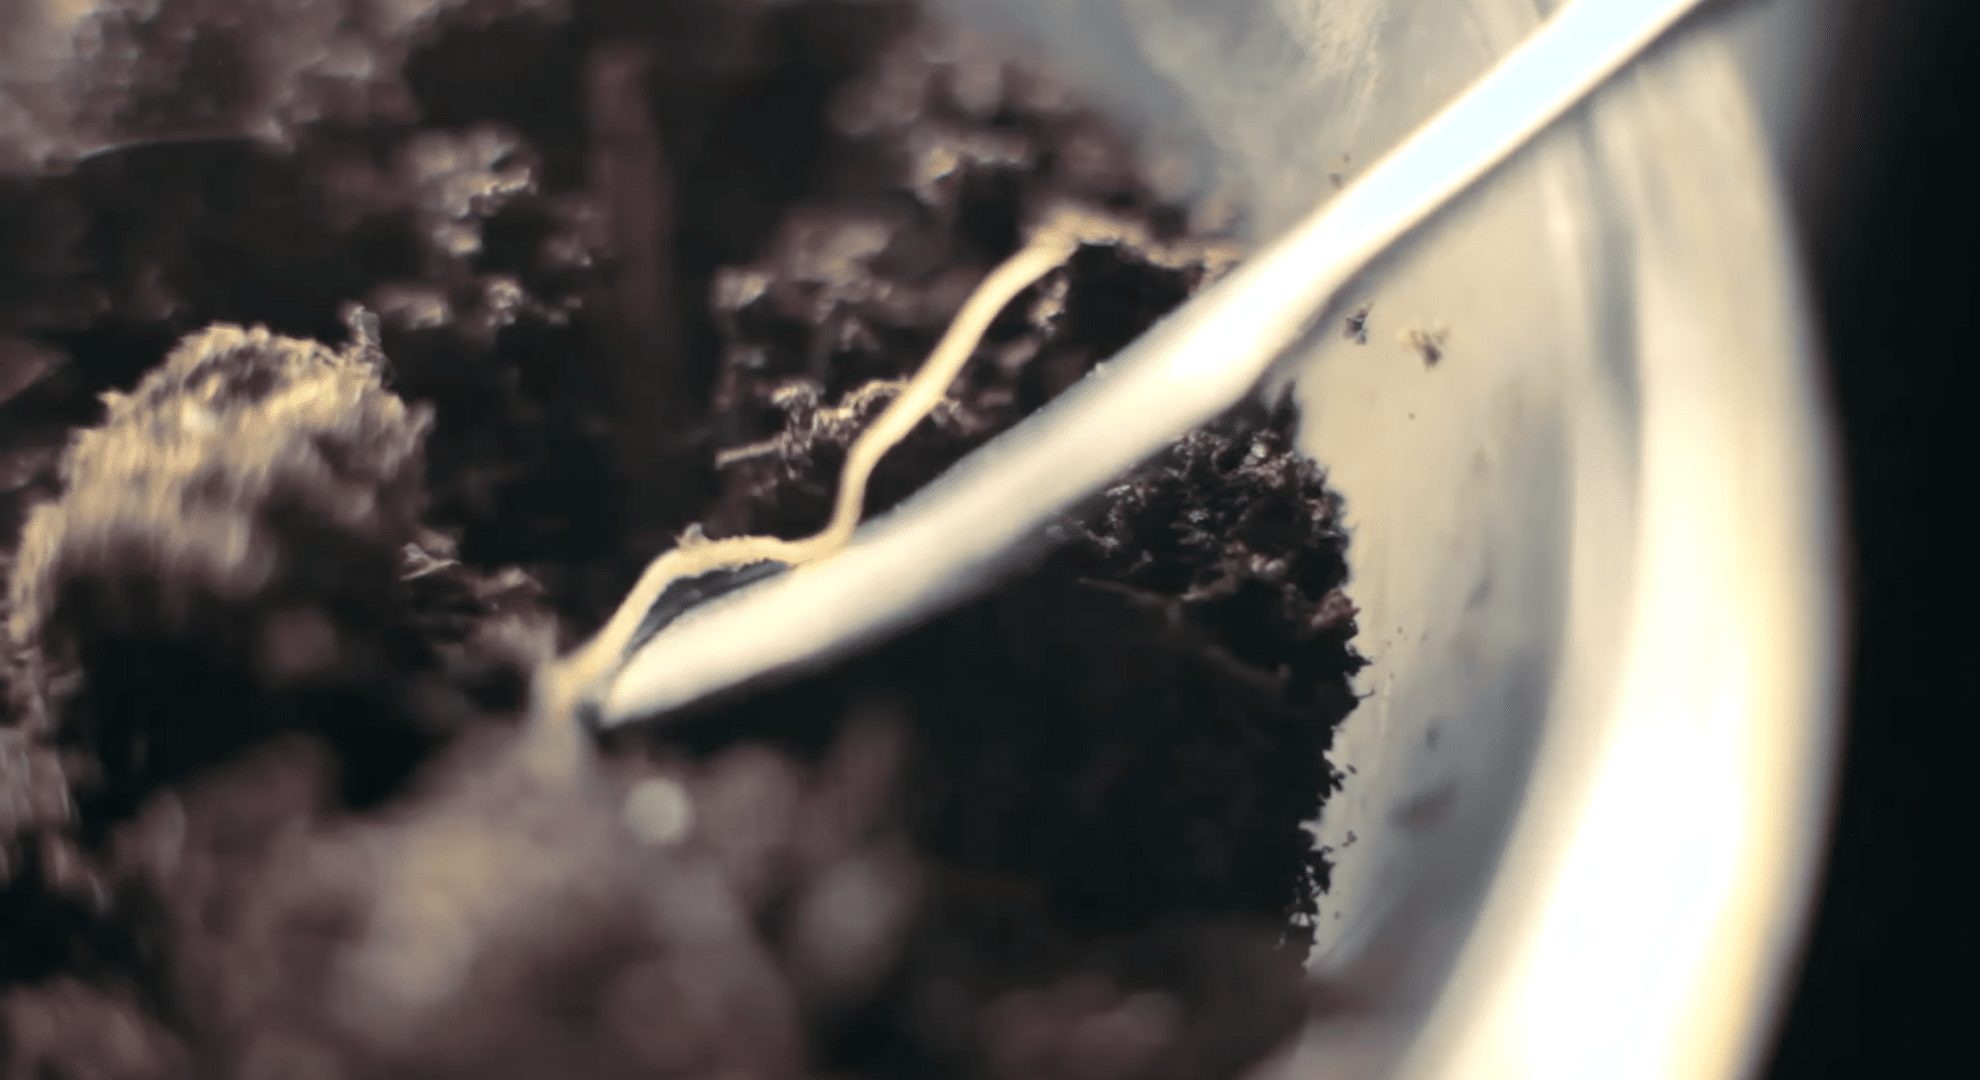
Once the seeds sprout, use tweezers or a small tool to move them. Put each sprout into its own cup of potting soil. Make a small hole, tuck in the roots, and leave the leaves showing.
Gently press the soil around it. Be careful, they are very soft.
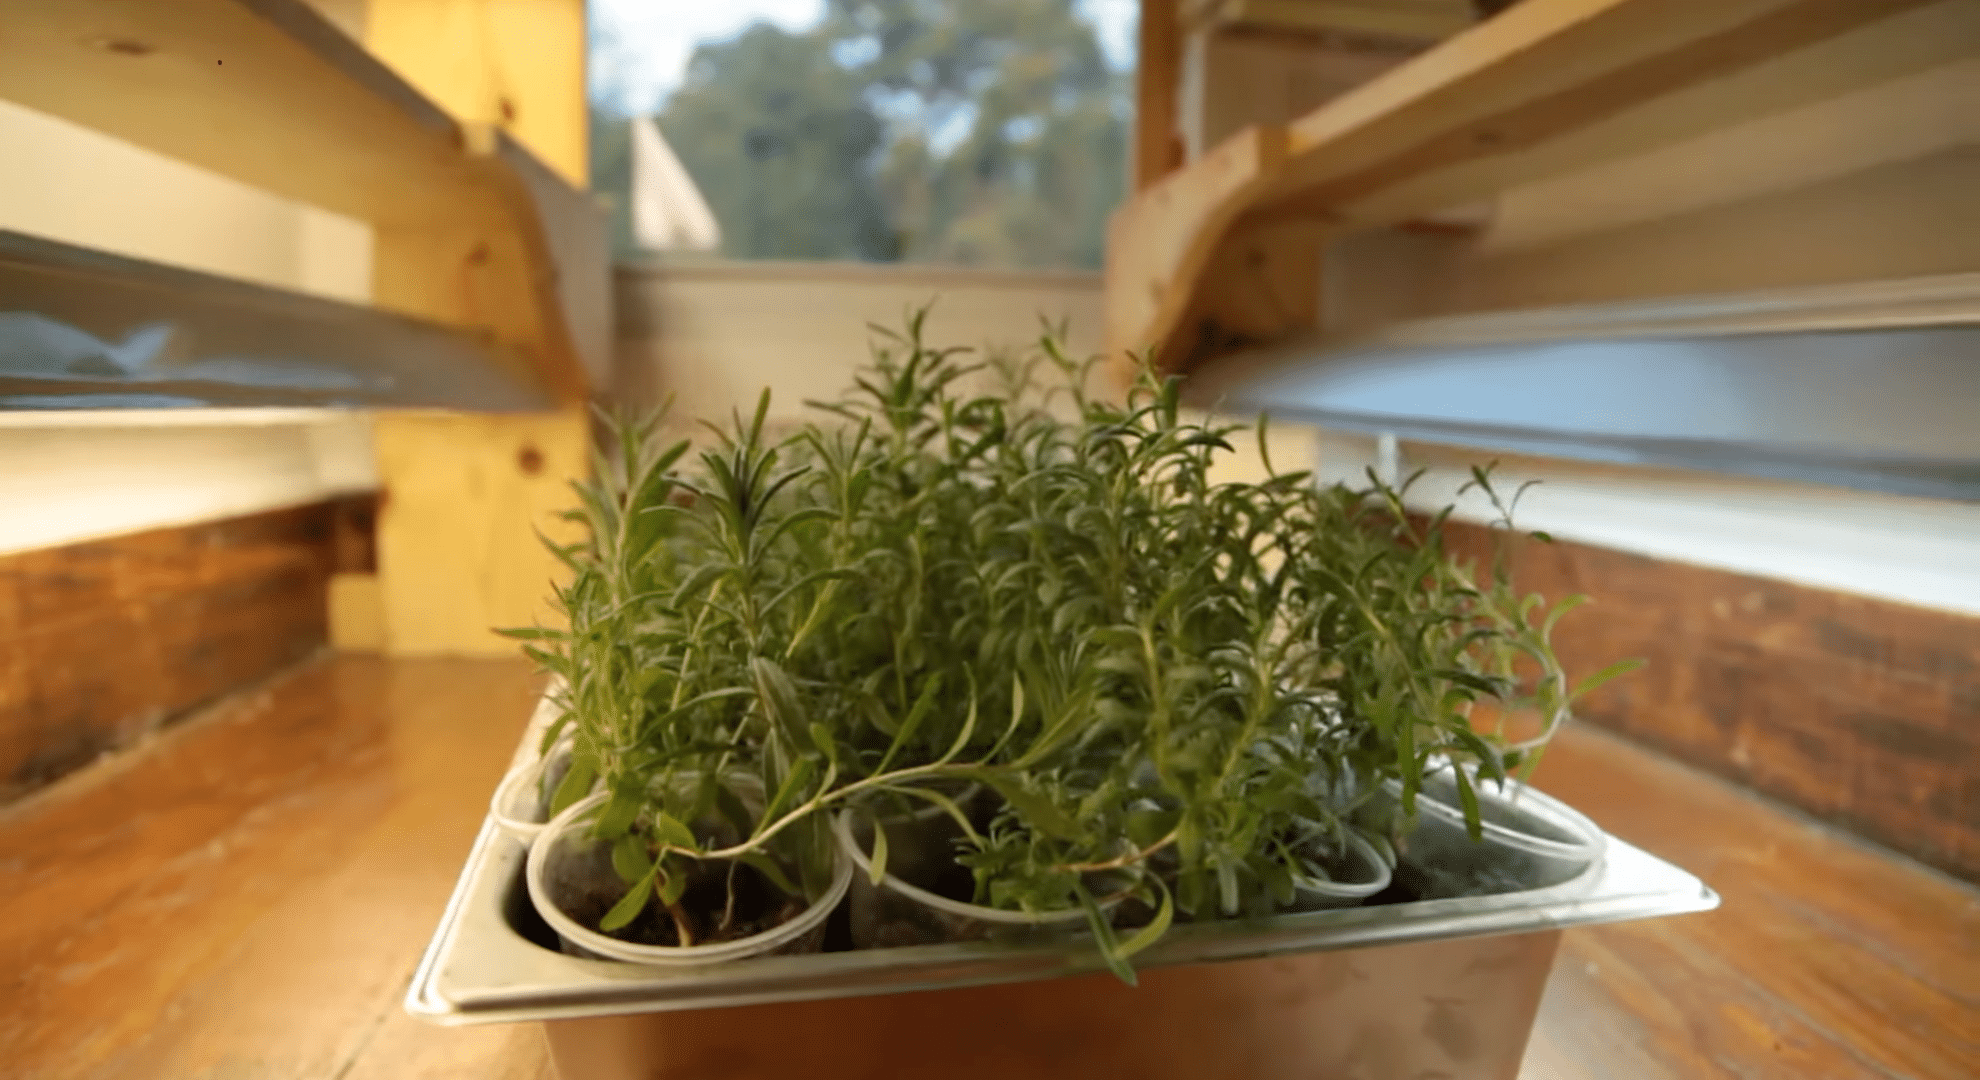
Step 6: Keep Them Growing Indoors
Keep the young plants near a sunny window or under a grow light. Lavender loves sunlight and needs a lot of it. If the room is dark, use a light about two inches above the plants.
Let them grow indoors for 8 to 12 weeks before moving them.
Step 7: Plant Them the Right Way
Before planting outdoors, help them get used to the outside weather. Start by placing them outside for a few hours each day. Increase the time daily for a week.
Then plant them in a sunny spot with soil that drains well. Keep spacing wide so they don’t crowd.
If you want a visual to follow along, here’s a helpful video that shows each step clearly. It can make the process easier to understand, especially if you’re a first-time grower:
Getting Ready Before You Start With Lavender Seeds
Before planting lavender seeds, setting things up the right way makes a big difference. Start by choosing fresh, high-quality seeds, old seeds often don’t sprout well.
Pick up a seed-starting mix instead of regular garden soil. It’s lighter, drains faster, and helps prevent seed rot. You’ll also need small pots or trays, a spray bottle for gentle watering, and clear covers or plastic wrap to hold in moisture during sprouting.
Plan where you’ll keep the seeds while they grow. They’ll need a warm spot with direct sunlight, or a grow light if your windows don’t get much sun.
You should also label your containers with the date you started them. This helps you track progress and know when to expect growth.
Finally, clean your tools and containers before using them. This lowers the risk of mold or seedling problems. A clean, warm, and sunny setup gives your seeds a strong start.
Caring for Lavender Seedlings After They Sprout
Once your lavender seeds sprout, they need careful attention to grow strong and healthy. They’re small and fragile at first, so it’s important to meet their basic needs without overdoing anything. Here are some points you can follow:
- Keep them in a sunny window or under a grow light for at least 12 hours a day.
- Water lightly when the soil feels dry on top; don’t soak it.
- Make sure there’s good air flow around the seedlings to stop mold.
- Thin out weaker seedlings so each plant has room to grow.
- Use small fans on low settings to help them grow stronger stems.
- Don’t rush them outside; wait until they’re 2–3 inches tall and the weather is stable.
- Avoid using fertilizer, lavender does better in lean soil.
Keep a close eye on them. With steady light, air, and just enough water, your seedlings will be ready for the next stage.
Lavender Care in the First Year
Watering Schedule by Season: New lavender plants need light but steady watering. In spring and summer, water once or twice a week until roots settle. After that, cut back; lavender prefers dry soil. For containers, water more often since pots dry faster. In-ground plants hold moisture longer and need less care.
Pruning the Right Way (So It Doesn’t Get Woody Too Fast): Start pruning lightly in the first year. Trim in late summer after flowering. Never cut into the hard, woody base: just trim soft green growth. This keeps the plant neat and helps it grow fuller without aging too fast.
Winter Care: In cold places, cover the base with mulch to protect roots. In wet winters, raise pots or improve drainage to prevent rot. Avoid soggy soil, it harms lavender more than frost.
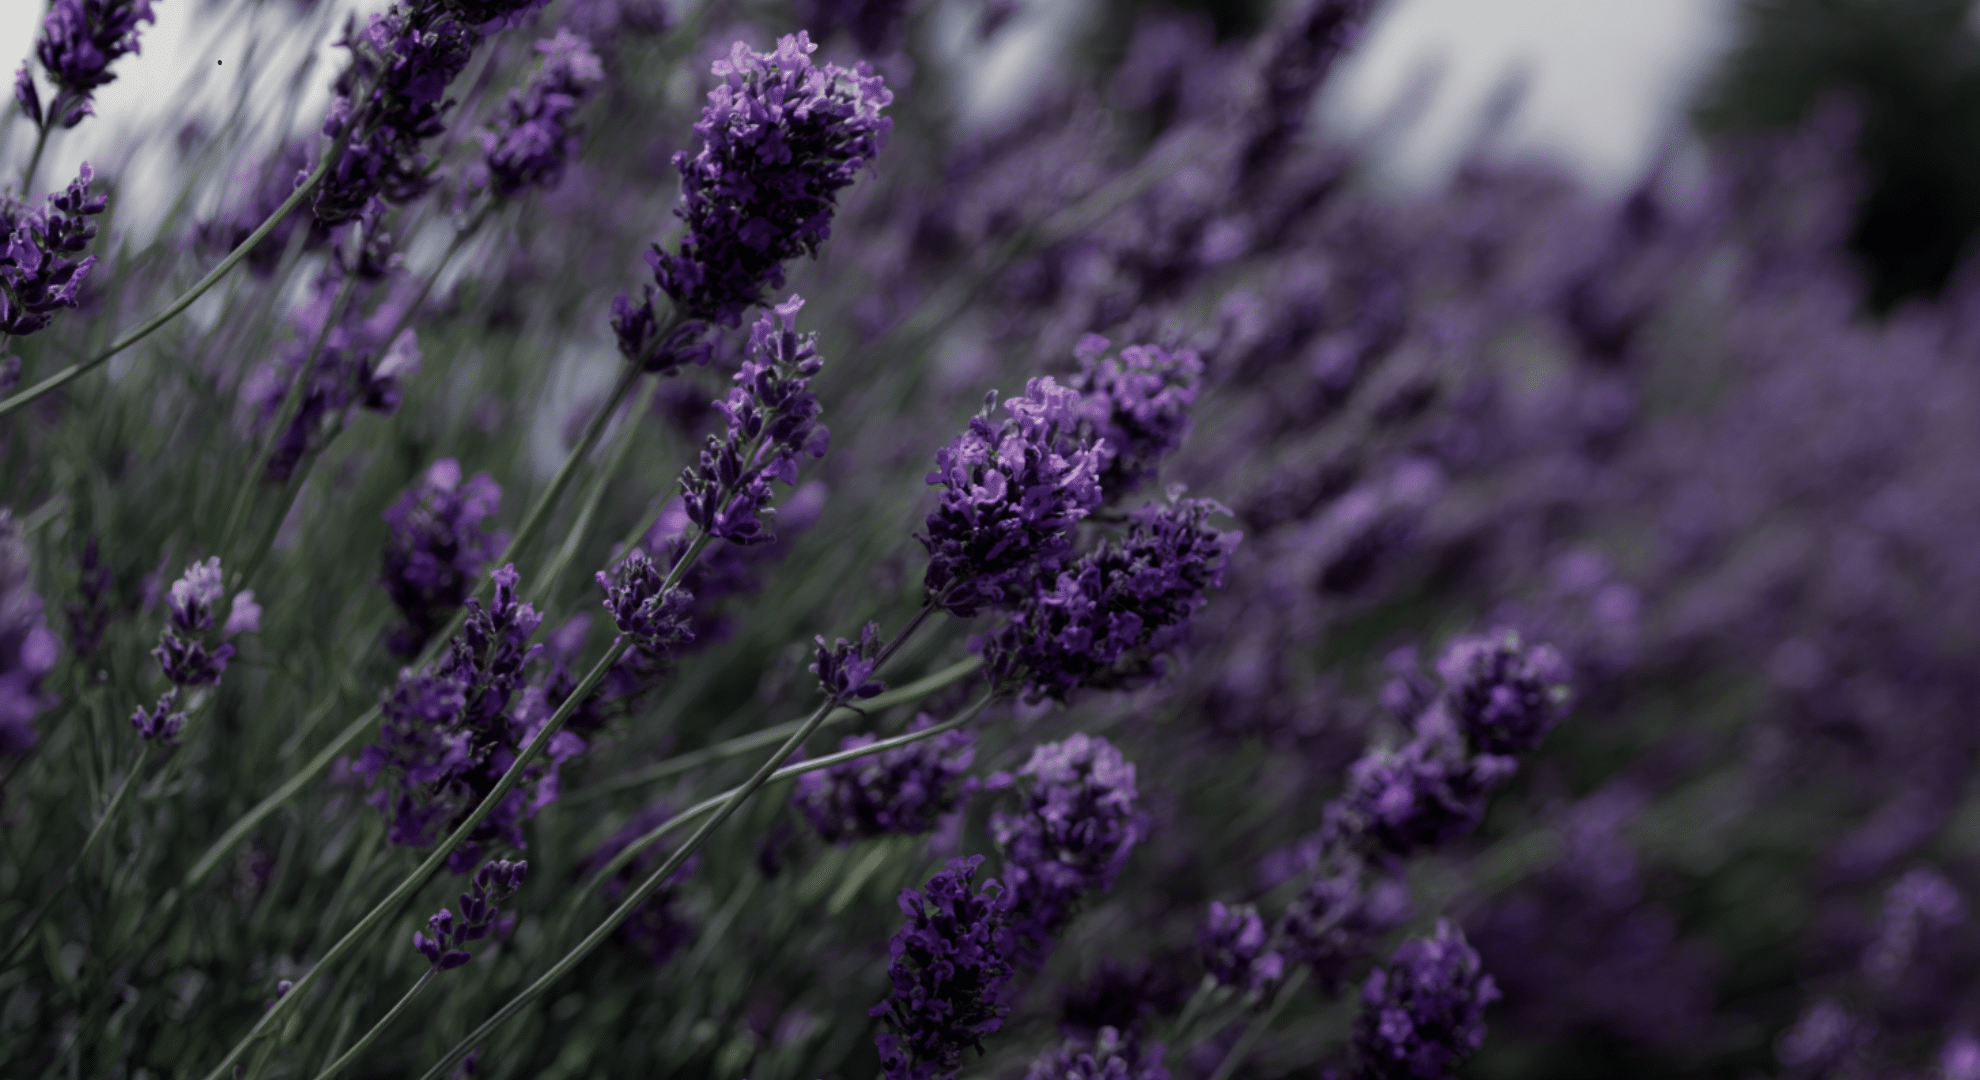
When You Can Expect Blooms: From seed, expect flowers in the second year. Give full sun, light soil, and space to help blooms form without pushing weak, leafy growth.
Common Lavender Seed Problems and Simple Fixes
Even when you do everything right, problems can still come up. The key is knowing what to watch for and how to fix it fast.
- Seeds not sprouting: Check if they had cold stratification. Make sure they’re warm enough, getting direct light, and not too old.
- Mold on soil or seeds: Improve air flow. Water less and remove covers for a few hours each day to let things dry out.
- Leggy seedlings: This usually means not enough light. Move them closer to a window or use a grow light about 2 inches above.
- Seedlings collapsing: Likely damping-off. Use clean tools, don’t overwater, and use a fresh seed-starting mix.
- Yellow leaves: Could be overwatering. Let the soil dry out between waterings. If that’s not the issue, it may be poor soil.
- Slow growth: Check for small pots, not enough light, low temperatures, or poor soil drainage.
Small fixes can make a big difference when growing lavender from seed.
Conclusion
Growing lavender from seed isn’t hard; it just takes steady care and a little patience. You’ve learned the basics: when to plant, how to prep your soil, how deep to sow, and how to care for the seedlings.
Now that you know how to plant lavender seeds, you can put it into action. Start small and don’t stress over perfection. A few minutes of care each day is enough.
One last reminder, lavender takes time to sprout, so don’t rush it. Let it grow at its own pace.
If this was helpful, there’s more practical gardening advice waiting. Check out the other blogs to keep learning and growing!


One Response
Thank you so much. Great information. My first try at growing lavender….in the mohave desert. I’m planning an herbal tea garden. Di you have any information on processing the lavender for making tea,? I know that’s going to be a long ways off.