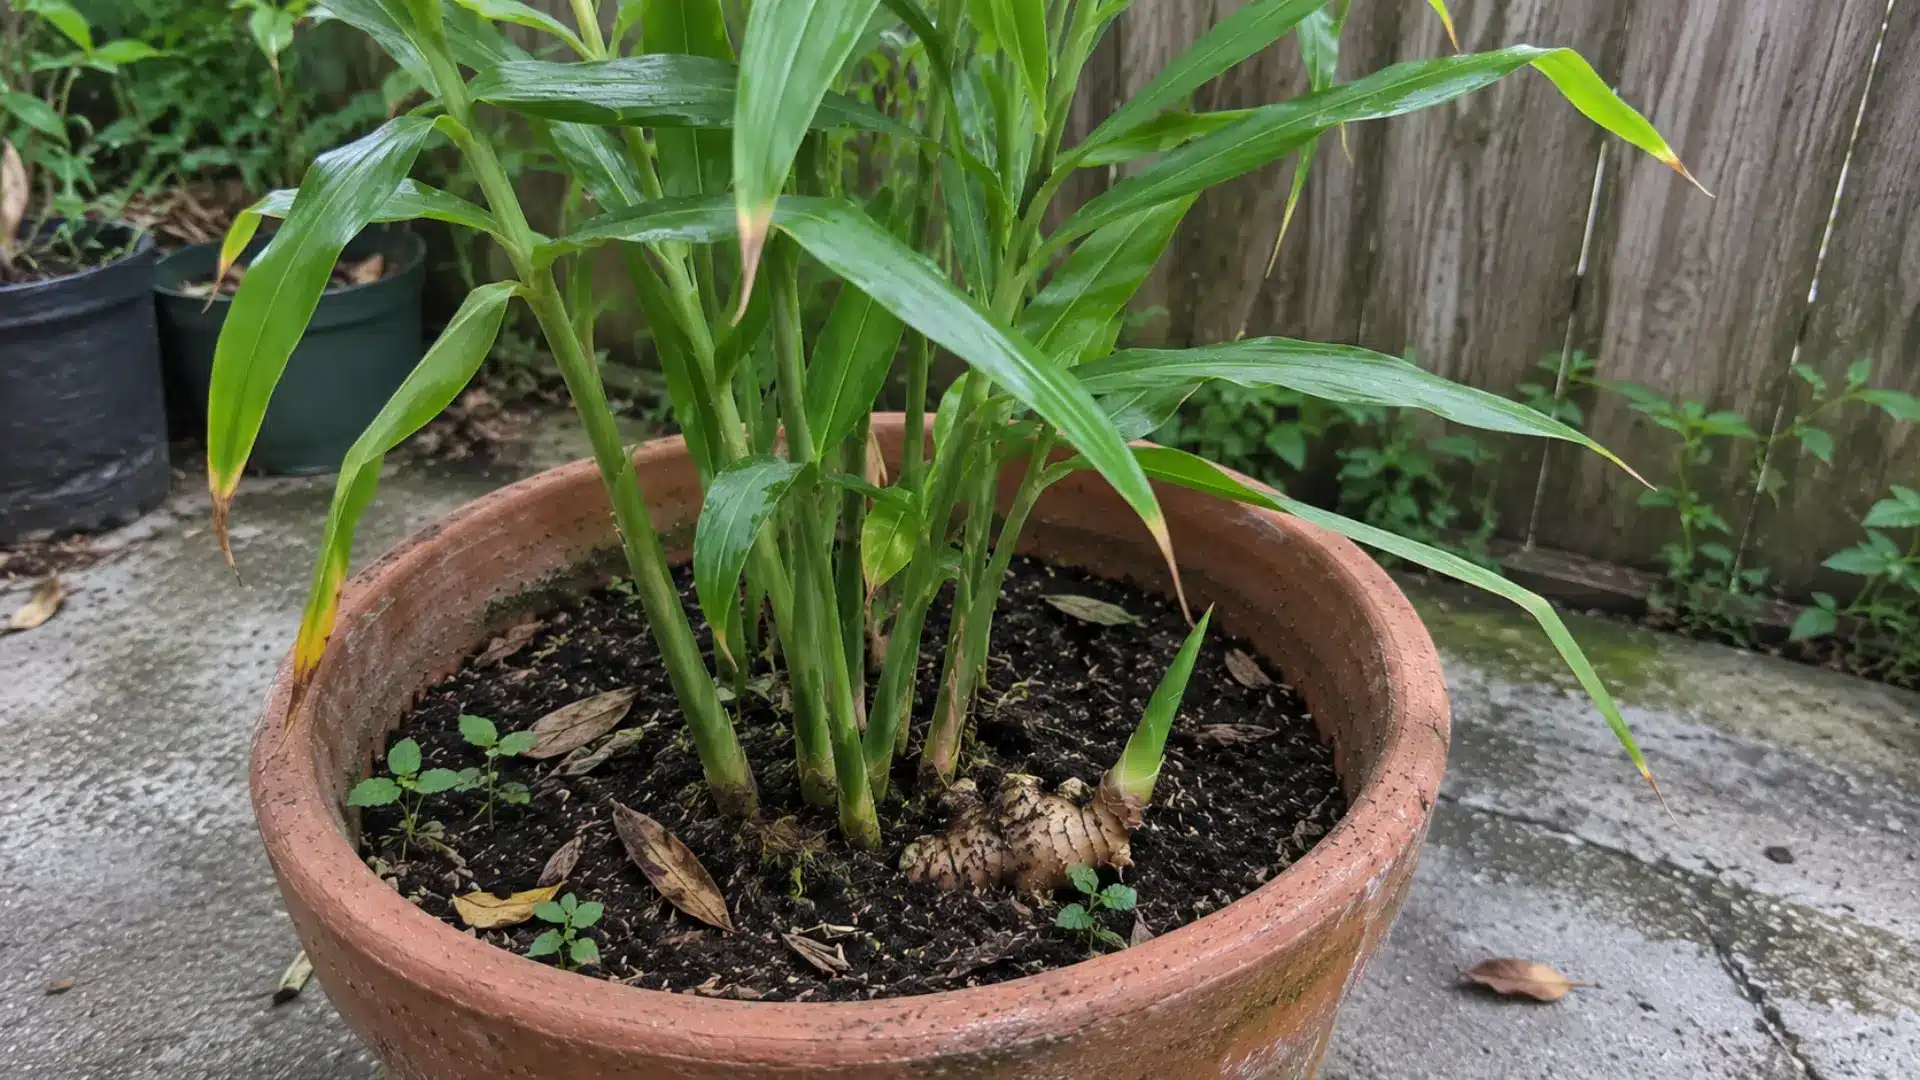
That piece of ginger in your fridge’s crisper can actually sprout into a real plant.
Learning how to plant ginger root starts with something you probably already own.
Grocery store ginger sprouts just as well as anything sold at a nursery. I once forgot a hand of ginger in a drawer for weeks, planted it anyway, and it grew a full plant that same season.
All it needs is warm soil, steady moisture, and a bit of patience. Some pieces sprout in days, others take weeks.
Once you know the basics, growing your own ginger turns into a habit you repeat every year.
Choosing the Best Ginger and Time to Plant Ginger
Spring is the best time to plant, right as temperatures climb past 60°F.
This gives the rhizome a full growing season before frost returns. When picking ginger, skip pieces coated in wax, since they resist sprouting. Choose one with tight, unbroken skin and some heft for its size.
Smaller pieces work fine, but larger ones with more eyes often establish faster.
Avoid ginger stored near onions or potatoes, since ethylene gas speeds up spoilage.
If planting outdoors, wait until nighttime lows stay consistently above 60°F before moving pieces into the ground.
Can You Plant Ginger From the Grocery Store?
Yes, most ginger available in produce aisles is suitable for planting.
Farmers markets and Asian grocery stores often carry fresher, untreated pieces than large chains.
Avoid pre-packaged, shrink-wrapped ginger, since it’s frequently older stock with less viable eyes.
A quick squeeze test helps: firm pieces are worth planting, while any that give under light pressure signal internal rot already setting in. Buying two or three separate pieces from different bins also spreads your risk.
Because each batch or storage condition can vary, not every hand of ginger is the same.
One good piece is often all it takes to start a full plant.
Supplies You’ll Need Before You Start
Before you get started, it helps to gather a few basics, so the sprouting and planting process goes smoothly.
None of these items are hard to find, and most can be sourced right from a kitchen or local garden store.
| Item | Why You Need It |
|---|---|
| Store-bought ginger root | Choose organic. It’s less likely to be treated with sprout inhibitors. |
| A bowl of water | Sprouts the root before it goes into soil. |
| Garden bed or container | Needs well-draining soil so the rhizome doesn’t sit in excess moisture. |
| Mulch | Keeps soil consistently moist, which ginger needs to establish. |
| A spot with room to spread | Rhizomes grow outward. Cramped spacing limits growth. |
The Best Soil for Growing Ginger
Ginger grows best in loose, nutrient-rich soil that drains well and retains fine moisture to keep from drying out.
- Texture: Loose and well-draining, avoiding heavy clay that stays compacted or waterlogged.
- Nutrients: Rich in organic matter, ideally amended with compost or well-rotted manure before planting.
- pH level: Slightly acidic to neutral, generally between 5.5 and 6.5.
- Drainage: Essential to prevent standing water, since soggy soil can lead to rhizome rot.
- Container mix: A blend of potting soil, compost, and a bit of sand or perlite works well for pots.
Step-by-Step: How to Plant Ginger Root?
Planting ginger root involves specific steps to change a sprouted piece into a healthy, mature plant.
Step 1: Sprout the Root
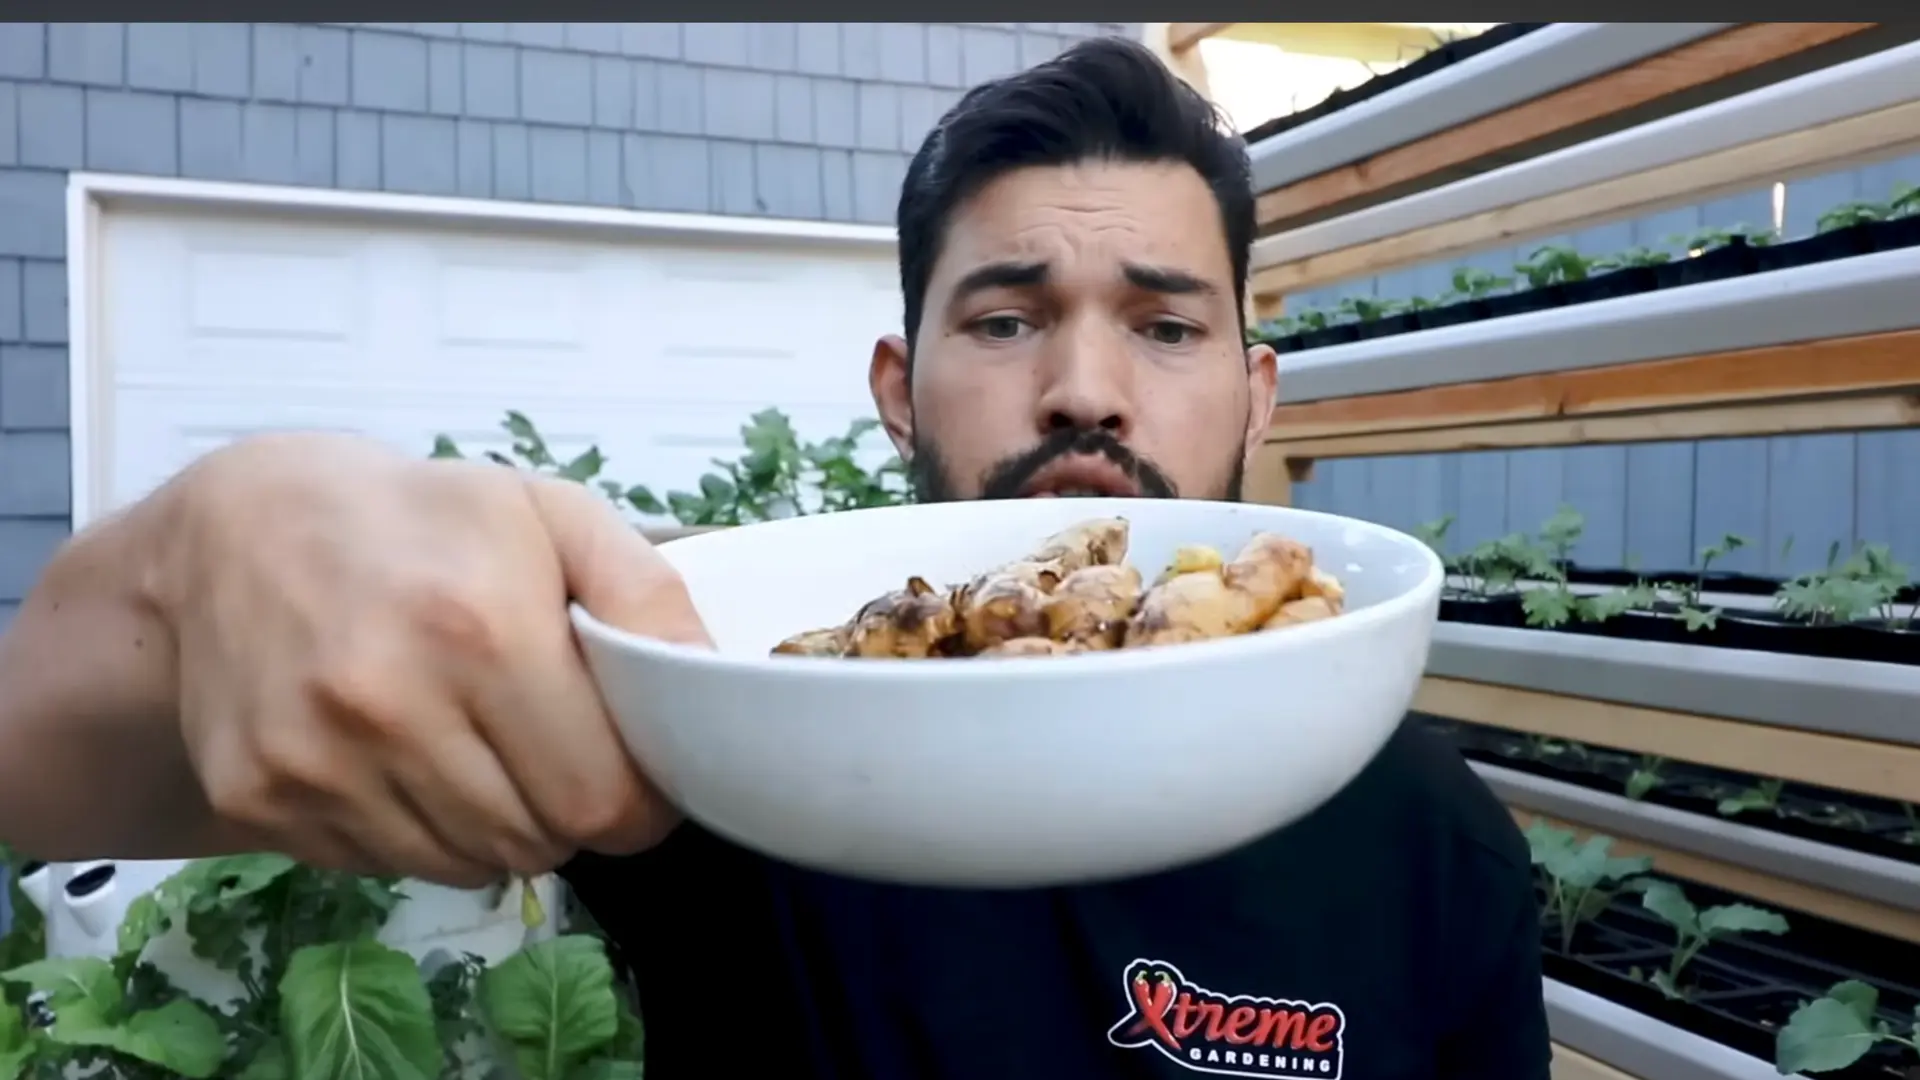
Place the store-bought ginger root in a bowl of water, changing it every 2-3 days to keep it fresh and prevent rot.
Within a couple of weeks, small roots and stems should begin forming from the eyes on the root’s surface. This sprouting stage is essential, as it confirms the piece is alive and ready to be divided or planted directly into soil.
Keep the bowl in a warm spot, away from cold drafts or direct sun. A kitchen counter or windowsill shelf works well.
If no growth appears after three weeks, discard the piece and start with a fresh one.
Step 2: Divide the Sections
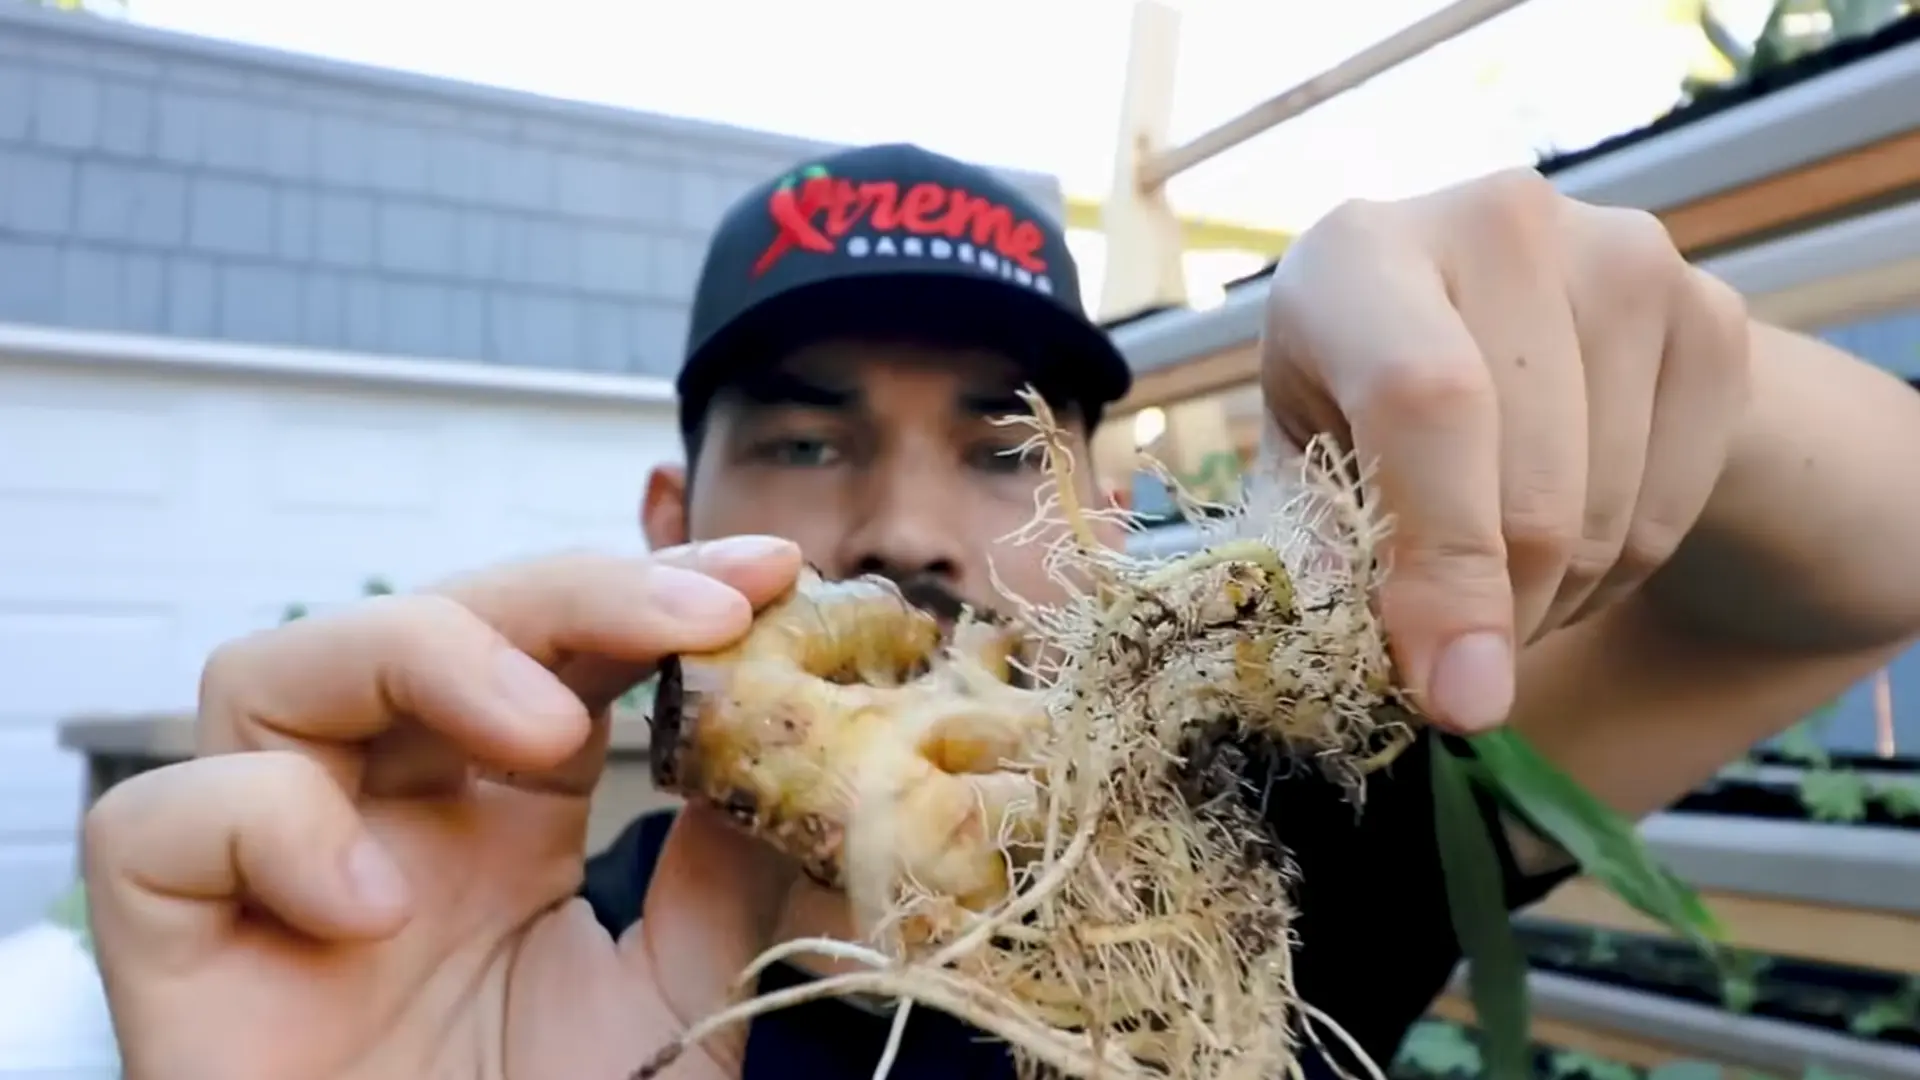
Once sprouted, gently snap the ginger into individual rooted sections, each with its own stem and root.
Alternatively, the piece can be kept whole and planted as a single unit without dividing it further.
Dividing the root allows one piece to produce several separate plants, giving a noticeably larger harvest from the same starting root. Use clean hands or a sanitized knife for cuts that don’t separate cleanly.
Let cut edges sit exposed for hours to form a callus, guarding against rot when planted.
Step 3: Pick a Planting Spot
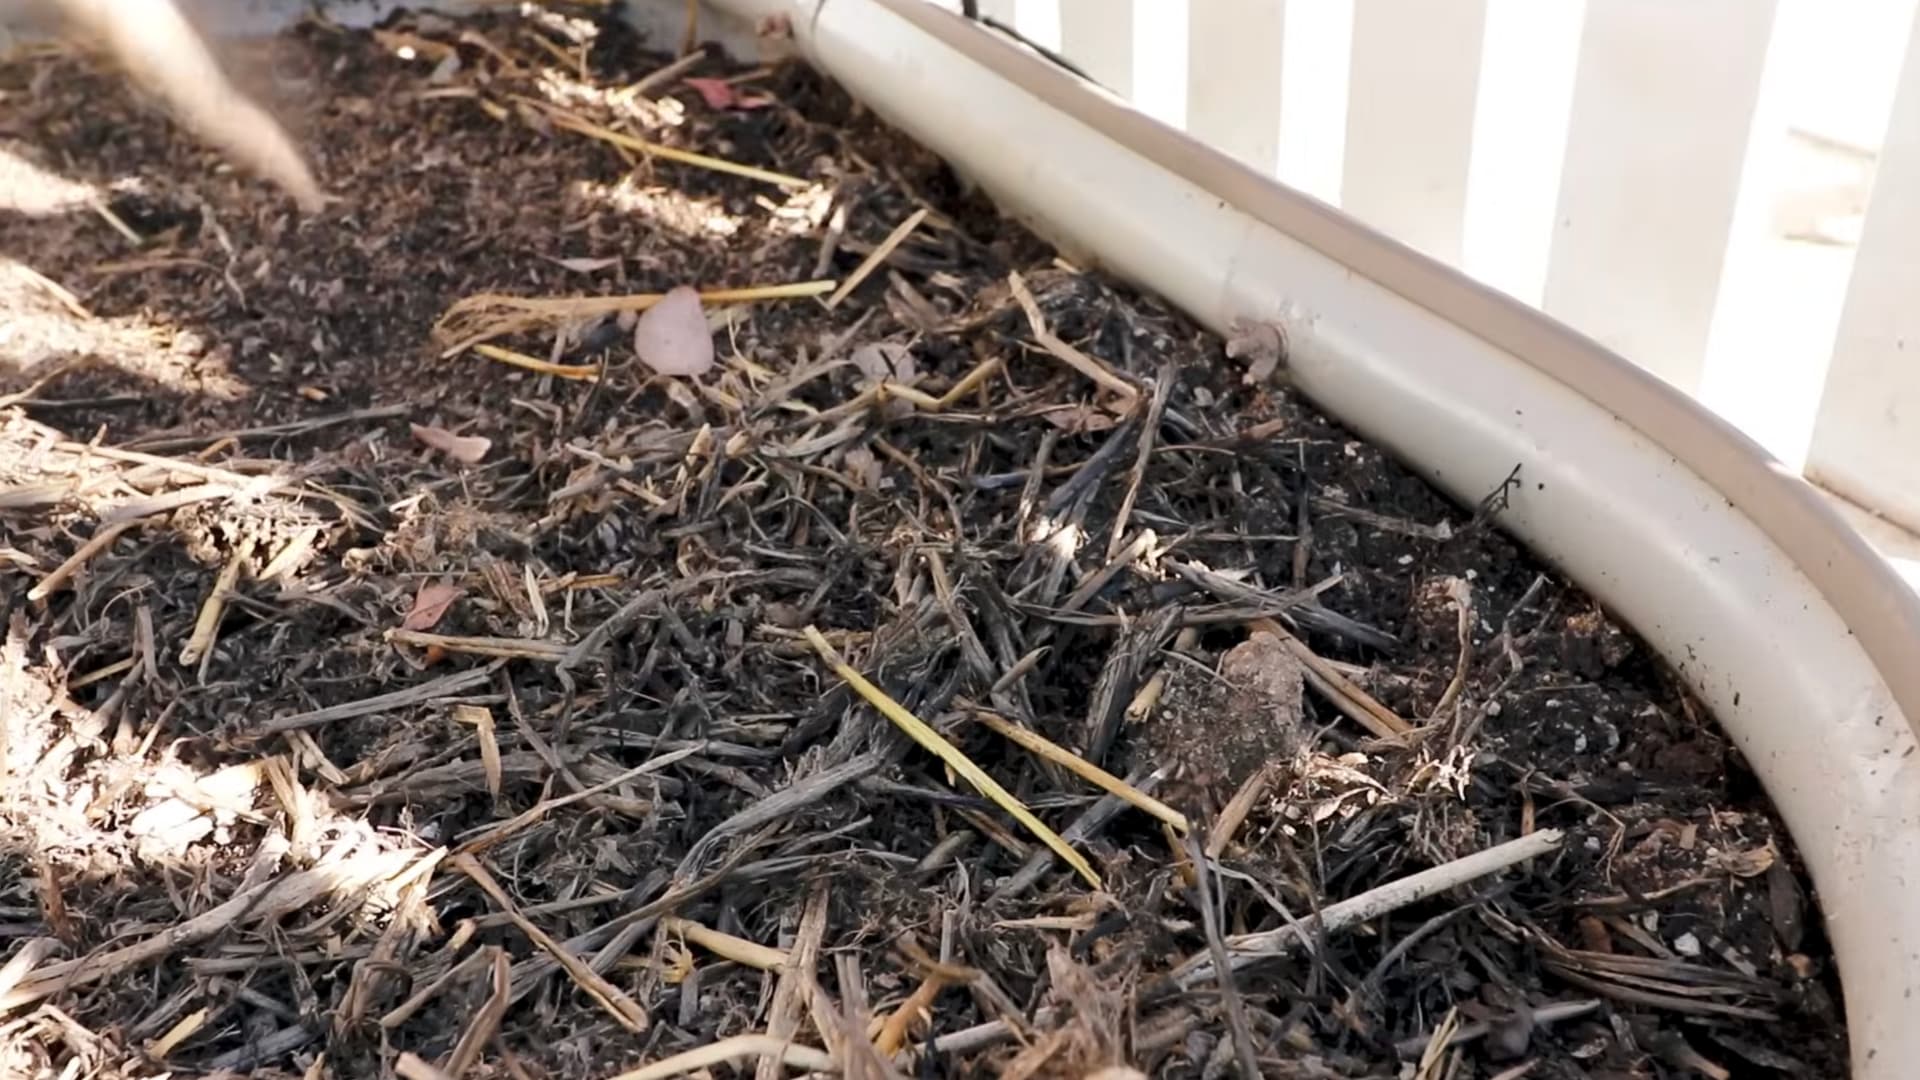
Choose a garden bed or container filled with loose, well-draining soil that won’t stay waterlogged for long periods.
Make sure the spot has enough open space around it, since ginger rhizomes spread outward underground as they mature and grow steadily. Cramped conditions can limit how much the plant develops.
A raised bed or large pot both work well, as long as drainage stays consistent.
Morning sun with afternoon shade suits ginger in most climates. South-facing spots can get too hot by midsummer.
Indoors, place a few feet from a bright window to prevent scorching young leaves.
Step 4: Dig and Position
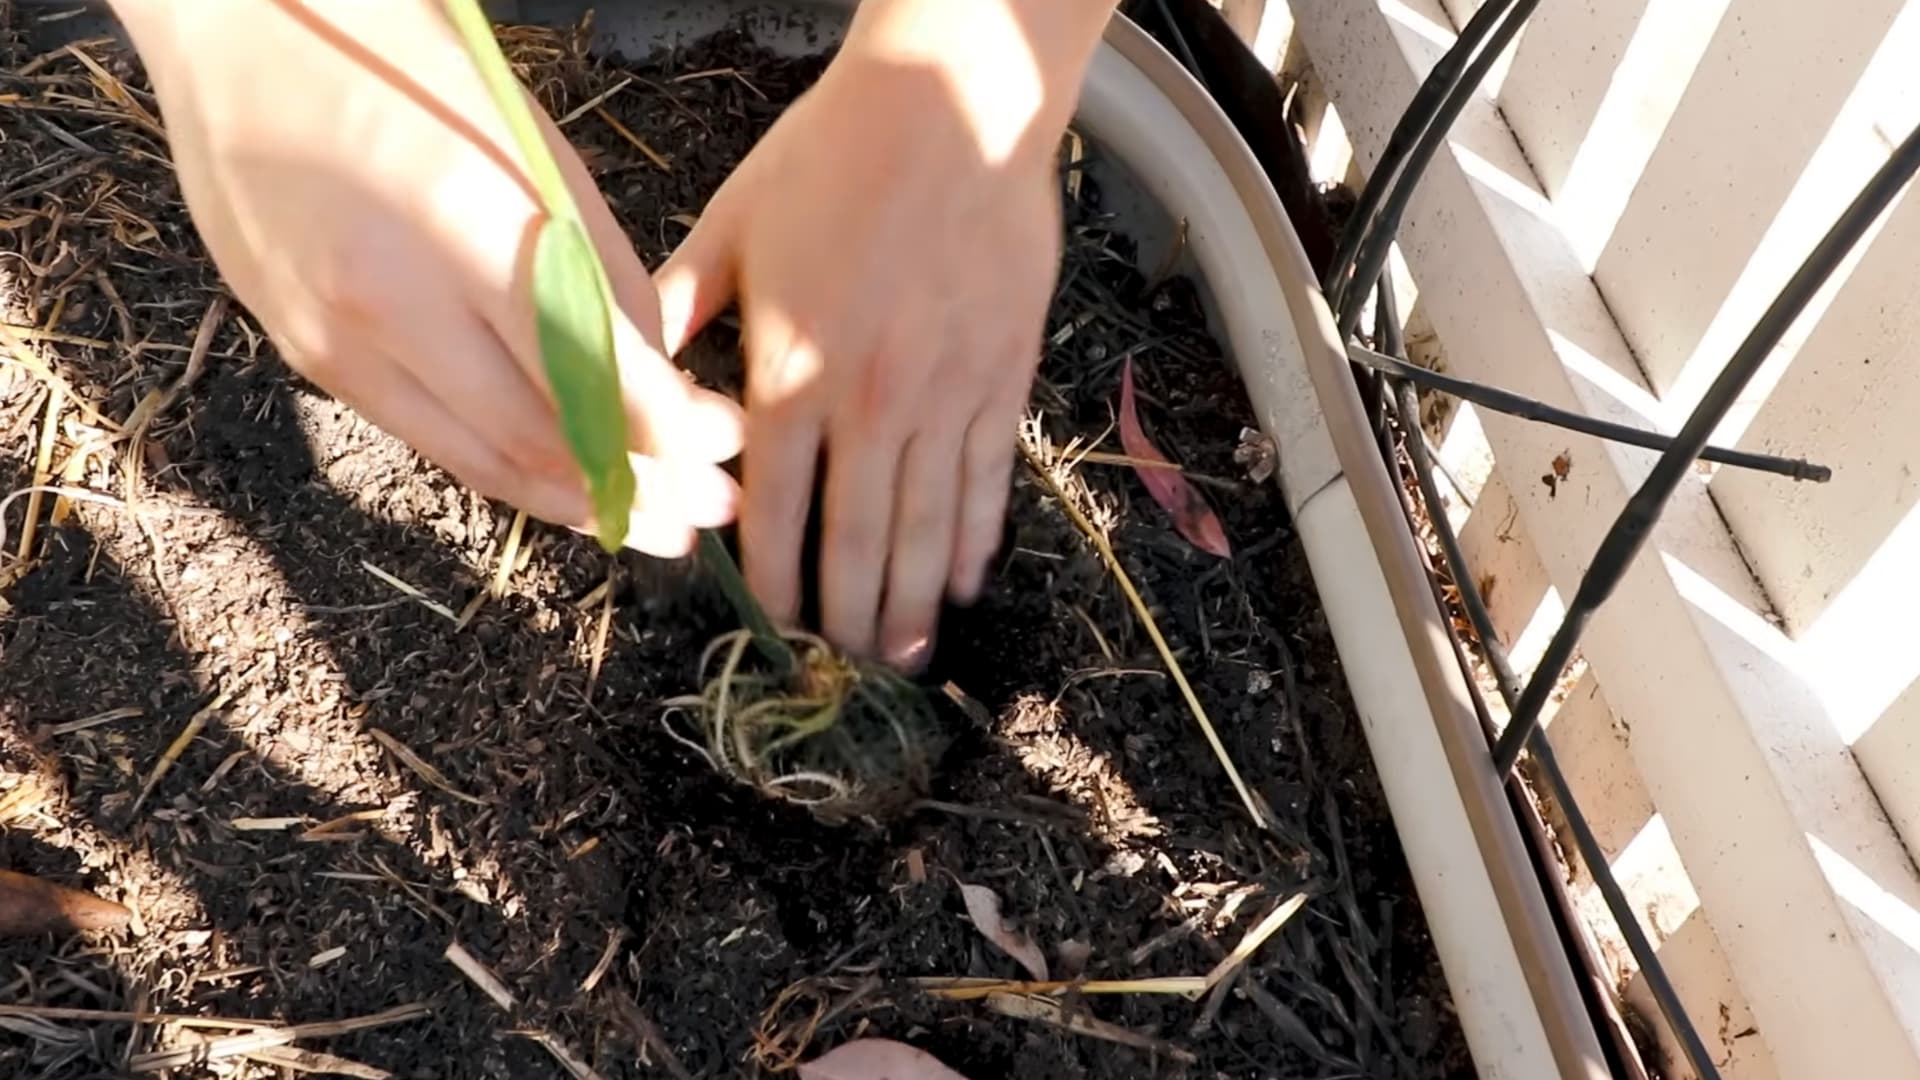
Dig a 1-inch-deep hole for young sprouts, and slightly deeper for more established, rooted pieces.
Place each piece roots-down and stem-up in the hole, ensuring it sits securely without packing too tightly.
Spacing pieces a few inches apart allows room to grow undisturbed.
Handle sprouted tips gently, since they bruise and snap easily at this stage. Loosen the soil below the hole initially to create an easier pathway for roots to grow downward.
Step 5: Cover and Water
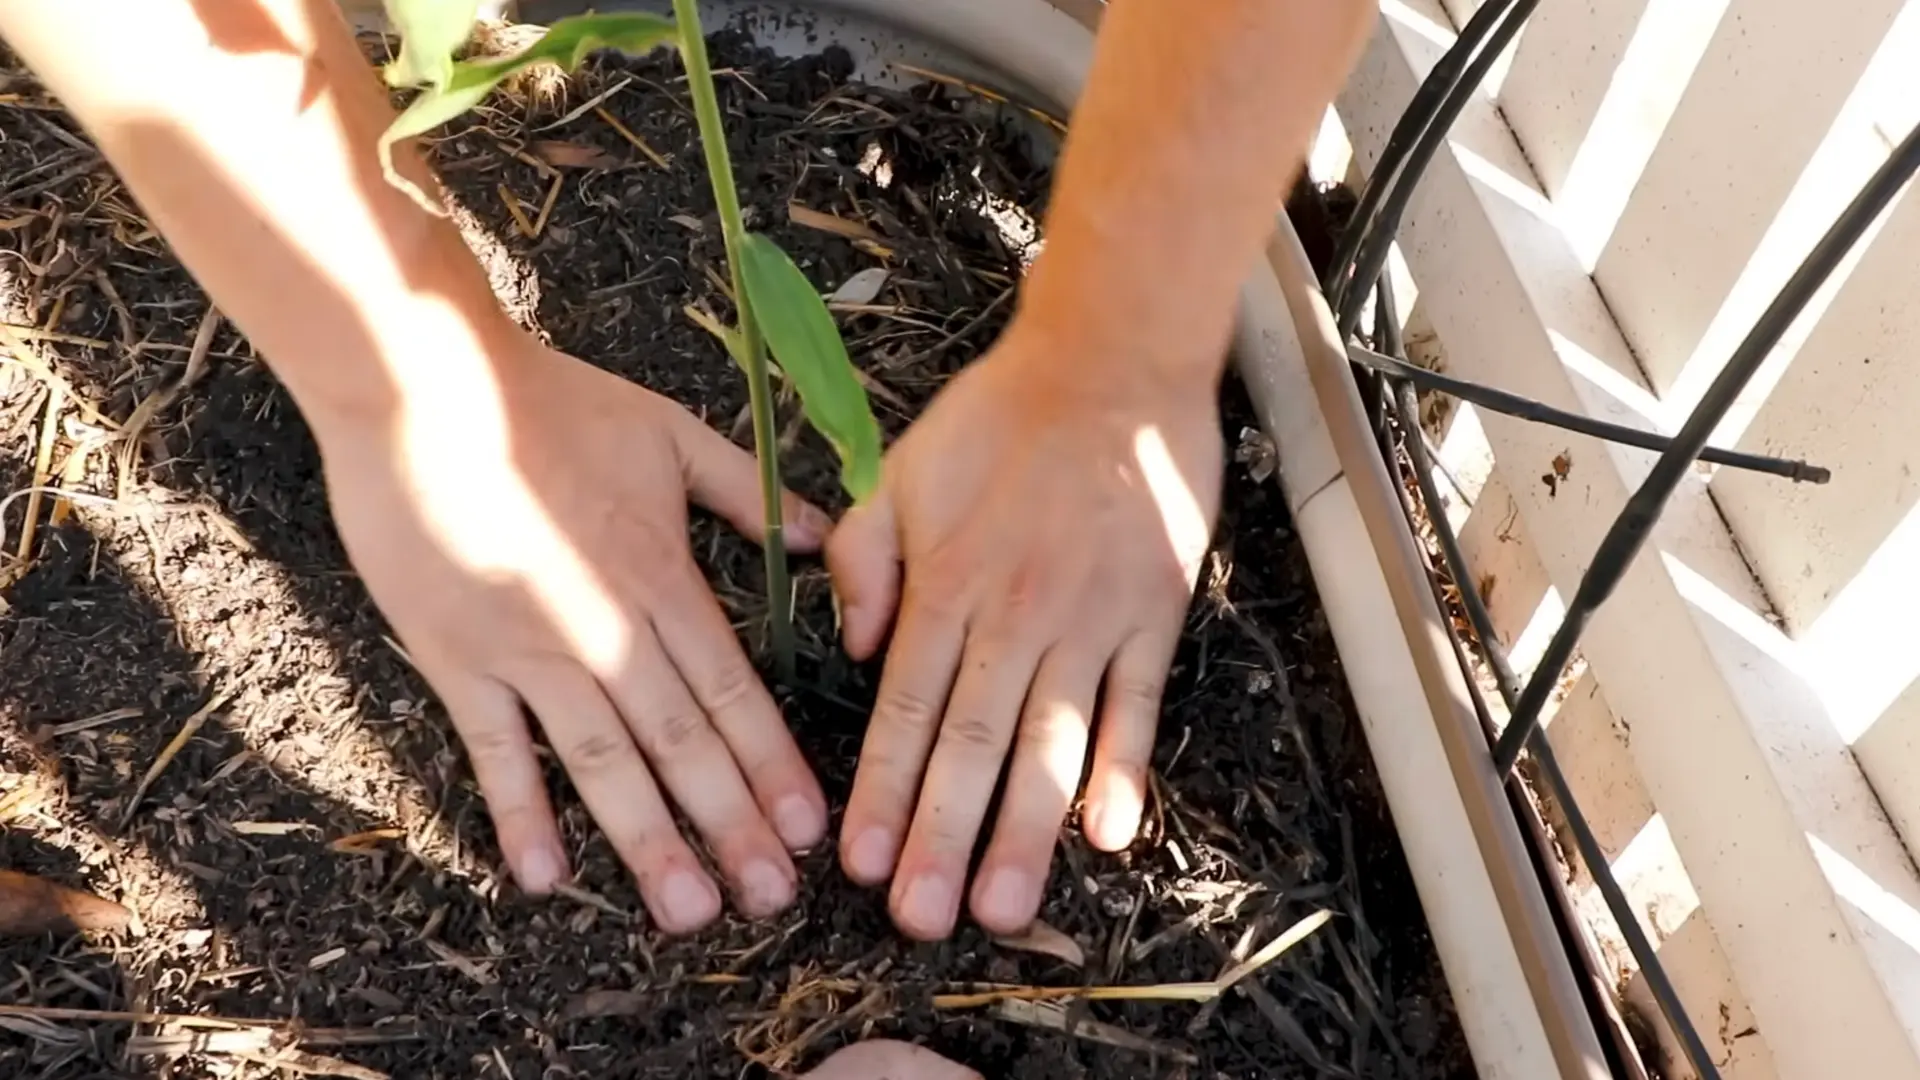
Once positioned, cover the piece with soil and water it thoroughly to help it settle into its new spot.
Add a layer of mulch after planting to retain moisture and prevent the soil from drying, especially during early root development when the plant is more susceptible to dryness.
Straw, shredded leaves, or bark mulch all work well here. Keep mulch an inch away from the emerging stem itself.
Piling it directly against new growth traps moisture and invites rot.
Watch this video by Epic Gardening to see the full process in action.
What Happens During the First 12 Weeks?
Growth stays mostly hidden underground at first, so slow progress here is normal, not a warning sign.
| Timeframe | What to Expect |
|---|---|
| Weeks 1-3 | Buds swell and firm up; a faint blush of color appears at the tip. |
| Weeks 4-6 | A slender green shoot breaks the soil surface. |
| Weeks 6-8 | The first true leaf unfurls, followed shortly by a second. |
| Weeks 8-10 | Fine feeder roots spread sideways beneath the surface. |
| Weeks 10-12 | Multiple stalks may appear from one piece, each a few inches tall. |
Caring for Ginger After Planting
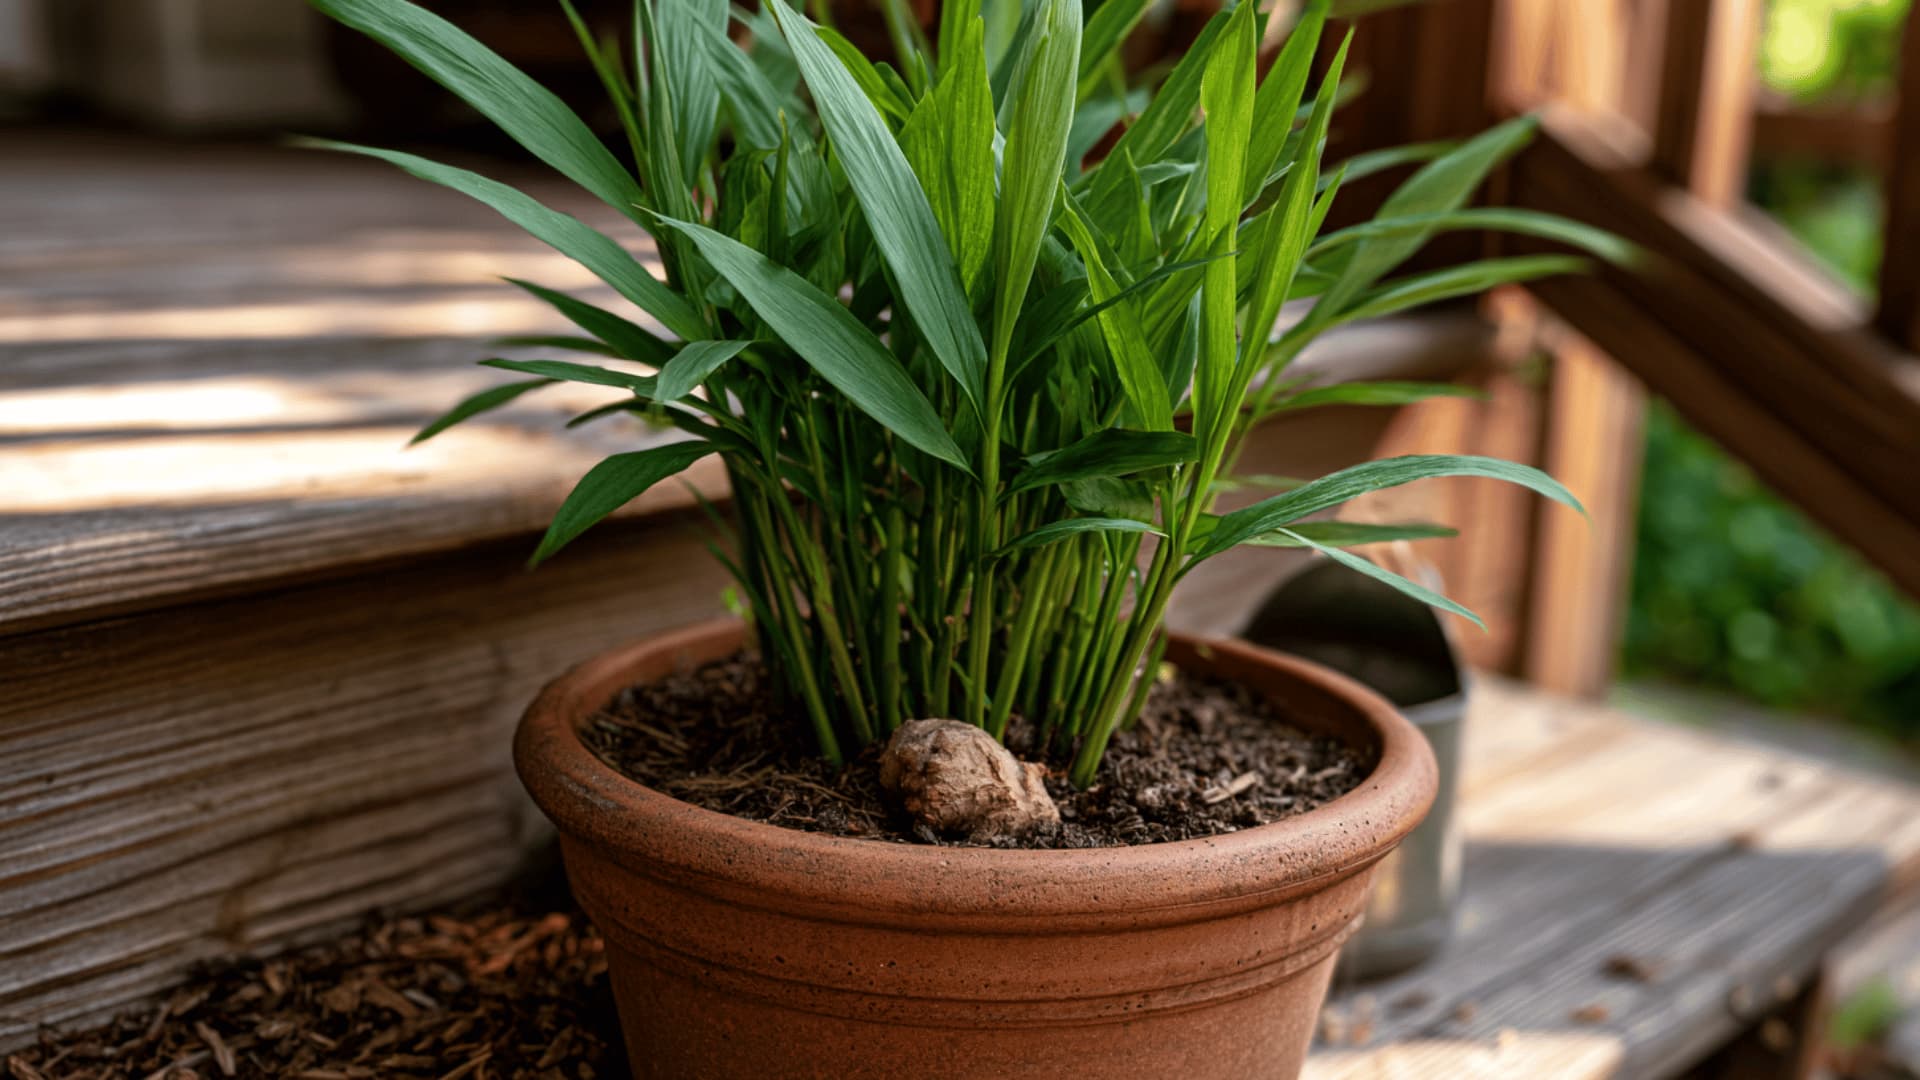
Providing adequate light, water, temperature, and nutrients ensures ideal conditions for strong ginger growth.
Light Requirements for Healthy Ginger
Ginger likes filtered light, not harsh sun.
Direct rays can scorch leaves fast, especially in peak afternoon heat. Dappled shade under taller trees works well outdoors. Indoors, place it near a bright window, away from direct afternoon sun exposure.
Too little light slows growth noticeably. Too much stresses the plant just as easily.
Balance matters more than raw intensity here.
Watering Ginger the Right Way
Soil should stay damp, never soggy or waterlogged for long.
Check it every few days using a simple finger test. If dry an inch down, water thoroughly and evenly.
Avoid letting pots sit in trays of standing water afterward. Overwatering invites rot faster than underwatering stunts overall growth. Consistency, not volume, is what ginger really responds to best.
Temperature and Humidity Ginger Loves
Ginger thrives in warm conditions, ideally between 68-86°F year-round.
Cooler temperatures slow its growth significantly. Frost kills it outright, so timing outdoor planting carefully matters most. Humidity should stay high, closely mimicking its natural tropical origin.
Dry indoor air can stress leaves and slow rhizome development.
Occasional misting or using a pebble tray helps create these conditions.
Feeding Ginger for Bigger Rhizomes
Feed every few weeks using a balanced, organic fertilizer for best results. Working compost into the soil at planting time gives a strong start. Skip nitrogen-heavy feeds, since they push leaf growth over rhizome development.
Slow-release fertilizer options work well for more hands-off, low-maintenance care routines.
Bigger, healthier rhizomes come from steady nutrients, not occasional heavy feeding sessions.
When and How to Harvest Ginger?
Knowing when and how to harvest ginger root significantly affects its flavor and yield, since the timing influences whether the root becomes more tender or pungent.
Baby Ginger
- Ready around the 4-5 month mark.
- Look for young shoots with tender, pale skin.
- Harvest by gently digging around the base to loosen a small portion.
- Leave the rest of the plant undisturbed to keep growing.
- Store in the refrigerator, since its thinner skin makes it more perishable than mature ginger.
Mature Ginger
- Ready around the 8-10 month mark.
- Wait until leaves start to yellow and die back.
- Dig up the entire rhizome carefully using a garden fork.
- The skin will be thicker, with a stronger, more pungent flavor.
- Store in a cool, dry place, where it keeps for several weeks longer than baby ginger.
Tip: Harvesting part of the root lets the remaining rhizome continue producing.
Common Problems When Planting Ginger and How to Fix Them
Even careful planting runs into a few snags along the way.
| Problem | Likely Cause | Fix |
|---|---|---|
| Piece floats up out of soil | Planted too shallow or soil too loose | Press soil firmly; stake if needed |
| White mold on cut edges | Callus didn’t fully form | Trim mold, dry longer, replant fresh |
| Shoots tall but pale | Low light or too much nitrogen | Move to brighter spot; use balanced fertilizer |
| Shoots appear, no root growth | Compacted soil below | Loosen soil around base gently |
| Plant leans or tips over | Top-heavy, pot too shallow | Switch to a wider, heavier pot |
Growing Ginger in Pots vs. Garden Beds
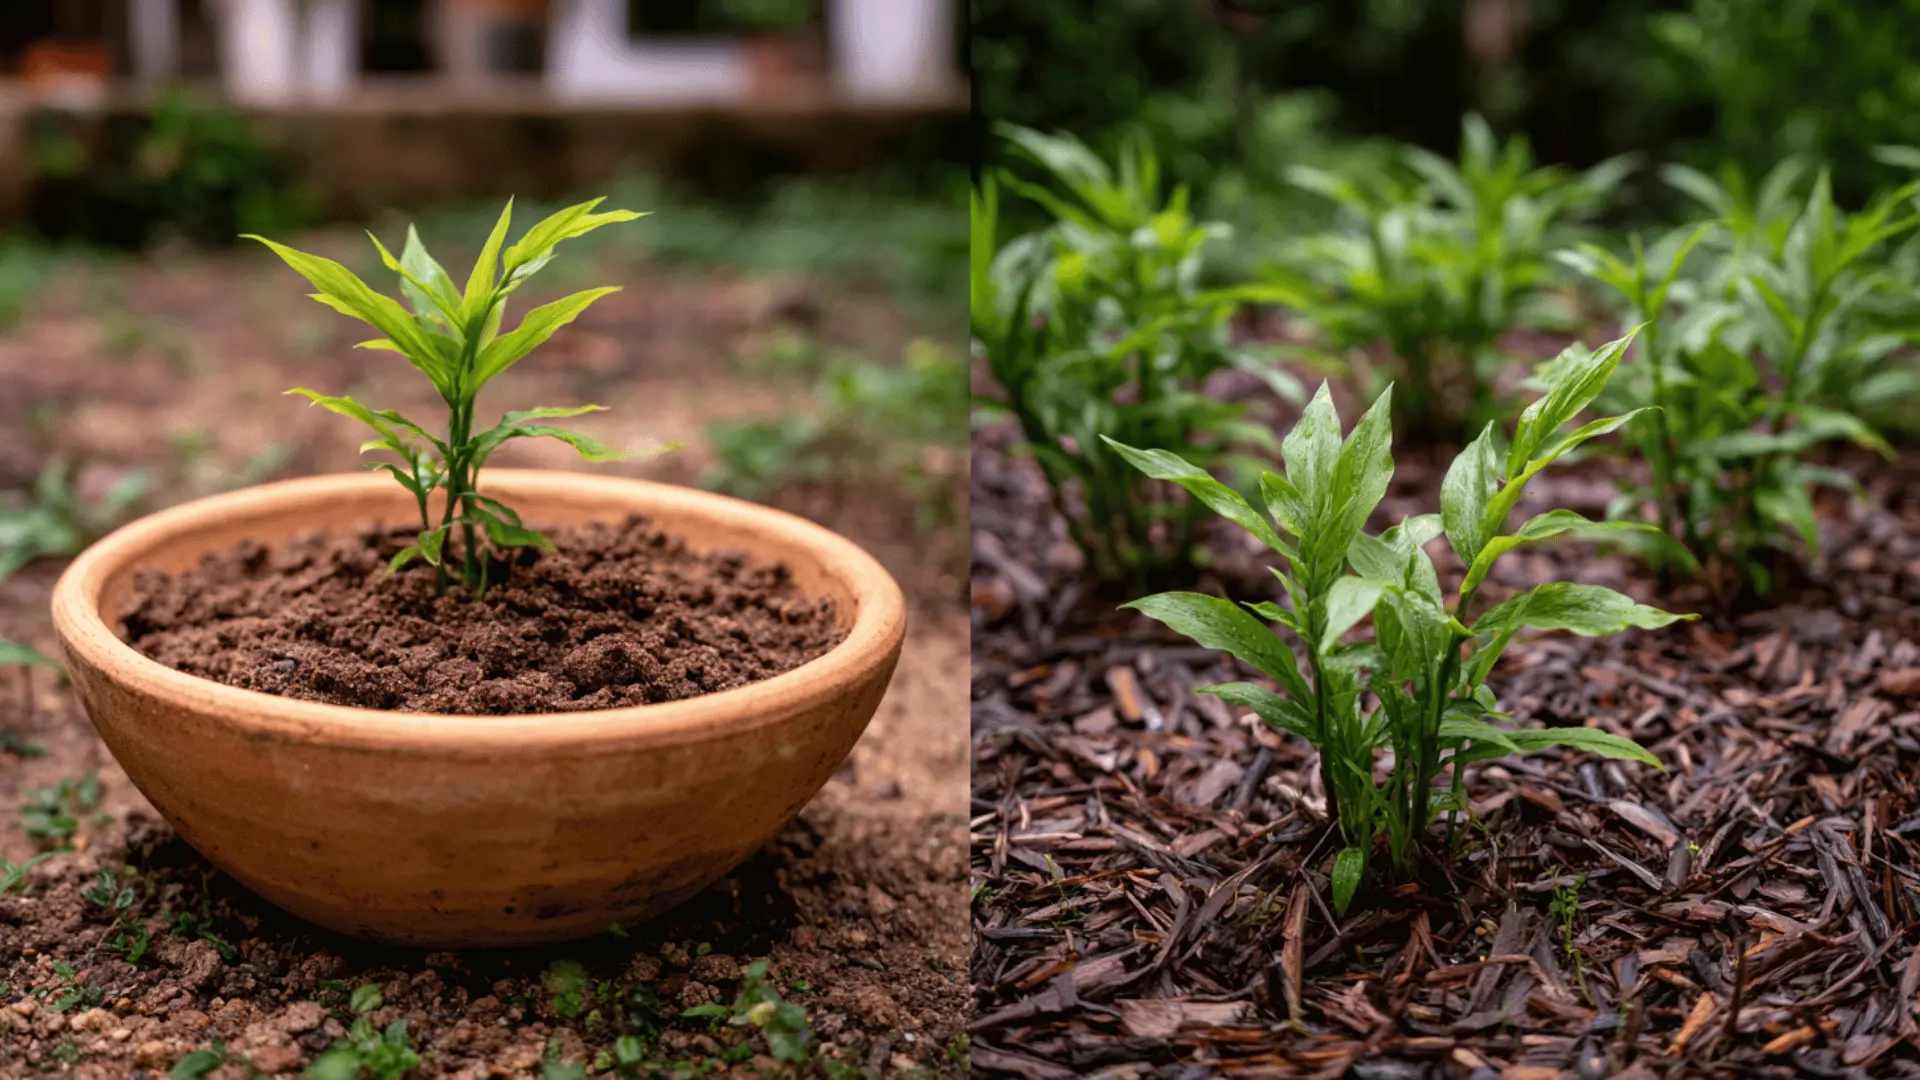
Wide, shallow containers suit ginger better than deep, narrow ones, since rhizomes spread sideways rather than down. Terracotta dries out faster than plastic, so factor that into your watering routine.
- Unglazed clay pots breathe better but need more frequent watering.
- Fabric grow bags offer decent drainage and are easy to move seasonally.
- In-ground beds buffer temperature swings better than any container.
- Raised beds warm up faster in spring, giving rhizomes an earlier start.
- Group multiple pieces in one wide container to maximize a small footprint.
Garden beds, by contrast, let roots wander freely without any container walls limiting horizontal spread.
Can Ginger Be Grown Indoors All Year?
Yes, ginger adapts to indoor life with little trouble.
A south- or east-facing sill gives it enough brightness through winter, when outdoor growing stalls anyway.
Dry heating systems can pull moisture from the air, so a small humidifier nearby helps leaves stay supple.
Rotate the pot every week or two so growth does not lean toward one side. Indoor plants often grow slower than outdoor ones, since natural light rarely matches full sun intensity. That’s fine.
A slower pace indoors still produces usable rhizome, just on a longer calendar than a summer garden bed would.
Companion Plants That Grow Well With Ginger
Pairing ginger with suitable companion plants boosts healthy growth and optimizes space and soil use.
- Turmeric: Shares the same soil, light, and moisture needs for an easy pairing.
- Leafy greens: Thrive in the partial shade cast by ginger’s tall foliage.
- Beans: Fix nitrogen in the soil, feeding ginger’s nutrient needs over time.
- Marigolds: Deter common pests without crowding ginger’s root space.
- Chives: Their scent helps mask ginger from nearby pests.
- Lemongrass: Shares ginger’s love of warmth and humidity, with similar care needs.
- Cilantro: Shallow roots make it a good ground-level filler between ginger clumps.
Common Pests and Diseases
Beyond planting mistakes, ginger also faces its own pests and diseases once established.
| Pest/Disease | Signs | Fix |
|---|---|---|
| Aphids | Clusters on new shoots, sticky residue | Spray neem oil or insecticidal soap |
| Spider mites | Fine webbing, speckled leaves | Raise humidity; rinse leaves with water |
| Mealybugs | White cottony spots at leaf joints | Dab with rubbing alcohol on a cotton swab |
| Root-knot nematodes | Swollen, knotted roots; stunted growth | Rotate planting site; avoid same soil |
| Bacterial wilt | Sudden yellowing, stalk collapse | Remove infected plants; don’t compost |
| Soft rot | Mushy, foul-smelling rhizome | Improve drainage; avoid wounding rhizomes |
Mistakes Nearly Every First-Time Ginger Grower Makes
Even with ginger’s reputation as an easy grower, a few common missteps trip up most beginners early on.
Planting the piece too deep can delay or prevent sprouting, while overwatering out of caution often leads to rot instead of healthier growth. Using a shriveled, treated, or overly dry piece from the store often fails to sprout.
Skipping the pre-sprouting step and planting directly into soil slows establishment considerably.
Many beginners also give up too early, expecting fast results when ginger naturally takes months to fully establish.
Frequently Asked Questions (FAQ’s)
Can You Grow Ginger From Store-Bought Ginger?
Yes, as long as the piece is firm, plump, and shows small “eyes” or buds on its surface.
Can Ginger Be Grown Indoors Year-Round?
Yes, in a large container with warmth, partial light, and consistently moist soil.
Does Ginger Need Full Sun or Shade?
Ginger prefers partial shade with filtered sunlight rather than direct, intense sun.
How Often Should You Water Ginger Plants?
Water two to three times a week, keeping soil consistently moist but never waterlogged.
End Note!
Once you know how to plant ginger root, the rest comes down to consistency rather than luck.
Warm soil, steady moisture, and a little mulch carry the plant from a bare rhizome to a full harvest months later.
Baby ginger offers a milder bite, but waiting months yields a stronger, thicker root ideal for cooking.
Each piece you plant now becomes next season’s starter, allowing one store-bought ginger to provide years of homegrown yield if you save some for next time.
Try it once, and skipping the produce aisle for ginger gets harder to justify.