
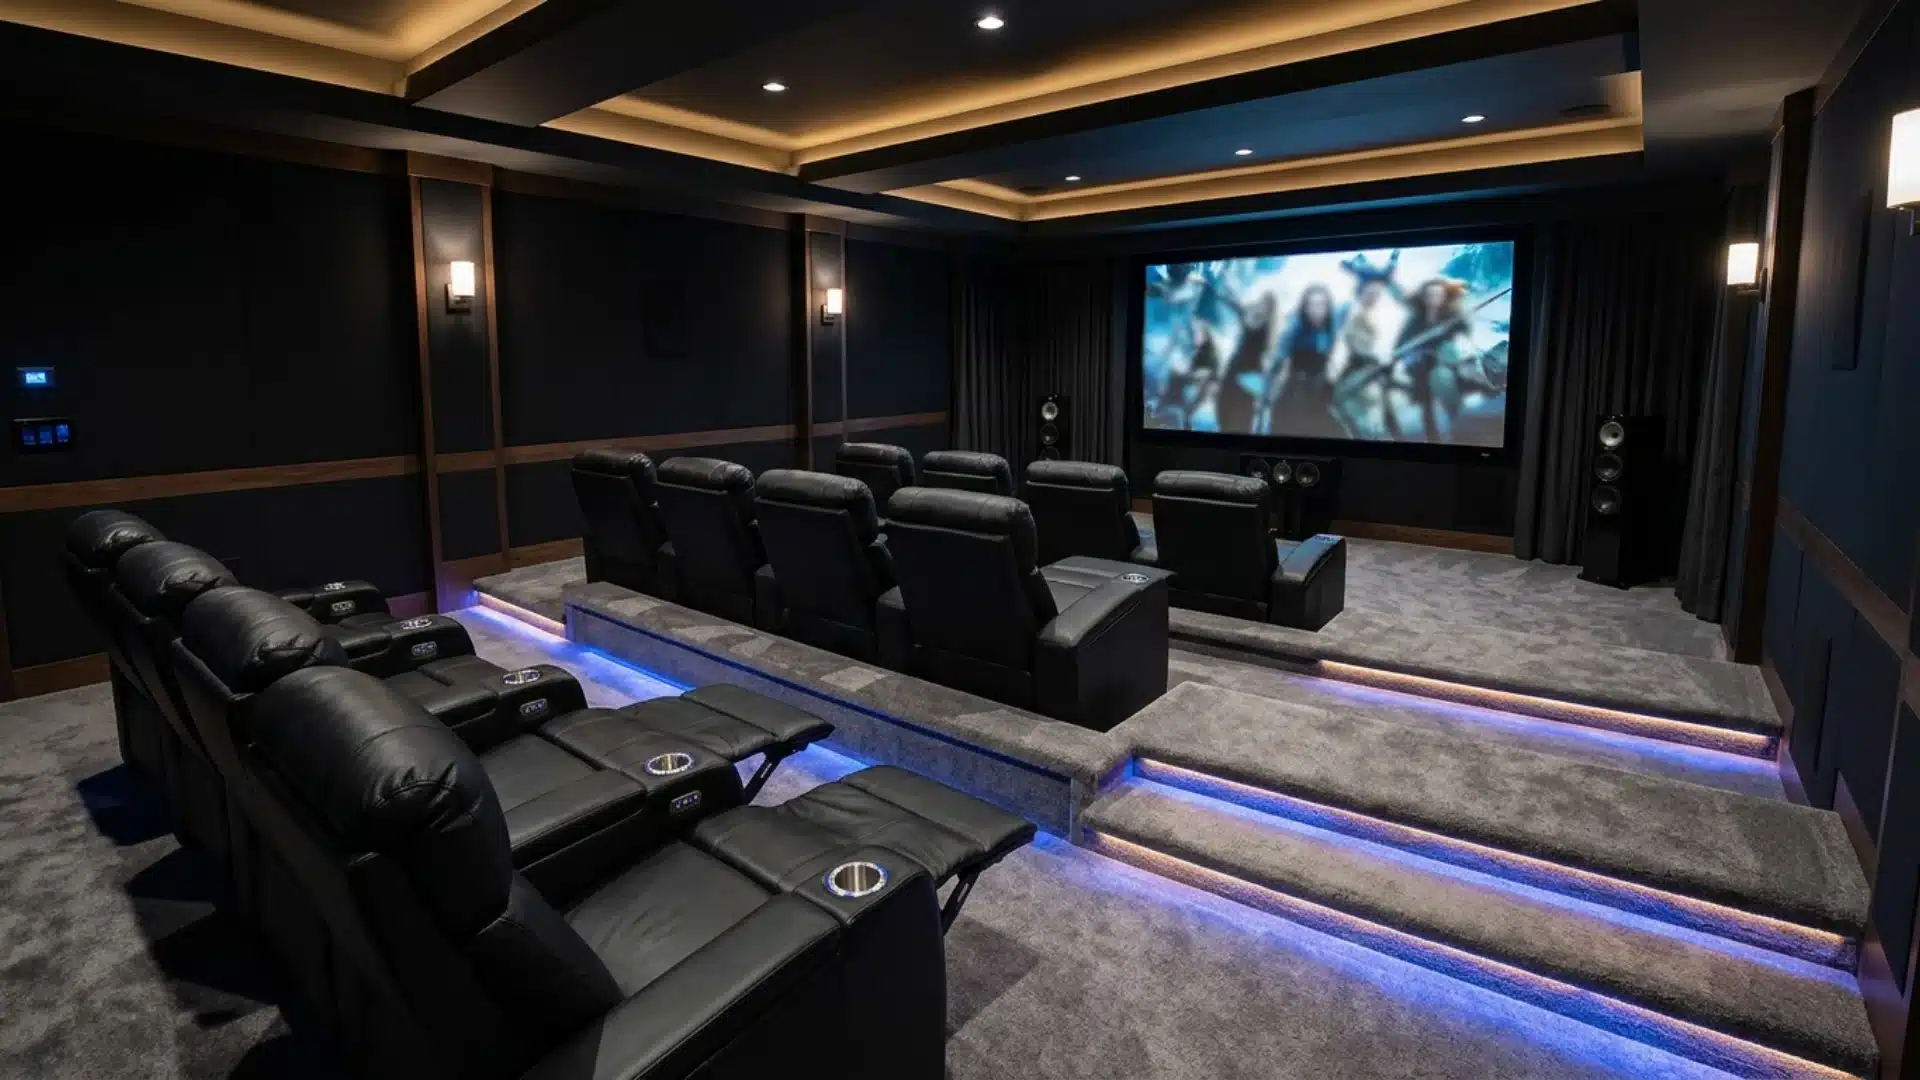
All you need to get started is a spare room, a projector, and lots of ambition.
Learning how to create a home theater sounds intimidating until you break it into pieces.
Paint, sound, seating, snacks. Each piece builds on the last, and none of them require a professional crew.
Mistakes will happen along the way, and that’s fine. Wrong paint colors, missing panels, heavy furniture disasters they’re all part of the process. What matters is finishing with a room that actually works for movie nights.
This blog walks through every stage, so grabbing a paintbrush suddenly feels a lot less scary.
Decide What Kind of Home Theater You’re Actually Building
Plenty of these builds start out as an unused spare room or a basement nobody’s touched in years, and turning that kind of dead space into something worth using is half the fun.
Not every setup needs blackout curtains and a popcorn machine.
Some people prefer a comfortable spot for weekend movies.
Others prefer a full cinema vibe, complete with tiered seating and surround sound that rattles the windows.
Figure out which base you’re in before buying anything. A casual streaming nook needs a decent TV, comfy seating, and good speakers. A dedicated theater room demands projectors, acoustic treatment, and serious wiring.
Your budget, space, and how often you’ll actually use the room should drive this decision.
Evaluate the Room Before Buying Any Equipment
Measure twice before buying; dimensions determine everything, from screen size to speaker placement.
Equipment alone won’t improve a poor room. Start with these fundamentals first:
- Room shape (square rooms create odd echoes)
- Window count and light control options
- Ceiling height for projector mounting
- Wall material for sound absorption
- Distance from seating to screen
Windows leak light and kill contrast on bright scenes. Hard floors bounce sound around, making dialogue muddy.
Carpet, curtains, and soft furniture tame that echo naturally. Check your power outlets too. Running extension cords across a theater room looks sloppy and creates tripping hazards nobody wants to deal with.
Plan the Home Theater Layout From the Main Seat Outward
Start with your favorite chair; everything else centers around it.
Sit down and picture the screen straight ahead, at eye level, not tilted up or down.
That sweet spot determines speaker distance, subwoofer placement, and cable runs. Work outward from there in layers. Front speakers flank the screen. Surrounds sit beside or slightly behind the seat.
Rear channels finish the loop.
Leave walking room between furniture and walls. Nobody enjoys squeezing past a subwoofer to grab a drink.
Map it out on paper first, then test with actual furniture before drilling anything into walls.
Choose the Right Screen and Projector or TV
Screen size and light control decide this choice for you. Here’s how the two stack up.
| Factor | Projector + Screen | TV |
|---|---|---|
| Best for | Dark, dedicated rooms | Bright or multi-use rooms |
| Screen size | 100″+ easily | Capped around 85–98” |
| Cost | $1,500–$5,000+ setup | $800–$4,000 for large 4K models |
| Maintenance | Bulb replacement, calibration | Minimal upkeep |
| Daylight performance | Washes out easily | Handles glare well |
| Lifespan | 3,000–5,000 bulb hours | 7–10 years typical |
Choose a projector for a cinema-like experience, or opt for a TV for ease of use and higher brightness.
Tools and Materials Required
Creating a home theater from the ground up requires more than just a TV and motivation.
Here’s a brief overview of what you need:
- Dark, matte-finish wall paint
- Blackout curtains
- Acoustic foam panels
- Large TV or projector setup
- Media unit and cable management
- Cinema-style seating and bean bags
- Metal wall art or posters
- Wireless accent lighting
- Popcorn machine and mini fridge
- Raised platform for rear seating
Step-by-Step Process: How to Create a Home Theater
For a complete, detailed process, watch this video by Dantic
Turning a spare room into a theater requires patience and a clear plan. Follow these steps to avoid any mistakes.
Step 1: Paint the Room Dark
Start with the walls. Dark gray or matte black kills reflections and mimics that real cinema feel.
Cover the floor first, since drips happen fast and landlords notice everything.
Pay extra attention to ceilings, since light bounces off pale surfaces easily.
Double-check paint cans before opening them. Picking a shade that reads dark without going flat and lifeless takes some thought, and browsing basement paint options built for low-light rooms can narrow it down fast.
Grabbing the wrong shade wastes a full day and forces a total repaint.
Step 2: Soundproof the Walls
Bare walls create echo, and echo ruins dialogue. Foam panels absorb sound and cut that hollow feeling instantly. Measure wall space carefully before ordering, since running short mid-project stalls momentum fast.
Choose panel colors that match your theme.
Red or black triangle panels blend better than plain foam squares and still handle the acoustic job properly.
Step 3: Hang Blackout Curtains
Curtains handle two jobs at once. They block stray daylight and add another soft layer that softens noise bounce.
Pick a heavy, light-absorbing fabric for real results.
Install them across every window, even small ones, since a single gap ruins contrast on darker scenes.
This small addition instantly makes the room feel more like a real cinema.
Step 4: Move In the Media Unit and TV
Bring in the media unit first, since everything else gets arranged around it.
Clear a wide path beforehand to avoid damaging boxes or furniture along the way. Handle the TV last and with extra care; a single scratch ruins the centerpiece.
Recruit a second pair of hands here. Heavy electronics in tight spaces cause accidents fast.
Step 5: Wire and Calibrate Your Sound System
Run speaker wire before furniture blocks access, tucking cable along the baseboards for a clean look.
Connect front, surround, and rear speakers to the receiver, and place the subwoofer near the front wall for tighter bass. Most receivers include an auto-calibration microphone.
Position it at the main seat and allow it to automatically adjust volume, distance, and crossover settings.
No auto-calibration? Use test tones and a sound level meter instead.
Running new wiring through walls calls for a licensed electrician, since DIY electrical work carries real safety risks.
Step 6: Add Seating
Cinema-style chairs bring authentic theater texture into the room.
Space them out so nobody feels cramped during longer films. Bean bags work well for overflow seating or casual lounging near the back. Leave clear walking paths between rows.
Nobody enjoys squeezing past furniture just to grab a drink or reach the snack station mid-movie.
Step 7: Build the Snack Station
Pick a corner near the seating area for snacks. Stock it with candy, popcorn, and cold drinks.
A popcorn machine adds theater flavor instantly. A mini fridge keeps everything cold without trips to the kitchen.
Keep this zone compact so guests can grab treats without blocking walkways or crossing in front of the screen.
Step 8: Finish Walls With Art and Lighting
Blank walls feel unfinished, even with great sound and seating. Metal posters or framed art add personality fast.
Wireless picture lights make artwork pop without drilling or extra wiring.
Layer in ambient lighting last. Reactive lighting synced to on-screen action pushes immersion further than static bulbs, turning a plain room into something genuinely cinematic.
Step 9: Fix Sightlines With a Platform
Back-row seats often lose the screen behind front-row heads. Build a raised platform to solve that instantly. Stagger seating height so every seat gets a clear view of the screen.
Add an AC unit nearby for comfort during longer sessions.
Test sightlines from every seat before finalizing anything, since small adjustments now save frustration later.
Step 10: Handle Final Touches
Tidy cable management before guests arrive, since loose wires look messy and create tripping hazards.
Add a red carpet entrance for extra flair.
Stock the fridge, check every light, and confirm backup power works if outages are a risk. Test the entire setup end-to-end. A clean, functional room signals the theater is genuinely ready for guests.
Test the Home Movie Theater with Movie Scenes
Before inviting anyone over, run the room through a few real scenes to catch what setup photos miss.
- Play a dark, moody scene to check screen brightness and contrast.
- Test a dialogue-heavy scene to spot muddy or unclear audio.
- Run an action sequence to check surround sound balance.
- Sit in every seat to confirm sightlines stay clear.
- Dim the lights fully to test blackout curtain coverage.
- Check reactive lighting sync during fast scene transitions.
- Watch for glare or reflections bouncing off walls or screen.
- Time how long the AC keeps the room comfortable.
How Much Does It Cost to Create a Home Theater?
Costs swing widely depending on how far you take it; here’s a realistic breakdown by category.
| Category | Budget Range |
|---|---|
| Paint and wall prep | $50–$150 |
| Soundproofing panels | $200–$800 |
| Blackout curtains | $80–$250 |
| Seating (chairs, bean bags) | $300–$1,500 |
| Media unit and cables | $150–$500 |
| Wall art and lighting | $150–$600 |
| Snack station setup | $200–$700 |
| Raised platform build | $300–$900 |
Total spend usually lands between $1,500 and $6,000, depending on room size and finish quality
Make the Home Theater Comfortable for Long Movie Sessions
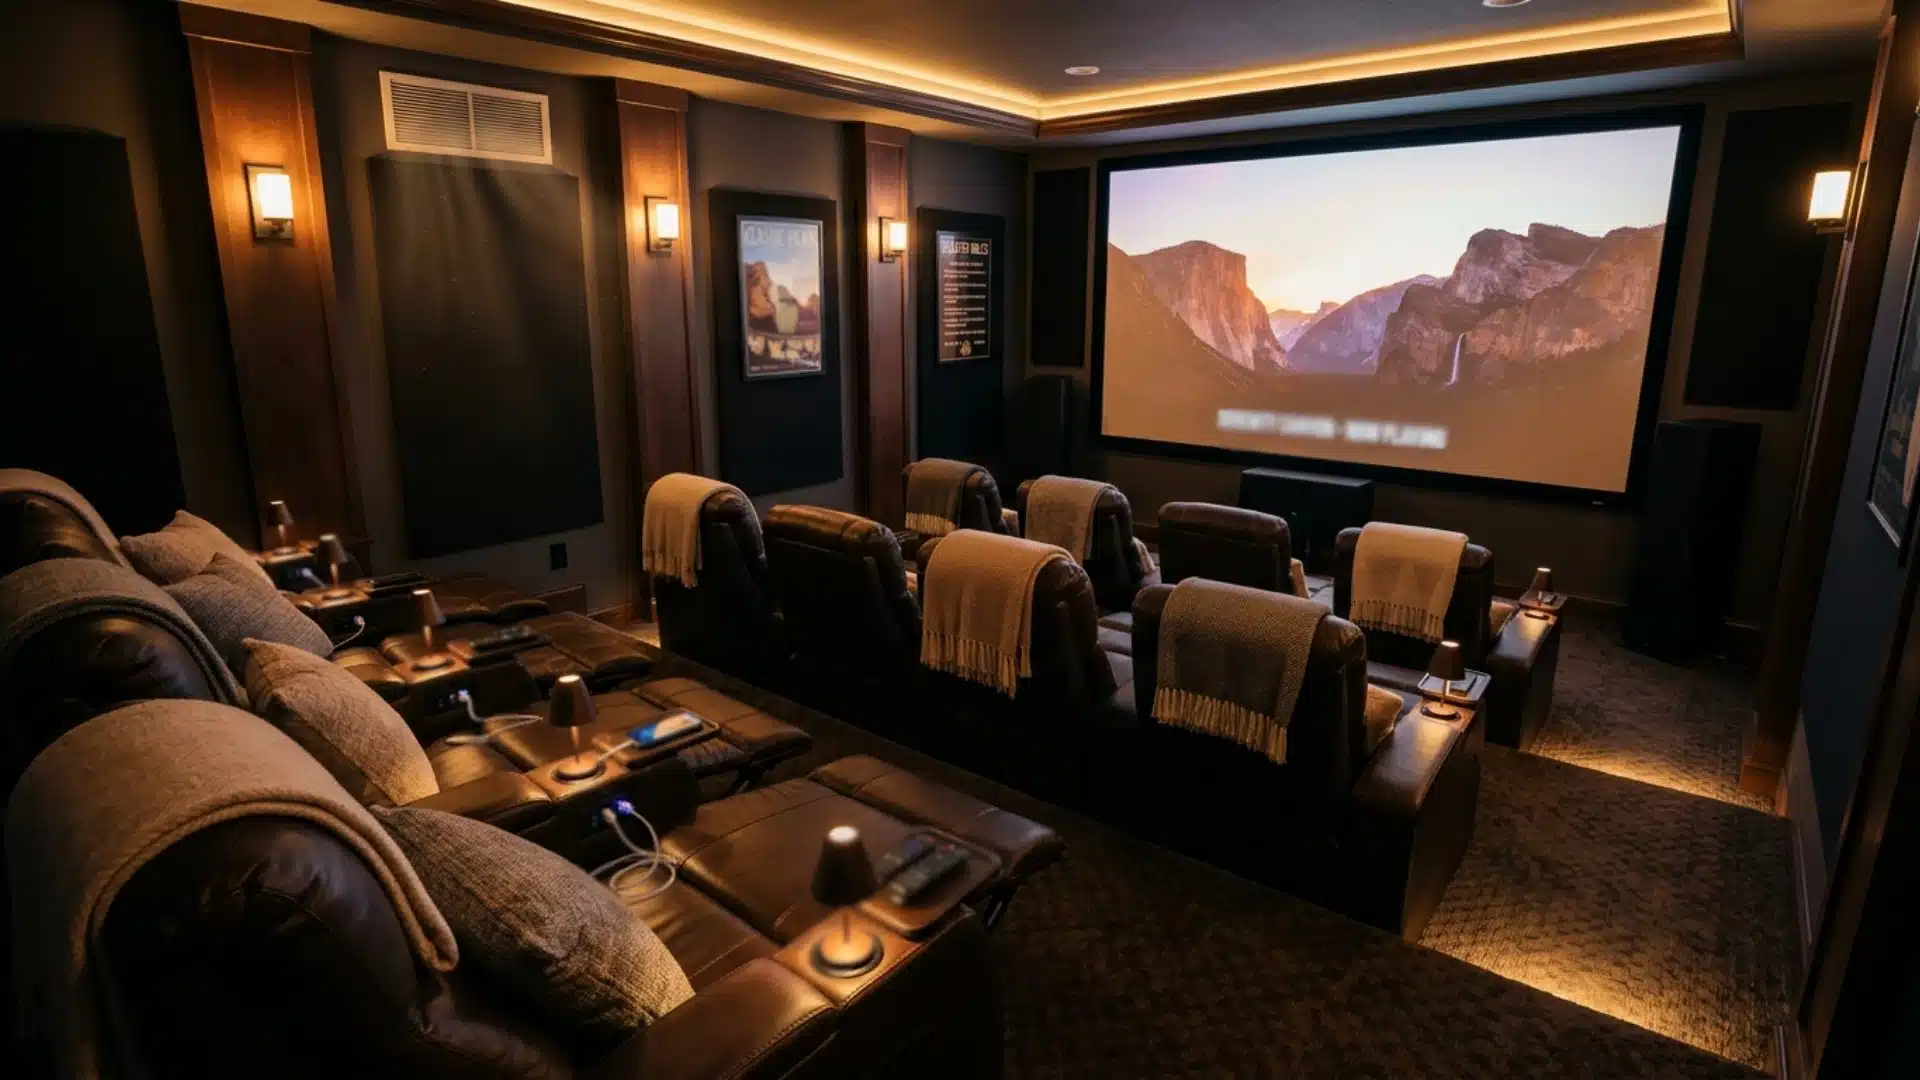
Comfort keeps people watching past the first hour.
Temperature matters. Keep airflow steady during sessions. Add soft blankets for chillier nights and extra cushions for lower-back support during marathon sittings.
Dim, warm-toned lamps work better than harsh overheads for breaks between films.
Keep phone chargers accessible near seating so nobody wanders off mid-scene.
Offer a mix of seating heights and firmness levels, since preferences vary widely.
Small comforts like these turn a good setup into a room people actually want to return to, again and again.
Avoid These Home Theater Design Mistakes
A few small missteps can undo days of hard work, so watch out for these common traps.
- Skipping a floor covering before painting walls or ceilings.
- Buying wall panels without measuring the space first
- Ignoring back-row sightlines until seating is already installed.
- Overcrowding the room with furniture that blocks walkways.
- Choosing style over function when picking speakers or panels.
- Forgetting to test power load before adding heavy equipment.
- Rushing final touches like cable management before guests arrive.
- Neglecting ventilation, leaving the room stuffy during long sessions.
What a Well-Planned Home Theater Should Look Like
A room that has a completely different feel from the rest of your house.
Walls hold your attention without stealing focus from the screen.
Every seat offers a clear, unobstructed view.
Sound wraps around you evenly, with no dead spots or harsh echoes. Snacks sit within arm’s reach, never blocking anyone’s path. Lighting shifts naturally between bright entry and dim viewing mode.
Cables stay hidden, and nothing rattles or hums during quiet scenes.
Guests notice the atmosphere before they notice the technology.
The combination of style and function distinguishes a temporary arrangement from a completed home theater.
End Note!
Turning an empty room into something worth showing off takes real effort, and shortcuts rarely pay off here.
Every stage matters, from wall prep to final cable checks.
Knowing how to create a home theater properly means treating small details with the same care as big-ticket items like TVs or seating. Rushing leads to mistakes; patience leads to a room people actually want to sit in for hours.
Once the paint dries and the last light gets tested, the payoff speaks for itself.
A finished theater turns ordinary weekends into something worth looking forward to, one movie night at a time.
What’s the one detail that made the biggest difference in your own setup?
Drop it in the comments below; we’d love to hear how your build turned out.
Frequently Asked Questions (FAQ’s)
1. How Long Does It Take to Build a Home Theater?
A basic setup can come together in a weekend, while a full room transformation often takes four to five days.
2. Do I Need a Projector, or is a TV Enough?
A large 4K TV works fine for most rooms, while projectors suit dedicated, fully dark spaces better.
3. How Do I Stop Sound from Echoing in the Room?
Acoustic foam panels, thick curtains, and soft furniture absorb sound and significantly cut echo.
4. What’s the Cheapest Way to Darken a Room?
Blackout curtains cost far less than repainting walls and still block most stray light effectively.
5. Can I Build a Home Theater in a Small Room?
Yes, smaller rooms work well with a compact TV setup, fewer seats, and wall-mounted storage.


