I’ve been through enough renovations to know that the hardest part isn’t the dust or the budget, it’s figuring out where to start.
You stare at your space and think, “This needs to change,” but then what?
Home remodel ideas don’t have to come from endless scrolling or copying someone else’s style. They come from understanding what actually works in real homes.
I’m walking you through practical updates that make a difference, whether you’re tackling one room or rethinking your entire layout.
You’ll find ways to refresh your space without overthinking it, plus tips on what’s worth your time and money. Let’s make your home feel like yours again.
What to Consider Before Starting Your Home Remodel
I’ve learned that jumping into a remodel without a plan is the fastest way to blow your budget and lose your mind.
Start by setting a realistic budget, figure out what you can actually spend, then prioritize the projects that’ll make the biggest impact. You don’t need to do everything at once. Plan your timeline around how you use your space.
If you cook every day, maybe leave the kitchen for last so you’re not eating takeout for months.
Now, DIY can save you serious money on painting or demo work, but hire professionals for anything involving plumbing, electrical, or structural changes.
Here’s something useful: the 30% rule.
It suggests spending about 30% of your home’s value on renovations to avoid over-improving for your neighborhood. It keeps you from sinking too much into a space you might sell later.
Budget-Friendly Home Remodel Ideas to Upgrade Your Space
I’ve seen homeowners stress over remodels that don’t need to break the bank. You can completely change how your home looks and feels without emptying your savings account.
These ideas focus on smart updates that give you the most value for your money, if you’re refreshing one room or planning multiple projects throughout your house:
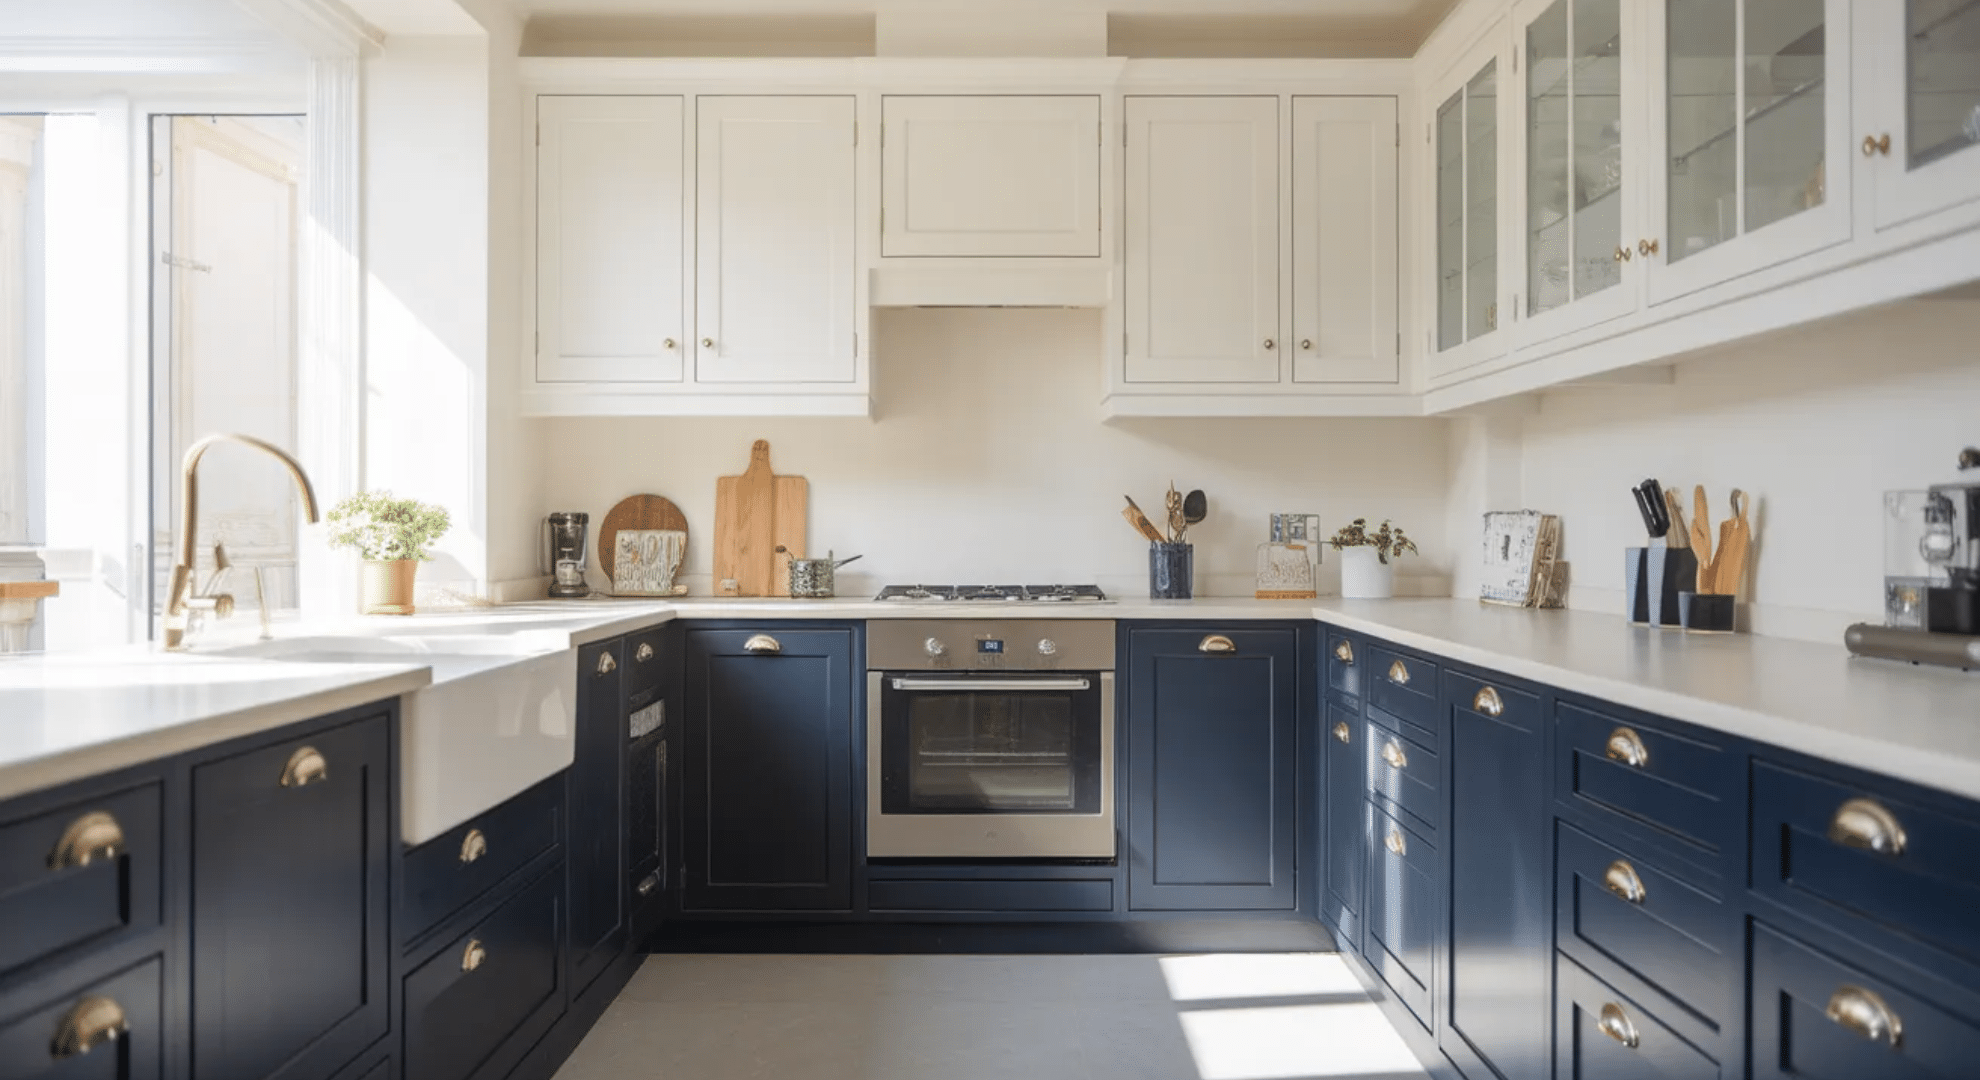
Kitchen Remodeling Ideas
Your kitchen gets the most use, so even small changes here make a huge difference. I’m showing you updates that look expensive but won’t destroy your budget:
1. Cabinet Refinishing or Repainting
I’ve refinished my own cabinets and they turned out stunning. You sand down the old finish, apply primer, then paint or stain them in whatever color fits your style. It costs a fraction of what new cabinets cost, maybe $200-500 if you DIY.
Pick a color that complements your counters and backsplash. Two-tone cabinets are trending now, with darker lowers and lighter uppers. This project takes a weekend but saves you thousands compared to replacement.
2. Peel-And-Stick Backsplash Installation

These tiles have come a long way from the cheap-looking versions you might remember. You clean your wall, peel off the backing, and stick them on. No grout, no mess, no special tools needed.
I installed one in my kitchen in an afternoon for under $100. They hold up well to splashes and heat if you buy quality versions. You’ll find options that look like real subway tile, marble, or geometric patterns. If you rent, they’re removable without damaging walls.
3. Open Shelving Conversion
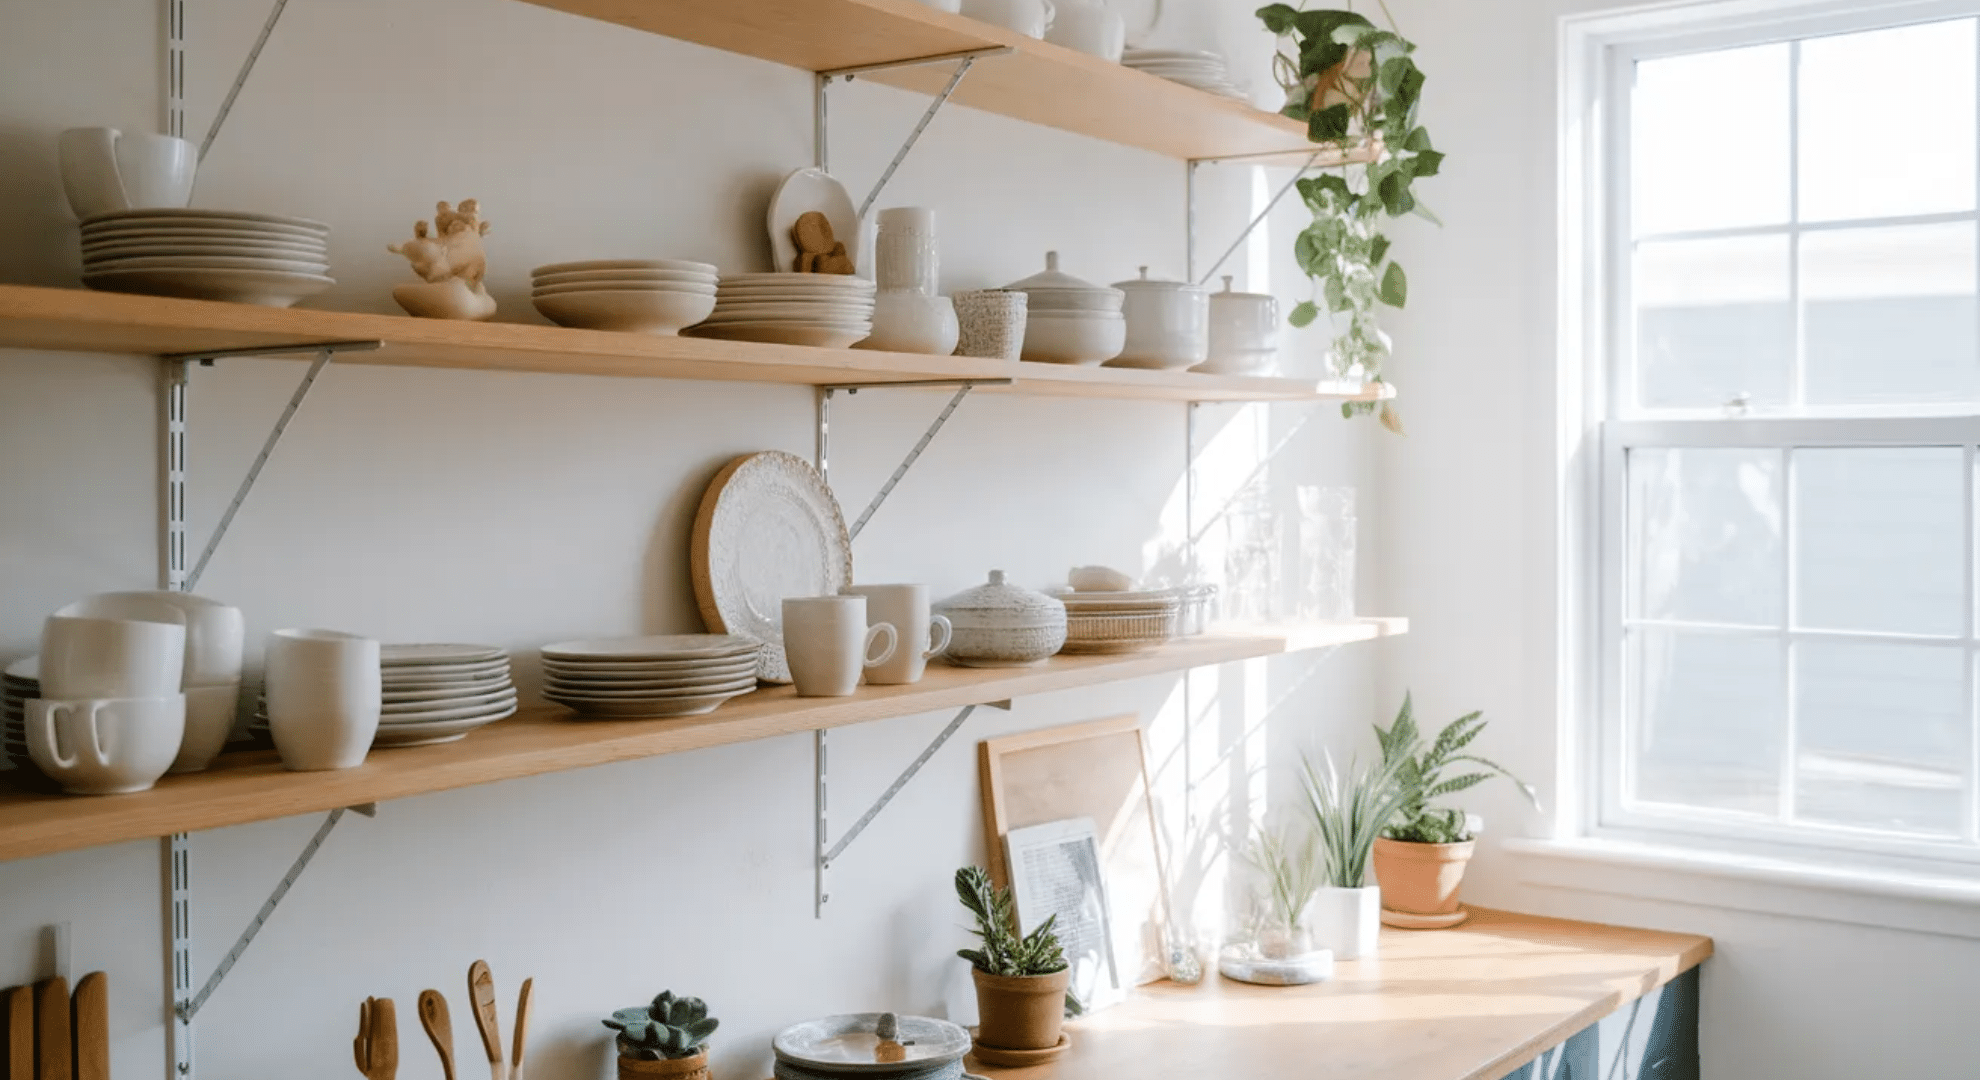
I’ve seen this done in several kitchens, and it instantly makes the space feel bigger and more open. You remove the doors, fill any hinge holes with wood filler, then paint or stain the interior.
The trick is keeping what’s on display organized and attractive. Use matching dishes, baskets, or jars so it looks intentional. This costs almost nothing but completely changes your kitchen’s vibe. Just be ready to dust more often than you did with closed cabinets.
4. Kitchen Island Addition
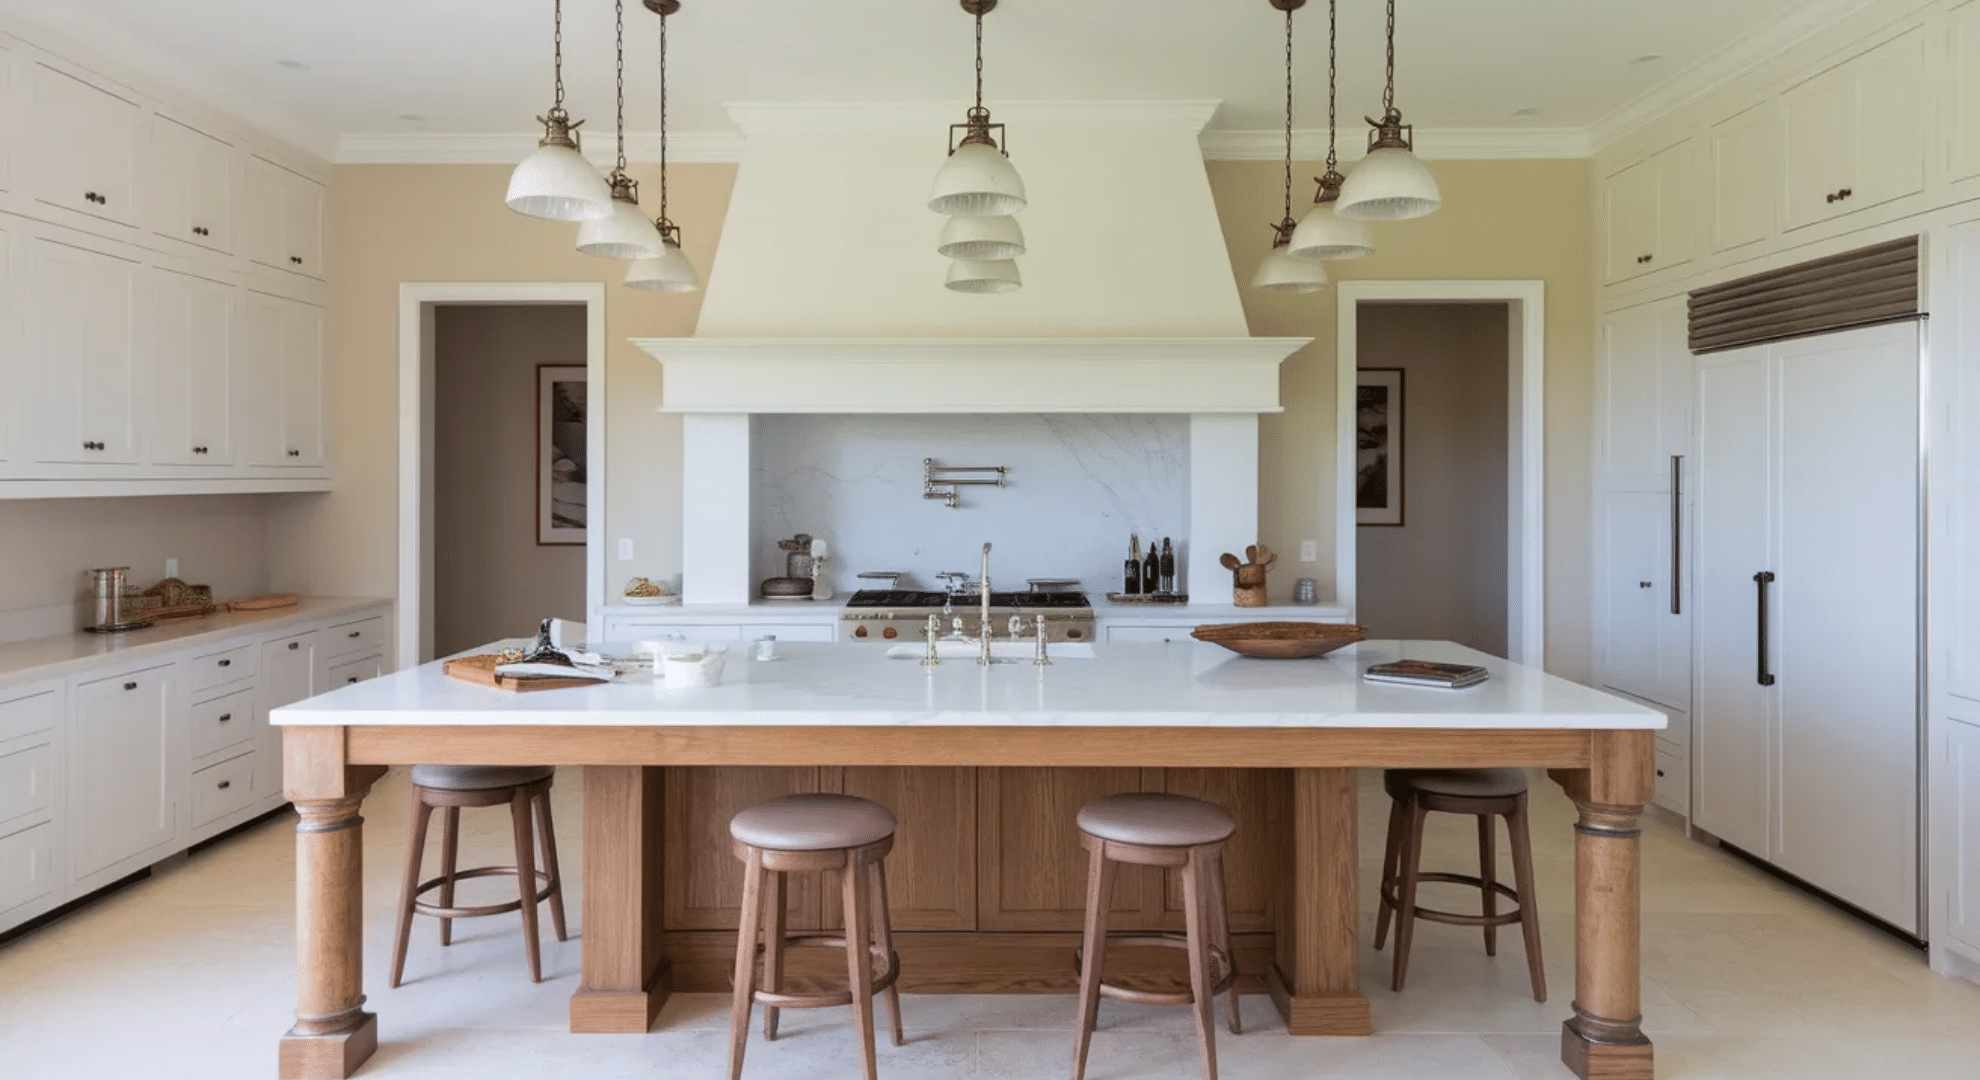
You don’t need a custom-built island to add one. I’ve seen people use old dressers, butcher block tables, or even build simple frames with a countertop on top. A basic island gives you prep space, storage underneath, and room for bar stools if it’s the right height.
You can find ready-made islands for $200-800, depending on size and materials. Make sure you have at least 36 inches of clearance around it for easy movement. Add wheels if you want flexibility to move it around.
Bathroom Renovation Ideas
Bathrooms might be small, but updates here feel luxurious every single day. You can make your bathroom feel like a spa without the spa price tag:
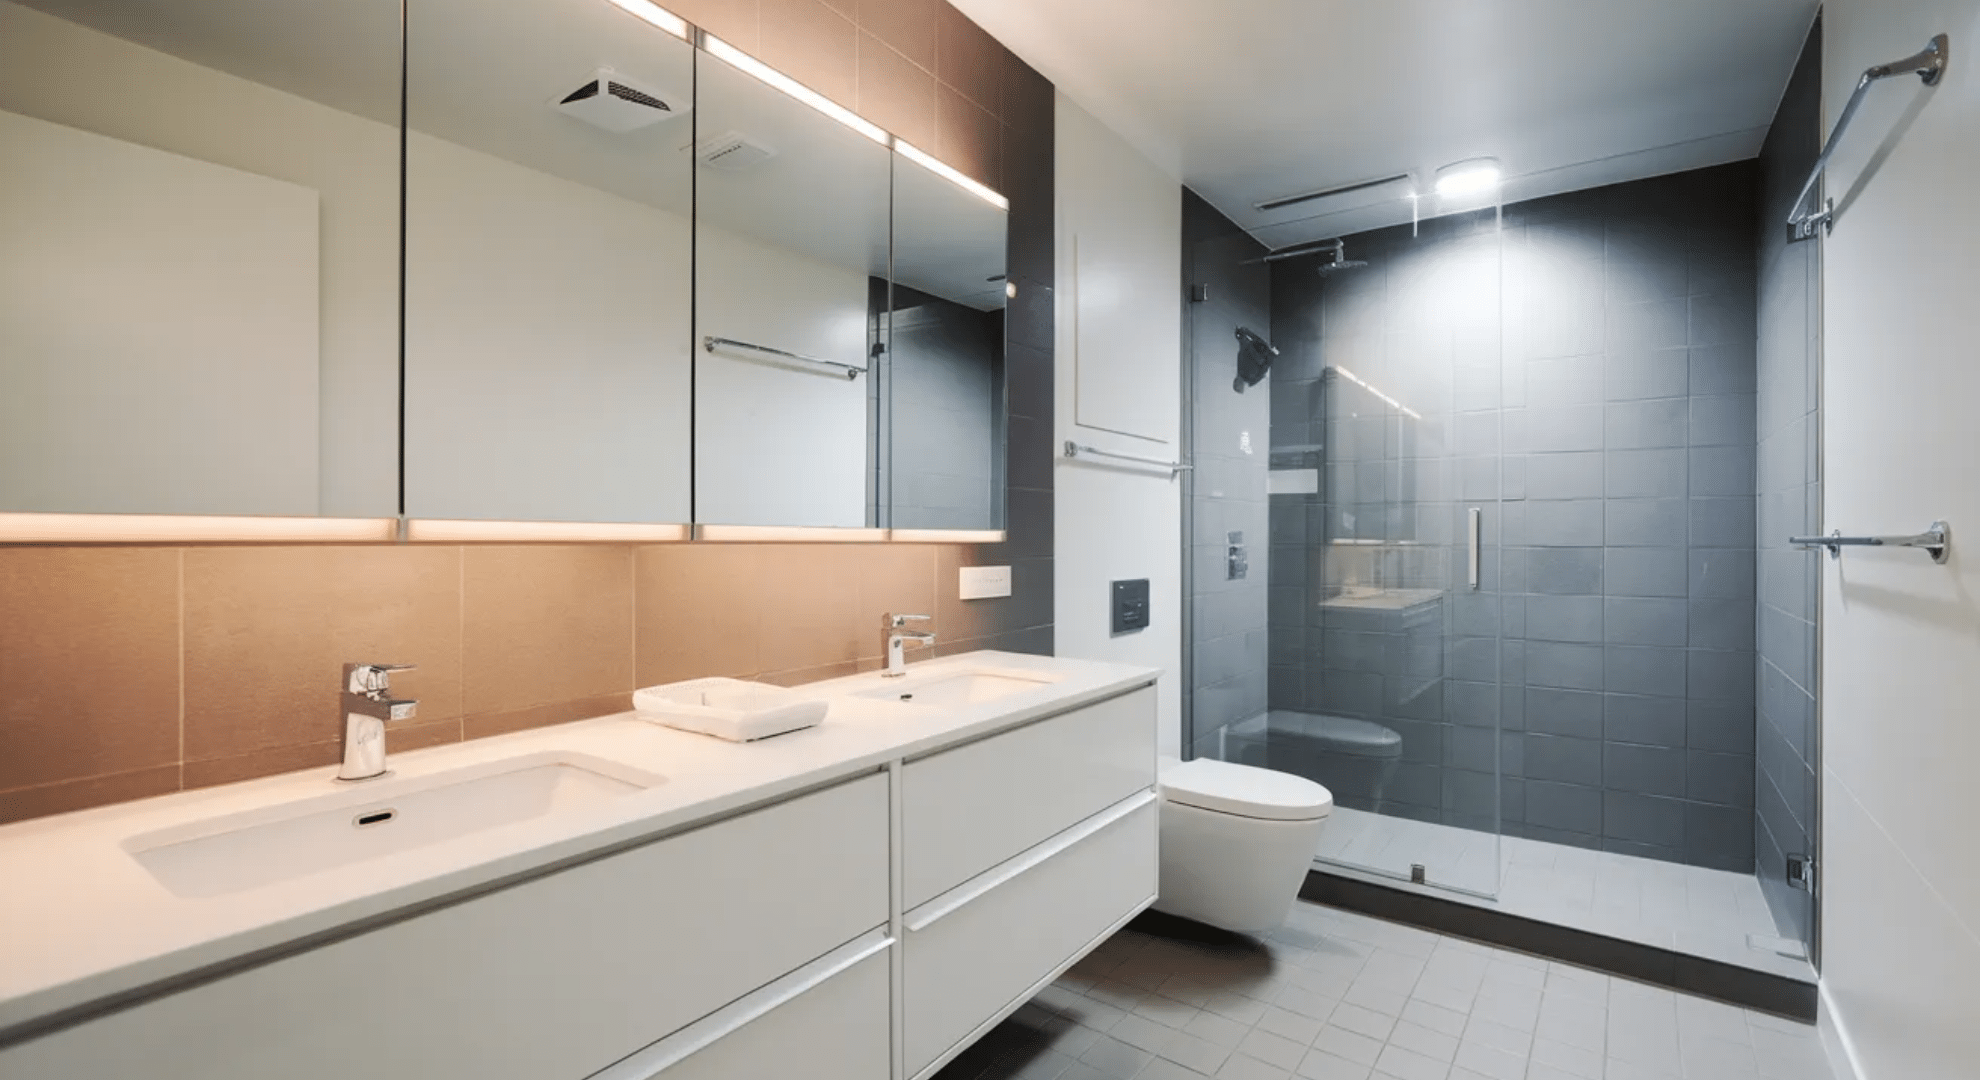
5. Walk-In Shower Conversion
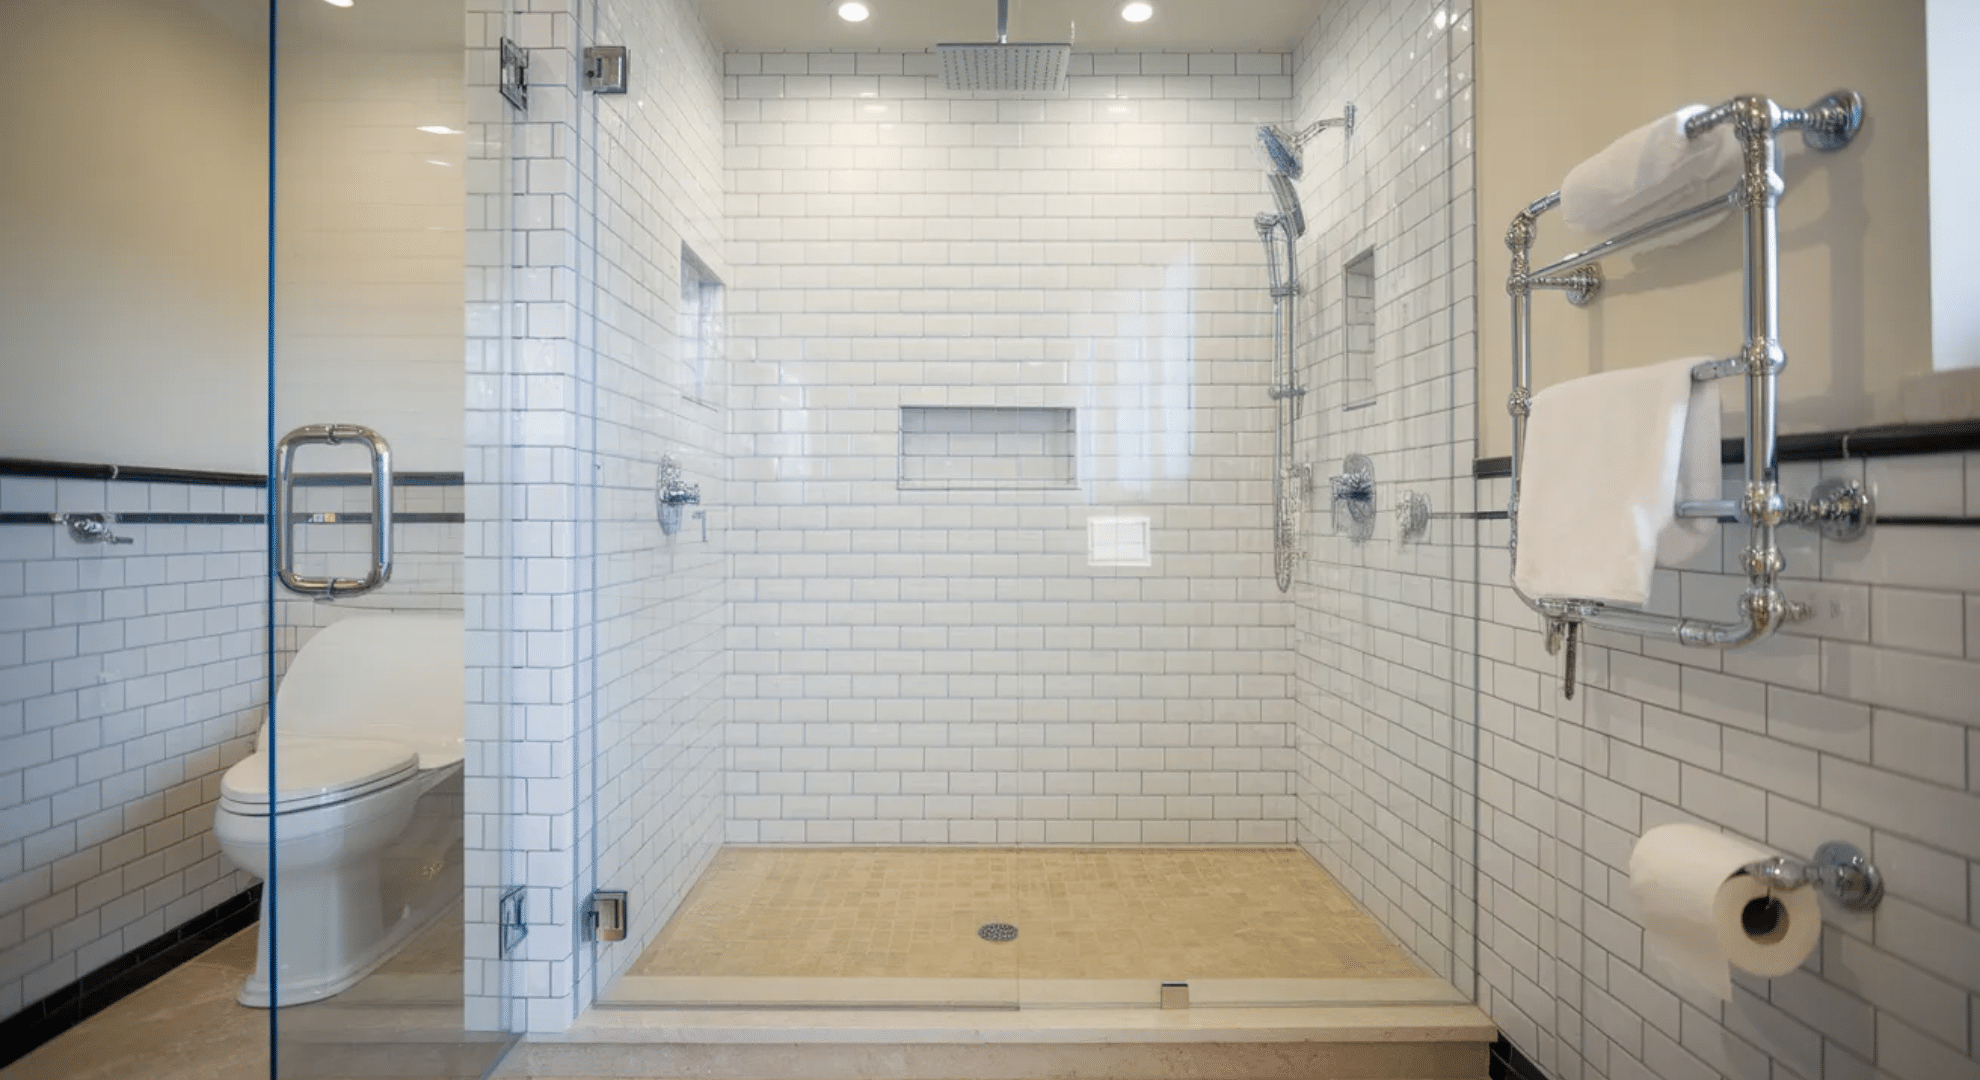
I worked on a bathroom where we converted an old tub-shower combo into a walk-in shower, and it completely opened up the space. You remove the tub, extend plumbing if needed, then install a shower pan and surround.
Frameless glass doors look high-end, but you can use curtains to save money.
This runs $1,500-3,500, depending on the finishes you choose. It’s especially great if you never use the tub anyway. Just make sure you have another tub somewhere in the house if you plan to sell, families with kids need at least one.
6. Floating Vanity Installation
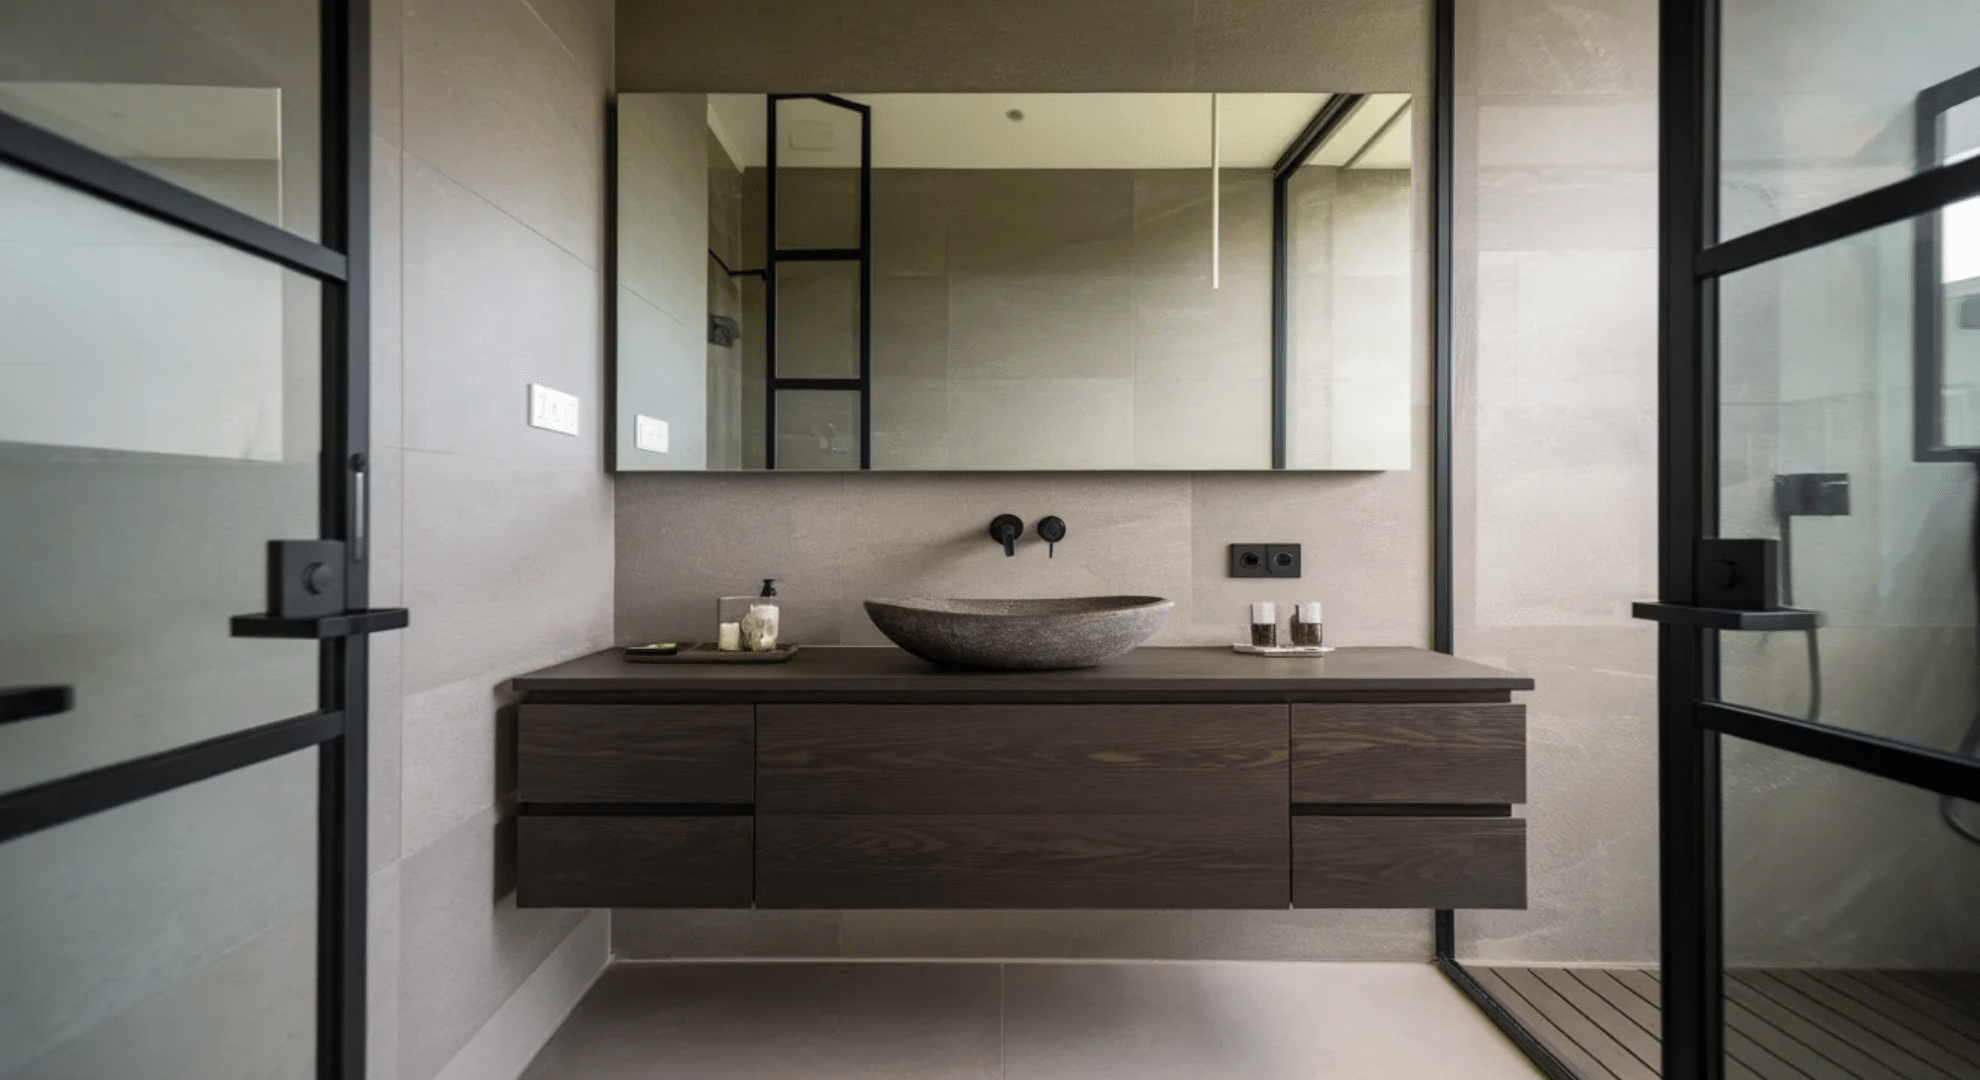
These vanities mount to the wall rather than sit on the floor, making your bathroom look bigger.
I installed one in my powder room and it made such a difference. You see more floor, which tricks your eye into thinking there’s more space. They come in all styles and price points, from $200 budget versions to $2,000+ designer pieces.
Installation takes a few hours if you’re handy. Make sure you mount it to studs or use proper anchors, these need solid support.
7. Heated Floor Tiles
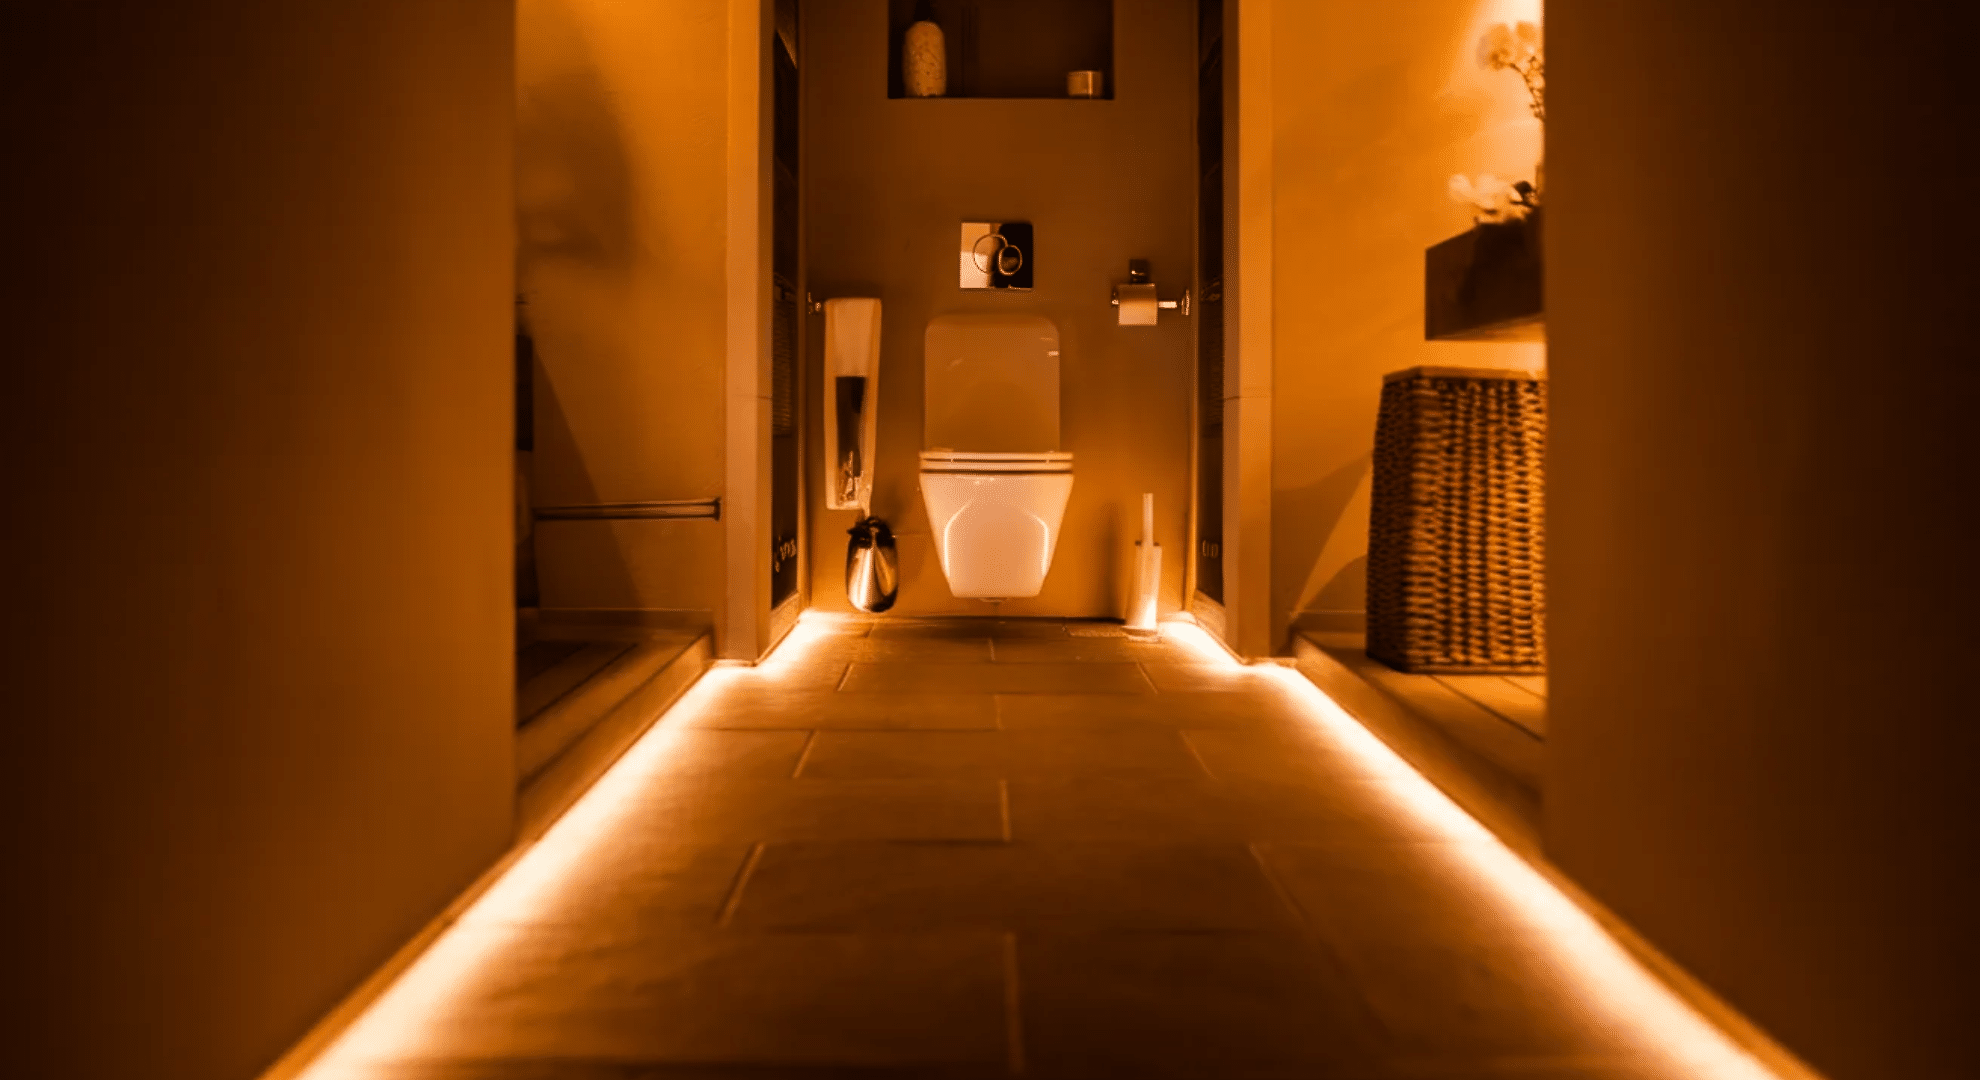
Stepping onto warm floors in winter feels amazing, and it’s more affordable than you’d think. You lay electric heating mats under your tile before installation. The mats cost $10-15 per square foot, plus tile and installation.
I’ve seen people diy this if they’re comfortable with tile work. You control it with a thermostat, running it only when needed to save energy.
It’s especially worth it in cold climates where tile floors get painfully cold. This upgrade makes your bathroom feel expensive every single morning.
8. Medicine Cabinet Upgrade
I’ve seen basic mirrors replaced with recessed medicine cabinets and the storage gain is impressive. These install between wall studs, so they don’t stick out into your bathroom.
You cut into the drywall, frame it out, then install the cabinet flush with the wall.
It costs $100-400, depending on features like mirrors, lighting, or outlets inside. This is perfect for small bathrooms where every inch matters. You get storage without losing any floor or counter space, plus a mirror you needed anyway.
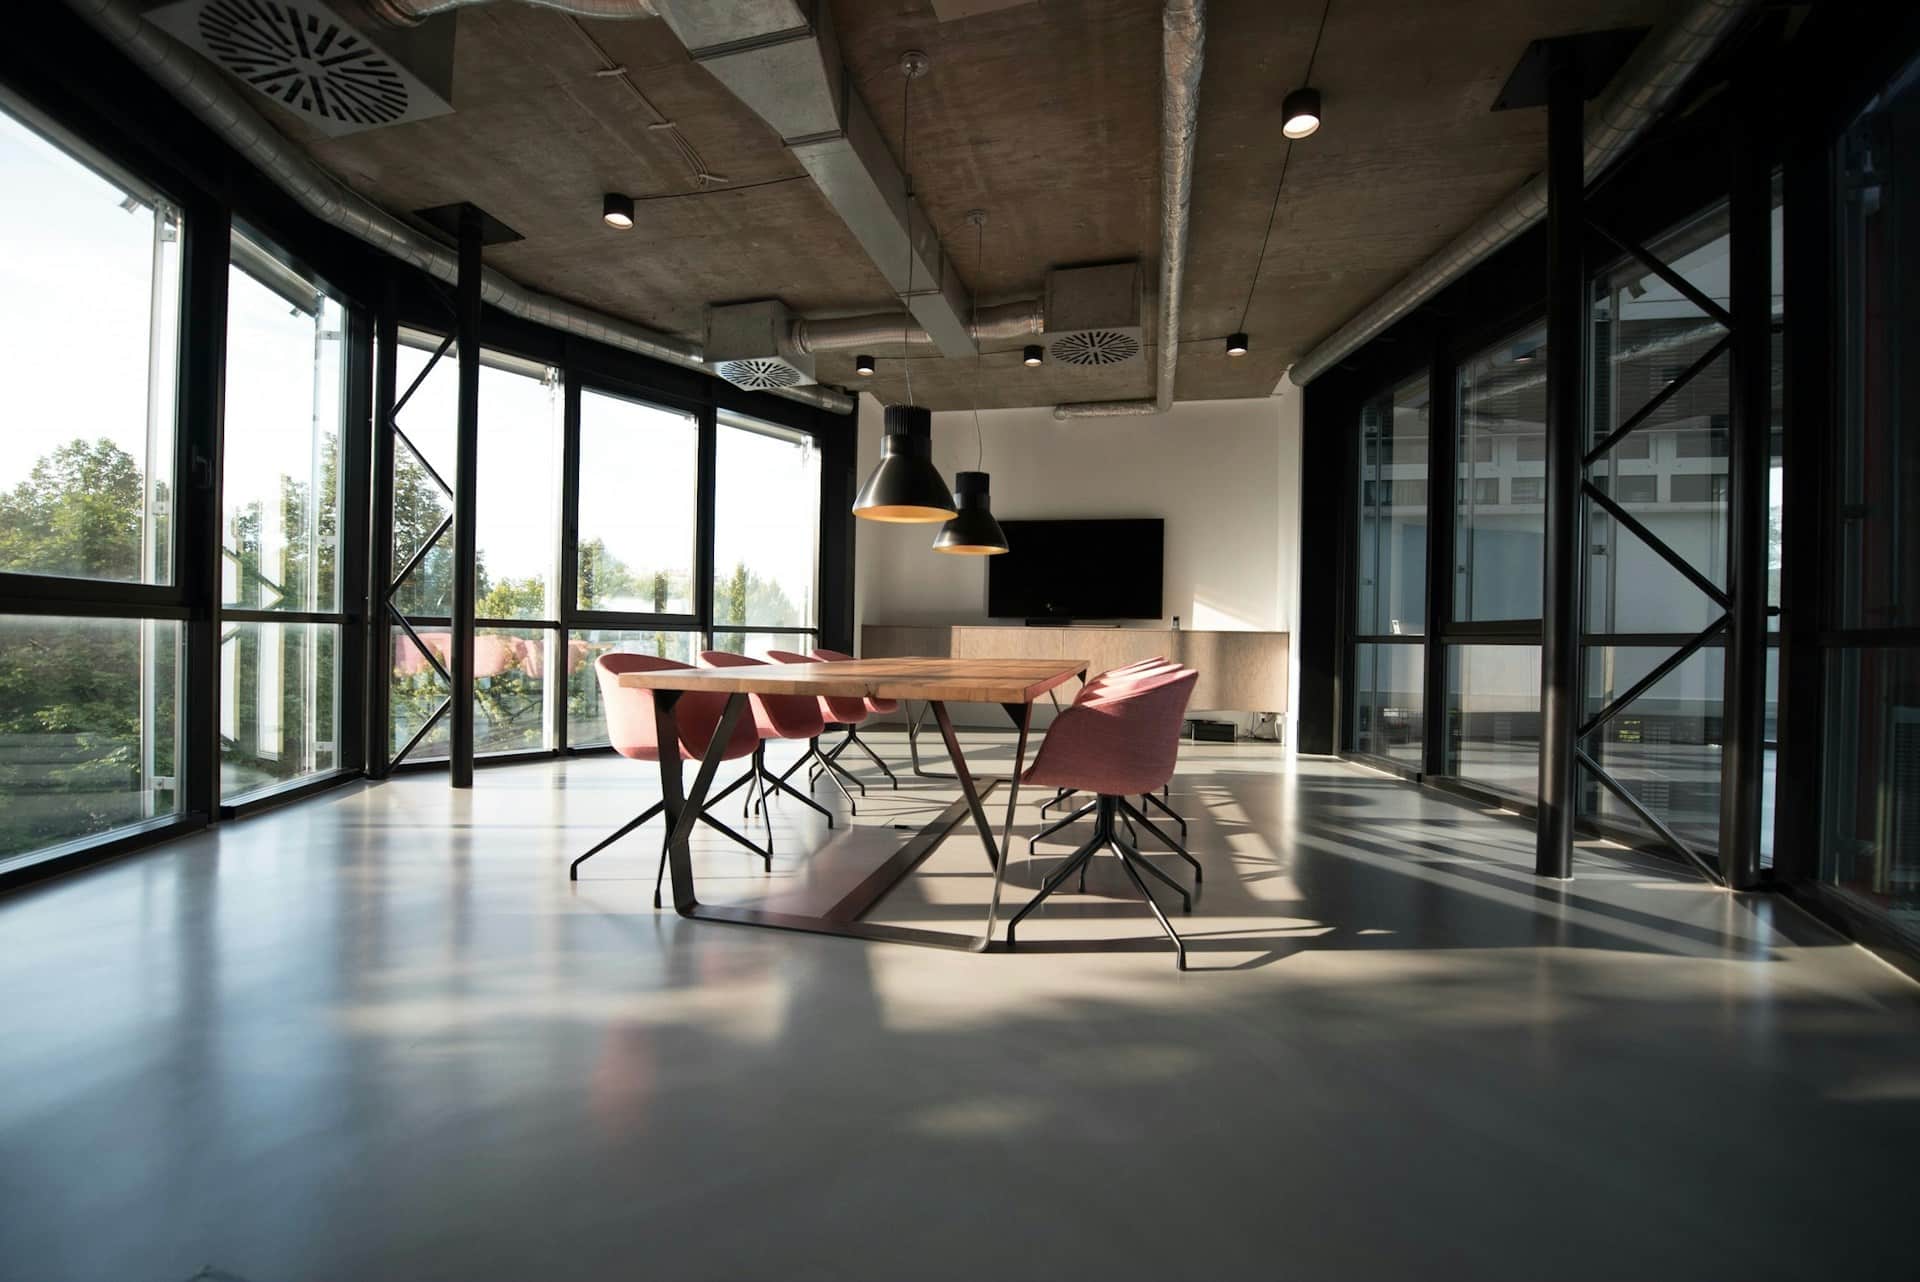
Living Room and Common Areas
Your living spaces set the tone for your whole home. I’m giving you ideas that add character without requiring major construction:
9. Built-In Window Seat
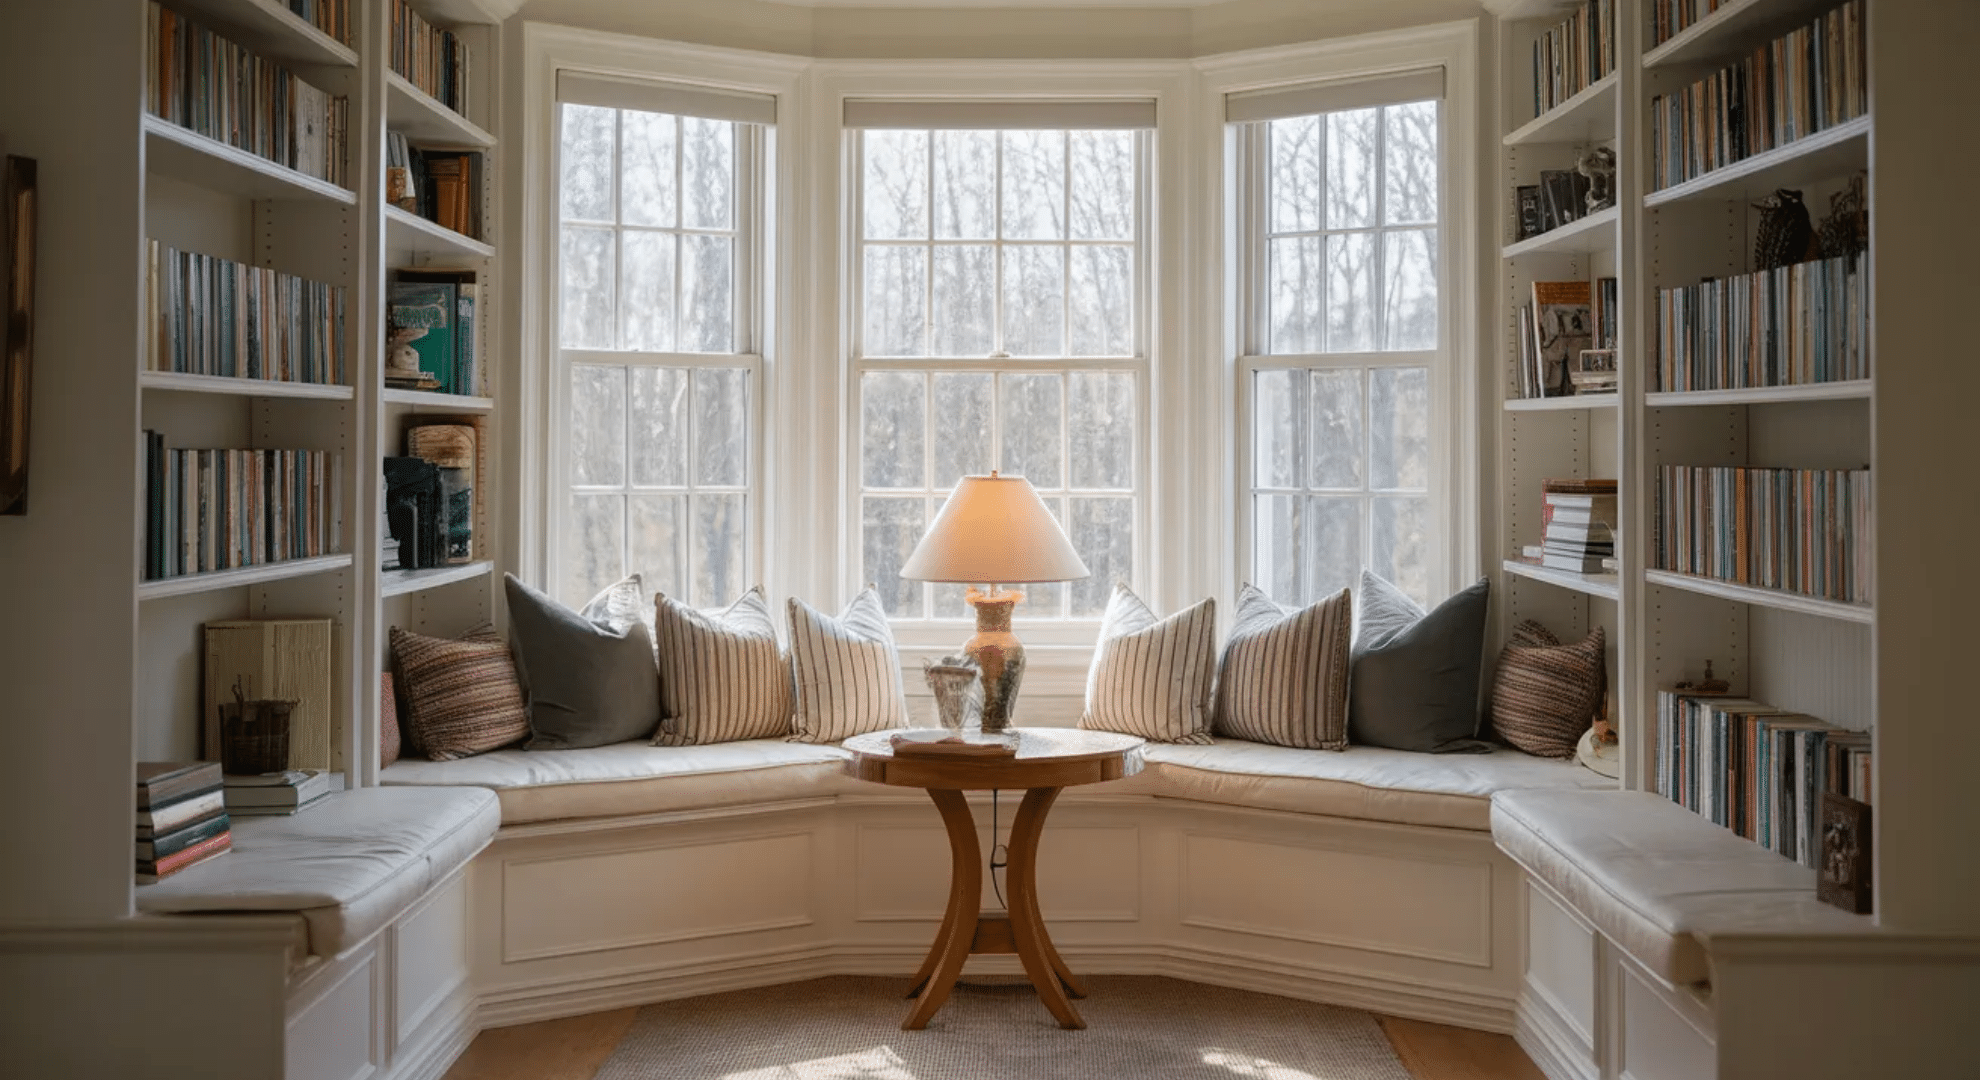
I worked on a project where we built a window seat using basic lumber and it became everyone’s favorite spot. You frame a box under your window, add a hinged top for storage, then cushions for seating.
It costs $200-600 in materials depending on size and finishes. This works great in bay windows or any window with wall space on the sides. You can add bookshelves on either end to create a full reading nook.
It’s functional storage plus extra seating when you have guests over.
10. Coffered Ceiling Installation
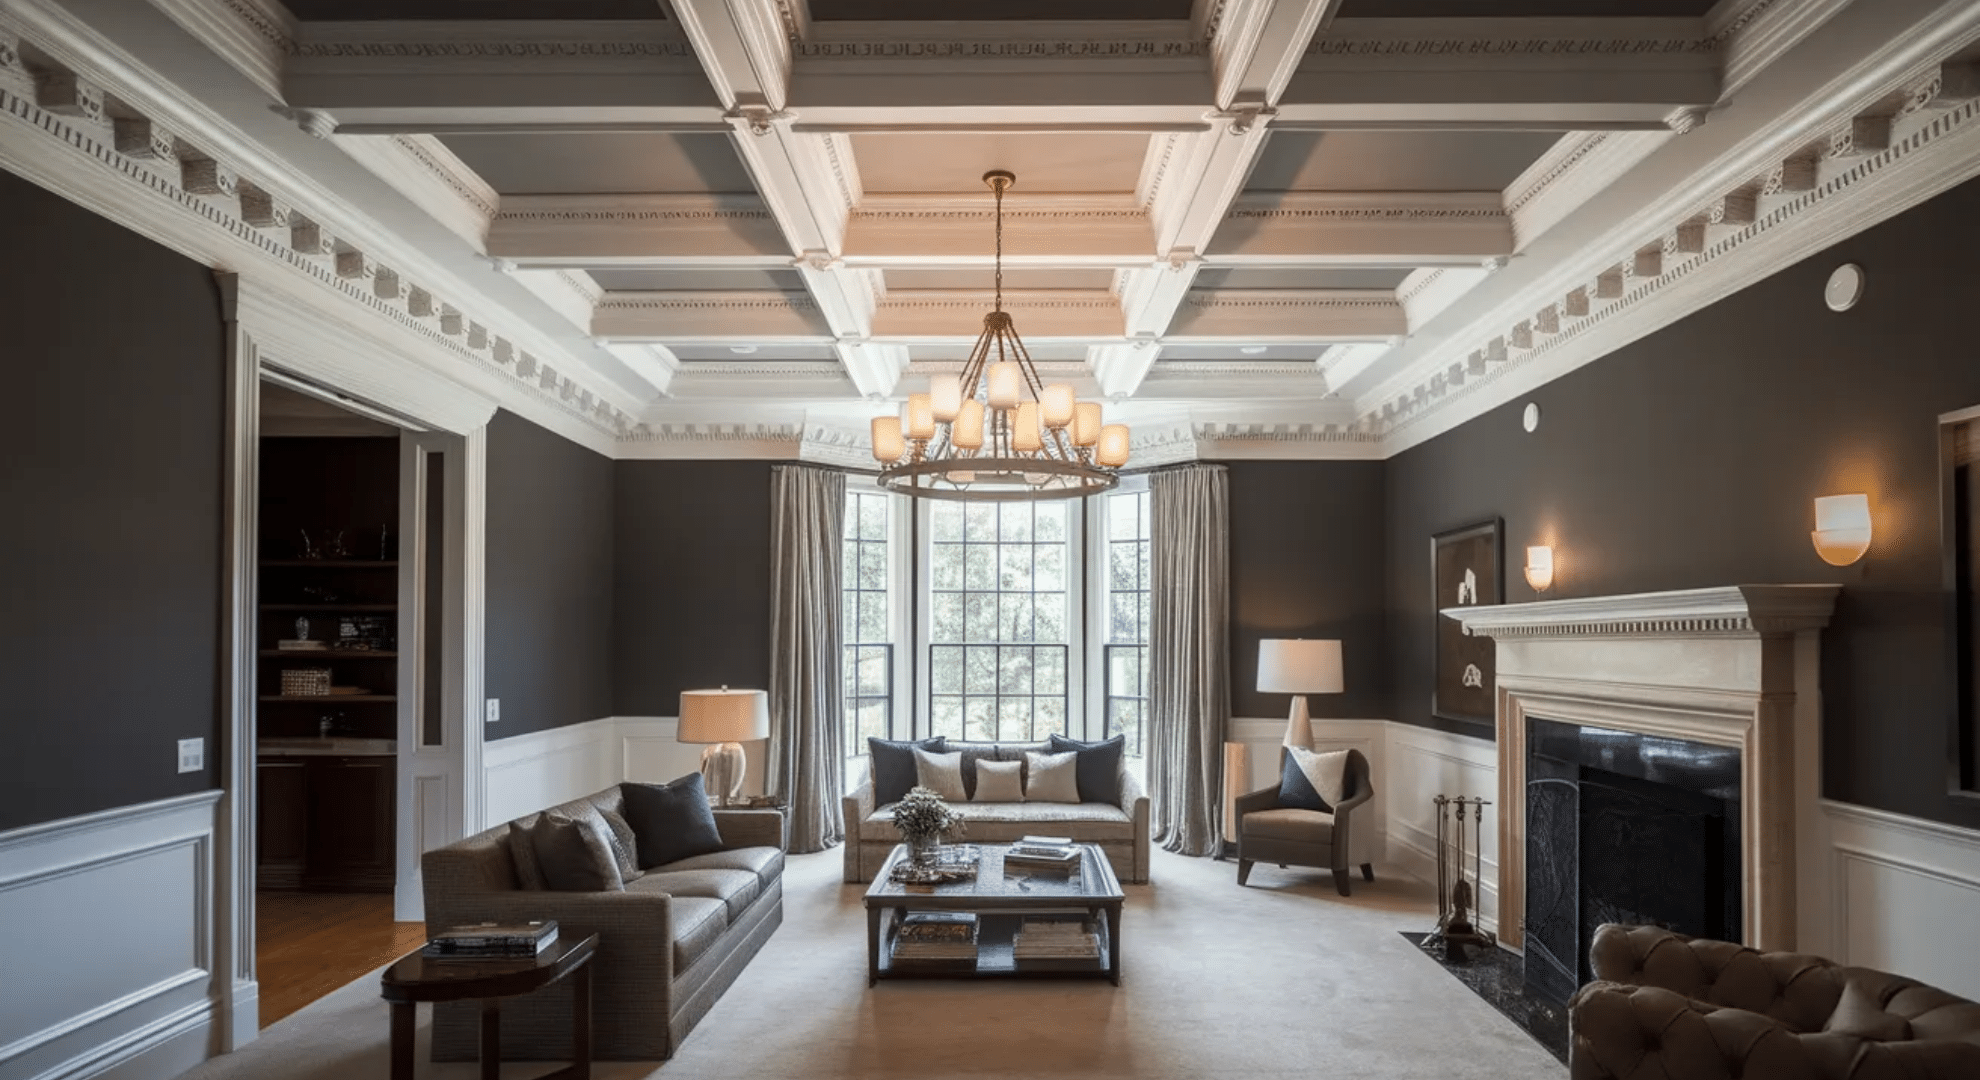
Coffered ceilings look like expensive custom work but you can diy them with basic trim.
You create a grid pattern on your ceiling using wood trim pieces, creating recessed squares. Paint the recesses a contrasting color or add crown molding for extra detail.
Materials run $300-800 for an average living room. I’ve seen this transform boring flat ceilings into something that looks professionally designed. It adds visual interest without taking up any actual room space. Your eye naturally goes up, making the room feel larger.
11. Room Divider Addition
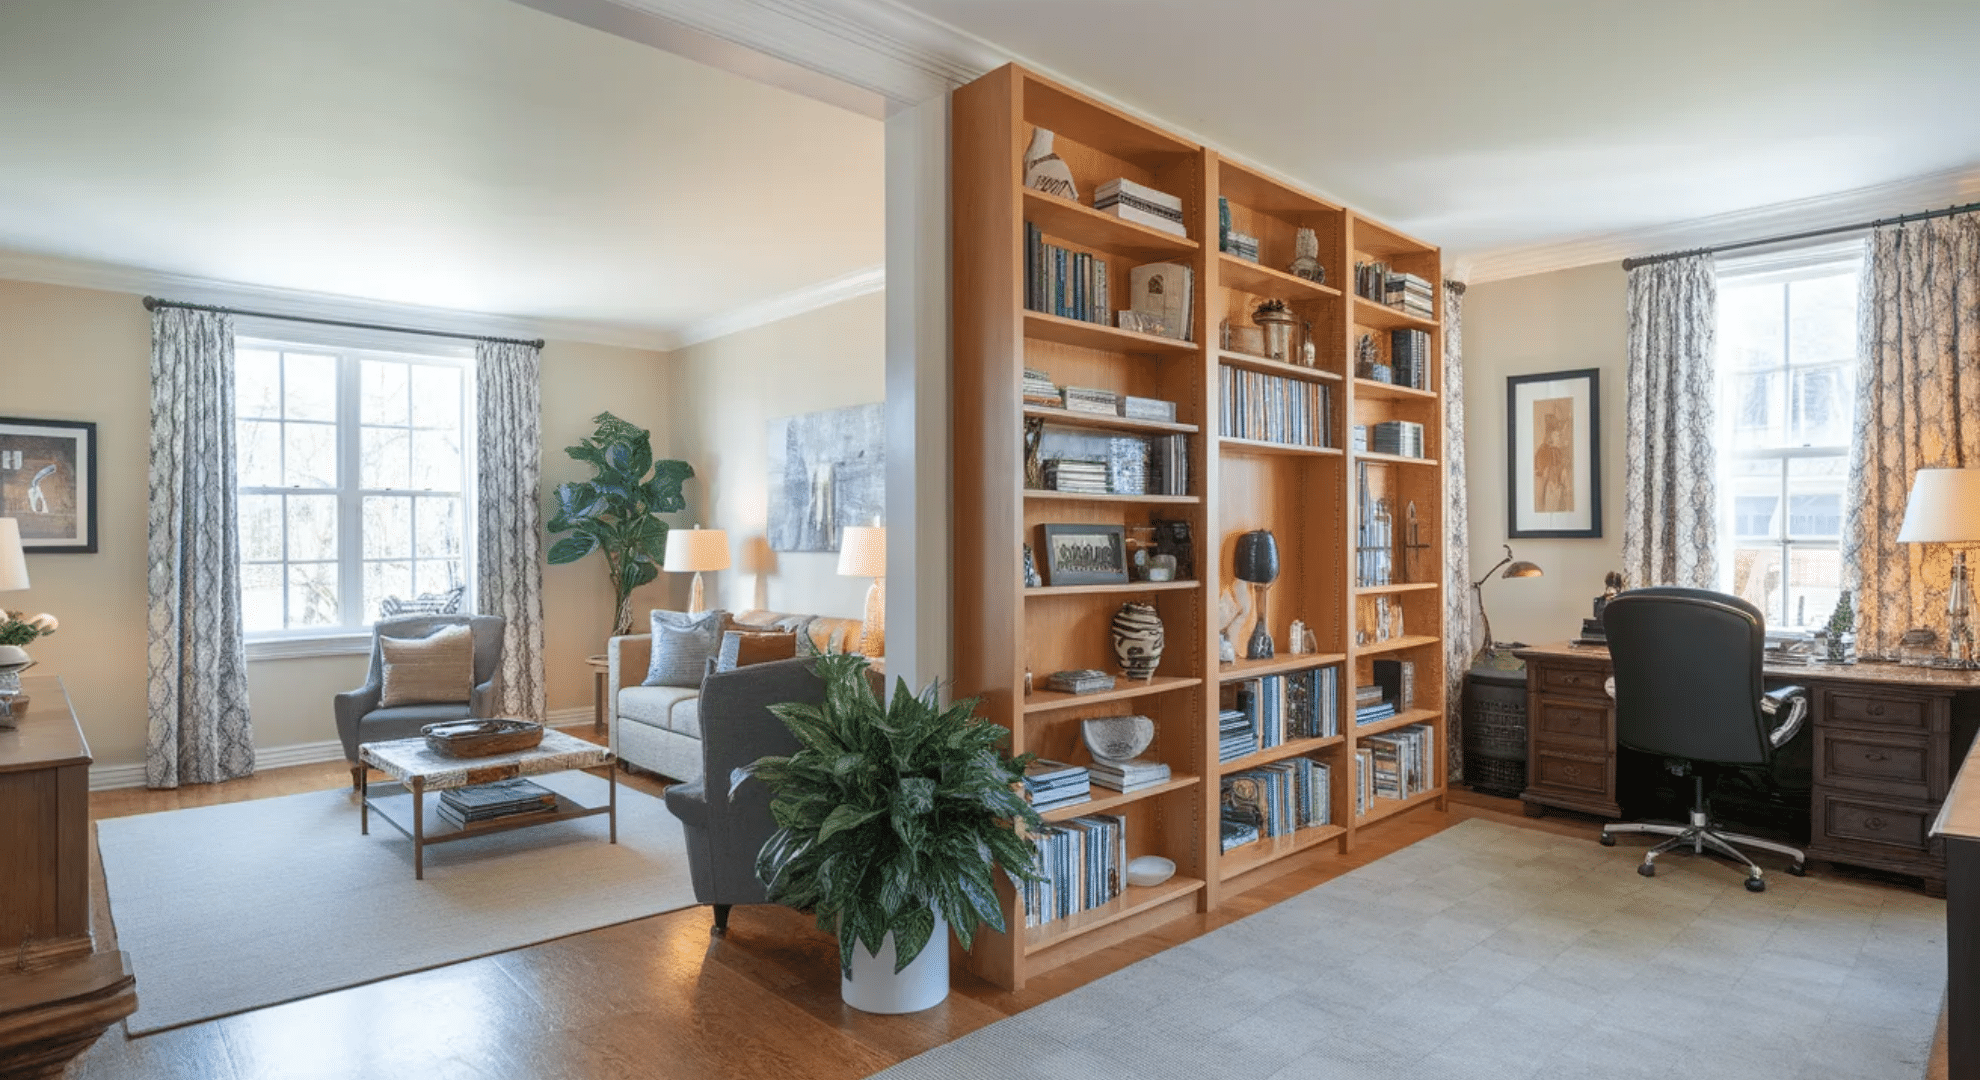
Open floor plans are great until you need some separation. I’ve seen people use bookcases, half walls, or even hanging panels to divide spaces without closing them off completely.
You maintain the open feel while creating distinct areas for different activities. A bookcase room divider costs $150-500 and gives you bonus storage. Half walls with columns look more permanent and architectural.
This is perfect if you’re working from home and need office space separate from living areas.
12. Wainscoting or Board-And-Batten Walls
I added board-and-batten to my hallway and it made the whole space feel custom.
You install vertical boards over your existing wall, adding a top rail and baseboard. It costs $1-3 per square foot if you diy with basic materials.
Traditional wainscoting runs higher but both add that classic, detailed look. You can go partway up the wall or full height depending on your style. Paint it the same color as your walls for subtle texture or contrasting colors for drama.
Bedroom Updates
Your bedroom should feel like a retreat. These updates create that peaceful, personal space you actually want to spend time in:
13. Walk-In Closet Conversion
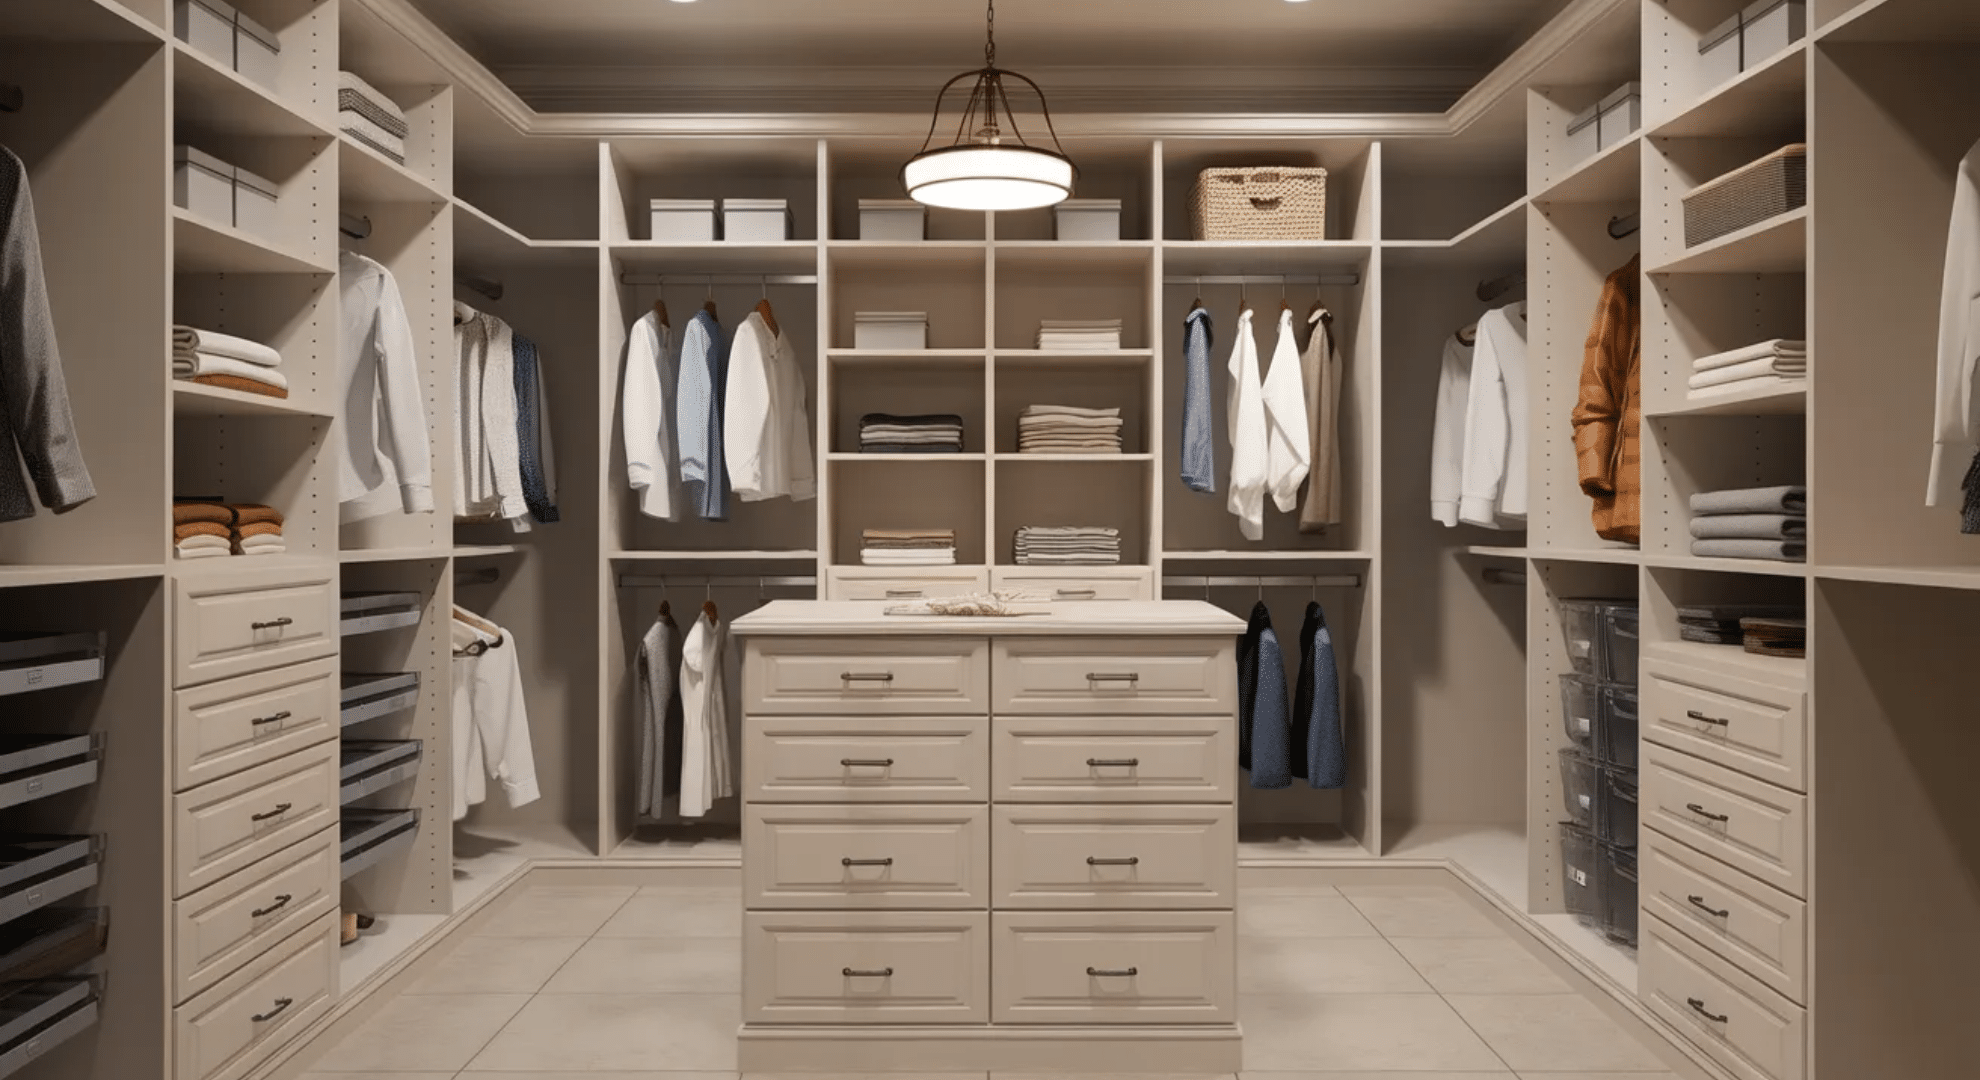
I’ve seen small fourth bedrooms turned into walk-in closets and homeowners never regret it. you remove the bed, add closet systems on the walls, maybe include a dresser or island in the middle.
Custom systems cost $1,000-5,000 depending on size and features. You can go cheaper with wire shelving or modular units.
This works if you don’t need the extra bedroom but are drowning in clothes with nowhere to put them. Add good lighting and a full-length mirror to complete the space.
14. Sliding Barn Door Installation
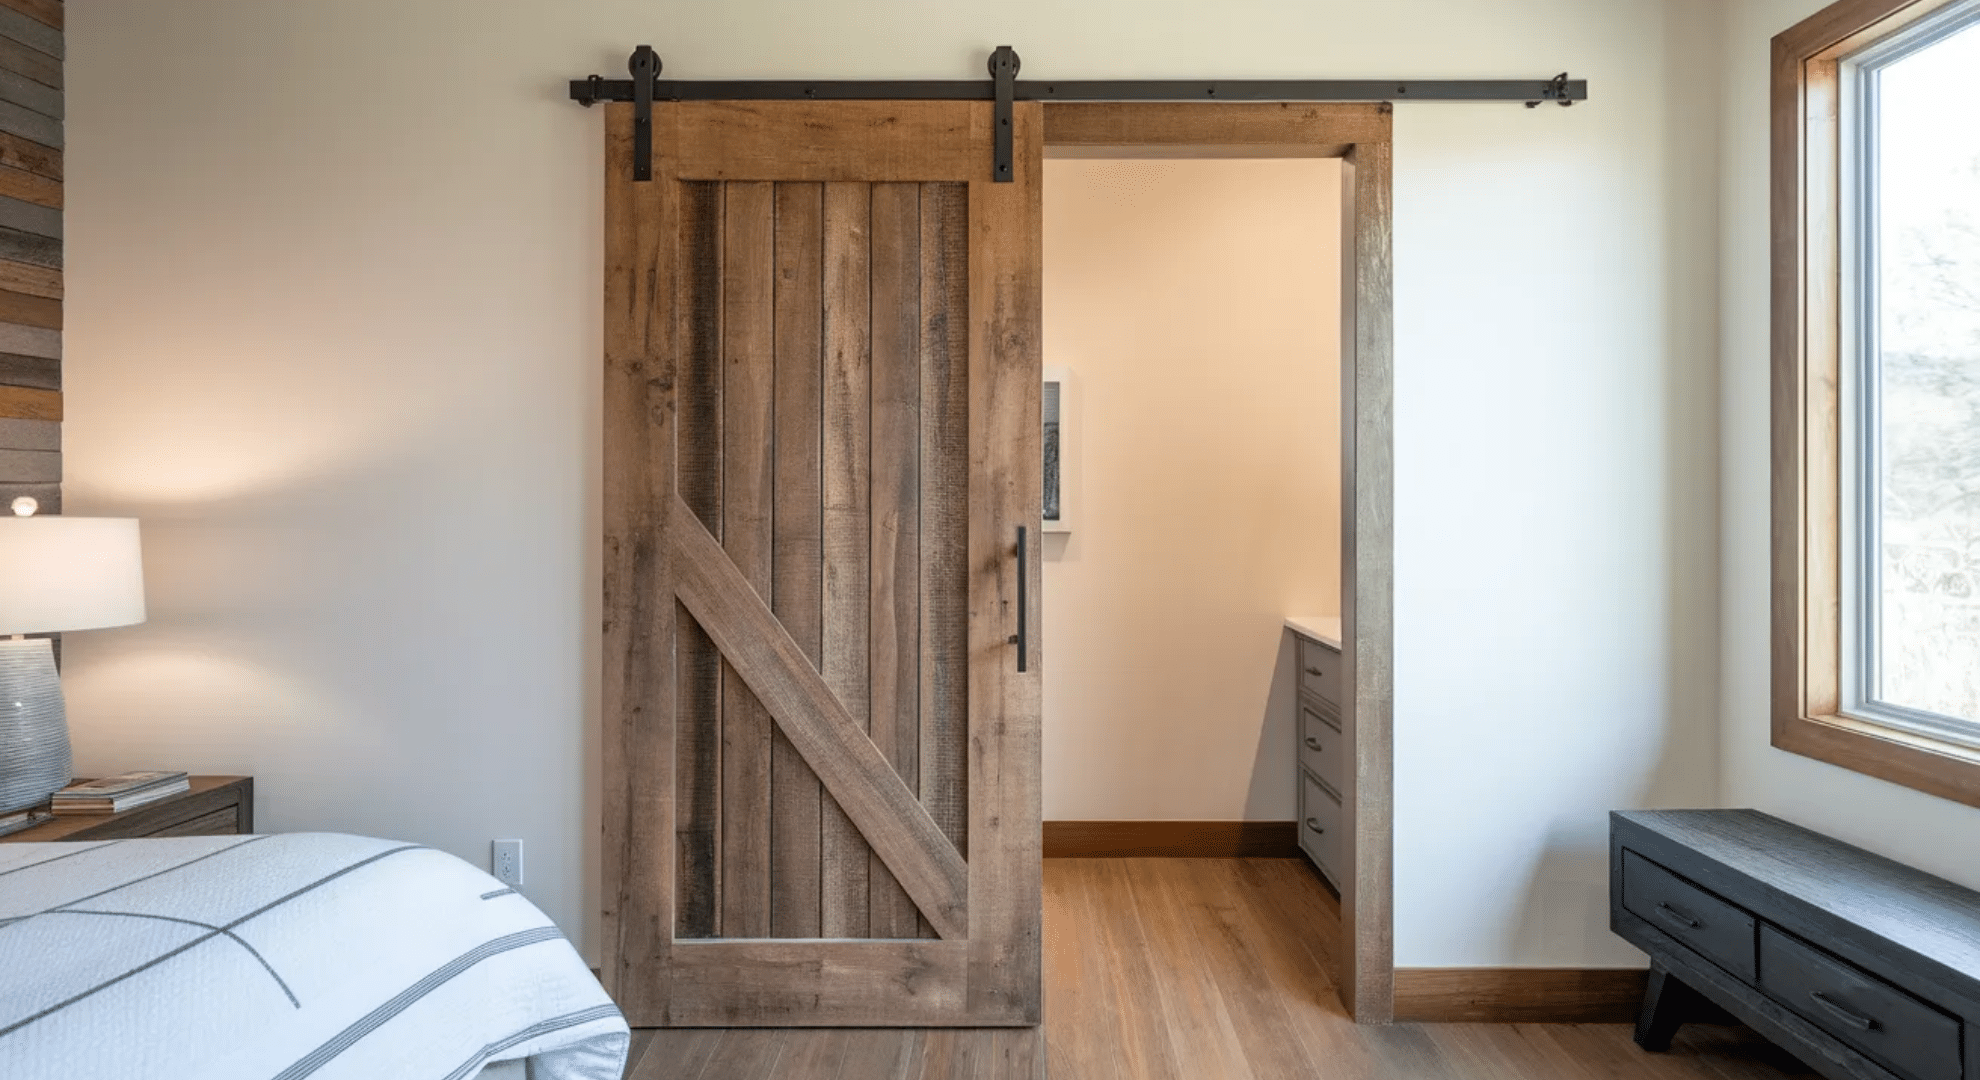
Barn doors save space since they slide along the wall instead of swinging into the room. I installed one on my bedroom and it freed up the entire corner that the door used to block.
The hardware kit costs $150-400, plus the door itself which runs $200-800. you mount a track above the doorway and hang the door from it. they work great for closets, bathrooms, or bedroom entrances. Just make sure you have clear wall space for the door to slide across.
Home Office and Multi-Purpose Spaces
More people work from home now, so these spaces need to actually function well. I’m showing you how to create dedicated work areas that don’t feel like afterthoughts:
15. Murphy Bed Integration
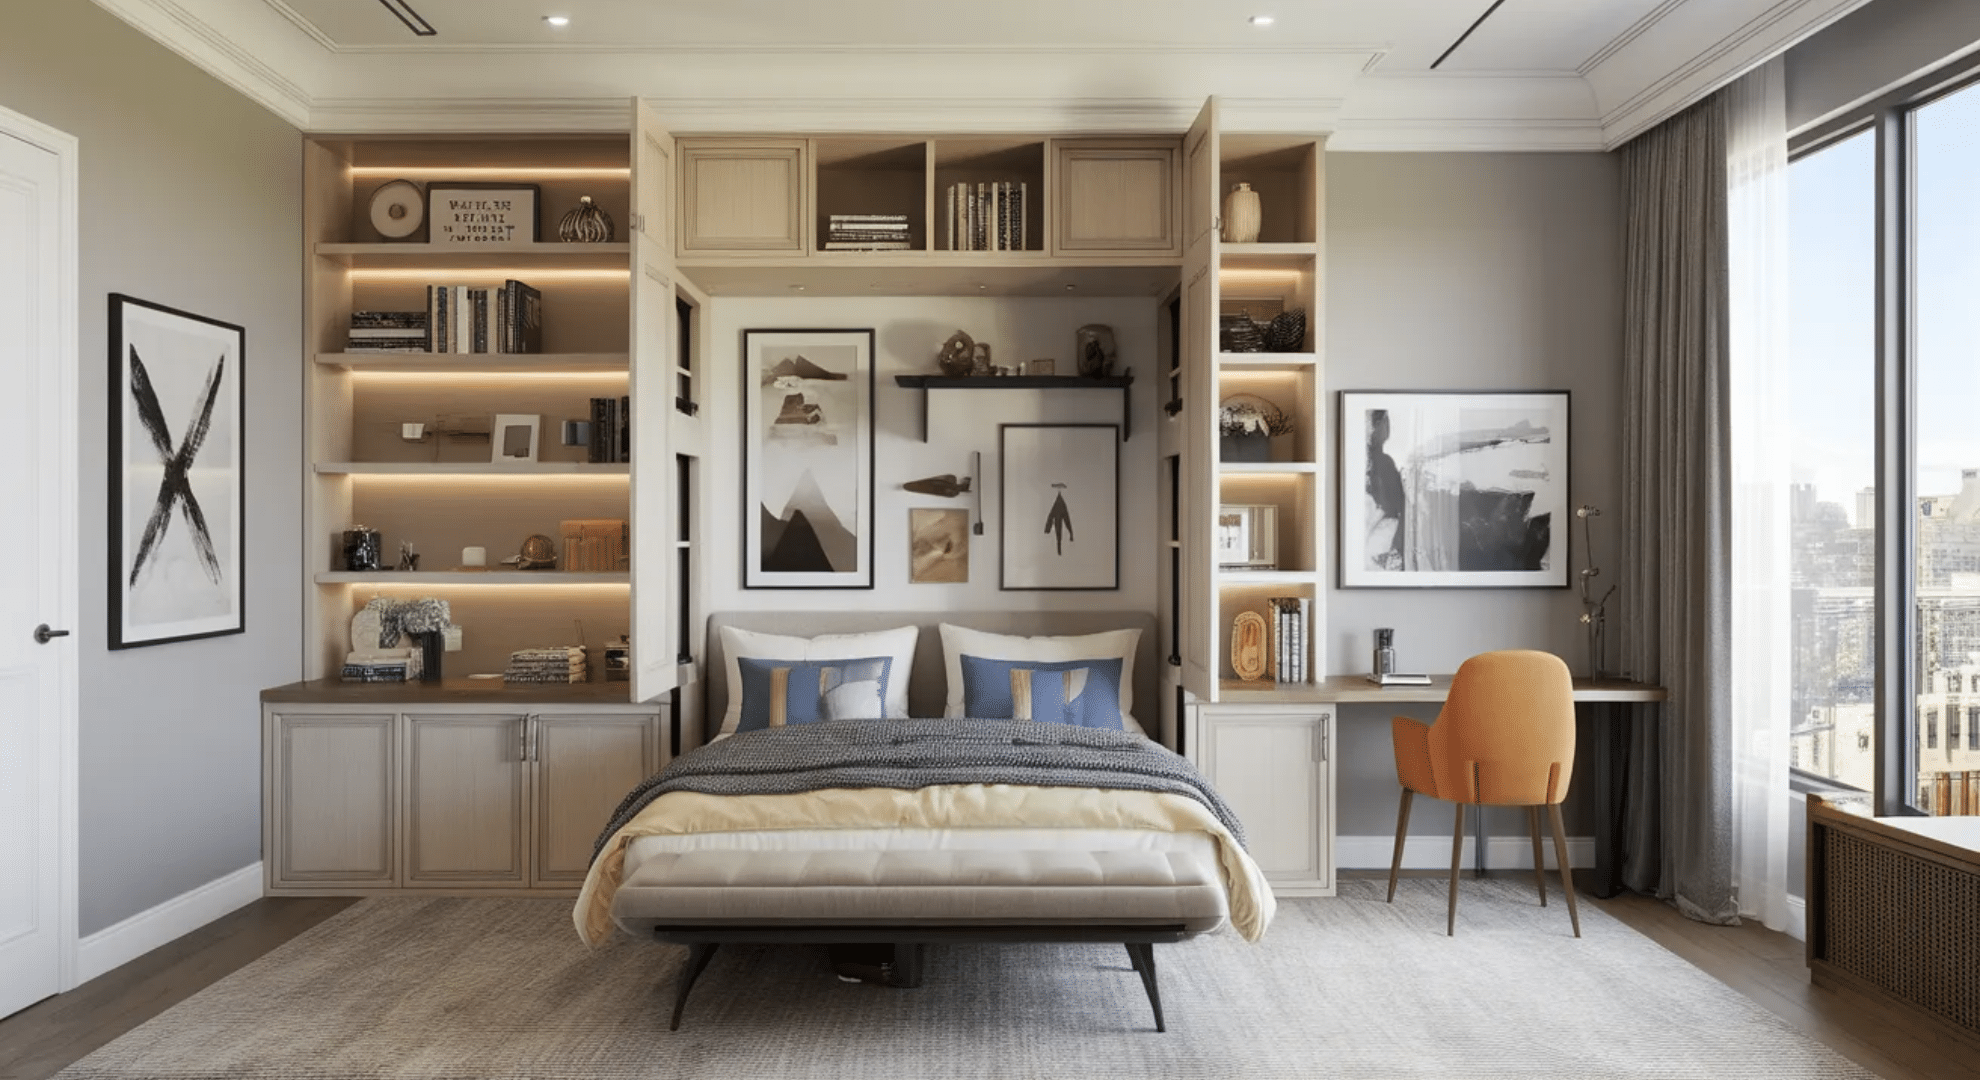
Murphy beds fold up into the wall, turning a bedroom into an office instantly. I’ve seen someone install one in their guest room and they use it as an office 95% of the time.
They cost $1,000-3,000, depending on features and finishes. Modern versions don’t look old-fashioned anymore, they come in sleek designs with built-in desks or shelving.
You get a guest bed when needed without sacrificing a whole room. This is perfect for small homes where every room needs multiple purposes.
16. Pegboard Wall System

Pegboards aren’t just for garages anymore. I’ve seen entire office walls covered with painted pegboard and it’s incredibly functional. You mount panels to the wall, then add hooks, shelves, and baskets wherever you need them.
The whole setup costs $50-200 depending on size and accessories.
You can rearrange everything as your needs change without putting new holes in your walls. It works for offices, craft rooms, or even kids’ rooms. Paint it to match your decor so it doesn’t look industrial.
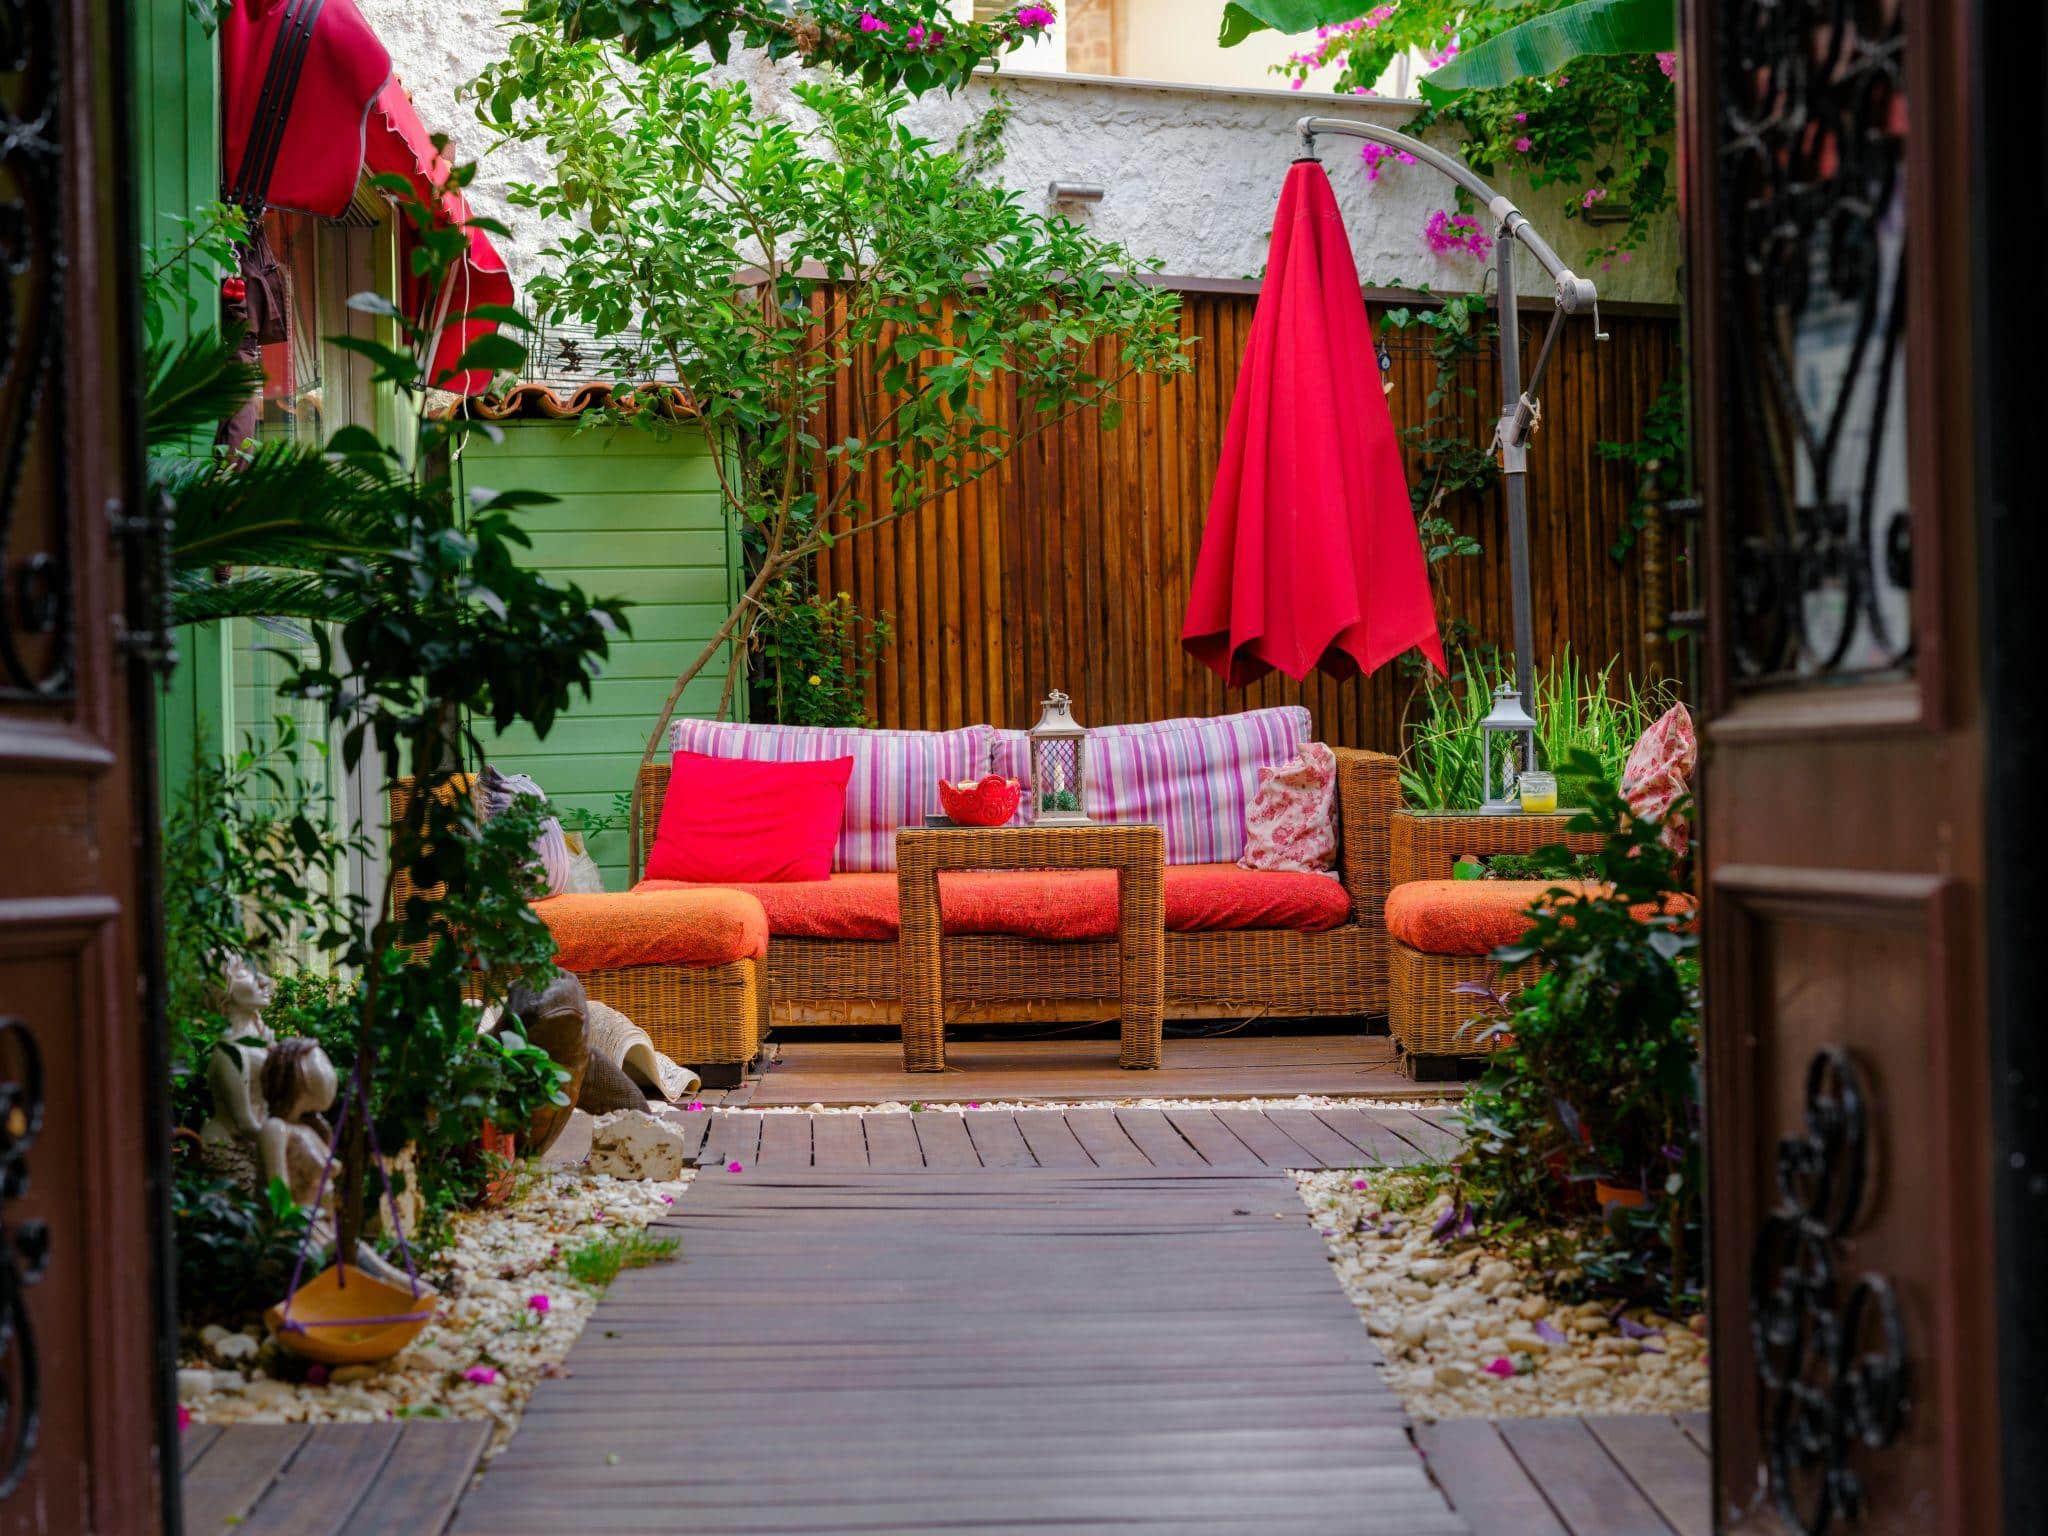
Exterior and Curb Appeal
First impressions matter, and your home’s exterior is what everyone sees first. These updates make your house look better maintained and more valuable:
17. Covered Porch Addition
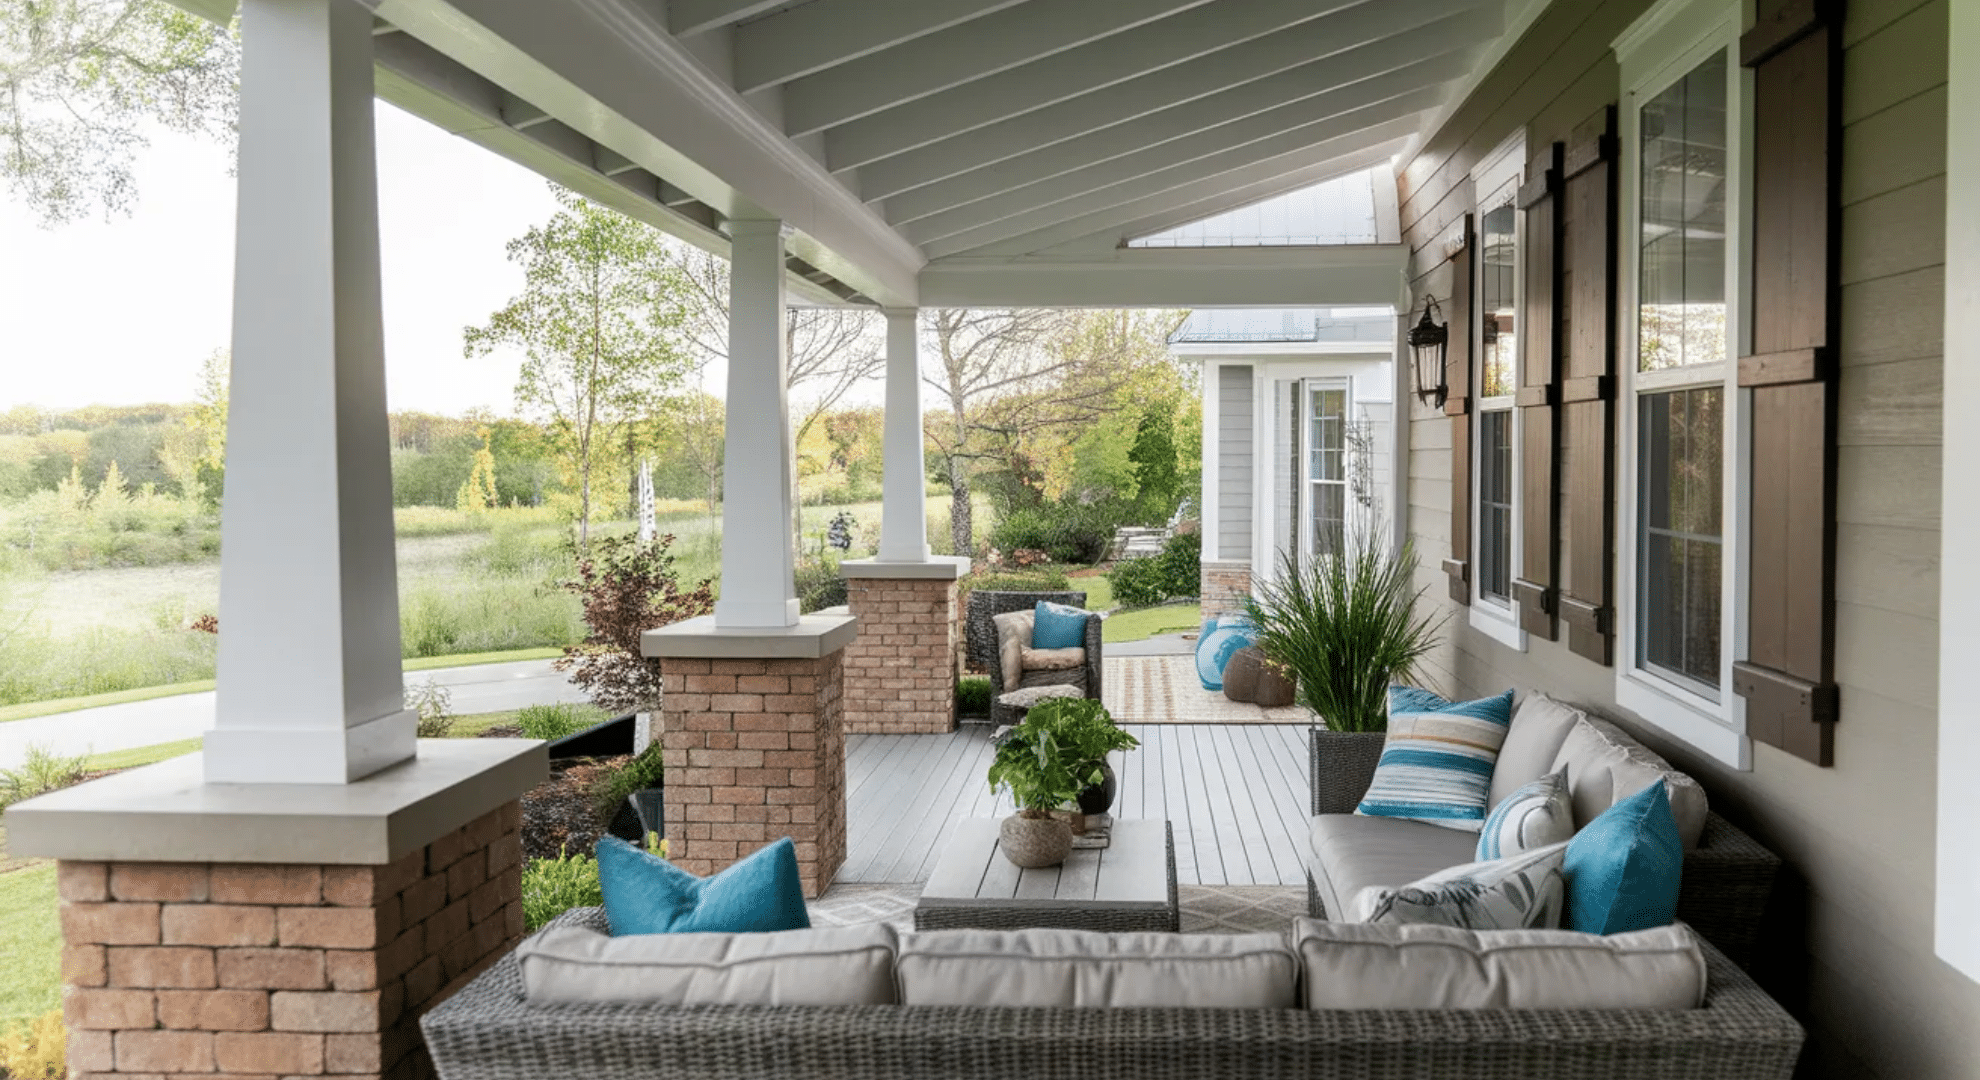
A covered porch lets you use outdoor space in any weather. I worked on a project where we added a simple roof over a front porch for about $2,000 in materials.
You extend your roofline or build a separate structure with posts supporting a roof. It protects your entry from rain and gives you shaded outdoor seating. This runs $3,000-15,000 depending on size and whether you diy.
It also shields your front door and windows from the weather, protecting them long-term. You’ll use your porch way more when it’s covered.
18. House Number and Mailbox Upgrade
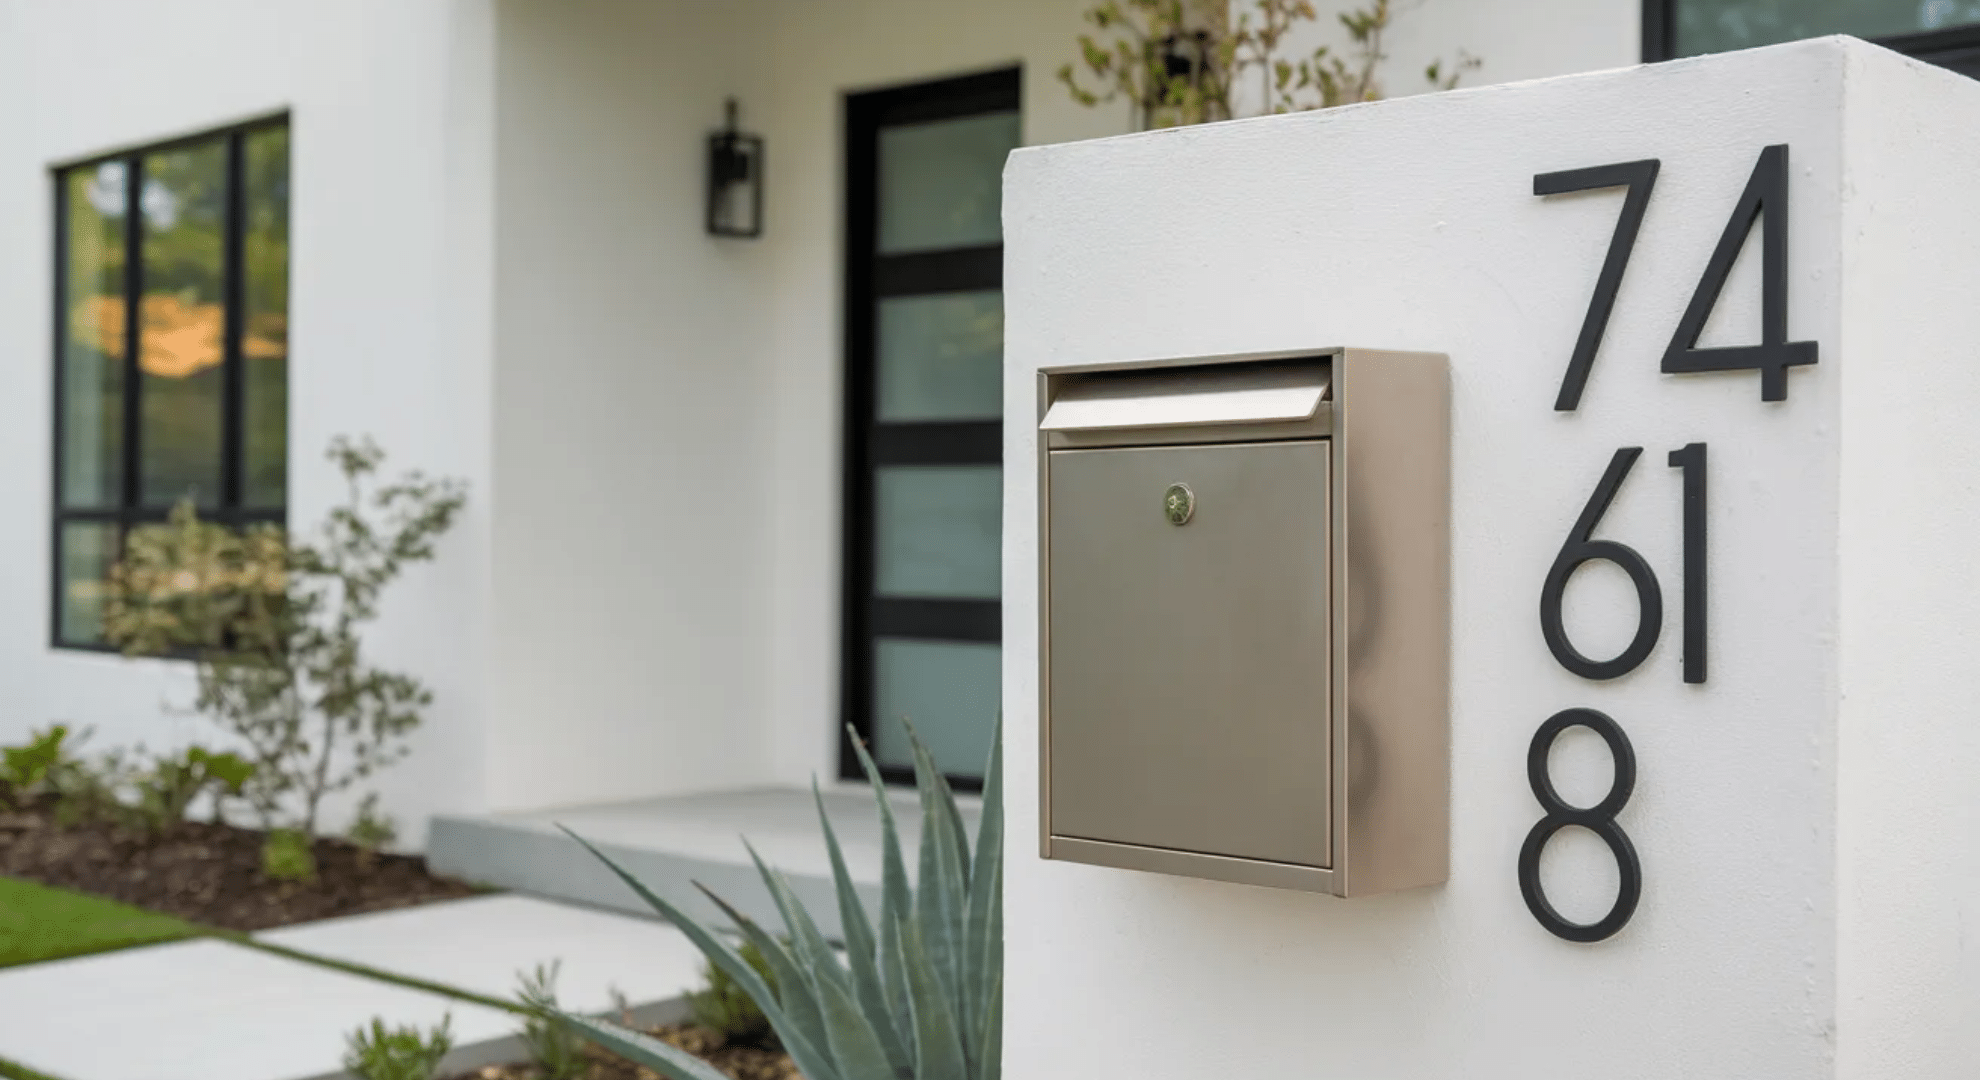
I replaced my cheap plastic house numbers with modern metal ones and people actually noticed. New numbers cost $30-150, and a new mailbox runs $50-300. these tiny upgrades make your whole exterior look more polished and intentional.
Choose styles that match your home’s architecture, modern numbers for contemporary homes, traditional for classic styles.
This takes an hour to install but improves curb appeal instantly. It’s one of the cheapest ways to make your home look more expensive from the street.
19. Outdoor Kitchen or Grill Station
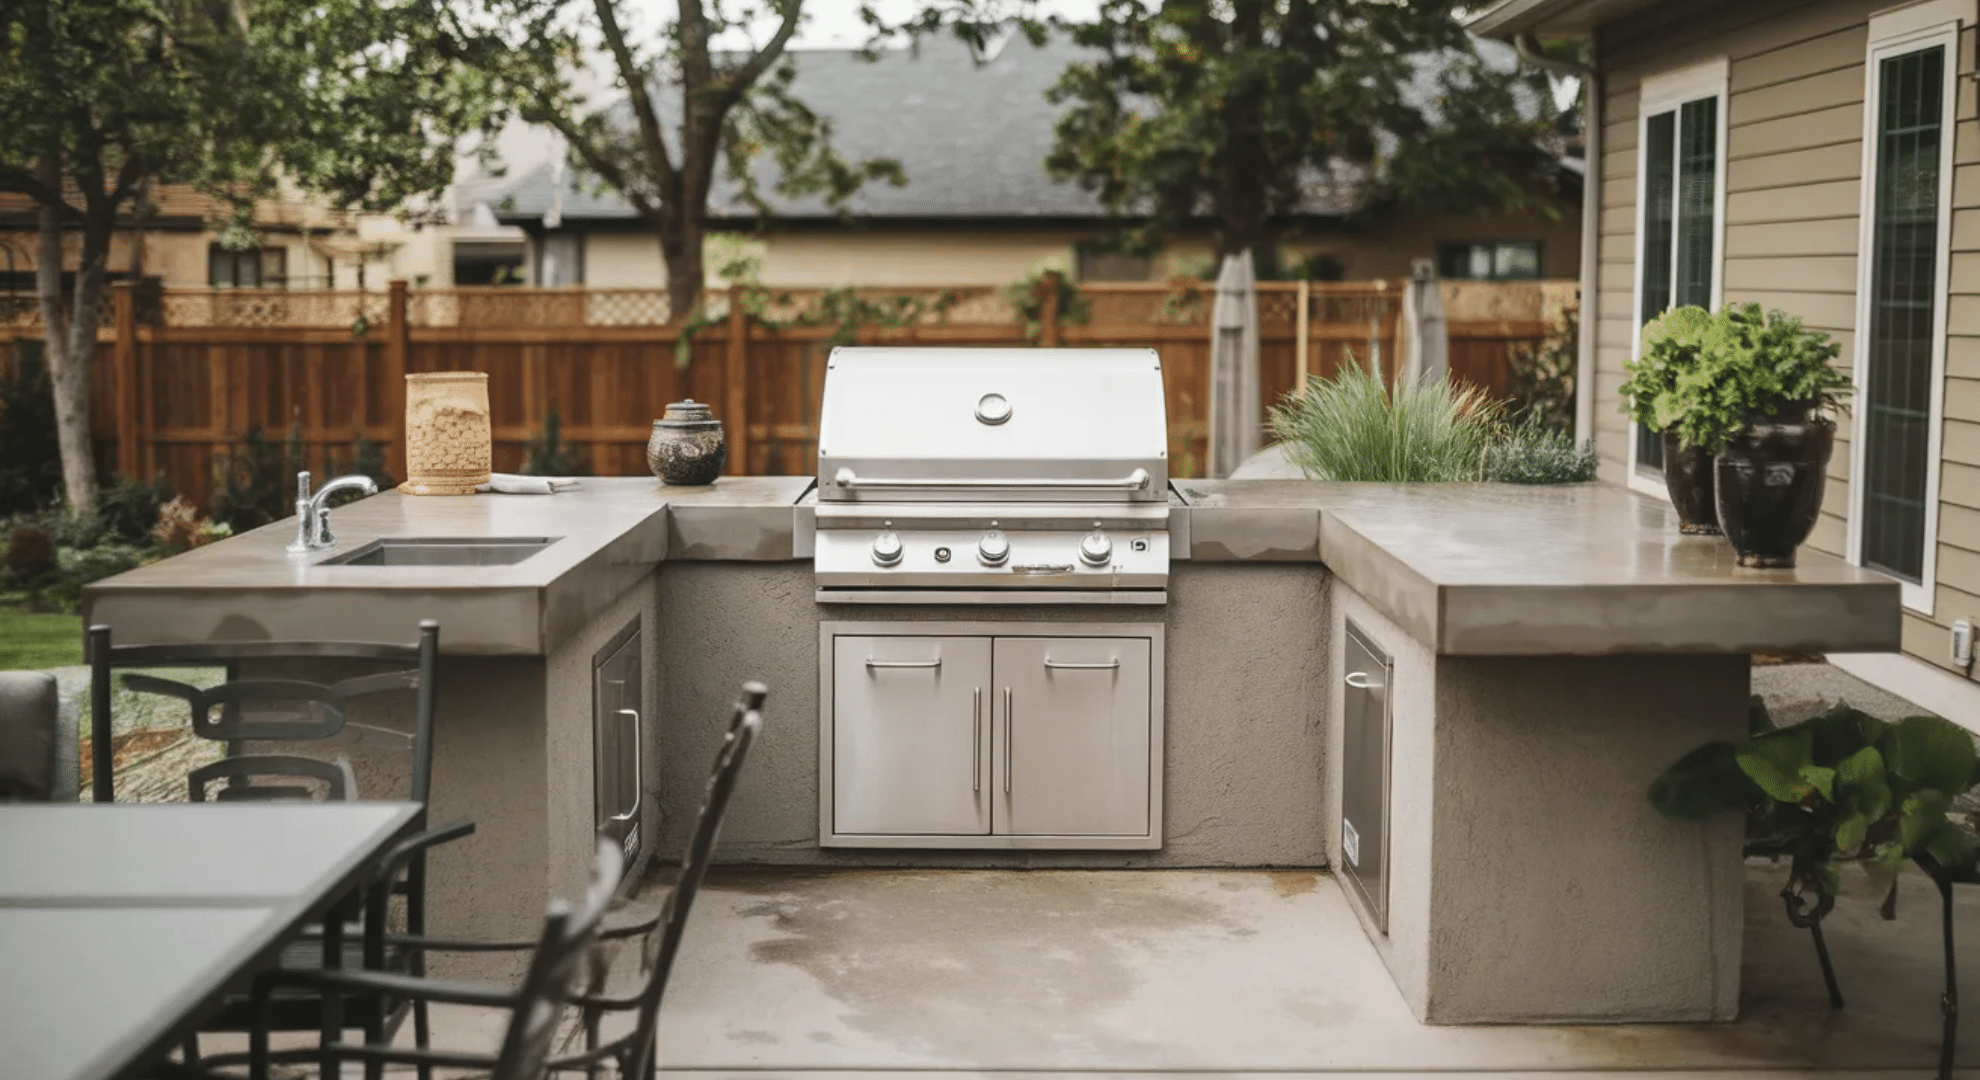
You don’t need a full outdoor kitchen to create a great cooking space outside. I’ve seen people build simple grill stations with concrete countertops on both sides for $500 in materials. Add a mini fridge underneath if you have power nearby.
This keeps you outside with guests instead of running in and out. Full outdoor kitchens with sinks and storage run $3,000-10,000.
Even a basic setup makes outdoor entertaining so much easier. You’ll actually use your backyard more when cooking outside is convenient.
High-Impact Projects
These are bigger investments but they completely changes how you use your home. I’m talking about projects that add actual living space or major functionality:
20. Sunroom or Three-Season Room
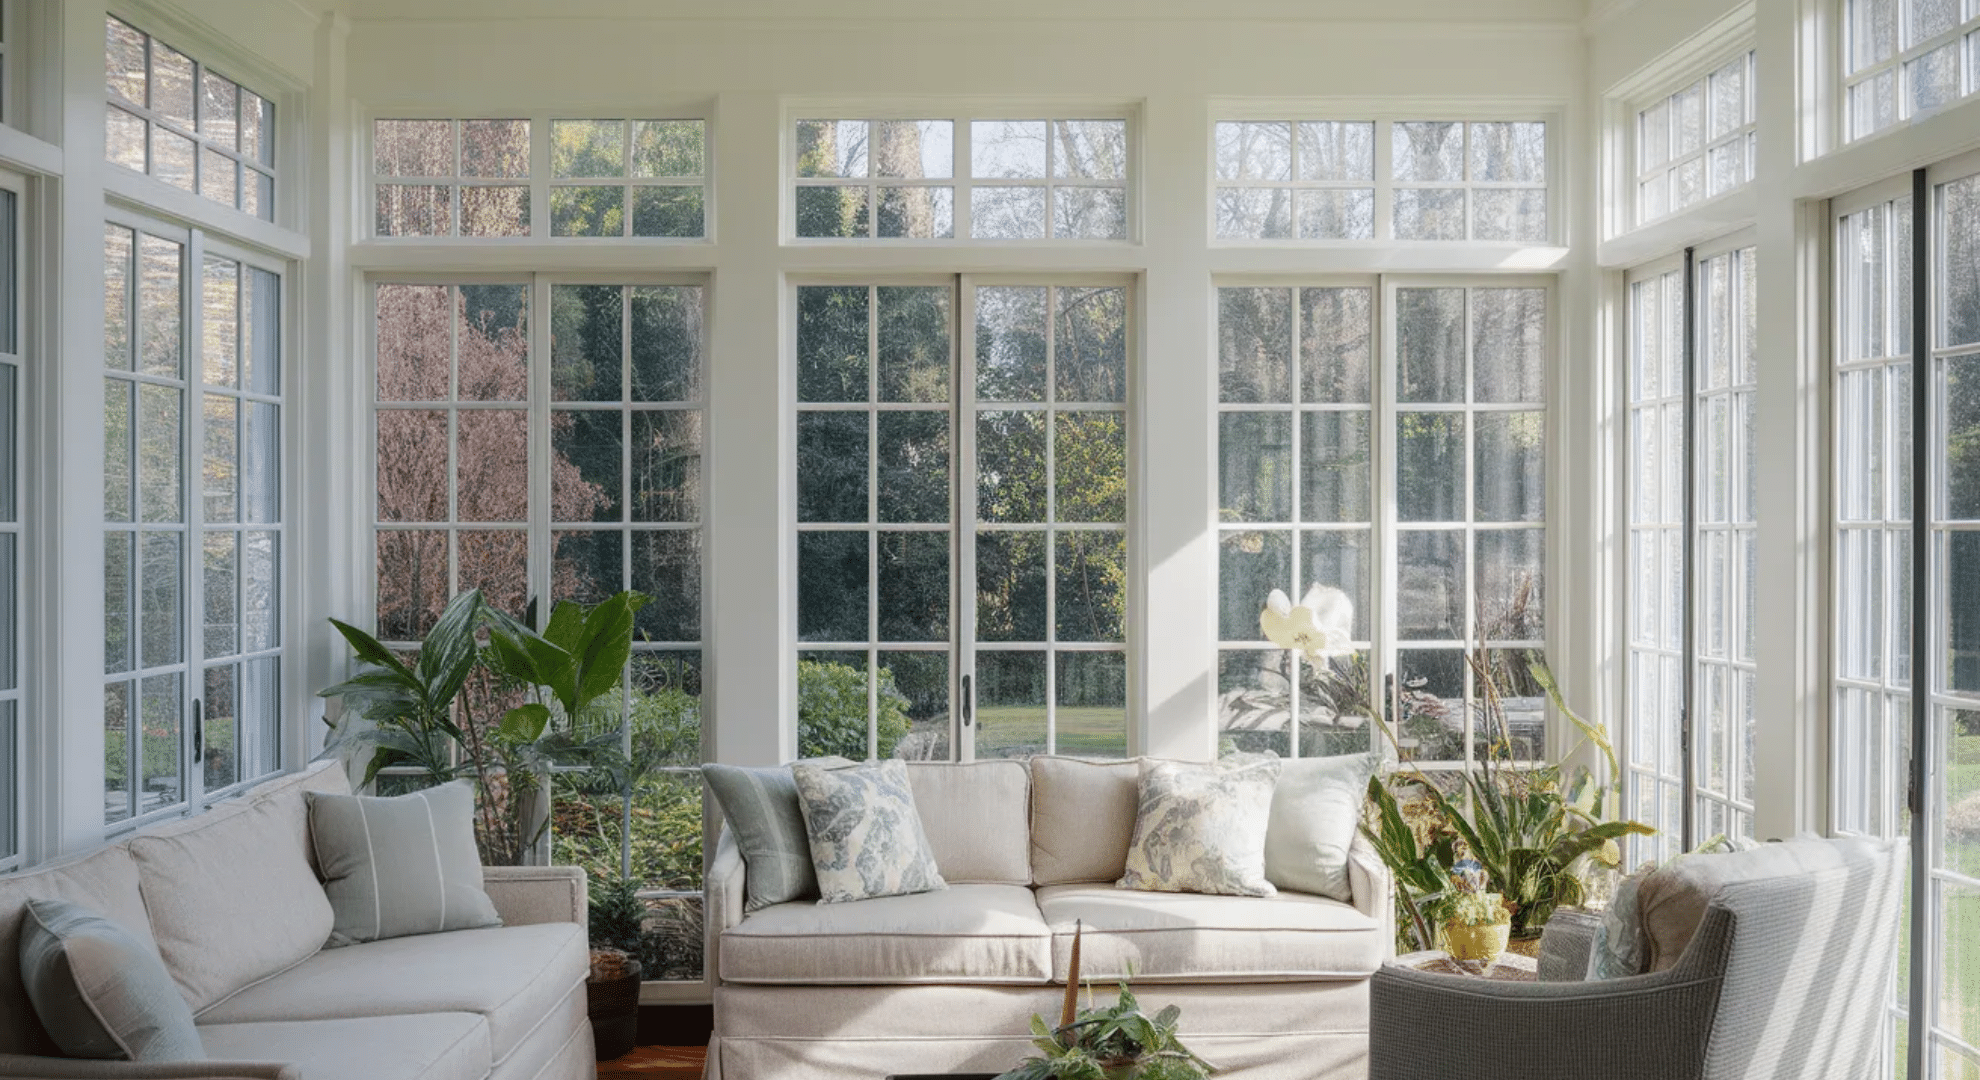
A sunroom gives you indoor space that feels outdoors. I’ve seen one added to a living room and the homeowners use it nearly every day. you’re building an addition with lots of windows, typically not heated or cooled like the main house. Basic three-season rooms start around $10,000-30,000, depending on size.
You can go cheaper with diy kits or more expensive with custom builds.
It extends your living space without the full cost of a traditional addition. You get natural light, views of your yard, and protection from bugs and weather.
21. Finished Attic with Dormer Windows
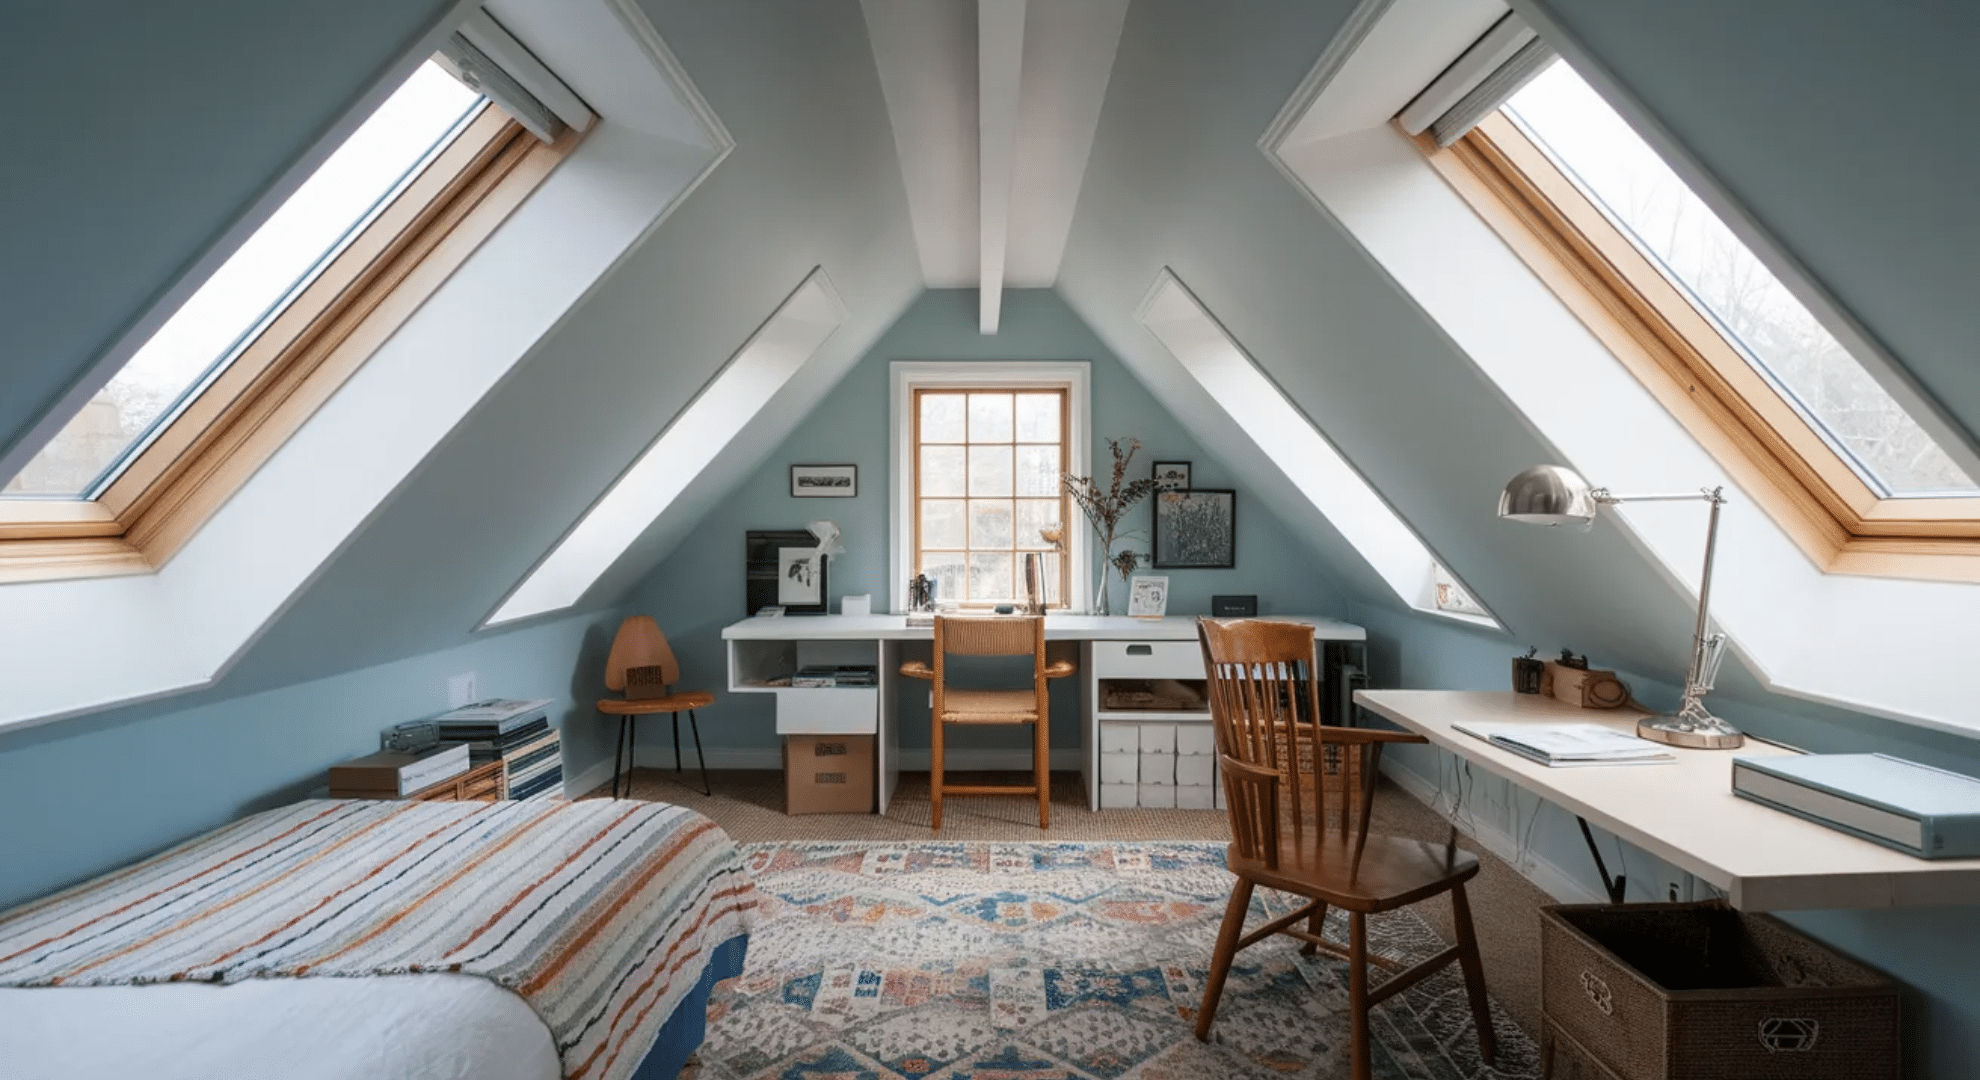
Most attics are wasted space, but finishing one gives you a whole new room. I’ve seen people create bedrooms, offices, or playrooms up there. Dormers add windows and headroom where the roof slopes down. This runs $20,000-50,000 depending on size and existing structure.
You need proper insulation, flooring, and possibly hvac extensions.
Check that your attic has enough headroom and that the floor joists can handle the load. This is one of the best ways to add square footage without expanding your home’s footprint.
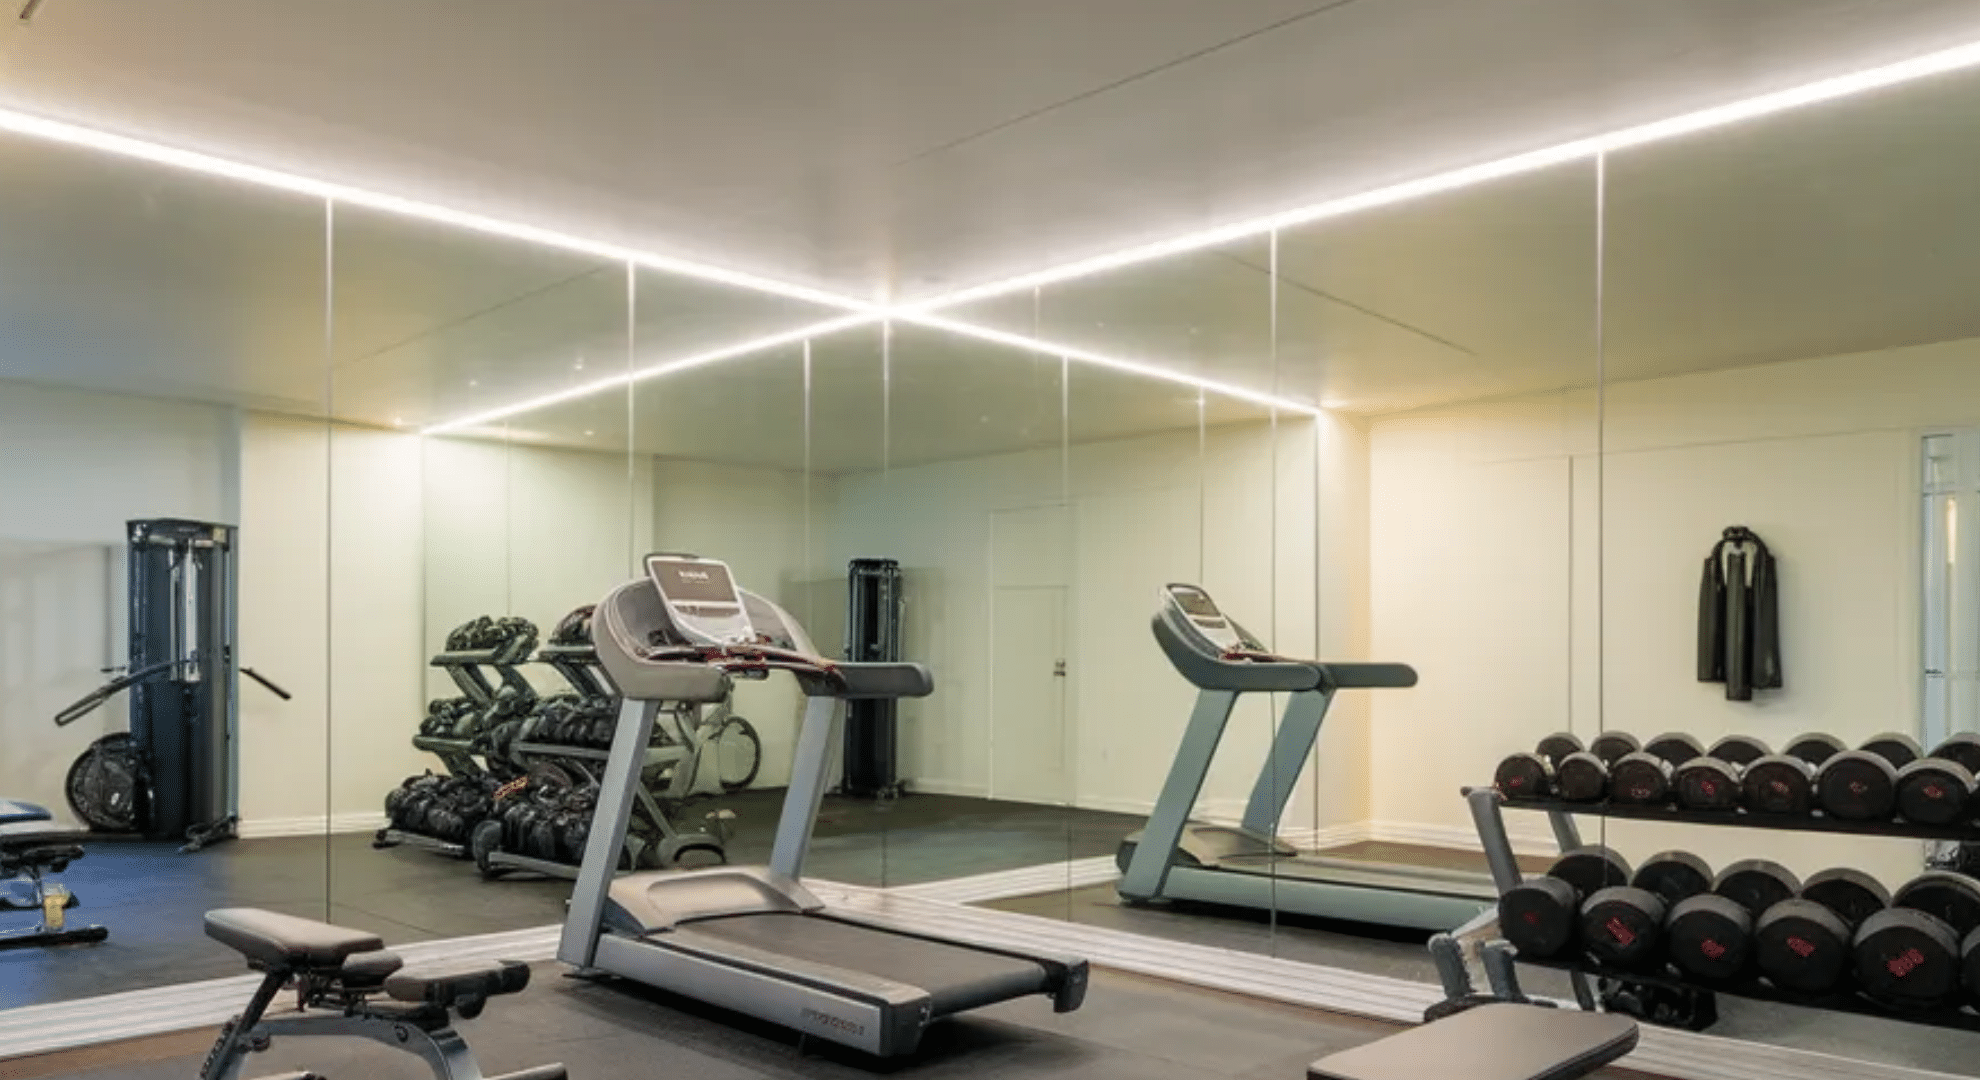
22. Home Gym or Wellness Space
Having workout space at home means you’ll actually use it.
I’ve seen someone convert part of their basement into a gym for about $2,000, including rubber flooring and equipment. You need good flooring that can handle weights and impact, rubber tiles work great.
Add mirrors, good lighting, and ventilation so it doesn’t feel like a dungeon. Dedicate at least 100 square feet if possible. This saves you gym membership costs and time driving back and forth. You can work out whenever you want without leaving home.
Hiring a Contractor vs. DIY: What’s Right for You?
I’ve done plenty of DIY projects and hired contractors for others, so I know both routes have their place. The right choice depends on the complexity of the project, your skill level, and what your time is actually worth.
| Factor | DIY | Hiring a Contractor |
|---|---|---|
| Cost | Lower upfront costs, but mistakes can get expensive | Higher labor costs, but includes expertise and warranties |
| Time | Takes longer, especially if learning as you go | Faster completion with experienced crew |
| Quality | Varies based on your skill level and patience | Professional finish with proper techniques and tools |
| Best for | Painting, demo work, simple installations, cosmetic updates | Electrical, plumbing, structural work, permits required |
| Risk | You’re responsible if something goes wrong | Contractor carries insurance and liability |
| Learning | Gain skills and knowledge for future projects | No learning curve, but you don’t build those skills |
You’ll save money doing simple cosmetic work yourself, but complex projects need professionals. If a mistake could flood your house or create a fire hazard, it’s worth hiring someone who knows what they’re doing.
How to Choose the Right Colors for Your Home Renovation
Picking paint colors shouldn’t feel like a permanent life decision, but I get why it does. Start by looking at what you already own: your furniture, rugs, and artwork.
Your colors should work with these pieces, not fight them. You want a cohesive flow throughout your home, so pick a main neutral for most rooms, then add accent colors where you want personality.
Test paint samples on your actual walls before committing.
Colors look completely different in your lighting than they do in those tiny chips at the store. I always tell people to live with samples for a few days and see them in morning light, afternoon sun, and evening lamp light.
Stick with lighter shades if you want rooms to feel bigger, and save bold colors for smaller spaces like powder rooms, where drama works.
Your colors should make you feel good every time you walk in.
Renovation Mistakes to Avoid
I’ve watched people make the same renovation mistakes over and over, and they’re all preventable. You can save yourself serious money and headaches by knowing what not to do before you start:
- Skipping the permit process: You might think you can skip permits to save time, but unpermitted work causes problems when you sell and can void your insurance if something goes wrong.
- Choosing trendy over class: That bold wallpaper or niche color might look cool now, but you’ll tire of it fast and it’ll hurt resale value down the road.
- Ignoring proper ventilation: Bathrooms and kitchens need good ventilation or you’ll deal with mold, moisture damage, and lingering smells that ruin your investment.
- Buying the cheapest materials: Budget materials wear out faster and look cheap, so you end up replacing them sooner and spending more in the long run.
- Not planning for storage: You can’t have too much storage, and skimping on cabinets, closets, or built-ins means clutter takes over your beautiful new space.
- Forgetting about lighting: One overhead light isn’t enough: you need layered lighting with task, ambient, and accent options to make rooms actually functional.
- Over-improving for your neighborhood: Spending $100,000 on renovations when neighboring homes sell for way less means you won’t recoup your investment when it’s time to sell.
- Starting without a clear budget: Going in without knowing what things actually cost leads to running out of money halfway through and living in construction chaos indefinitely.
These mistakes are easy to make when you’re excited about your project, but a little planning prevents most of them. You’ll thank yourself later for taking the time to do things right from the start.
Conclusion
I’ve walked you through home remodel ideas that won’t drain your bank account but will completely change how your space looks and feels. You’ve got practical options now, no matter if you’re tackling a quick weekend project or planning something bigger.
The best part is you don’t need to do everything at once; pick one room or one update that’ll make the biggest difference in your daily life.
Start small if you need to, test your skills, then build from there. Your home should work for you, not the other way around.
If you’re looking for more ways to upgrade your space, check out other blogs for detailed guides on specific projects and design tips that’ll help you create the home you would love to live in!