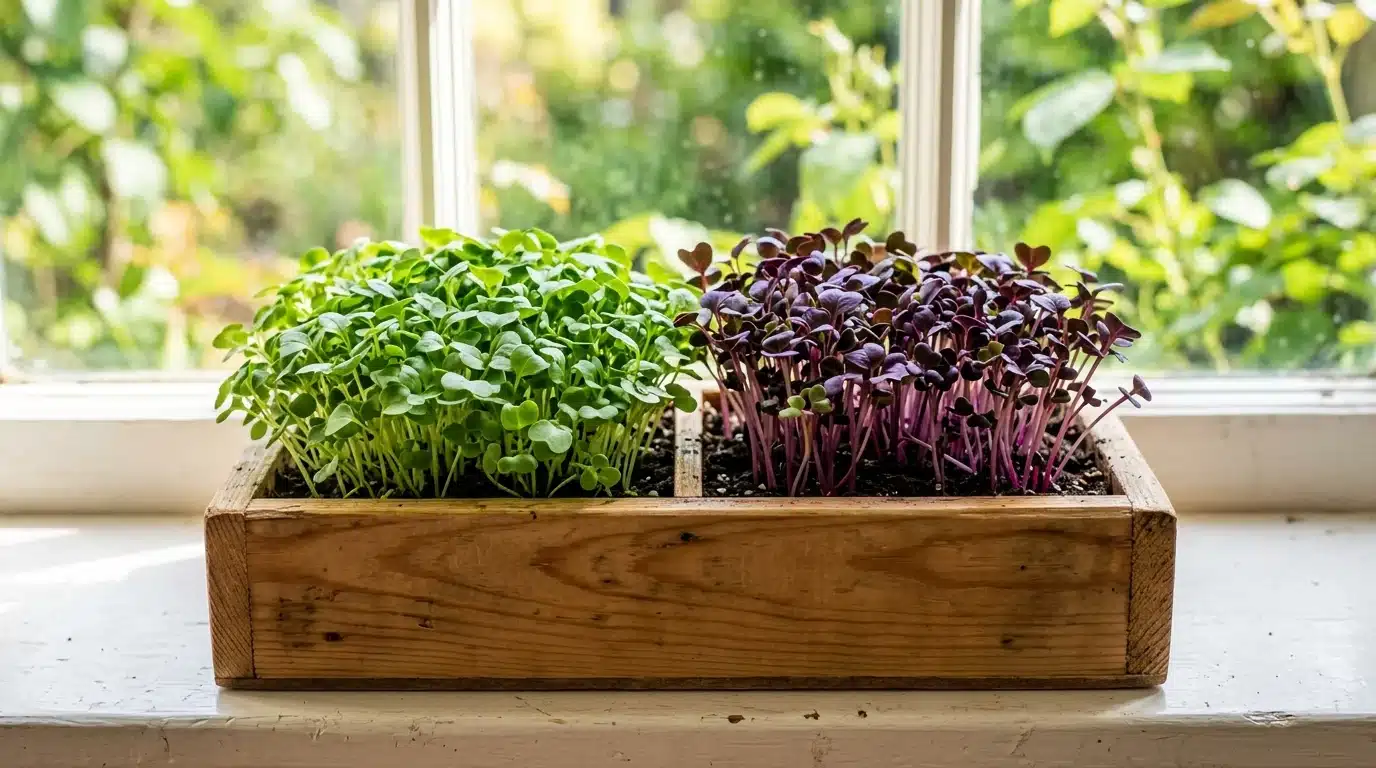
A windowsill can turn into a tiny farm in under two weeks, and that’s the magic of growing microgreens.
No backyard required. No years of trial and error either. Just a tray, some seeds, and a little patience.
Chefs value these greens for their intense flavor, and home cooks appreciate how quickly they can be served.
Growing microgreens is ideal for apartments, dorms, and busy kitchens, showing that you can grow fresh food without fields or expensive equipment.
This blog walks through everything, from picking seeds to harvesting your first tray, in the order you’ll actually do it.
Is Growing Microgreens a Good Choice?
Yes, the reasons quickly add up.
Microgreens grow in days, not months, so you get fresh greens without the wait. They pack more nutrients than mature ones, making salads and sandwiches more worthwhile. Space isn’t an issue either.
A windowsill tray works just fine, so apartments and small kitchens aren’t left out.
Costs stay low too, since seeds are cheap and setups can be as simple as a shallow container and some soil.
Add the flavor punch these tiny greens bring, showing why many home growers keep returning.
Potential Pros and Cons of Growing Microgreens
Every growth method has its compromises, and microgreens are no different.
| Pros | Cons |
|---|---|
| Harvest ready in 7-14 days | Short shelf life once cut |
| Works indoors year-round | Needs daily watering attention |
| Low risk of pests or disease | Yields are small per batch |
| Minimal equipment required | Mold can develop in humid setups |
| Easy to scale with more trays | Requires consistent light source |
| Great for kids or beginners to try | Not ideal for bulk food storage |
Choose the Right Microgreens for Your First Grow
Some seeds are more forgiving of mistakes than others, which is important when you’re still learning.
Radish and peas top the list for beginners since they sprout fast and rarely fail.
Sunflower shoots offer a nutty crunch and grow sturdy stems, making them easy to handle.
Broccoli brings a mild, peppery bite along with a reputation for being nutrient-dense.
Avoid finicky varieties like celery or leeks early on, since they demand patience most new growers haven’t built yet.
For forgiving crops beyond microgreens, low-fail starter picks include many beginner-friendly seeds. Pick one or two types first. Mastering a couple builds confidence before expanding into a wider mix.
What You Need: Growing Microgreens Indoors
Getting started requires fewer supplies than most hobbies, and here is the essential kit.
- Shallow trays or containers with drainage holes.
- Growing medium, like soil, coco coir, or hemp mats.
- A spray bottle for gentle, even watering.
- A light source, whether a sunny window or grow light.
- A cover or dome to keep humidity in during germination.
How to Prepare the Growing Tray and Growing Medium
Preparation sets the tone for everything that follows. Rinse your tray first to clear away dust or residue.
Poke drainage holes if they aren’t already there, since soggy roots invite trouble.
Fill the tray with your chosen medium, keeping the layer around one inch thick. Press it down gently to remove air pockets, but don’t pack it too tight. Level the surface with a flat edge or your palm for even coverage.
Moisten the medium before adding seeds, so it’s damp, not soaked.
This groundwork keeps roots anchored and moisture distributed evenly once growth begins.
How to Sow Microgreen Seeds Step by Step
Sowing requires patience, and paying attention to small details can lead to significant results.
Step 1: Measure Your Seeds
Weigh or measure seeds based on your tray size, since density affects how thick your harvest grows.
Too few seeds leave gaps, while too many crowd roots and invite mold. Most seed packets list recommended amounts per square inch. Follow that guide initially, then adjust based on later results.
A kitchen scale gives more accuracy than eyeballing it.
Write down your measurements too, so repeat batches turn out consistent.
Step 2: Spread Seeds Evenly
Scatter seeds across the moist medium in one smooth motion.
Avoid clumping them in one spot, since uneven spread leads to patchy growth. A gentle back-and-forth hand motion works well. Some growers use a small sieve for extra control.
Aim for full coverage without seeds stacking on top of each other.
Rotate the tray as you go to catch spots you might’ve missed.
Stand back and check from above once done. Gaps are easier to fix now than after sprouting starts.
Step 3: Press Seeds Gently
Press seeds down lightly with a flat board or your palm.
This step ensures good contact with the medium below, which helps roots take hold quickly.
Don’t push too hard, though, since compacted seeds struggle to break through. A light, even touch is all it takes here. Work in sections if your tray is large, applying steady pressure throughout.
Seeds that shift during pressing can simply be nudged back into place.
This contact step matters more than growers often realize.
Step 4: Mist and Cover
Mist the surface with water until it’s evenly damp. Place a dome or another tray on top to trap humidity.
This darkness mimics being underground, which encourages faster germination. Check moisture daily, and mist again if the surface starts drying out before sprouts appear.
Weighing the cover down slightly can help seeds maintain firm contact with the medium below.
Keep the tray somewhere warm, away from cold drafts or direct heat.
Stable temperatures speed up germination noticeably.
Step 5: Uncover and Add Light
Once you spot tiny sprouts, usually within two to four days, remove the cover.
Move the tray to your light source right away. Sudden light exposure helps stems strengthen instead of stretching thin. This shift also signals the start of the active growing phase ahead.
Rotate the tray every day or two if you’re relying on a windowsill, since seedlings bend toward light sources.
Consistent exposure for 12-16 hours daily strengthens stems and promotes fuller leaves.
The Germination Stage: What to Do After Sowing
Germination is a subtle process, and recognizing the signs is crucial.
- Keep the tray in a dim, warm spot away from direct sun.
- Maintain room temperature between 65-75°F for steady sprouting.
- Avoid overwatering, since standing water encourages rot.
- Check for a faint sour smell, a sign something’s off.
- Fluff or air out the cover briefly if condensation builds up heavily.
- Watch for tiny white or pale shoots pushing through the surface.
- Resist the urge to peek too often, since consistency matters most here.
Give Microgreens the Right Light, Temperature, and Airflow
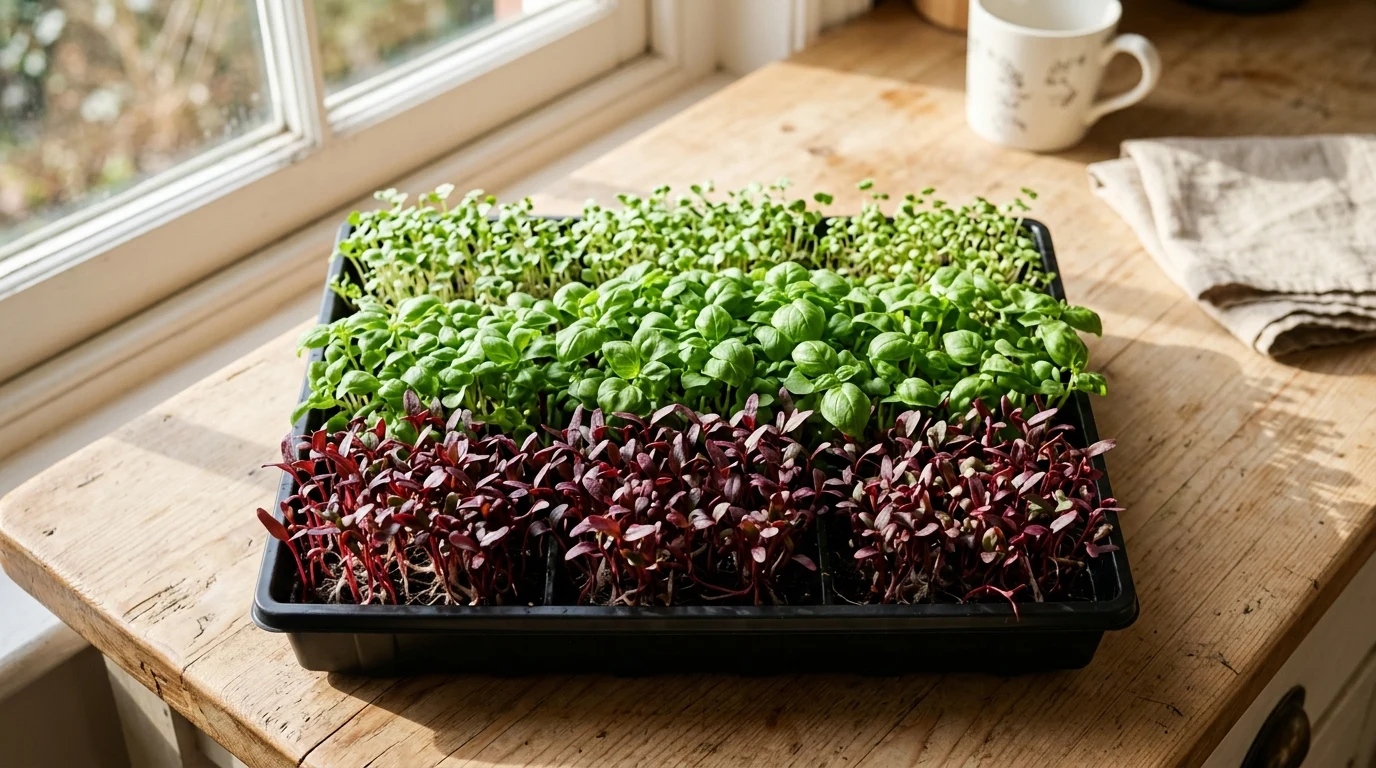
Once uncovered, greens need steady conditions to thrive.
Aim for six hours of bright, indirect light daily, or use a grow light set close overhead.
Keep the room between 60-70°F since cooler air suits mature shoots better than the warmer germination phase.
Airflow matters just as much. Stagnant air invites fungal issues, so a small fan on low, positioned nearby, keeps stems dry and strong. Crack a window occasionally too, if weather allows.
Good circulation toughens stems and naturally wards off disease.
How to Water Them Without Causing Mold or Root Problems
Bottom watering is best: pour water into the tray’s base so roots absorb it without wetting leaves.
This keeps foliage dry and mold at bay.
Water once daily, checking moisture with a light finger touch on the medium’s edge. Skip watering if it still feels damp. Avoid letting trays sit in standing water for hours, since roots need oxygen too.
Empty excess liquid promptly after each soak.
This rhythm keeps mold away while roots stay hydrated and healthy throughout the growing cycle.
How to Tell Whether Your Microgreens Are Growing Properly
Healthy microgreens show uniform height across the tray, with no bald patches or stragglers.
Leaves should look vibrant, not pale or yellowing at the edges.
Stems stay upright and firm, never limp or leggy from stretching toward weak light. A fresh, earthy scent signals things are on track. Watch growth speed too, since most varieties reach harvest size within one to two weeks.
Slow, uneven growth often points back to light, water, or airflow issues worth double-checking.
How Long Do Microgreens Take to Grow?
Timelines vary by variety, so knowing what to expect helps you plan the harvest.
- Radish and mustard greens mature in 5-7 days.
- Peas and sunflower shoots take 8-10 days.
- Broccoli and kale typically need 10-12 days.
- Basil and cilantro grow more slowly, closer to 12-16 days.
- Beet greens land in the middle, around 10-14 days.
- Temperature swings can slightly speed up or delay these windows.
- Slower-growing varieties often reward patience with deeper, richer flavor.
How to Know When Microgreens Are Ready to Harvest
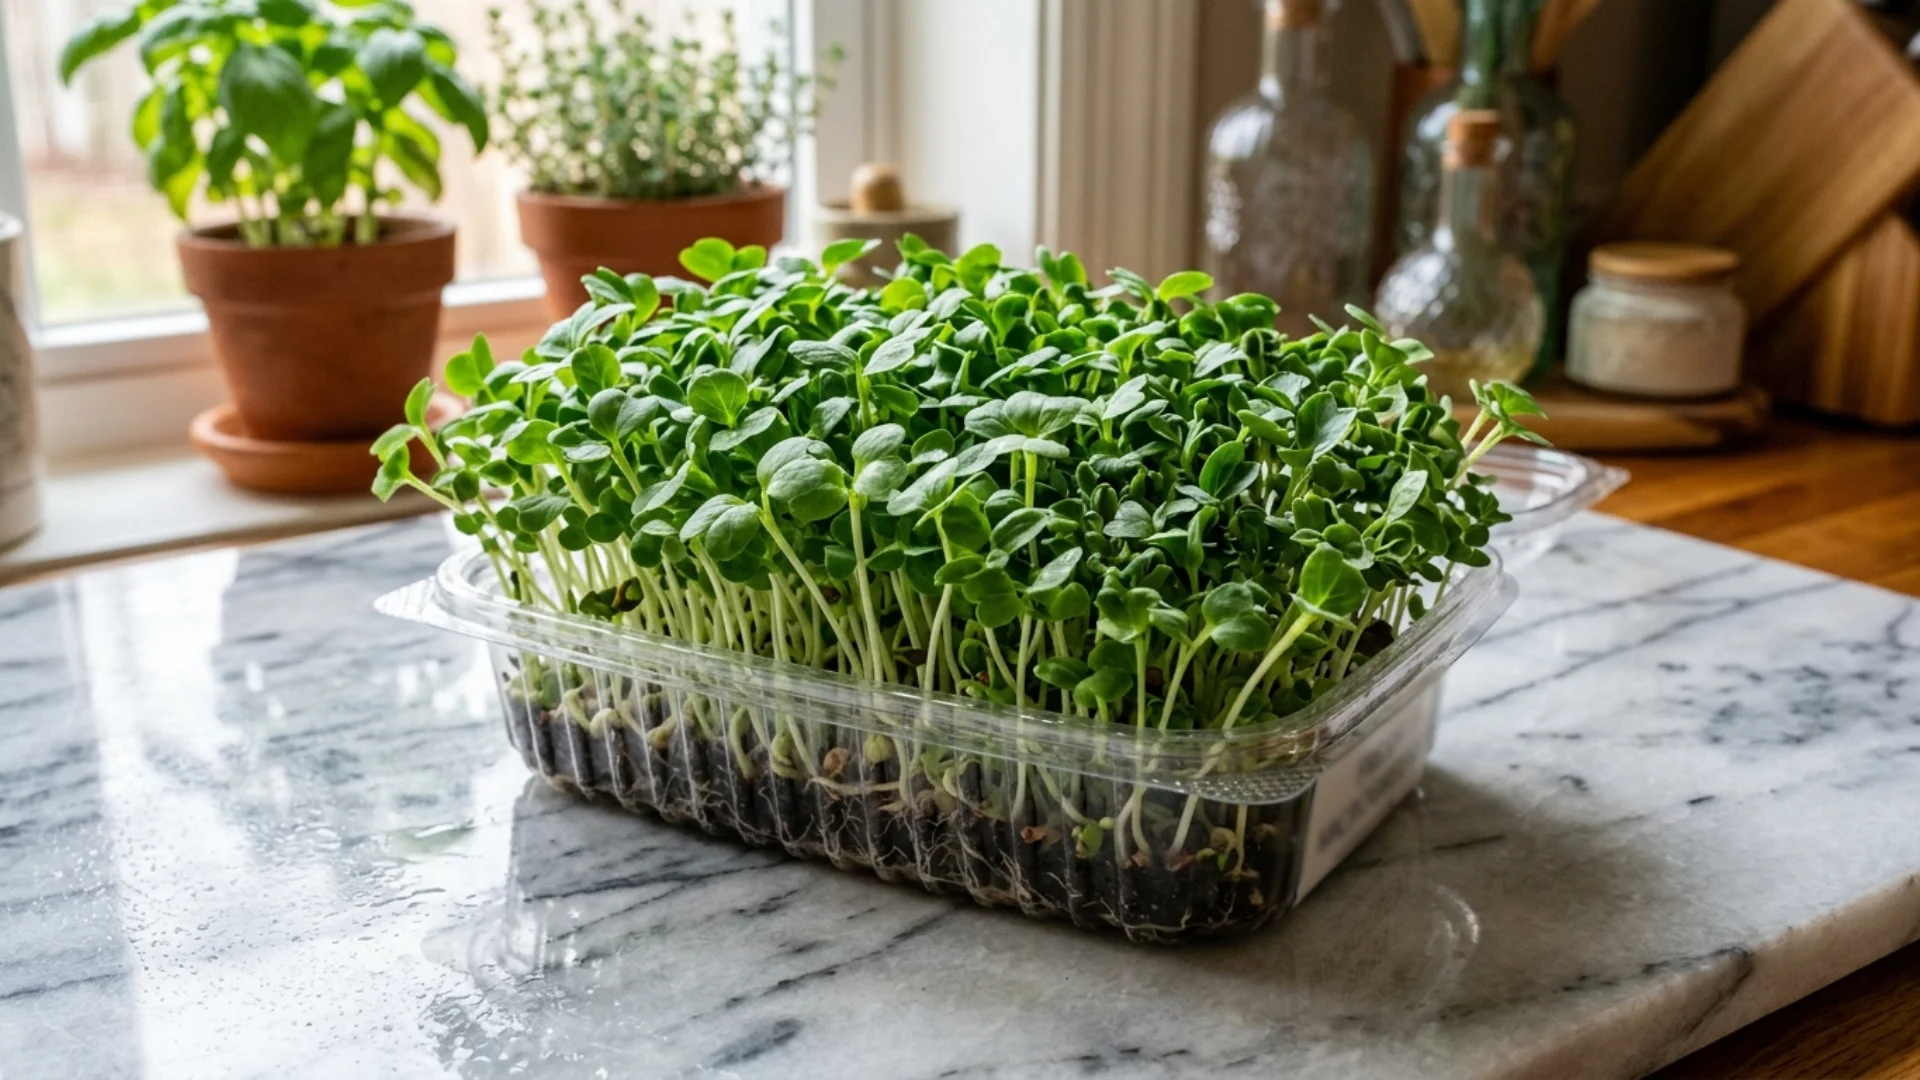
Timing hinges on appearance, not just the calendar.
Look for the first true leaves forming above the initial seed leaves, a clear sign that maturity is close.
Stems should stand tall and firm, with color looking rich rather than washed out.
Height usually settles between one and three inches, depending on variety. Harvesting too early sacrifices flavor, while waiting too long turns texture tough. Taste a few strands if unsure.
Crisp, fresh flavor confirms peak readiness, while bitterness suggests the window’s starting to close
How to Harvest Microgreens Cleanly
Use sharp, clean scissors or a knife for precision.
Cut just above the soil line, gathering small sections at a time rather than rushing through the whole tray.
Hold greens gently to avoid crushing delicate stems during the cut. Work over a clean surface or bowl to catch trimmings easily. Avoid pulling greens out by hand, since this uproots seeds and leaves debris mixed in.
A steady, even cutting motion keeps stems intact and reduces waste, resulting in tidier bunches.
How to Wash, Store, and Use Freshly Harvested Microgreens
Gently rinse greens in cold water, swishing lightly to remove loose hulls or debris.
Spin dry or pat with a towel, since excess moisture speeds up spoilage. Store in a breathable container lined with a paper towel, then refrigerate. Most varieties stay fresh for five to seven days this way.
Use them raw on sandwiches, tossed into salads, or as a garnish over soups.
Their concentrated flavor works best added last, right before serving, to preserve texture and nutrients.
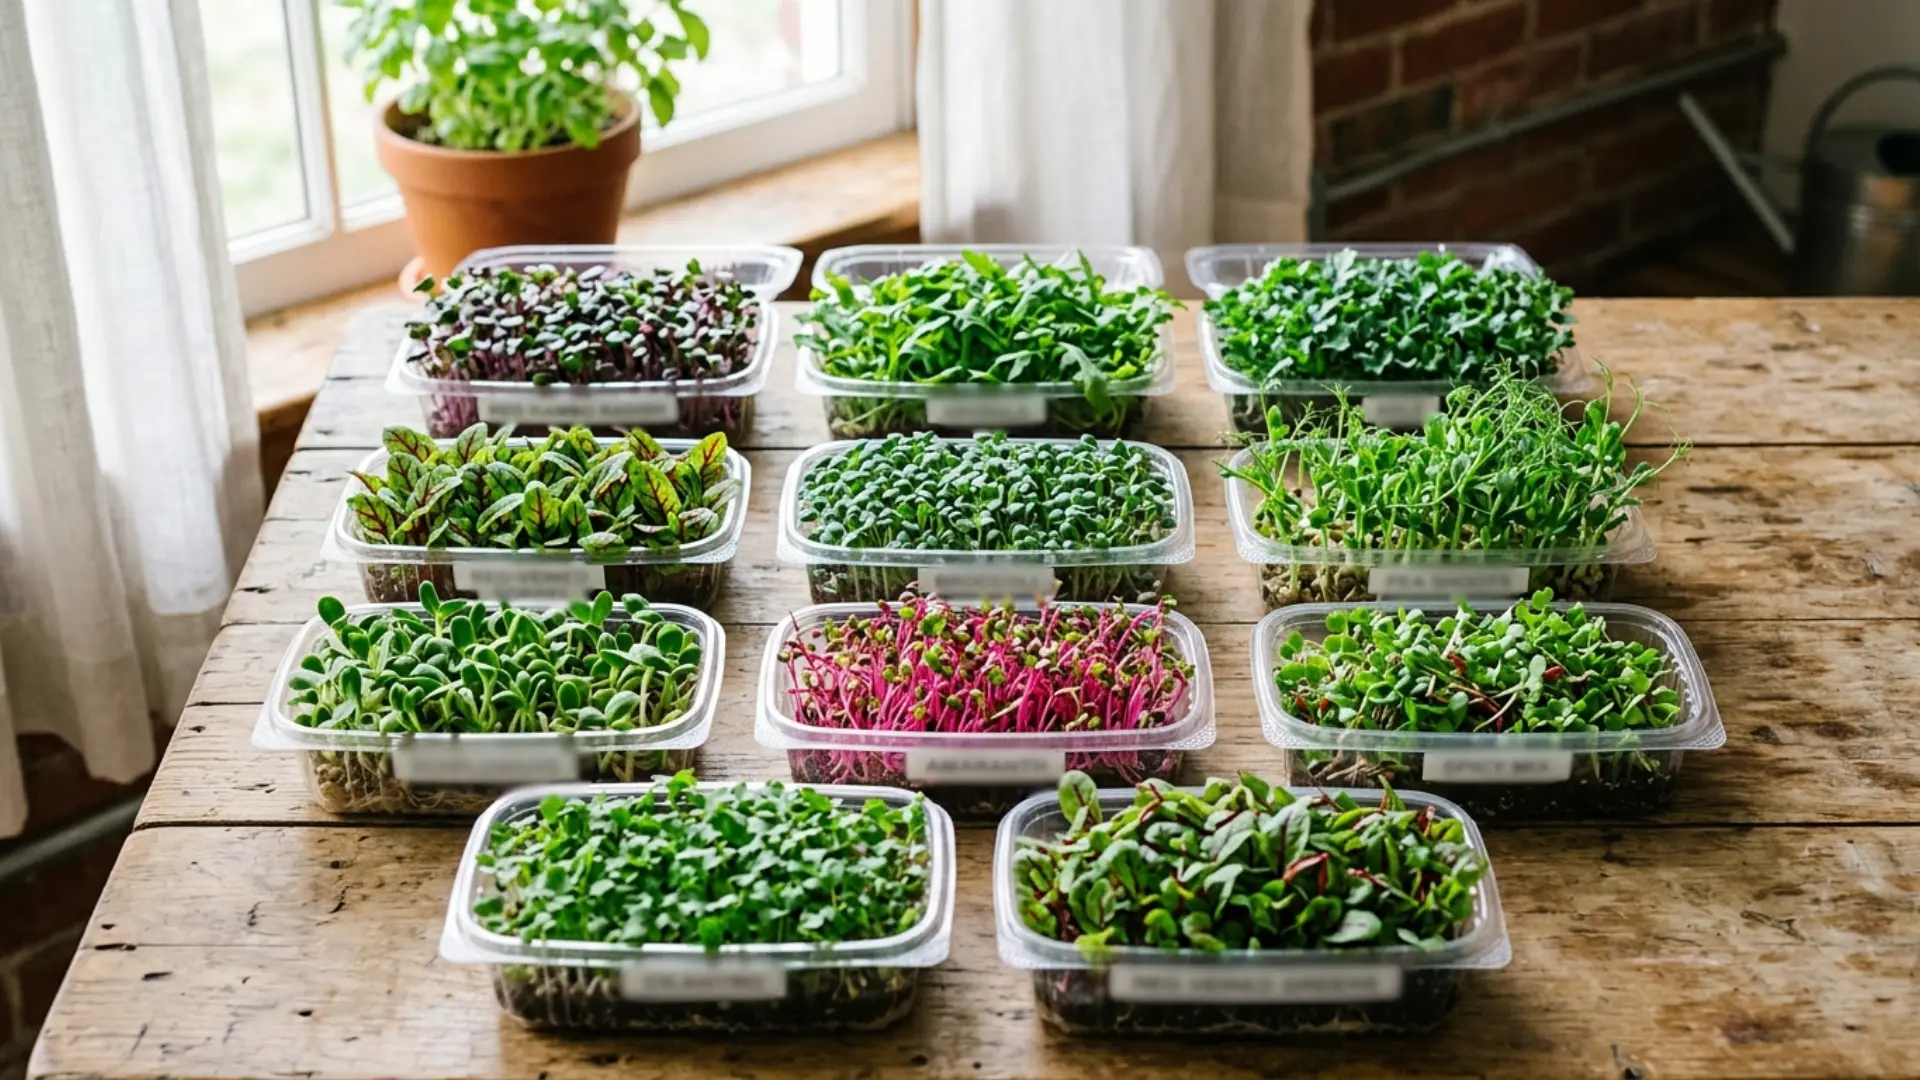
How to Grow Different Types of Microgreens Indoors
Different seeds bring different quirks, and knowing them upfront saves trial and error.
| Type | Soaking Needed | Best Medium | Growing Difficulty |
|---|---|---|---|
| Radish | No | Soil or coco coir | Easy |
| Sunflower | Yes, 8-12 hours | Soil | Easy |
| Peas | Yes, 8-12 hours | Soil or hemp mat | Easy |
| Broccoli | No | Soil | Moderate |
| Basil | No, mist only | Coco coir | Difficult |
| Beet Greens | Yes, 2-4 hours | Soil | Moderate |
| Cilantro | Yes, overnight | Soil or coco coir | Difficult |
Common Microgreen Growing Mistakes and How to Fix Them
Even careful growers slip up sometimes, and spotting mistakes early saves the whole tray.
1. Overcrowding Seeds: Packing too many seeds together chokes airflow and invites mold.
Thin out density next round; space seeds evenly across the tray for healthier, stronger growth during germination.
2. Skipping the Blackout Period: Removing covers too soon leaves seeds exposed before roots anchor properly.
Keep trays covered until sprouts appear to support sturdier stems and better germination rates overall.
3. Using Contaminated Water: Tap water with heavy chlorine can stunt delicate roots. Let water sit out overnight, or use filtered water instead, protecting sensitive seedlings from unnecessary chemical stress.
4. Ignoring Drainage: Trays without proper holes trap excess moisture, drowning roots slowly. Choose containers built for drainage, or drill holes yourself, keeping root systems healthy and oxygenated throughout.
5. Harvesting Too Late: Waiting past peak maturity turns texture bitter and tough.
Check daily once true leaves emerge, cutting promptly to preserve peak flavor and tender texture
How to Keep an Indoor Microgreen Setup Clean and Safe
Cleanliness keeps mold and pests away, so a few habits go a long way.
- Wash trays with mild soap between every grow cycle.
- Sanitize scissors or knives before each harvest session.
- Replace growing medium fully rather than reusing old batches.
- Keep the growing area free of clutter and food scraps.
- Wipe down surrounding surfaces weekly to prevent bacterial buildup.
- Store unused seeds in sealed, labeled containers away from moisture.
- Ventilate the space regularly to discourage fungal growth.
How to Grow Microgreens Continuously for a Steady Harvest
Staggering trays keeps fresh greens coming without gaps.
Start a new tray every three to four days, labeling each with the sow date to avoid mix-ups, so one batch finishes as another begins. Rotate two or three varieties at a time to distribute demand across your growing space.
Keep supplies stocked ahead of time, from seeds to fresh medium, so restarting takes minutes, not hours.
This system turns microgreens into a reliable kitchen staple rather than an occasional project.
Consistency, more than effort, keeps the cycle running smoothly.
Frequently Asked Questions (FAQ’s)
1. Do Microgreens Need Fertilizer?
No, most seeds carry enough nutrients for their short growing cycle.
2. Can I Regrow Microgreens After Cutting?
Rarely, since most varieties are cut once and don’t regenerate a second harvest.
3. Are Microgreens the Same as Sprouts?
No, sprouts are grown in water and eaten whole, including the roots.
4. Do Microgreens Need Soil to Grow?
No, mediums like coco coir or hemp mats work just as well.
5. Can I Grow Microgreens without Natural Sunlight?
Yes, a grow light positioned close overhead works fine indoors.
End Note!
Growing microgreens rewards curiosity more than experience.
Trays multiply quickly once the rhythm clicks, and kitchens start smelling like fresh greens year-round.
Small spaces stop feeling like limitations and start feeling like opportunities.
Each harvest builds confidence for the next, turning a first attempt into a lasting habit.
Grab a tray, scatter some seeds, and see how it goes. Which variety are you starting with, and what are you planting it in? Drop a comment below; we’d love to hear how your first tray turns out.