Growing blackberries from seed takes more effort than planting a young bush, but it can be a fun project if you enjoy gardening and are up for a challenge. The main thing to know is that blackberry seeds don’t sprout as quickly and need your help before they’re ready to grow.
If you learn how to prep the seeds properly and create the right conditions for germination, the process becomes much more manageable. When you finally see those first tiny sprouts appear, all that waiting will be worth it.
This guide takes you through each stage of the process.
Growing Blackberries From Seed: Step-by-Step Guide
Growing blackberries from seed is a rewarding process, but it takes patience and care. Follow this step-by-step guide to turn tiny seeds into healthy, fruitful plants.
Step 1: Extract and Clean the Seeds
First, you need to get the seeds from a fully ripe blackberry. The darker and softer the fruit, the better.
To remove the seeds, mash or lightly blend the berries with some water for a few seconds. After that, pour the mixture through a strainer. The pulp will wash away, and the seeds can be separated out. Pay attention to the seeds that sink to the bottom, as they’re the best ones.
Rinse them a few times under cool water to remove all the sticky fruit. This is important because leftover pulp on the seeds can encourage mold and fungus during storage, which will ruin your germination chances.
Once the seeds are clean, let them dry a little on a paper towel before moving to the next step.
Step 2: Cold Stratification
Blackberry seeds need to go through a cold period before germination. In nature, seeds fall to the ground in autumn, sit through winter, and sprout in spring. This process is called stratification. At home, you need to mimic this process in your fridge. Otherwise, your seeds will sit in the soil, doing nothing.
Place the cleaned seeds on a damp paper towel, fold it over, and seal everything inside a zip-lock bag or wrap it in foil. Leave it in the refrigerator for at least 4 weeks (8 to 16 weeks is better). Check on it occasionally to make sure the paper towel stays damp and doesn’t develop mold.
This cold stratification period “wakes up” the seed, and signals that winter has passed and it’s safe to grow.
Step 3: Planting the Seeds
Fill small pots or seed trays with moist, well-draining seed-starting mix. A light soil mix is best because it lets air and moisture move through more easily. Press your seeds about ¼ to ½ inch deep into the soil so they don’t struggle to push through.
Mist the surface with water and put the pots somewhere warm and bright. A sunny windowsill can work, but many gardeners get better results with a warm indoor space and steady light.
Some people also place a clear plastic bag or a cut plastic bottle over the pot to create a mini greenhouse effect. This keeps humidity levels high, but make sure there’s still a little airflow.
Step 4: Germination
For proper germination, keep the soil consistently moist but not soggy. The ideal temperature for germination is around 21°C (70°F), so a warm windowsill or a heat mat works well.
Keep in mind that blackberry seeds can take anywhere from a few weeks to a couple of months to sprout. Once you see tiny green shoots poking through, remove the plastic covering and give the seedlings plenty of indirect light.
Step 5: Transplanting Outdoors
When the seedlings are around 6 inches tall, they’re ready to move out into the garden. Early spring is the perfect time for this.
Pick a spot with full sun or partial shade. Space your plants 3 to 5 feet apart, with about 7 feet between rows to give them room to spread. Use well-draining soil mixed with compost to give roots a nutrient-rich start, and water your transplants deeply right away.
Step 6: Care, Pruning, and Harvesting
You should water the blackberry seedlings deeply once a week, especially during dry weather. It’s also important to keep weeds under control so the young plants don’t have to compete for nutrients and water. A layer of mulch can help retain moisture in the soil and keep the area around the plant base cleaner.
After a year, cut any canes that produced fruit all the way down to the ground to encourage fresh, productive growth the following season. Keep in mind that the blackberries grown from seed may not turn out exactly like the parent fruit. This is one reason many growers use cuttings or purchase plants from reputable sources, like Best Blackberry Bushes, to get the exact look and taste.
What to Expect Over Time When Growing Blackberries From Seed
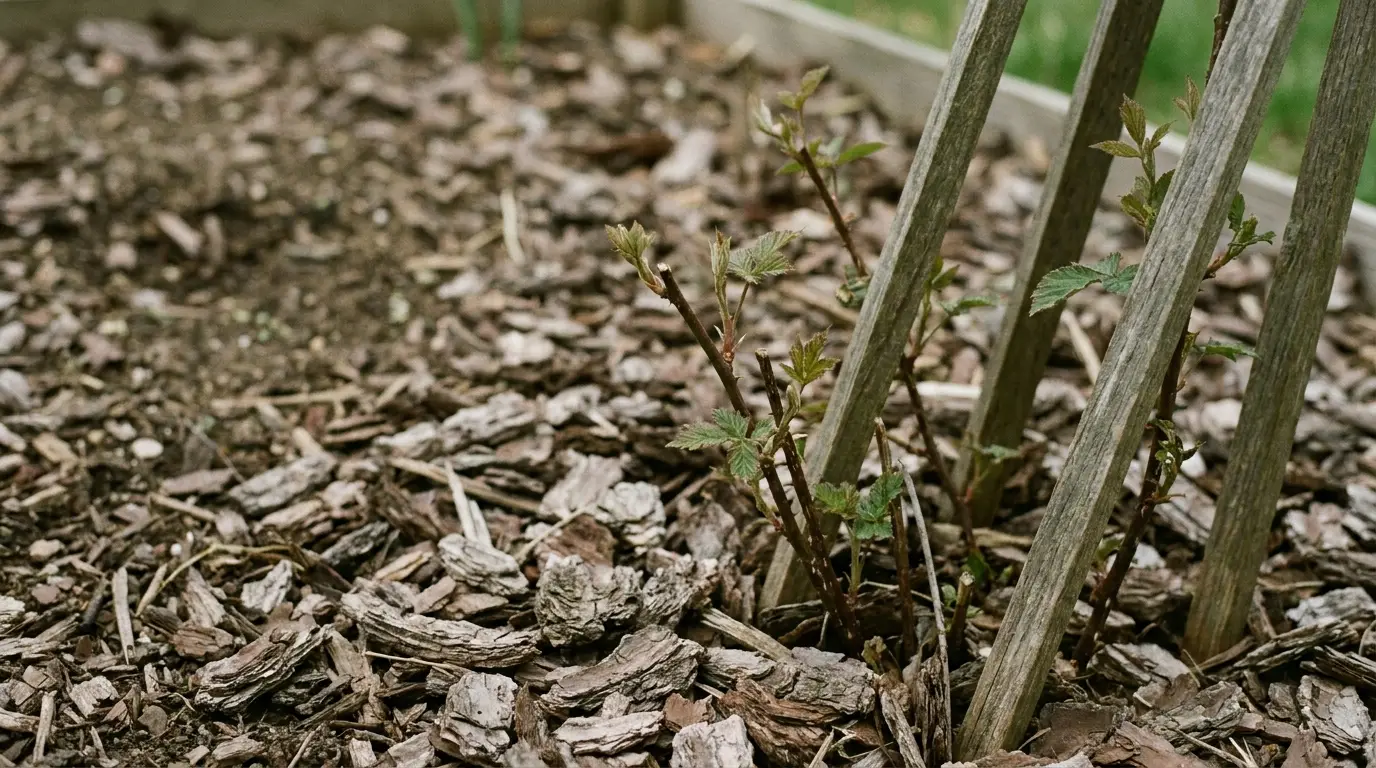
These plants need time to establish strong roots, grow healthy canes, and adjust to outdoor conditions. That means your first season may not look very exciting above the soil, but a lot is still happening.
During the first year, you’ll likely spend more time watering, mulching, and keeping weeds away than harvesting anything. In the second year, the plants should look stronger and fuller, and depending on the variety and growing conditions, you may start seeing berries in the second or third year.