There’s something deeply satisfying about rolling up your sleeves and breathing new life into your space, and DIY garage door projects have become the perfect canvas for creative homeowners.
Beyond the obvious wallet-friendly appeal of skipping professional installation costs, these projects offer that rewarding sense of accomplishment when you step back and admire your handiwork.
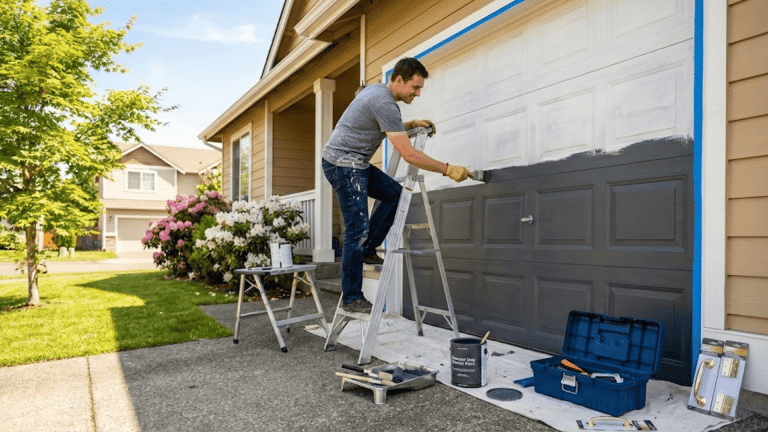
A fresh coat of paint, updated hardware, or a complete aesthetic overhaul can turn your garage door into your next beautiful makeover.
Just remember that while DIY spirit is wonderful, knowing when to call in the experts keeps everyone safe and your project successful.
Can You DIY a Garage Door?
Not all garage door projects are created equal when it comes to DIY friendliness. You can confidently tackle cosmetic updates like painting, weatherstripping replacement, or swapping out decorative hardware for a fresh new look.
Lubricating moving parts and tightening loose bolts are also perfectly safe weekend tasks.
However, anything involving torsion springs or cables should stay firmly in the professional zone. These components are under extreme tension and can cause serious injury if handled incorrectly.
The sweet spot for DIY? Appeal improvements and basic maintenance. Save the structural and spring work for licensed technicians who have the proper tools and training.
Garage Door Basics: How a Garage Door Works?
Understanding your garage door system makes any DIY project smoother and safer. At its core, a garage door operates through a balanced system of springs, tracks, rollers, and either a manual or automatic opener.
The magic happens when all these parts work in harmony to lift and lower hundreds of pounds with ease.
Key components include:
- Springs that counterbalance the door’s weight
- Tracks that guide smooth movement
- Rollers that glide along the tracks
- Cables that work with the springs
- Opener mechanism for automation
Sectional doors fold in panels as they rise, while single-panel doors swing up as one solid piece, each with distinct advantages.
Essential DIY Garage Door Parts & Hardware
Getting familiar with the right parts makes all the difference in your garage door project.
Here’s your guide to understanding the key components, what to look for, and trusted products that can help you achieve professional results right at home.
1. Garage Door Panels
Panels form the face of your garage and come in various materials to suit different needs.
Steel offers durability and low maintenance, aluminum provides lightweight rust resistance, wood delivers classic charm, and composite blends the best of both worlds with minimal upkeep.
Insulated panels help regulate temperature and reduce noise, making them ideal for attached garages or workshop spaces.
Product Suggestions:
- Clopay Insulated Garage Door Panels – Energy-efficient steel construction
- Amarr Garage Door Panels – Customizable designs with excellent insulation
- CHI Overhead Doors Panels – Durable options in multiple materials
2. Tracks & Rollers
Tracks guide your door’s movement while rollers do the actual gliding work.
Nylon rollers run quieter and require less maintenance, perfect for living spaces near the garage. Steel rollers offer superior durability for heavy-use situations.
Always verify track sizing matches your door dimensions, as compatibility issues can cause binding, uneven movement, or premature wear on your entire system.
Product Suggestions:
- Ideal Security Nylon Rollers – Whisper-quiet operation
- Dura-Lift Steel Rollers – Heavy-duty for frequent use
- Chamberlain Garage Door Rollers – Reliable performance and smooth gliding
3. Hinges & Brackets
Hinges connect door sections and are numbered based on their position, with higher numbers indicating heavier-duty requirements at stress points.
End hinges differ from center hinges in design and strength.
Reinforcement brackets add stability where the opener arm attaches, preventing panel warping or cracking over time, especially important for wider or heavier doors.
Product Suggestions:
- National Hardware Hinge Sets – Complete numbered kits
- Stanley Hardware Garage Hinges – Corrosion-resistant finish
- Everbilt Reinforcement Brackets – Added strength where needed
4. Springs
Torsion springs mount above the door and twist to lift the weight, while extension springs stretch along the tracks.
These components are under tremendous tension and are responsible for most garage door injuries.
Never attempt spring replacement yourself. Even with the door down, springs store dangerous amounts of energy that require specialized tools and expertise to handle safely.
For spring issues, contact a licensed professional rather than attempting DIY replacement for your safety.
5. Cables, Drums & Bearings
Cables work alongside springs to lift your door smoothly, winding around drums at each side.
Frayed cables, unwound drums, or grinding bearings signal it’s time for attention. Look for visible wire breaks, rust spots, or loose cable tension.
While some homeowners tackle cable replacement, this still involves spring tension and risk. Bearings can be lubricated during maintenance to extend their lifespan.
Product Suggestions:
- Prime-Line Cables & Drums – Quality replacement hardware
- Garage Door Stuff Cable Kits – Complete sets with drums
Choosing High-Quality, USA-Made Garage Door Parts
Quality matters when it comes to garage door components that handle hundreds of pounds daily. Investing in well-made parts ensures safety, longevity, and smoother operation for years to come.
| Factor | What to Look For | Why It Matters |
|---|---|---|
| USA Manufacturing | “Made in USA” labels, domestic certifications | Stricter quality control, better warranties, and responsive support |
| Steel Quality | Cold-rolled steel, 25-gauge minimum, galvanized finish | Superior strength, corrosion resistance, and longer lifespan |
| Warranties & Certifications | Lifetime warranties, UL listings, DASMA certified | Manufacturer accountability, proven safety standards |
| Spotting Low-Quality Imports | Suspiciously low prices, vague labels, thin materials | Prone to rust, breakage, and safety failures |
Note: Look for products certified by DASMA (Door & Access Systems Manufacturers Association) and UL (Underwriters Laboratories) to ensure rigorous safety standards.
Tools Needed for DIY Garage Door Projects
Having the right tools on hand makes your garage door project safer and more efficient. Here’s everything you’ll need to tackle most DIY-friendly tasks with confidence.
Basic Hand Tools:
- Socket wrench set with various sizes for bolts and nuts
- Adjustable wrench for quick adjustments
- Screwdrivers (flathead and Phillips) in multiple sizes
- Pliers (needle-nose and standard grip)
- Hammer for gentle persuasion when needed
- Level to ensure proper alignment
- Tape measure for accurate spacing
- C-clamps or locking pliers to secure the door
- Utility knife for cutting weatherstripping
Power Tools (Optional but Helpful):
- Cordless drill with bit set for faster installation
- Impact driver for stubborn bolts
- Orbital sander for refinishing panels
- Paint sprayer for smooth, professional finishes
Safety Gear Checklist:
- Safety glasses to protect from debris and dust
- Work gloves with a good grip
- Sturdy closed-toe shoes or steel-toed boots
- Dust mask or respirator when sanding or painting
- Ear protection if using loud power tools
- Ladder rated for your weight plus tools
Gathering these essentials before you start saves time and frustration mid-project. Most importantly, never skip the safety gear; protecting yourself is just as important as perfecting your garage door upgrade.
Common DIY Garage Door Repairs
Ready to tackle some hands-on fixes? These beginner-friendly repairs can solve common issues and improve your garage door’s performance without calling in the pros.
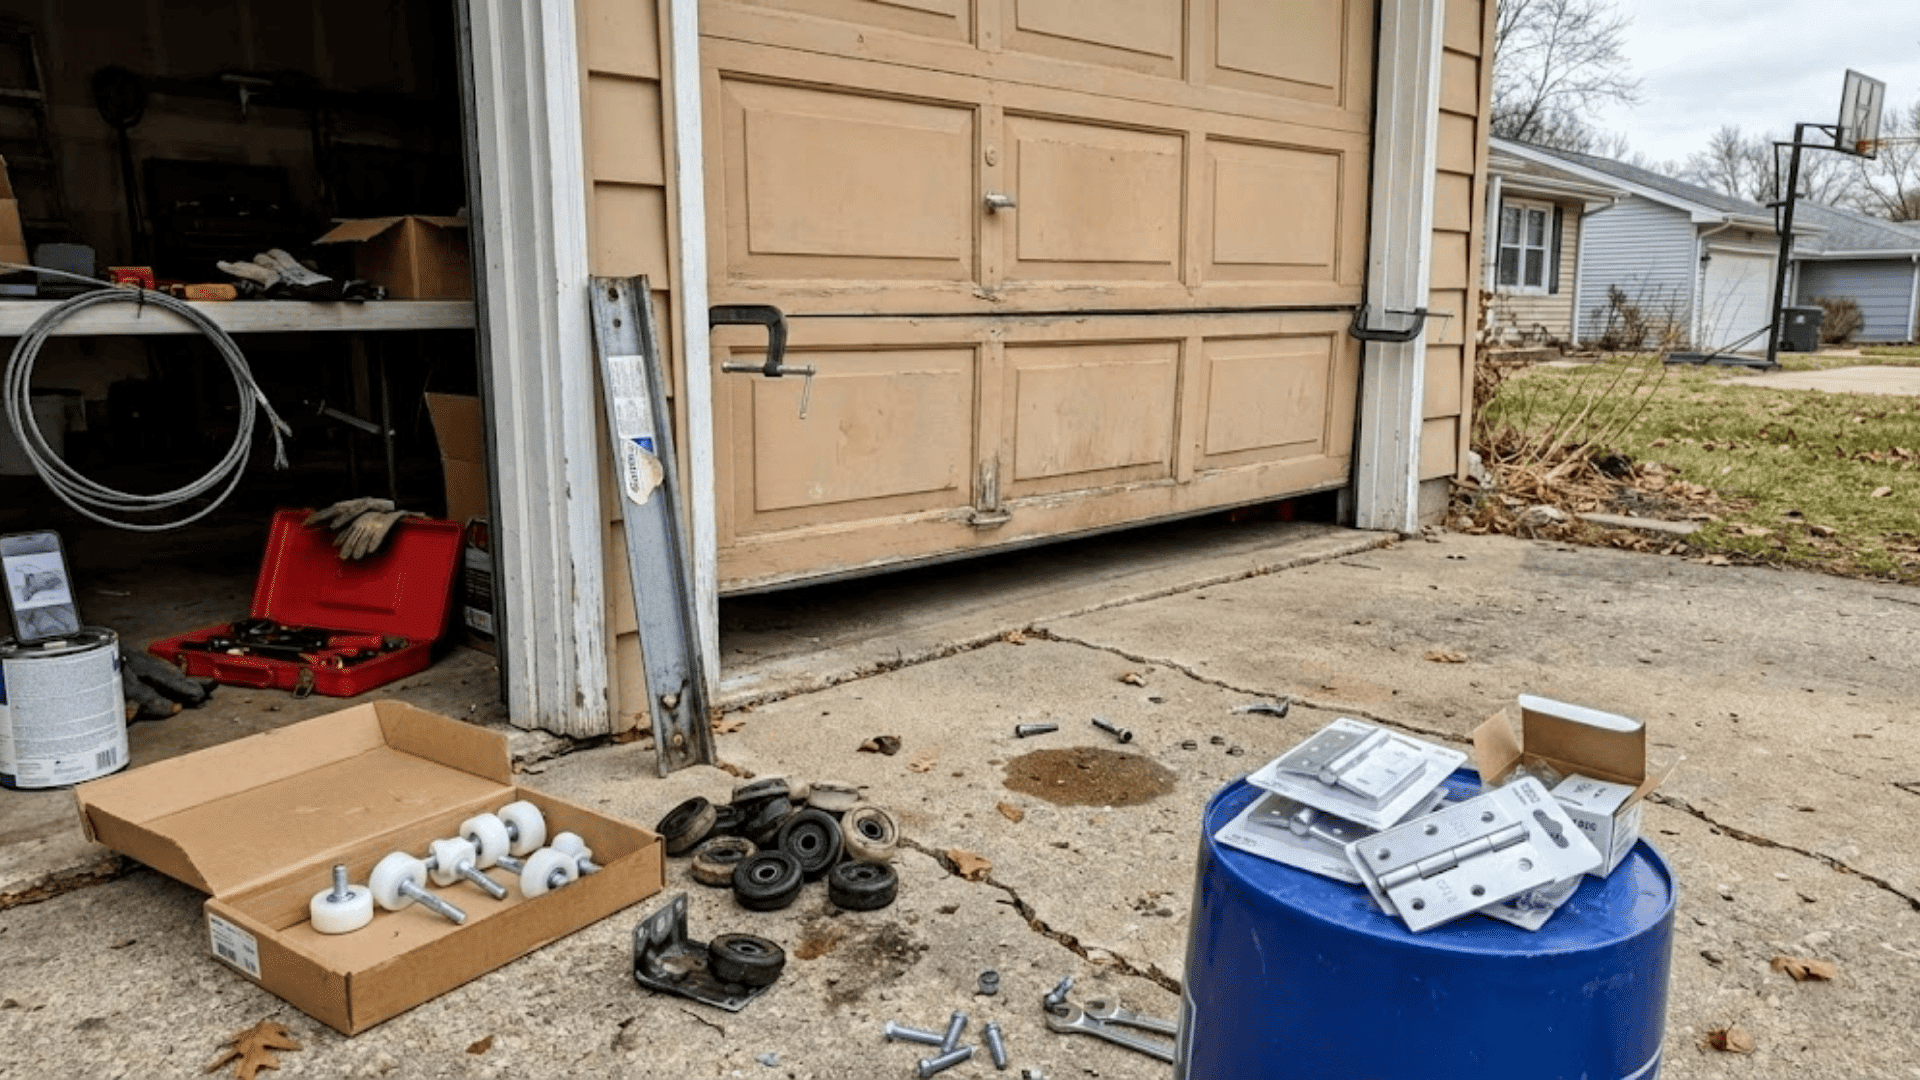
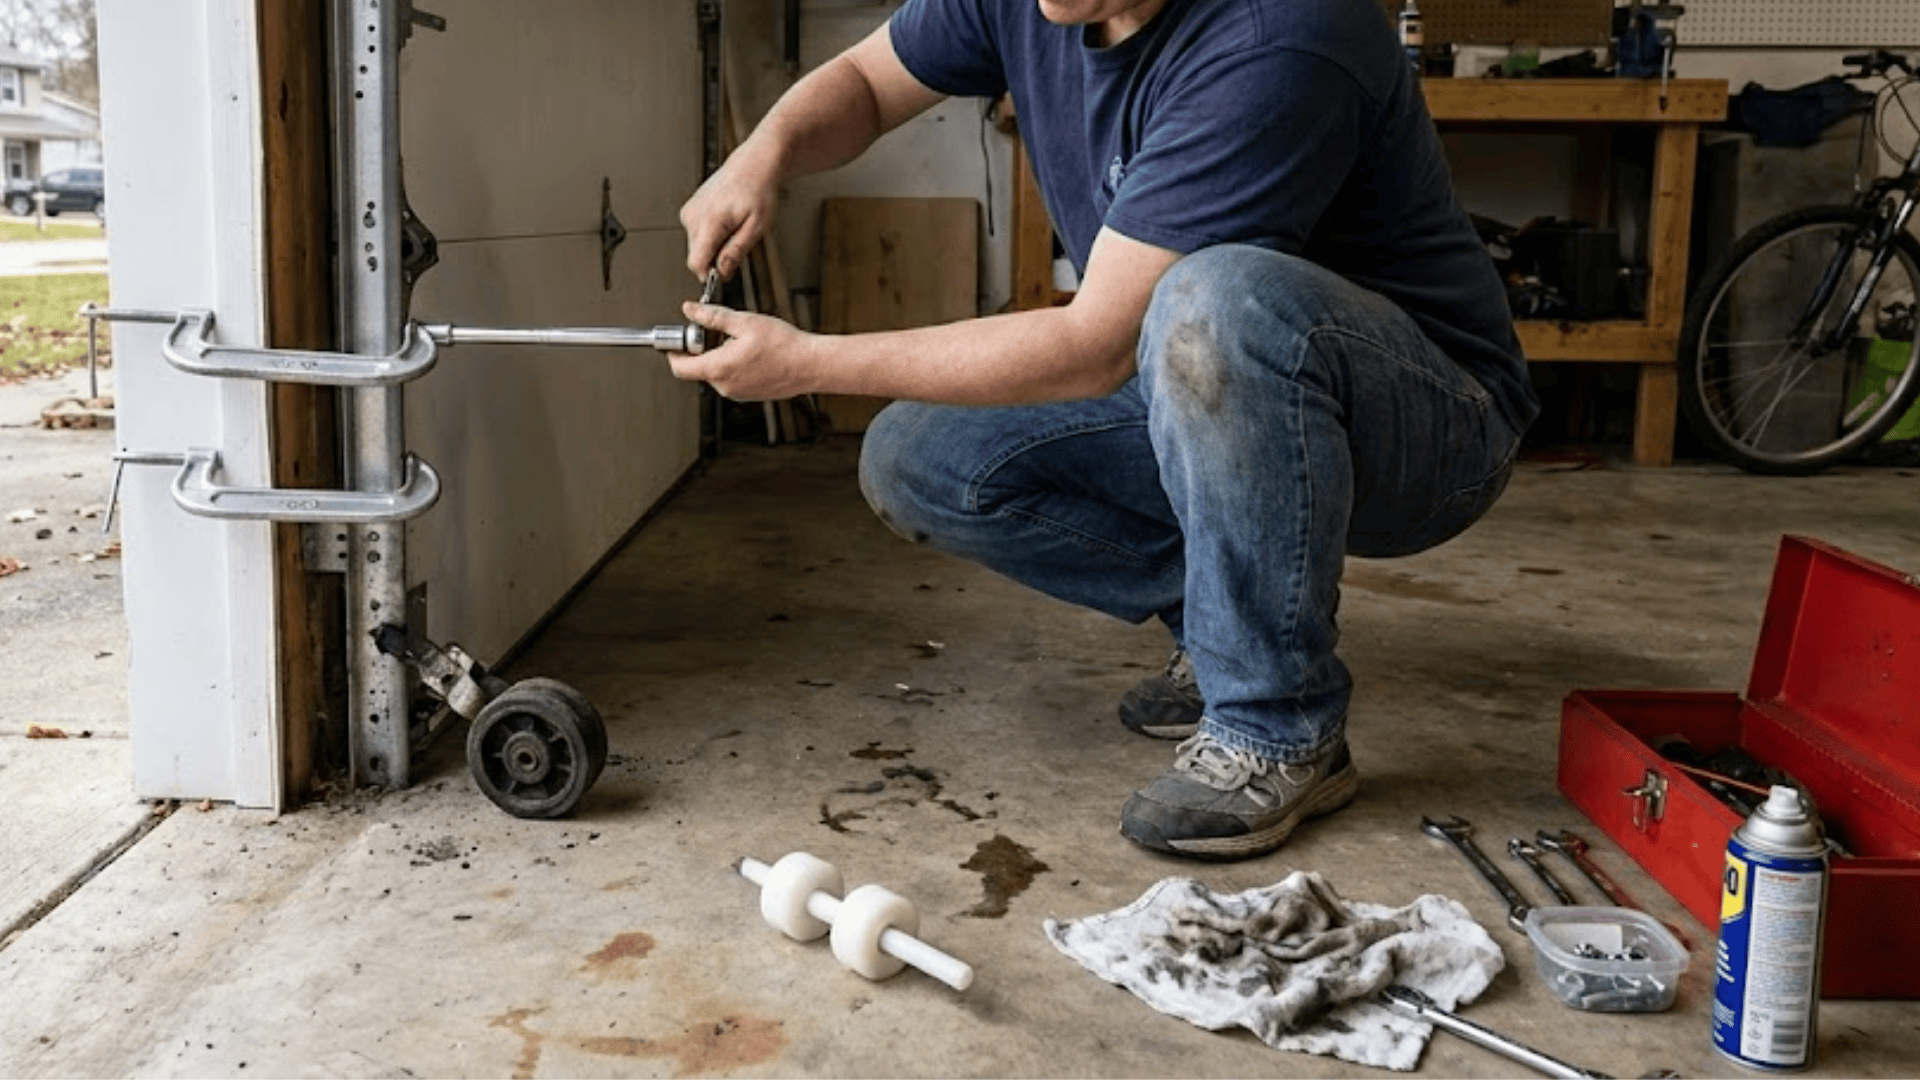
1. Replacing Garage Door Rollers
Difficulty Level: Easy to Moderate | Time Estimate: 1-2 hours
- Step 1: Secure the door in the open position using C-clamps on the tracks below the bottom roller to prevent movement.
- Step 2: Loosen the hinge bolts on either side of the roller you’re replacing, but don’t remove them completely.
- Step 3: Slide out the old roller and insert the new one into the hinge bracket.
- Step 4: Tighten the hinge bolts back to their original tension, ensuring everything stays aligned.
- Step 5: Repeat for each worn roller, then test the door’s movement for smooth, quiet operation.
2. Replacing Hinges & Brackets
Difficulty Level: Moderate | Time Estimate: 1-2 hours
- Step 1: Match hinge numbers exactly; they’re stamped on the hinge and indicate position and weight rating for your specific door.
- Step 2: Secure the door open and support the section you’re working on to prevent sagging during replacement.
- Step 3: Remove the old hinge bolts one at a time, replacing each immediately to maintain panel alignment.
- Step 4: Install the new hinge in the exact same position, checking that panels remain flush and properly spaced.
- Step 5: Tighten all bolts evenly and test the door balance before removing the supports.
3. Replacing Weatherstripping
Difficulty Level: Easy | Time Estimate: 30 minutes to 1 hour
- Step 1: Choose between bottom seals that slide into a track and perimeter seals that stick or nail to the door frame.
- Step 2: Remove old weatherstripping by pulling it from the track or carefully prying away adhesive strips.
- Step 3: Clean all surfaces thoroughly with soap and water, removing dirt and old adhesive residue.
- Step 4: Measure and cut new weatherstripping to length, then install by sliding it into the tracks or pressing it firmly into place.
- Step 5: Test the seal by closing the door and checking for light gaps; proper sealing boosts energy efficiency and keeps out pests.
4. Track Alignment Adjustments
Difficulty Level: Easy to Moderate | Time Estimate: 30 minutes to 1 hour
- Step 1: Watch for symptoms like binding, uneven movement, gaps between rollers and tracks, or scraping noises during operation.
- Step 2: Check track plumbness with a level; vertical tracks should be perfectly straight, and horizontal tracks slightly angled toward the back.
- Step 3: Loosen the mounting brackets slightly without removing them completely so the tracks can shift into the proper position.
- Step 4: Gently tap tracks into alignment using a rubber mallet, then verify with your level before tightening brackets.
- Step 5: Run the door through several cycles to confirm smooth operation without binding or unusual sounds.
DIY Garage Door Installation Basics
Installing a garage door yourself is one of the most challenging DIY projects, but with patience and careful planning, it’s achievable for experienced hands.
Here’s your roadmap to understanding the installation process.
| Installation Phase | Key Steps | Critical Tips |
|---|---|---|
| Preparing the Opening | Measure height and width, check for square corners, and inspect framing | Opening must be perfectly square to prevent binding and uneven wear |
| Installing Tracks and Panels | Mount vertical tracks, install the bottom panel first, and add panels upward with rollers | Keep each panel level to avoid compounding misalignment |
| Adding Hardware | Attach hinges between sections, mount horizontal tracks, and connect brackets | Match hinge numbers to positions per manufacturer specs |
| Final Alignment | Verify track alignment, check door balance, and test operation cycles | Never adjust springs; it requires professional expertise for safety |
Critical Safety Note: While panel and track installation can be DIY-friendly, spring installation and tensioning should always be handled by licensed professionals due to extreme tension and serious injury risk.
Safety Tips for DIY Garage Door Work
Staying safe during your garage door project protects you from serious injury and ensures successful results. Keep these essential guidelines in mind before, during, and after your work.
- Never attempt spring work; extreme tension can cause severe injuries or death and requires professional expertise.
- Secure the door with C-clamps before working, and always lift heavy panels with a helper using proper technique.
- Wear safety glasses, work gloves, and sturdy footwear to protect against debris and sharp edges.
- Keep hands clear of pinch points between panels, hinges, and tracks during movement.
- Call a professional for springs, cables under tension, structural damage, or when uncertain about any step.
Your safety is more important than any project timeline or budget. When in doubt, pause and consult a licensed technician who can assess the situation properly and keep you out of harm’s way.
DIY Garage Door Cost Breakdown
Understanding the financial side of your garage door project helps you make informed decisions about what to tackle yourself and where professional help makes sense.
Here’s a realistic look at the numbers.
| Cost Category | DIY Estimate | Professional Estimate | Notes |
|---|---|---|---|
| Basic Parts (Rollers, Hinges, Hardware) |
$50 – $200 | $150 – $400 | DIY saves on labor but requires your time and tools |
| Weatherstripping & Seals | $20 – $60 | $80 – $150 | Simple installation makes this highly DIY-friendly |
| Track Alignment & Adjustments | $0 – $50 | $100 – $200 | DIY costs only the tools you may already own |
| Full Door Installation (Single Car) |
$400 – $800 | $800 – $1,500 | Does not include spring installation; add $200-$400 for pro spring work |
| Full Door Installation (Double Car) |
$600 – $1,200 | $1,200 – $2,500 | Professional installation includes a warranty and proper tensioning |
| Annual Maintenance | $20 – $50 | $100 – $150 | DIY lubrication and inspection saves significantly over time |
Long-Term Value: DIY cosmetic upgrades save hundreds yearly but professional installation ensures safety and warranties. The best approach merges DIY for simple tasks and professional help for complex jobs, balancing savings and safety.
Final Thoughts
Your DIY garage door project doesn’t have to be overwhelming when you focus on the right projects.
Start with simple upgrades like weatherstripping or roller replacements, and you’ll gain confidence while saving money along the way.
Remember that the smartest approach balances your skills with professional expertise for anything involving springs or complex installations.
Every successful project brings you closer to a garage door that looks better, works smoother, and reflects your personal touch.
What’s your next DIY garage door project? Share your plans, questions, or success stories in the comments below; we’d love to hear about your experience!