Yes, you absolutely can paint treated wood, but jumping straight to the brush is where most people go wrong.
Treated wood is chemically preserved to resist moisture, rot, and insects, which makes it incredibly durable outdoors but also a little stubborn when it comes to accepting paint.
Decks, fences, and outdoor furniture all benefit from a fresh coat of color, yet the process asks for a bit more patience compared to regular wood.
Get the timing and preparation right, and your results will be stunning.
What is Pressure-Treated Wood?
Pressure-treated wood goes through a process where preservatives are deeply infused into the wood fibers, making it highly resistant to rot, insects, and moisture.
That’s exactly what makes it such a popular choice for outdoor projects. But those same chemicals that protect the wood also create a surface that doesn’t take paint as willingly.
On top of that, freshly treated wood carries high moisture content, which causes paint to bubble, peel, or simply refuse to stick.
Understanding this upfront saves you a lot of frustration later down the line.
Can You Paint Pressure-Treated Wood?
Painting pressure-treated wood is completely doable, but it requires patience more than anything else. The condition of the wood on day one matters far more than the paint you choose.
Yes, But Timing is Everything
The wood needs to be fully dry before a single drop of paint touches it. Freshly treated lumber holds a significant amount of moisture, and painting over it too soon means the paint has nothing solid to grip onto.
Let it dry and cure completely, and you’ll have a surface that actually holds color beautifully.
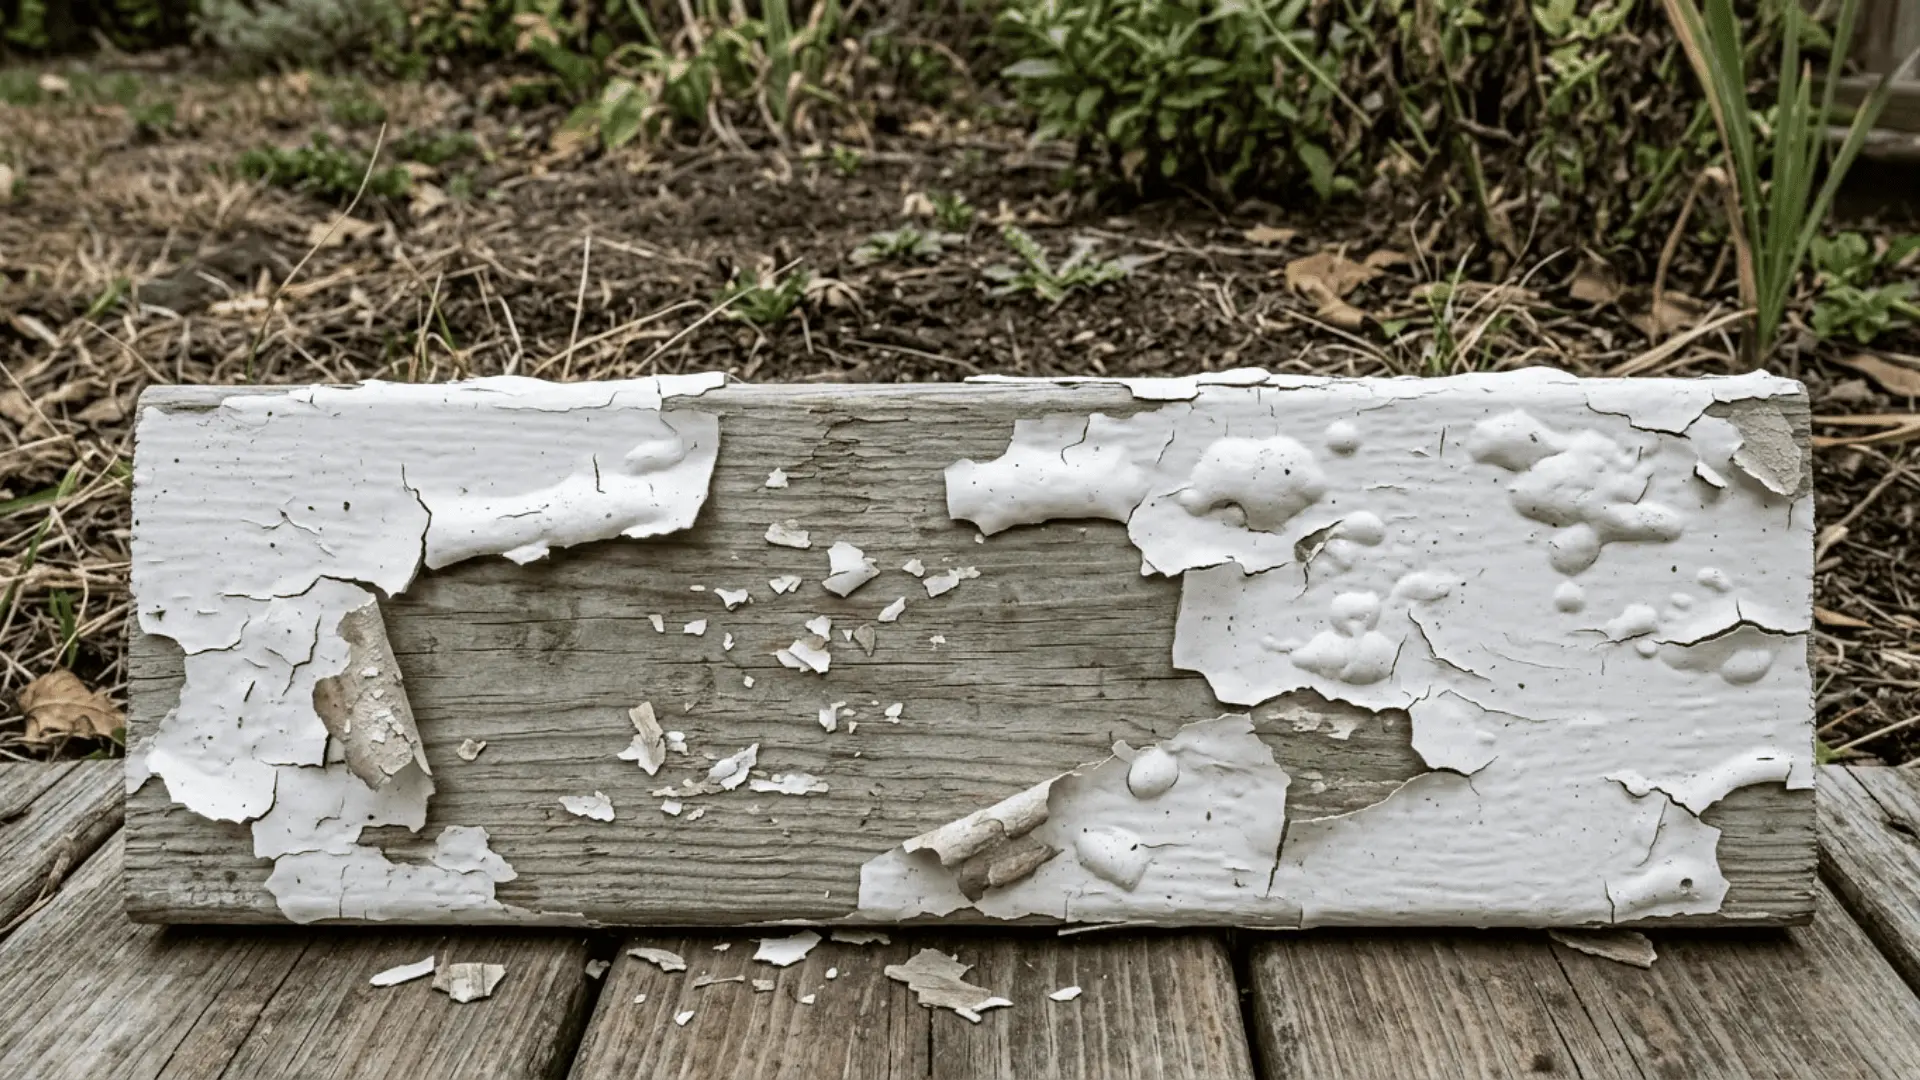
What Happens When You Paint Too Soon?
Skipping the drying phase leads to a frustrating list of problems:
- Paint peels away within weeks of application
- Bubbling and blistering appear across the surface
- Adhesion fails, leaving patchy, uneven coverage
- The wood’s natural moisture pushes the paint film right off
- Touch-ups become a never-ending cycle with no real fix
How Long Should You Wait Before Painting Treated Wood?
Rushing this part is the most common mistake, and it’s also the easiest one to avoid. Giving the wood enough time to dry fully is what separates a lasting paint job from one that fails within a season.
Typical Drying Time
The waiting period depends largely on how the wood was treated and dried. Standard pressure-treated lumber typically needs several months to release its moisture content fully before it’s ready for paint.
Kiln-dried treated wood, however, goes through a drying process during manufacturing, which means it’s ready for painting considerably sooner than freshly treated alternatives.
How to Tell If the Wood is Ready?
Rather than guessing, let the wood tell you when it’s time:
- Sprinkle a few drops of water on the surface; if it absorbs quickly, the wood is ready.
- If water beads up and sits on top, moisture is still trapped inside.
- Look for a uniform, lighter color across the surface with no dark or damp patches.
- Run your hand across the grain; it should feel dry and slightly rough, not cool or damp.
- When in doubt, wait a little longer rather than risk a failed paint job.
Painting vs. Staining Treated Wood
Both options work beautifully on treated wood, but they serve different needs and deliver different results. Knowing what each one offers helps you make a choice you’ll actually be happy with long-term.
| Factor | Painting | Staining |
|---|---|---|
| Coverage | Hides the wood completely | Lets the natural grain show through |
| UV Protection | Acts as a shield against sun damage | Offers moderate sun resistance |
| Peeling | Prone to peeling as it ages | Fades gracefully without peeling |
| Reapplication | Repaints every few years | Needs refreshing more frequently |
| Finish Feel | Clean, polished, paint-like | Warm, natural, wood-forward |
| Penetration | Sits on top of the surface | Soaks into the wood fibers |
| Ideal Pick | When you want a bold, solid color | When you want to honor the wood |
Best Paint for Treated Wood
Treated wood lives outdoors, so the paint protecting it needs to be just as tough.
Exterior-grade paint is non-negotiable since it’s built to handle rain, UV exposure, and the natural expansion and contraction wood goes through with changing temperatures. It flexes with the wood instead of cracking against it.
When it comes to the best types to reach for:
- Sherwin-Williams Emerald Exterior Acrylic Latex is the top choice, offering premium flexibility, excellent adhesion, and long-lasting weather resistance.
- Benjamin Moore Regal Select Exterior delivers exceptional durability with advanced alkyd technology, ideal for high-traffic surfaces.
- Behr Premium Advanced DeckOver works particularly well for horizontal surfaces like decks, concealing cracks while creating a slip-resistant, waterproof finish.
Do You Need Primer for Treated Wood?
Skipping primer on treated wood is one of those shortcuts that always comes back to bite.
Primer is strongly recommended before painting, as it creates a bonding layer between the wood’s chemical-heavy surface and the paint. Without it, even the best exterior paint struggles to grip properly.
When it comes to choosing the right one:
| Primer Type | Best For | Drying Time | Works With |
|---|---|---|---|
| Exterior Bonding Primer | Sealing treated wood before any topcoat | 1–2 hours | Latex & oil-based paints |
| Water-Based Latex Primer | Treated wood with high moisture content | 30–60 mins | Exterior latex paint |
| Oil-Based Primer | Older or heavily weathered treated surfaces | 4–8 hours | Oil-based & alkyd paints |
Step-by-Step: How to Paint Treated Wood?
Getting the process right matters just as much as choosing the right paint. Follow these steps in order, and the results will speak for themselves.
Step 1: Let the Wood Dry and Clean the Surface
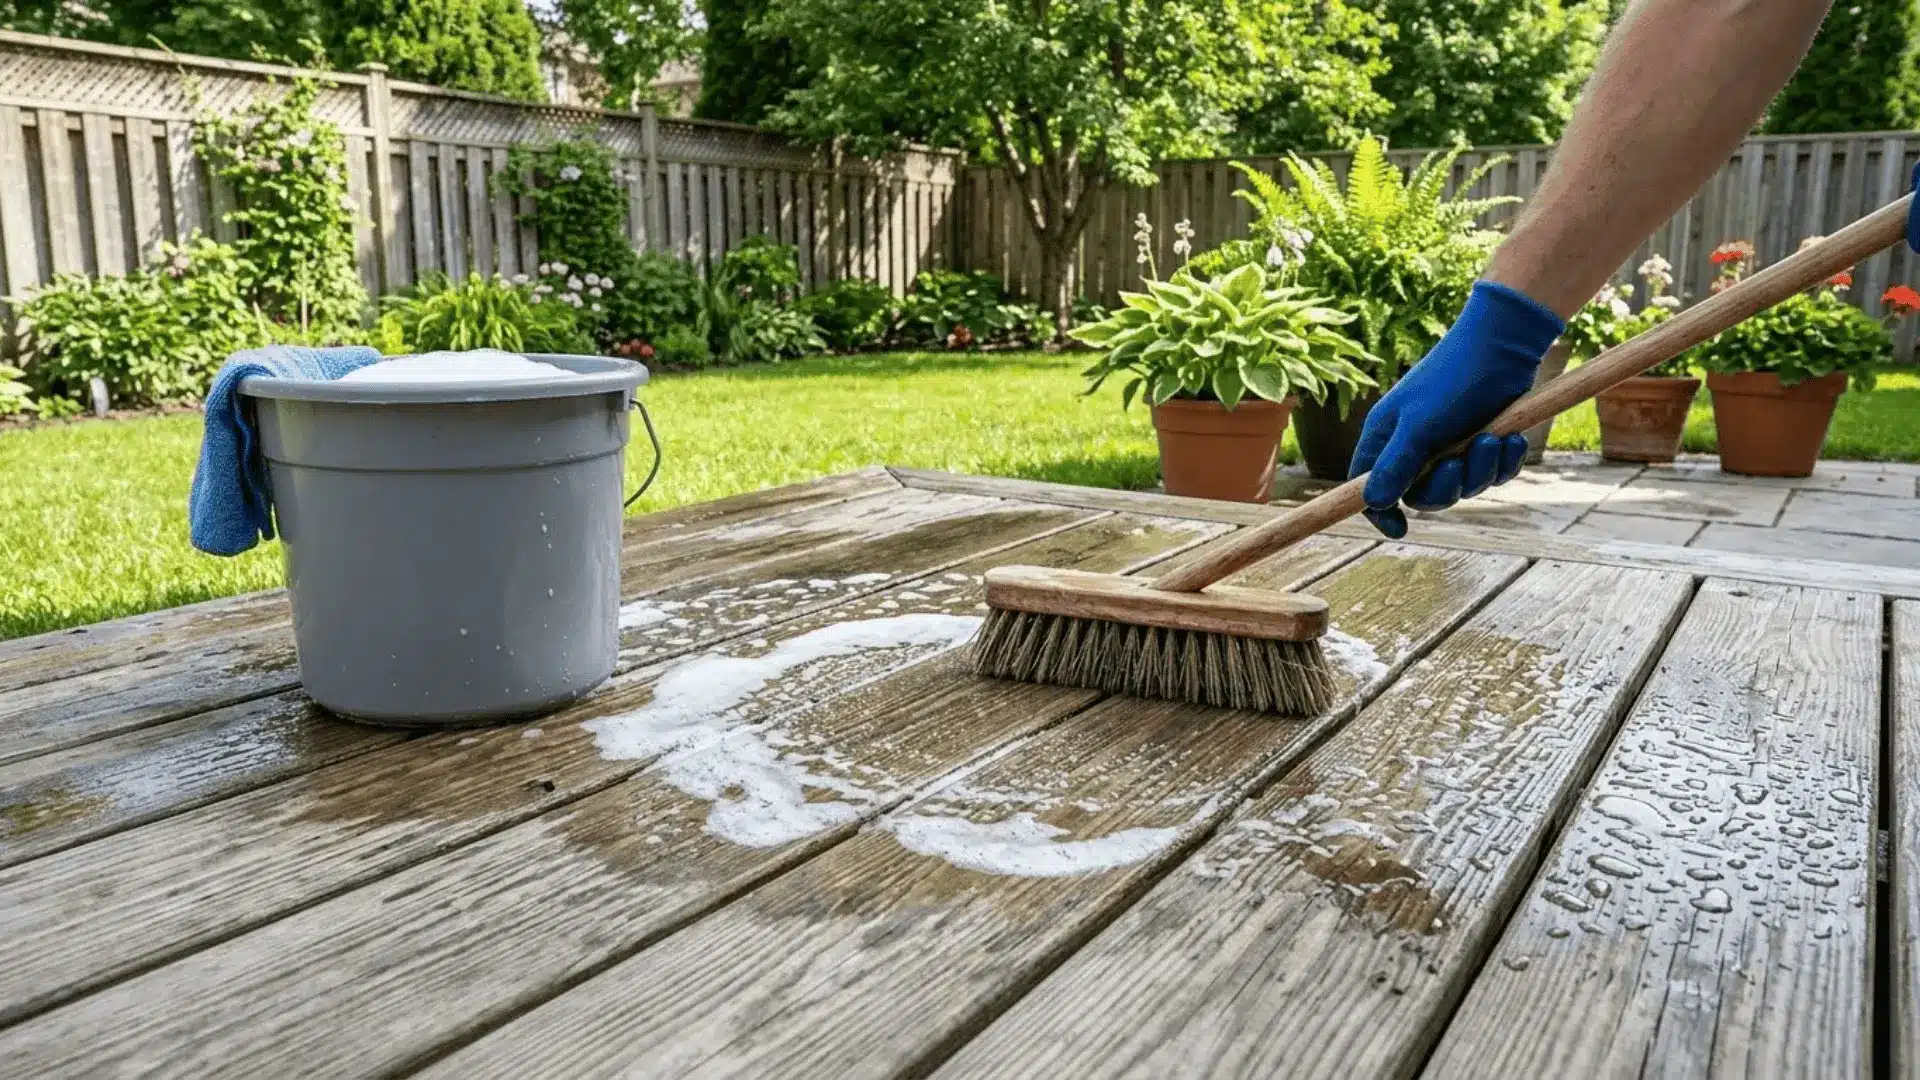
Before anything touches the wood, it needs to be dry and debris-free. Wait until moisture levels are low enough to pass the water bead test, then wash the surface thoroughly with a wood cleaner to remove dirt, mildew, and buildup.
Painting over a damp or dirty surface is where most projects go wrong, so take this step seriously.
Step 2: Sand the Wood
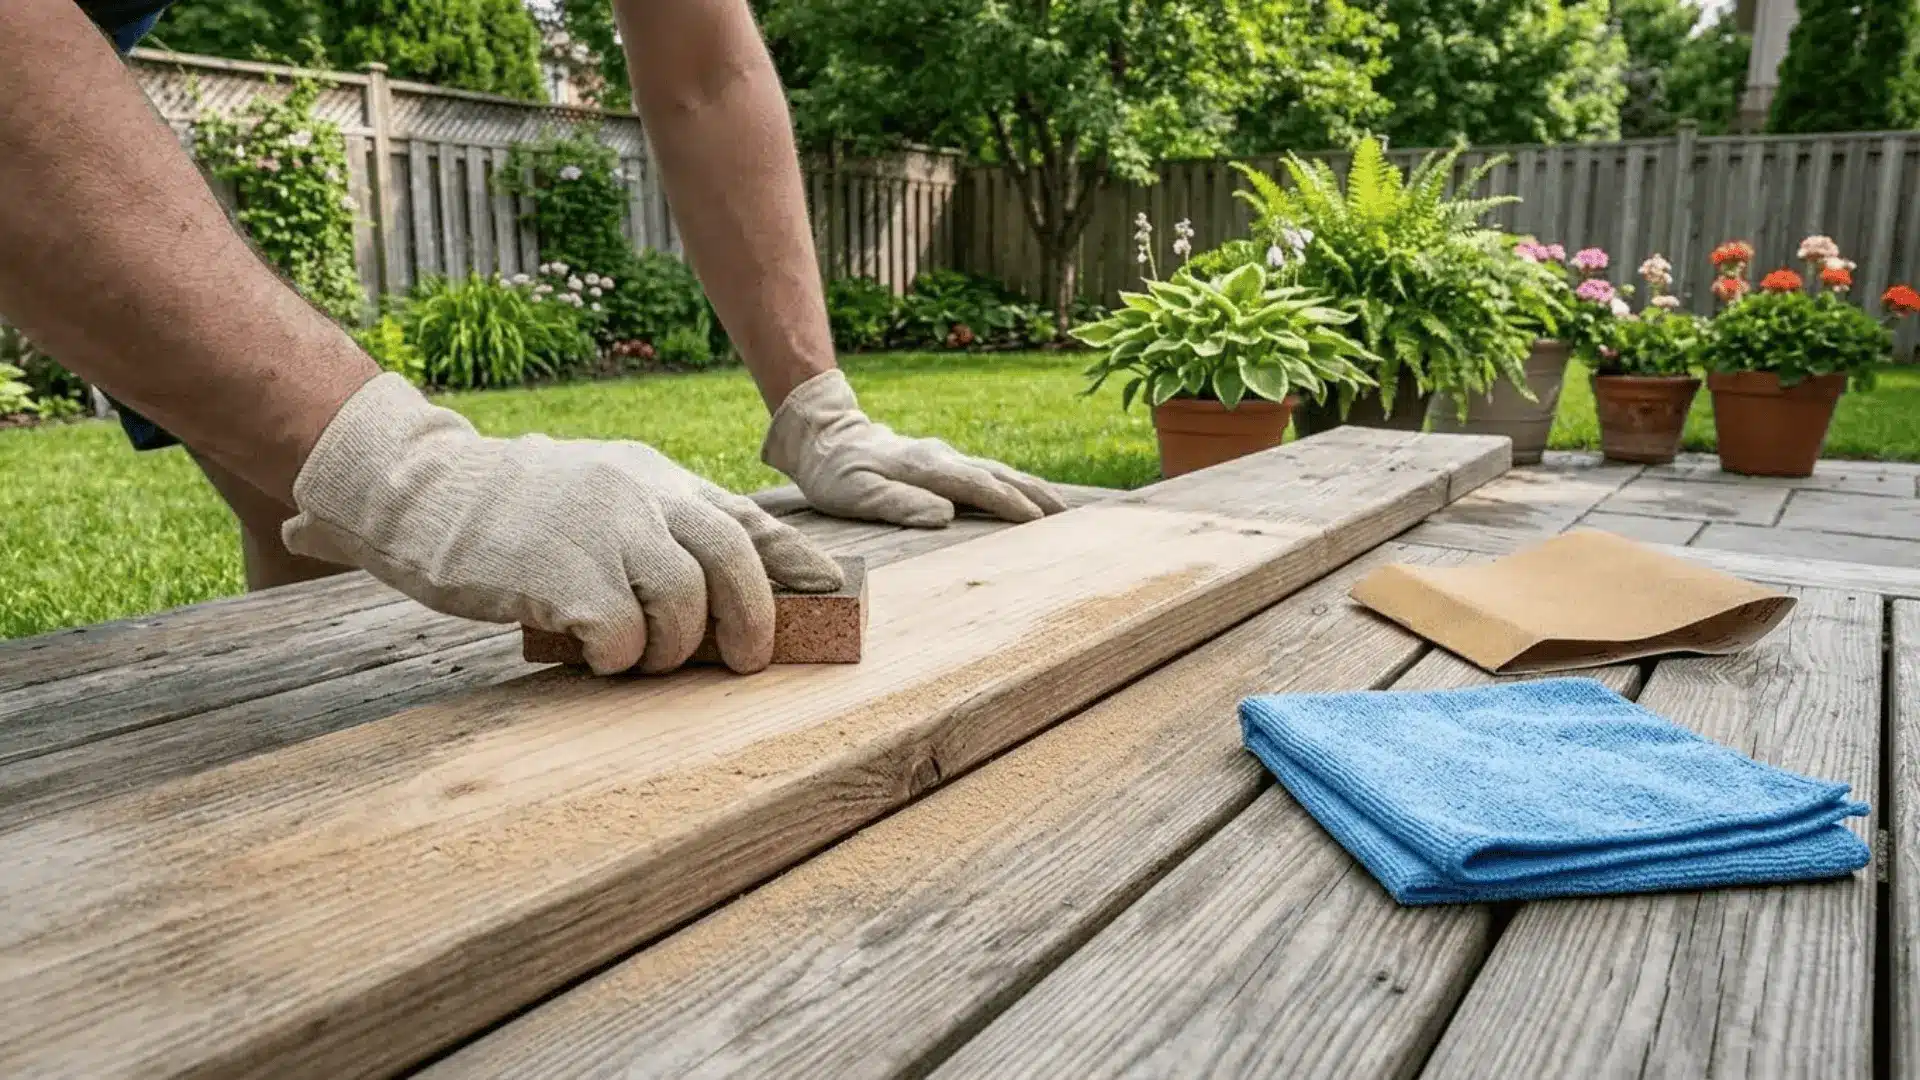
Treated wood often has a rough, uneven texture that works against paint adhesion. A light sanding with medium-grit sandpaper smooths things out and opens up the grain just enough for primer and paint to grip firmly.
Always sand in the direction of the grain and wipe away all dust before moving to the next step.
Step 3: Apply Primer

Primer bridges the gap between treated wood’s chemically loaded surface and your topcoat. Apply one even coat of an exterior bonding primer and allow it to dry fully per the manufacturer’s instructions.
This step seals the surface, blocks chemical bleed-through, and gives your paint the solid foundation it needs to actually last outdoors.
Step 4: Paint the Wood
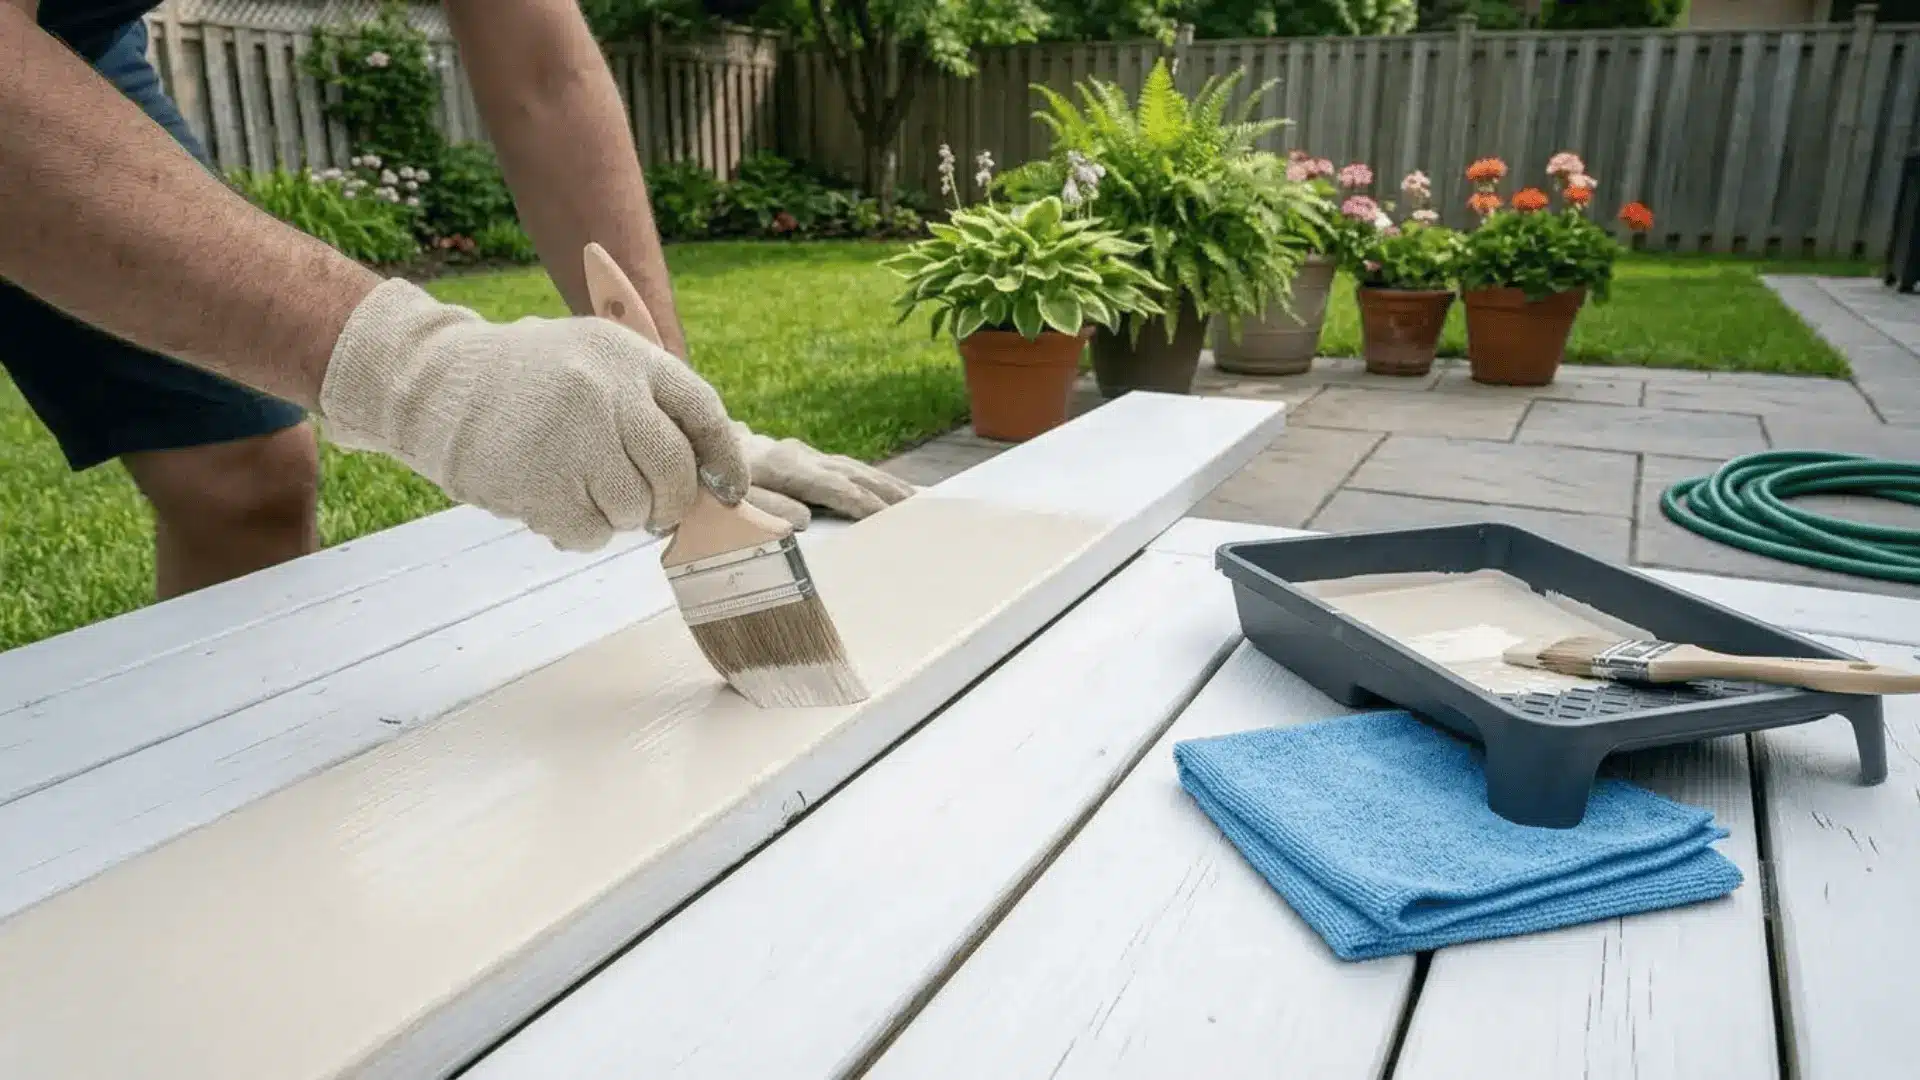
With a prepped and primed surface, the paint finally has something to hold onto. Apply two coats of exterior-grade paint, letting the first dry completely before adding the second.
Work in the direction of the grain using a quality brush or roller, and avoid painting in direct sunlight or high humidity for the smoothest, most even finish.
Step 5: Allow Proper Drying Time
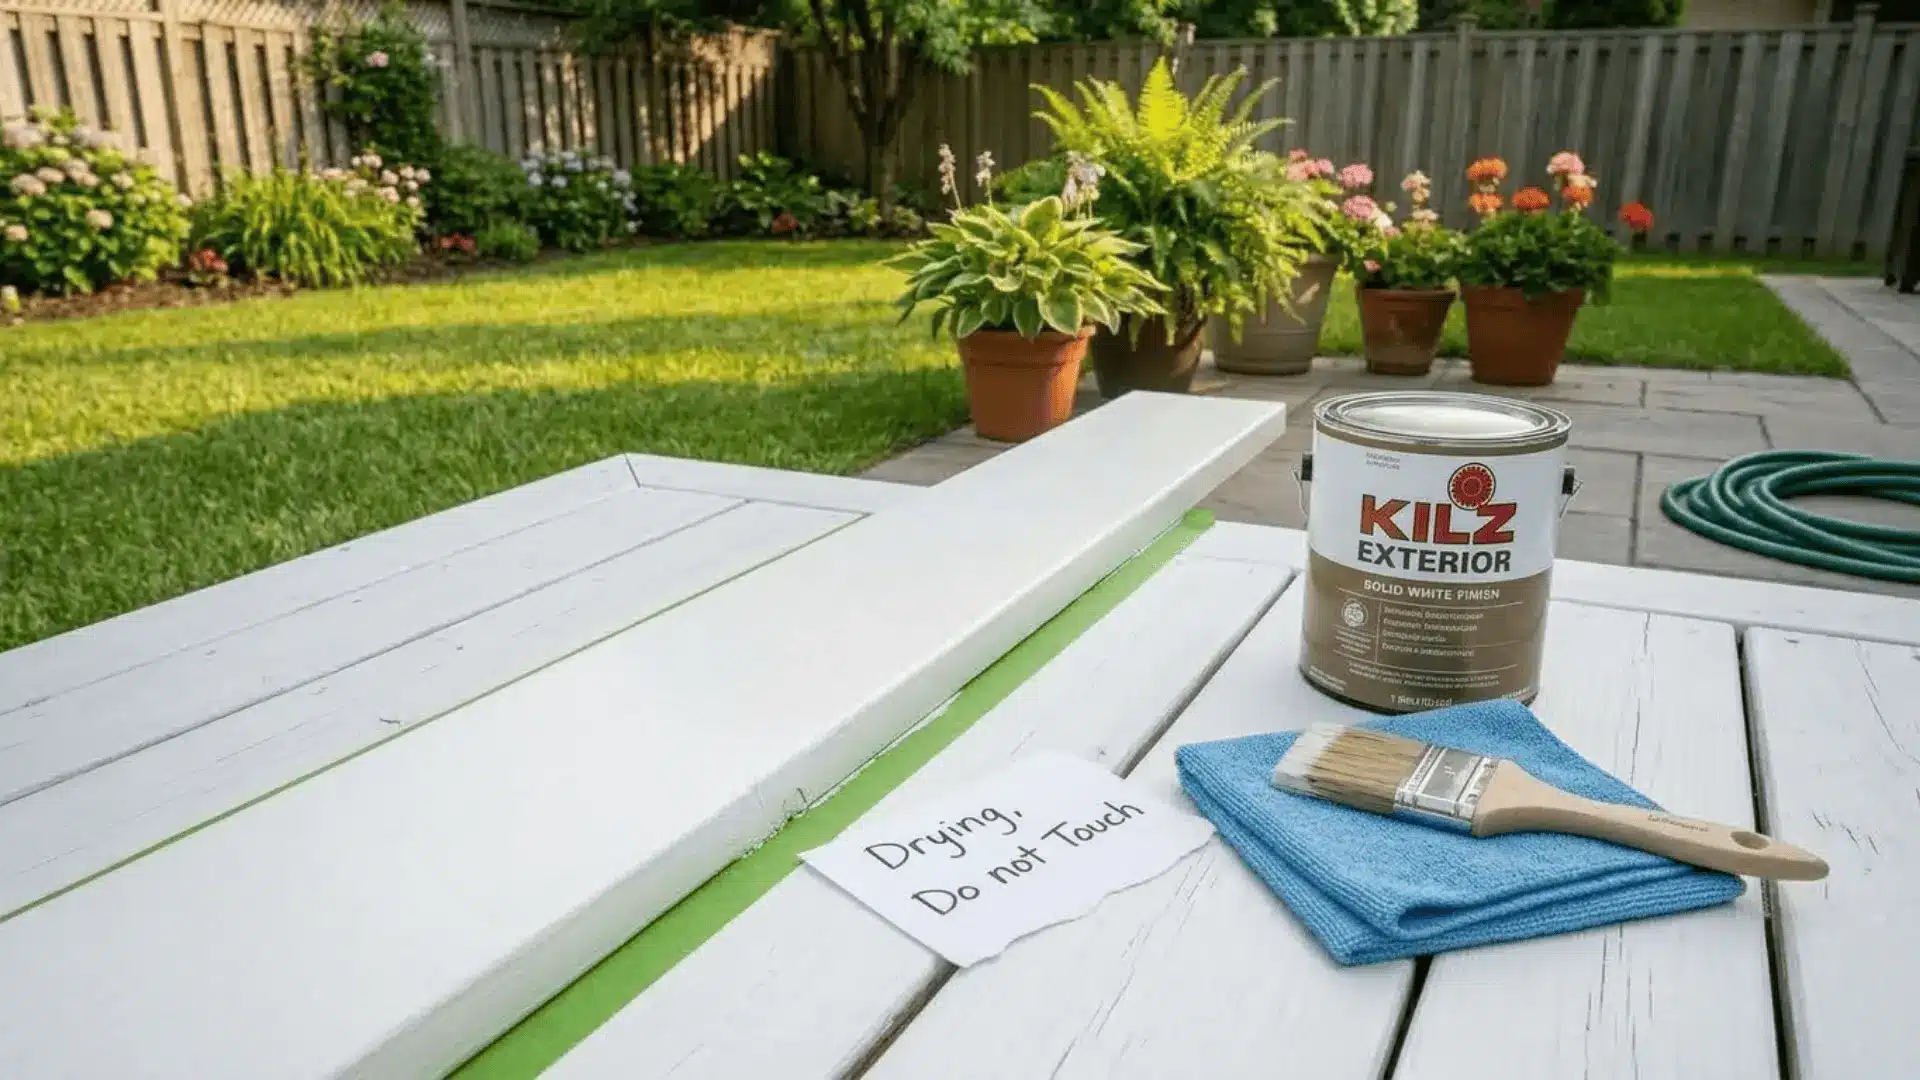
Rushing the drying phase undoes everything you’ve worked toward. Most exterior paints need at least 24 hours between coats and several days before the surface can handle regular use.
Always follow the manufacturer’s recommended drying times, since humidity, temperature, and paint type all affect how long a proper cure takes.
Tips for Long-Lasting Results
A great paint job on treated wood is only as good as the habits that follow.
Keep these in mind from start to finish:
- Paint during mild weather, ideally when temperatures sit between 50°F and 85°F, for the smoothest application.
- Avoid high humidity, as moisture in the air interferes with drying and weakens the paint’s bond to the surface.
- Use high-quality brushes or rollers designed for exterior paint to ensure even coverage and a cleaner, more professional finish.
- Inspect the surface annually for early signs of peeling, cracking, or fading before they turn into bigger problems.
- Clean the surface regularly with mild soap and water to prevent mildew buildup and keep the paint looking fresh longer.
A little attention goes a long way with treated wood. Stay consistent with upkeep, and your paint job will hold up beautifully season after season.
Where You Can Use Painted Treated Wood
Treated wood shows up in more places around your outdoor space than you might realize, and nearly all of them take paint beautifully when prepped correctly.
| Application | Best Paint Type | Key Challenge | Finish Recommended |
|---|---|---|---|
| Decks | Solid deck paint or latex | Water pooling on a horizontal surface | Satin or semi-gloss |
| Fences | Exterior latex paint | Wood movement along joints | Flat or satin |
| Outdoor Furniture | Flexible exterior paint | Expansion and contraction with temperature | Semi-gloss |
| Pergolas and Structures | Exterior bonding primer + latex | Moisture buildup on overhead beams | Satin |
Final Thoughts
Painting treated wood is absolutely worth the effort when done right.
The key is respecting the process: dry it thoroughly, prep the surface well, prime without skipping, and let each coat cure properly.
Once that’s all in place, painted treated wood holds up beautifully through seasons, weather, and years of outdoor use. A deck, a fence, a pergola; every project rewards the patience you put into it.
Have questions about your specific project or a tip that worked well for you? Drop it in the comments below!