Polyurethane has a reputation, and honestly, it earned it. That glossy, sealed finish that protects your furniture so well?
It’s also the reason paint tends to slide right off or peel within weeks. Most people either give up on the idea entirely or rush in without the right prep and end up frustrated.
Both outcomes are avoidable.
Painting over polyurethane is completely doable, and the results can look stunning, as long as you know what you’re walking into before you pick up that brush.
What is Polyurethane and Why is it Hard to Paint?
Polyurethane is a clear protective finish applied to wood surfaces to seal and shield them from moisture, scratches, and daily wear.
It comes in two forms: oil-based, which is more durable and amber-toned, and water-based, which dries clear and faster.
Both create an incredibly smooth, non-porous surface that looks beautiful but gives paint almost nothing to grip onto.
Without proper prep, paint simply sits on top rather than bonding, and that’s exactly what leads to peeling, chipping, and flaking sooner than you’d expect.
Can You Paint Over Polyurethane?
Yes, you can, and it can look really good when done right. The finish itself isn’t the problem; skipping the prep work is.
Proper Surface Prep is Non-Negotiable
Paint needs something to hold onto, and polyurethane’s sealed surface doesn’t offer that naturally. Cleaning and lightly sanding the finish dulls that glossy layer just enough to create texture, giving your paint a real chance to bond.
Without this step, even the best paint will start lifting at the edges before you know it.
The Right Products Make a Real Difference
Not every primer or paint plays well with polyurethane. You need a bonding primer specifically formulated to adhere to slick, sealed surfaces.
Skipping primer or using the wrong one is where most DIY paint jobs quietly go wrong. The right primer acts as the bridge between the old finish and your new paint, and that bridge is what holds everything together long-term.
The Process Comes Together Quickly
Once you understand the steps, the process is straightforward. Here’s a quick look at what it involves:
- Clean the surface thoroughly to remove grease, dust, and residue
- Sand lightly with fine-grit sandpaper to dull the sheen
- Prime with a bonding primer and let it cure fully
- Paint in thin, even coats for a smooth, lasting finish
What Happens If You Paint Over Polyurethane Without Prep?
Skipping prep might save you an hour today, but it almost always costs you much more later.
Here’s what typically goes wrong:
- Peeling Starts Early: Paint has nothing real to grip, so it lifts from edges and high-contact areas fast.
- Adhesion Stays Weak: The sealed surface never lets paint bond properly, no matter how many coats you apply.
- Finish Looks Uneven: Streaks, bubbles, and patchy coverage are common when paint sits on a slick surface.
- Chips Appear Quickly: Daily use accelerates the damage on an unbonded paint job significantly.
- Time and Materials Go to Waste: You end up stripping and repainting anyway, which is exactly what good prep helps you avoid.
Taking the time to prep correctly the first time around is genuinely worth it, and the difference in the final result shows.
Supplies You’ll Need
Before you get started, pulling everything together in one go saves a lot of back-and-forth mid-project.
Here’s a clean list of what you’ll want on hand:
| Supply | What It Does | What to Look For |
|---|---|---|
| Sandpaper | Scuffs the polyurethane surface to improve paint adhesion | Medium-grit (120) to rough up, fine-grit (220) to smooth after |
| Degreaser or Cleaner | Removes grease, dust, and residue before sanding | TSP alternatives like Krud Kutter work really well |
| Bonding Primer | Creates a grippy base layer between polyurethane and paint | Look for one specifically labeled for slick or sealed surfaces |
| Paint | The actual finish and color you want | Latex for ease and flexibility; oil-based for extra durability |
| Brushes or Rollers | Applies primer and paint evenly across the surface | Foam rollers for smooth surfaces; angled brushes for edges and detail work |
Having the right supplies lined up from the start is honestly half the battle, and it keeps the whole process feeling manageable rather than overwhelming.
Step-by-Step: How to Paint Over Polyurethane?
The process is more forgiving than most people expect, and once you move through it step by step, it starts feeling pretty intuitive.
Good prep upfront means the painting part almost takes care of itself.
Step 1: Clean the Surface Thoroughly
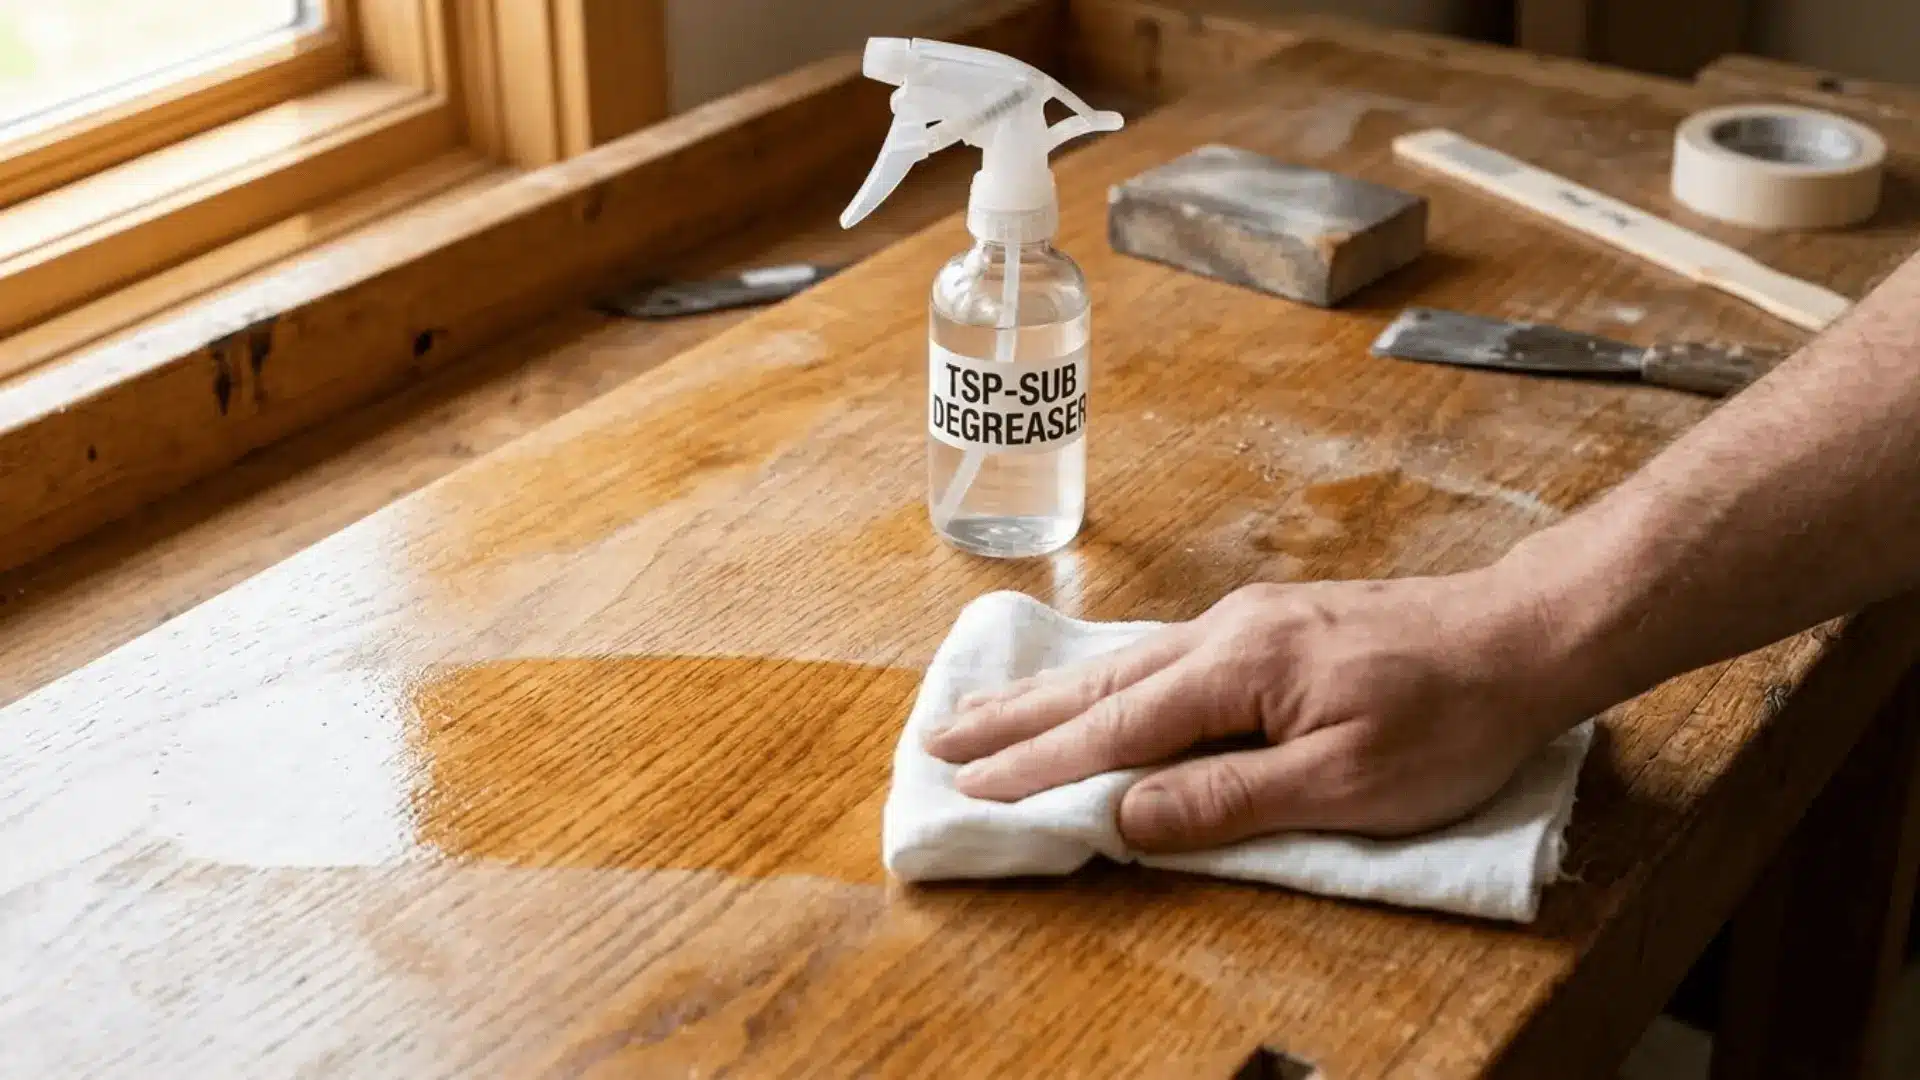
Grease, dust, and residue are invisible saboteurs. Even a surface that looks clean can have buildup that prevents adhesion.
Wipe everything down with a degreaser or TSP alternative and let it dry completely before moving on. Rushing past this step is one of the most common reasons paint jobs fail before they even really begin.
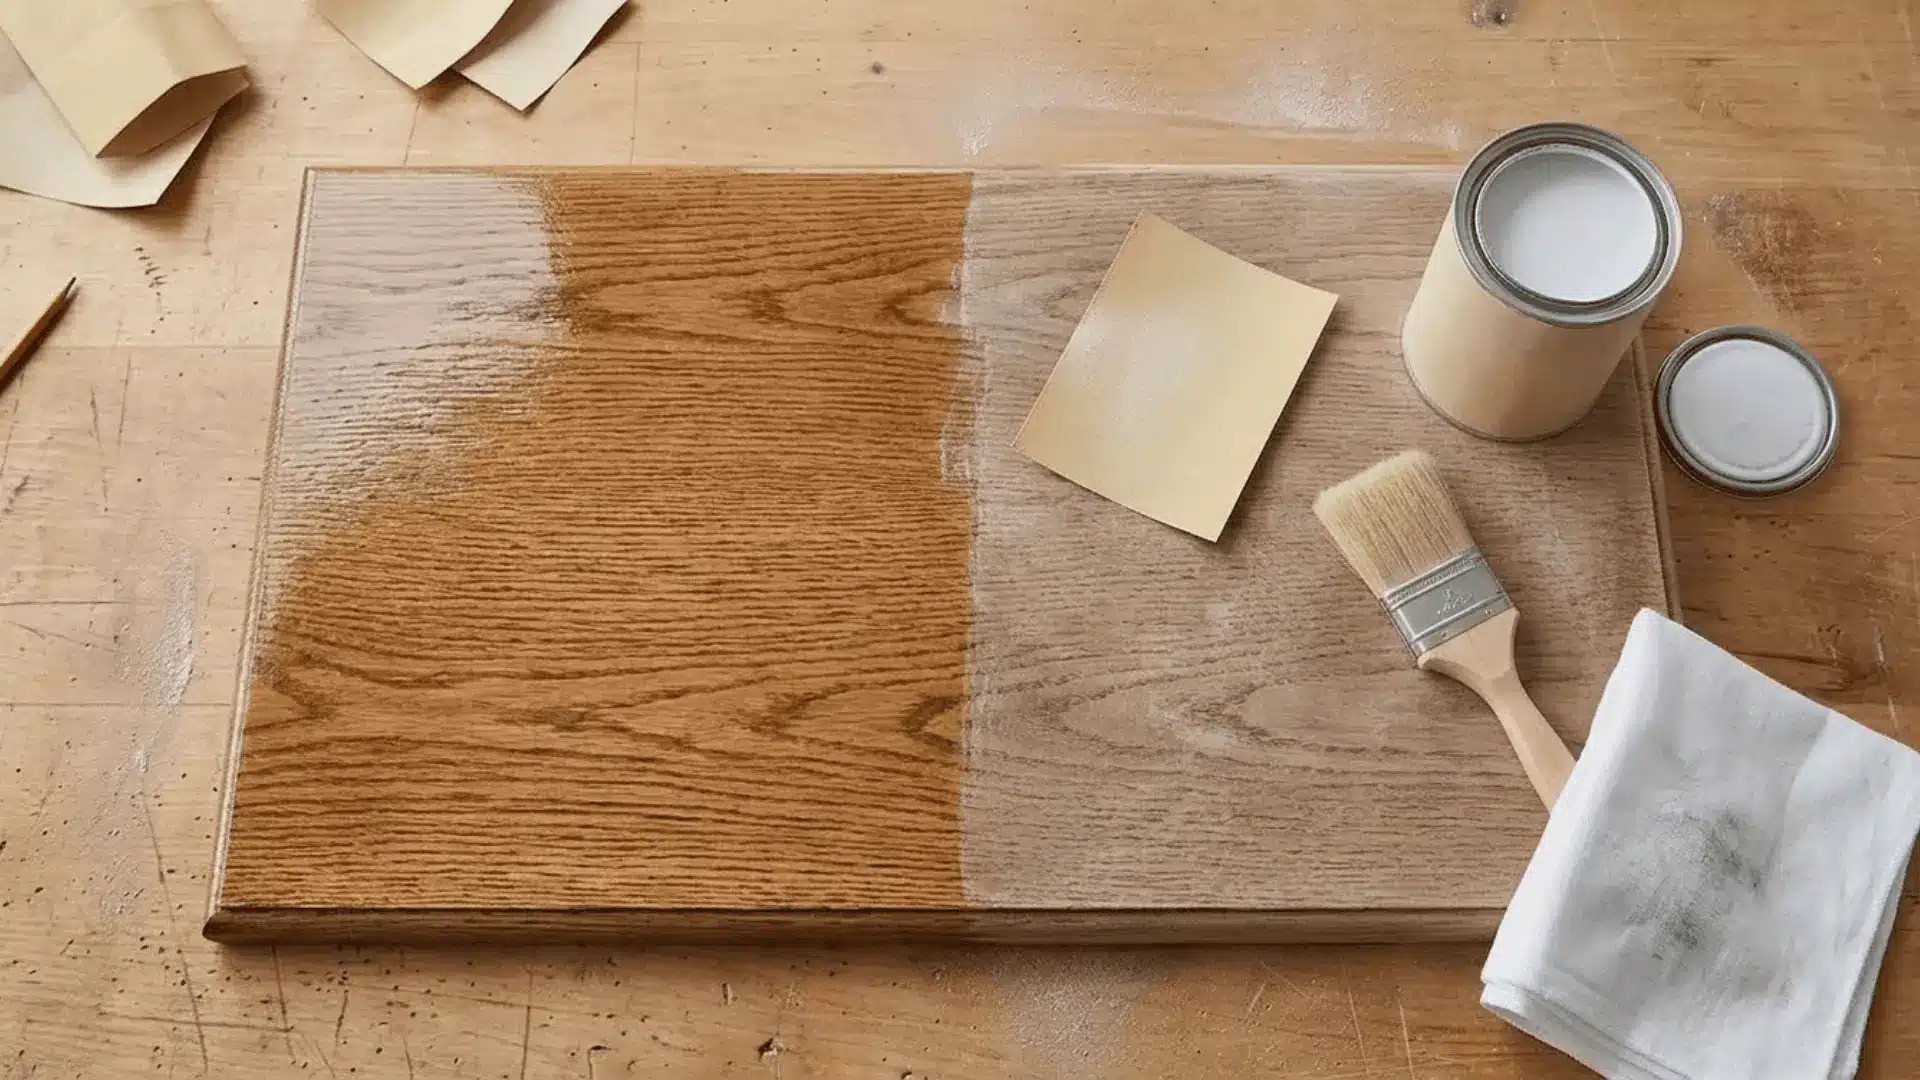
Step 2: Sand the Surface Lightly

You’re not trying to strip the polyurethane, just dull it. Use medium-grit sandpaper to knock back the sheen, then follow up with fine-grit to smooth things out.
What you’re really creating here is tooth, that subtle texture paint needs to grip the surface and actually stay put over time.
Step 3: Wipe Away All the Dust
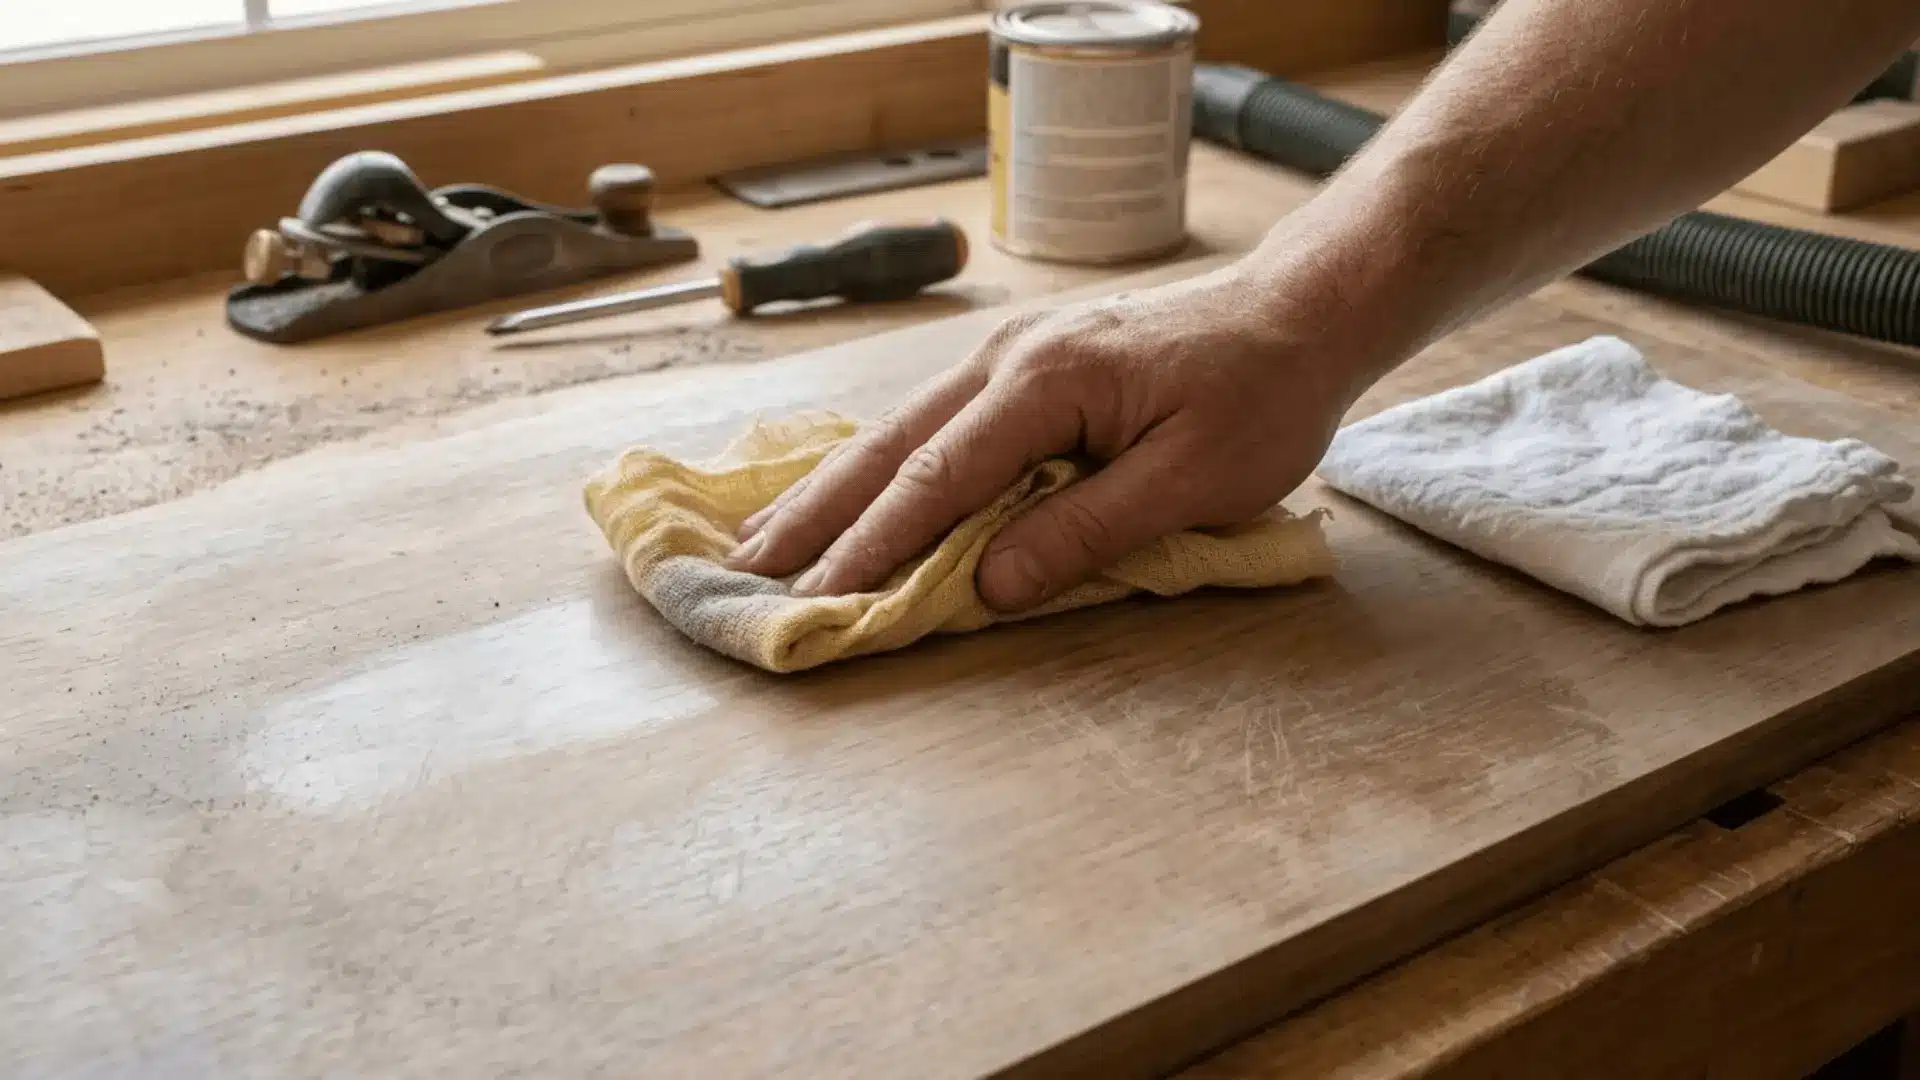
Sanding leaves behind fine dust that will ruin your finish if it gets trapped under primer. Go over the entire surface with a tack cloth or a lightly damp rag and let it dry fully.
It’s a small step that makes a noticeable difference in how clean and smooth your final result looks.
Step 4: Apply Bonding Primer
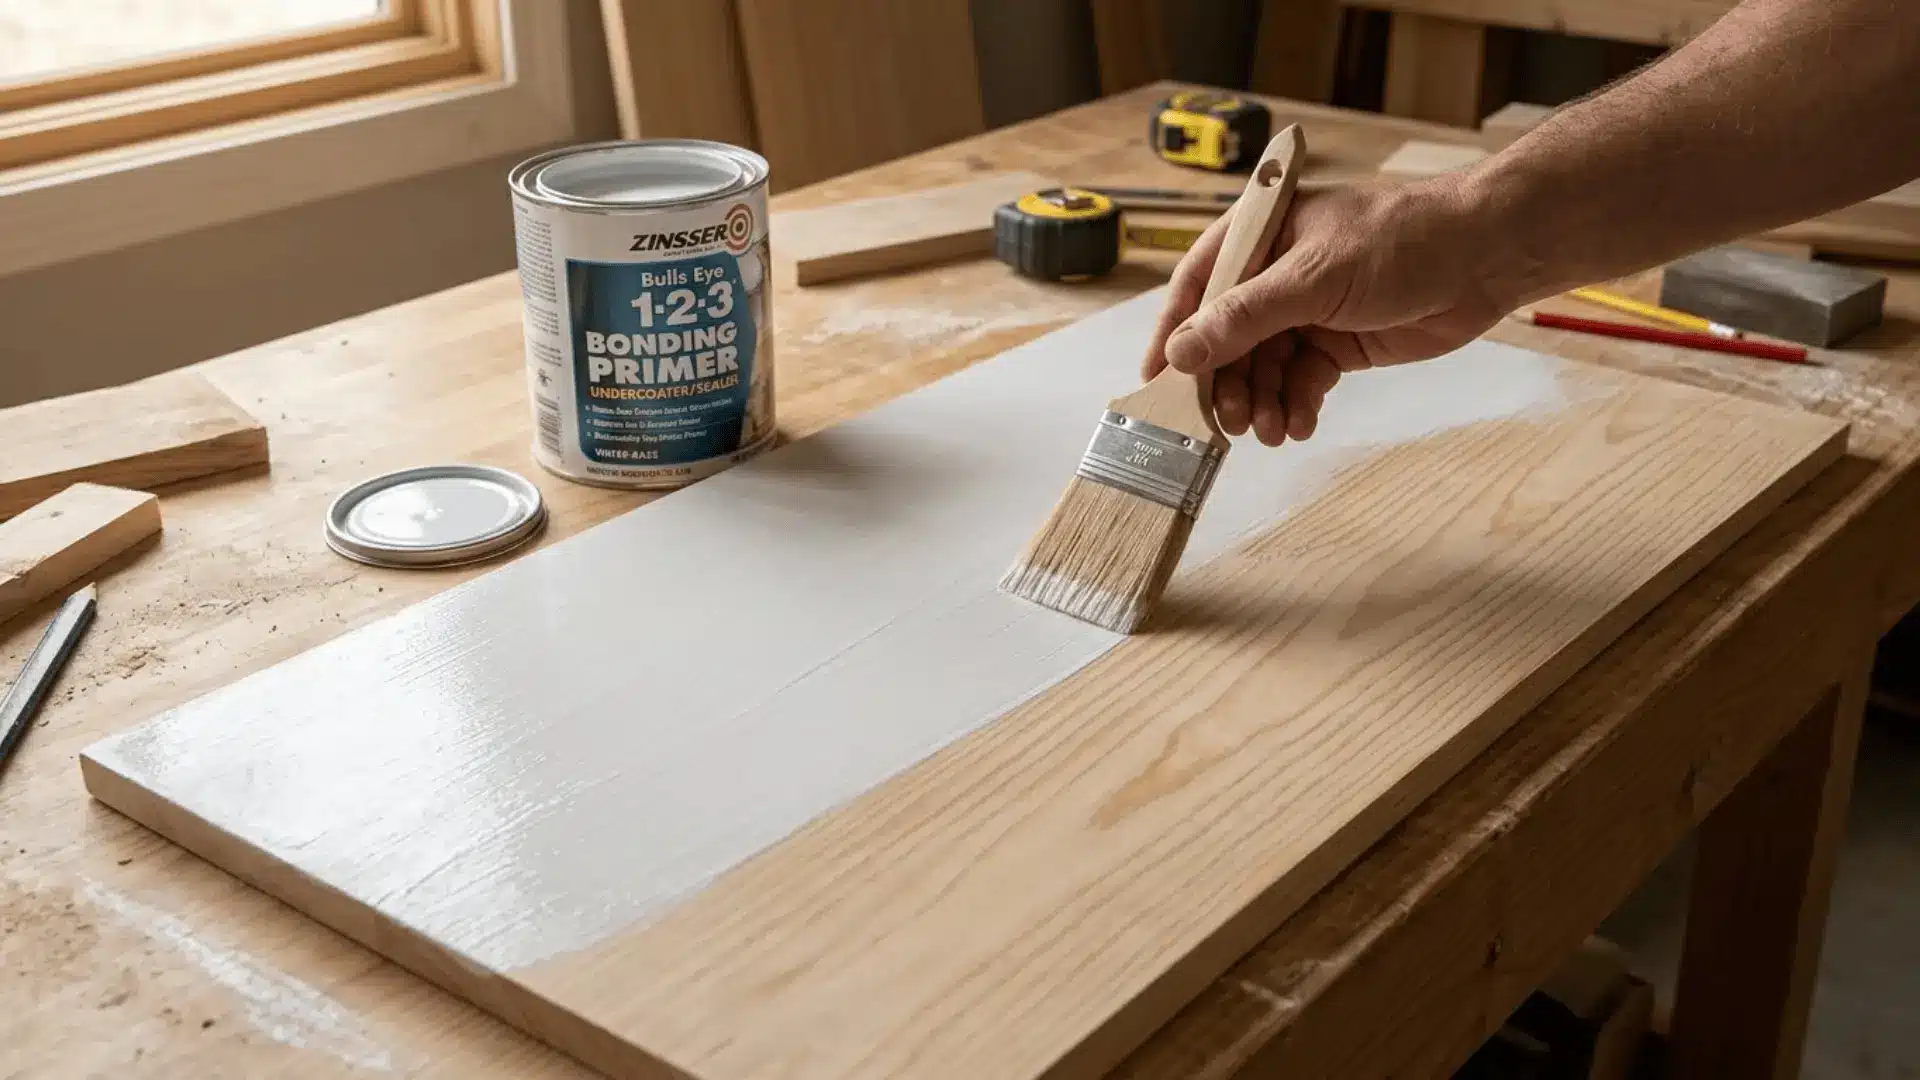
This is the step that holds everything together. A bonding primer is specifically formulated to adhere to slick, sealed surfaces where regular primer would struggle.
Apply it in a thin, even coat and let it cure completely before painting. Skipping or rushing this step is the fastest way to end up with a finish that peels.
Step 5: Paint in Thin, Even Coats
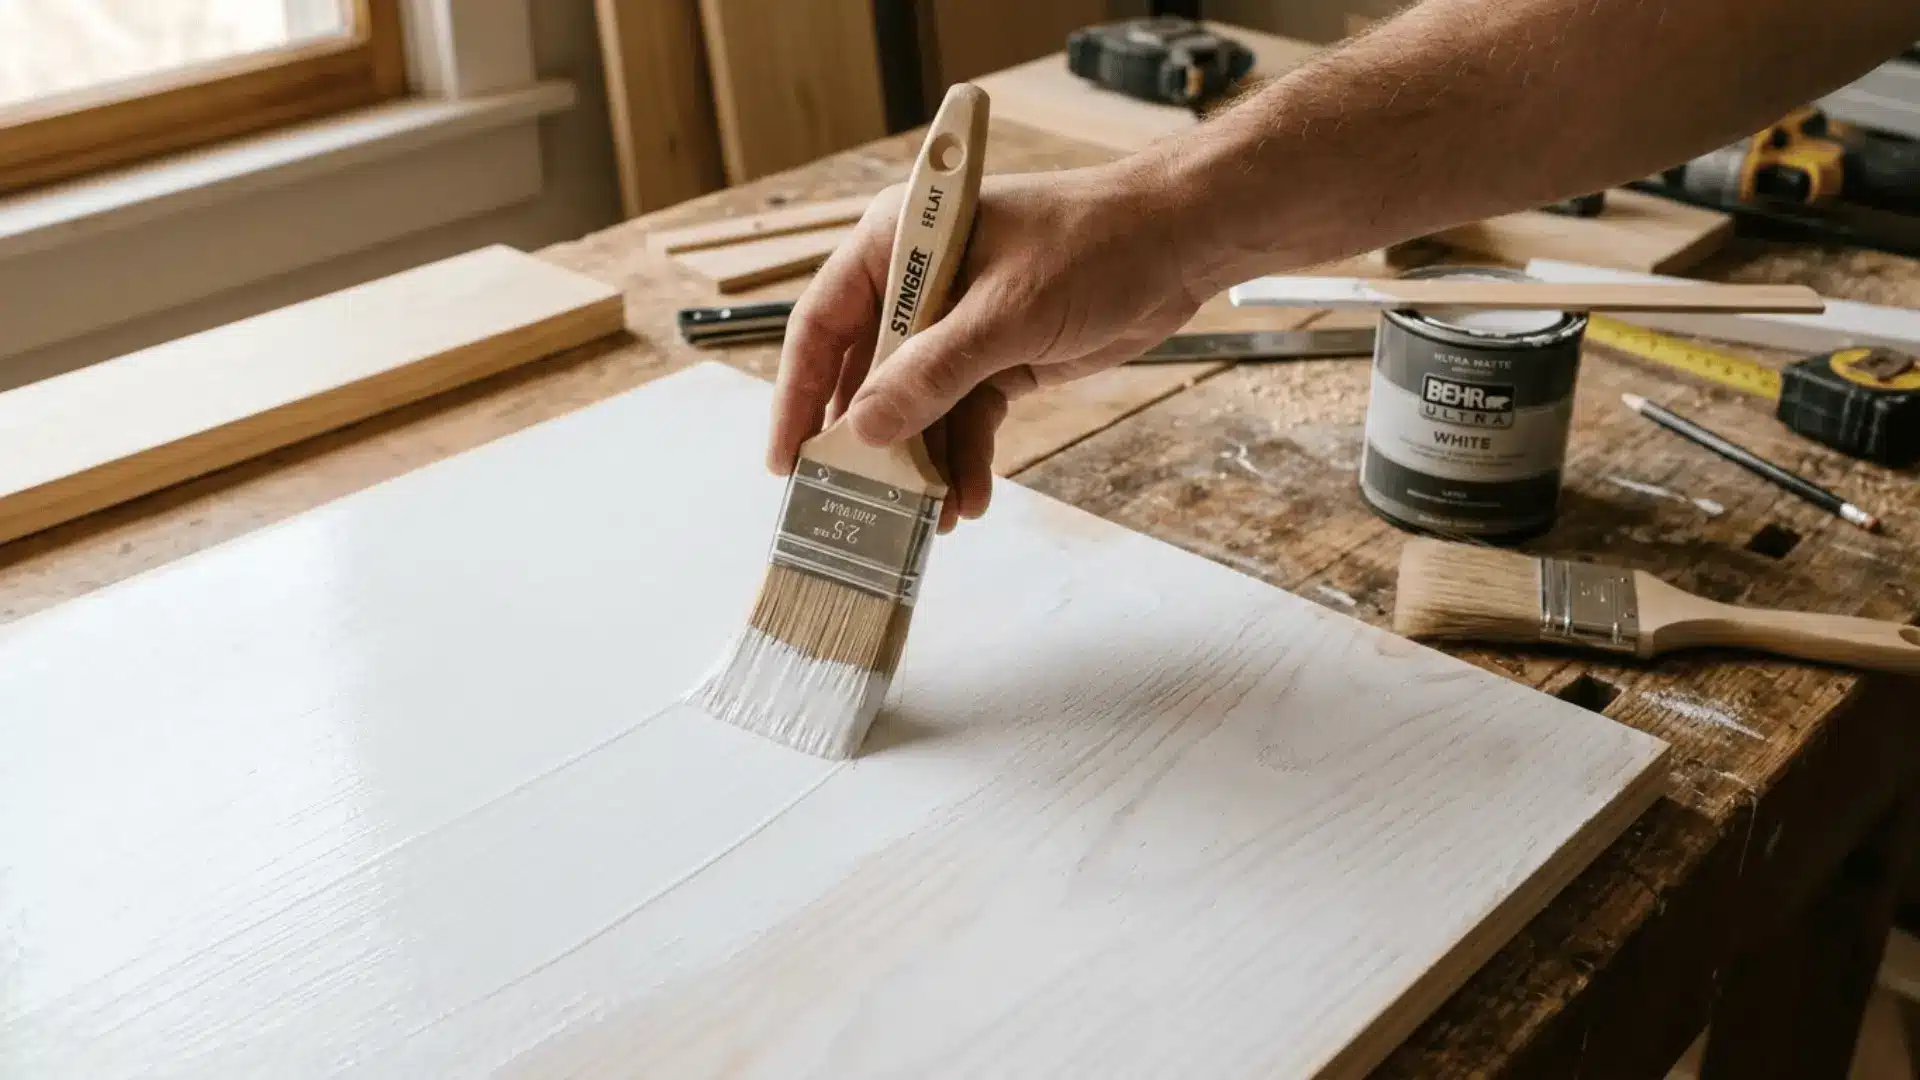
Thick coats are tempting but they dry unevenly and are more prone to dripping and cracking. Apply your paint in light layers, letting each one dry fully before adding the next.
Two or three thin coats will always give you a smoother, more durable finish than one heavy coat ever will.
A quick note on topcoats: If you’re painting furniture, cabinets, or anything that sees regular use, sealing your finished paint with a clear topcoat adds a meaningful layer of protection and helps the whole finish last considerably longer.
Do You Always Need to Sand Polyurethane?
Almost always, yes. Sanding is what breaks the surface tension of that glossy finish and gives paint a real chance to bond.
That said, liquid deglosser (sometimes called liquid sandpaper) is a valid alternative for surfaces that are tricky to sand manually. It chemically dulls the sheen without the physical work.
The tradeoff is that it’s generally less effective than actual sanding, and on heavily coated or high-use surfaces, the adhesion tends to show the difference over time.
When in doubt, sand.
Best Paints to Use Over Polyurethane
Not all paints behave the same way over a sealed surface, and picking the right one for your specific project makes a bigger difference than most people realize.
Here’s a straightforward breakdown to help you choose:
| Paint Type | Best For | Prep Needed | Durability |
|---|---|---|---|
| Latex Paint | Walls, general wood surfaces | Full prep required (clean, sand, prime) |
Good with proper bonding primer |
| Oil-Based Paint | Furniture, cabinets, high-use surfaces | Full prep required | Excellent; harder and more resilient finish |
| Chalk Paint | Furniture, decorative pieces | Minimal; light sanding often enough | Moderate; needs a wax or topcoat to seal |
| Enamel Paint | Cabinets, trim, doors, anything heavy-use | Full prep required | Very high; resists chipping and daily wear beautifully |
If you want low-effort prep with a charming matte finish, chalk paint is a genuinely lovely option for furniture. For anything that takes a beating daily, enamel or oil-based is worth the extra prep every single time.
Best Primers for Polyurethane Surfaces
Primer is doing the heavy lifting here, so choosing the right one matters more than most people think.
Here’s a quick breakdown:
| Primer Type | Best For | Worth Knowing |
|---|---|---|
| Bonding Primer | Any polyurethane surface | Always the safest starting point for slick, sealed surfaces |
| Oil-Based Primer | Furniture, cabinets, heavy-use surfaces | Strong adhesion but longer dry time and stronger fumes |
| Water-Based Primer | Walls, lighter indoor projects | Faster drying, low odor, easier cleanup |
| Shellac-Based Primer | Stubborn stains, heavily coated surfaces | Bonds to almost anything; use in a well-ventilated space |
When shopping, look for “adhesion primer” or “bonds to glossy surfaces” on the label. That’s your clearest signal it’s built for this job.
Can You Paint Over Water-Based vs Oil-Based Polyurethane?
The prep process is largely the same for both, but there are a few differences worth knowing.
Water-based polyurethane is thinner and less glossy, so paint tends to adhere a little more willingly.
Oil-based polyurethane creates a harder, amber-toned finish that needs more aggressive sanding to rough up properly. Not sure which one you have?
Check the sheen: oil-based looks noticeably warmer and yellower, while water-based dries completely clear. When in doubt, sand thoroughly and use a bonding primer regardless.
Where This Works Best?
Painting over polyurethane works across more surfaces than most people expect.
Here’s a quick look at where it performs really well:
| Surface | Why It Works | What to Keep in Mind |
|---|---|---|
| Cabinets | High-visibility area that benefits greatly from a fresh coat | Full prep essential; enamel paint holds up best here |
| Furniture | Breathes new life into older or dated pieces | Chalk paint works beautifully for decorative pieces; oil-based for daily-use furniture |
| Trim and Doors | Refreshes the look of a whole room with minimal effort | Sand carefully around edges and detail work for a clean finish |
| Wood Paneling | Great way to modernize without full replacement | Large surface area; a roller speeds things up significantly |
Final Thoughts
Painting over polyurethane is one of those projects that rewards patience more than anything else.
Get the prep right, choose products that are actually made for the job, and the results can look really beautiful.
A worn cabinet, a dated furniture piece, a tired wood panel all have more potential than they let on, and the right prep work brings that out better than any paint color ever could.
Take it one step at a time and trust the process.
Tried this on a project of your own? Drop your experience in the comments below, would love to hear how it turned out!