
I didn’t start with a plan or a goal. I just noticed how often I bought mushrooms and how fast they went bad. One day, I wondered if growing them myself would actually be doable in a normal home.
No big setup. No special space. Just something practical that made sense. That question led me to try growing mushrooms at home, and I realized it’s more about steady habits than skill.
You’re likely here for a similar reason. You want to know if this is realistic for you and how it really works.
This blog gives you clear answers, simple steps, and honest details so you can decide, start, and keep going without confusion or wasted effort.
Is Growing Mushrooms at Home Safe and Legal?
This is a fair question, and it’s smart to ask it first.
For most people, growing edible mushrooms for personal use is legal. Common types like oyster, button, shiitake, and lion’s mane are allowed in many countries and states when grown at home for food.
Laws usually focus on selling, not personal growing. Problems start when people grow illegal or mind-altering species. That’s a clear line. Stick to food mushrooms, and you stay on the safe side.
A common worry is mold. Mushroom mycelium is white and thread-like. Mold is often green, black, or fuzzy in odd patches. If you see strong colors or smell something sharp and bad, don’t keep it. Throw it out.
Basic safety rules help a lot:
- Wash your hands before handling kits
- Keep grow areas clean
- Give fresh air and proper moisture
Indoor growing may not be a good idea if your home has ongoing mold issues, poor airflow, or people with serious breathing problems. In those cases, outdoor or sealed kits are safer options.
Growing Mushrooms at Home for Beginners
If you’re new, simple is not a shortcut. It’s the smart choice. Growing mushrooms at home works best when you limit decisions and reduce room for mistakes. Beginners do better when they start with one type, one setup, and clear steps.
“Easy” in mushroom growing does not mean zero effort. It means:
- No special equipment
- No strict timing
- Clear signs when things are going right or wrong
Success on your first try is not about a huge harvest. It looks like healthy growth, clean smell, and mushrooms that reach your plate safely. Even a small batch counts as a win.
Oyster mushrooms are often suggested because they forgive small errors. They grow fast, handle changes in air and moisture, and show progress quickly.
That feedback matters when you’re learning. It helps you understand what works without feeling stuck or confused.
How to Grow Mushrooms at Home: A Simple Guide
Now that the basics are clear, it’s time to move into action. This breaks the process down into small, clear steps so you know exactly what to do and why it matters.
No guessing. No overload. Just a clean path you can follow from start to finish:
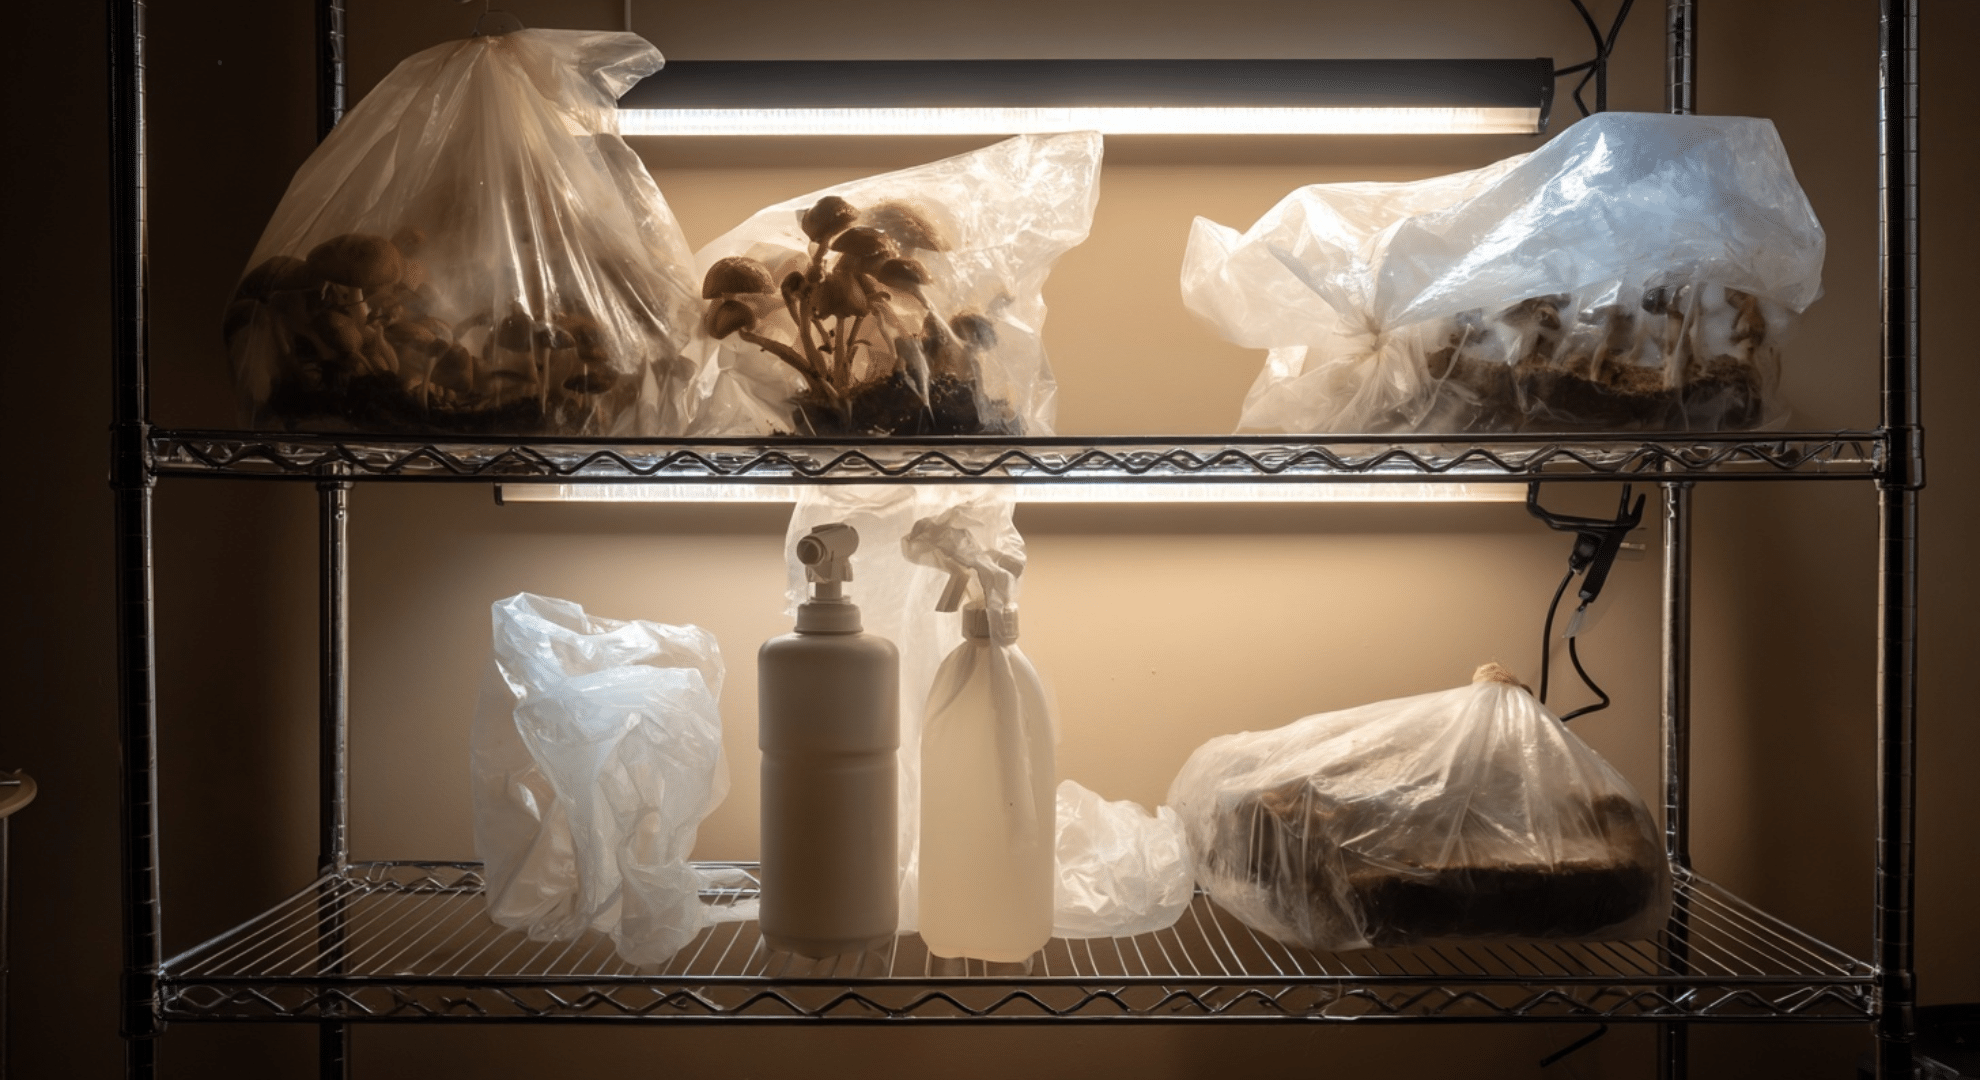
Step 1: Gather the Supplies
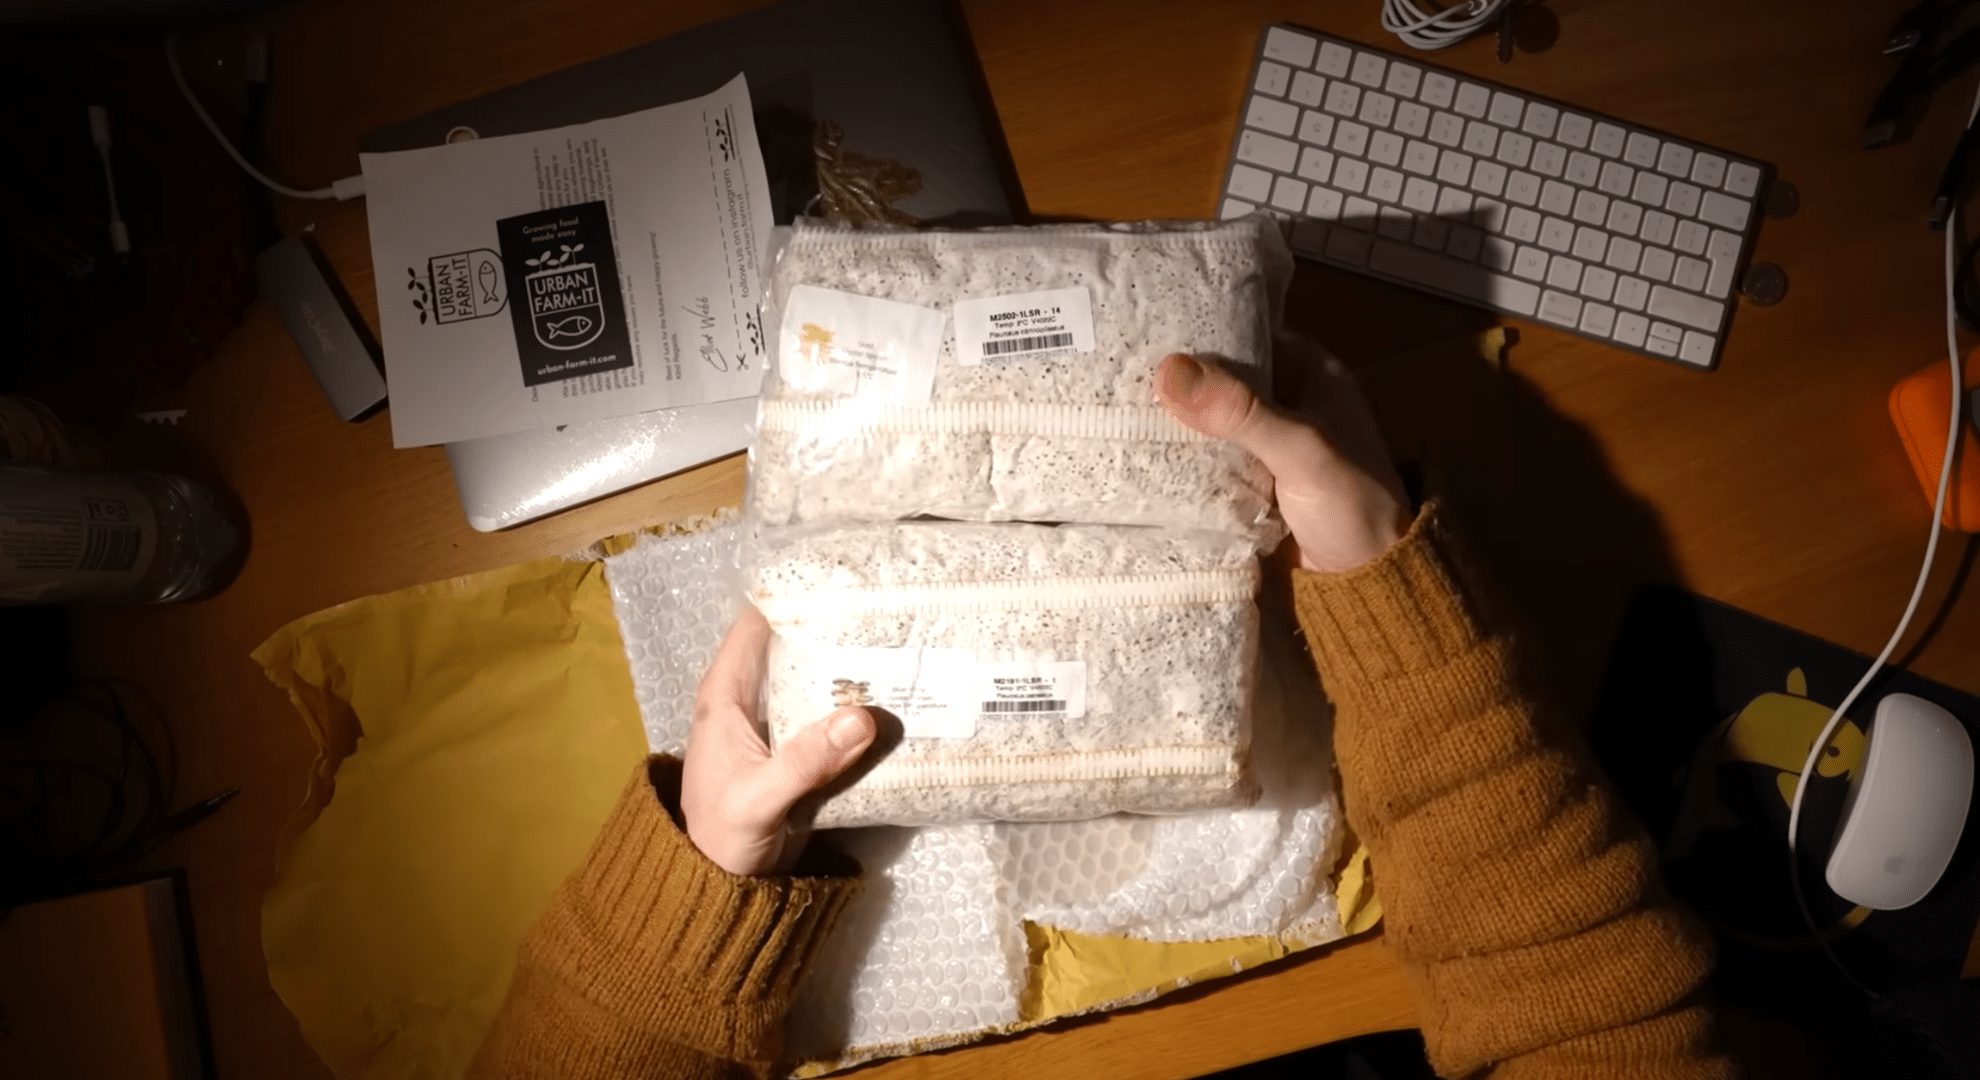
You’ll need a few basic supplies to get started. These include a clean mixing box, mushroom grow bags with air filters, straw pellets, and grain spawn.
The straw pellets act as food, while the grain spawn already contains mushroom fungus. These items work together to create a simple setup that fits well in a home space and doesn’t require special tools.
Step 2: Clean the Work Area
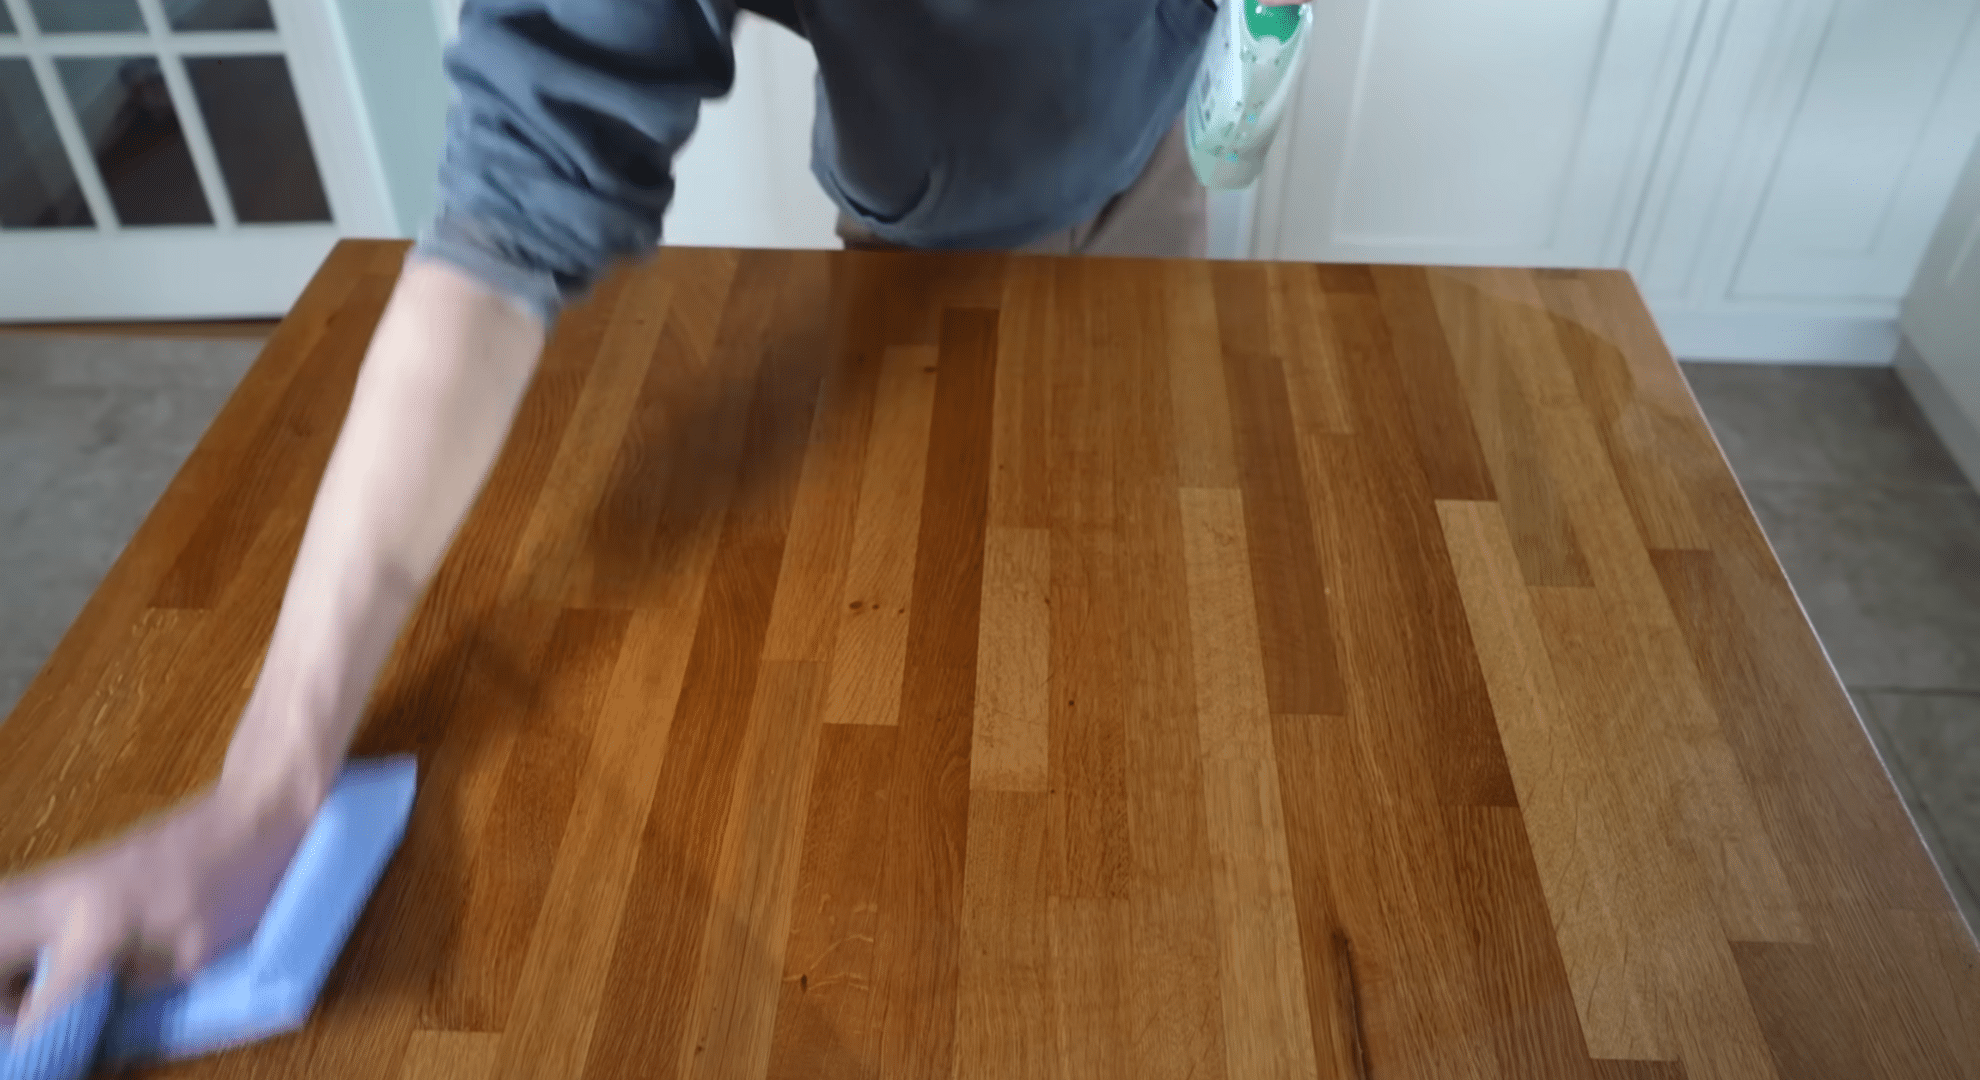
Before handling anything, clean the space you’ll be working in. Wash your hands well, clean the mixing box, and wipe nearby surfaces.
This helps prevent unwanted mold or bacteria from getting into the growing mix. Mushrooms grow best when they don’t have to compete with other organisms, so starting clean gives the fungus a better chance to grow properly.
Step 3: Prepare the Growing Mix
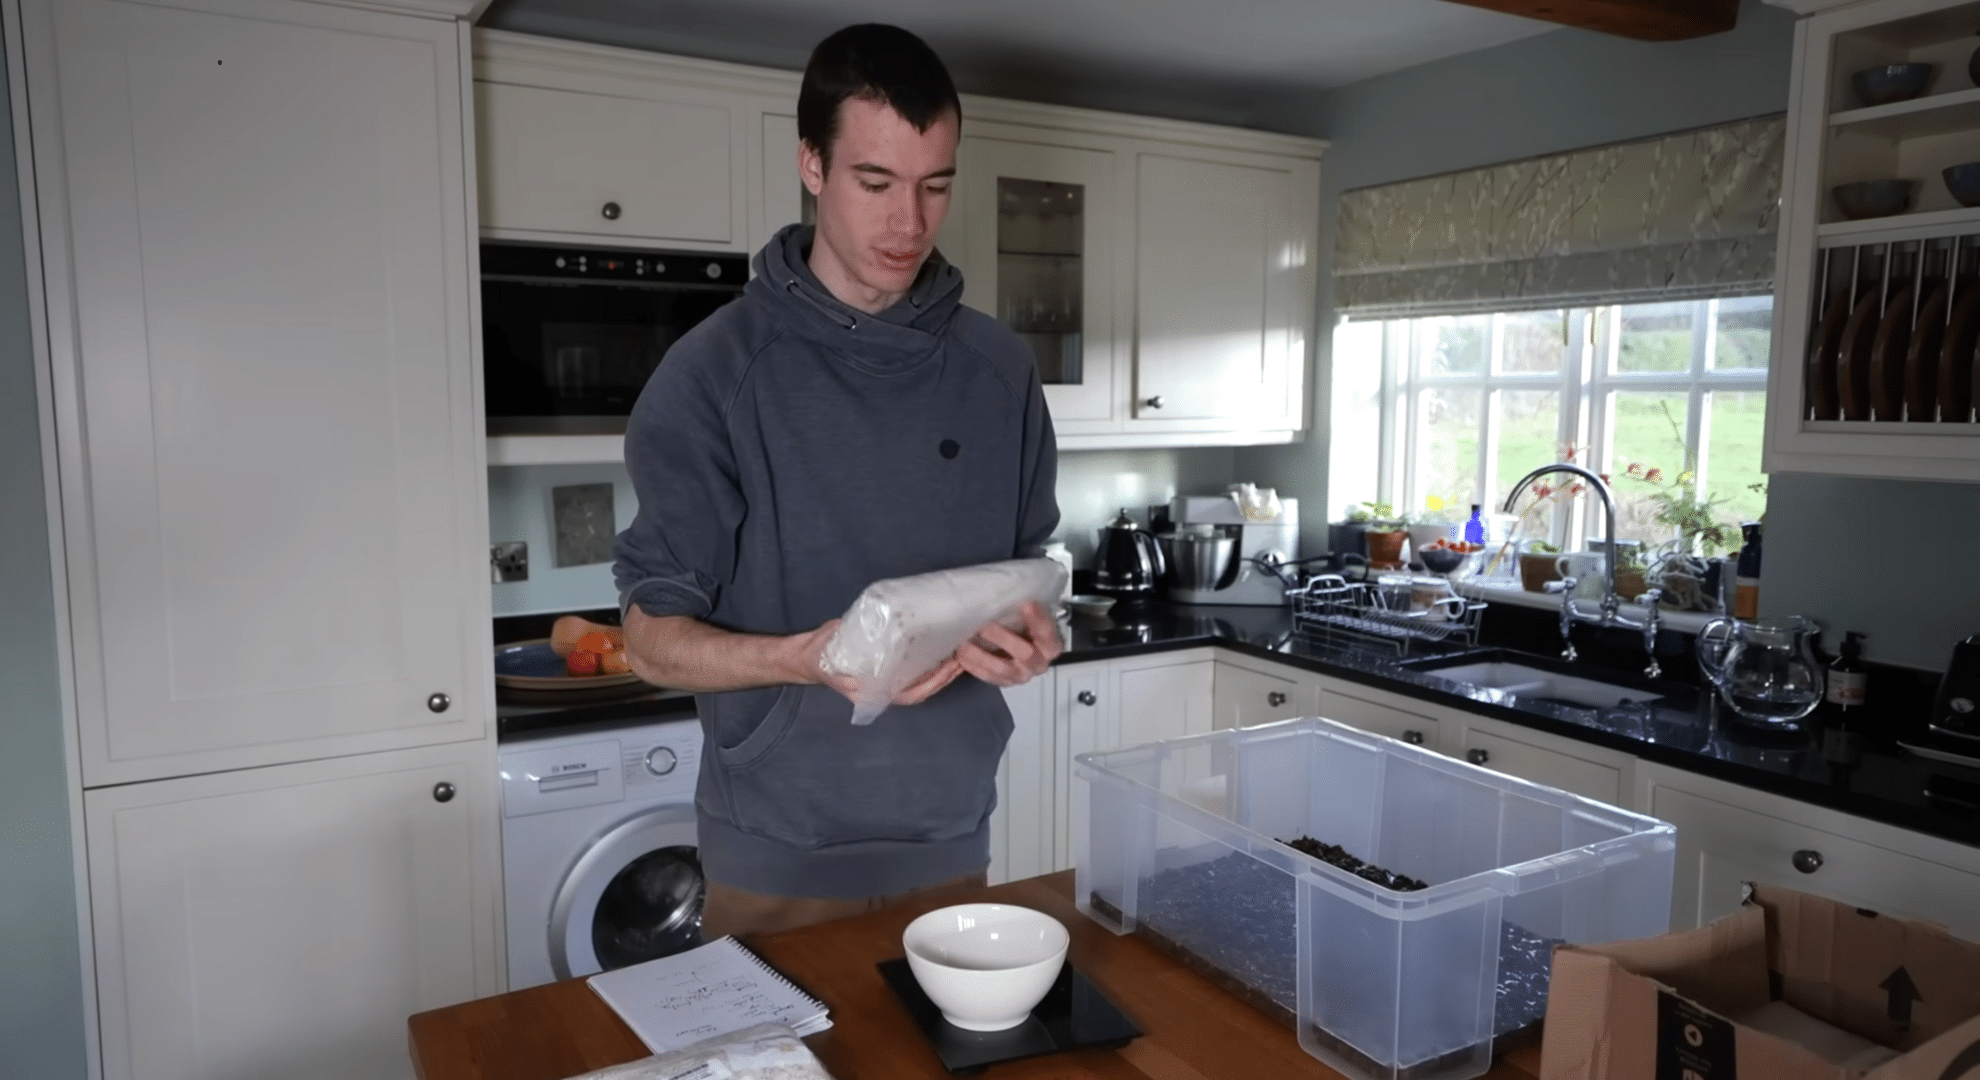
Pour the straw pellets into the mixing box and slowly add water. The pellets will absorb the water and soften. Mushrooms need a damp environment, so this step is important.
Let the pellets sit until they fully soak and turn fluffy. The mix should feel moist but not dripping before moving on to the next step.
Step 4: Add the Grain Spawn
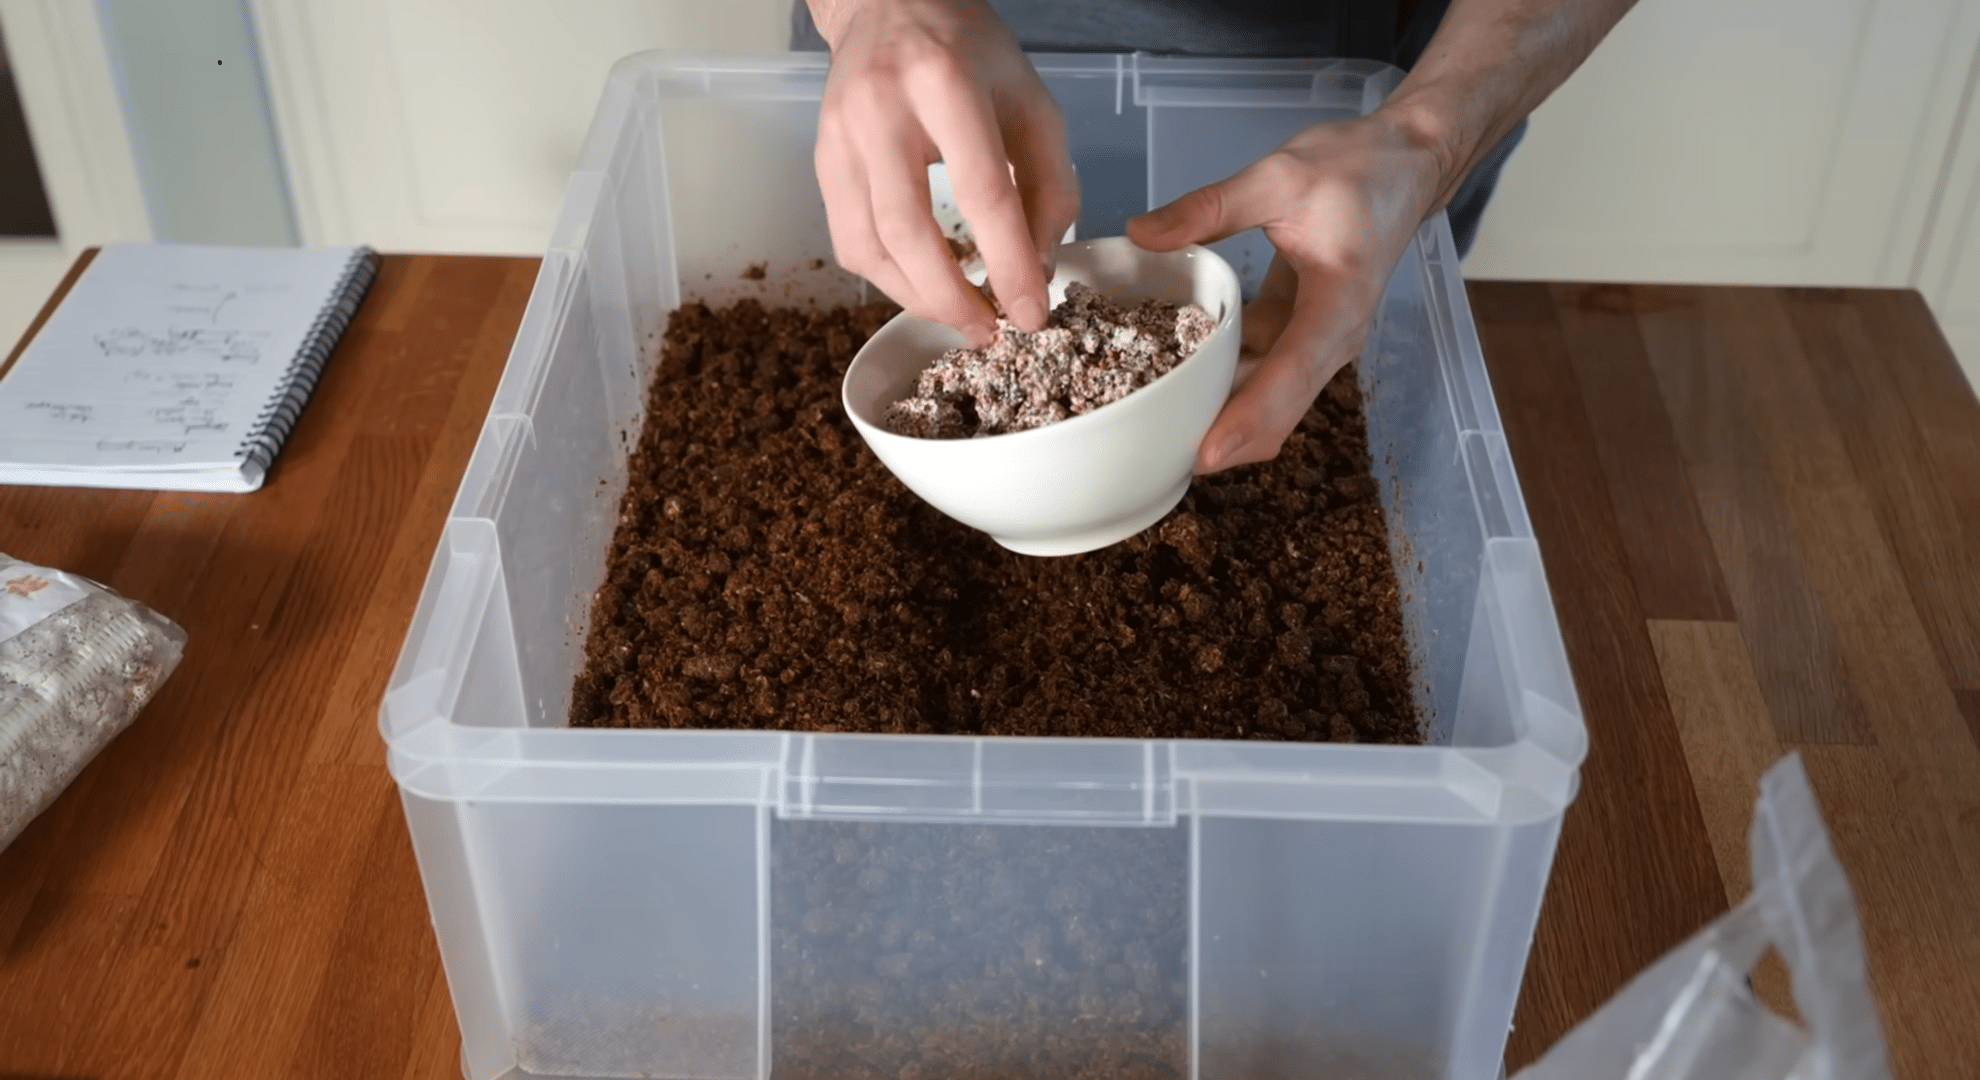
Break the grain spawn into smaller pieces and add it to the wet straw mix. Stir everything so the spawn spreads evenly.
The grain already contains mushroom fungus, and mixing it well helps the fungus grow through all the straw. Even spreading makes growth more steady and reduces weak spots where other growth could appear.
Step 5: Fill the Grow Bags
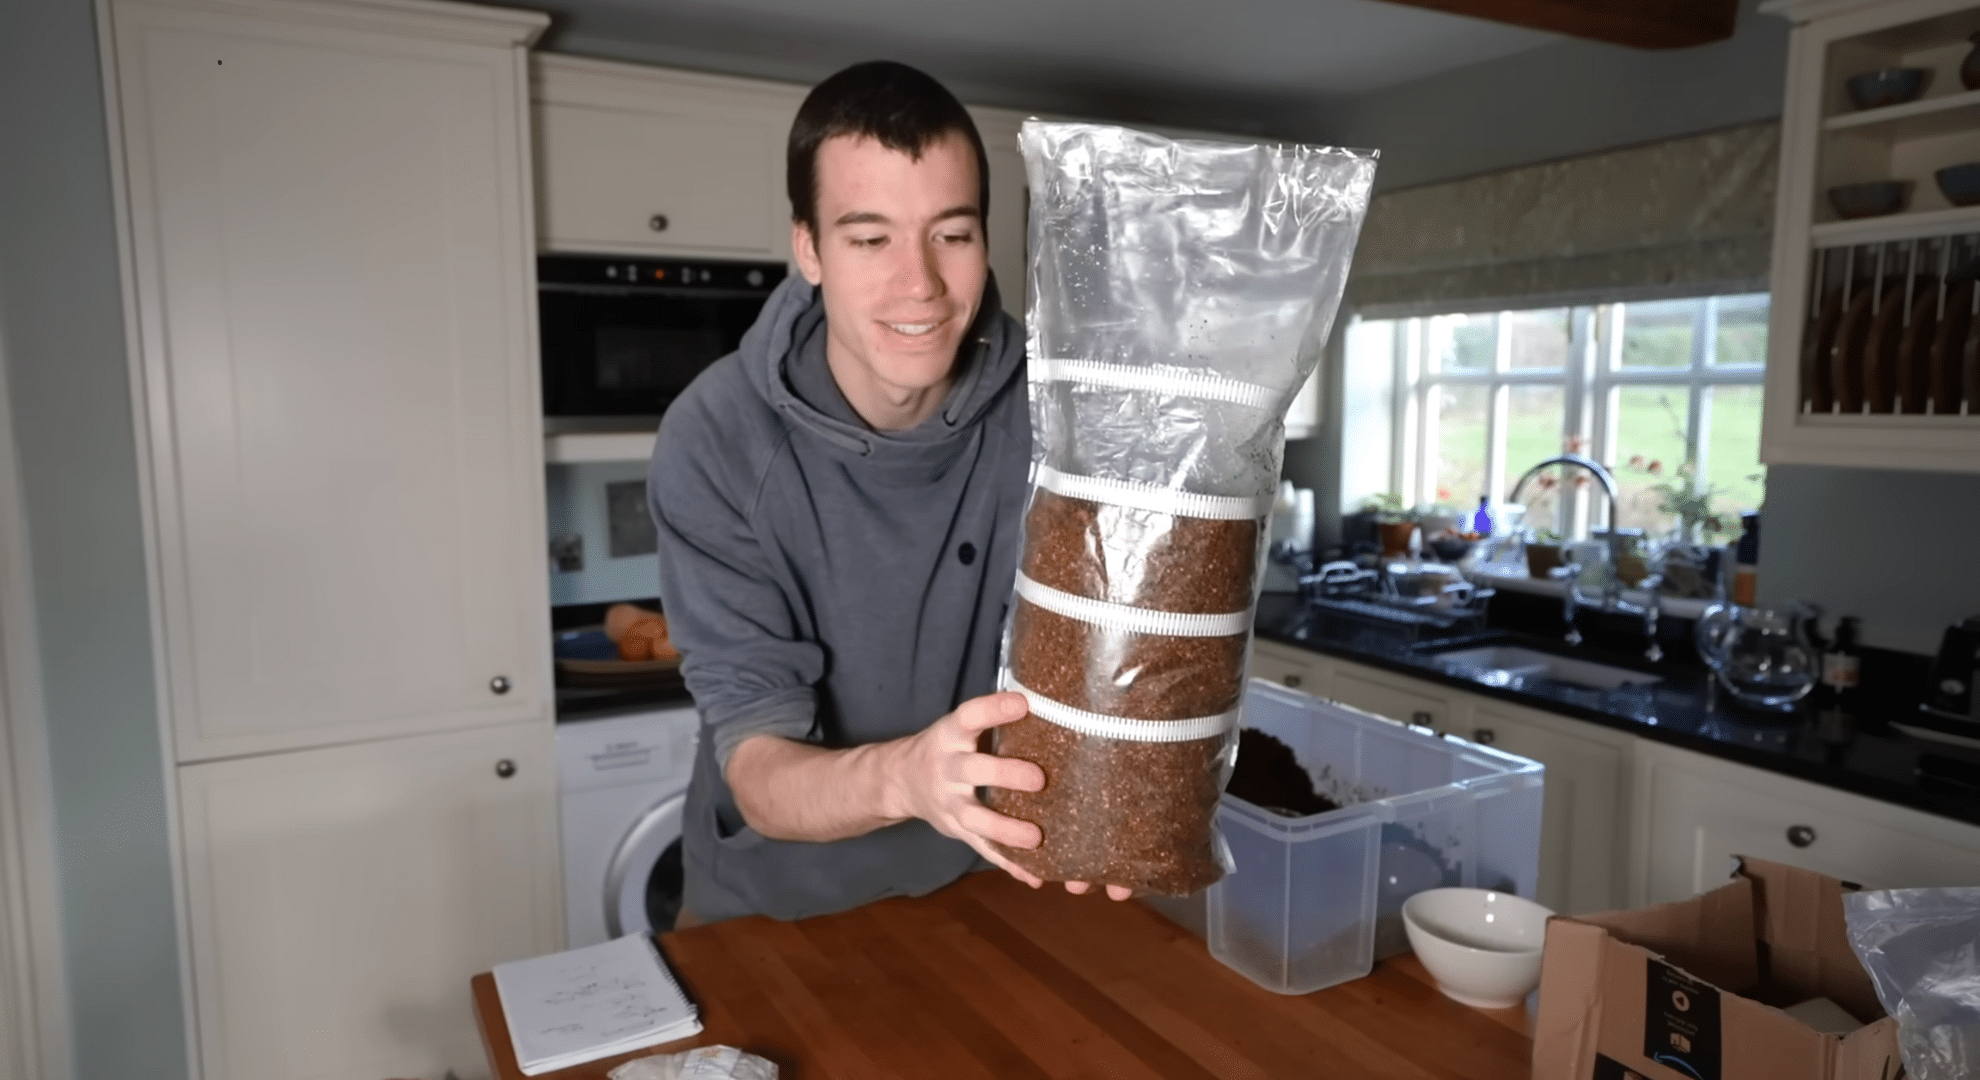
Pack the mixed straw and grain spawn into the grow bags. These bags have built-in filters that let air pass through while keeping harmful particles out.
Don’t pack too tightly. Seal each bag and label it with the date. This makes it easier to track how long the fungus has been growing inside.
Step 6: Let the Fungus Grow
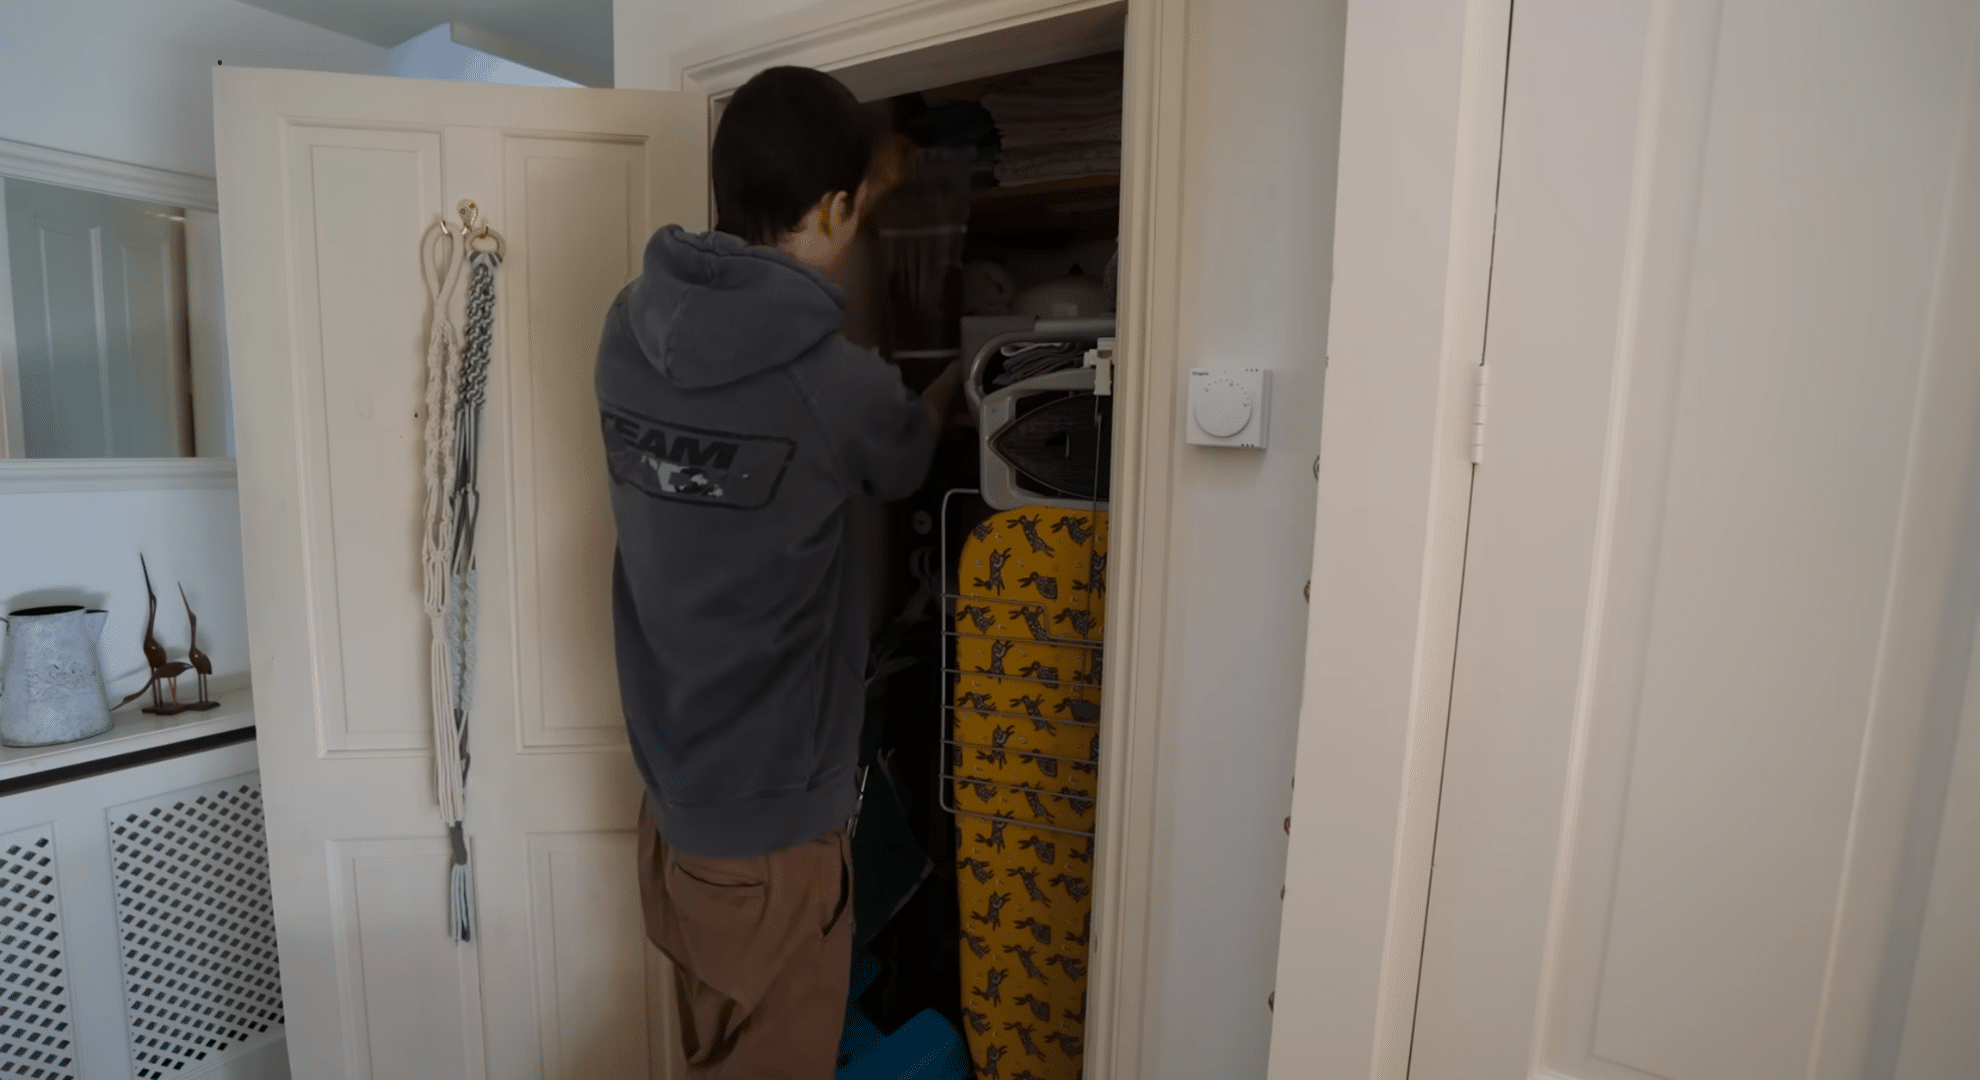
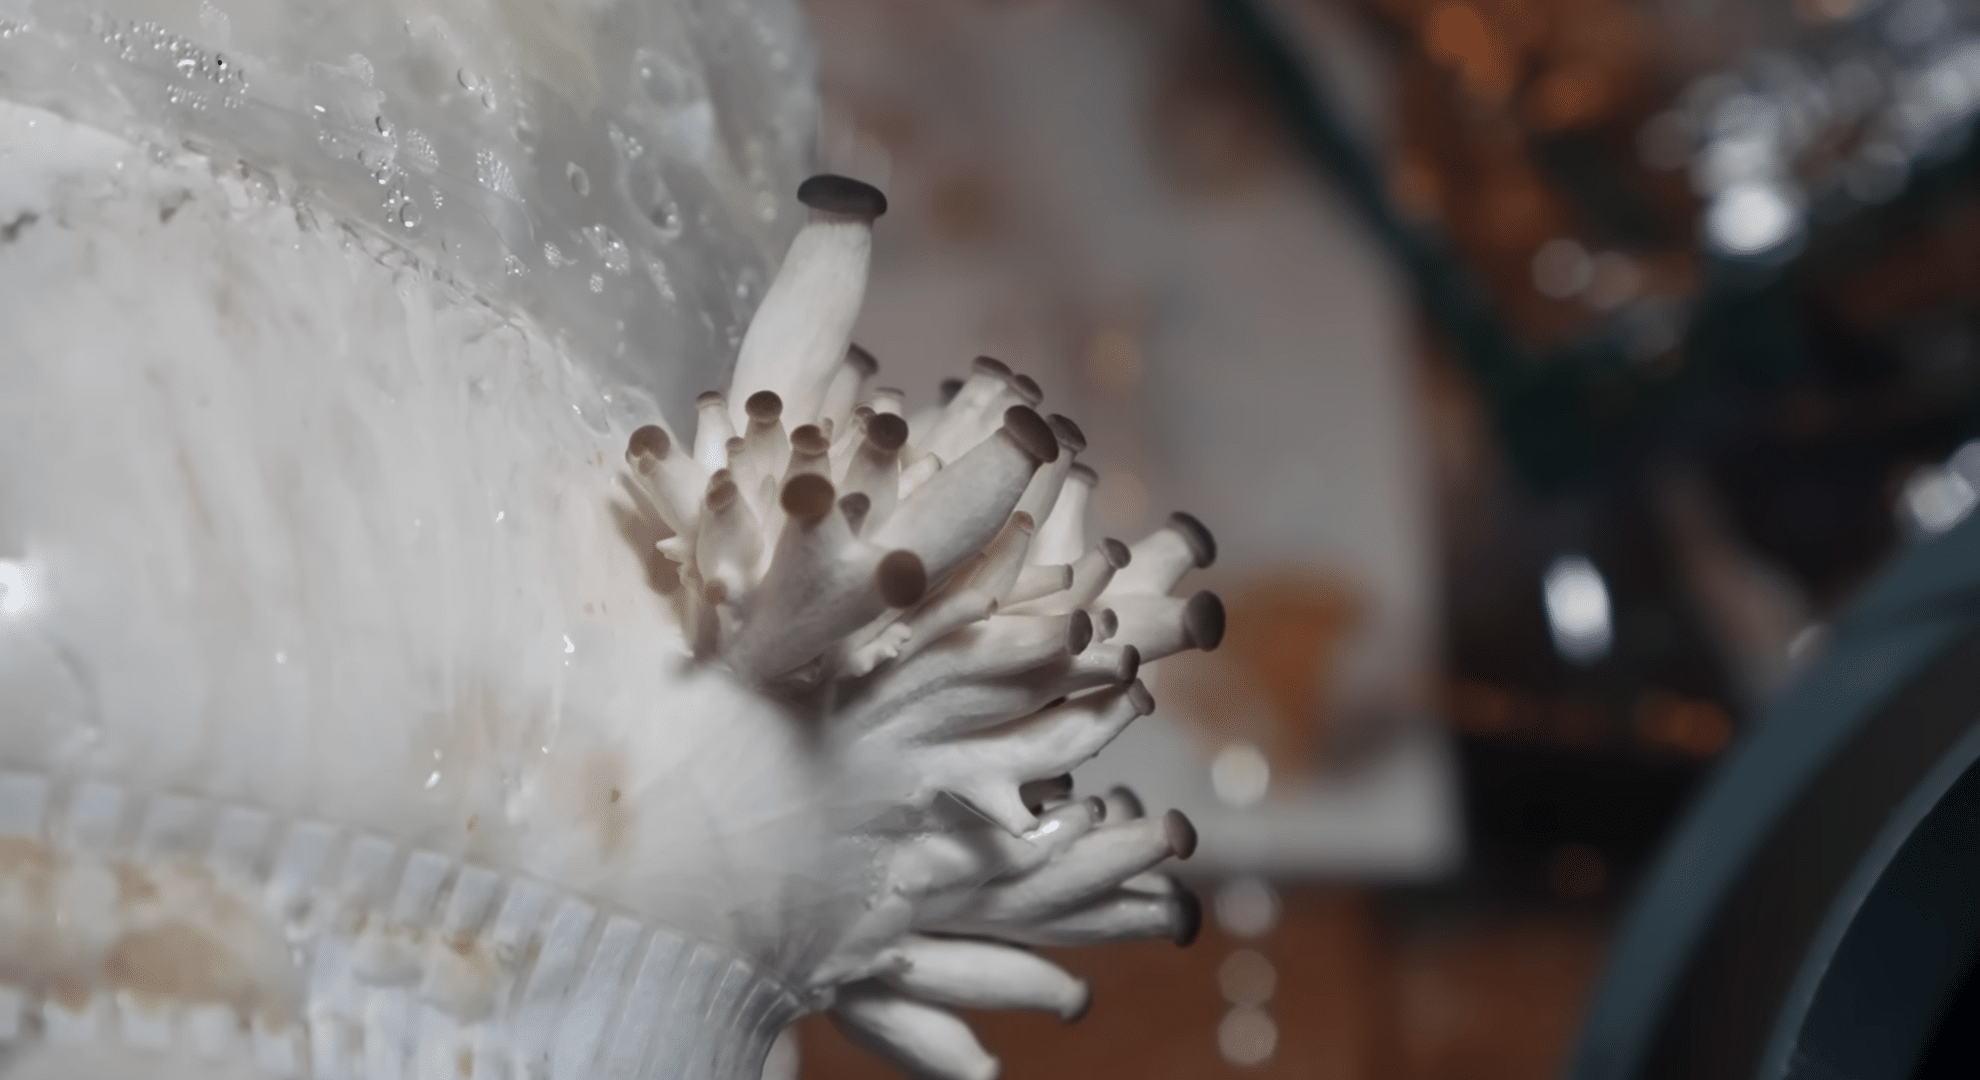
Place the sealed bags in a warm indoor spot. Light is not needed at this stage. Over time, white growth will spread through the straw. This white material is the mushroom fungus.
This stage can take days or weeks. Leave the bags alone and check them occasionally for steady white growth.
Step 7: Set Up the Fruiting Area
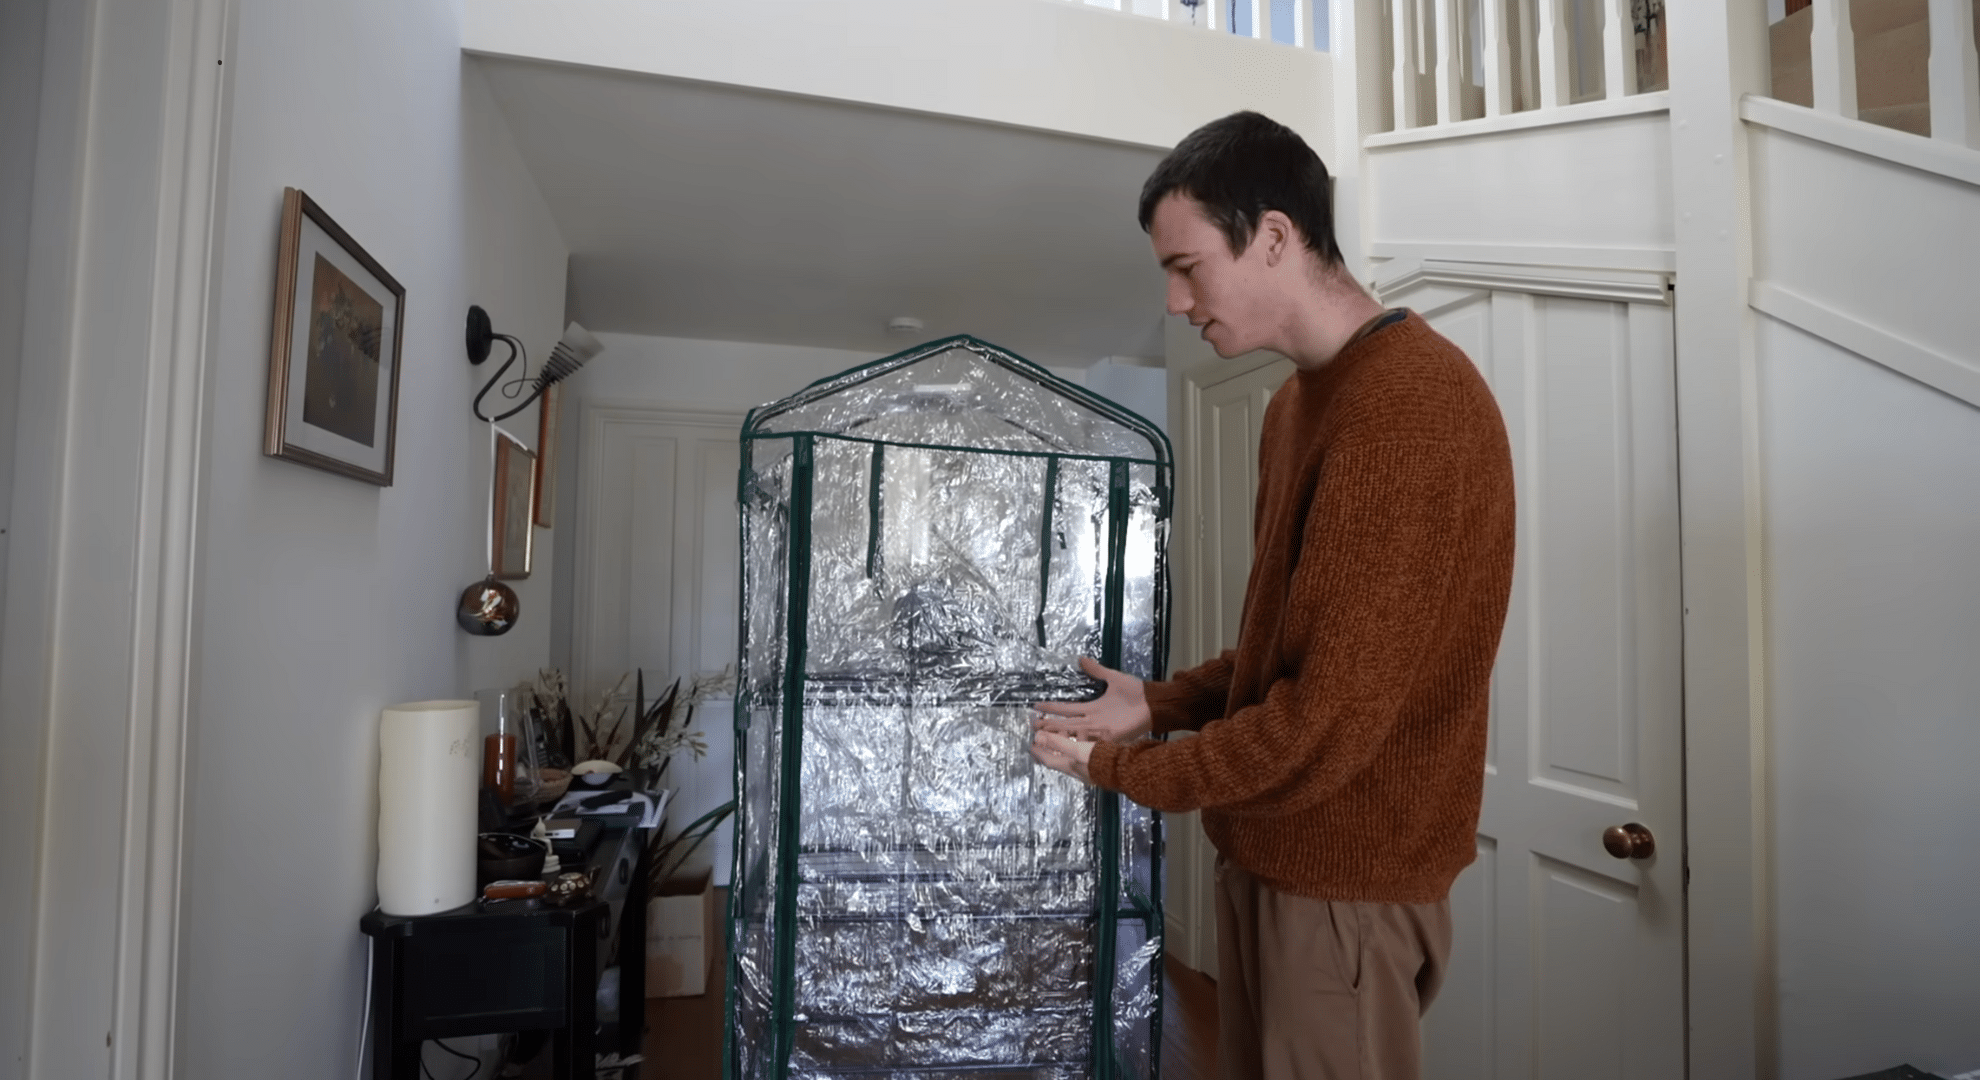
Mushrooms need moisture and fresh air to grow. Set up a small enclosed area that can stay damp while allowing airflow. This could be a simple tent or covered shelf.
Keep humidity high and air moving gently. This space helps signal the fungus that it’s time to start producing mushrooms.
Step 8: Move the Bags In
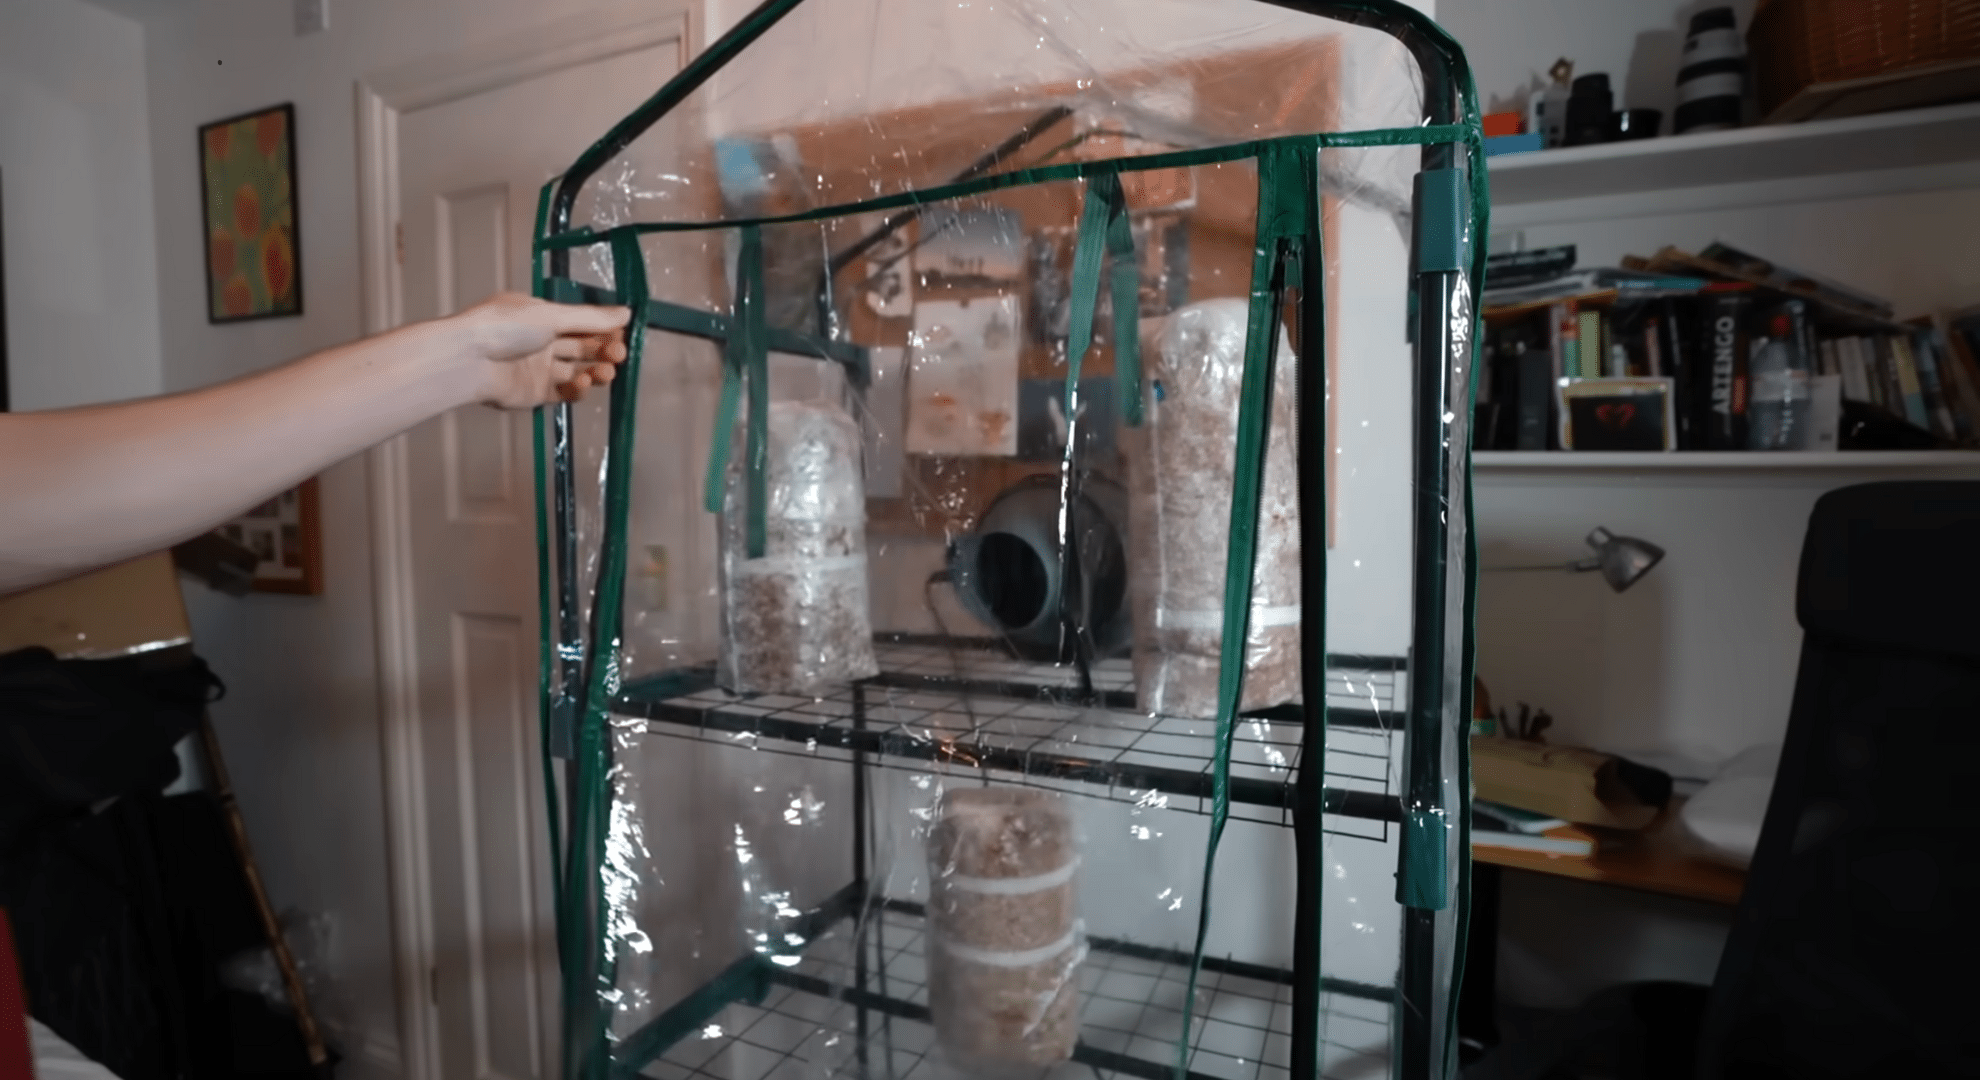
Once the bags are mostly white, cut small holes in them. These openings give mushrooms space to grow outward. Move the bags into the fruiting area.
Mist the space daily to keep moisture levels steady. This change in air and moisture encourages mushrooms to begin forming at the holes.
Step 9: Watch for Growth
Check the bags every day. Mushrooms grow quickly and can change overnight. If they look thin or stretched, increase fresh air. If they dry out, add more moisture.
Small adjustments help improve results. Watching closely at this stage helps you learn how mushrooms respond to their environment.
Step 10: Harvest and Use
When mushrooms reach full size, cut them cleanly at the base. Use them fresh in meals or store them for a short time. Some bags may produce more than one harvest if kept moist.
Once finished, the leftover growing material can be added to compost or garden soil.
If you prefer watching, you can check out the full video tutorial here and follow along step by step.
The Best Mushrooms to Start With
Starting with the right mushroom matters more than people think. Some types grow fast and handle small mistakes. Others don’t. Picking the wrong one early often leads to frustration and wasted effort.
The goal here is simple: start with mushrooms that give you clear signs of progress and room to learn.
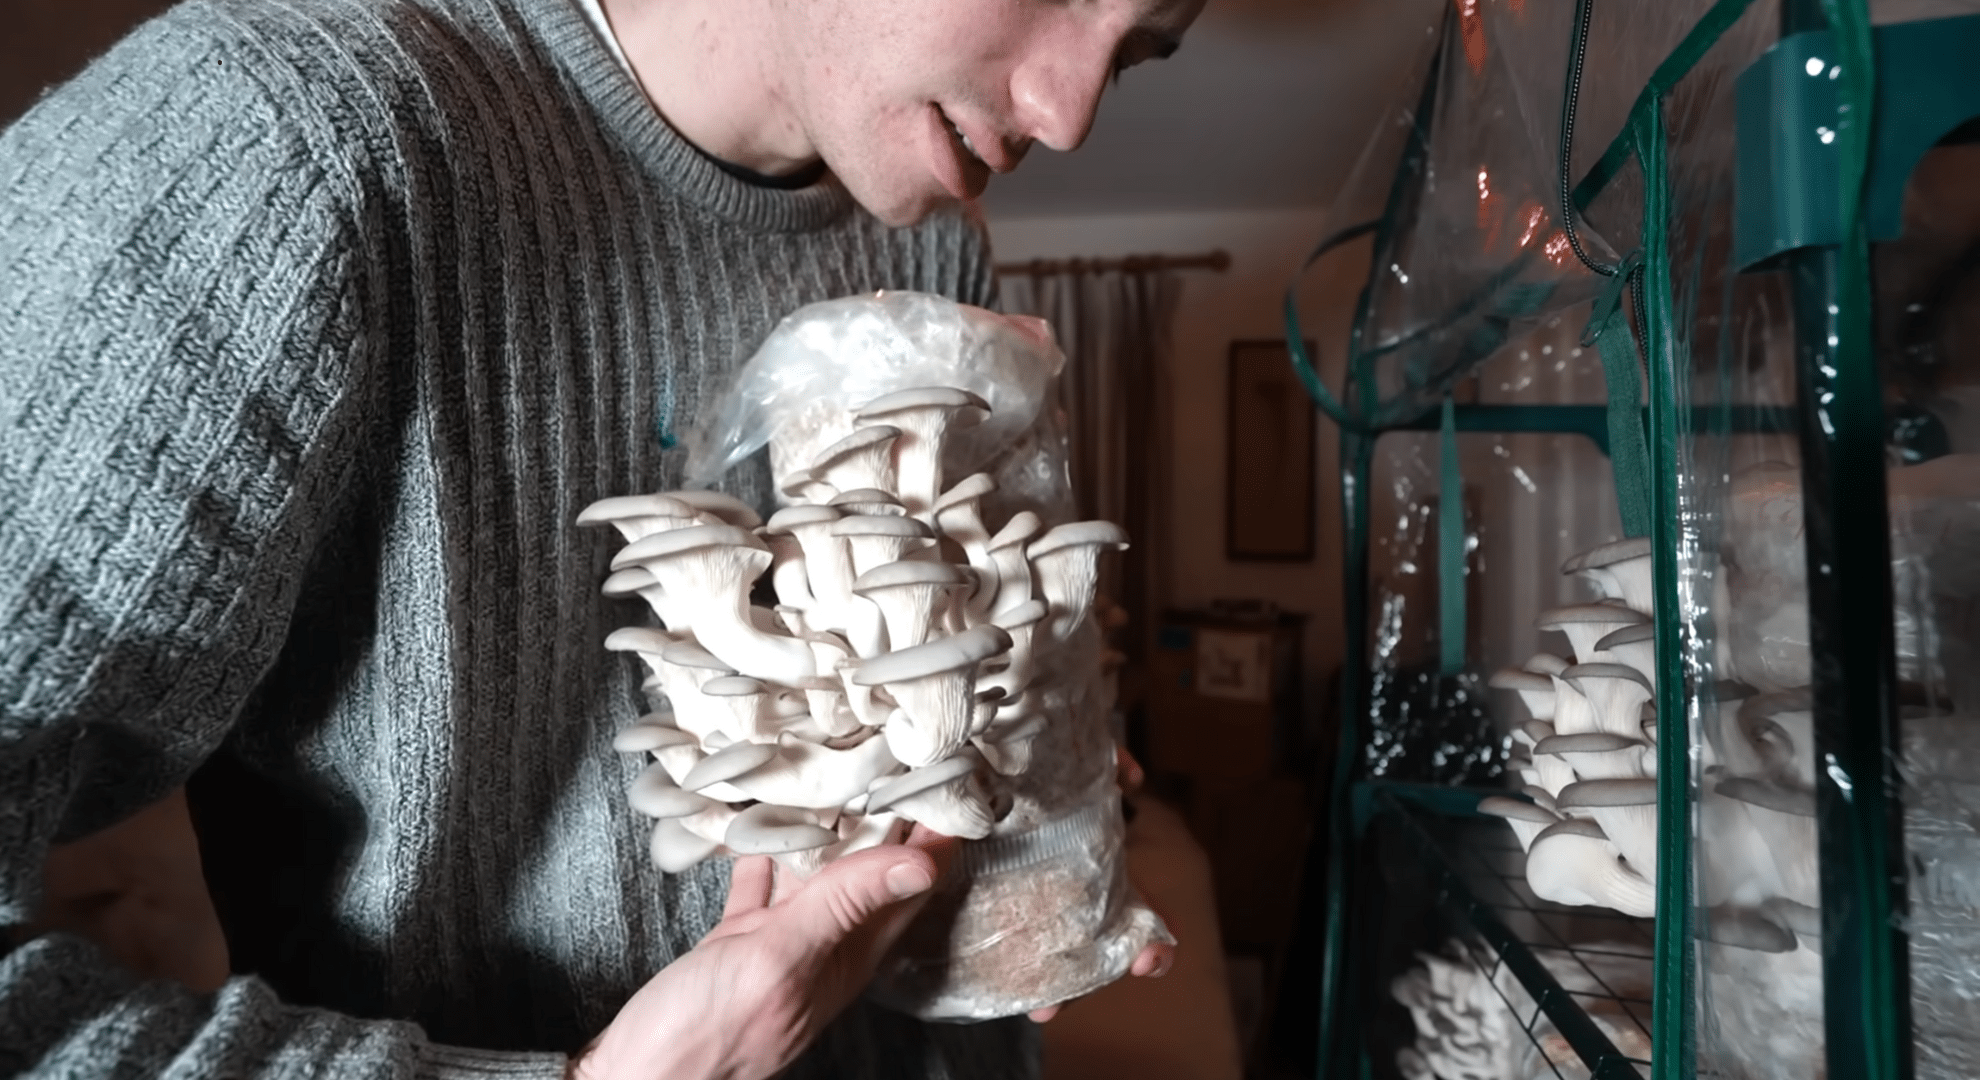
Oyster Mushrooms
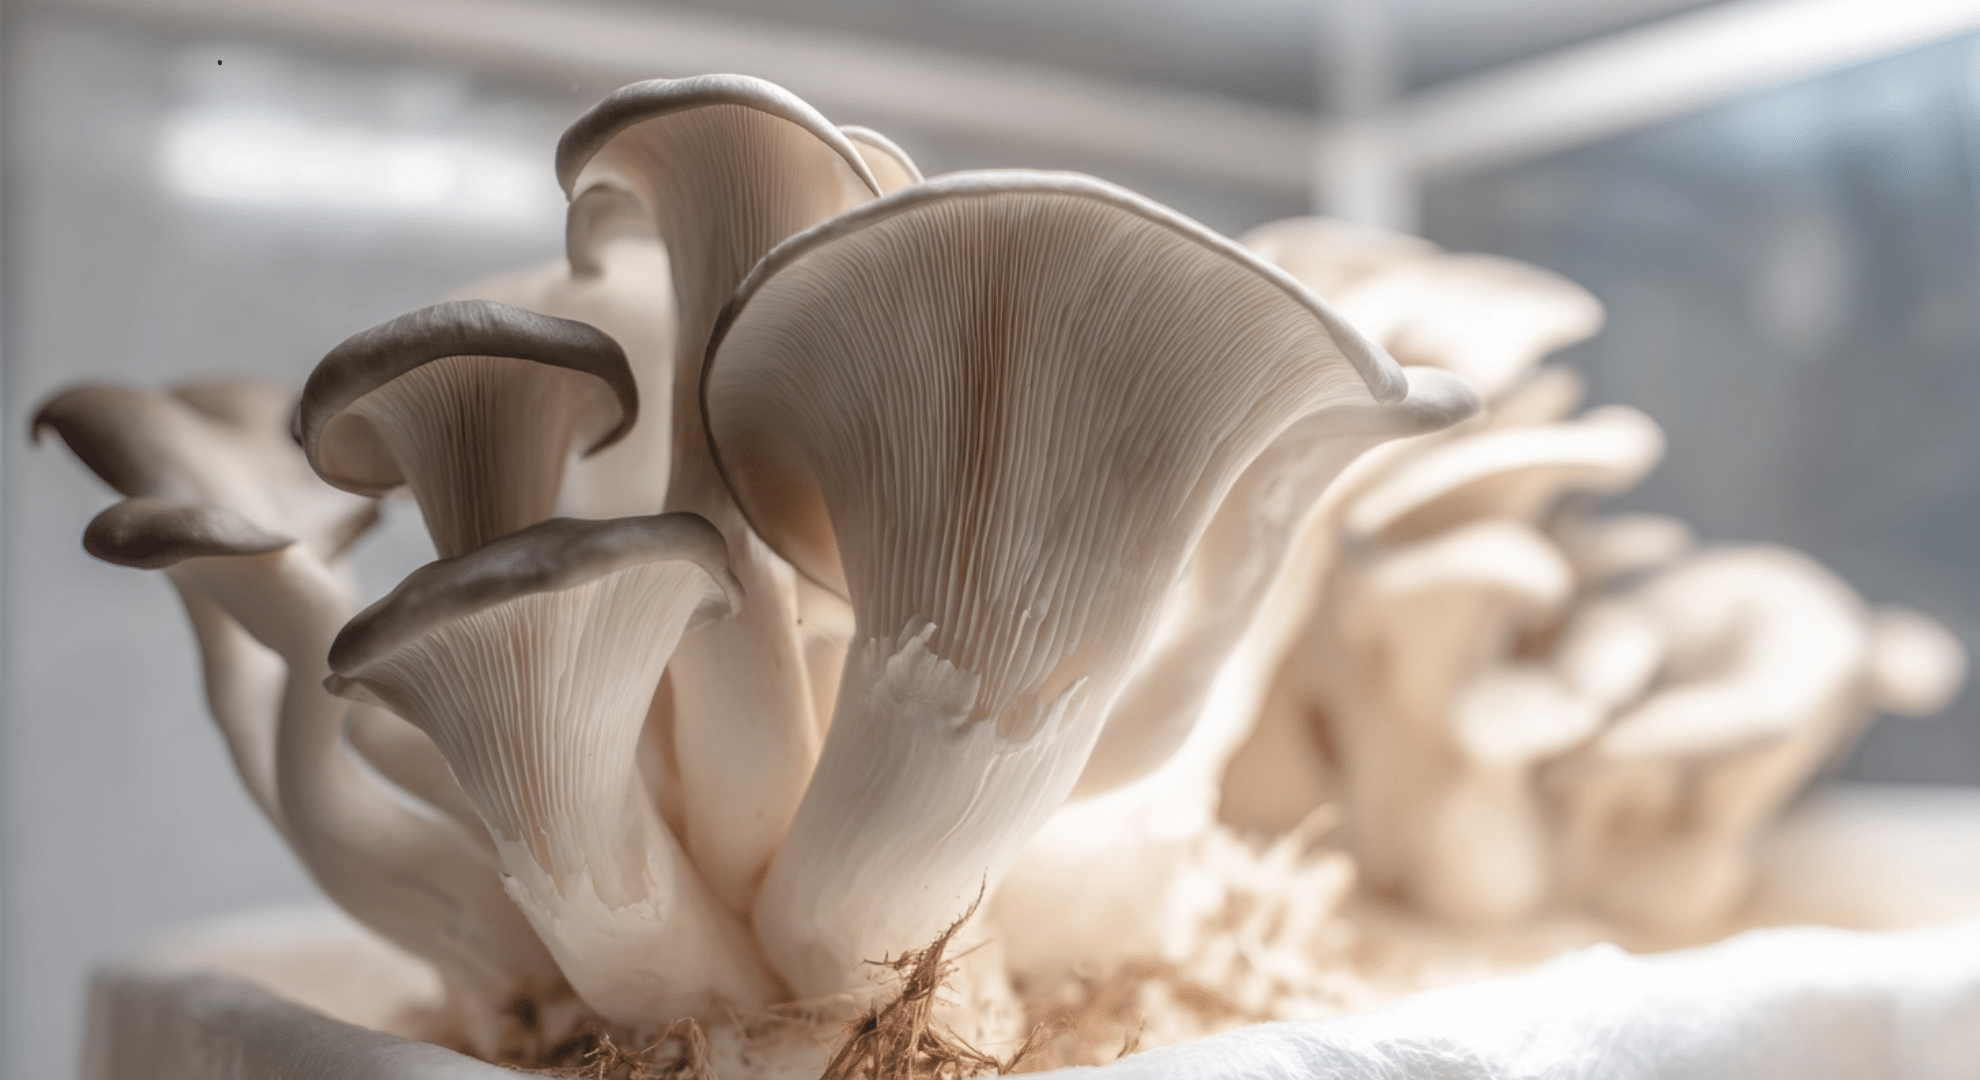
Oyster mushrooms are forgiving. That’s the biggest reason they work so well for beginners. They handle changes in moisture and fresh air better than most types. If conditions aren’t perfect, they often still grow.
They also grow fast. In many cases, you’ll see growth within one to two weeks. That quick feedback helps you stay motivated and learn what’s working.
Oyster mushrooms do well indoors. They don’t need special temperatures or strict timing. They grow on many materials and are easy to spot when something goes wrong. That makes them a strong first choice.
Shiitake Mushrooms
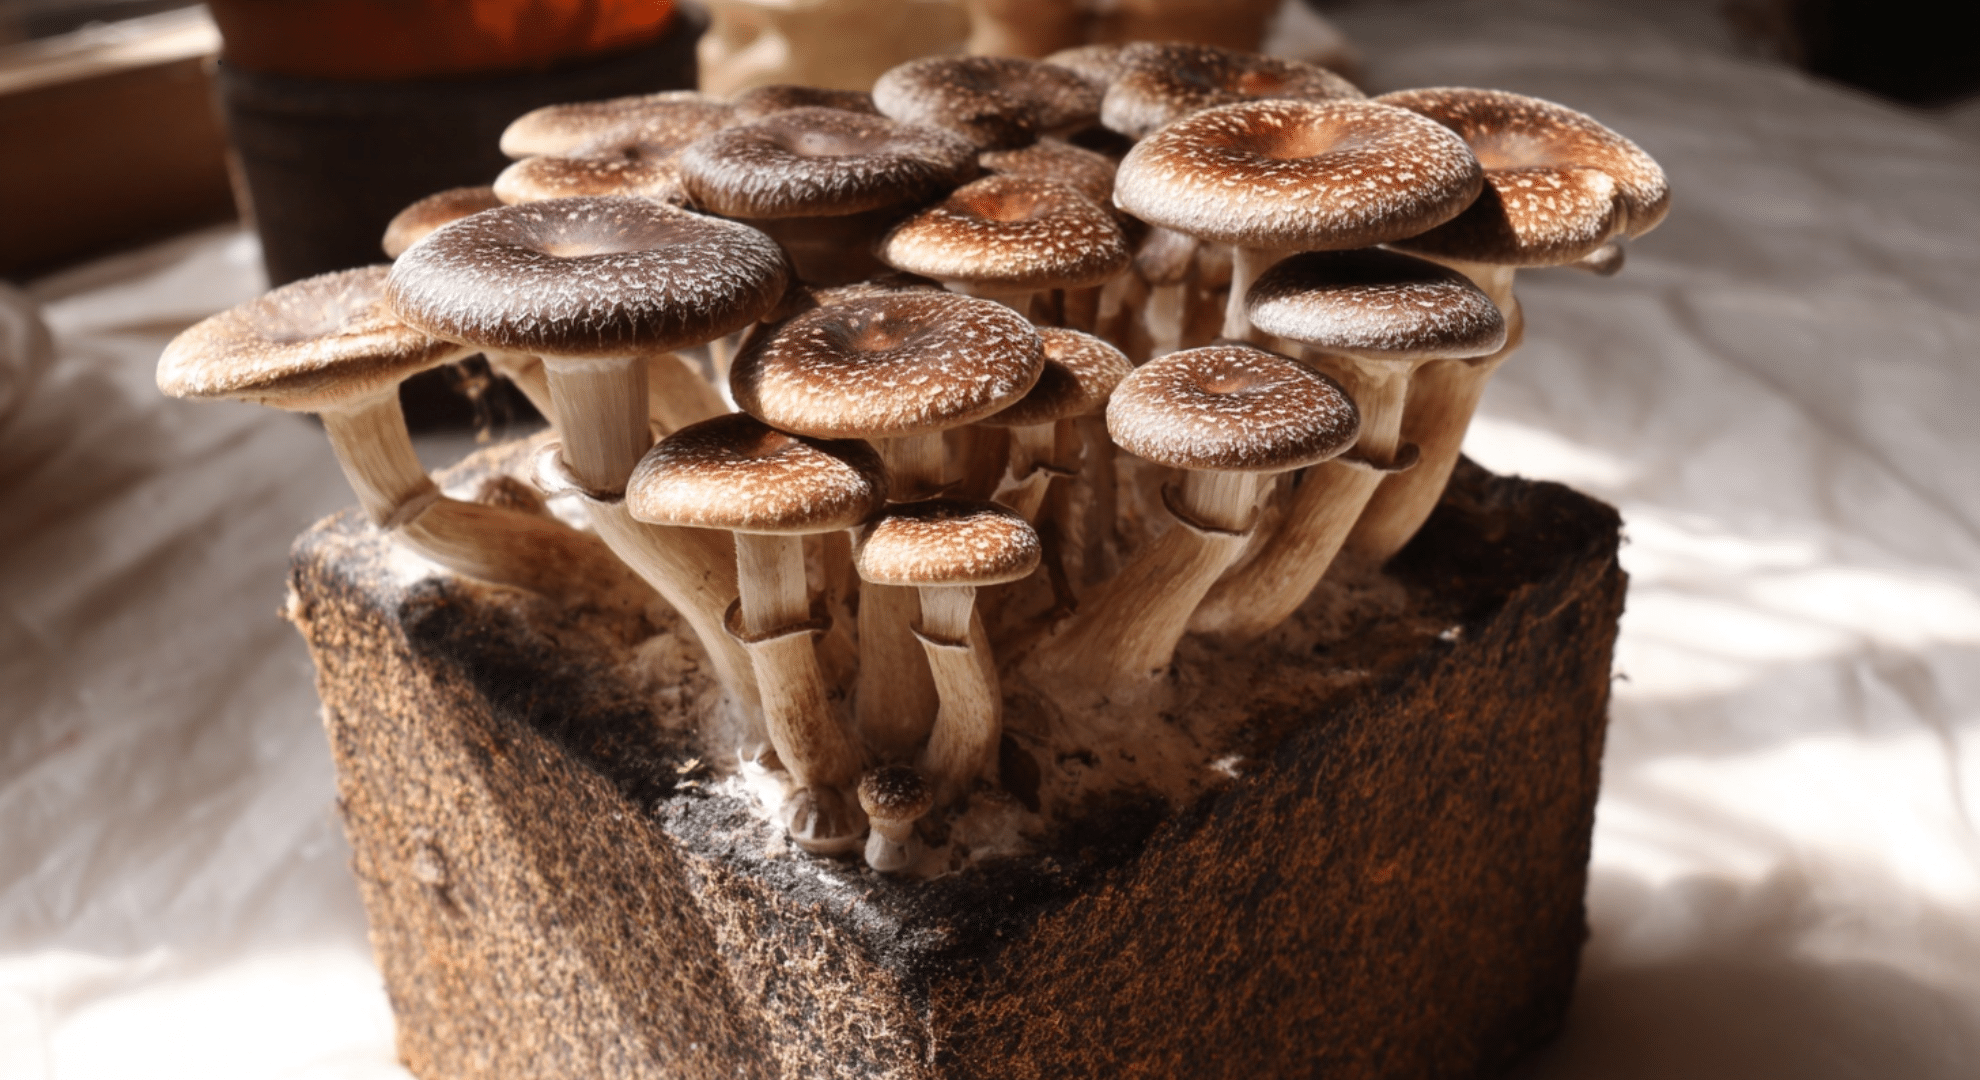
Shiitake mushrooms are best after you’ve had one success. They’re still doable at home, but they ask for more patience.
They take longer to grow and need more steady conditions. You may wait weeks before seeing results. This can feel slow if you’re brand new.
Once you understand moisture, airflow, and timing, shiitake mushrooms make sense as a next step. They reward patience, but they’re not ideal for a first try.
Mushrooms You Should Avoid as a Beginner

Some mushrooms sound easy online but aren’t realistic at home. Many wild types need outdoor conditions that are hard to copy indoors. Others need exact temperatures or special materials.
A common myth is that all mushrooms grow the same way. That’s not true. Some fail quickly if conditions are even slightly off.
Avoid mushrooms that need logs, strict cold cycles, or lab-style setups. Starting simple builds skill. You can always try harder types later, once you know what you’re doing.
Basic Conditions for Healthy Mushroom Growth
Mushrooms grow best when their environment stays steady. Most common edible mushrooms do well between 60°F and 75°F. You don’t need heat mats or special tools. A normal indoor room often works fine.
Humidity matters, but too much water causes problems. The goal is damp air, not soaked material. Light misting once or twice a day is usually enough. If water pools or drips, that’s too much.
Airflow is often ignored, but it’s important. Mushrooms need fresh air to grow strong and full. Stale air leads to thin or weak growth. Gentle airflow works better than strong fans.
Avoid direct sunlight. Mushrooms don’t need it and can dry out fast. Also, avoid sealed containers. Without air exchange, growth stall,s and mold can appear.
How Long Does It Take to Grow Mushrooms
The time it takes to grow mushrooms depends on the type you choose and the setup you use. Most home growers see results faster than they expect, but it still takes patience.
For easy types like oyster mushrooms, the full process often takes three to five weeks. The first part is when the fungus spreads through the growing material. This stage can take one to three weeks and happens quietly.
Once the fungus fills the bag, mushrooms start forming. This final stage moves fast. In good conditions, mushrooms can grow to full size in just a few days.
Other types, like shiitake, take longer. They may need six to ten weeks before the first harvest.
Temperature, moisture, and fresh air all affect timing. Small changes can slow things down or speed them up. Slow growth does not always mean failure.
Many successful grows take time.
Beginner Issues and Simple Fixes
Most problems show up early, and that’s normal. Mushroom growing is hands-on, and small mistakes are part of learning. The key is knowing what the problem means and how to correct it without panic.
- Green or black growth: throw the bag away and clean the area
- Dry mushrooms or cracked caps: increase misting slightly
- Long, thin mushrooms: add more fresh air
- No growth after weeks: check temperature and moisture
- Bad or sour smell: stop the growth and discard it
- Water pooling in bags: mist the air, not the grow block
- Slow growth: stay patient and avoid changing too many things
Most fixes are simple once the cause is clear. One failed bag doesn’t mean you did everything wrong. Each issue teaches you what to adjust next time, and that’s how steady improvement happens.
Is It Worth Growing Mushrooms at Home?
This question comes up for a reason. Growing mushrooms at home does take time, space, and attention, so the value depends on what you expect.
Cost-wise, the first grow often costs more than buying mushrooms at the store. Kits, bags, and supplies add up. Over time, though, costs drop if you reuse tools and grow more than once. You’re paying less per batch as you learn.
Yields are usually modest at first. A beginner grow may give a few meals, not a full pantry. That’s normal. The real value early on is learning how mushrooms grow and gaining control over freshness and quality.
It makes sense if you enjoy hands-on projects, want fresh mushrooms often, or like knowing where your food comes from. It may not be a good fit if you want quick results, zero effort, or large harvests right away. For many people, the value grows with experience.
What to Do After Your First Harvest
After your first harvest, take a moment to slow down and check what you have. Cut mushrooms cleanly at the base and use them soon for the best taste. If you’re not cooking right away, store them in a paper bag in the fridge. Avoid sealed plastic, as it traps moisture.
Next, don’t throw the grow bag out yet. Many setups can produce more mushrooms. Lightly mist the area and keep the same growing conditions. A second or even third harvest is possible.
Pay attention to what worked. Note the room temperature, airflow, and how often you misted. This helps you improve next time.
When the bag stops producing, add the used material to compost or garden soil. It still has value. Each harvest builds skill and confidence.
Conclusion
I wrote this guide because I wanted mushroom growing to feel clear and doable, not confusing or stressful. When I started learning, I needed plain steps, honest limits, and real expectations.
What stuck with me most was how much progress comes from staying clean, patient, and consistent. You don’t need perfection. You need attention and time. That alone takes you far.
Now you’re in a better spot to act. You know what to grow, what to avoid, and what success really looks like. Start small and keep notes. Let each step teach you something new.
Growing mushrooms at home works best when you stay steady and curious.
If this helped you feel more ready, keep going. Check out the other blogs here to build skills, fix problems faster, and grow with confidence!


One Response
I’m interested in going button mushrooms and I wanted to know if they were easy one to grow I guess