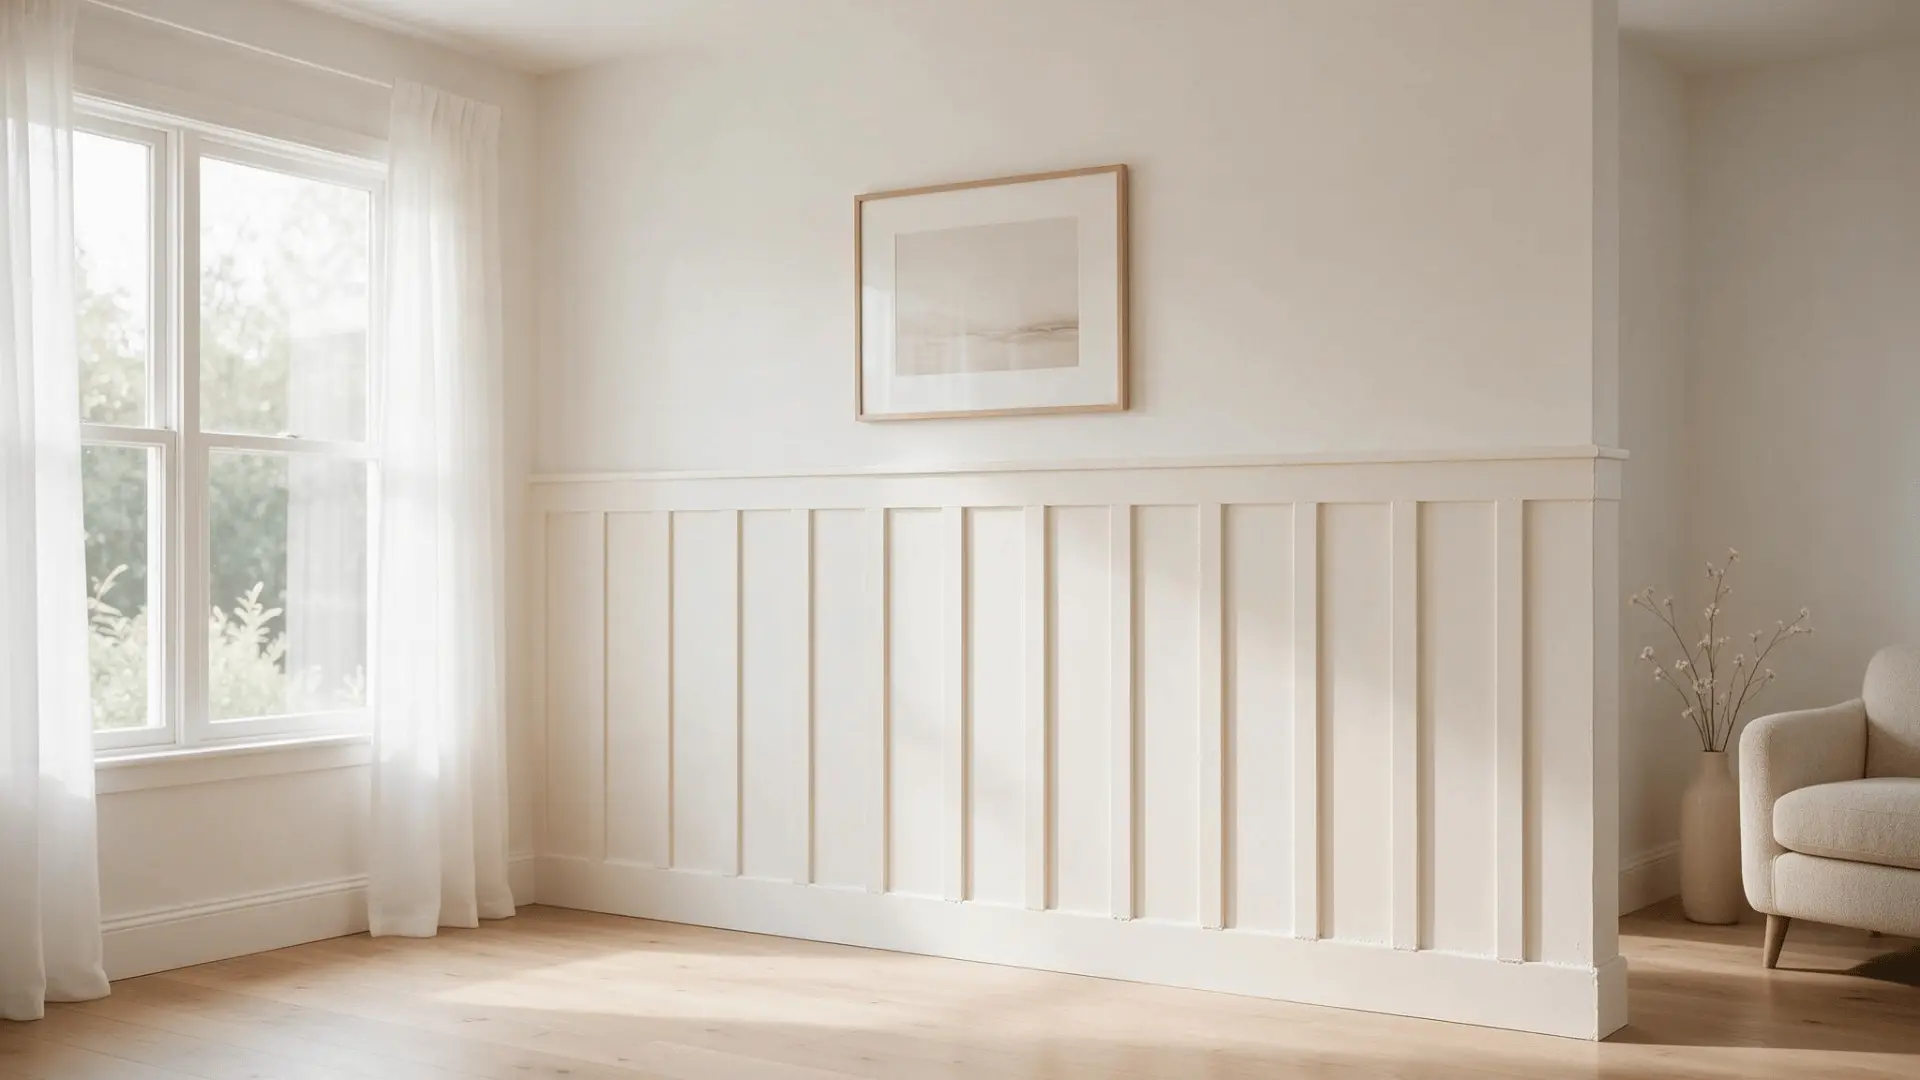
A plain wall can look flat, but a bit of trim fixes that easily. A diy board and batten wall gives flat walls some shape and style. Anyone can build one, even without much experience or fancy skills.
It fits almost any room and matches any style you already have. I tried it in my own hallway and really liked how it turned out.
My favorite part was picking a design that matched my style. It adds warmth to a room without a big renovation.
It works well in bedrooms, hallways, and small entryways. It gives plain walls a fresh new look in no time. Start planning your new wall design today.
What Can Board and Batten Do for a Room?
Board and batten adds real depth to a wall that would otherwise look flat. The raised lines create shadows and texture you can actually see.
It also helps break up large blank walls that can feel empty or plain. Instead of one flat surface, your eye has something to follow.
In basic builder-grade rooms, it adds character that paint alone can’t match. The room starts to feel more finished and thought out.
It can also draw attention to certain areas, like behind a bed or above a fireplace. That structure makes furniture and decor feel anchored, not like they’re floating in space.
This look pairs especially well with farmhouse-style interiors, where the vertical lines echo the same classic architectural details.
Types of Board and Batten Styles You Can Build
Board and batten comes in a few different styles, and each one fits a different space. Here’s a quick breakdown of the most common types:
|
Board and Batten Type |
Best For |
Installation Method |
|---|---|---|
|
Half-Wall Board and Batten |
Living rooms, hallways; classic, traditional look |
Glue-up |
|
Full Wall Board and Batten |
Accent walls, entryways; bold, dramatic coverage |
Nail-in |
|
Bathroom Board and Batten |
Moisture-prone rooms; requires PVC or sealed wood |
Glue-up |
|
Board and Batten Ceiling |
Statement ceilings; unique architectural detail |
Full framing |
|
Staircase Board and Batten |
Stairwells; adds texture to awkward angles |
Full framing |
Your room’s purpose and your comfort level with tools should guide your pick. Once you choose a style, the rest of the project gets a lot easier to plan.
Everything You’ll Need to Build Your DIY Board and Batten Wall
Before a single cut is made, having the right supplies on hand is what separates a rushed-looking project from a polished one. And the good part is, you won’t need to stock an entire garage to get there.
Below is a simple list of what to grab:
Materials:
- MDF Battens (3.5” wide)
- Square Trim/Border Pieces
- Construction Adhesive (Liquid Nails style)
- Finish Nails
- Paintable Caulk
- Wood Filler
- Primer and Paint
Tools:
- Stud Finder
- Tape Measure
- Level
- Saw with Bevel Function
- Caulk Gun
- Paint Roller
How to DIY a Board and Batten Wall: Step-by-Step Installation Guide
Time to turn a stack of plain boards into a finished feature wall. This process sticks to simple materials and techniques anyone can pick up; no advanced woodworking needed.
Let’s go through it step by step.
Step 1: Measure and Mark the wall
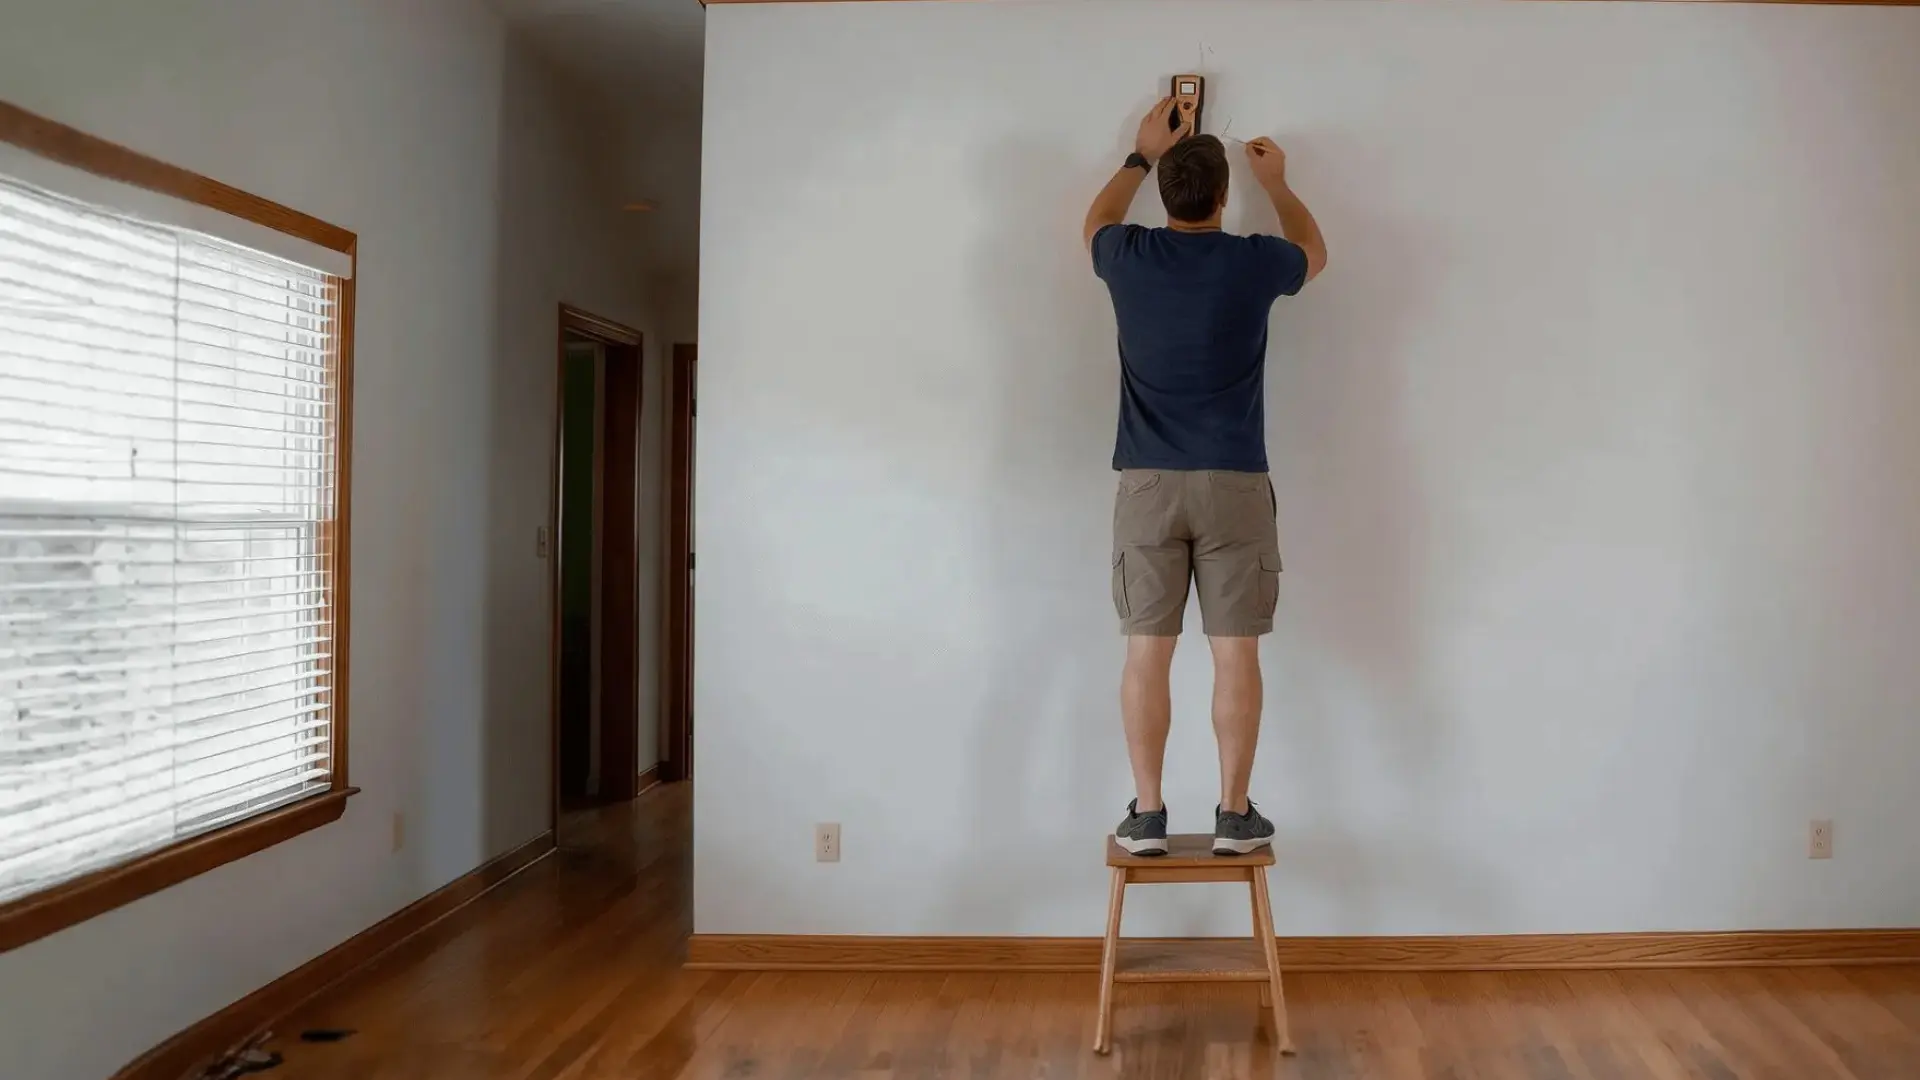
Measure the full height of your wall from floor to ceiling, and don’t assume both ends are identical. Walls settle unevenly over time, so check the height at a few different points before you commit to a number.
I’ve measured a wall that looked level and still found a half-inch gap between corners. This single measurement decides your batten length, spacing math, and how your border pieces get cut.
Step 2: Cut and Install the Border Pieces
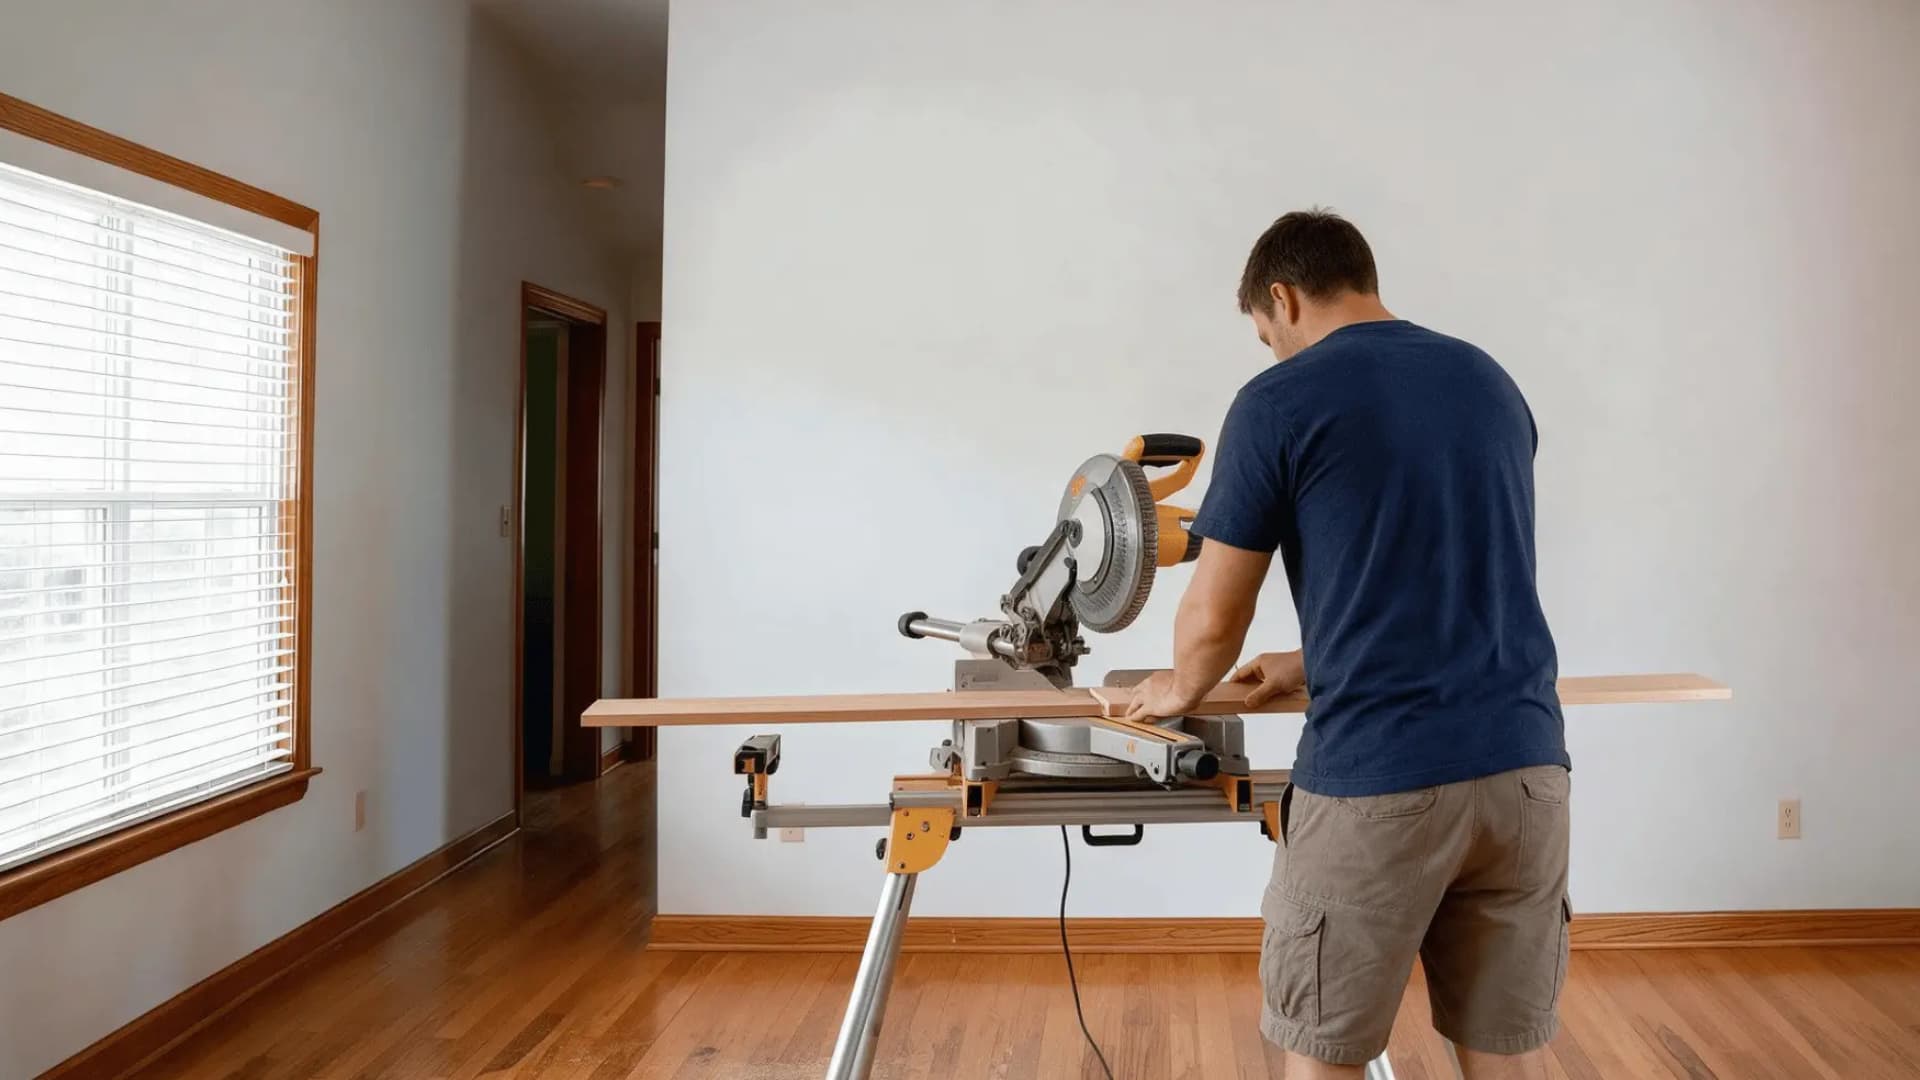
Cut your top and bottom border pieces at 45 degree angles so the corners sit flush against each other with no visible seam.
Stagger the longer pieces on top and bottom so the seams fall in different places instead of lining up in the same spot.
I learned this after my first wall had every seam meeting at the same point, which was obvious from across the room. It keeps the wall from looking pieced together.
Step 3: Locate Studs and Mark Batten Spacing
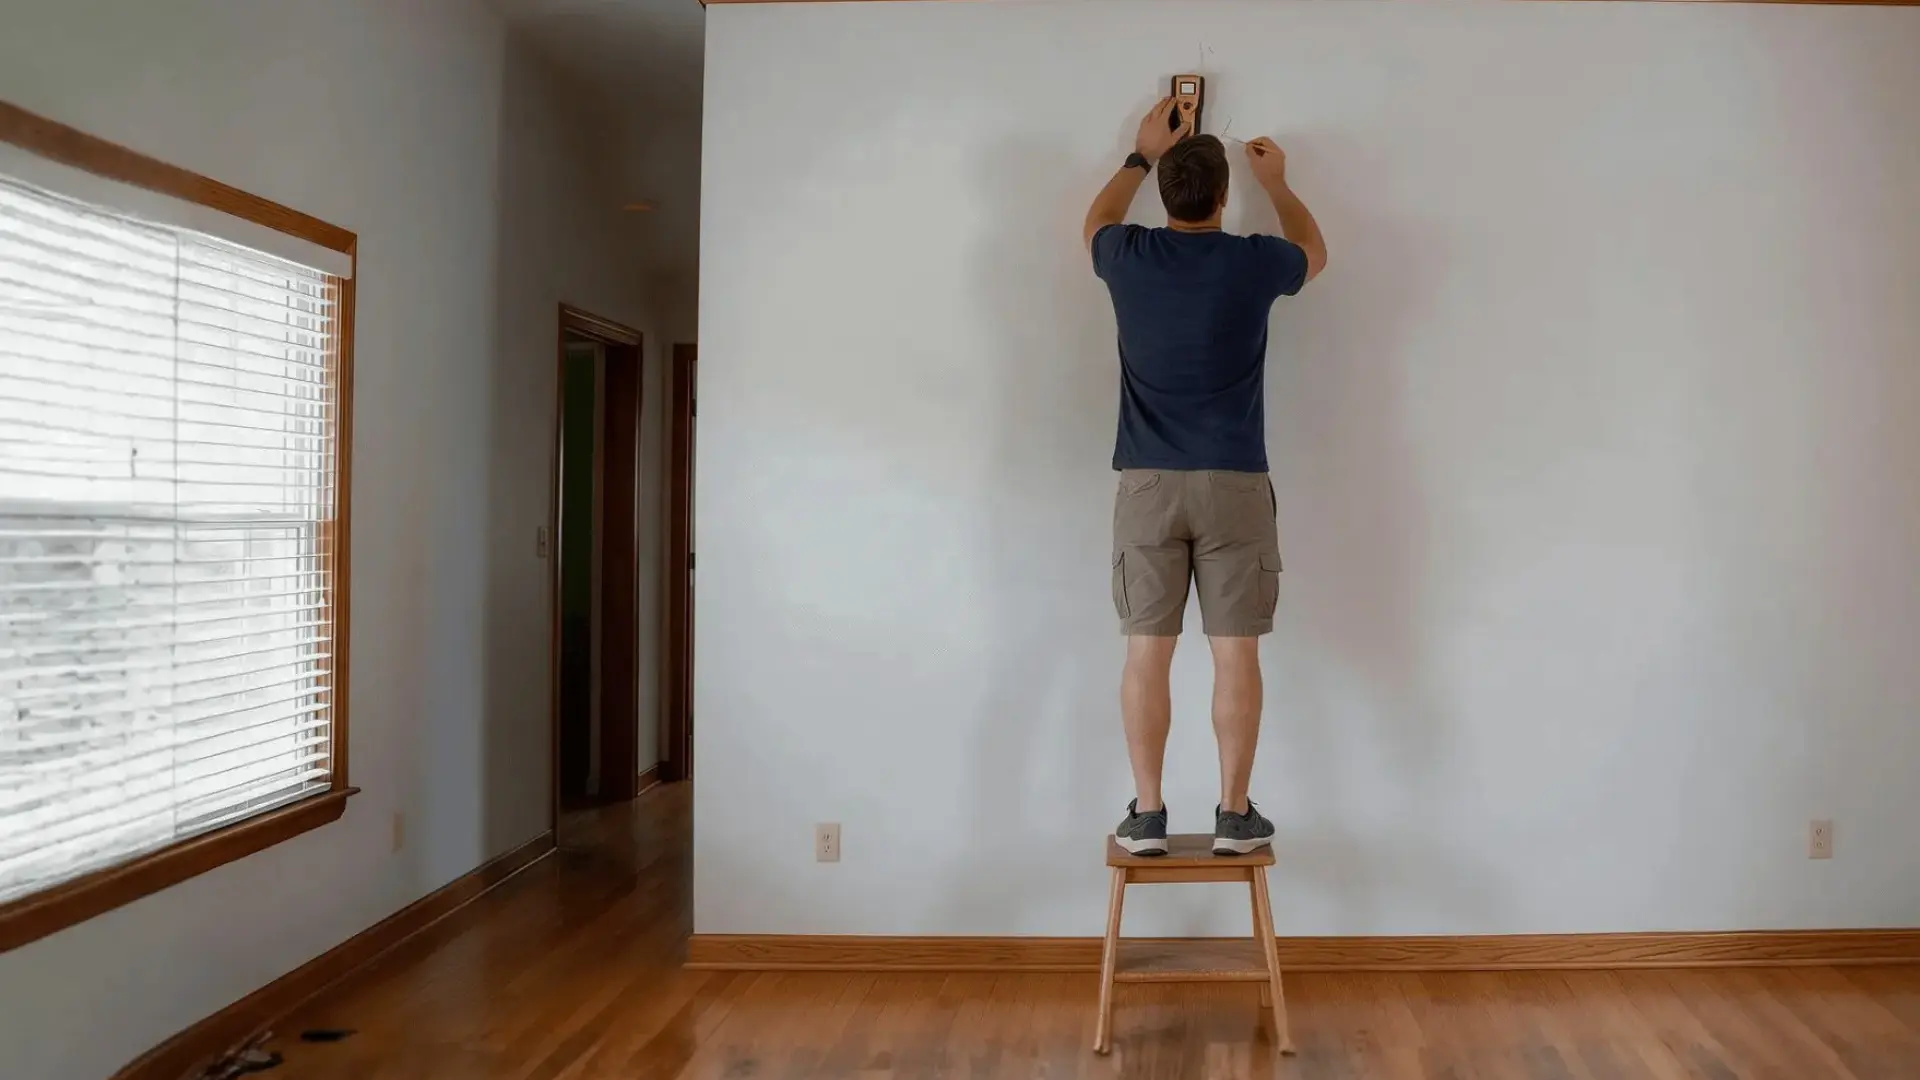
Run a stud finder across the wall and mark every stud you find, since securing into solid wood gives your battens extra hold beyond adhesive alone.
Work out your spacing by subtracting the total batten width from the full wall length, then dividing what’s left by the number of gaps.
My math rarely comes out to a clean number, so I stopped expecting it to. Expect the numbers to come out slightly uneven.
Step 4: Cut a Spacer and Dry Fit Your Battens
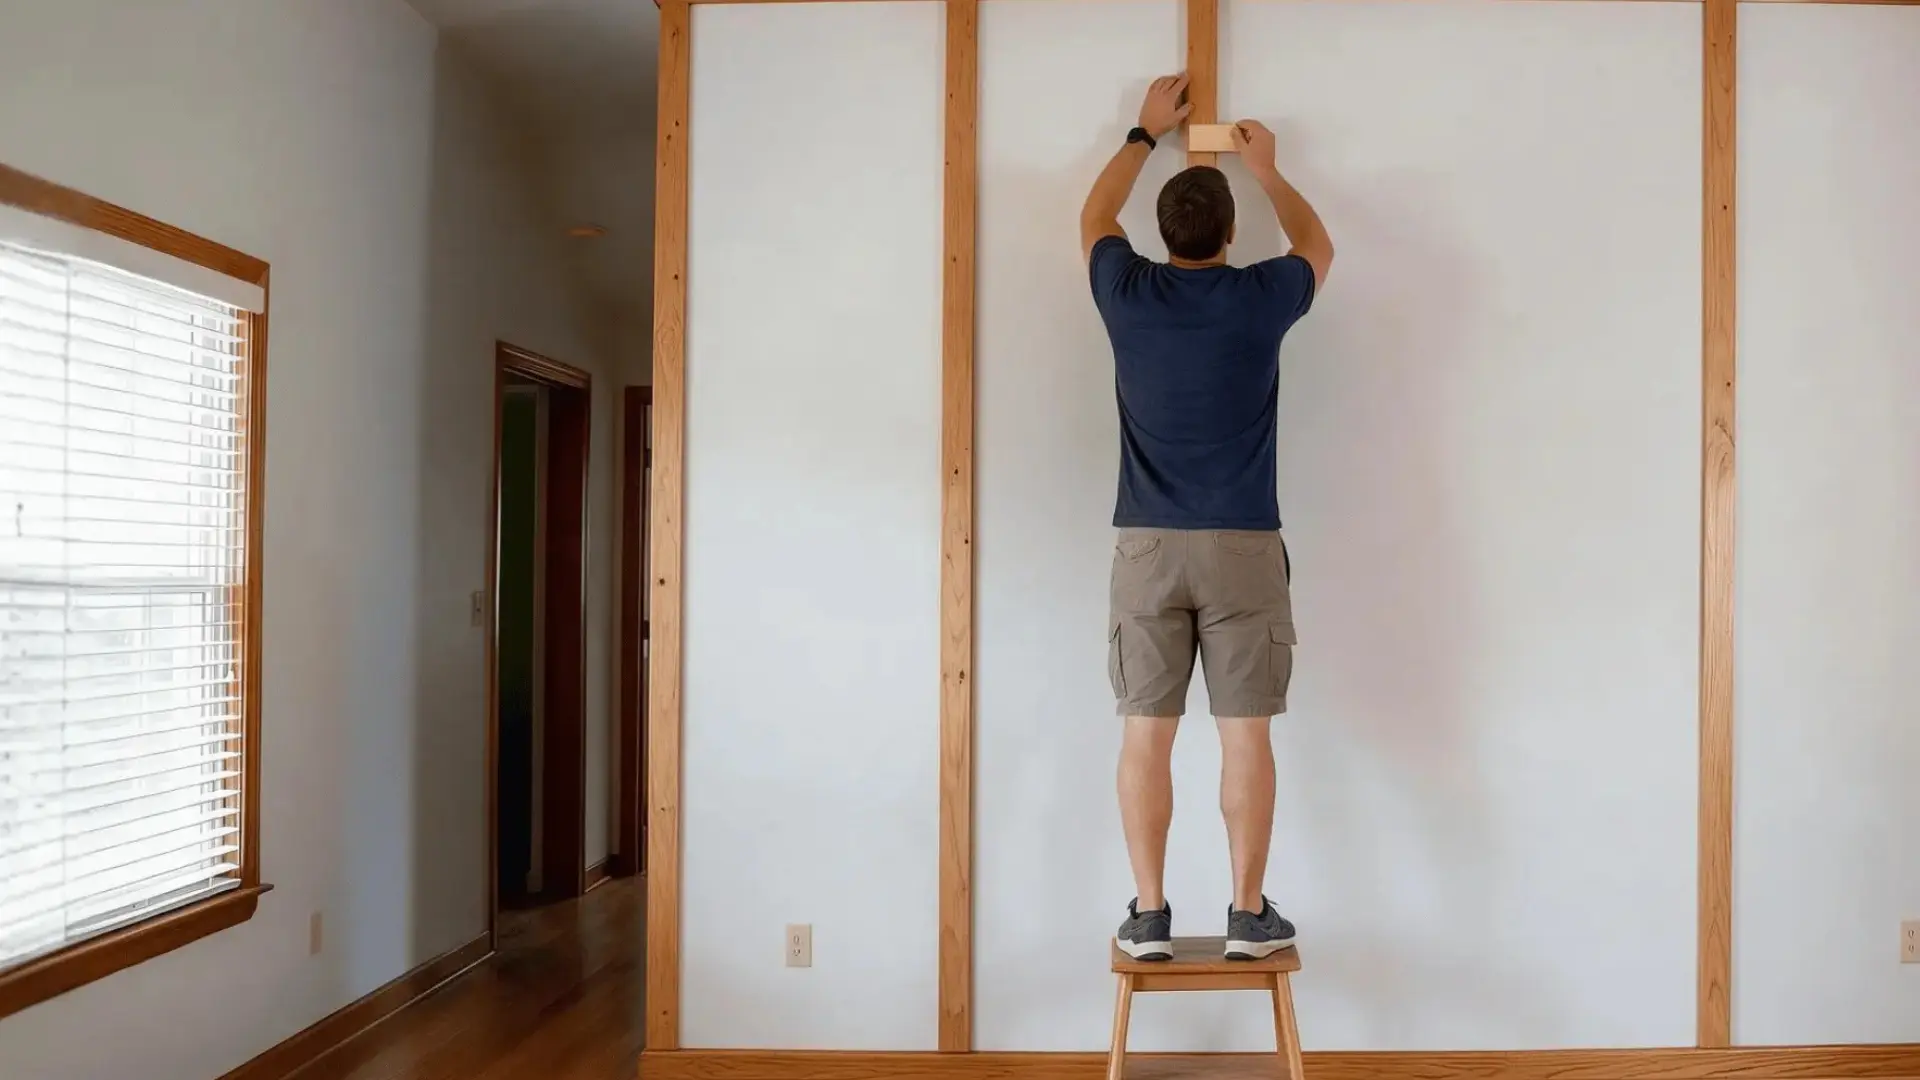
Cut one spacer to match your calculated gap width so you’re not pulling out a tape measure before every single batten.
Dry fit each piece against the spacer first, checking that it sits flush and doesn’t need trimming, before you commit to any adhesive or nails.
This extra step takes a few minutes but prevents a lot of rework further into the project.
Step 5: Attach the battens
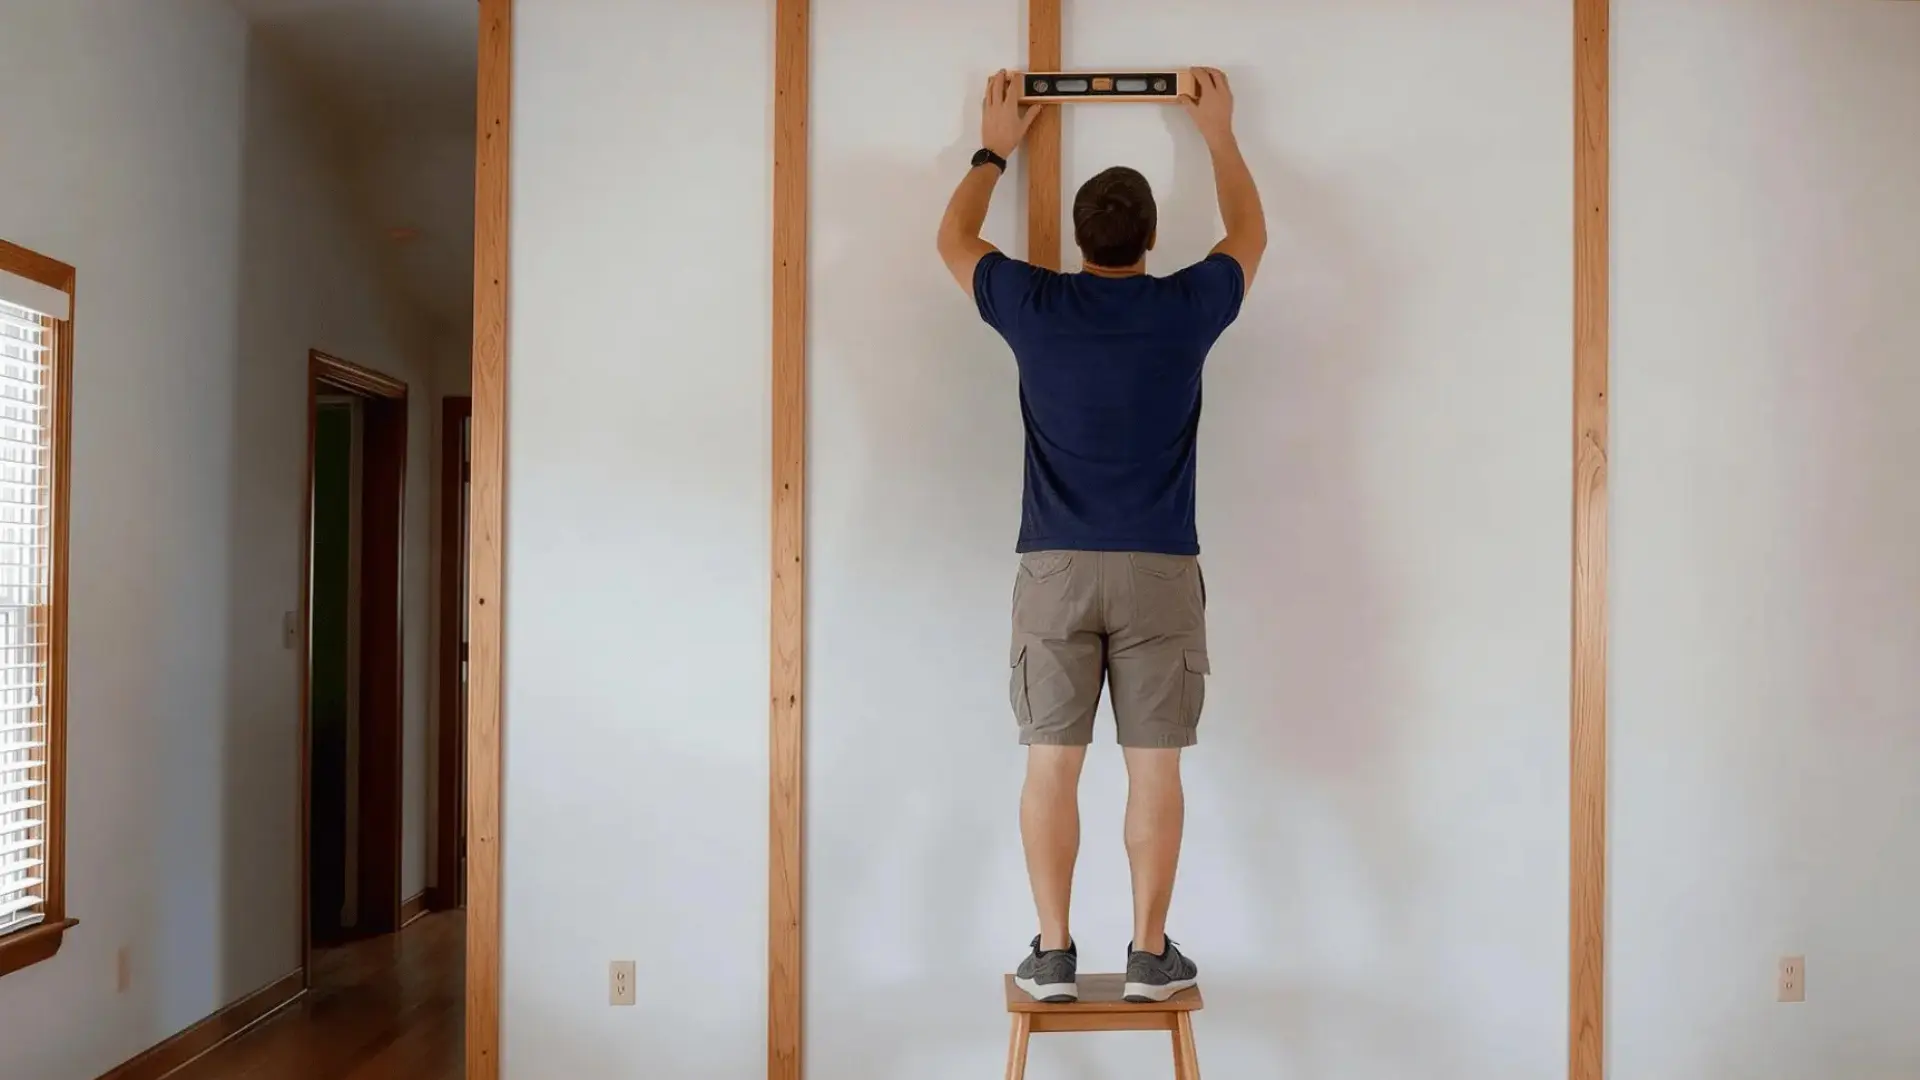
Apply small dots of construction adhesive rather than a full bead down the back, since a full bead makes future removal a nightmare on your drywall.
Nail the bottom of the first batten in place, check it with a level, and adjust until it’s completely plumb before moving upward.
Getting this first batten straight matters most, since every batten after it follows its lead.
Step 6: Add the Top Trim Sections
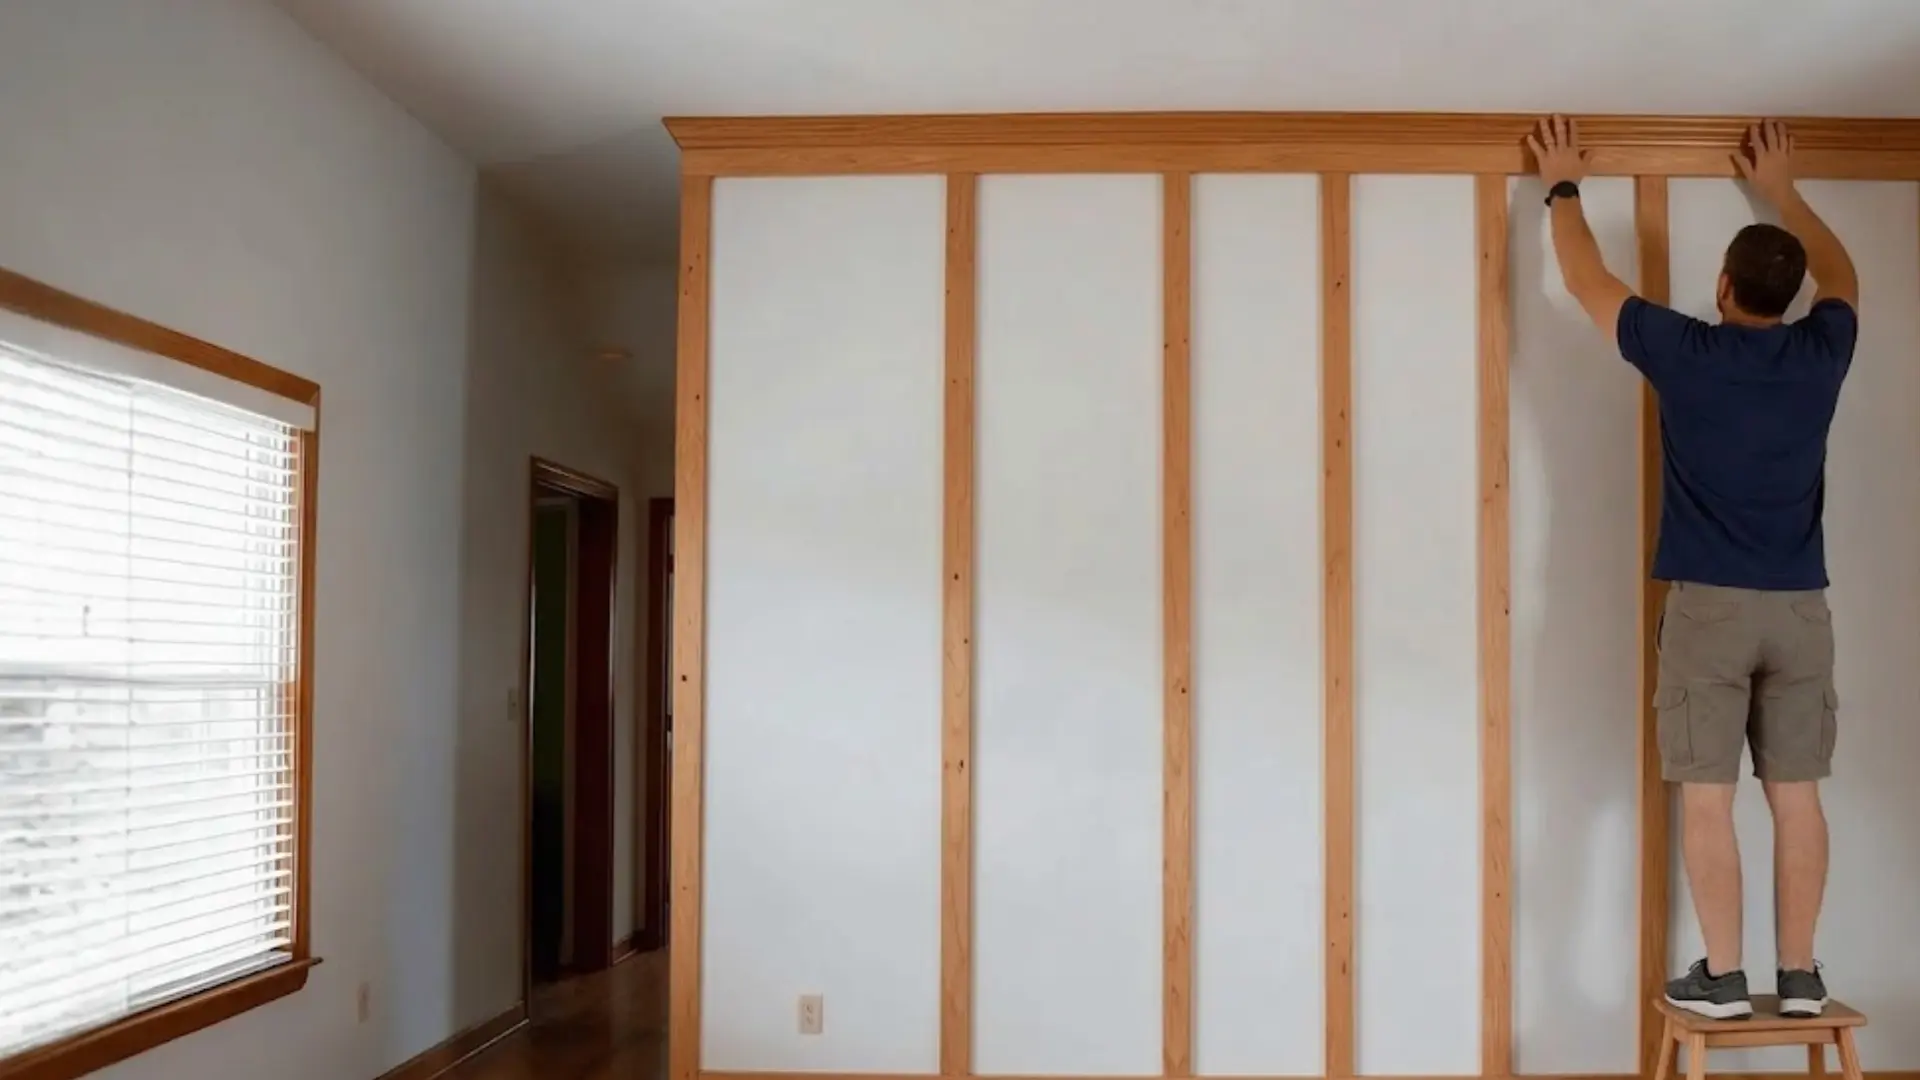
Cut a pair of spacers for the top run and repeat the same dry fit and glue-dot process you used on the vertical battens.
Hit a stud with your nail whenever the layout allows it, since the top trim carries less overall support than the wall behind it.
I’ve had a section come loose from skipping this once, so now I check for studs before nailing anything at the top. Work section by section.
Step 7: Caulk the Seams and Fill Nail Holes
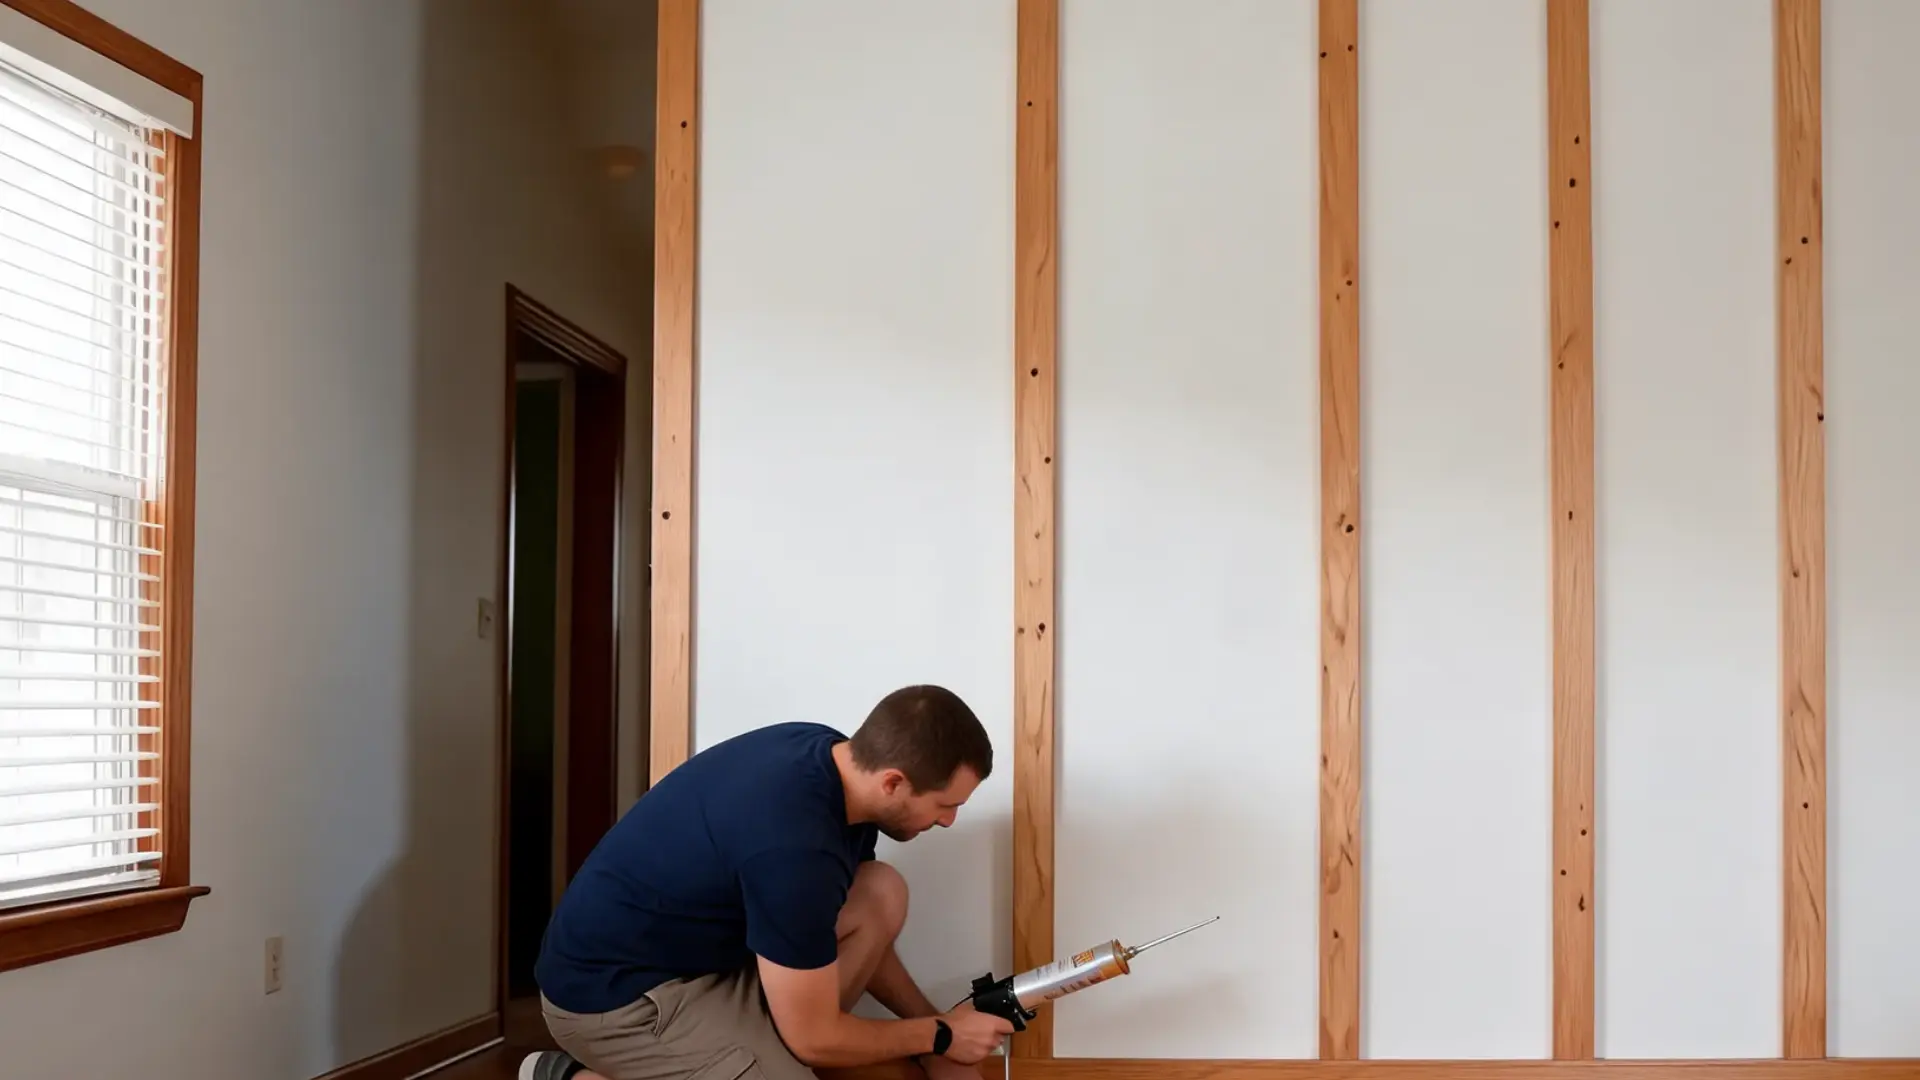
Run a bead of paintable caulk along every seam where a batten meets the wall, smoothing it with a finger for a clean, invisible line.
Once the caulk sets, fill each nail hole with wood filler and let it dry completely before sanding it flush.
This step is easy to rush, but it’s what makes the wall look built-in rather than added on.
Step 8: Roll and Paint the Wall
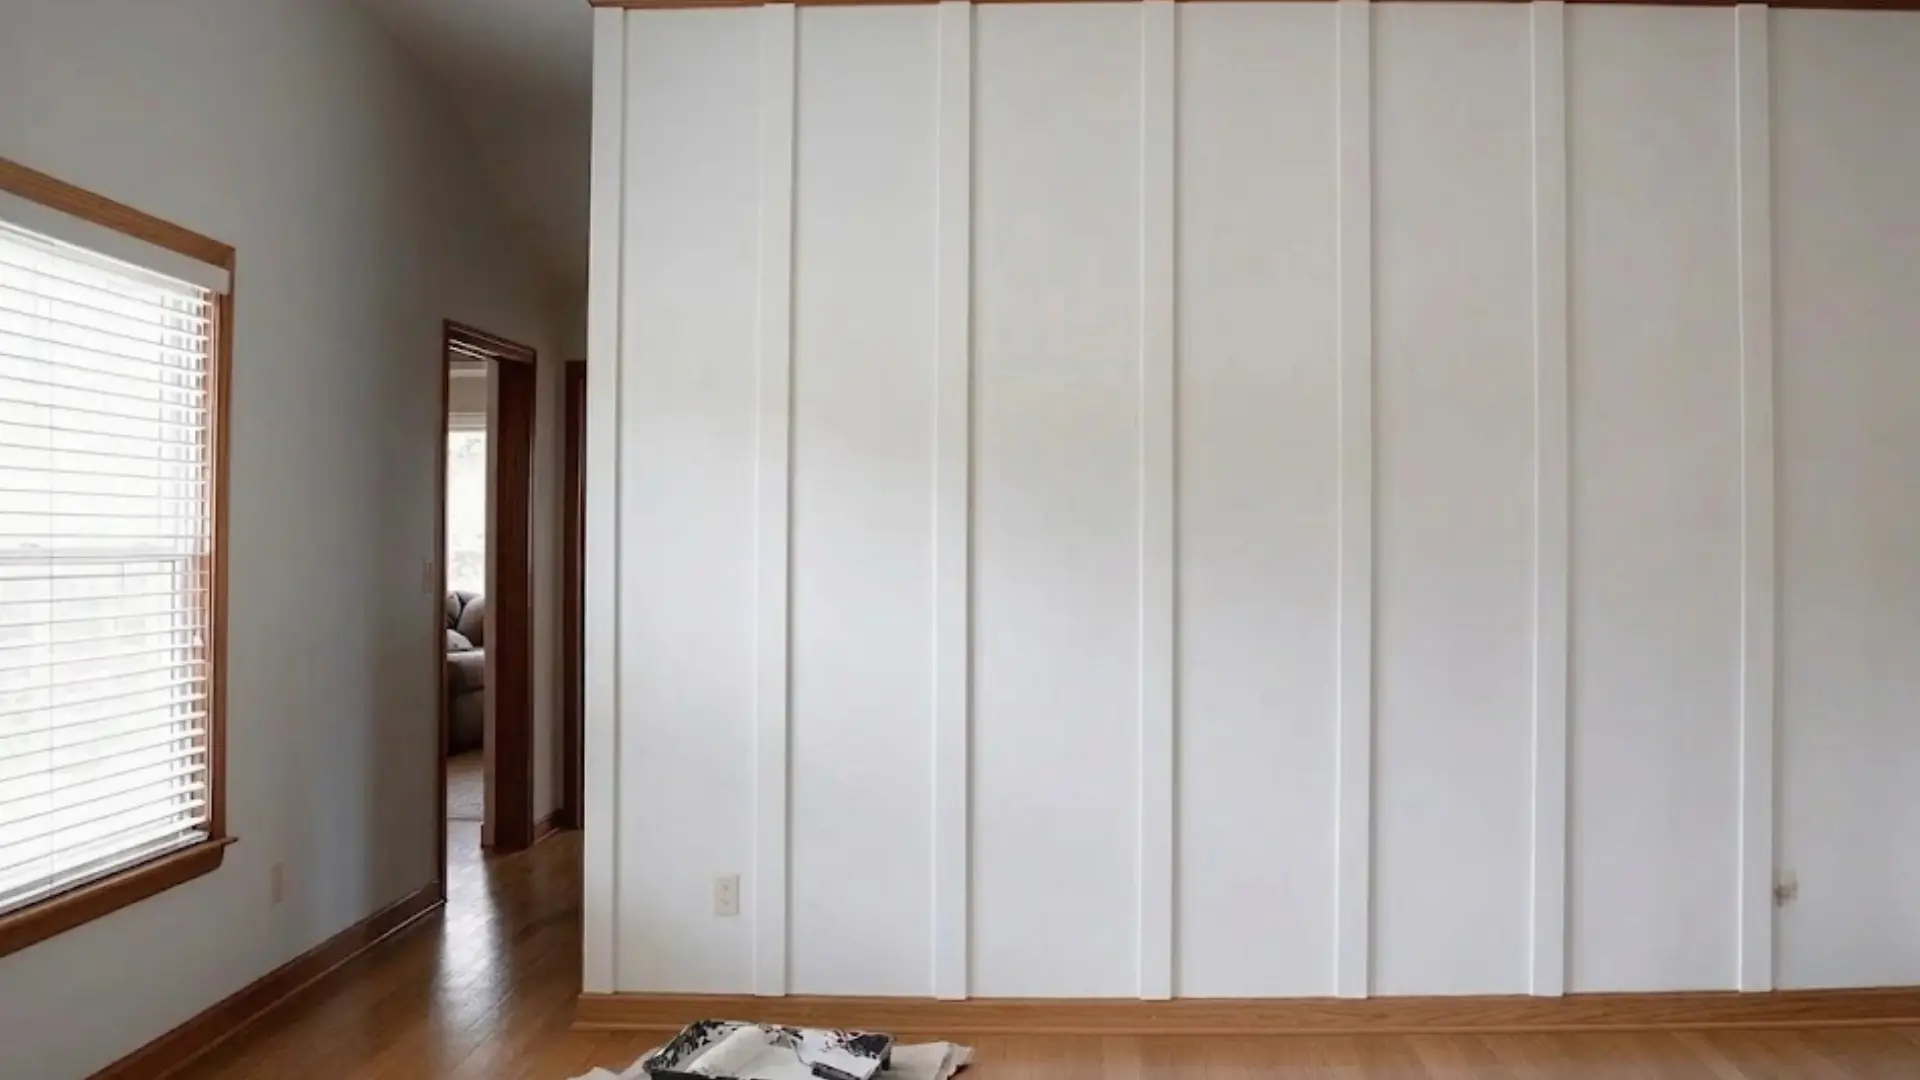
Roll the entire wall in one continuous pass instead of painting each square between the battens separately, since this gives you a more even coat and saves significant time.
Let the base coat dry fully, then go back for a touch-up round on any spots the roller missed near the trim edges.
I always find a few missed spots near the trim no matter how careful I think I’ve been about it. The final result should look flawless.
Most Common DIY Board and Batten Mistakes
A few small missteps can throw off an otherwise solid board-and-batten wall, and most show up only after the paint is already dry. Here’s what trips people up most often.
- Skipping primer on raw batten edges – The edges made of MDF and pine absorb paint differently from the smooth surfaces, and this makes them appear blotchy when painted without priming.
- Forgetting to plan around outlets and switches – When battens are fixed without verifying the position of outlets and switches, these get covered up and have to be cut accordingly.
- Using nails that are too long – Nails that are longer in length may penetrate the wall and reach electrical wires or pipes concealed behind drywall, particularly in external or partition walls.
- Painting before filler and caulk fully dry – Painting over caulk that isn’t completely dry will hold moisture between layers, causing cracks and blisters.
- Skipping acclimation time for the boards – It is possible for the battens to warp slightly when they are brought from an unheated garage or shop into a warm room.
Getting these details right the first time means your wall stays crack-free, level, and solid for years without a single redo. A little extra care at each step pays off long after the paint has dried.
Cost and Time by Board and Batten Style
|
Board and Batten Type |
Estimated cost |
Estimated time |
|
Half Wall Board and Batten |
$30 – $200 |
1 – 2 days |
|
Full Wall Board and Batten |
$70 – $500 |
2 – 3 days |
|
Bathroom Board and Batten |
$50 – $150 |
2 – 3 days |
|
Board and Batten Ceiling |
$60 – $450 |
3 – 5 days |
|
Staircase Board and Batten |
$80 – $200 |
1 – 3 days |
Note: These are general cost and time estimates only. Actual prices/time may vary based on location, materials, and project specifics.
How to Maintain a Board and Batten Wall
Board and batten walls hold up well over time with very little effort. A few simple habits keep the look fresh for years. Here’s what to keep up with to maintain that finish:
- Wipe dust from trim ledges regularly to keep the wall looking clean
- Clean painted surfaces with a damp cloth to remove dirt and marks
- Touch up chips or scuffs when needed to keep the finish even
- Check caulked seams as the house naturally expands and contracts
- Recaulk visible cracks before repainting to keep the wall sealed and neat
I’ve found a little upkeep goes a long way with this style of wall. Regular checks help me catch small issues before they turn into bigger repairs.
Frequently Asked Questions (FAQs)
How long does board and batten trim actually last?
With proper installation and paint maintenance, it can last 15-20 years or longer. MDF holds up well indoors, while solid wood battens tend to last even longer.
Can board and batten be installed over wallpaper?
It’s not recommended. Wallpaper can peel or bubble under adhesive and weight over time. Removing it first ensures a stable, long-lasting bond for your battens.
Does board and batten make a room look smaller?
Not if done right. Horizontal spacing and lighter paint colors can actually make ceilings feel taller, and rooms feel more spacious, rather than boxed in.
The Bottom Line
A diy board and batten wall is an easy way to give any plain space real style. It’s a small project with a big visual payoff. You don’t need to be an expert to get great results.
Just take your time, measure carefully, and keep your lines straight. Pick colors and patterns that match your style and mood. This trim adds warmth and structure without a full renovation.
It looks great in living rooms, offices, or even a stairwell. Once it’s up, you’ll wonder why you waited so long to try it. Your walls deserve more than plain paint and empty space.
So grab your tools, get started, and comment below with your results!