Kitchen cabinets can change the entire look of a room without a costly replacement. Dark, worn, or dated finishes often make an otherwise functional kitchen feel dull.
Painting kitchen cabinets is an affordable way to add color, improve brightness, and refresh existing surfaces. Strong results begin with identifying the cabinet material and checking the current finish.
Proper cleaning, sanding, priming, and curing also affect how smooth and durable the new coating becomes.
The sections ahead explain paint selection, application methods, likely problems, maintenance needs, project costs, and situations where hiring a professional may be the better choice for the project.
What Painting Kitchen Cabinets Involves
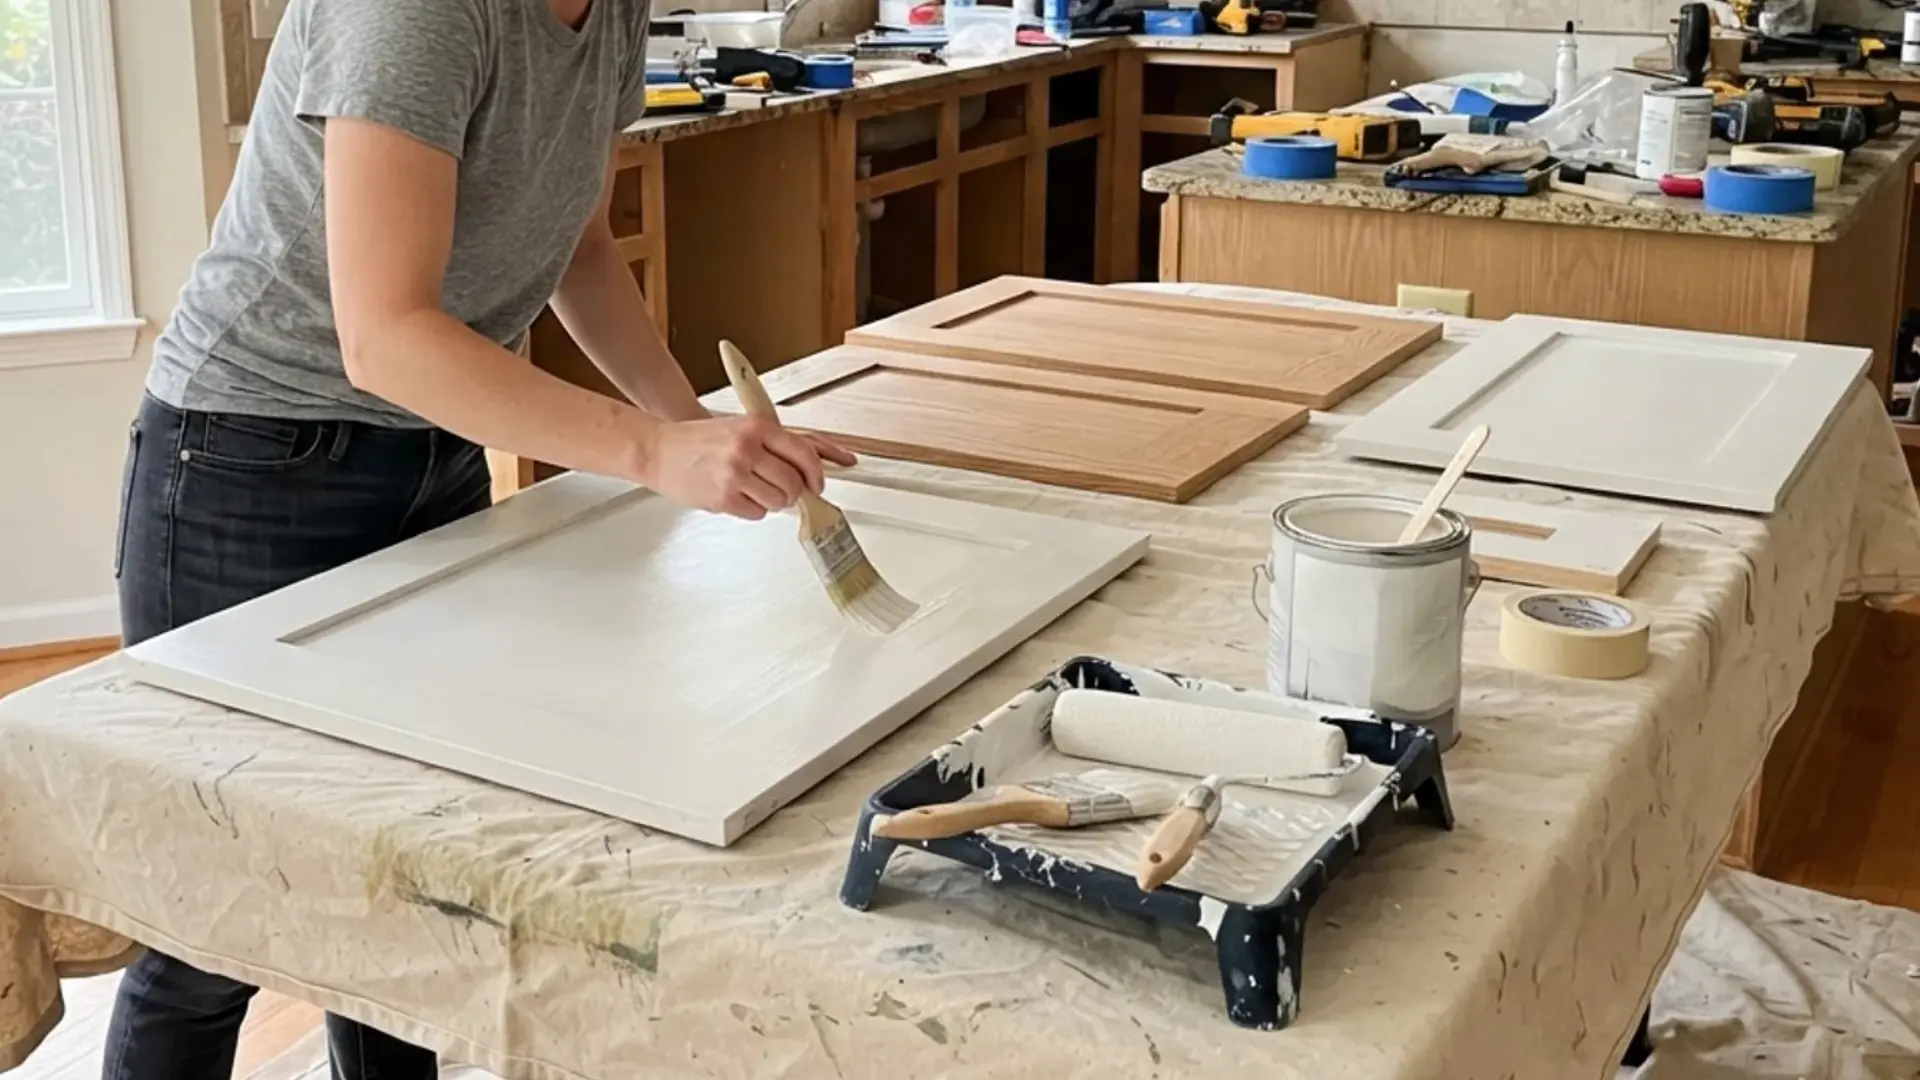
Painting kitchen cabinets involves cleaning, sanding, priming, coating, drying, and reassembling the doors and hardware. The process works best on cabinets that remain structurally sound but have a faded, stained, or dated finish.
Solid wood, MDF, veneer, and laminate can often be painted, though each surface may need different preparation and primer. Grease must be cleaned away before sanding because residue can weaken paint adhesion.
Thin, even coats create a smoother finish than one heavy layer. Satin and semi-gloss finishes are common because they resist moisture and are easier to clean. Allow the finish to fully cure before reassembly to help prevent scratches, sticking, and early peeling.
Plan the Paint, Tools, and Application Method
Select products and tools according to the cabinet material, existing finish, and preferred application method. This planning helps reduce peeling, drips, brush marks, and uneven coverage.
| Area | Recommendation |
|---|---|
| Cabinet paint | Use acrylic enamel or hybrid alkyd paint. |
| Primer | Match bonding or stain-blocking primer to the surface. |
| Sheen | Choose satin or semi-gloss for easier cleaning. |
| Tools | Gather brushes, mini rollers, sandpaper, trays, and cloths. |
| Brushing | Use an angled brush for grooves and corners. |
| Rolling or spraying | Roll flat areas or spray for a smoother coating. |
| Finish problems | Sand drips and marks, reprime peeling areas, and recoat thin spots. |
Test the paint and application method on a hidden section before covering all cabinet surfaces. This reveals possible adhesion, color, or texture problems early.
Assess the Cabinets Before Repainting
Check the cabinet structure, surface material, existing coating, available time, and expected cost before buying supplies. Early assessment can prevent adhesion problems and wasted materials.
- Cabinet condition: Paint cabinets with solid boxes, secure doors, and minor surface wear. Replace cabinets with major water damage, warping, rot, or failing joints.
- Surface material: Identify whether the cabinets are solid wood, veneer, MDF, laminate, or metal because each material requires different cleaning, sanding, and priming.
- Existing finish: Check for paint, stain, varnish, laminate, grease, peeling areas, or glossy coatings. Damaged finishes may need stripping, while stable surfaces often need light sanding.
- Project timeline: Allow several days for removal, preparation, priming, painting, drying, curing, and reassembly. Working in sections can keep part of the kitchen usable.
- Estimated budget: Include cleaner, filler, sandpaper, primer, paint, brushes, rollers, protective coverings, safety equipment, and possible hardware replacements.
A small test patch can confirm paint adhesion before the full cabinet repaint begins. If the coating scratches or peels easily, adjust the preparation or primer.
Step-by-Step: How to Paint Kitchen Cabinets
Painting kitchen cabinets requires careful surface preparation, thin coats, and enough drying time. Complete each stage in order and follow the product label for ventilation, recoating, and curing instructions.
Step 1: Remove the Hardware and Clean the Cabinets
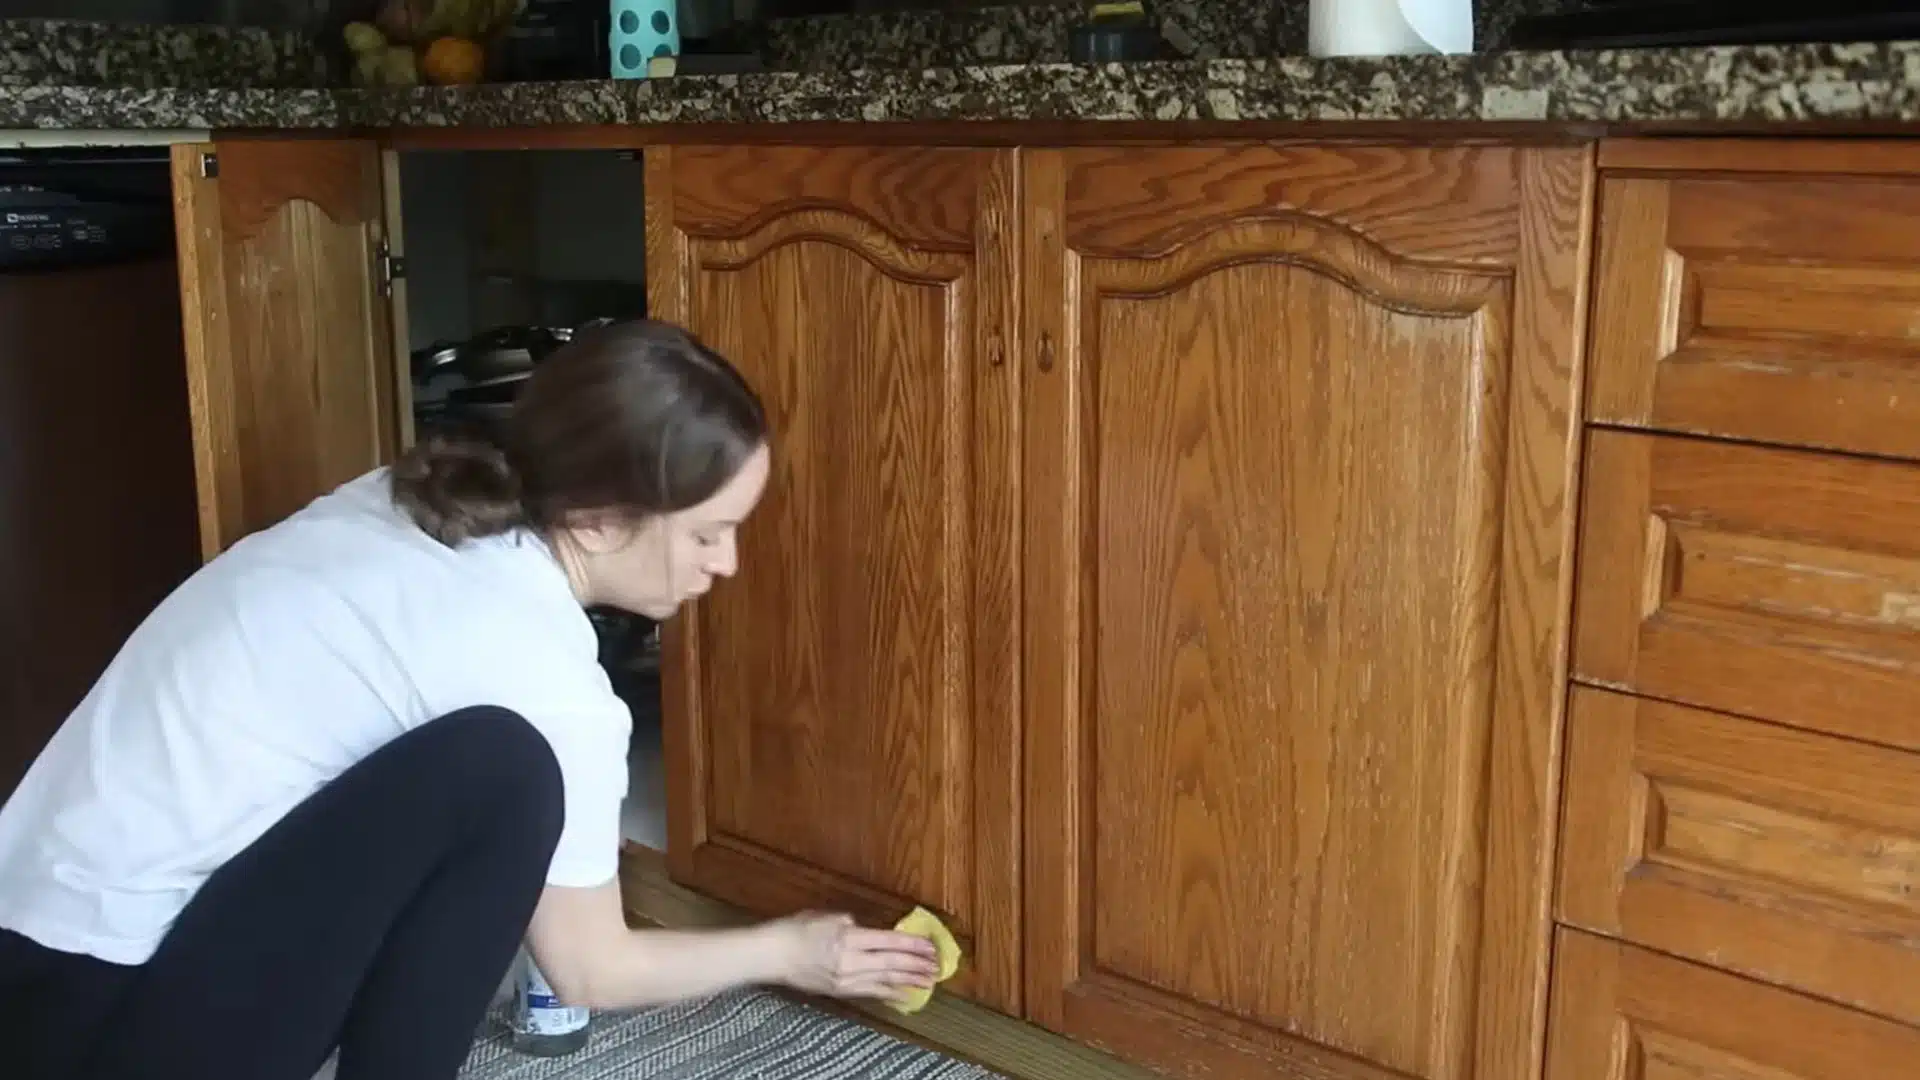
Remove handles, knobs, pulls, and any hardware that may block the painted areas.
Wash the cabinet doors, frames, grooves, and spaces around the handles with warm soapy water, an all-purpose cleaner, or a cabinet-safe degreaser.
Use a scrub sponge on stubborn buildup without damaging the surface. Rinse away cleaner residue with a damp cloth, then let the cabinets dry. Paint and primer may peel when applied over grease, dust, or moisture.
Tip: Mark hardware locations and store screws in labeled bags or containers.
Step 2: Lightly Sand and Wipe Down the Surfaces
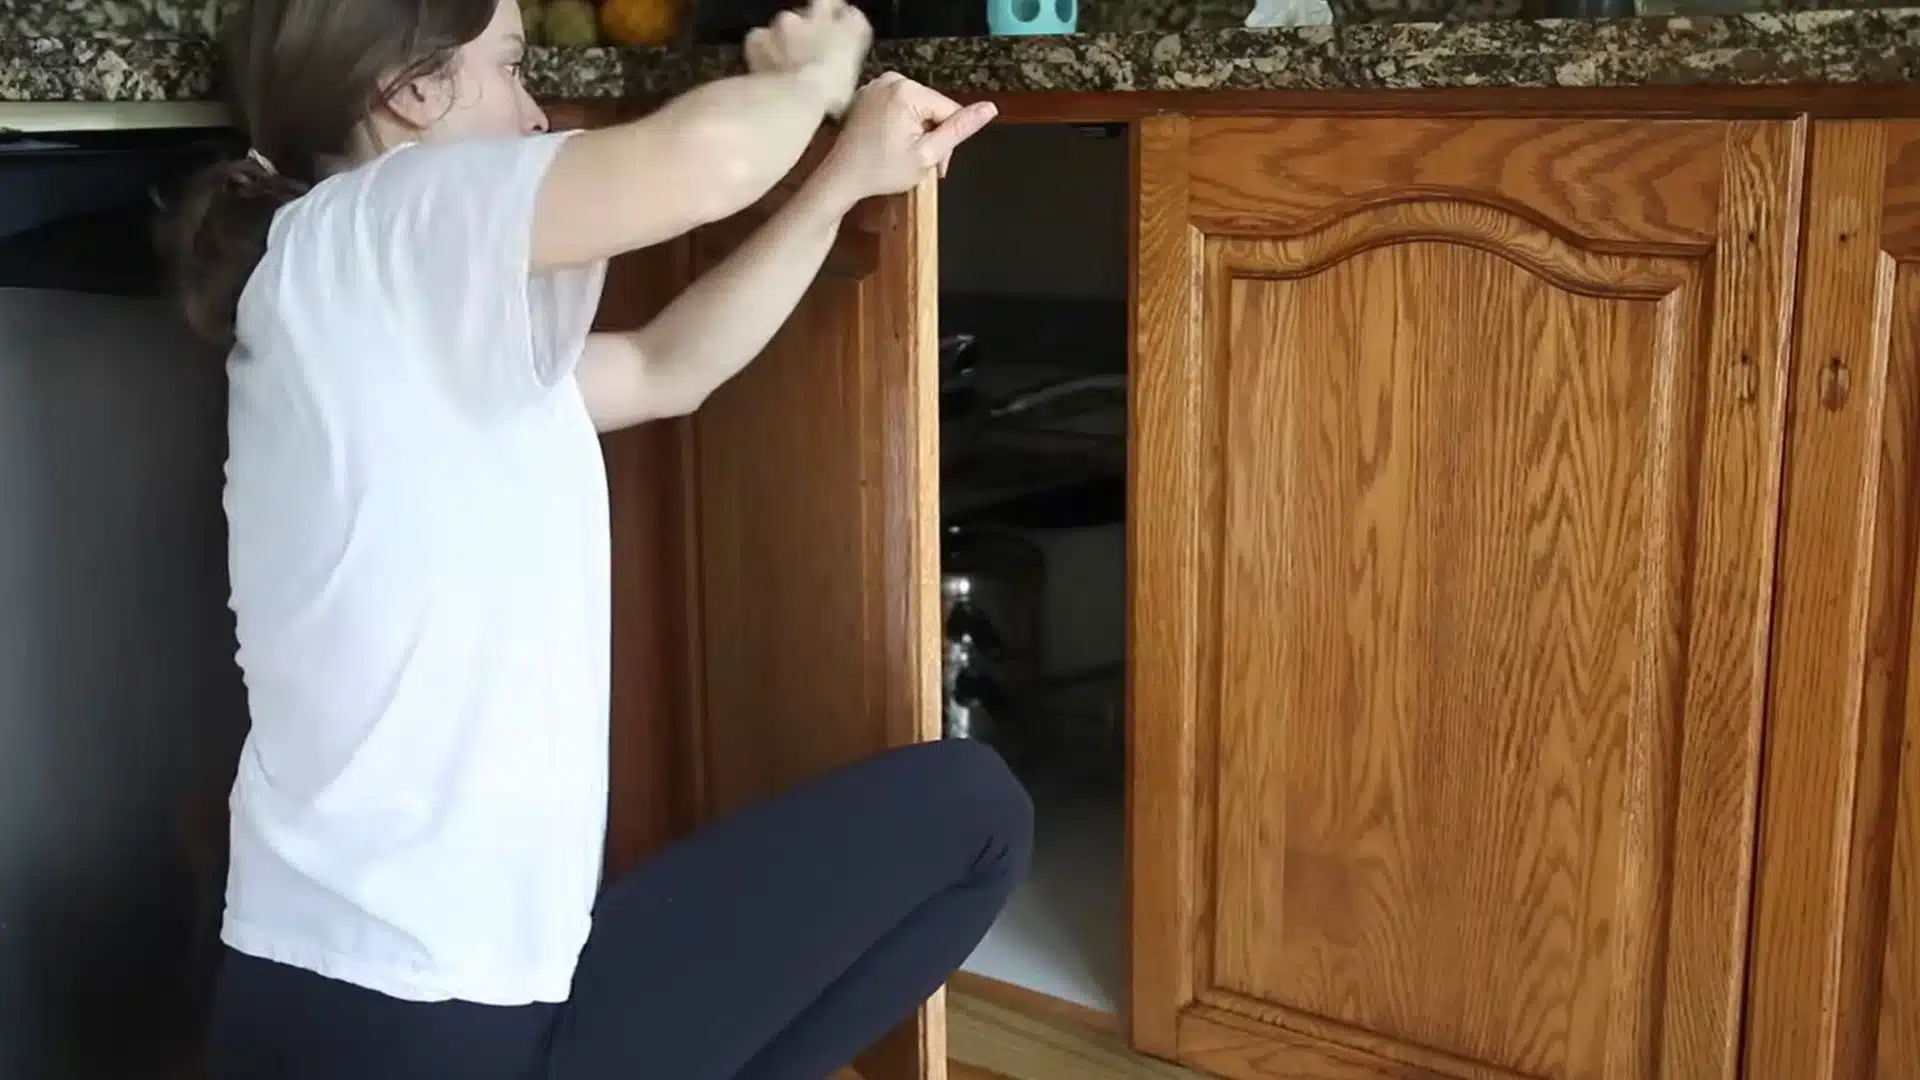
Lightly sand the doors, drawer fronts, cabinet frames, and exposed side panels to dull the existing finish.
The goal is to create a slightly rough surface for primer, not remove every trace of stain or coating. Use sandpaper suited to the material and avoid sanding through thin veneer or laminate.
Vacuum the loose dust, then wipe each surface with a clean, damp or tack-free cloth. Allow all parts to dry before moving to primer.
Tip: Test the sanding method on a hidden area before covering visible surfaces.
Step 3: Remove and Label the Cabinet Doors
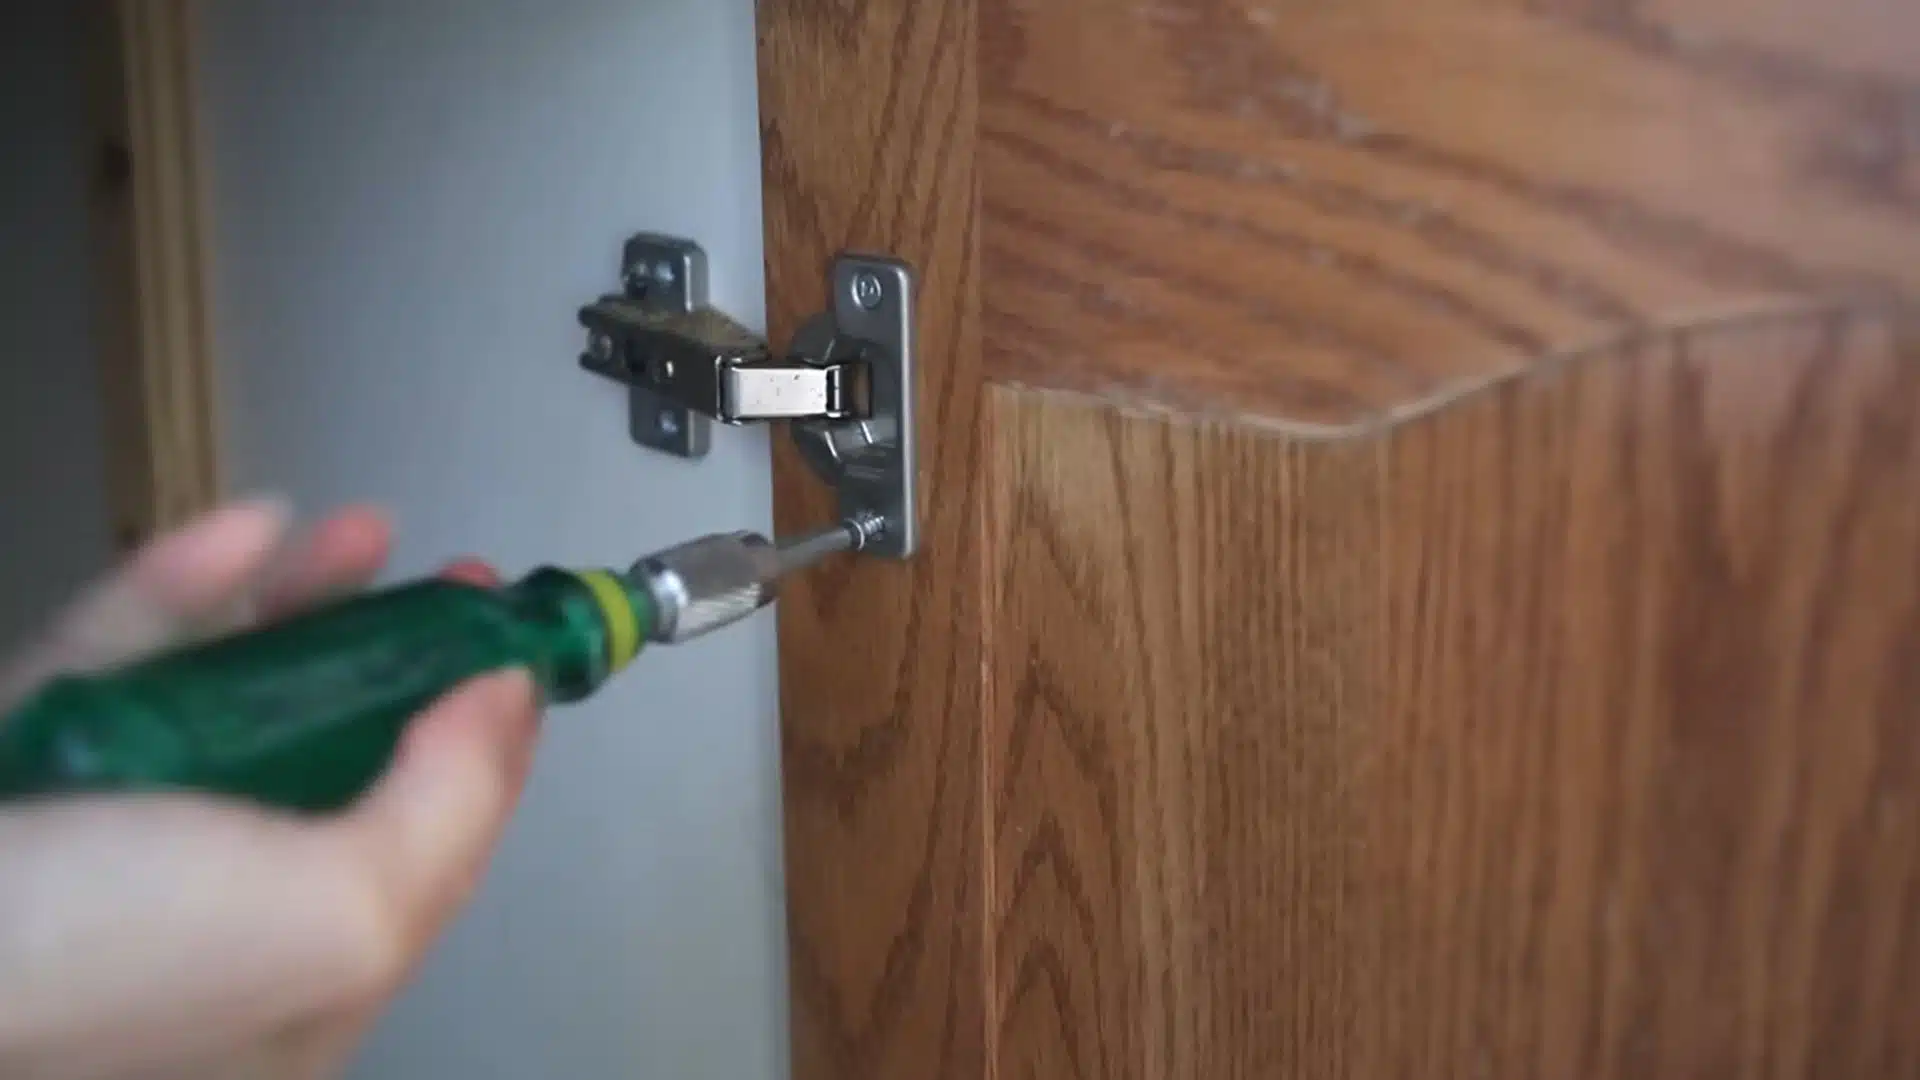
Unscrew each cabinet door and remove the drawers after cleaning and sanding. Place a numbered label inside every opening and add the matching number to the removed door or drawer.
Keep hinges, screws, and mounting plates grouped with their original pieces. Lay doors flat on raised supports in a clean work area with good airflow.
An organized numbering system prevents uneven gaps, misaligned hinges, and confusion when the cabinets are ready for reassembly.
Tip: Photograph each cabinet section before removal to create a visual reference.
Step 4: Apply a Stain-Blocking Primer
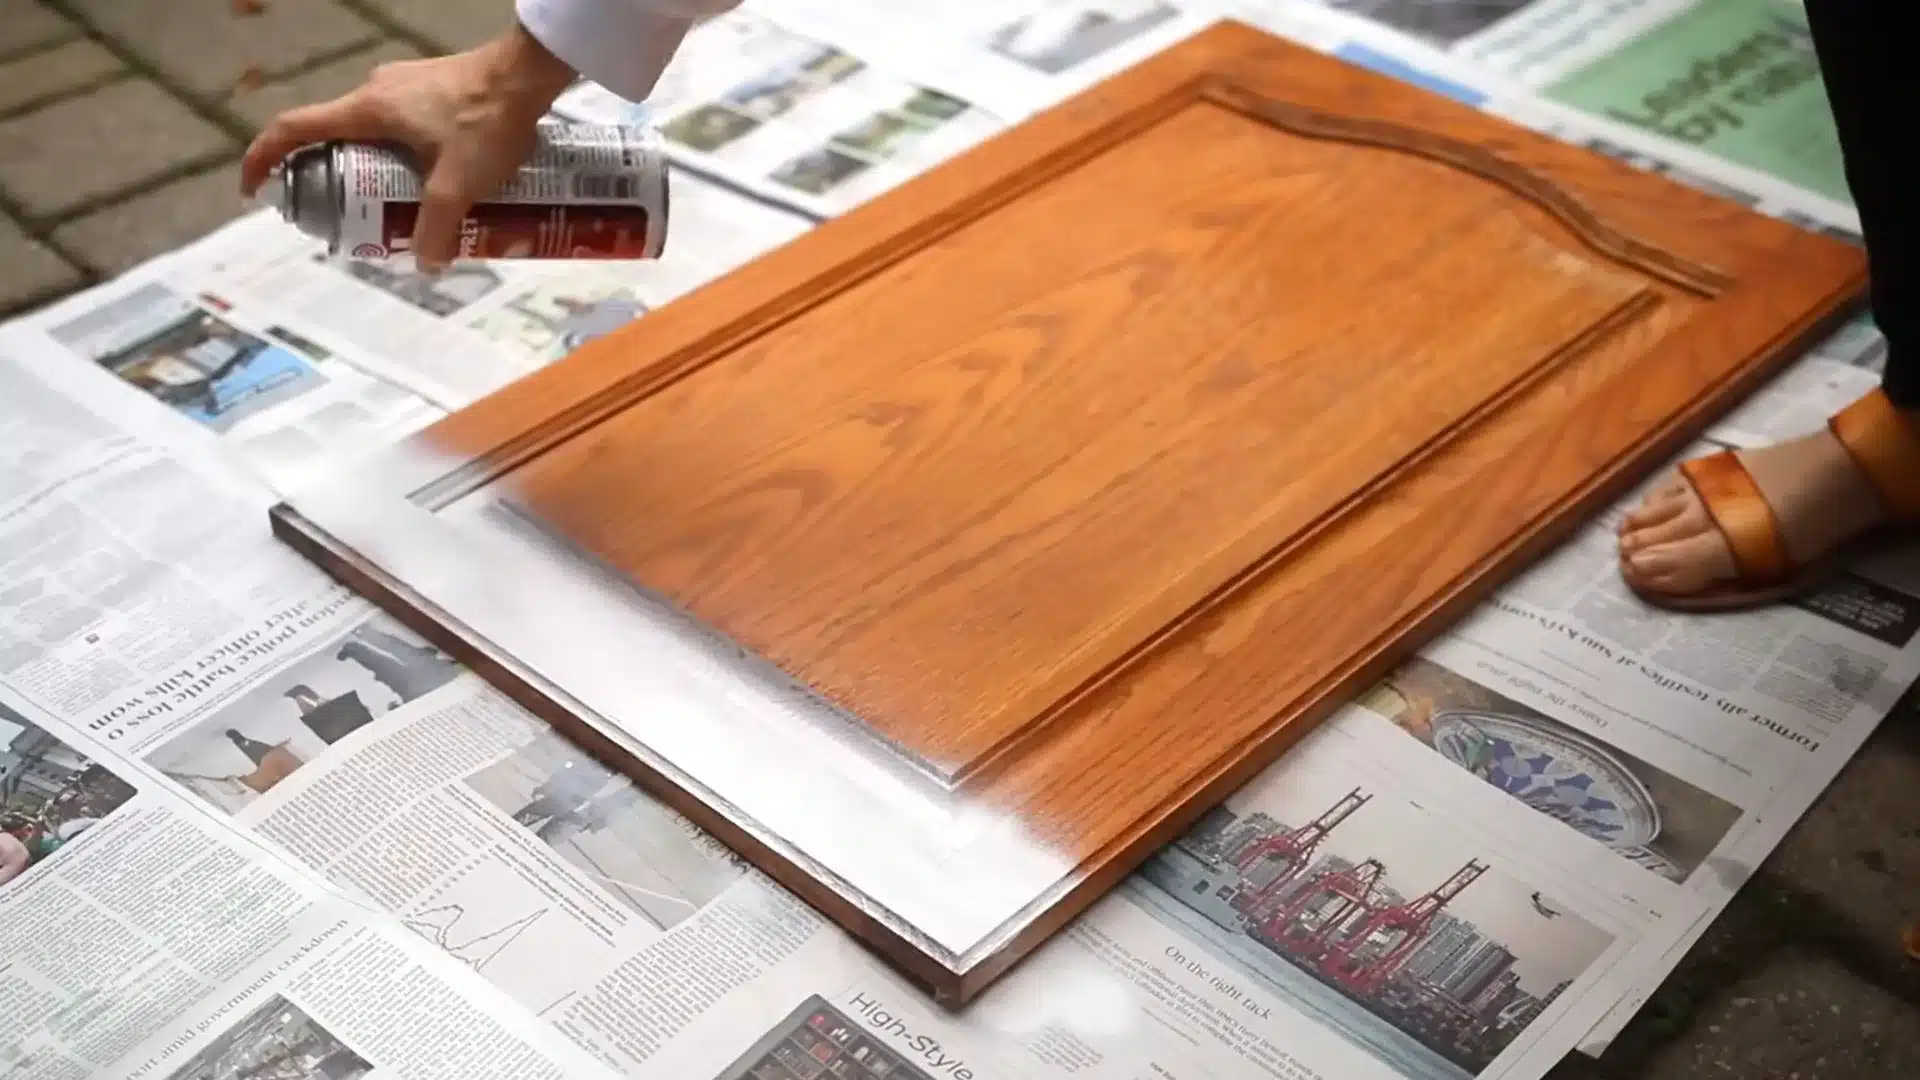
Apply a thin coat of primer selected for the cabinet material and existing finish.
A shellac-based, stain-blocking primer can help control wood tannins, dark stains, and discoloration that may appear through pale paint.
A bonding primer may be needed for glossy or laminate surfaces. Brush detailed areas first, then cover flat sections with a smooth roller. Let the primer dry according to the label, then sand minor ridges before removing dust.
Tip: Use adequate ventilation and wear the protective equipment listed on the primer label.
Step 5: Paint the Cabinet Frames, Doors, and Panels
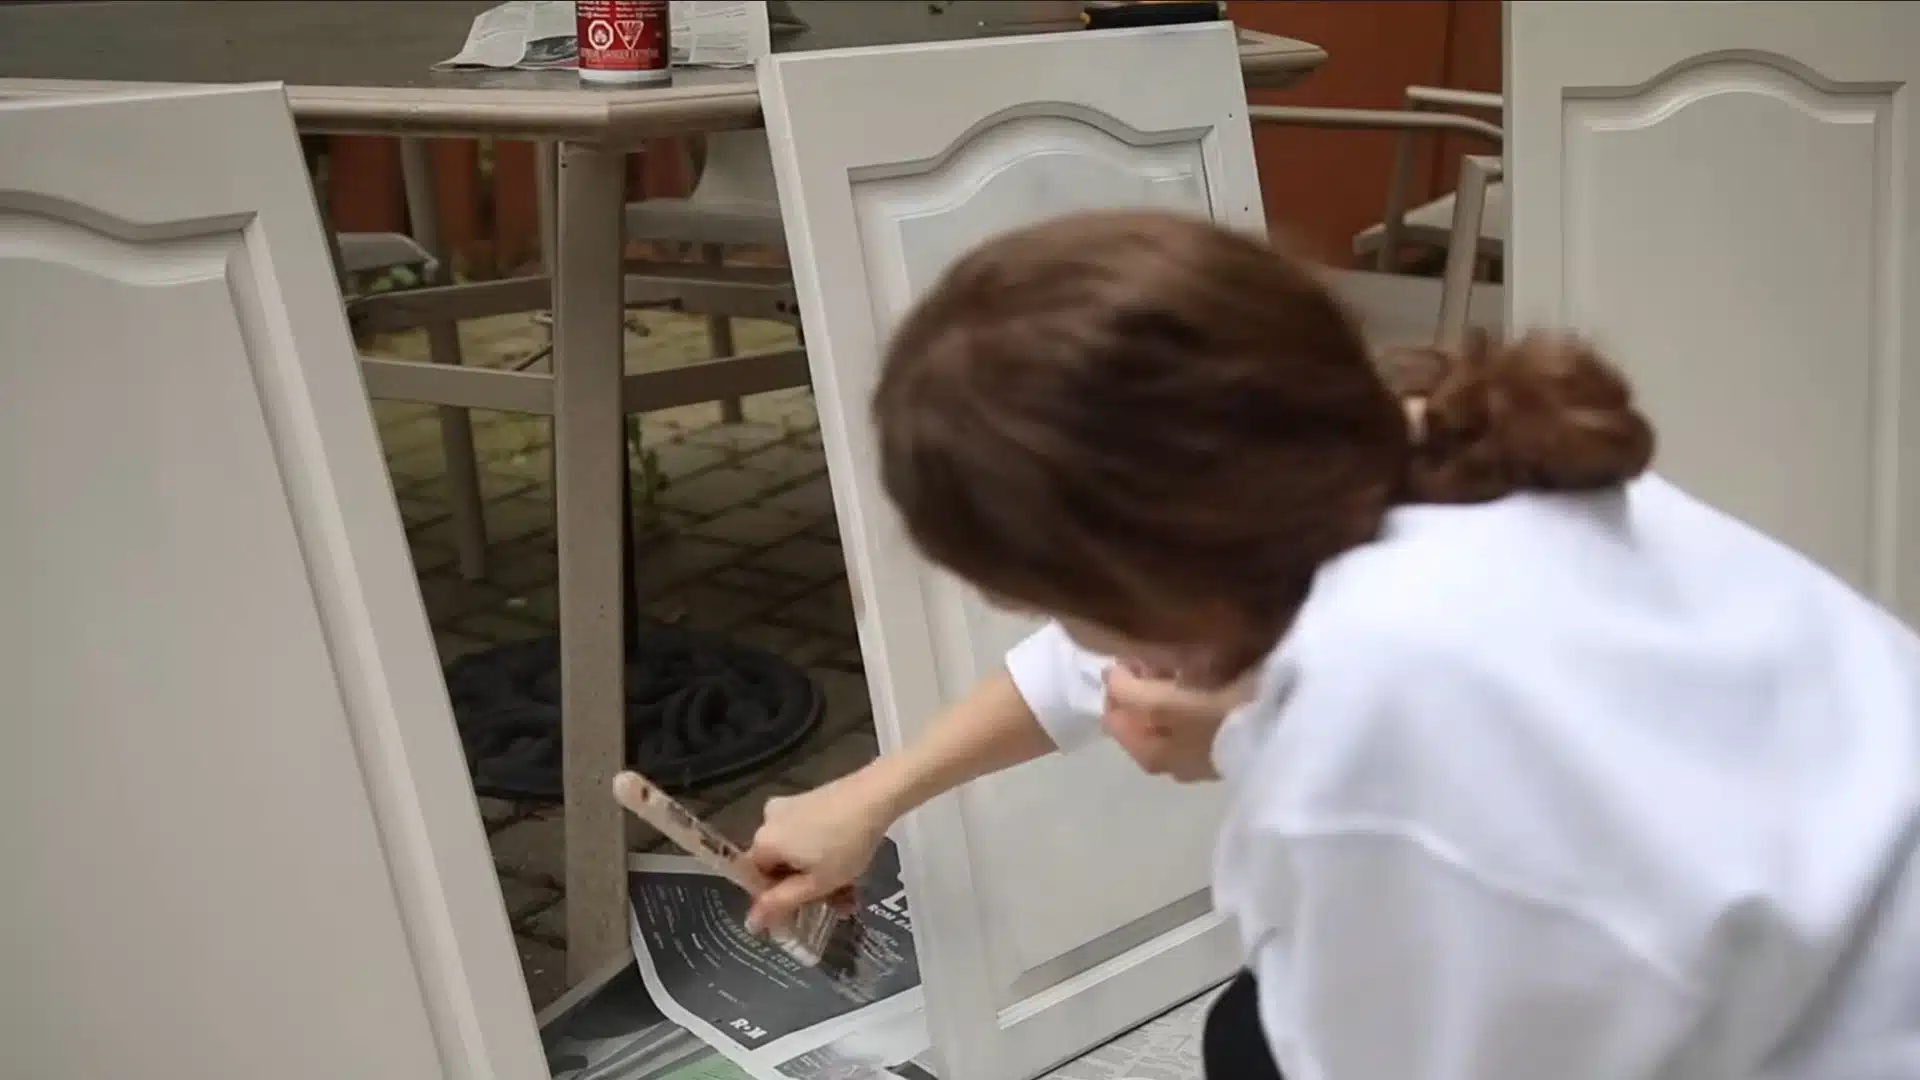
Begin with the cabinet frames and exposed panels, using an angled brush for corners and a mini roller for flat areas.
Paint the backs of the doors first, allow them to dry, then turn them over and coat the fronts. Apply several thin layers instead of one heavy layer to limit drips and brush marks.
Follow the stated recoating time between layers. Lightly sand visible imperfections after each coat has dried, then remove all dust.
Tip: Finish brush and roller strokes in the direction of the wood grain.
Step 6: Apply a Protective Topcoat and Let It Dry
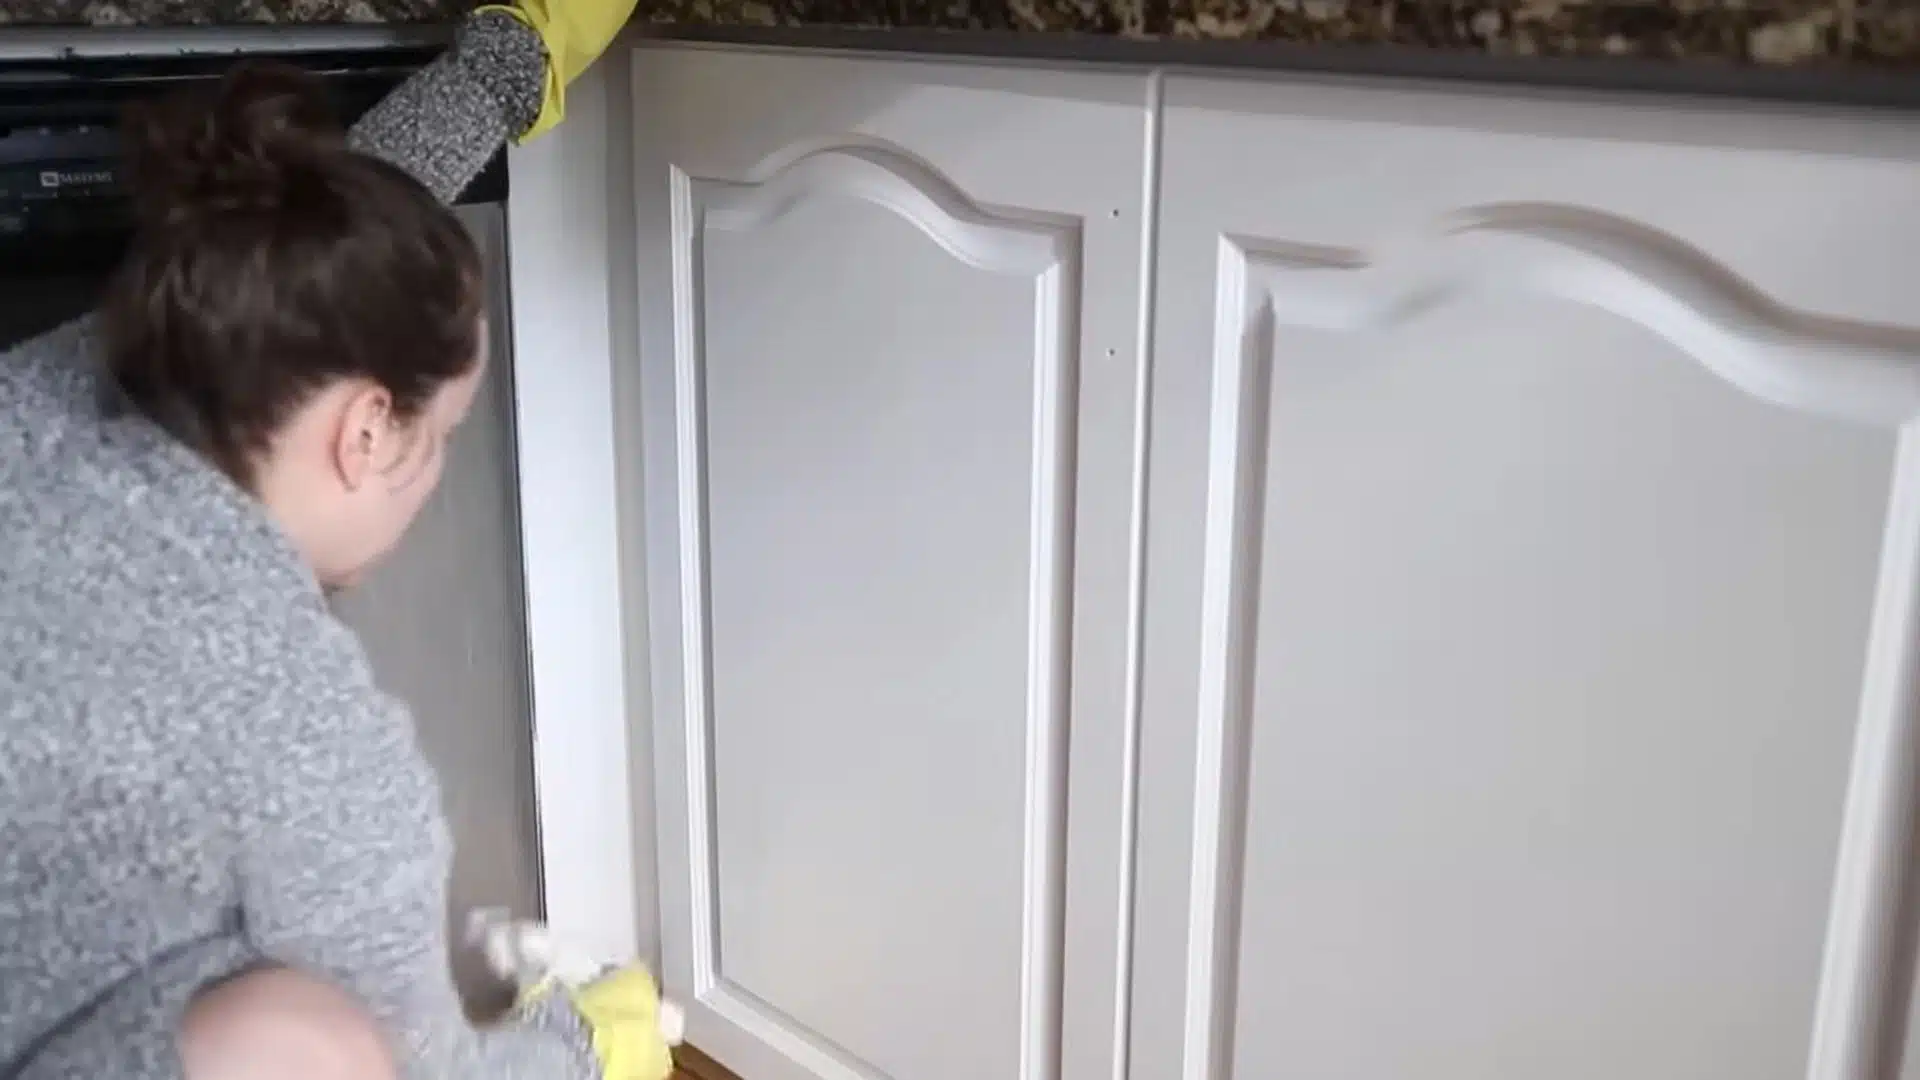
Check the paint instructions before adding a protective topcoat because many cabinet enamels do not need one.
If the chosen paint system recommends a compatible sealer, apply it in a thin, even layer after the final coat has dried. Avoid wax or products that may yellow, soften, or react with the paint.
Leave doors and drawers undisturbed for the stated drying and curing period. Early handling can cause fingerprints, dents, sticking, and surface scratches.
Tip: Test the topcoat on a painted sample board to check sheen and compatibility.
Step 7: Rehang the Doors and Reinstall the Hardware
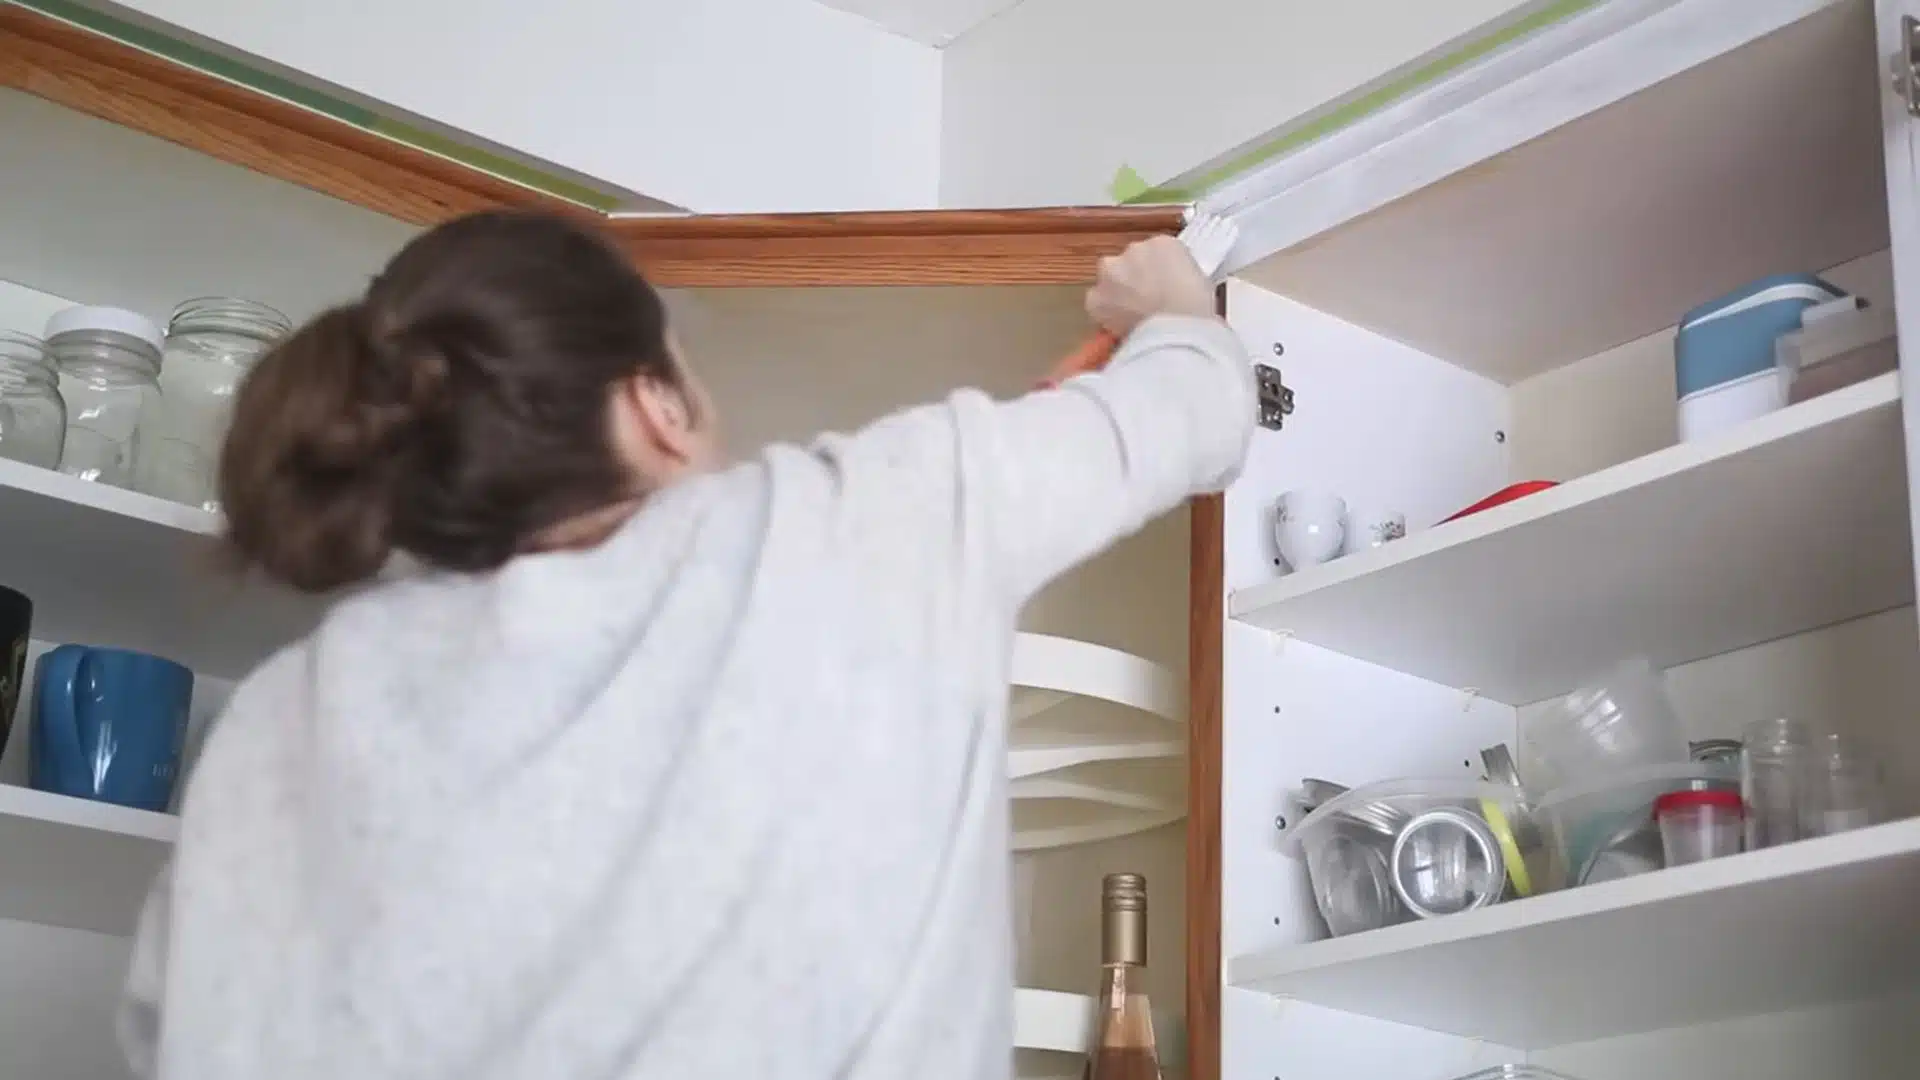
Rehang each door in its original opening by matching the labels placed during removal. Install the hinges loosely, check the spacing, and adjust the alignment before tightening every screw.
Return the drawers, handles, knobs, and pulls to their marked positions. Handle painted parts carefully because paint may feel dry before it reaches full hardness.
Keep doors slightly open if recommended and avoid forceful closing, scrubbing, or heavy use during the remaining curing period.
Tip: Cover the screwdriver tip with painter’s tape to reduce accidental scratches.
Step-by-step kitchen cabinet painting process demonstrated by: Home with Kelsey.
Common Cabinet Repaint Mistakes to Avoid
Small errors during preparation, painting, and reassembly can leave cabinets with peeling paint, rough texture, or visible marks. Watch for these common mistakes during a cabinet repaint:
- Painting over grease: Oil and cooking residue prevent primer and paint from bonding firmly to the cabinet surface.
- Skipping surface preparation: Glossy finishes need cleaning and light sanding so the primer has a suitable surface to grip.
- Using wall paint: Standard wall paint may remain soft and wear quickly. Cabinet enamel creates a harder, more washable coating.
- Applying thick coats: Heavy layers can sag, drip, wrinkle, or dry unevenly. Several thin coats usually produce a smoother result.
- Ignoring drying times: Applying another coat too soon can lift or soften the layer underneath.
- Painting hinges and drawer sides: Paint buildup may affect hinge movement or cause drawers to stick inside their frames.
- Reassembling too early: Doors and hardware can scratch, dent, or stick when the paint has dried but has not fully cured.
Careful preparation, light coats, and enough curing time prevent most cabinet repaint problems. Follow the paint label instead of relying only on touch dryness.
DIY Cabinet Painting vs Hiring a Professional
DIY painting costs less but requires time, patience, and careful preparation. Professional work costs more but may provide faster completion and a smoother, longer-lasting finish.
| Factor | DIY Painting | Professional Painting |
|---|---|---|
| Cost | Lower labor cost | Higher total cost |
| Time | Often takes several days | Usually completed faster |
| Finish | Depends on tools and skill | More consistent and refined |
| Equipment | Basic tools or rented sprayer | Commercial painting equipment |
| Preparation | Managed by the homeowner | Handled by the painting team |
| Repairs | Suitable for minor surface flaws | Better for extensive damage |
| Best choice | Small budget and flexible schedule | Large kitchen or demanding finish |
DIY suits structurally sound cabinets and homeowners comfortable with detailed work. Hire a professional when cabinets need repairs, spraying, difficult coating removal, or extensive preparation.
Care for Painted Kitchen Cabinets After Repainting
Allow the painted cabinets to cure fully before returning to heavy daily use. Clean spills, grease, and water promptly with a soft cloth to prevent staining or moisture damage.
For routine cleaning, use warm water with a small amount of mild dish soap, then dry the surface with a clean cloth. Avoid abrasive sponges, scouring powders, strong solvents, and harsh household cleaners because they can dull or weaken the finish.
Open doors and drawers using the knobs or pulls instead of repeatedly touching painted edges. Pay closer attention to areas near the sink, stove, kettle, and dishwasher.
Check high-use surfaces regularly and repair small chips with leftover paint before the damaged area becomes larger.
Frequently Asked Questions (FAQs)
Can Kitchen Cabinets Be Painted Without Sanding?
Some products allow it, but light sanding usually improves primer adhesion and reduces peeling.
What Type of Paint Works Best on Kitchen Cabinets?
Acrylic enamel, waterborne alkyd, or cabinet-specific paint provides a hard, washable finish.
Is Primer Needed Before Painting Cabinets?
Primer is recommended for bare wood, laminate, glossy finishes, stains, and repaired surfaces.
How Long Does Painting Kitchen Cabinets Take?
Most cabinet repaint projects take several days to more than a week, including drying time.
Do Painted Cabinets Need a Protective Topcoat?
A topcoat is only needed when the selected cabinet paint manufacturer recommends a compatible one.
How Long Do Painted Kitchen Cabinets Last?
Well-prepared and properly maintained painted cabinets can retain their finish for several years.
Give Old Cabinets a Fresh Finish
A dated kitchen does not always need new cabinets to feel fresh again. Careful preparation and the correct coating can give sound cabinet boxes a clean, updated appearance at a lower cost than replacement.
Painting kitchen cabinets begins with checking the material and existing finish, followed by cleaning, sanding, priming, and applying thin coats.
Enough drying and curing time protects the surface from early chips, dents, and sticking. Regular gentle cleaning also keeps grease and moisture from wearing down the finish.
A DIY cabinet repaint can suit a smaller budget and flexible schedule, while professional help may suit damaged surfaces or a sprayed finish. Start with one test area, then continue once adhesion and color look good after drying fully.