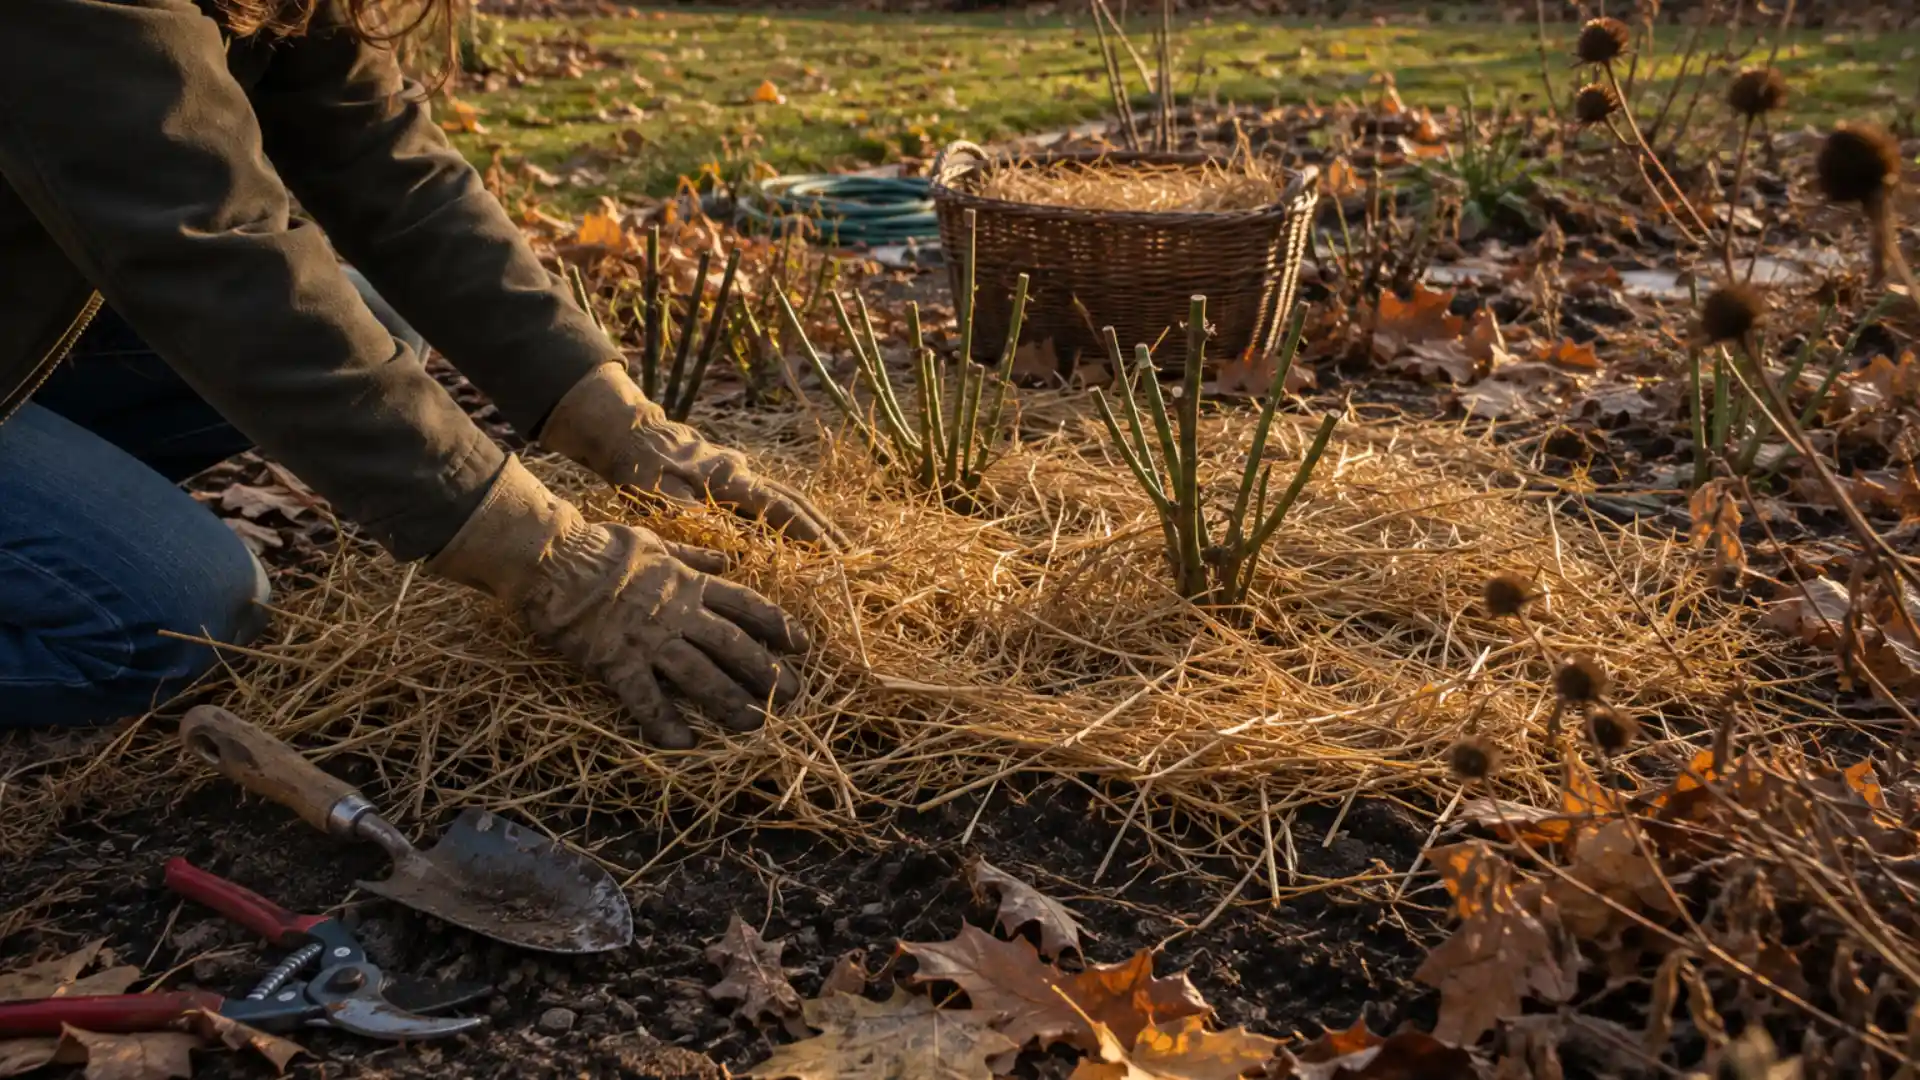
I still remember watching my grandmother tuck her rose beds in with straw every October.
I used to think she was just tidying up before winter. My own garden taught me she was doing something much smarter.
Winterizing means protecting tender roots from harsh cold, keeping soil healthy through freezing swings, and easing out pests before they can settle in for spring.
It also means knowing when to leave things be.
Fallen leaves, hollow stems, and dried seedheads can shelter bees and birds all winter long, if you let them.
When Should You Winterize Your Garden?
Start planning a few weeks before your area’s typical first hard freeze, and finish soil-dependent tasks before the ground hardens.
Skip the idea of one national date, since timing shifts by region.
A first frost may nip tender leaves without freezing the ground, while a hard freeze usually ends the growing season. Once the ground actually freezes, it is time for final mulching.
Check your USDA Plant Hardiness Zone for general planning, but remember it reflects average winter lows, not this year’s exact frost date.
Harvest tender crops early, prune after dormancy, mulch before hard freeze, and drain irrigation lines beforehand.
How to Winterize a Garden in 7 Steps
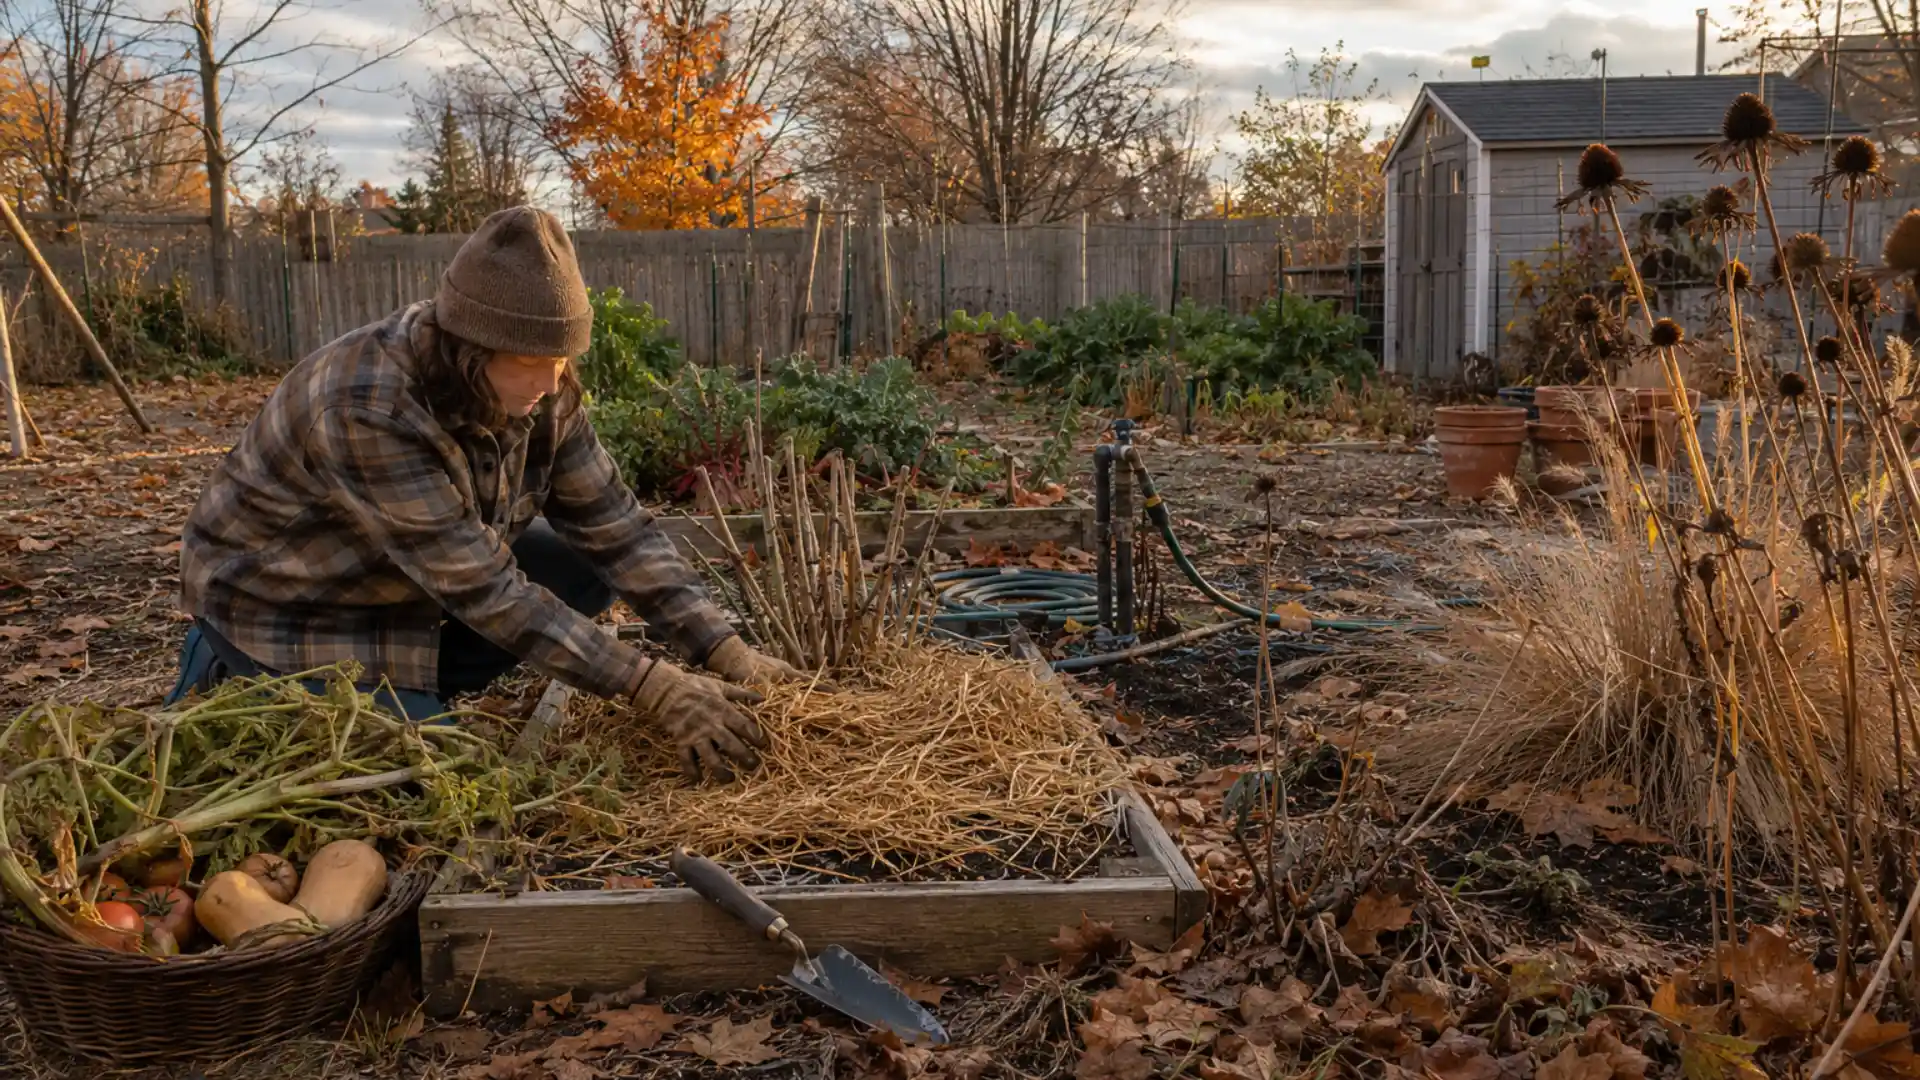
These seven steps follow the natural order most gardens move through each fall. Working through them one at a time makes the whole process feel manageable.
Step 1: Finish Harvesting and Remove Annual Crops
Start by harvesting frost-sensitive vegetables and herbs before cold weather gets to them, then pull spent annual vegetables and flowers once they have stopped producing.
Clear away fallen fruit and obvious plant debris while you are at it. One thing to hold off on: healthy perennial material.
Leave that standing for now, since Step 2 covers what to do with it.
Step 2: Prepare Perennials for Dormancy
Not every perennial needs the same treatment, so work through these one at a time:
- Identify which perennials should be cut back and which should remain standing through winter.
- Remove diseased foliage and stems to limit problems carrying into spring.
- Cut back plants only after they have gone through natural seasonal dieback.
- Leave selected seedheads and sturdy stems for wildlife and winter garden structure.
Step 3: Prepare the Soil for Winter
Soil work in fall pays off come spring. Pull any remaining weeds before they set seed, and test the soil if you are unsure whether it needs amending.
Add compost based on what that test shows, and consider a winter cover crop for vegetable beds that would otherwise sit bare.
One thing to skip: fertilizing just because the season is changing. Plants heading into dormancy don’t need the extra push.
Step 4: Give Plants Their Final Deep Watering
Soil moisture matters more than the calendar here.
Check the ground itself rather than watering on a fixed schedule, and focus deep watering on vulnerable plants during dry fall stretches. Newly planted trees, shrubs, evergreens, and recent transplants should be first in line.
Once the soil is frozen or already sufficiently wet, it is time to stop.
Step 5: Apply Winter Mulch
Getting mulch right comes down to timing and technique:
- Wait until soil has cooled and plants are entering dormancy before mulching.
- Apply an organic mulch suited to the plants and material on hand.
- Adjust depth depending on the mulch type and what it is protecting.
- Keep mulch pulled back from tree trunks and plant crowns.
Mulch does more than tidy up a bed. It moderates soil-temperature swings, which helps roots stay stable through freeze-thaw cycles rather than getting jolted by every warm afternoon and cold night.
Step 6: Protect Plants That Need Extra Winter Protection
Not every plant can tough out winter unassisted. Move tender container plants indoors or into sheltered spaces, and dig up and store tender bulbs, corms, and tubers, depending on your climate.
Young trees and shrubs sometimes need shielding from wind, browsing, or sunscald, and frost cloth works well for temporary cold snaps rather than as permanent coverage.
The common thread: protection should match the specific plant and your local conditions, not a one-size-fits-all routine.
Step 7: Winterize Irrigation and Garden Equipment
Closing everything down properly now saves headaches next spring:
- Drain hoses fully before storing them for winter.
- Winterize irrigation systems following their manufacturer’s specific instructions.
- Empty containers that could crack if water freezes inside them.
- Clean, dry, sharpen, and store garden tools properly.
- Keep equipment in a dry location through the cold months.
Tips for Winterizing Your Garden
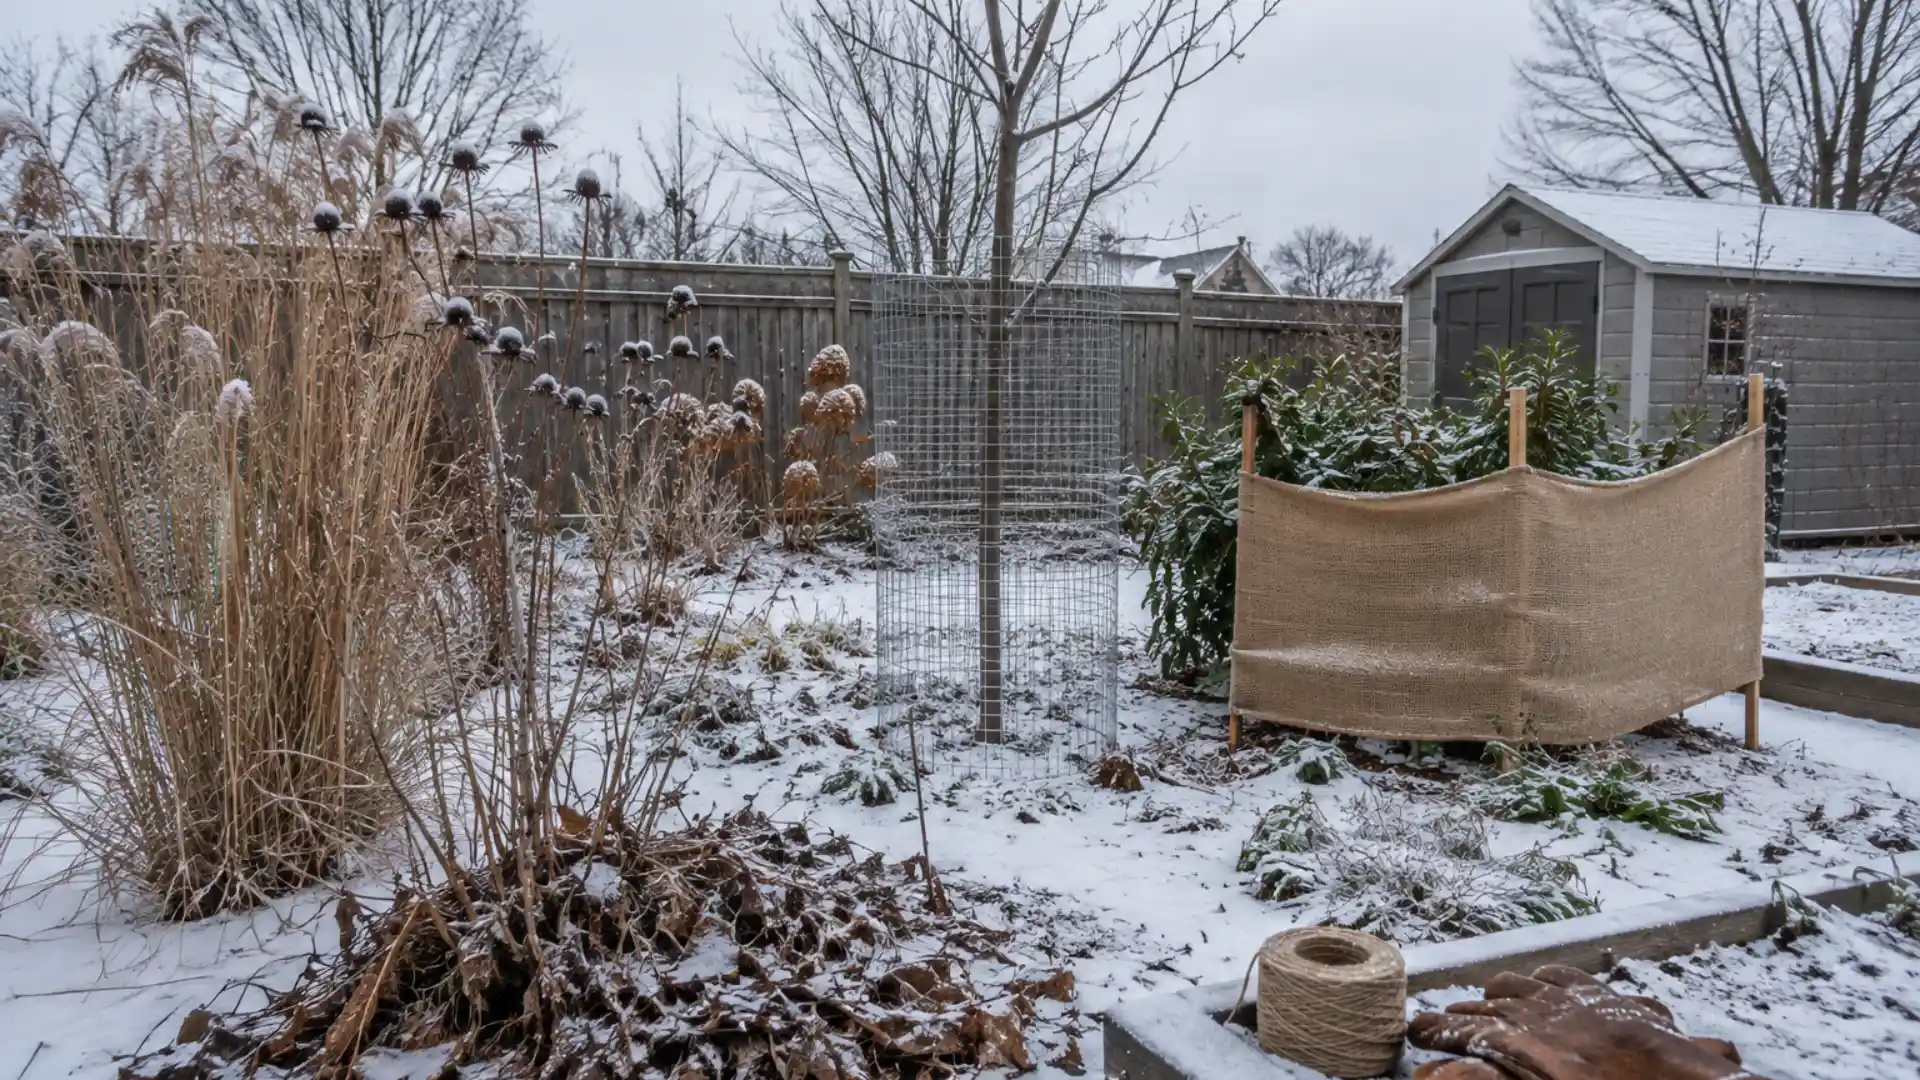
These considerations go beyond the basic steps, covering the details that often get missed.
1. Don’t Treat Every Plant the Same
Hardiness ratings only tell part of the story. Winter protection depends on a plant’s hardiness, age, exposure, and surrounding microclimate, so a plant rated hardy for your zone may still struggle in an exposed spot.
Two plants of the same species can fare completely differently depending on where they are planted, how established their root systems are, and how much wind or sun exposure they get through the coldest months.
Treating your whole garden with one blanket approach usually leaves the most vulnerable plants under-protected.
2. Use Microclimates to Your Advantage
Your yard likely has warmer pockets worth noticing, and paying attention to them can save you a lot of unnecessary wrapping and covering:
- South-facing walls, sheltered corners, slopes, and protected courtyards often stay warmer than open areas.
- Place marginally hardy plants in these spots instead of wrapping everything equally.
Walking your garden on a cold morning and noting where frost lingers longest, and where it melts first, tells you a lot about which corners offer natural protection.
3. Protect Evergreens From Winter Desiccation
Evergreen foliage keeps releasing moisture throughout winter, even while frozen soil limits how much water the roots can actually take up.
Sun and wind keep pulling moisture out regardless, which is why wind protection helps reduce stress on vulnerable evergreens.
This mismatch between ongoing moisture loss and restricted water uptake is what causes the browning and scorching gardeners often notice on evergreens by late winter, especially on the side facing prevailing winds.
4. Watch for Freeze-Thaw Cycles
Repeated freezing and thawing can heave shallow-rooted plants upward, loosening them from the soil they need to stay anchored in.
Stable mulch layers and proper planting depth both help reduce the problem. This cycle is especially hard on plants installed earlier that same fall, since their roots have not had time to establish deeply.
Checking exposed roots periodically through winter and gently resettling any heaved plants back into the soil helps prevent lasting damage.
5. Protect Young Trees From Rodents and Deer
Winter food scarcity changes animal behavior in ways that put young trees at risk:
- Scarce winter food increases browsing pressure on young bark and branches.
- Tree guards or fencing protect vulnerable trees without restricting growth.
- Keep protective materials positioned loosely rather than constricting the trunk.
Rabbits and voles tend to target bark right at snow level, so guards should extend a bit higher than you’d expect to account for accumulation.
6. Don’t Use Plastic as a Direct Plant Cover
Plastic traps moisture against foliage and can cause damage wherever it touches, since trapped condensation combined with freezing temperatures often does more harm than the cold itself.
Breathable fabric designed for frost protection does the job far better, allowing air circulation while still trapping enough heat to buffer against a hard freeze.
If plastic is the only option during an unexpected cold snap, keep it from touching leaves directly by supporting it with stakes or a frame.
7. Be Careful With Salt Near Garden Beds
Road salt and deicing products can harm plants and alter soil chemistry over time, drawing moisture out of roots and building up in ways that affect plant health long after winter ends.
Protect beds near driveways, sidewalks, and roads from salt-laden runoff where possible.
Choosing salt alternatives for icy walkways near garden beds, or installing a small barrier like burlap or a low fence, can meaningfully reduce how much salt spray and runoff reaches nearby plantings.
8. Keep Snow on Plants When It Is Protective, Not Damaging
Snow is not always something to clear away, though it helps to know the difference:
- Snow insulates low plants and soil from harsh temperature swings
- Heavy, wet snow can still break woody branches
- Gently brush off excess snow instead of shaking frozen limbs
A light, even snow cover actually acts as natural mulch for perennials and bulbs, so resist the urge to clear it unless it is piling heavily on shrubs or young trees.
9. Don’t Work Wet or Frozen Soil
Walking or digging in saturated soil compacts it and damages its structure, undoing work rather than helping it. Waiting for workable conditions before any bed prep saves that trouble.
Compacted soil loses the pore space that roots, water, and air all depend on, and that damage can take multiple growing seasons to fully reverse.
If you are unsure whether soil is dry enough to work, squeeze a handful. If it crumbles apart, it is ready, and if it forms a dense, sticky ball, it is better to wait.
10. Use Winter as a Pest-and-Disease Planning Window
Winter offers a natural pause to plan ahead rather than just rest:
- Note recurring pest and disease issues while details are still fresh.
- Clean tools and structures connected to affected plants.
- Plan crop rotation and resistant varieties for next season.
- Skip treating the entire garden with pesticides unnecessarily.
Keeping a simple written record of what struggled this year, and where, makes spring planning far more targeted than trying to remember months later.
11. Leave Some Habitat for Beneficial Wildlife
A fully tidy garden is not always the healthiest one. Stems, seedheads, leaf litter, and brush left standing shelter insects and birds through winter, so balancing sanitation also benefits next year’s ecosystem.
Many native bees overwinter inside hollow stems, while leaf litter shelters butterfly larvae and provides foraging ground for birds.
Leaving even one corner of the garden a little wild through winter can make a noticeable difference for the pollinators that return come spring.
Winterizing Different Types of Gardens
Every garden I have worked with, whether it is a raised bed or a cluster of patio pots, seems to demand its own winter routine.
Here’s how the approach shifts depending on what you are working with:
| Garden Type | Plant Care | Soil & Storage | Winter Planning |
|---|---|---|---|
| Vegetable Garden | Leave cold-hardy vegetables in place to overwinter | Plant cover crops and protect exposed soil | Plan next season’s crop rotation |
| Flower Garden | Cut back diseased perennials, leave seedheads for wildlife | Dig up and store tender bulbs | Keep some stems standing for winter structure |
| Raised Garden Beds | Add cover crops where space allows | Mulch soil and check that drainage still works | Avoid walking on wet beds to prevent compaction |
| Container Garden | Check dormancy before deciding on protection | Move freeze-sensitive plants indoors; empty containers are prone to cracking | Group remaining pots in sheltered spots |
What Not to Do When Winterizing a Garden?
Even experienced gardeners fall into a few common traps this time of year, myself included. Years of over-tidying my own beds taught me most of these the hard way.
Here’s what to avoid:
- Don’t cut back every perennial. Leave sturdy stems and seedheads standing for wildlife.
- Don’t pile mulch against tree trunks. Keep it pulled back to avoid rot and pest issues.
- Don’t compost diseased plant material. It can reinfect your garden come spring.
- Don’t fertilize simply because winter is coming. Dormant plants do not need the extra push.
- Don’t wrap plants unnecessarily. Save protection for those that genuinely need it.
- Don’t work saturated soil. It compacts easily and takes seasons to recover.
- Don’t assume dormant plants need summer-level watering. Their needs drop significantly once growth slows.
A little restraint goes a long way here. Skipping these missteps protects the work you have already put into your garden this year.
The Bottom Line
Winterizing a garden is not a race to clear every bed by a set date.
It is a season of small, deliberate choices, knowing when to cut back and when to leave things be, when to water and when to let the soil rest.
Get the timing right, protect what needs protecting, and your garden will carry that care straight into spring.
The plants left standing through winter, the soil quietly rebuilding underneath, all of it matters more than a perfectly tidy yard ever could.
What is that one winterizing habit you swear by? Drop it in the comments below.
Frequently Asked Questions (FAQs)
Do I Need to Winterize My Garden if I Live in a Mild Climate?
Even mild winters bring temperature swings that stress plants and soil. A lighter version of winterizing, like mulching and a final deep watering, still helps plants transition smoothly into the cooler months.
Can I Still Winterize My Garden After the First Frost?
Yes, many tasks like mulching, bulb storage, and equipment care can happen after a light frost. Just avoid heavy soil work once the ground has started to freeze.
How Do I Know if a Plant Needs Winter Protection or Not?
Check the plant’s hardiness rating against your zone, and factor in how exposed its location is to wind and cold. Marginally hardy plants in sheltered spots often need less protection than the rating suggests.
Is It Bad to Leave Leaves on Garden Beds Over Winter?
A light layer of shredded leaves actually insulates soil and shelters beneficial insects through winter. A thick, matted layer can smother plants, so some raking or shredding is worth doing.
Will Winterizing My Garden Actually Make a Difference in Spring?
A well-winterized garden typically wakes up with healthier soil, less pest pressure, and stronger root systems. That head start often means earlier blooms and better yields once the growing season begins.