A detailed wooden puzzle project can be one of the most satisfying things you create with your hands. But, the difference between a smooth build and a frustrating one often comes down to what you do before a single cut is made. Many people jump straight into the work, only to discover midway through that their tools are wrong, their wood is warped, or their design is far beyond their current skill set. A few focused checks at the start will save you considerable time, wasted material, and unnecessary stress. Here is exactly what to look at before you begin.
Assess Your Skill Level and Choose the Right Design
Before you select a design, you need to be honest about where your skills actually stand. This is not about self-doubt. It is about setting yourself up for a result you will be proud of rather than a half-finished piece that sits in the corner.
A wooden colouring puzzle, for example, is a great starting point for those who are still building confidence with intricate cuts. The design is often pre-defined, the shapes are manageable, and the colouring process adds a layer of personalisation without requiring advanced woodworking technique. It lets you focus on precision and patience rather than design complexity from scratch.
For those with more experience, the design selection should still be measured. Ask yourself whether you have successfully completed projects with a similar level of detail before. If the new design introduces multiple new challenges at once, such as tight internal curves, very small interlocking pieces, or unusual wood grain requirements, it is wiser to tackle those challenges one at a time. Choose a design that stretches your ability slightly rather than one that overwhelms it entirely.
Also consider the intended recipient or purpose. A puzzle built for a child needs different tolerances and piece sizes than one built for display. Getting clear on this upfront shapes every decision that follows.
Gather the Right Materials and Tools Before You Begin
Choosing the Right Wood Type and Thickness
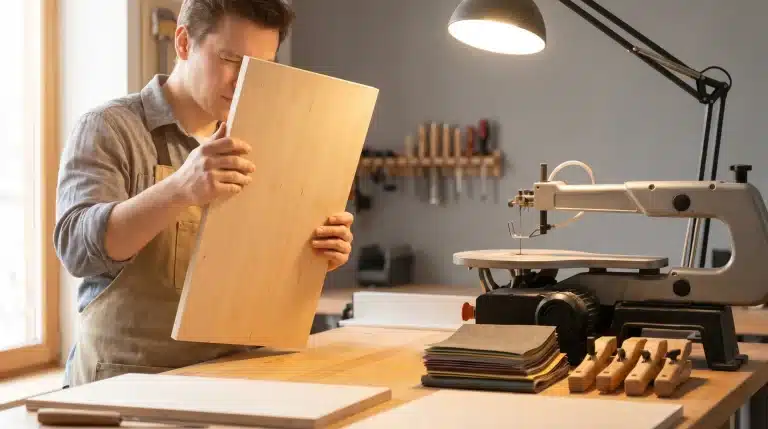
Not all wood performs the same way under a scroll saw or jigsaw. Hardwoods such as birch, cherry, and walnut hold detail well and produce clean edges on intricate cuts. Softwoods, on the other hand, can compress or splinter under pressure, which creates uneven edges that affect how puzzle pieces fit together.
Thickness matters just as much as wood species. For most detailed puzzle work, a board between 6mm and 12mm offers a good balance between structural strength and manageable cutting depth. Thinner boards can flex and crack on tight curves, while thicker boards demand more from your blade and your patience. Check that your chosen wood is completely dry and free from warping before you buy or use it. Even a slight bow in the board will cause problems at the cutting and finishing stages.
If you plan to paint or stain the finished puzzle, also check how well the wood accepts finish. Some woods absorb stain unevenly, which affects the final appearance.
Essential Tools to Have Ready
Having the right tools ready before you start prevents unnecessary interruptions. At a minimum, you will need a scroll saw or jigsaw with fine-toothed blades suited to the wood thickness you have chosen. Blunt or wrong-sized blades produce rough edges and require you to spend extra time on sanding.
Plus to your cutting tool, prepare a set of sandpaper in various grits, a reliable clamp or two for holding your template in place, and a sharp pencil or chalk marker for tracing. A drill with a small bit is also necessary if your design includes interior cuts, as you will need to thread the blade through a pilot hole. Lay everything out and check each item is in good working order before the project starts.
Check Your Workspace Setup and Safety Measures
Your workspace directly affects the quality and safety of your work. A cluttered or poorly lit bench introduces unnecessary risk and makes precise cuts much harder to achieve.
Start by clearing the surface completely. You need room to manoeuvre the wood freely in all directions without obstruction. A workbench at the right height for your body is also worth noting. If you have to hunch or overreach, your cuts will be less controlled and fatigue will set in faster.
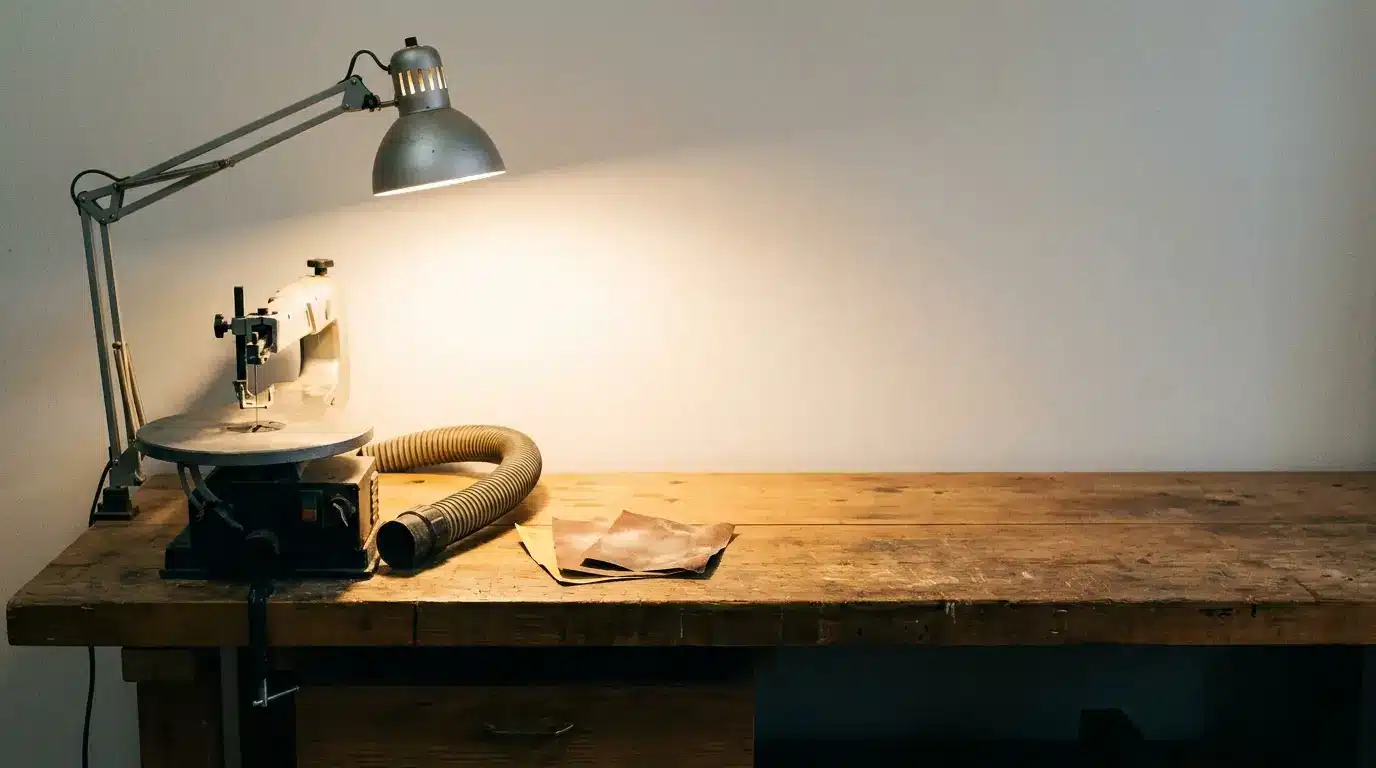
Lighting is another factor that many people underestimate. Good, direct lighting on your cutting line helps you stay accurate. Natural light is ideal, but a focused workshop lamp works well in its absence.
On the safety side, confirm that your dust extraction is connected and functional. Fine wood dust is a genuine health hazard with extended exposure. Wear a dust mask rated for fine particulates, not just a basic paper mask. Safety goggles are also necessary, particularly if you use a scroll saw, as small fragments can become airborne without warning.
Check that your saw is properly secured to the bench and that the blade guard is in position. If you use a freestanding saw, make sure the feet are stable on the floor. A machine that vibrates or shifts during use is a safety problem and a precision problem at the same time.
Review Your Template and Plan the Cutting Process
Your template is the foundation of the entire project. A poorly prepared or incorrectly scaled template will cause problems that no amount of skill can fix after the fact.
First, verify that your template is printed or drawn at the correct scale for your wood piece. Place the template over your board and check that the margins are adequate. There should be enough border around the outermost pieces so that the edges do not blow out or splinter during the cut.
Next, study the cutting sequence before you touch the saw. Most experienced woodworkers agree that you should always cut interior pieces and fine details first, then move outward toward the larger, outer shapes. This approach keeps the board structurally stable throughout the process. If you cut the outer border first, the remaining wood becomes fragile and harder to control.
Identify any areas on the template where cuts intersect or run very close together. These spots require slower blade speed and more attention. Mark them clearly on your template so you do not rush through them.
Also consider grain direction in relation to your cuts. Cutting across the grain on narrow pieces increases the risk of breakage. For intricate puzzle pieces, aligning the grain with the longest dimension of each piece adds structural integrity.
Finally, do a dry run with a scrap piece of the same wood and thickness. This lets you test your blade speed, pressure, and control before you commit to your actual material. It is a small step, but it catches problems early and builds confidence before the real work starts.
Conclusion
A detailed wooden puzzle project rewards preparation more than it rewards raw talent. By checking your skill level, gathering the correct materials and tools, setting up a safe workspace, and reviewing your template and cut plan in advance, you give yourself the best possible foundation. Each of these steps takes a fraction of the time that fixing a mistake would cost. Take them seriously, and the project itself becomes far more enjoyable from start to finish.