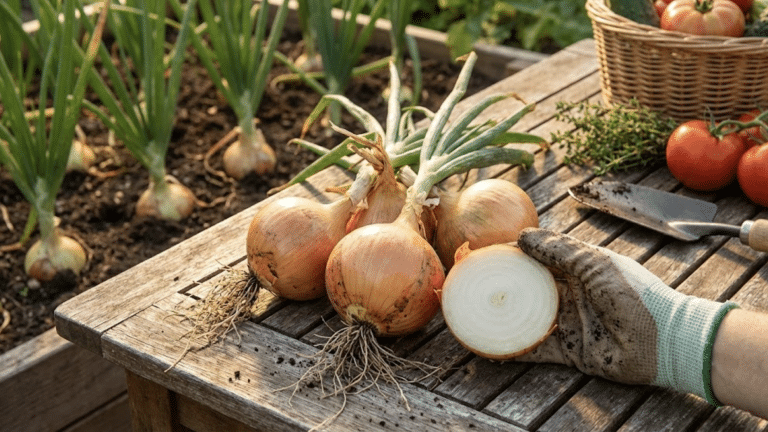
There’s a quiet satisfaction that comes with pulling your first homegrown onion from the soil, watching those papery layers reveal themselves, knowing you nurtured this humble bulb from the very beginning.
Onions ask for so little yet give back so much, making them the perfect companion for anyone just starting their gardening journey.
Imagine fresh salsa from your own harvest, caramelized sweetness in your skillet, or simply something reliable growing in your garden beds.
We’ll walk through everything from choosing your varieties to tucking them into the earth, then watching them flourish with surprisingly minimal fuss along the way.
Onion Basics: What Beginners Should Know?
Onions thrive in loose, well-draining soil and need full sun to develop those satisfying bulbs you’re after.
They grow in two main phases: first, they focus on producing green tops, then they shift energy into bulb formation as daylight changes.
Here’s where it gets interesting: onions are actually photoperiodic, meaning they respond to day length.
Short-day varieties need 10-12 hours of daylight and suit southern gardens, long-day types require 14-16 hours for northern climates, while intermediate-day onions fall somewhere between and work well in transitional zones.
Matching your onion type to your location makes all the difference in getting plump, successful bulbs.
Choosing the Right Onion Variety
Picking your first onion variety doesn’t have to feel overwhelming.
Start by considering your location and what you love to cook with most. Your climate determines which daylight category you need, but within that group, you’ll find plenty of delicious options to explore.
| Onion Type | Best For | Flavor Profile | Beginner-Friendly Varieties |
|---|---|---|---|
| Yellow Onions | All-purpose cooking, long storage | Bold, pungent when raw; sweet when cooked | Copra, Patterson, Yellow Sweet Spanish |
| Red Onions | Salads, pickling, grilling | Mild to medium, slightly sweet | Red Wing, Red Creole, Redwing |
| White Onions | Fresh salsas, Mexican dishes | Sharp, clean, crisp | White Sweet Spanish, Sierra Blanca |
| Sweet Onions | Eating raw, sandwiches, and light cooking | Mild, low-sulfur, juicy | Walla Walla, Vidalia, Candy |
When is the Best Time for Planting Onions?
Timing can make or break your onion harvest, and luckily, it’s simpler than you’d think.
Spring planting works beautifully in most climates once soil temperatures hit 50°F and the ground becomes workable, typically 4-6 weeks before your last frost.
In milder southern regions, fall planting (October through December) gives onions a head start to mature by early summer.
Plant too late in spring and your bulbs stay small since they need cool weather for leaf growth before heat triggers bulbing.
Getting them in at the right moment means they’ll have time to develop strong tops first, then channel all that energy into plump, sizeable bulbs.
Ways to Plant Onions
You have three paths to growing onions, each with its own rhythm and rewards.
Choosing between seeds, sets, or transplants depends on your patience level, budget, and how hands-on you want to be from the start.
1. Planting Onion Seeds
Starting from seed gives you the widest variety selection and costs less, but requires patience and indoor space.
Start seeds 8-10 weeks before your last frost in trays, then transplant when they’re pencil-thick. They’ll take the longest to mature but often produce the biggest bulbs.
Pros: Most variety options, economical for large plantings
Cons: Requires indoor setup, longest time to harvest
2. Planting Onion Sets
These small, dormant bulbs are the easiest entry point for beginners. Plant them 1 inch deep, 4-6 inches apart in early spring, with the pointy end facing up.
Choose smaller sets (dime-sized) since larger ones tend to bolt and flower prematurely instead of forming nice bulbs.
Pros: Fastest to establish, no indoor starting needed
Cons: Limited variety choices, higher bolting risk with large sets
3. Planting Onion Transplants
Transplants (young seedlings) offer a middle ground between seeds and sets. They adapt quickly when planted at the same depth they were growing, with roots spread gently downward.
Handle them carefully and water immediately to minimize shock, giving them the same 4-6 inch spacing as sets.
Pros: Head start on growth, good variety selection
Cons: Can be pricier, needs gentle handling during planting
Soil Preparation for Growing Onions
Onions crave loose, crumbly soil that drains well since soggy conditions lead to rot.
Aim for a pH between 6.0 and 7.0 for optimal nutrient uptake. Before planting, work in compost or aged manure to boost fertility and improve texture, breaking up any clumps that could restrict bulb development.
Heavy clay? Consider raised beds, which solve drainage issues instantly while warming up faster in spring.
The elevated structure also makes it easier to control soil quality and gives those bulbs room to expand without hitting compacted layers.
A little prep work now pays off with healthier, fuller onions come harvest time.
How to Plant Onions: Step-by-Step
Getting onions into the ground is refreshingly straightforward once you understand the basics. Follow these steps to give your onion sets the best possible start in your garden beds.
Step 1: Prepare Loose, Fluffy Soil
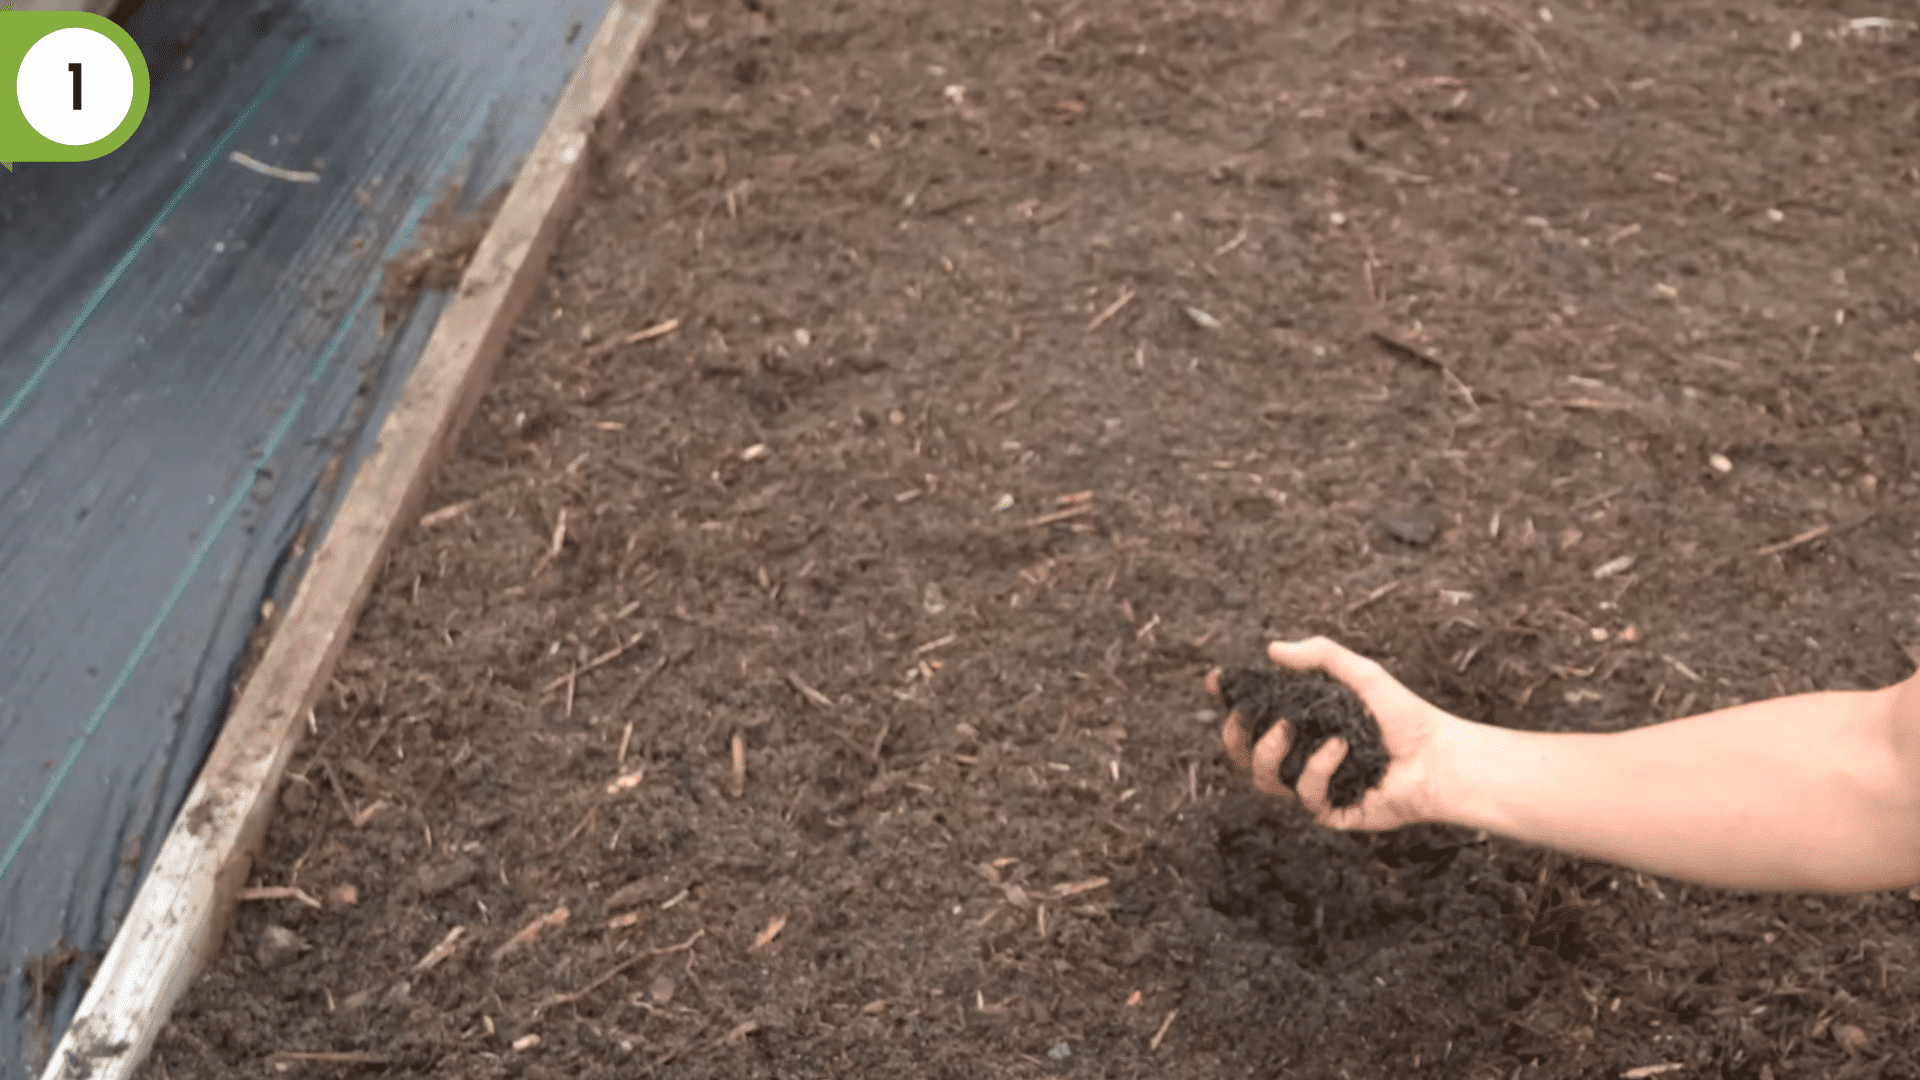
Onions need light, loamy soil to develop strong roots and healthy bulbs. Take a rake and work over the top few inches of your bed until the soil feels loose and crumbly in your hands.
You should be able to easily dig your fingers down without hitting compacted areas. The fluffier your soil, the happier your onions will be as they establish themselves and begin their growth cycle.
Step 2: Space Your Onion Sets Properly
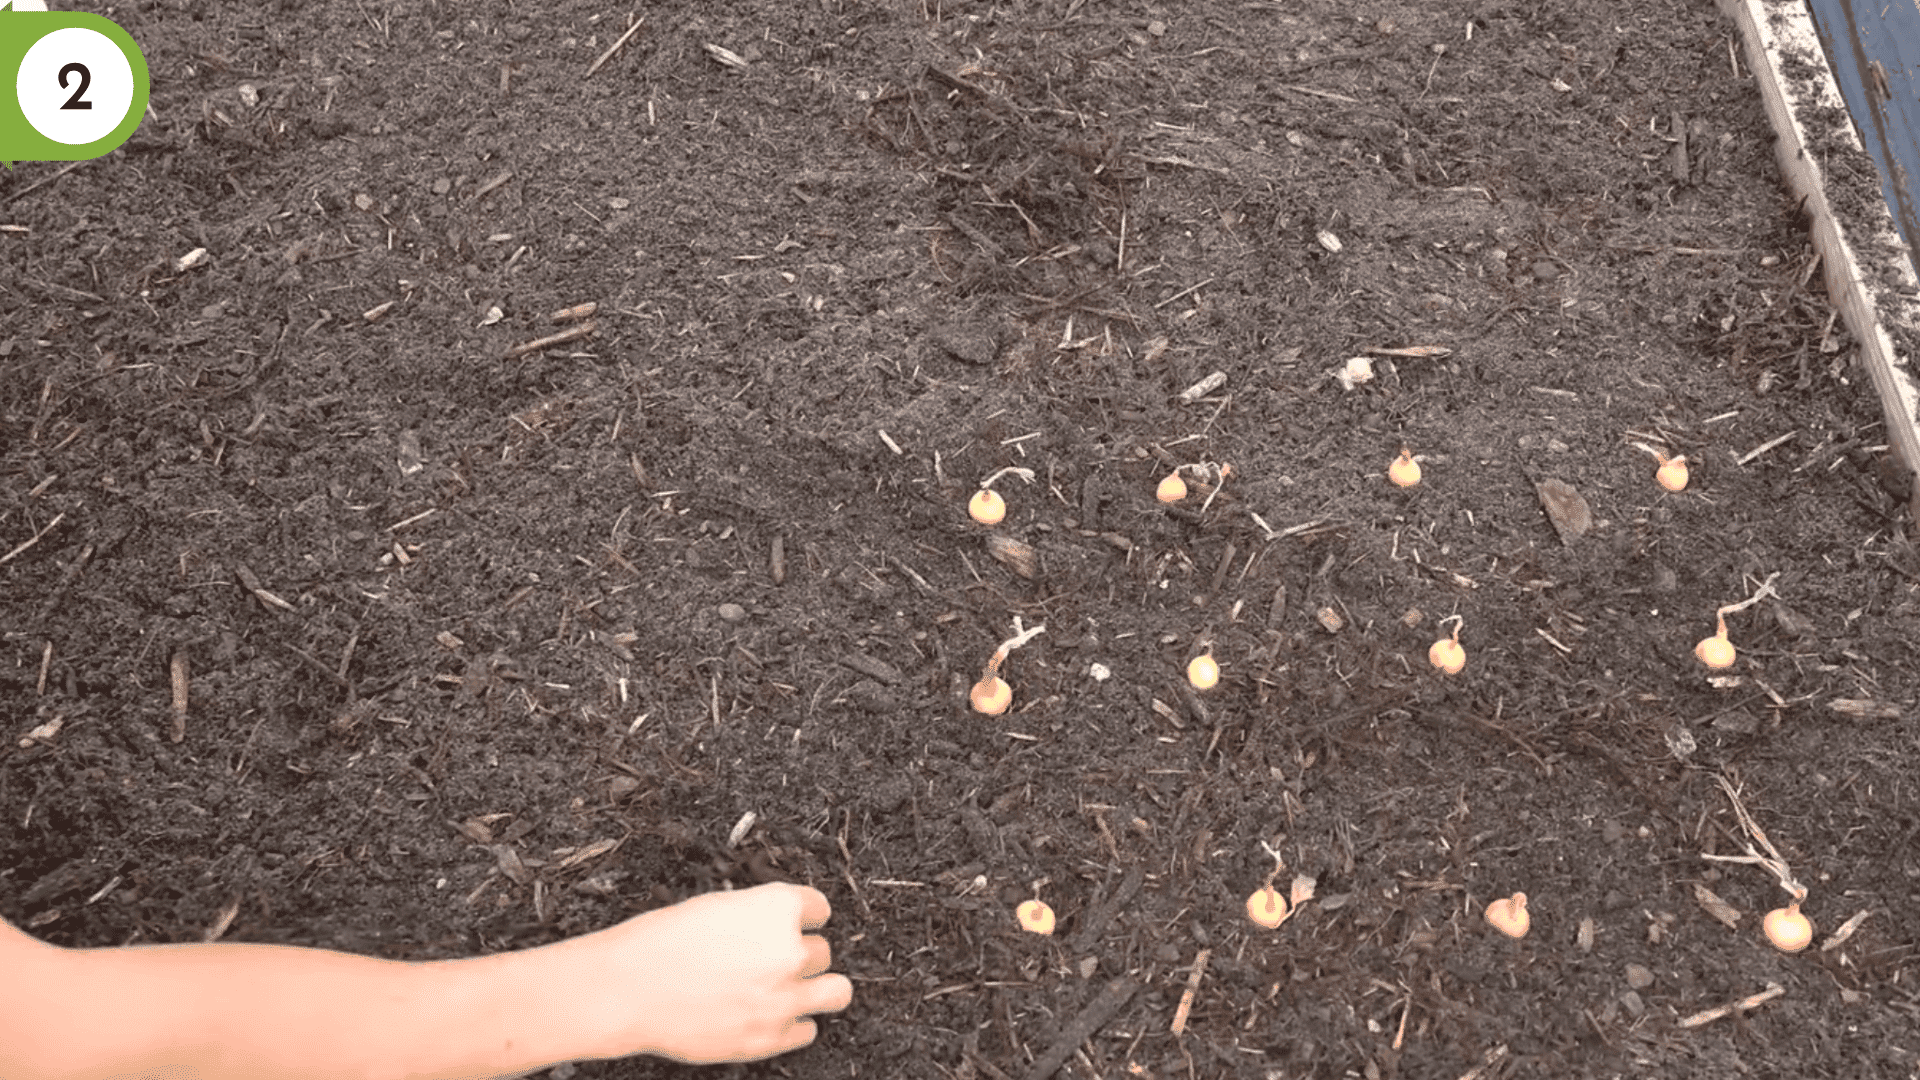
Lay out your onion sets before planting to visualize your spacing:
- Place sets 4-6 inches apart from each other
- Keep them 4-6 inches away from bed edges to allow room for bulb expansion
- Orient each set with the pointy end facing up and root hairs touching soil
- Choose smaller, dime-sized sets to reduce bolting risk
Step 3: Press Sets Into Soil
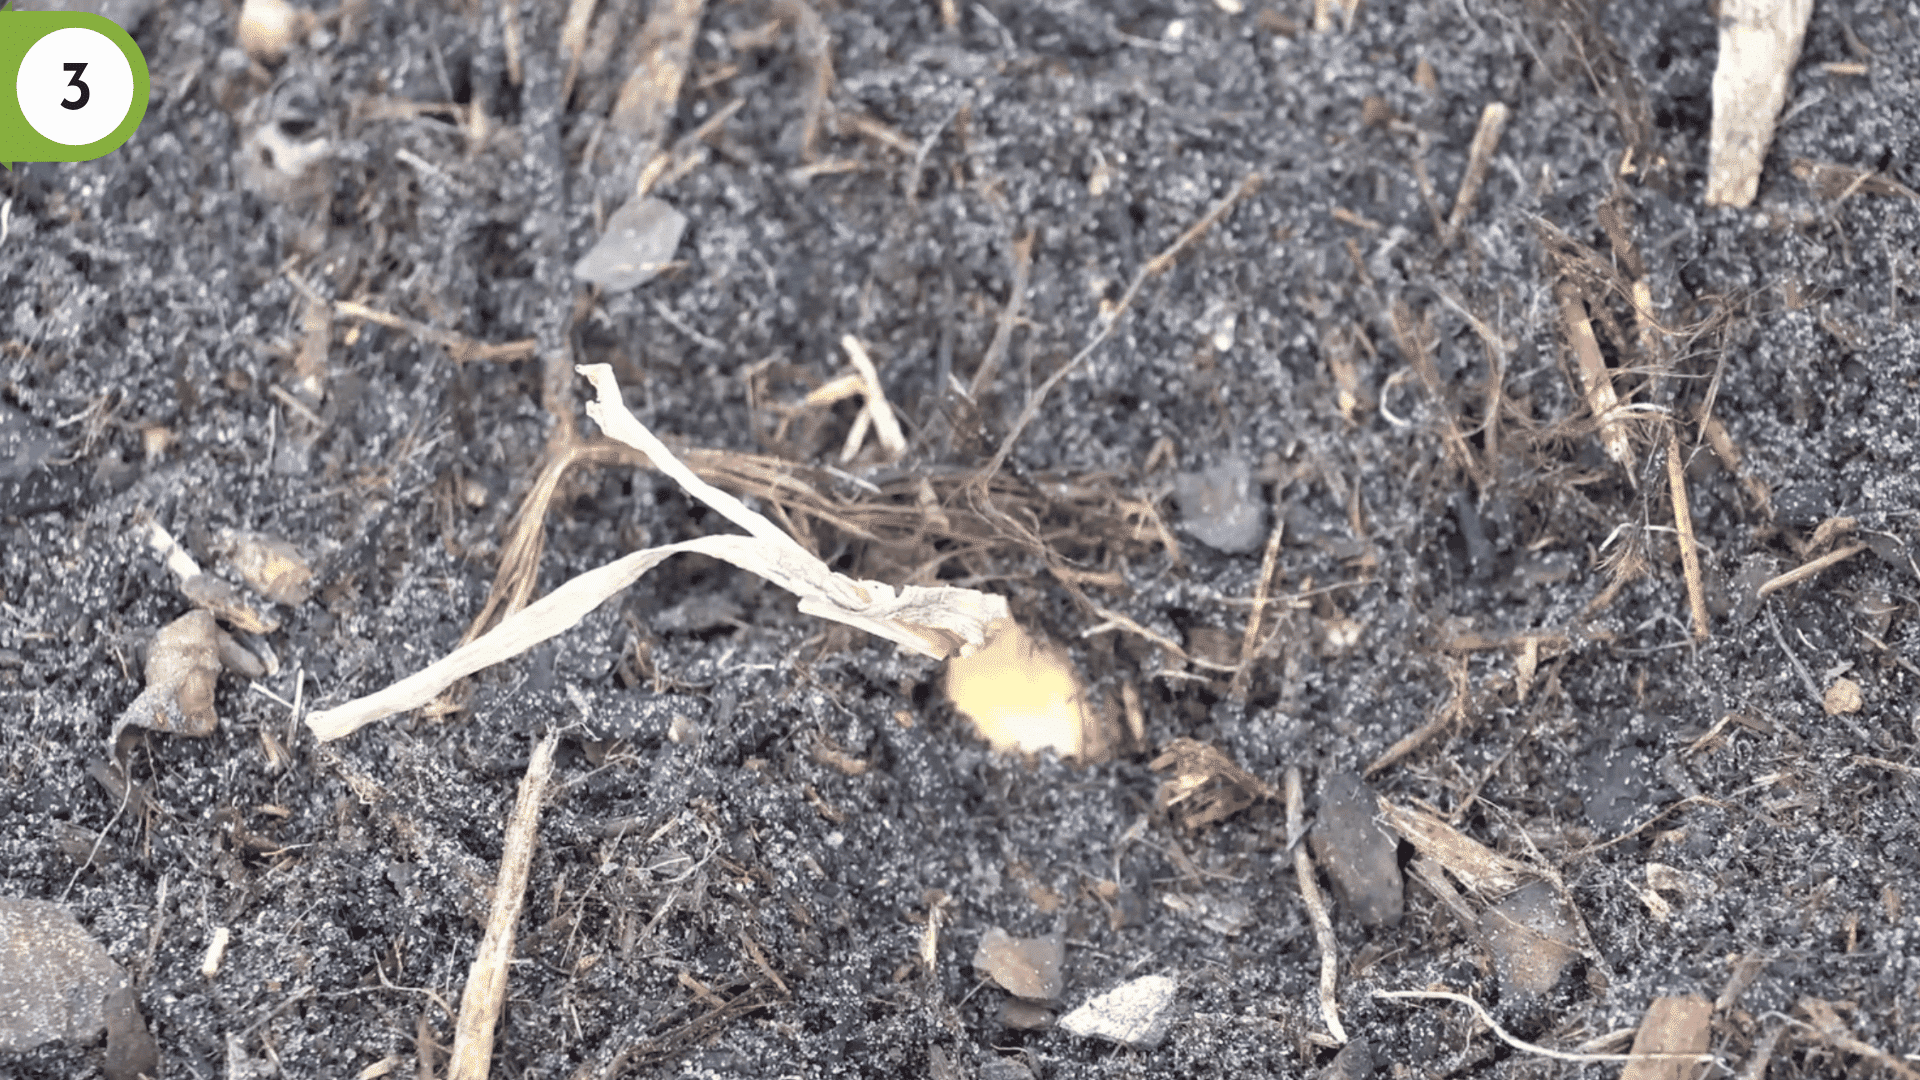
Gently push each onion set halfway down into the loosened soil using your fingers. The bulb should sit partially exposed rather than being completely buried at this stage.
This allows you to add a nutrient-rich top layer that will feed your onions as they grow, giving them the boost they need for strong development.
Step 4: Add Compost and Fertilizer
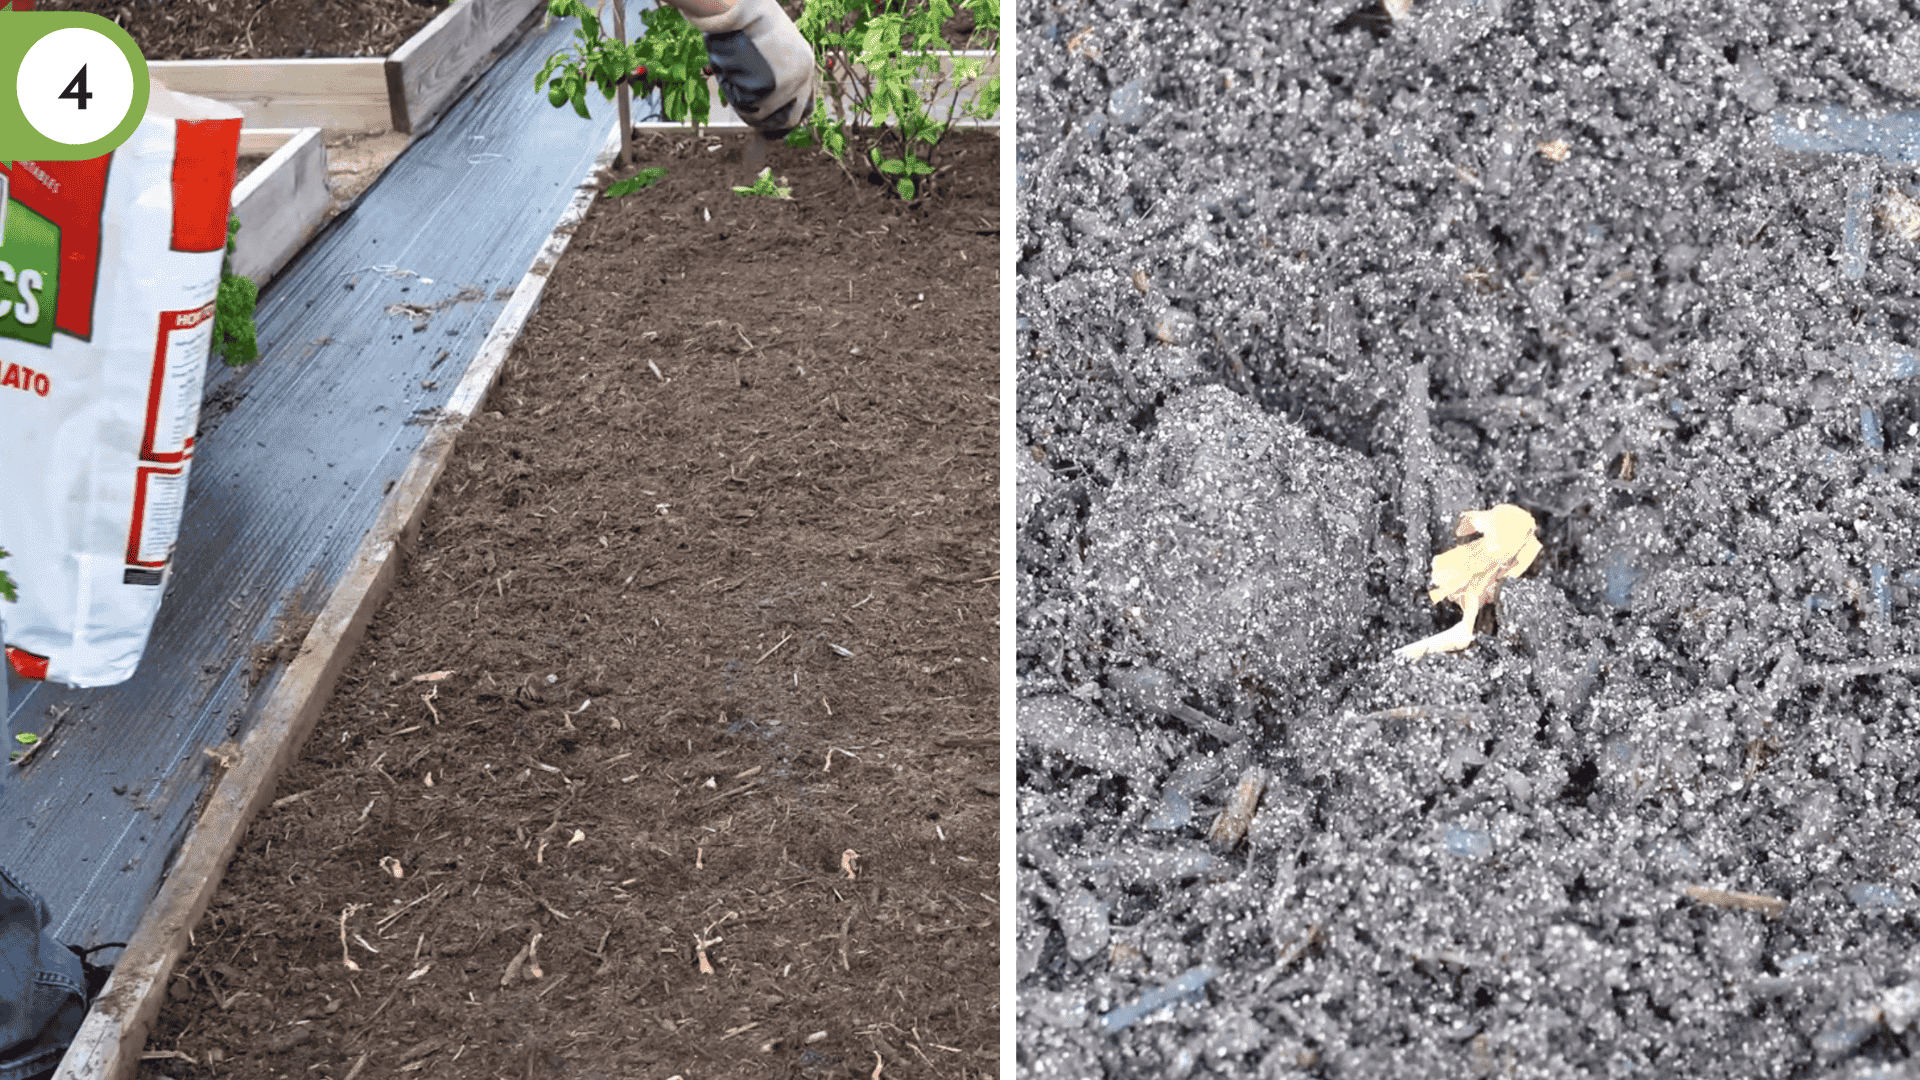
Cover the remaining exposed portions of your onion sets with a mixture of cow manure compost and organic slow-release fertilizer (look for balanced ratios like 3-5-6 or 4-4-4).
The tops should still peek through slightly while the bulbs are completely covered. Reapply fertilizer every 30 days as your onions grow to keep them well-fed throughout their development.
Step 5: Mulch and Water Thoroughly
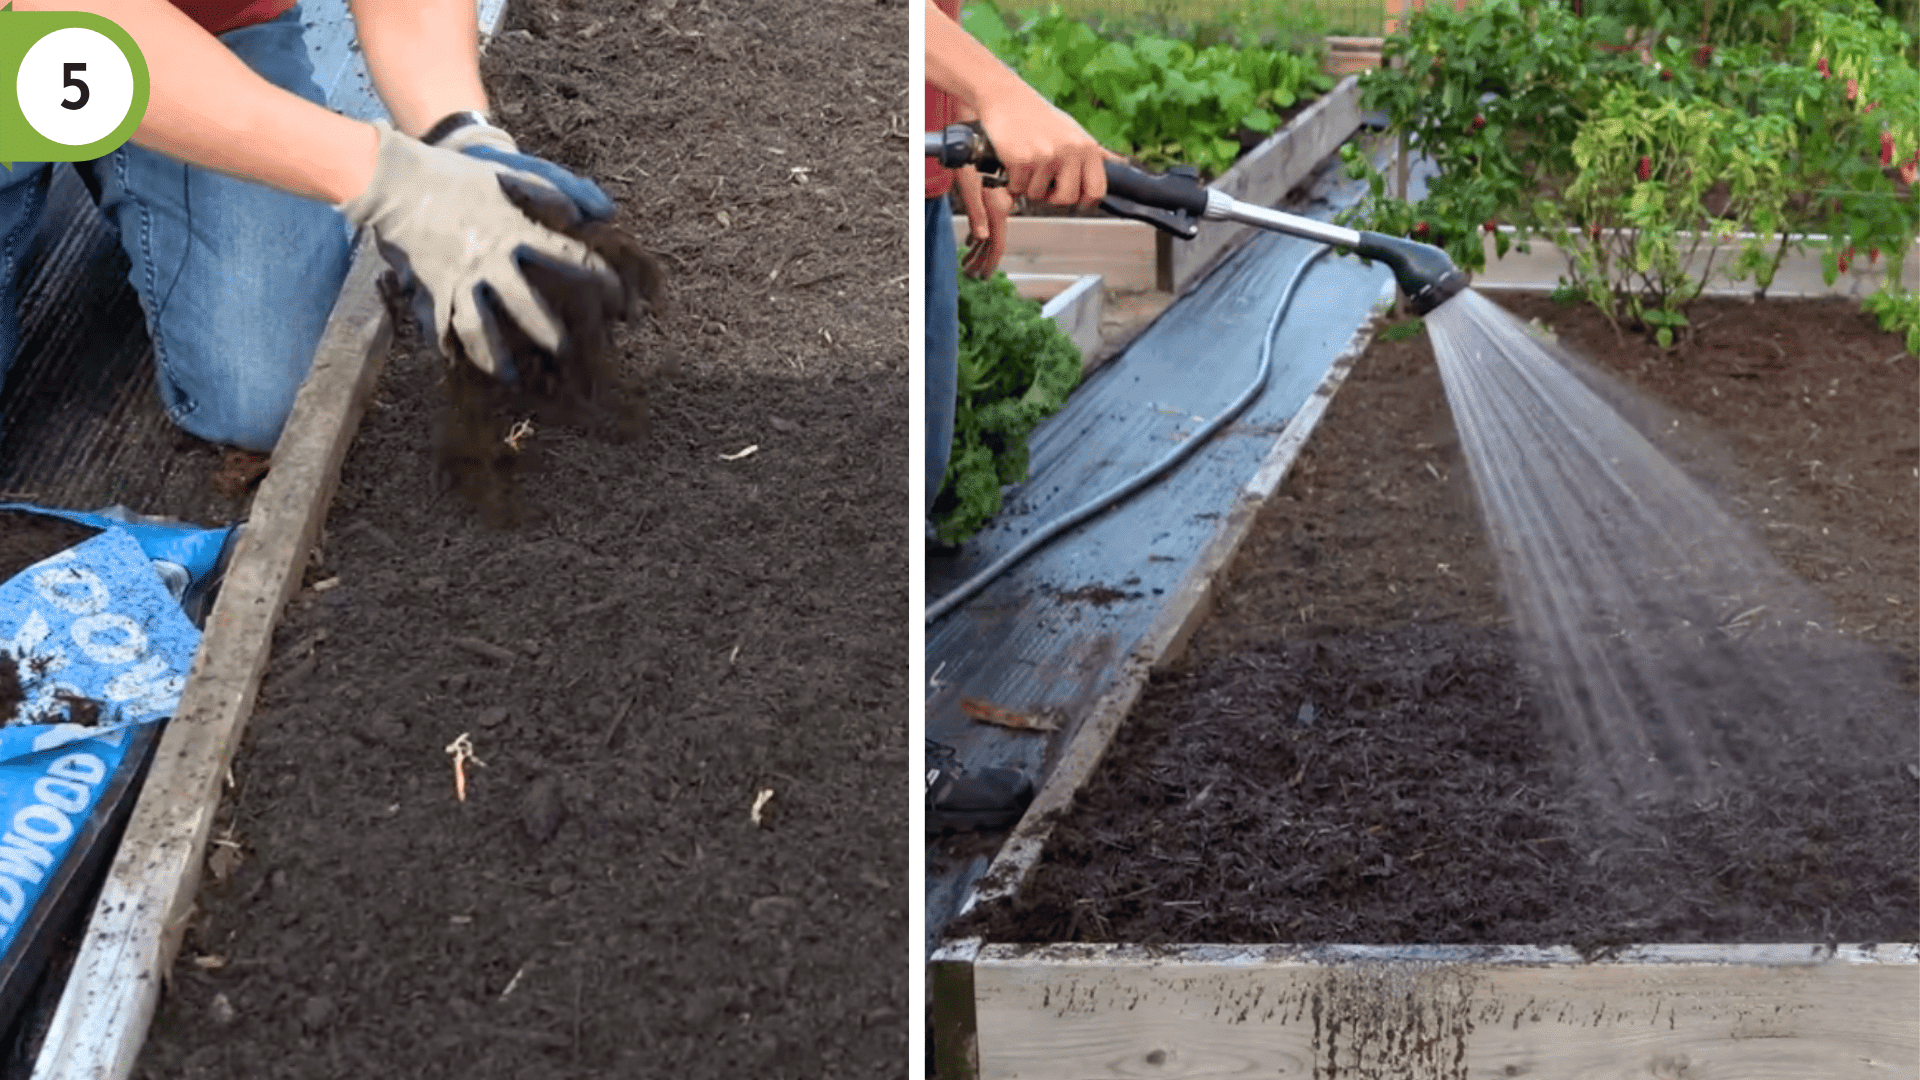
Apply a 1-inch layer of natural mulch (shredded bark, straw, or leaves) around your onions to retain moisture and provide insulation against temperature swings.
Avoid dyed mulches, which contain chemicals. Water deeply after planting and check every few days to ensure the soil stays lightly moist. Within two weeks, you should see green tops emerging through the mulch layer.
For a more detailed walkthrough of the process, check out the complete video tutorial below by The Millennial Gardener.
How to Grow Onions After Planting?
Once your onions are settled in the ground, they need consistent care to develop those satisfying bulbs.
Focus on 3 key areas: steady moisture, proper feeding, and weed control through mulching.
Watering Schedule for Growing Onions
Onions have shallow root systems that depend on consistent moisture, especially during their leaf-growing phase.
Too much water causes rot, while too little stunts bulb development. Adjust your watering based on where your onions are in their growth cycle and what the weather brings.
| Growth Stage | Watering Frequency | Amount | Notes |
|---|---|---|---|
| After Planting | Every 2-3 days | Light watering | Keep the soil lightly moist until the roots establish |
| Active Leaf Growth | 1-2 times per week | 1 inch of water | Water deeply to encourage root development |
| Bulbing Stage | Once per week | 1 inch of water | Maintain consistent moisture for bulb expansion |
| 2 Weeks Before Harvest | Stop watering | None | Allow tops to dry down and bulbs to cure |
Fertilizing and Mulching Tips
Feeding your onions regularly and keeping weeds at bay makes the difference between mediocre and magnificent bulbs.
A consistent fertilizing routine paired with protective mulch creates the ideal environment for steady growth.
Fertilizing for Strong Bulb Development:
- Apply balanced organic fertilizer (3-5-6 or similar) every 30 days during active growth
- Focus on nitrogen-rich feeding early to build strong tops, then reduce nitrogen as bulbing begins
- Side-dress with compost when plants reach 6 inches tall for sustained nutrients
Mulching to Control Weeds and Retain Moisture:
- Maintain a 2-3 inch layer of natural mulch (straw, shredded leaves, or bark) throughout the season
- Keep mulch pulled back slightly from onion necks to prevent rot
- Replenish as it breaks down to suppress weeds and regulate soil temperature continuously
Sunlight & Temperature Requirements
Onions are sun lovers and need 6-8 hours of direct sunlight daily to produce plump, well-formed bulbs.
Anything less results in smaller yields and weak growth. They thrive in cool to moderate temperatures between 55-75°F, which is why early planting works so well.
During their leaf-building phase, onions tolerate light frosts down to 20°F without damage, making them perfect cool-season crops.
However, once temperatures consistently hit 75-80°F or higher, onions shift into bulbing mode.
Extreme heat above 90°F can stress plants and cause premature bolting, while prolonged cold below 20°F may damage developing bulbs.
Caring for Onions During the Growing Season
Onions have shallow roots that can’t compete well with weeds, so staying on top of garden maintenance keeps them happy.
A few simple care practices during the growing season help your bulbs reach their full potential.
| Care Task | When | How | Why |
|---|---|---|---|
| Weed Control | Weekly | Hand-pull gently; keep mulch layer intact | Onion roots can’t compete for nutrients |
| Thinning | At 3-4 inches tall | Remove the smallest plants to a 4-6 inch spacing | Gives bulbs room to expand |
| Stop Fertilizing | When bulbs start swelling | Discontinue all feeding | Allows proper maturation and storage |
Pay attention to your onions as they grow rather than following a rigid schedule. Each garden progresses uniquely; responding to what happens in your beds yields better results than sticking to rigid timelines.
Common Problems When Growing Onions
Even the easiest crops hit a few bumps along the way, and onions are no exception. Recognizing these common issues early helps you course-correct before they affect your harvest.
- Bolting (premature flowering): Happens when onions experience temperature swings or are planted too late, causing them to skip bulbing and go straight to seed production.
- Small, Underdeveloped Bulbs: Usually caused by overcrowding, poor soil nutrition, insufficient sunlight, or planting the wrong variety for your climate zone.
- Yellowing Leaves: Can signal overwatering and root rot, nutrient deficiencies (especially nitrogen), or natural die-back as harvest approaches.
- Watering Imbalances: Overwatering leads to soft, rotting bulbs and fungal issues, while underwatering during active growth produces small, stressed bulbs that won’t store well.
Most onion problems trace back to timing, spacing, or water management. Catching these issues early and adjusting your approach keeps your crop on track for a successful harvest.
Pests and Diseases to Watch For
Keep an eye out for onion maggots, tiny white larvae that tunnel into bulbs and cause plants to wilt and rot.
Thrips are trickier to spot but leave silvery streaks on leaves while stunting growth. Fungal diseases like downy mildew and white rot love overly wet conditions, showing up as yellowing foliage or white fuzzy growth at the base.
Your best defense is prevention: rotate crops every three years, maintain proper spacing for airflow, water at the soil level rather than overhead, and pull any infected plants immediately to stop the spread.
Healthy, well-draining soil naturally keeps most problems at bay.
When and How to Harvest Onions?
Knowing when to pull your onions makes all the difference in how well they store. Watch for the right signals, then follow a simple harvesting and curing process to keep your bounty fresh for months.
- Step 1: Wait until 50-75% of the onion tops naturallyfall over and begin to yellow, usually 100-175 days after planting, depending on the variety.
- Step 2: Gently loosen the soil around the bulbs with a fork, then lift the onions carefully by their tops without bruising or damaging the papery skin.
- Step 3: Lay onions in a single layer in a dry, shaded, well-ventilated spot (garage, covered porch, or under a tree) for 2-3 weeks to cure.
- Step 4: Once the necks are completely dry and papery, trim the roots and tops to 1 inch, brush off any dirt, and store in mesh bags or on braided strings in a cool, dark place.
Properly cured onions can last 6-12 months, depending on variety, giving you homegrown flavor well into winter. The patience you invest in curing pays off with every onion you pull from storage.
Storing Homegrown Onions
After harvest, cure onions for 2-3 weeks in a dry, shaded area with good airflow until necks feel papery and completely dry.
Once cured, trim tops and roots to about an inch, brush off loose dirt, and store in mesh bags, crates, or braids where air can circulate.
The ideal storage spot is cool (32-40°F), dark, and dry with low humidity. Sweet onions last 2-4 months, while pungent varieties like yellow storage onions can hold for 6-12 months.
Check your stash regularly and remove any that show soft spots or sprouting to prevent spoilage from spreading.
Companion Planting for Onions
Pairing onions with the right neighbors creates a healthier garden ecosystem where plants support each other naturally.
Some companions deter pests, while others help maximize your growing space without competition.
| Best Companions | Benefits | Plants to Avoid | Why Avoid |
|---|---|---|---|
| Carrots, beets, lettuce | Repels carrot flies; shallow roots don’t compete | Beans, peas | Inhibits legume growth and nitrogen fixation |
| Brassicas (cabbage, broccoli) |
Deters cabbage worms and aphids | Asparagus | Competes for nutrients; stunts both crops |
| Tomatoes, peppers | Protects against aphids and spider mites | Sage | Too similar; attracts the same pests |
| Strawberries | Repels slugs and beetles naturally | – | – |
Onions naturally repel many common garden pests with their sulfur compounds, making them valuable protective partners throughout your beds.
Wrapping Up
Getting started with planting onions might feel like a small step, but it opens up something bigger: the satisfaction of growing your own food from the ground up.
You’ve learned everything from choosing varieties to curing your harvest, and now it’s your turn to get those bulbs in the soil.
Every gardener’s experience looks different, so share your onion-growing wins, challenges, or questions in the comments below. Your insights might be exactly what another beginner needs to hear.
Here’s to abundant harvests and kitchen shelves stocked with your own homegrown onions!