I’ve been growing my own cut flower garden for years now, and stepping outside with scissors to gather fresh blooms never gets old.
A cut flower garden is simply a dedicated space where you grow flowers specifically for harvesting.
Think of it as your personal flower shop, but better. You’ll save money, find varieties you’d never see at the store, and always have gorgeous stems ready for your vase.
Starting from seed or trying this for the first time, I’m here to walk you through planning your space, choosing the best flowers, and nurturing them into abundant bouquets.
Table of Contents
-
Best Cut Flowers to Grow (by Role: Focal, Filler, Foliage; by Season)
- Selling Surplus: Markets, Buckets, Pricing
Why Grow a Cut Flower Garden?
Growing your own cut flowers changed how I see my garden. Instead of spending money on bouquets that wilt in days, I step outside and snip exactly what I need.
The blooms last longer because they’re garden-fresh, and I can grow stunning varieties that florists rarely carry.
Specialty dahlias, heirloom zinnias, and sweet peas in unusual colors; they’re all possible in your own space. Beyond the practical savings, there’s something deeply satisfying about the process.
Erin Benzakein of Floret Flowers has built an entire movement around this, showing home gardeners that growing beautiful cut flowers isn’t just for professionals.
It’s therapeutic, creative, and endlessly rewarding!
Planning Your Cutting Garden
Planning your cut flower garden starts with getting a few fundamentals right. You don’t need acres of space or perfect conditions, but understanding what your flowers need will set you up for success.
Here’s how to create the ideal growing environment for abundant blooms.
| Element | Requirements | Tips |
|---|---|---|
| Sunlight | 6+ hours direct sun daily (Bouqs) | Choose the sunniest spot with morning exposure |
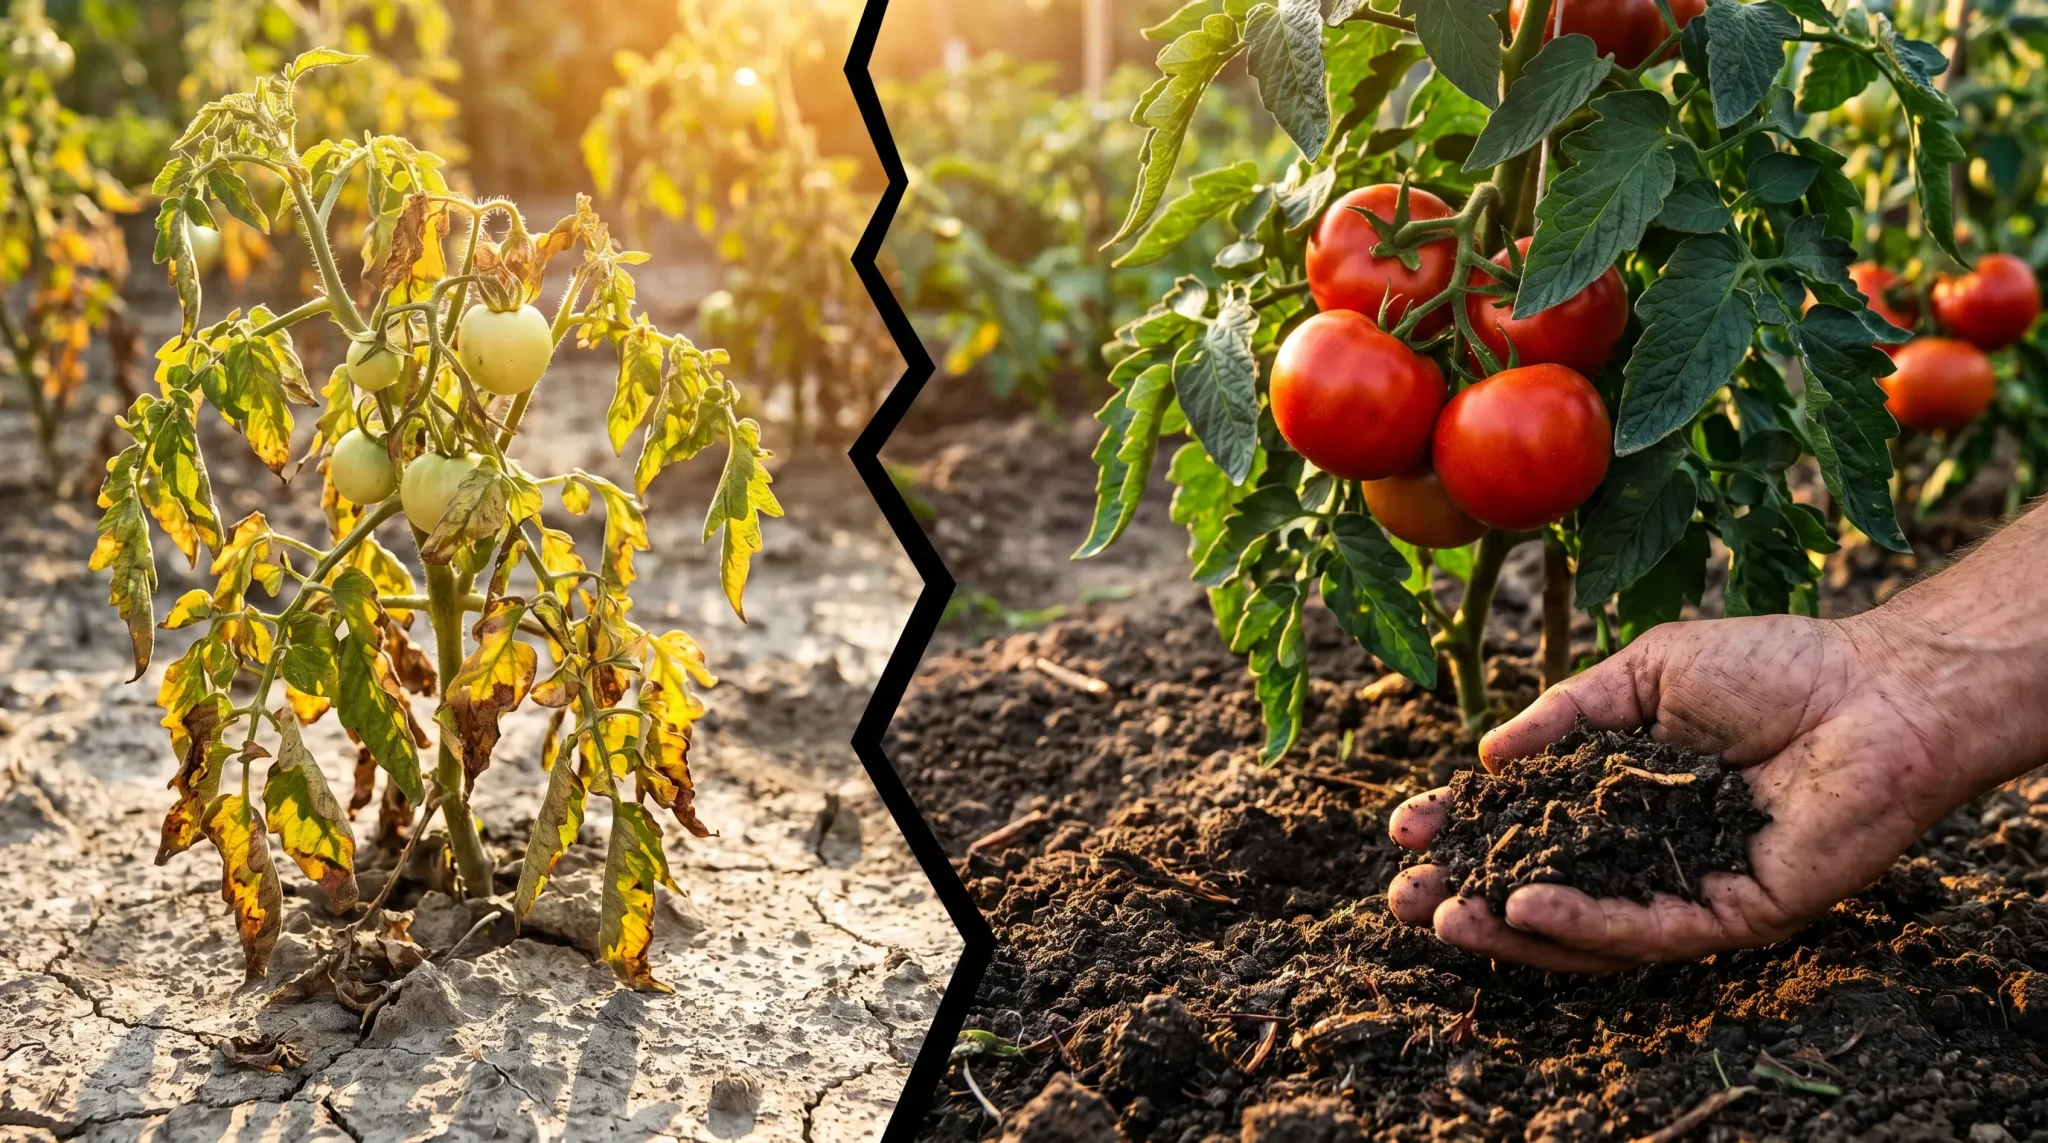
| Soil | Good drainage, rich in compost | Use raised beds for heavy clay. Warms faster in spring |
| Water | Consistent moisture, easy access | Drip irrigation or soaker hoses save time |
| Size | Based on your goals | 4×8 ft for home bouquets (Sierra Flower Farm). Larger for market sales |
Best Cut Flowers to Grow
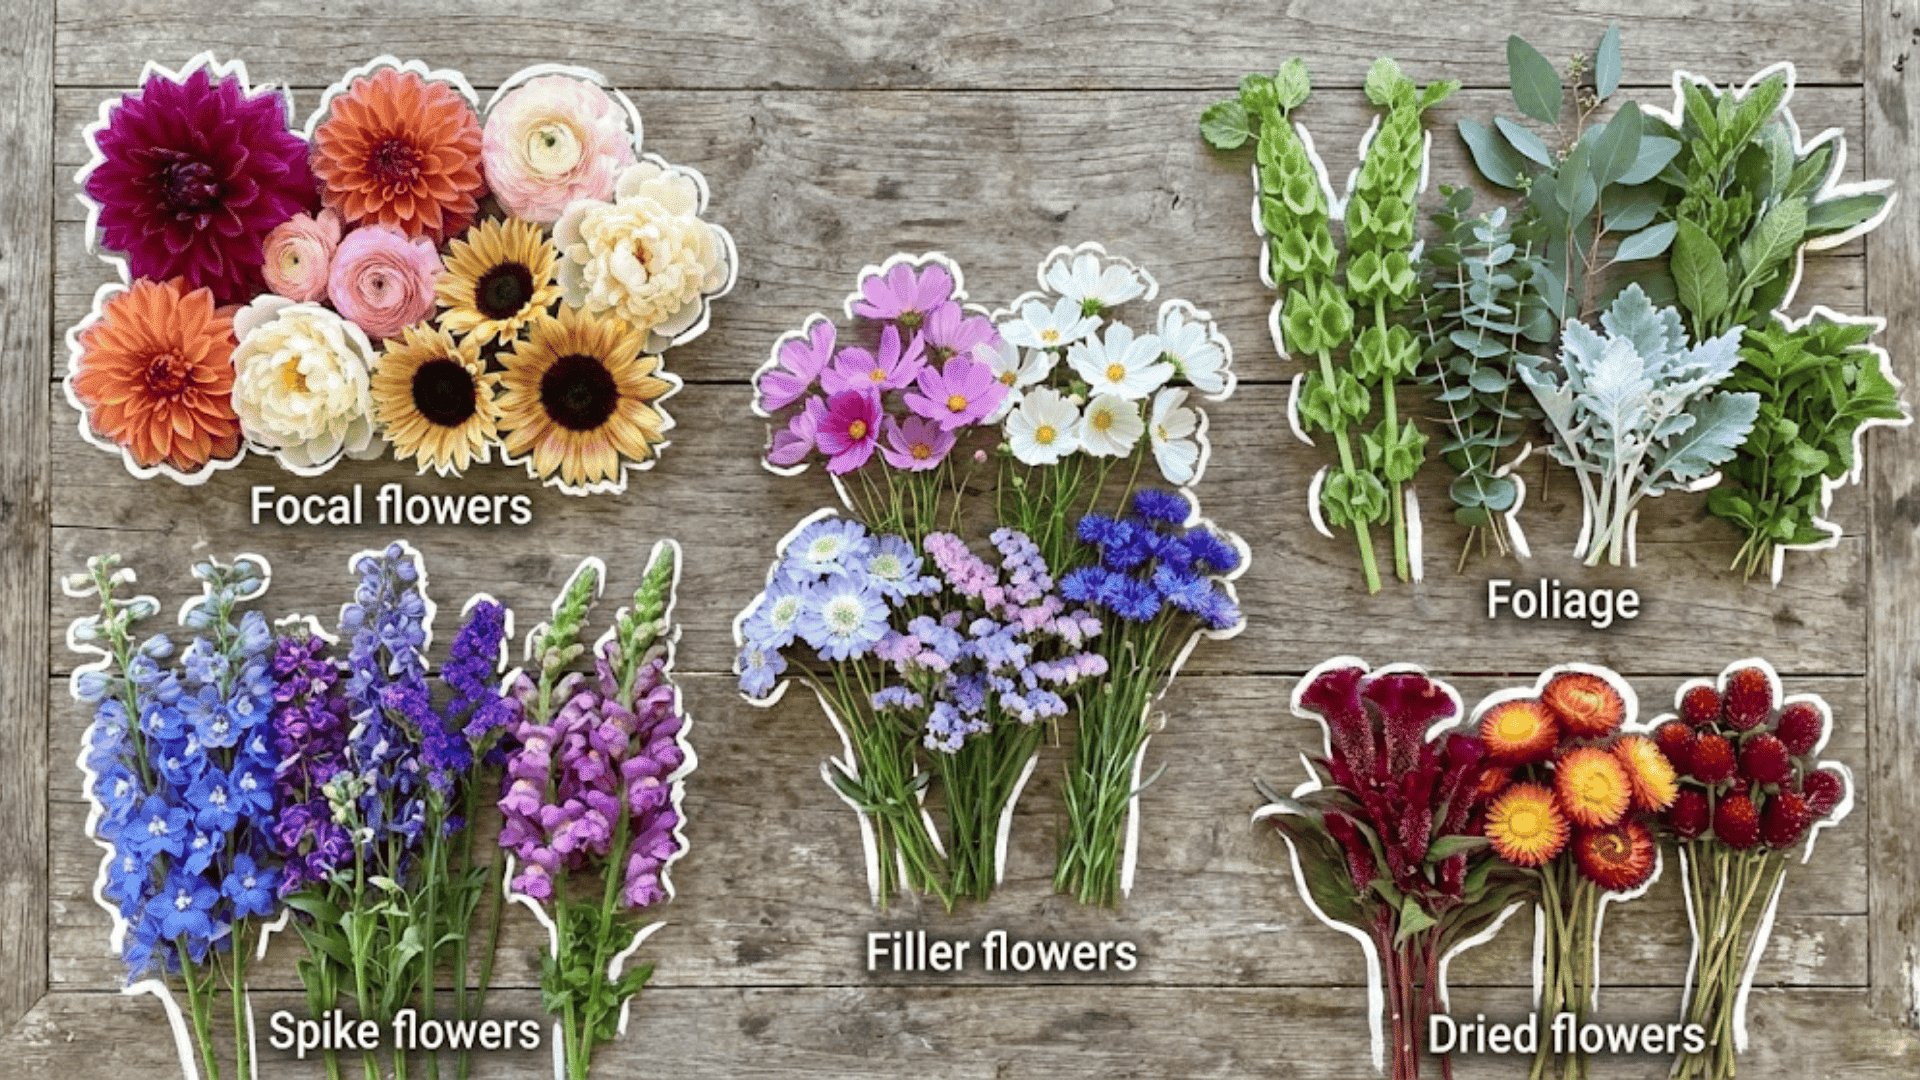
Building a beautiful cut flower garden means choosing blooms that play different roles in your arrangements. Think of it like casting a bouquet: you need stars, supporting players, and texture makers.
Here’s how to fill each role with flowers that are gorgeous, productive, and surprisingly easy to grow.
1. Focal Flowers
Color Palette: Full spectrum from soft pastels to deep jewel tones
Vase Life: 5-7 days for dahlias and sunflowers, 7-10 days for ranunculus and peonies
These are your statement blooms, the ones that anchor every arrangement. Dahlias reign supreme with endless varieties in every color and form imaginable.
Ranunculus, crowned ‘Flower of the Year 2025,’ offers romantic ruffled petals that last beautifully in the vase.
Peonies bring lush, fragrant blooms in late spring, while sunflowers add cheerful drama all summer. Dahlias are incredibly productive, with each plant pumping out dozens of stems from midsummer until frost.
2. Spikes and Line Flowers
Color Palette: Blues, purples, pinks, whites, and bicolors
Vase Life: 7-10 days with proper conditioning
Vertical interest makes arrangements feel designed rather than just gathered. Delphinium towers with elegant spires in dreamy blues and purples.
Larkspur offers a more delicate, cottage-garden feel and reseeds readily.
Snapdragons are workhorses, blooming for months and producing multiple stems per plant. These vertical elements add movement and guide the eye through your arrangements, creating that professional florist look.
3. Filler Flowers
Color Palette: Soft pastels, whites, jewel tones, and airy textures
Vase Life: 7-10 days for most varieties
Fillers soften arrangements and help everything blend beautifully. Cosmos are ridiculously easy from seed, producing delicate blooms nonstop all summer.
Scabiosa (pincushion flower) adds unique texture with its button centers. Statice provides papery blooms that dry naturally in arrangements.
Bachelor’s buttons reseed themselves year after year. These are the glue of bouquet making, filling gaps, and adding airiness without competing with your focal flowers.
4. Foliage and Texture
Color Palette: Greens, silvers, lime, and burgundy tones
Vase Life: 1-2 weeks for most foliage
Greenery gives arrangements structure and makes flowers pop. Bells of Ireland bring architectural interest with lime-green spires.
Eucalyptus offers silvery cascading stems, though alternatives like dusty miller or artemisia work beautifully if eucalyptus doesn’t suit your climate.
Don’t overlook herbs like basil or mint, which add fragrance and texture. Foliage is what turns a handful of flowers into a cohesive, polished bouquet.
5. Dried and Everlasting Blooms
Color Palette: Rich burgundies, oranges, pinks, purples, and neutrals
Vase Life: Months when dried, 5-7 days fresh
These flowers do double duty, gorgeous fresh or dried for lasting arrangements. Globe amaranth produces clover-like blooms that hold their color perfectly when dried.
Celosia offers velvety plumes or crested forms in stunning sunset shades. Strawflower lives up to its name with papery petals that feel dried even on the stem.
Cut these at peak bloom and hang them upside down in bunches for winter arrangements.
Quick-Start Tip:New to growing from seed? Try zinnias, cosmos, nasturtiums, and sunflowers. Annette Thurmon calls these “confidence builders” because they germinate quickly, forgive mistakes, and bloom in weeks.
Starting from Seed vs. Bulbs, and Transplants
How you start your cut flower garden depends on your timeline, budget, and growing season. Seeds offer endless variety and cost savings, while bulbs and transplants give you a head start with less fuss.
Here’s what works best for different situations.
Starting from Seed
Seeds open up a world of flower varieties you’ll never find as transplants, and they’re incredibly budget-friendly. Indoor seed starting gives you blooms weeks earlier, especially in shorter growing seasons.
- Indoor Timing: Start seeds 6-8 weeks before your last frost date for most annuals, like zinnias and cosmos.
- Containers: Soil blocks or plug trays work beautifully and make transplanting easier with less root disturbance.
- Hardening Off: Gradually expose seedlings to outdoor conditions over 7-10 days before planting out.
- Direct Sowing: Wait until soil reaches 60°F for warm-season flowers, or sow cool-season types like larkspur in early spring or fall, depending on your zone.
Bulbs & Transplants
Bulbs and transplants take the guesswork out of germination and shave weeks off your wait time for blooms. They’re perfect for beginners or impatient gardeners.
- Spring Bulbs: Plant dahlias and ranunculus after the last frost for summer blooms, or pre-chill ranunculus for better performance.
- Fall Bulbs: Tulips and other spring bloomers go in the ground 6-8 weeks before the first frost.
- Transplants: Nursery starts give instant garden presence but limit variety, best for filling gaps or testing new flowers.
- Cost Consideration: More expensive upfront, but eliminates indoor seed-starting setup and potential germination failures.
Planting Schedule & Staggered Bloom Plan
The secret to never running out of fresh flowers is succession planting.
Instead of sowing everything at once and facing a brief explosion of blooms followed by nothing, you’ll plant in waves. This keeps your vases full from spring through fall.
| Season | What to Plant | Timing | Notes |
|---|---|---|---|
| Early Spring | Sweet peas, snapdragons, larkspur, bachelor’s buttons | Sow as soon as the soil can be worked | Plant the second round 2-3 weeks later |
| Late Spring | Zinnias, cosmos, sunflowers, celosia | After the last frost | Resow every 2-3 weeks through early summer |
| Early Summer | More zinnias, succession sunflowers | Continue until midsummer | Blooms appear in 6-8 weeks |
| Midsummer | Dahlias peak, late celosia, statice | Planted in spring | Add quick annuals for September |
| Late Summer/Fall | Snapdragons, stock, sweet peas (mild climates) | As temps cool | Thrive in fall weather until frost |
- Mix Perennials with Annuals: Plant perennials like peonies and yarrow for years of blooms. Fill gaps with succession-planted annuals for weekly harvests.
- The Two-Week Rule: Sow fast-growing flowers like zinnias and cosmos every two weeks from late spring through midsummer for overlapping blooms that never quit.
Care: Feeding, Staking, Pest & Disease Basics
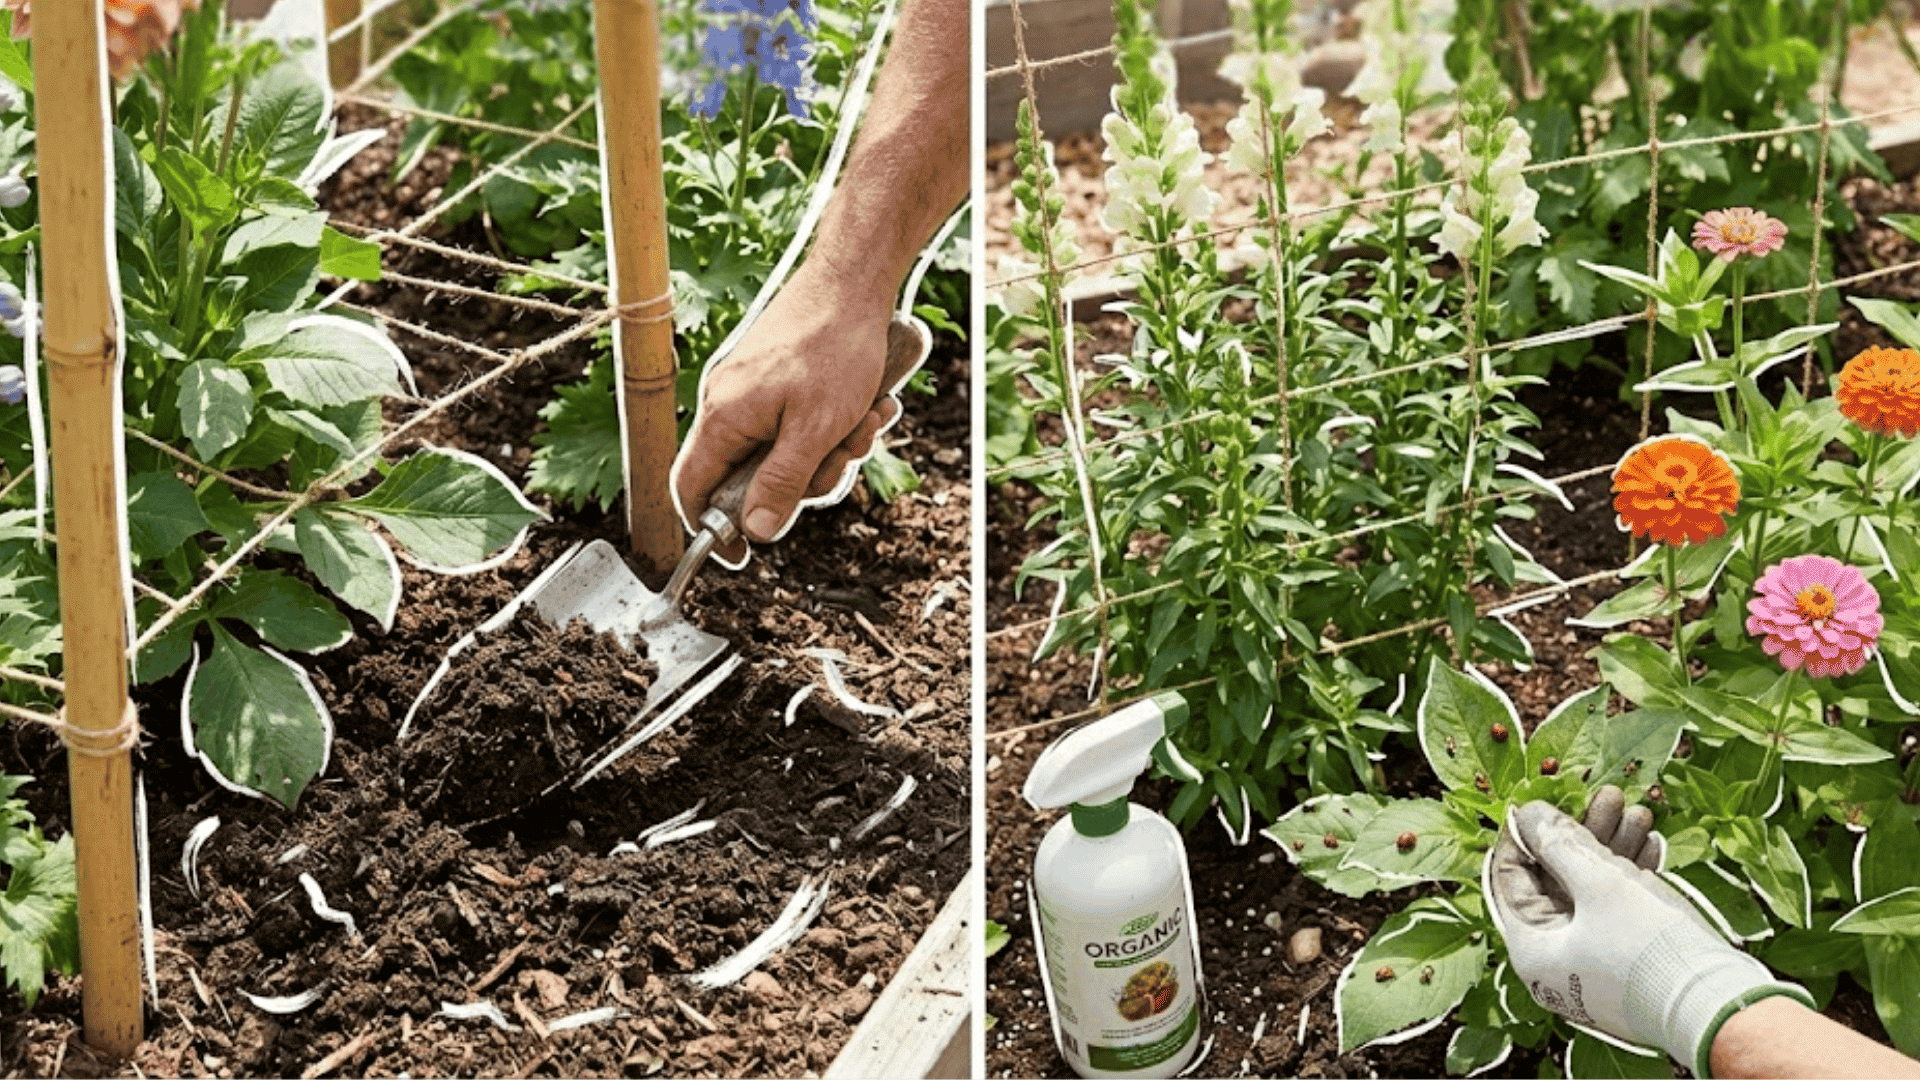
Keeping your cut flower garden thriving means staying on top of feeding, support, and pest management. These aren’t complicated tasks, but they make the difference between scraggly stems and abundant, show-stopping blooms.
Here’s how to keep everything healthy and productive all season long.
Feeding and Support
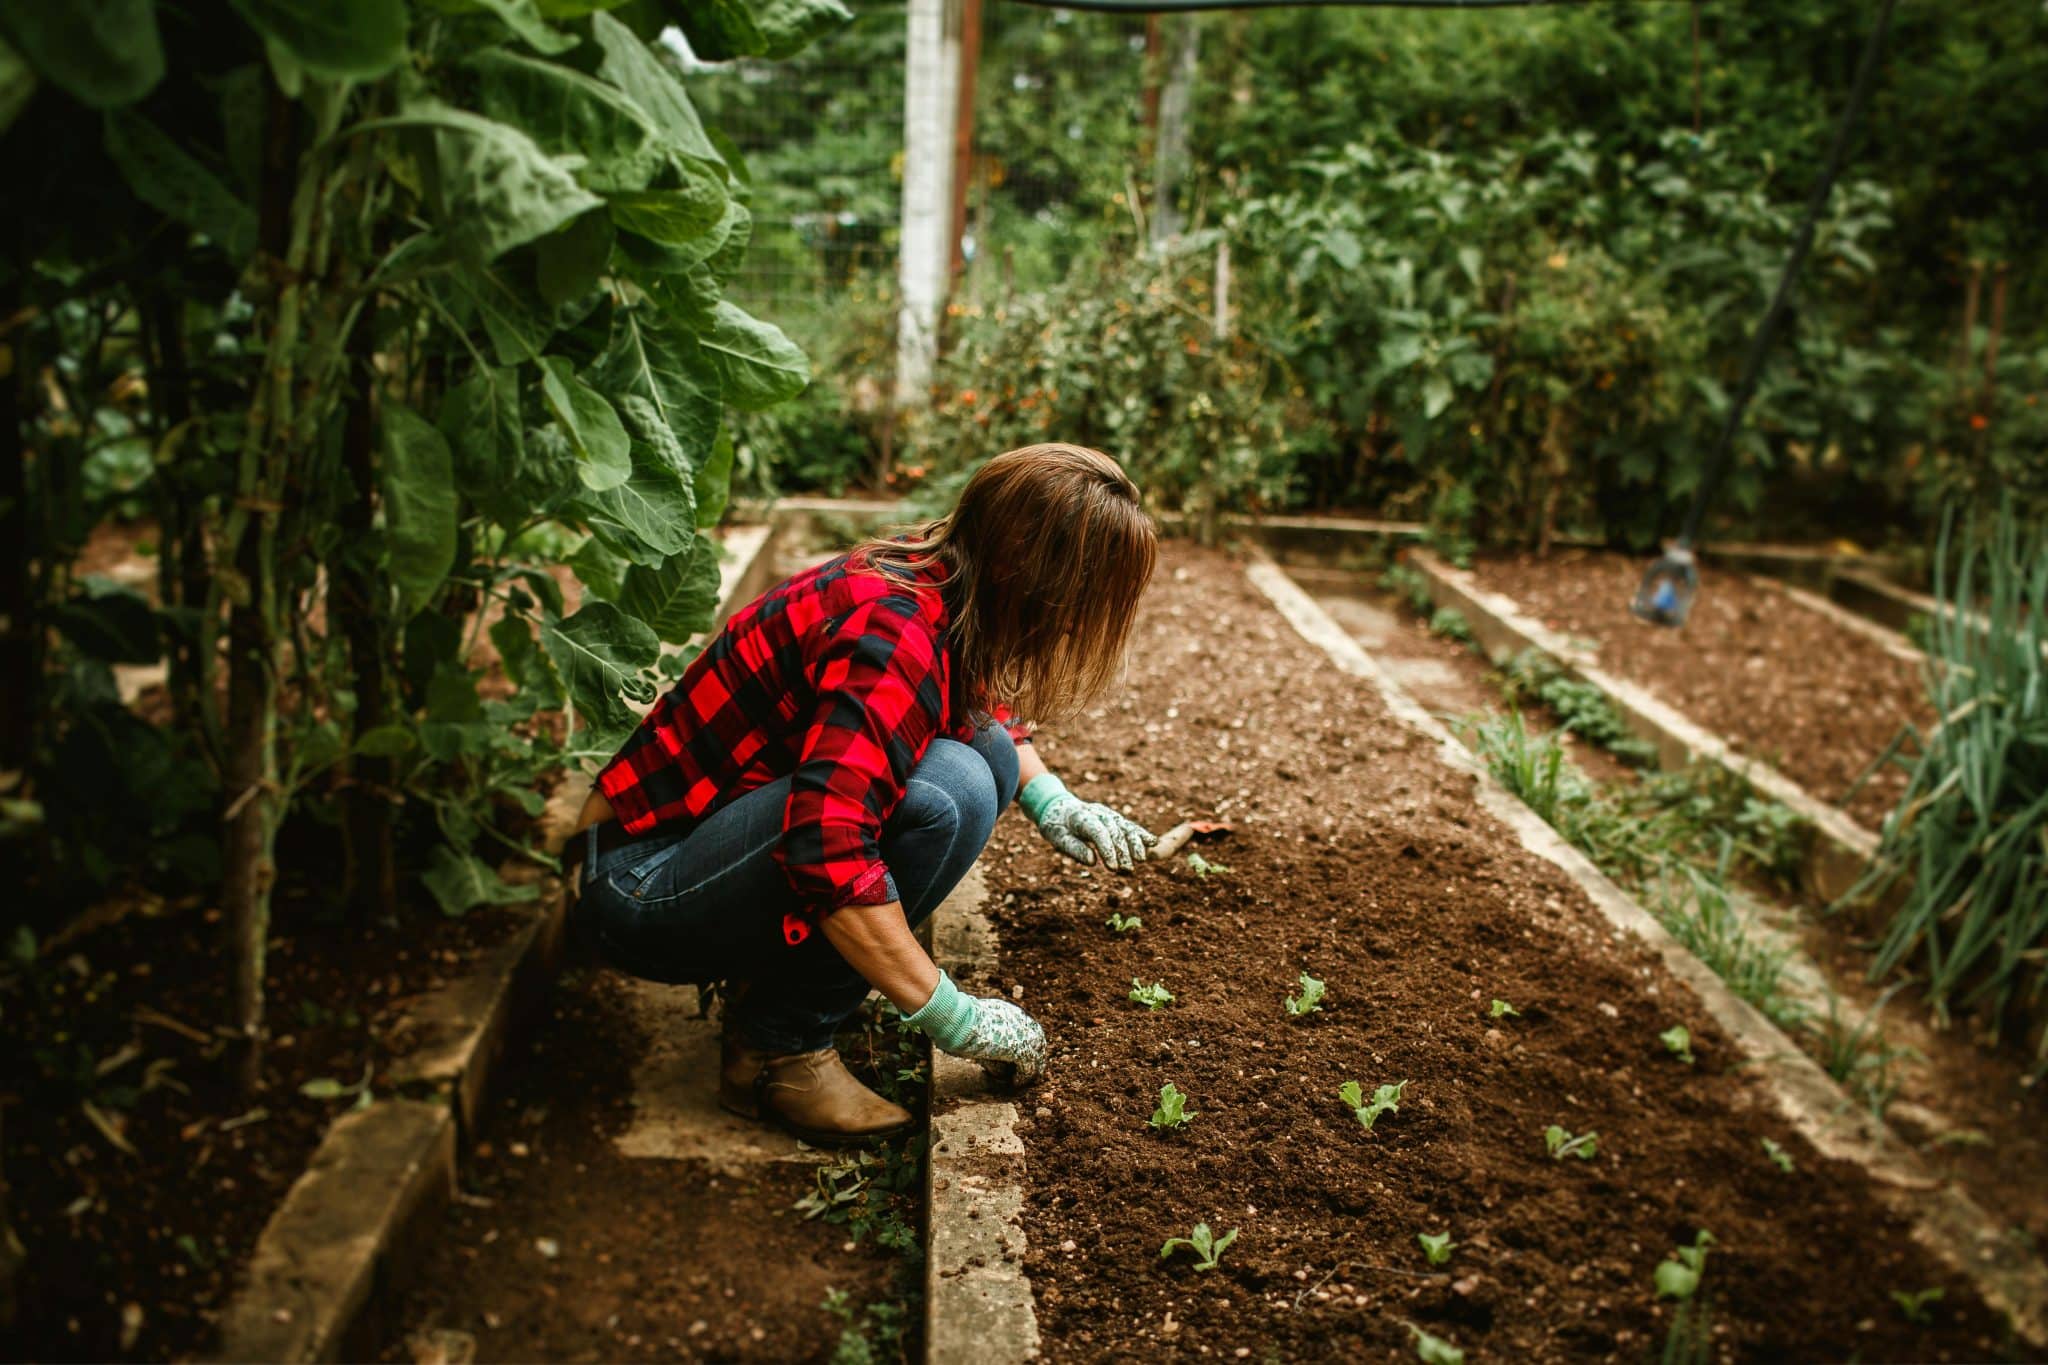
Your flowers are working hard to produce those gorgeous blooms, so they need consistent nutrition and physical support. Start by working compost into your beds before planting to build rich, fertile soil.
- Side-dress plants with balanced organic fertilizer every four to six weeks during active growth to keep them blooming prolifically.
- For tall varieties like dahlias, delphiniums, and sunflowers, stake early using bamboo poles or tomato cages before they flop over.
- Horizontal twine netting works beautifully for flowers like snapdragons and zinnias, letting stems grow up through the grid for natural support.
Pest and Disease Management
Staying ahead of common garden problems protects your blooms and keeps plants productive. Here are the main culprits and how to handle them organically.
| Pest/Disease | Solution | Prevention |
|---|---|---|
| Deer & Rabbits | Install fencing or netting | Focus on protecting young plants |
| Japanese Beetles | Hand-pick in the early morning, drop in soapy water | Check plants daily during peak season |
| Aphids | Spray with strong water or insecticidal soap | Encourage beneficial insects |
| Powdery Mildew | Remove infected leaves promptly | Space plants for airflow, water at the soil level |
| Fungal Issues | Clean up plant debris regularly | Ensure good drainage, avoid overcrowding |
Walk through your garden regularly to catch problems early. Most issues are easily managed when spotted quickly, before they spread or cause serious damage.
Harvest & Vase Care for Longer Vase Life
The way you harvest and handle your flowers makes all the difference in how long they’ll last indoors. Follow these simple steps to maximize vase life and keep your arrangements looking fresh for days longer.
- Step 1: Cut flowers in the early morning after the dew dries but before the heat sets in, when the stems are fully hydrated.
- Step 2: Bring a bucket of cool water to the garden and plunge stems immediately after cutting at a 45-degree angle.
- Step 3: Strip off any foliage that will sit below the waterline to prevent bacterial growth in the vase.
- Step 4: Recut stems underwater once inside and add floral preservative or a homemade mix of sugar and a drop of bleach.
- Step 5: Change water every two days and keep arrangements cool, away from direct sunlight and ripening fruit.
These small habits become second nature quickly, and the payoff is huge. Your flowers will stay vibrant and perky much longer, giving you more time to enjoy the fruits of your garden labor.
Small-Space & Container Cutting Gardens
You don’t need sprawling garden beds to grow your own cut flowers. Containers, balconies, and even sunny windowsills can produce beautiful bouquets all season long.
The key is choosing the right varieties and maximizing vertical space.
| Strategy | Best Choices | Tips |
|---|---|---|
| Containers | Dwarf zinnias, cosmos, snapdragons, scabiosa, nasturtiums | Use 12-inch deep pots with drainage, group for impact |
| Vertical Growing | Sweet peas, tall snapdragons on trellises | Install wall trellises or obelisks to maximize space |
| Balconies | Compact dahlias, petunias, and herbs for foliage | Choose wind-tolerant plants, secure heavy pots |
| Window Boxes | Trailing nasturtiums, compact marigolds, and small cosmos | Place on the south/west windows, water frequently |
| Succession Planting | Fast growers like zinnias and marigolds | Replant every 6-8 weeks for continuous blooms |
Container gardens dry out and lose nutrients faster than ground beds, so water often and feed with diluted liquid fertilizer biweekly. Deadhead regularly to encourage new stems.
Cutting Garden Layout Examples & Companion Planting
Your layout should match your space and goals.
- A pocket patch suits small yards, using raised beds arranged in accessible squares for easy cutting.
- Production rows work for larger spaces where flowers are planted in straight lines, making succession planting and harvesting efficient.
- Cottage borders take a softer approach, blending cut flowers into existing garden beds with mixed perennials and annuals for that abundant, relaxed feel.
Whatever layout you choose, weave in companion plants like basil, dill, and yarrow to attract pollinators and beneficial insects that naturally control pests.
For research-backed companion planting strategies, visit the University of Minnesota Extension guide on companion planting.
Best Flowers for Bouquet: DIY Bouquet Ideas & Design Tips
Arranging your own flowers is where all your garden work pays off. You don’t need formal training to create stunning bouquets.
Understanding a few basic principles about combining flowers, choosing colors, and working with what’s in season will have you designing like a pro in no time.
1. Spring Garden Bouquet
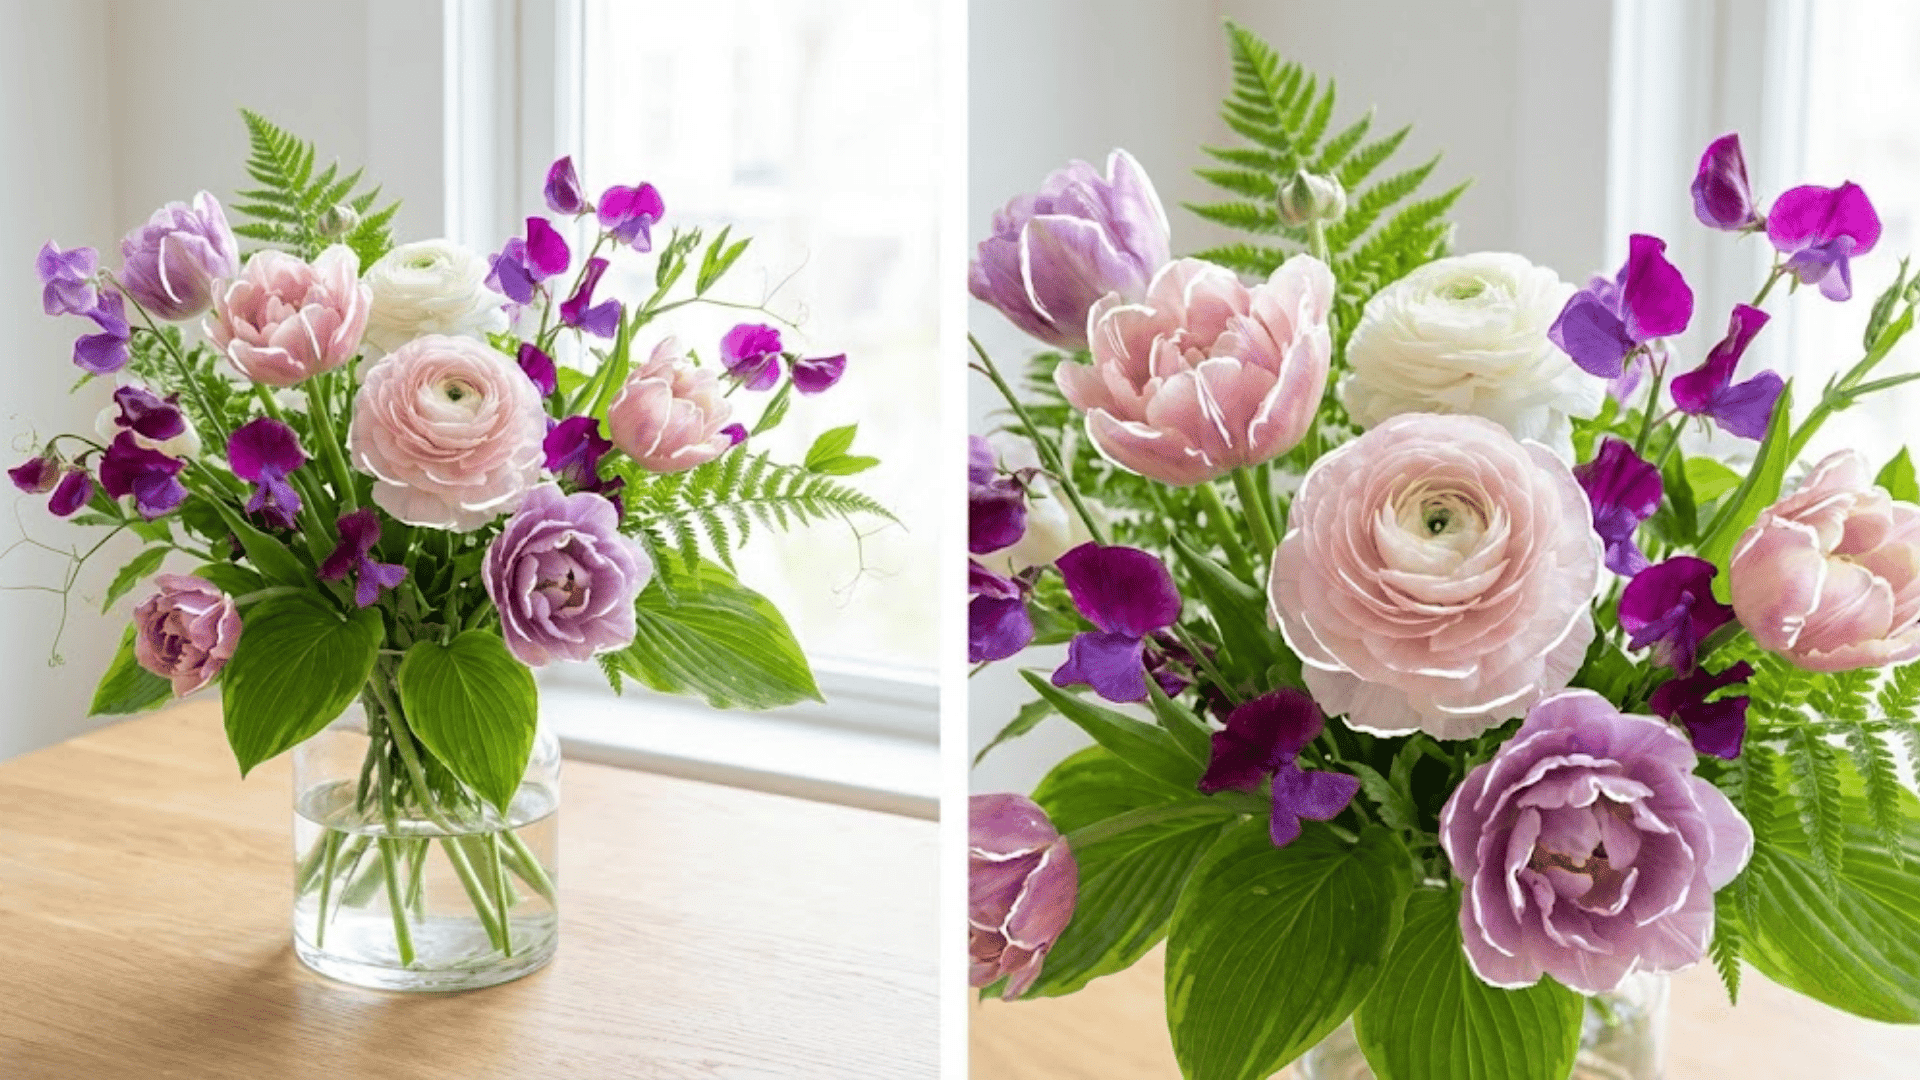
Color Palette: Soft pastels with pops of vibrant jewel tones
Seasonal Bouquet: Tulips, ranunculus, sweet peas, with emerging foliage
Spring is all about delicate romance. Start with a handful of ranunculus or tulips as your focal flowers, their ruffled petals stealing the show.
Add sweet peas for fragrance and movement, then tuck in fresh green foliage like emerging hosta leaves or ferns. Keep the arrangement loose and airy to capture that fresh-from-the-garden spring feeling.
2. Summer Zinnia & Herb Posy
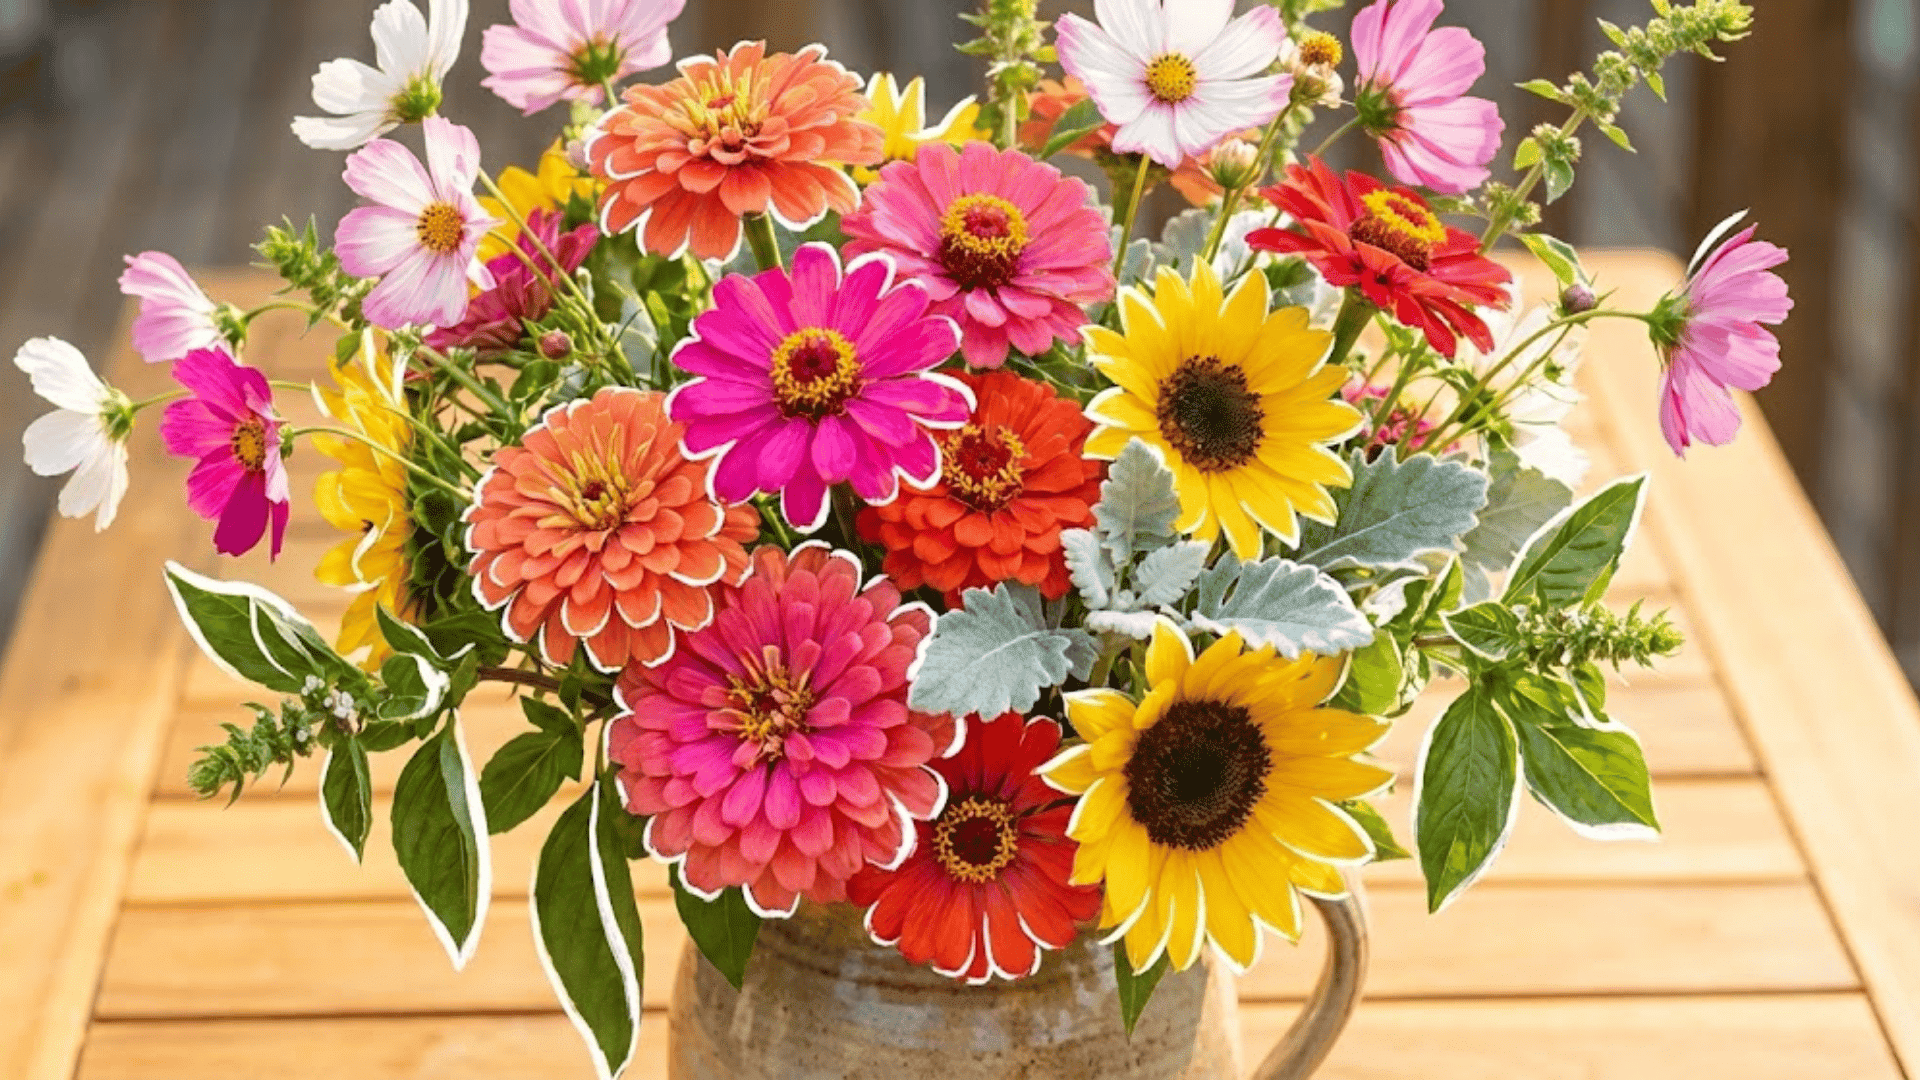
Color Palette: Bold jewel tones, warm sunset shades, touches of silver
Seasonal Bouquet: Zinnias, cosmos, sunflowers, with basil and dusty miller
Summer bouquets can handle drama. Gather an armful of mixed zinnias in hot pinks, oranges, and reds as your base. Weave in cosmos for airiness and a few compact sunflowers for sunny focal points.
The secret ingredient is herbs: basil adds fragrance and deep green contrast, while dusty miller brings silvery texture that makes everything pop.
3. Autumn Harvest Arrangement
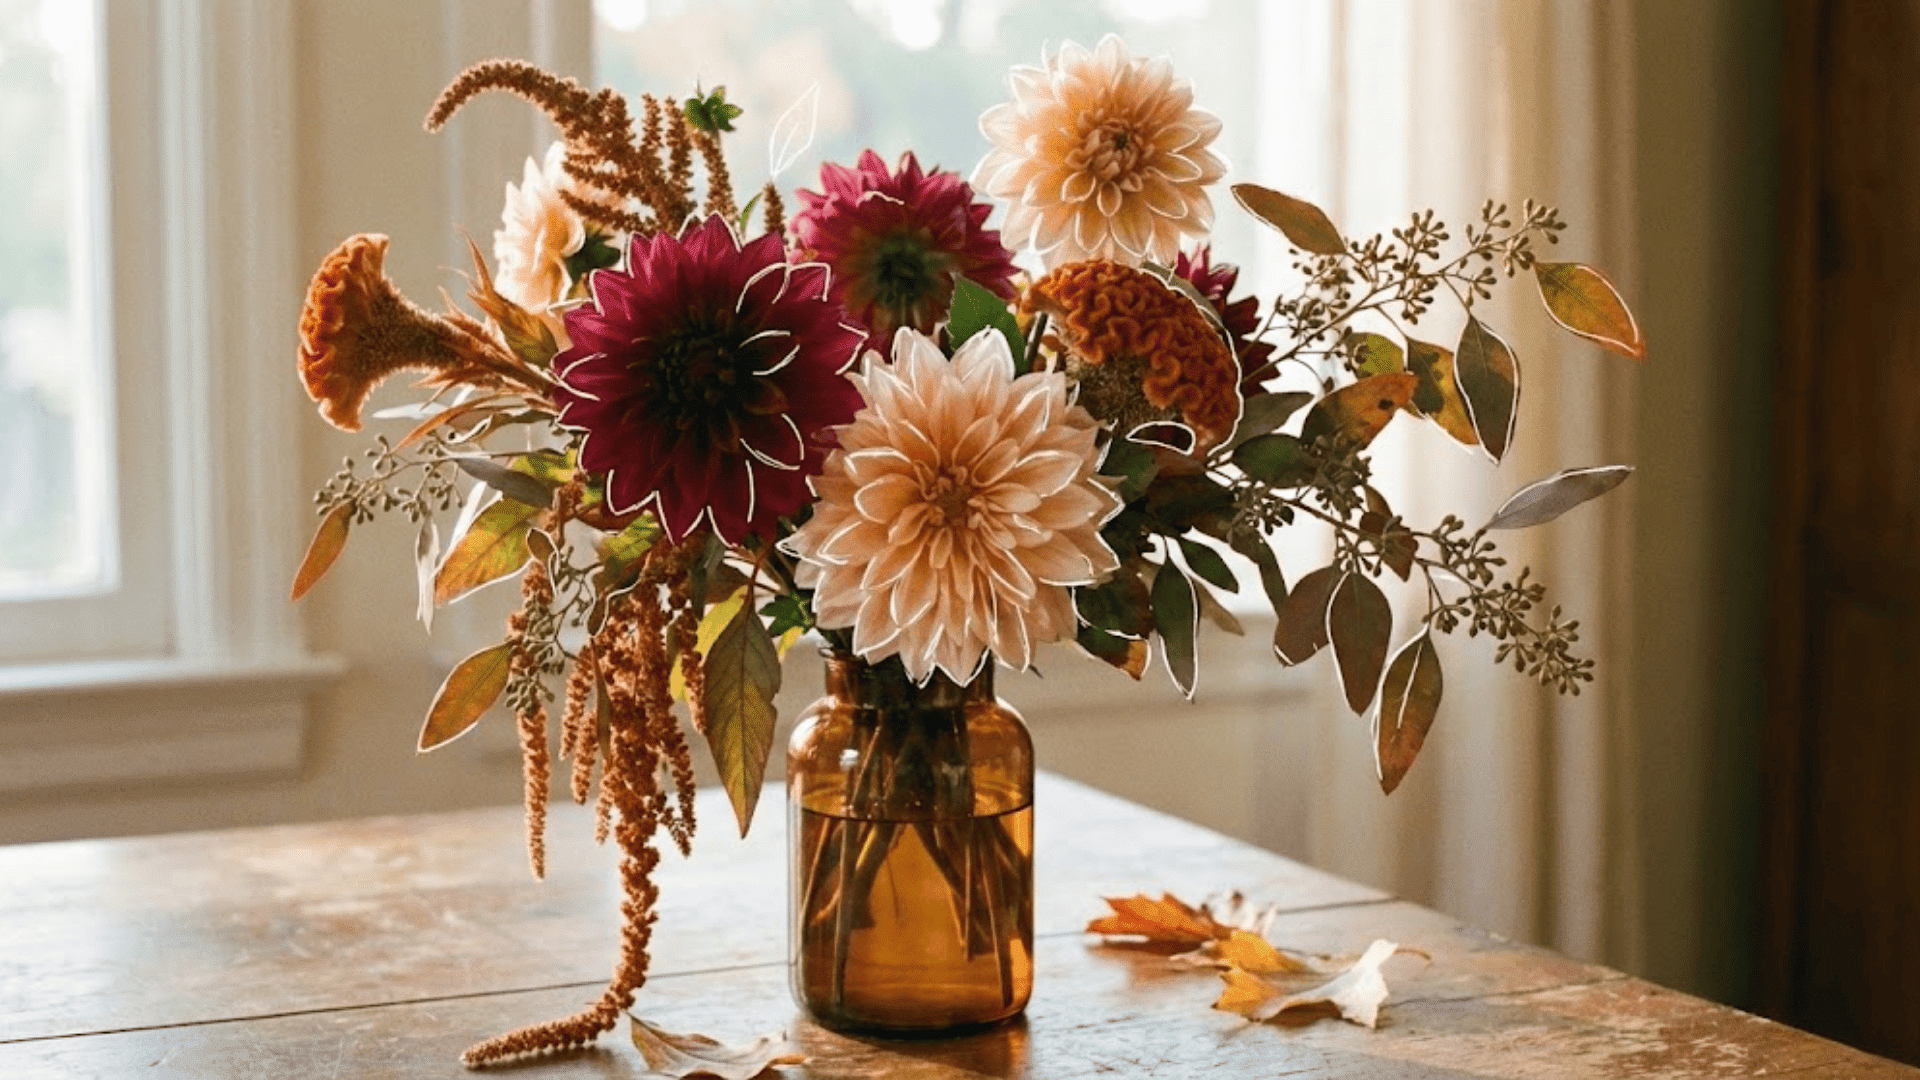
Color Palette: Deep burgundies, burnt oranges, golden yellows, chocolate browns
Seasonal Bouquet: Dahlias, celosia, amaranth, with seeded eucalyptus
Fall arrangements feel rich and abundant. Use dinner-plate dahlias in burgundy and peach as your stars, then add velvety celosia plumes for texture.
Draping amaranth adds movement, while seeded eucalyptus or any bronzed foliage brings that quintessential autumn warmth. These combinations practically arrange themselves and last beautifully as temperatures cool.
4. Winter Evergreen & Berry Mix
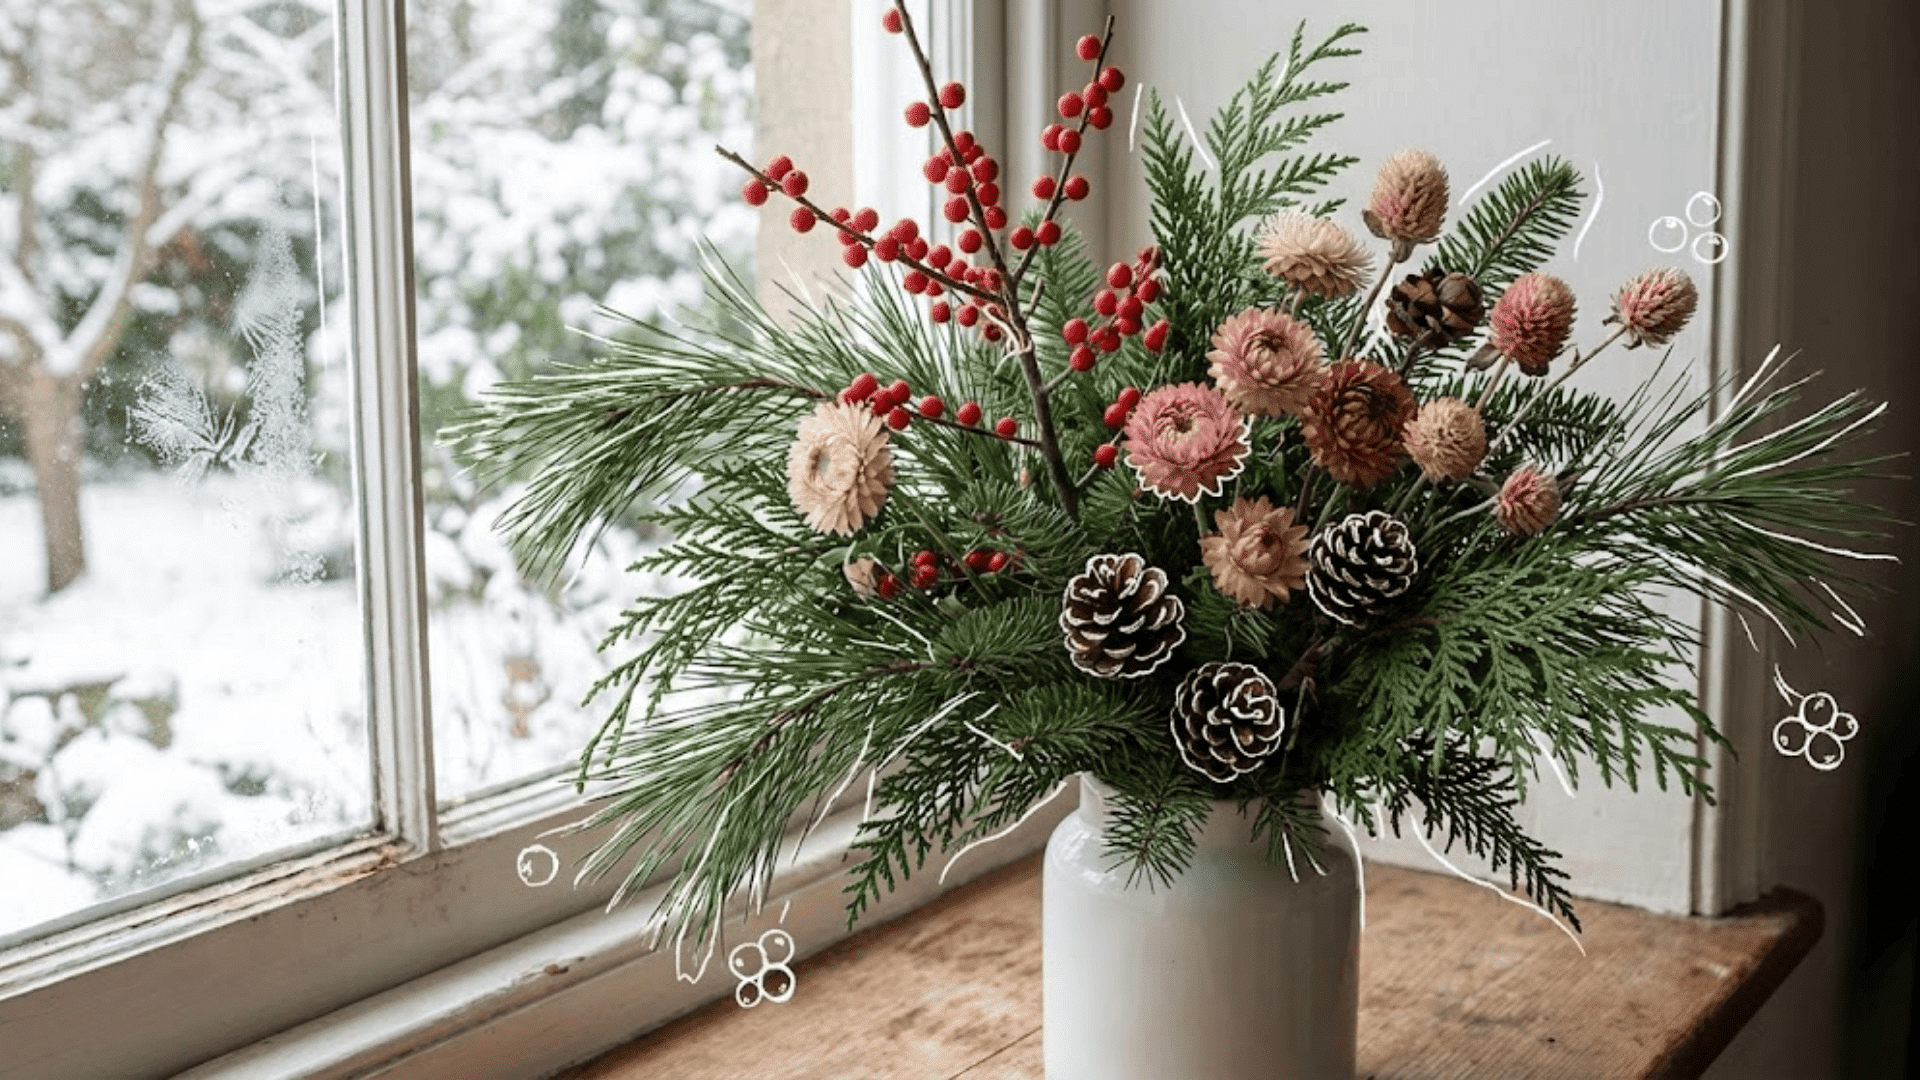
Color Palette: Deep greens, silvery blues, bright reds, winter whites
Seasonal Bouquet: Evergreen branches, winterberry, dried blooms, pinecones
Winter bouquets lean on structure and texture. Combine evergreen branches as your base, adding winterberry stems for pops of red.
Mix in dried flowers you grew in summer, like strawflower or globe amaranth, which hold their color beautifully. Small pinecones tucked throughout add natural woodland charm that carries you through the coldest months.
Selling Surplus: Markets, Buckets, Pricing
Once your cut flower garden hits full stride, you might find yourself with more stems than vases. Selling surplus flowers at farmers’ markets is a natural next step and surprisingly straightforward.
Bundle bouquets in mason jars or offer mixed buckets where customers create their own arrangements. Price by the stem or bundle, keeping it simple: think five or ten-dollar increments.
Local florists often welcome seasonal stems they can’t get from wholesalers, especially unique dahlia varieties or heirloom blooms.
Some growers offer weekly subscription boxes to neighbors and friends. Store harvested stems in a cool spot with fresh water, and they’ll stay market-ready for days
The Closing Note
Growing your own cut flower garden brings a special kind of joy that store-bought bouquets simply can’t match.
You’ll find yourself checking blooms each morning, planning color combinations, and filling every room with fresh stems that tell the story of your season.
The first time you arrange a bouquet purely from your own garden feels truly rewarding, and it only gets better from there.
Start small, experiment freely, and let your garden show you what thrives best.
I’d love to hear what you’re planning to plant or any questions you have about getting started; drop a comment below and let’s chat!