
There’s something almost magical about tucking garlic cloves into autumn soil and watching them turn into full, fragrant bulbs by summer.
You’ll be planting individual cloves, not whole bulbs, and each one becomes its own plant.
Garlic thrives in sprawling gardens and cozy container setups on your balcony alike, asking for so little yet giving back so generously.
This guide walks you through soil preparation, planting techniques, seasonal care, and the art of harvesting and storing your bulbs so those flavors last for months to come.
Choosing the Right Garlic for Planting
Garlic comes in two main varieties, and picking the right one matters.
Hardneck garlic:
- Produces fewer but larger cloves with bold, complex flavors
- Thrives in cold climates with harsh winters
- Sends up edible scapes in spring
Softneck garlic:
- Offers more cloves per bulb with a milder taste
- Prefers warmer climates
- Stores longer after harvest
Store-bought garlic can work in a pinch, but seed garlic from nurseries gives you disease-free bulbs suited to your region. If using grocery store garlic, choose organic heads since treated bulbs often won’t sprout.
When to Plant Garlic?
Fall planting delivers the best results. Plant your cloves four to six weeks before the ground freezes, typically between late September and November.
This timing lets roots establish before winter while preventing premature leaf growth. Cold exposure during dormancy actually triggers larger bulb formation come spring.
Spring planting works if you missed the fall window, though bulbs will be smaller. Plant as soon as the soil can be worked, usually March or April.
For container garlic, follow the same seasonal rhythm. Fall remains ideal, but pots need extra insulation during freezing temperatures. Move them against a sheltered wall or wrap containers in burlap for protection.
Where to Plant Garlic?
Garlic needs the right foundation to thrive. Choose your planting spot carefully, keeping soil quality and sunlight in mind for a successful harvest.
| Factor | Ideal Conditions | Why It Matters |
|---|---|---|
| Drainage | Well-draining, loose soil | Prevents rot and disease in bulbs |
| Soil pH | 6.0 to 7.0 (slightly acidic to neutral) | Optimizes nutrient absorption |
| Organic Matter | Compost or aged manure mixed in | Creates nutrient-rich, loose texture |
| Sunlight | Six to eight hours of full sun daily | Drives bulb development and size |
| Location Type | Raised beds or amended in-ground plots | Raised beds offer superior drainage control |
Step-by-Step: How to Grow Garlic From a Clove?
Growing garlic is simpler than you might think. Follow these steps to go from individual cloves to full, flavorful bulbs ready for your kitchen.
Step 1: Prepare Your Soil
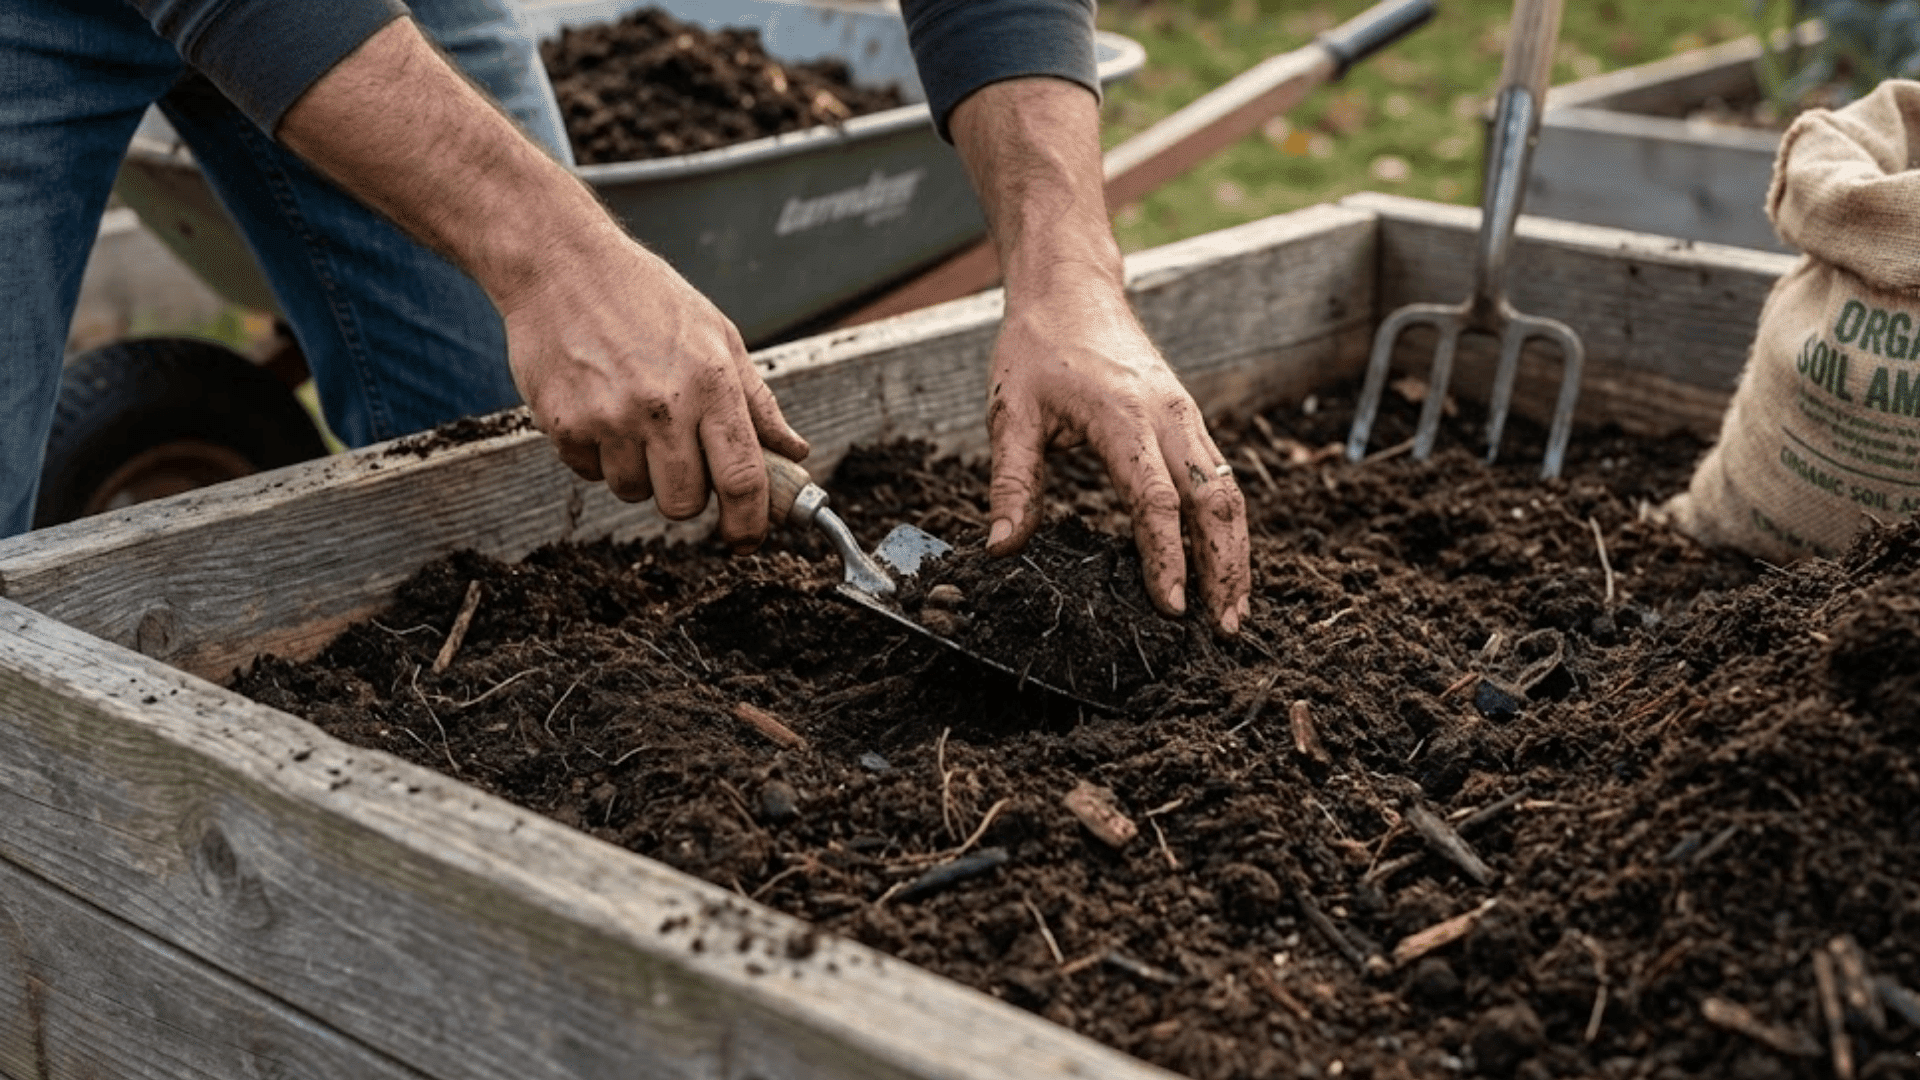
Garlic loves loose, nutrient-rich soil that drains well. Mix in compost or aged manure to boost fertility and improve texture. Aim for a soil depth of at least eight inches, breaking up any clumps.
If you’re reusing a bed that previously grew onions or other alliums, add fresh compost to refresh the soil and minimize disease risks.
Step 2: Separate Your Garlic Bulbs into Cloves
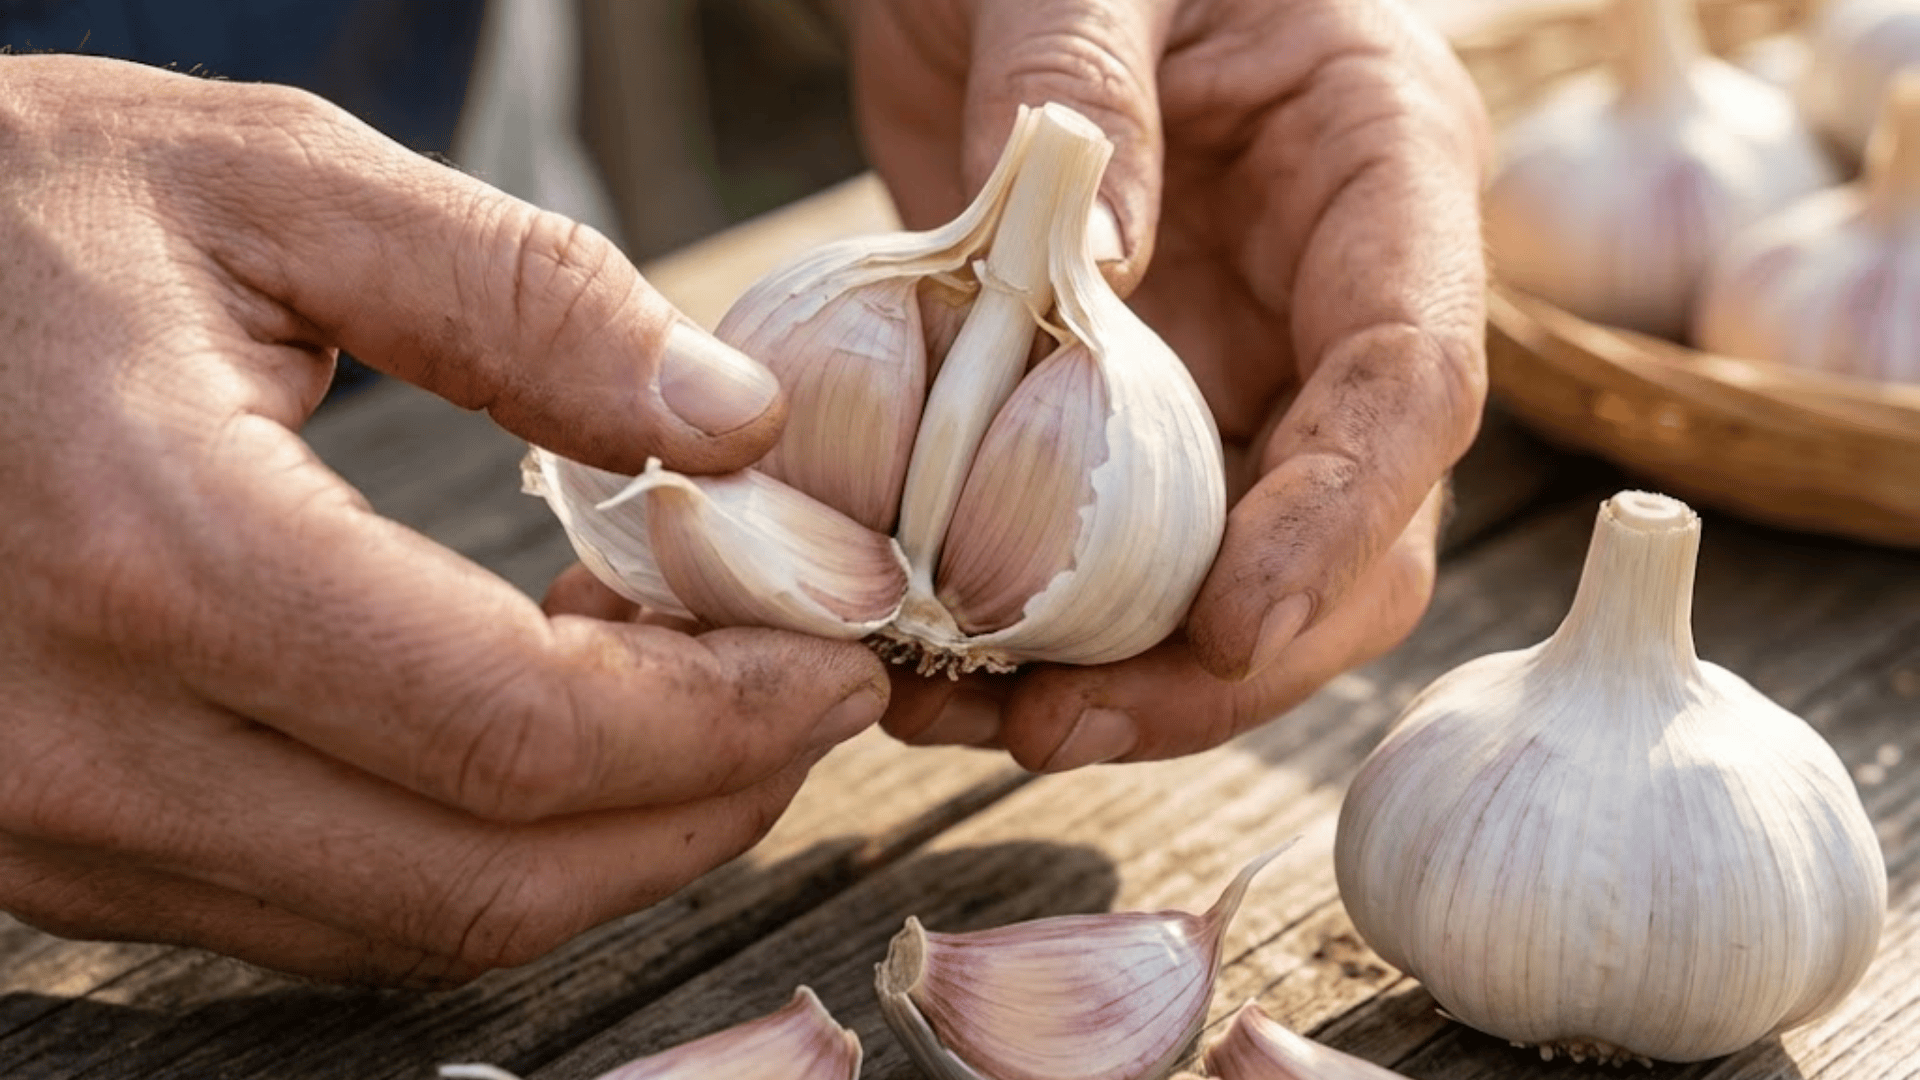
Gently break apart your garlic bulb into individual cloves, keeping the papery skin intact on each one. Choose the largest, healthiest cloves for planting since they’ll produce the biggest bulbs.
Save smaller cloves for cooking. Avoid separating bulbs too far in advance; do this just before planting to maintain freshness.
Step 3: Plant Cloves Pointy Side Up
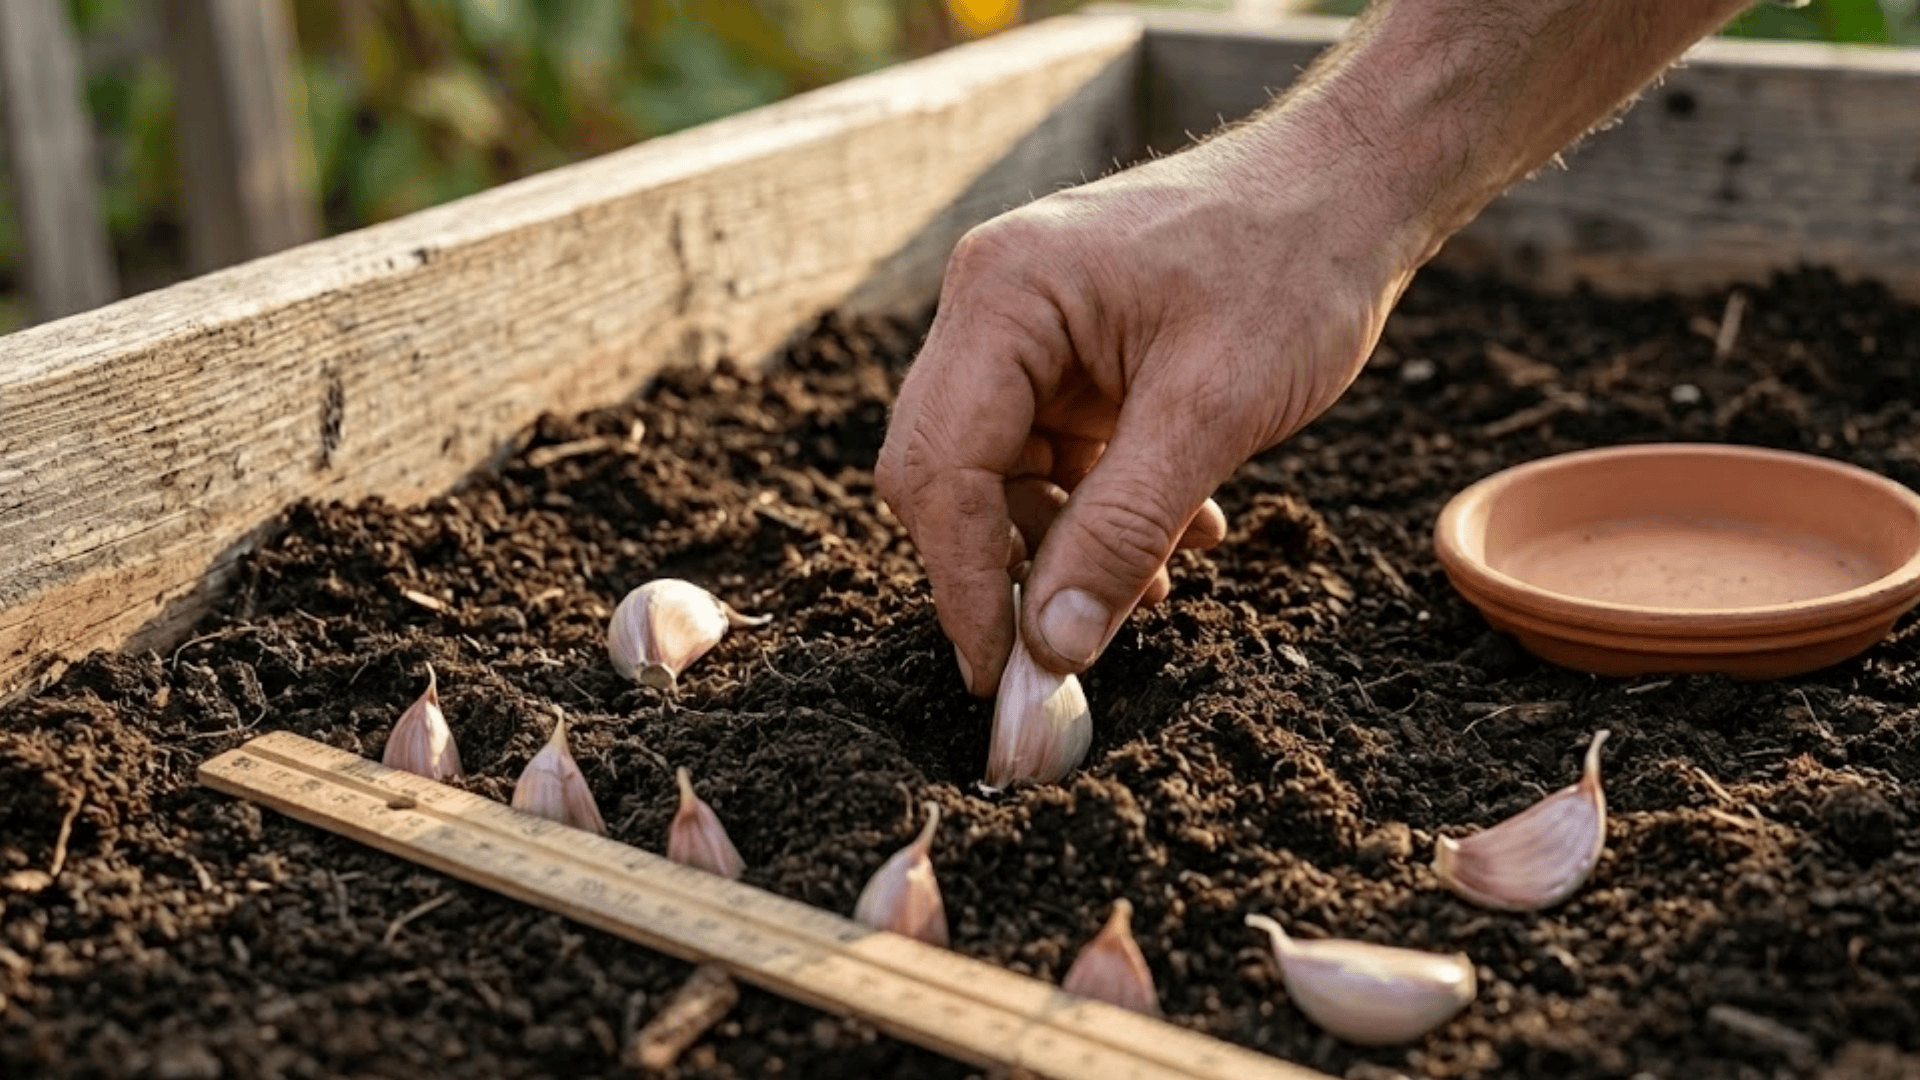
Push each clove into the soil one to two inches deep with the pointed end facing upward and the flat root end down. Space cloves about two inches apart in rows, or use offset spacing to maximize your bed.
Closer spacing works beautifully in fertile, well-amended soil with consistent moisture and full sun exposure.
Step 4: Mulch Your Garlic Bed
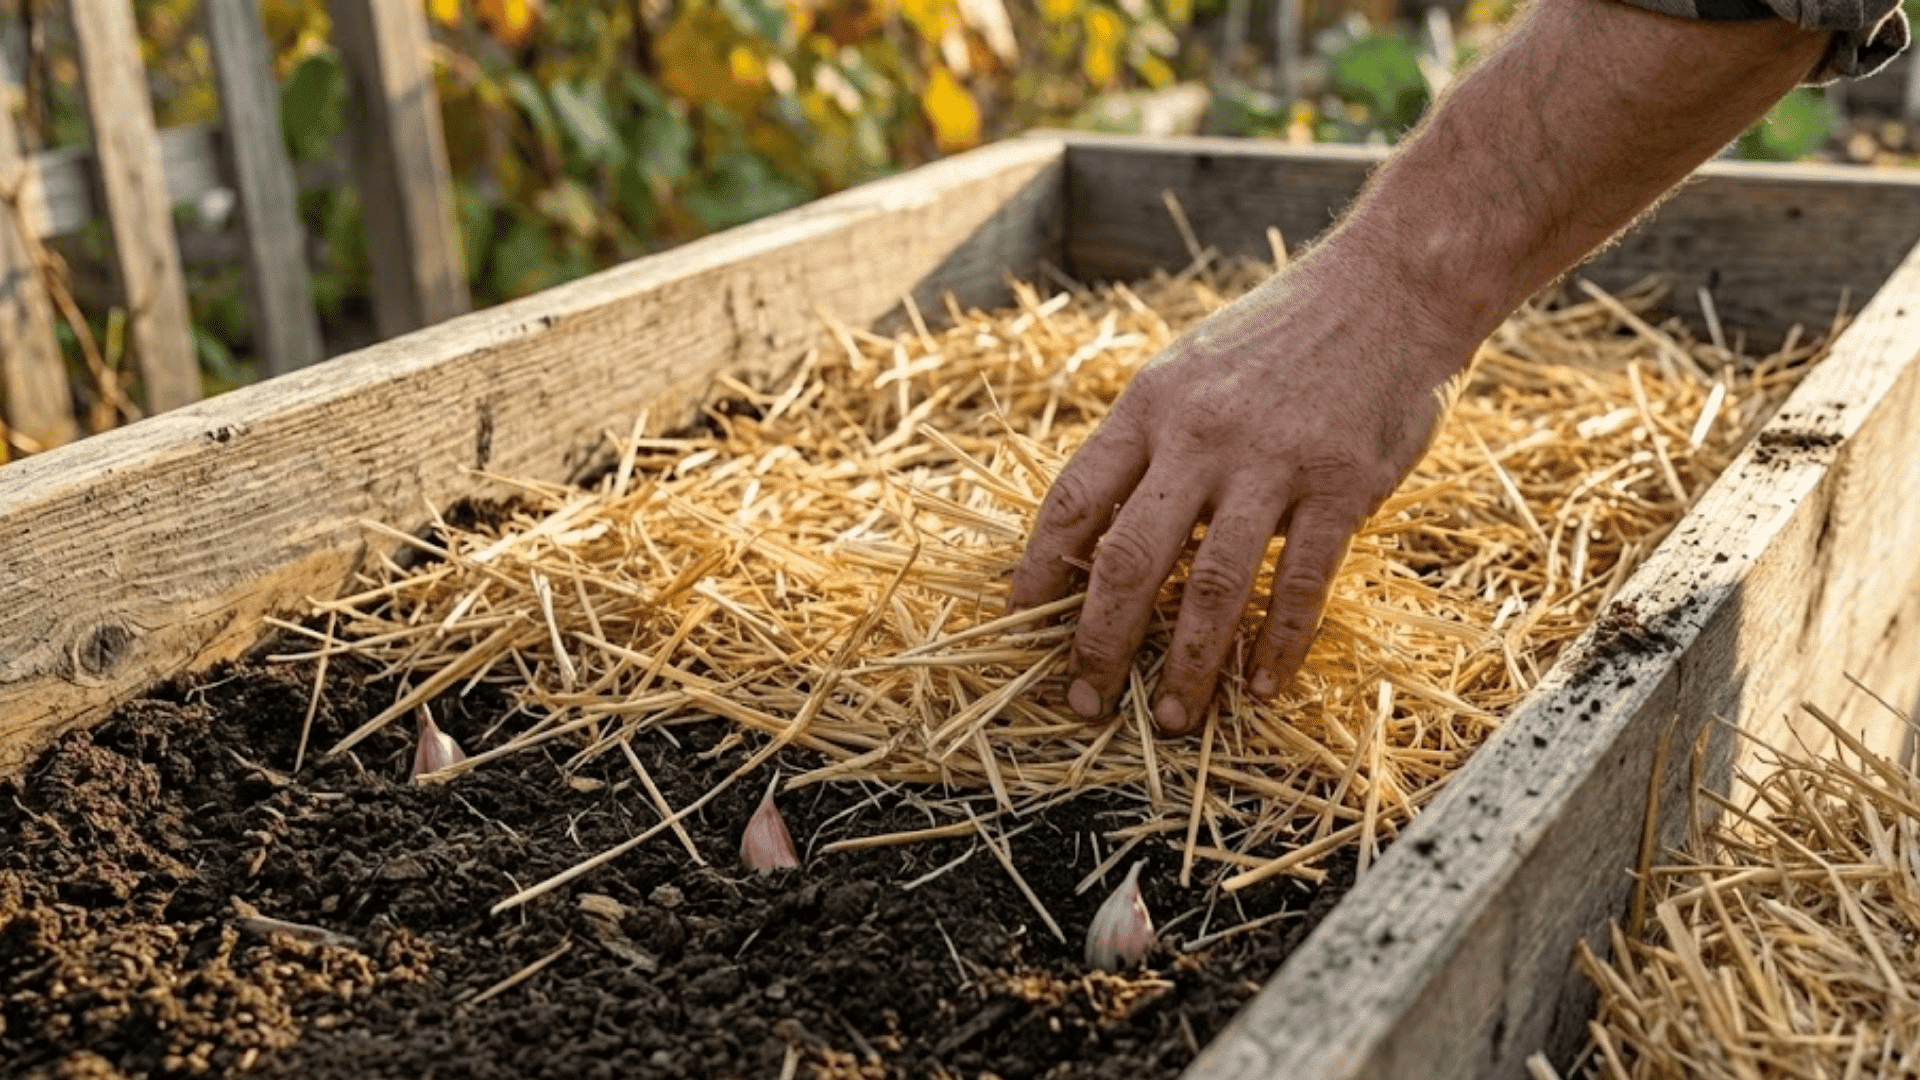
Cover your planted cloves with two to four inches of organic mulch like straw, shredded leaves, or wood chips.
Mulch regulates soil temperature, retains moisture, and suppresses weeds throughout the growing season. This protective layer also prevents cloves from heaving out of the ground during freeze-thaw cycles in colder climates.
Step 5: Water and Wait for Spring Growth
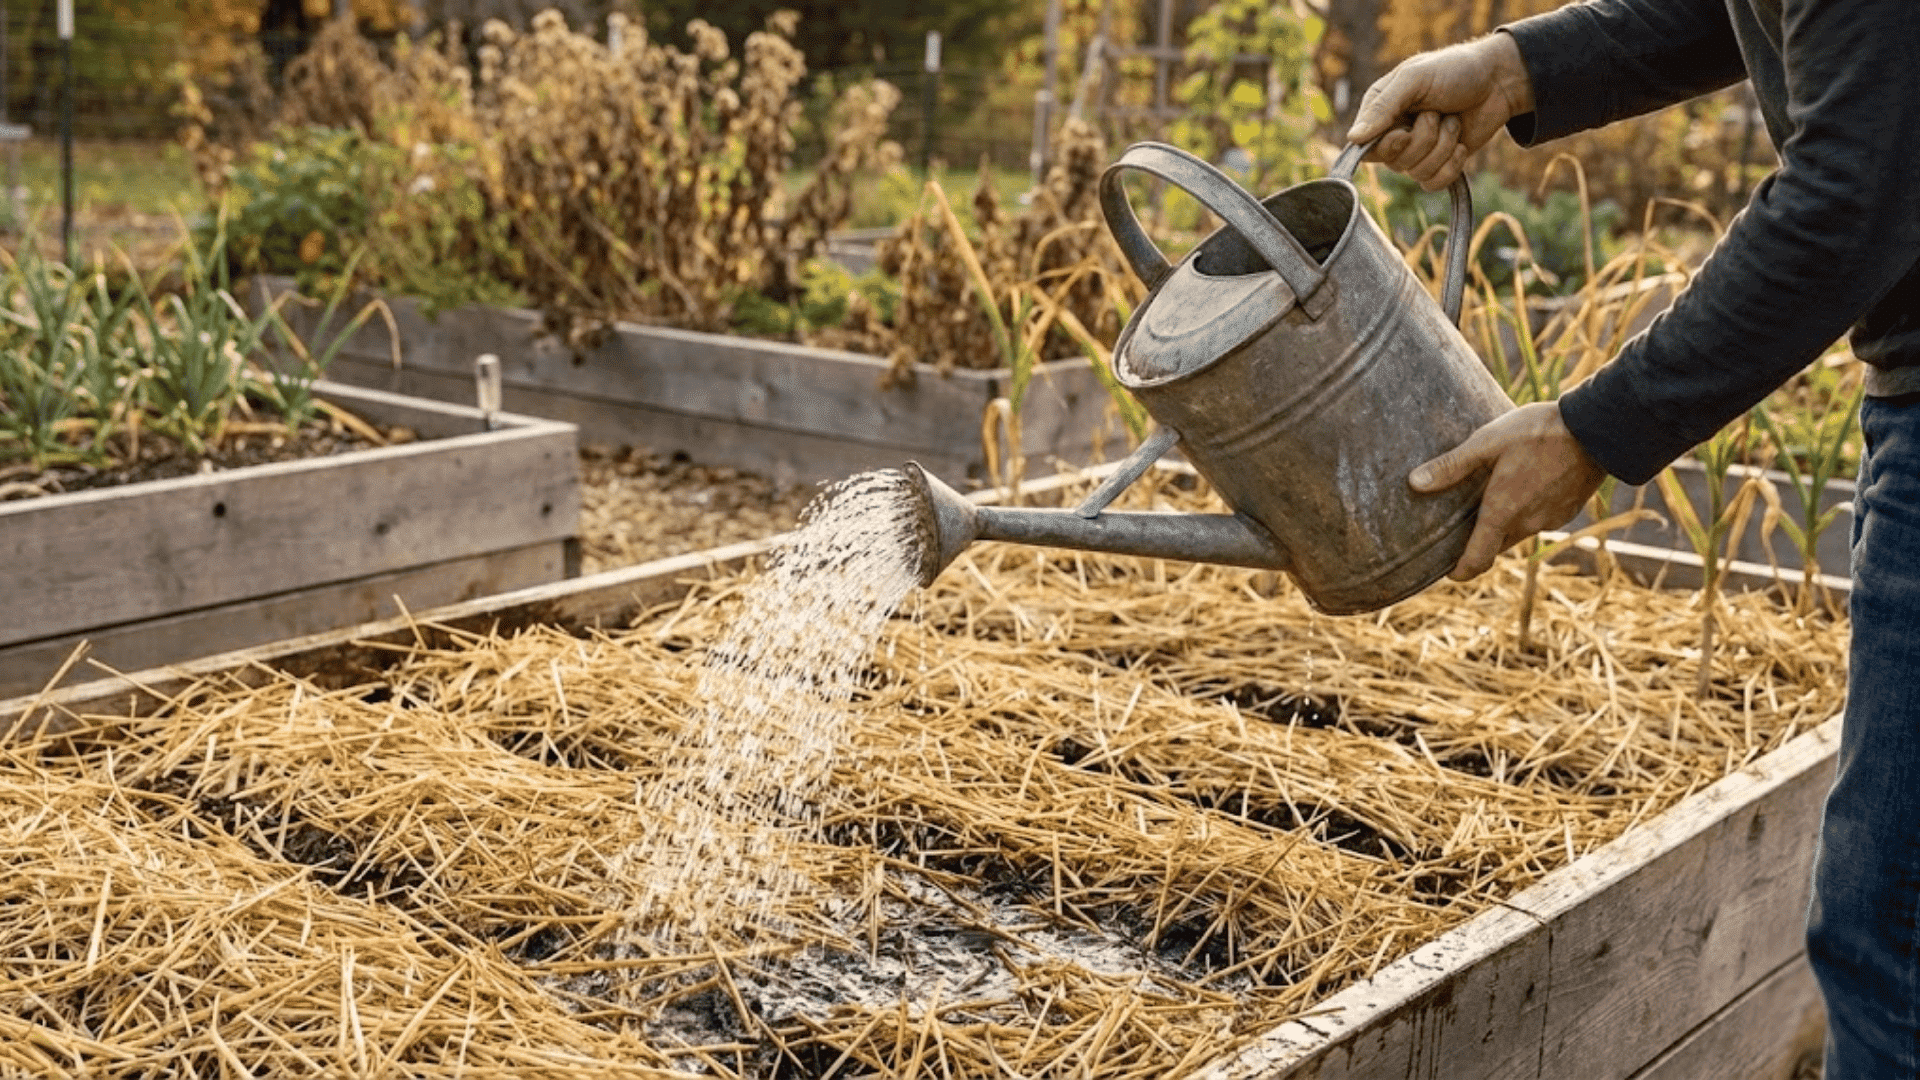
Water thoroughly after planting to help roots establish before winter dormancy sets in. During the growing season, provide about one inch of water weekly, adjusting based on rainfall.
Green shoots will emerge in early spring, signaling active growth. Reduce watering as harvest time approaches to prevent bulb rot and encourage proper curing.
How to Plant Garlic in Pots?
Container growing opens up garlic cultivation for balconies, patios, and small spaces. The process mirrors in-ground planting with a few adjustments for successful pot culture.
- Step 1: Choose a container at least 8-10 inches deep with multiple drainage holes to prevent waterlogging and root rot.
- Step 2: Fill with a blend of quality potting mix, compost, and perlite for optimal drainage and nutrient retention.
- Step 3: Plant cloves 2 inches deep and 3-4 inches apart, allowing slightly more space than in-ground planting.
- Step 4: Position pots in full sun outdoors or the sunniest indoor spot available, rotating occasionally for even growth.
- Step 5: Water more frequently than garden beds since containers dry out faster, checking soil moisture every few days.
Outdoor pots yield larger bulbs than indoor setups due to cold exposure and stronger light. Indoor garlic produces smaller bulbs but still offers fresh greens and mild flavor worth harvesting.
Garlic Care After Planting
Once your garlic is in the ground, consistent care through the seasons ensures healthy growth and robust bulbs. Focus on these three essentials to support your crop from dormancy through harvest.
| Care Task | Timing | How to | Purpose |
|---|---|---|---|
| Watering | Weekly in spring-early summer | 1 inch per week; reduce before harvest | Supports bulb development; prevents rot |
| Mulching | Right after planting | 3-4 inches of straw or leaves | Regulates temperature; suppresses weeds |
| Fertilizing | Early spring (shoot emergence) | Balanced or nitrogen-rich feed | Fuels leaf growth for larger bulbs |
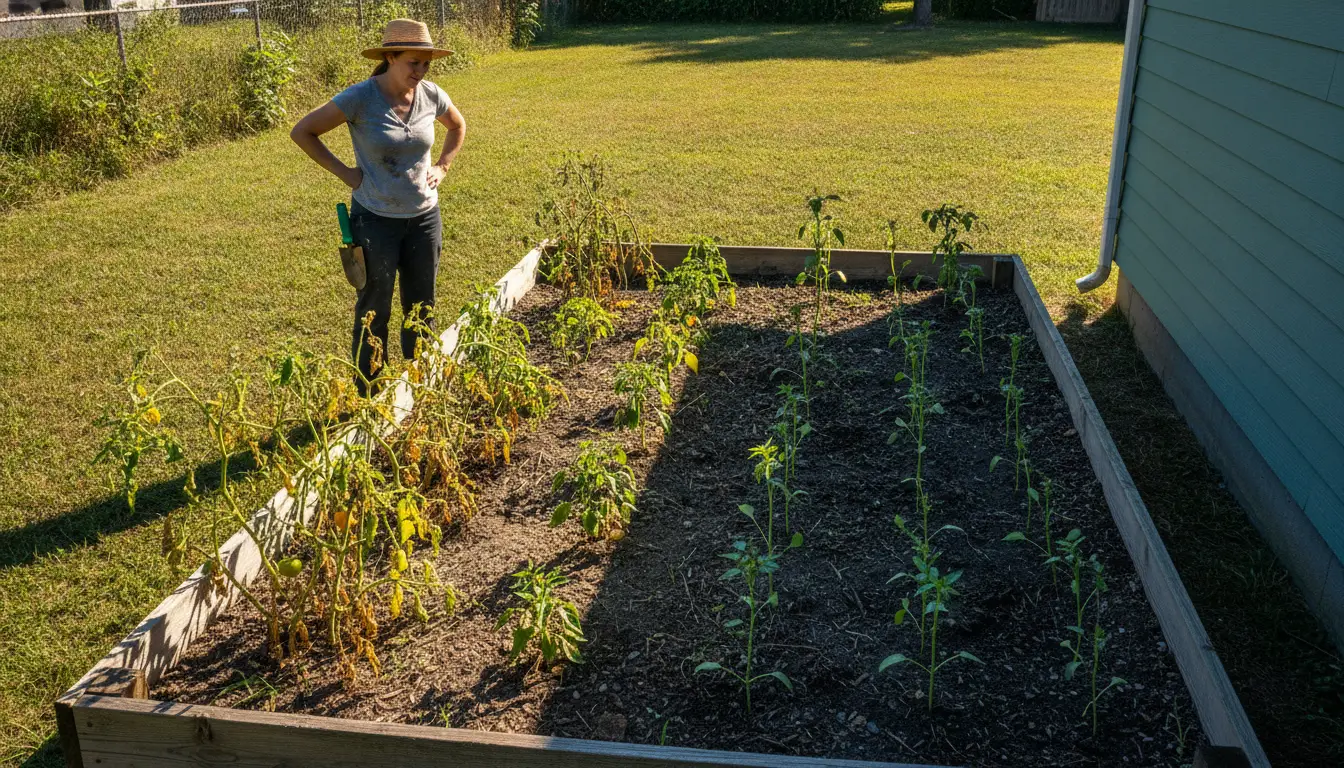
Common Problems When Growing Garlic
Even with proper care, garlic can face challenges that affect bulb formation and plant health. Catching these issues early makes all the difference in salvaging your harvest.
Problem 1: Garlic Not Forming Bulbs
Solution: This occurs if cloves are planted too late in fall or too early in spring, missing the cold needed for bulbing. Plant in autumn 4-6 weeks before the first frost, choosing varieties suited to your climate for proper vernalization.
Problem 2: Onion Maggots
Solution: Small white larvae tunnel into bulbs and stems, causing yellowing leaves and stunted growth. Apply row covers immediately after planting and practice crop rotation, avoiding planting garlic where onions or leeks grew last year.
Problem 3: Fungal Issues (White Rot & Rust)
Solution: White rot appears as yellowing leaves and white fungal growth on bulbs, while rust shows as orange spots on foliage. Ensure proper drainage, space plants for airflow, and remove infected plants immediately to prevent spread.
When & How to Harvest Garlic?
Timing your garlic harvest correctly makes the difference between perfectly cured bulbs and ones that split or rot. Watch for visual cues and handle your crop gently during extraction.
Signs Garlic is Ready to Harvest
Your garlic communicates its readiness through foliage changes that signal bulb maturity. Look for these telltale indicators before digging.
- Lower leaves turn brown while the top 4-6 leaves remain green, creating a half-green, half-brown appearance.
- Timing typically falls in late June through July for fall-planted garlic, depending on your climate.
- Stop watering 2-3 weeks before the expected harvest to allow bulbs to firm up.
- Test by carefully exposing one bulb to check for well-defined, plump cloves wrapped in tight papery skin.
- Hardneck varieties show dried scapes if you leave them on the plant.
How to Dig Up Garlic Without Damage?
Use a garden fork or spade to loosen soil several inches away from the bulbs, working carefully around the entire plant.
Gently lift from beneath rather than pulling on stems, which can separate from bulbs and cause damage.
Brush off excess soil with your hands, but avoid washing, as moisture interferes with proper curing and storage longevity.
Curing & Storing Garlic
Proper curing develops freshly harvested garlic into shelf-stable bulbs that last for months. This simple process concentrates flavors and prevents spoilage.
- Hang or lay garlic plants in a dry, shaded area with good airflow, like a garage, shed, or covered porch, for 2-4 weeks.
- Keep bulbs out of direct sunlight during curing to prevent sun scald and maintain papery skin integrity.
- Once stems and roots feel completely dry and papery, trim roots to half an inch and cut stems to one inch above the bulb.
- Store cured garlic in mesh bags, baskets, or braided strands in a cool, dark location with temperatures around 60-65°F.
- Check stored bulbs monthly and remove any showing soft spots or sprouting to prevent spoilage from spreading.
Properly cured garlic can last 6-8 months for softneck varieties and 4-6 months for hardneck types. Avoid refrigeration unless you’ve peeled cloves, as cold temperatures trigger premature sprouting in whole bulbs.
Final Thoughts
Growing garlic from cloves rewards you with months of bold, homegrown flavor that store-bought bulbs simply can’t match.
You’ve learned how to plant garlic cloves with confidence, nurture them through seasons, and cure your harvest for lasting quality. This crop asks for minimal fuss yet delivers abundantly, making it perfect for gardeners at any level.
Start with a few bulbs this fall and see just how satisfying it feels to cook with garlic you’ve grown yourself.
Have questions or tips to share? Drop them in the comments below and let’s keep the conversation growing.


One Response
This is a wonderful lecture.How can I grow this product in tropical country especially in Nigeria? I would like to know more about your products.Thank you.