I always wanted a fun way to decorate my windows without spending too much or making a mess. One day, I figured out how to make diy window clings using things I already had at home.
It turned out better than I expected: colorful shapes, cool designs, and the best part?
I could peel them off and stick them again anytime I wanted. It felt good to create something with my hands that didn’t take hours to finish.
Now it’s your turn. If you’re looking for a simple, hands-on project that adds a little fun to your space, you’re in the right place.
I’ll show you how to make your own window clings, step by step. It’s easier than you think and a lot more fun.
Why DIY Window Clings Are So Popular
DIY window clings are popular because they’re easy, fun, and flexible. Many people like them more than store-bought ones because you can make any shape, color, or design you want.
You’re not stuck with what’s sold in a pack. That means you can match your window clings to seasons, holidays, or even your mood.
They’re also great for kids’ crafts. Teachers use them in classrooms for hands-on activities, and parents use them for screen-free fun at home.
Because they’re removable and reusable, you don’t have to worry about making a mistake. If something doesn’t look right, just peel it off and try again.
People also love that these clings don’t need special tools or fancy materials. Anyone can try it, even if you’ve never made crafts before. It’s a low-risk project that gives you instant results and a fun way to decorate without long-term commitment or cleanup.
What Makes Window Clings Different
Before you start making your own, it helps to know what window clings actually are. Window clings are soft, flexible shapes that stick to glass without glue or tape.
They’re not the same as stickers or decals, which use strong adhesive and can leave marks behind. Clings just hold onto the surface through static or a light tacky feel—no mess, no damage.
They work best on smooth, clean surfaces like windows, mirrors, and glass doors. If the surface is dusty or textured, they might not stick as well or could fall off quickly.
Homemade clings won’t look factory-made, and that’s okay. Expect a homemade look: slightly uneven edges or color streaks, but that’s part of the appeal.
They peel off easily, can be moved around, and won’t leave anything behind. They’re perfect for fun, quick decor without the worry of doing anything permanent or damaging your space.
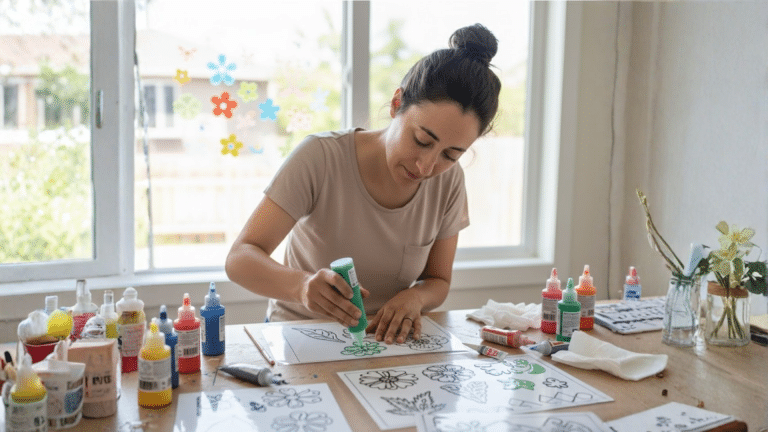
Step-by-Step Instructions to Make Window Clings at Home
Making your own window clings is easy, fun, and perfect for any age. You don’t need fancy tools, just a few basic supplies and some time to let them dry. Here’s a step-by-step guide to help you get started:
Step 1: Gather Your Supplies
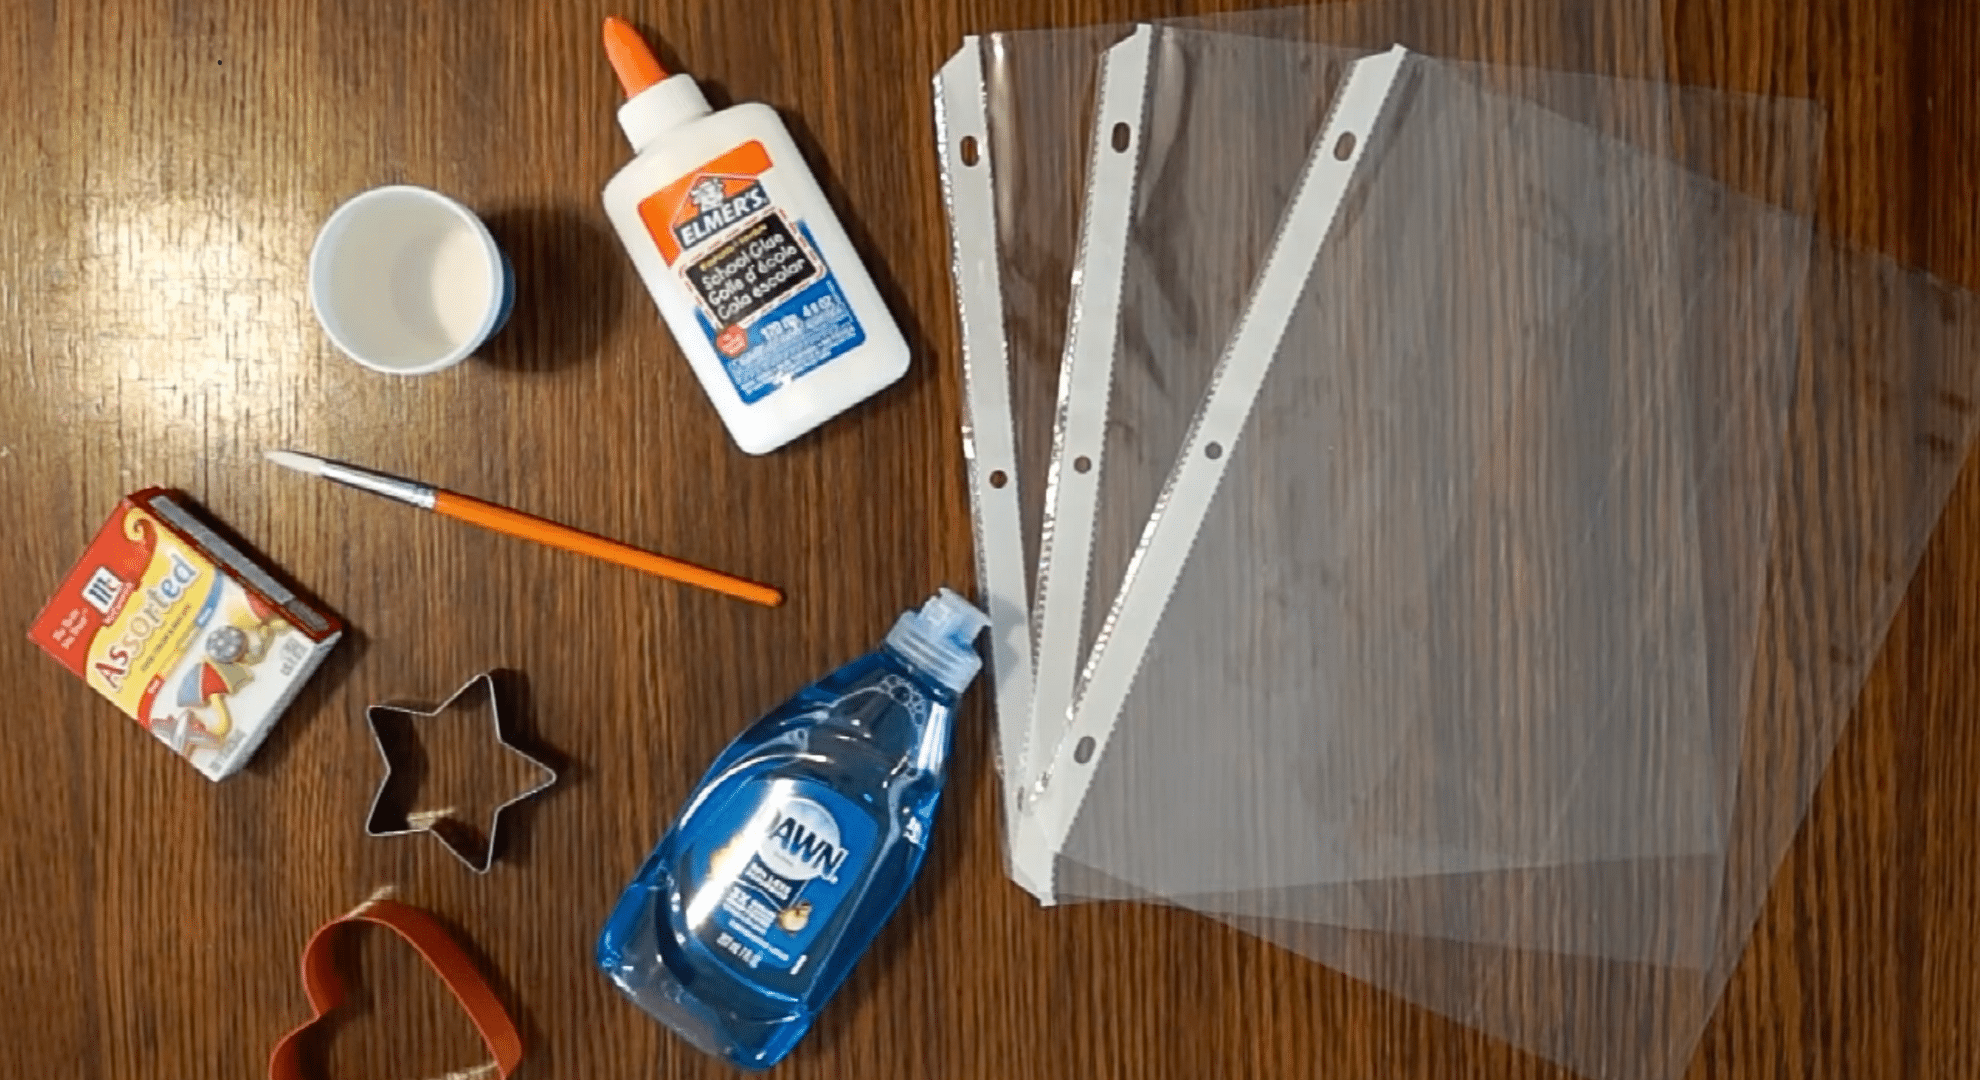
You’ll need liquid glue, dish soap, mixing cups (like paper cups), a brush or stir stick, food coloring (liquid or gel), and a plastic surface like a sheet protector.
Optional tools include cookie cutters and googly eyes for extra fun. Keep paper towels nearby for easy cleanup.
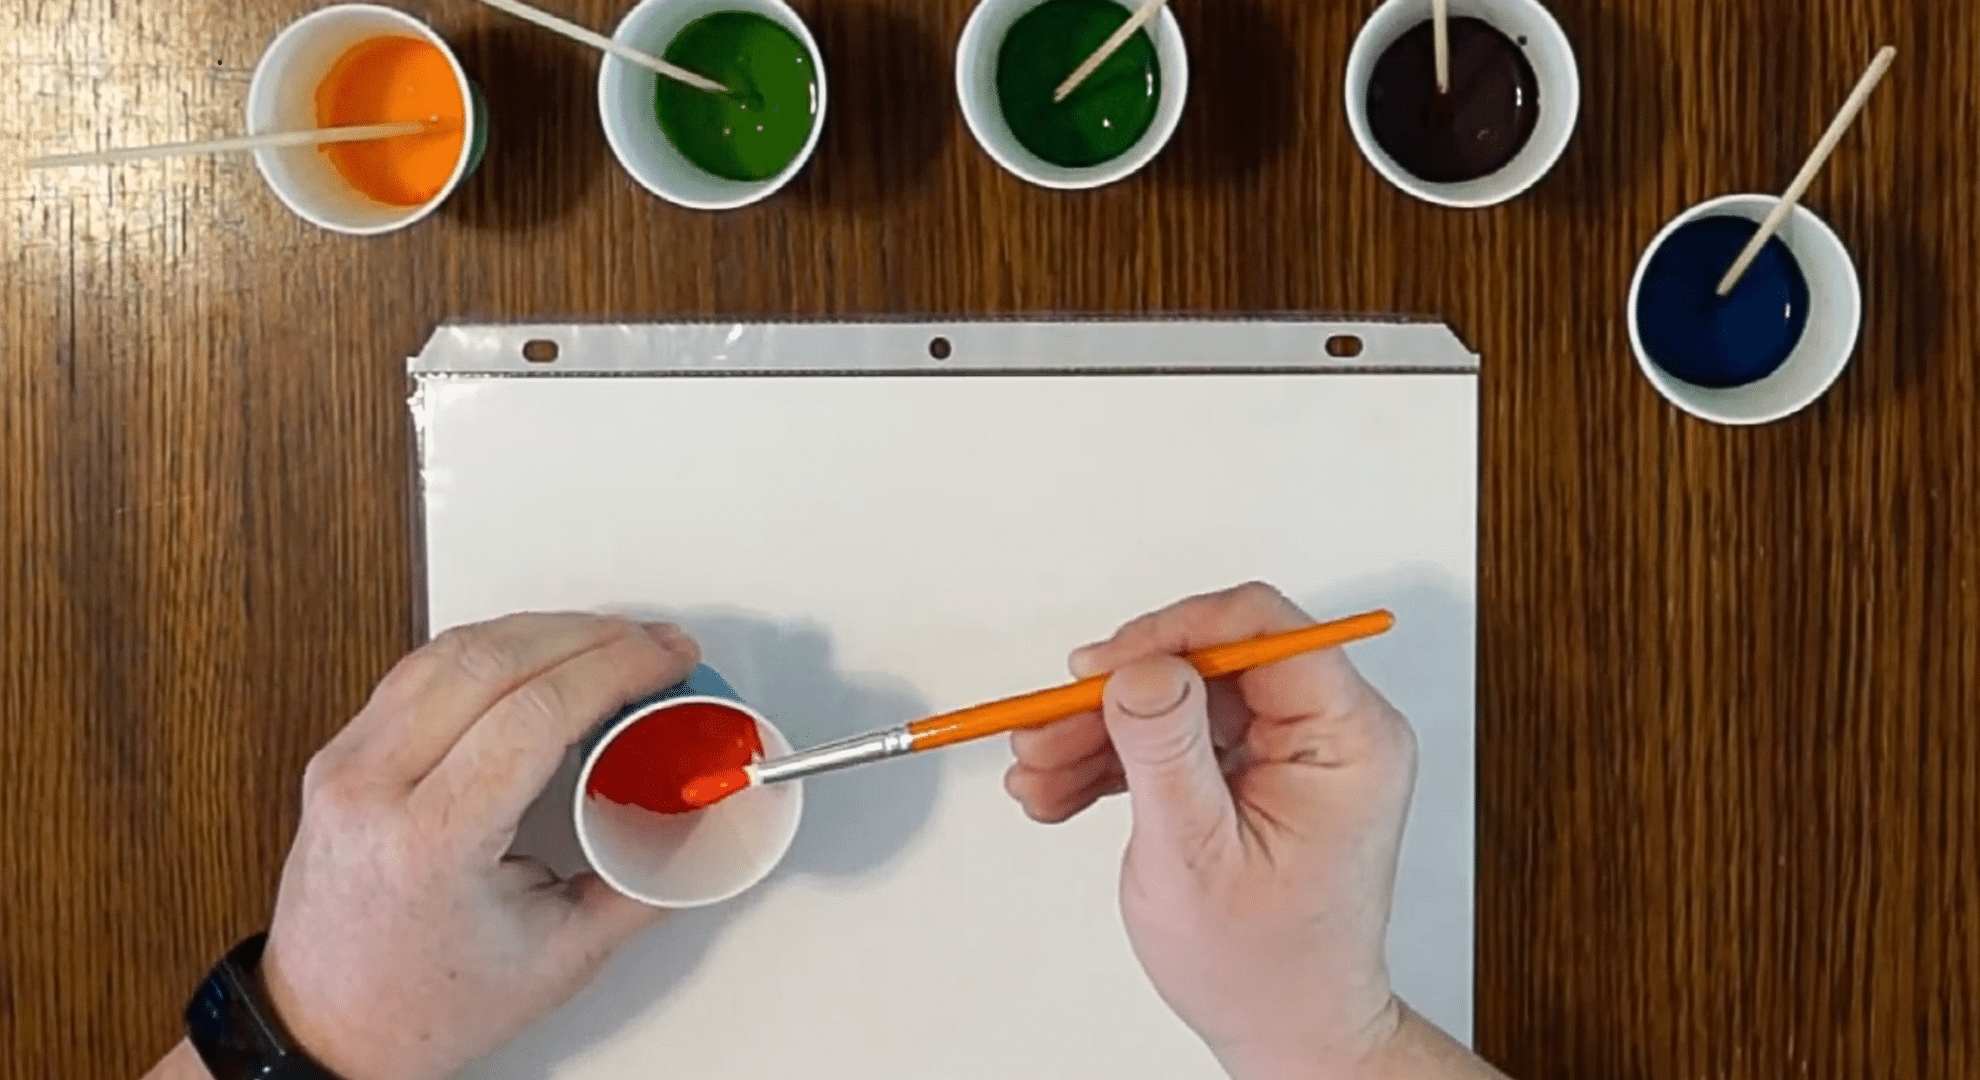
Step 2: Mix Your Paint Colors
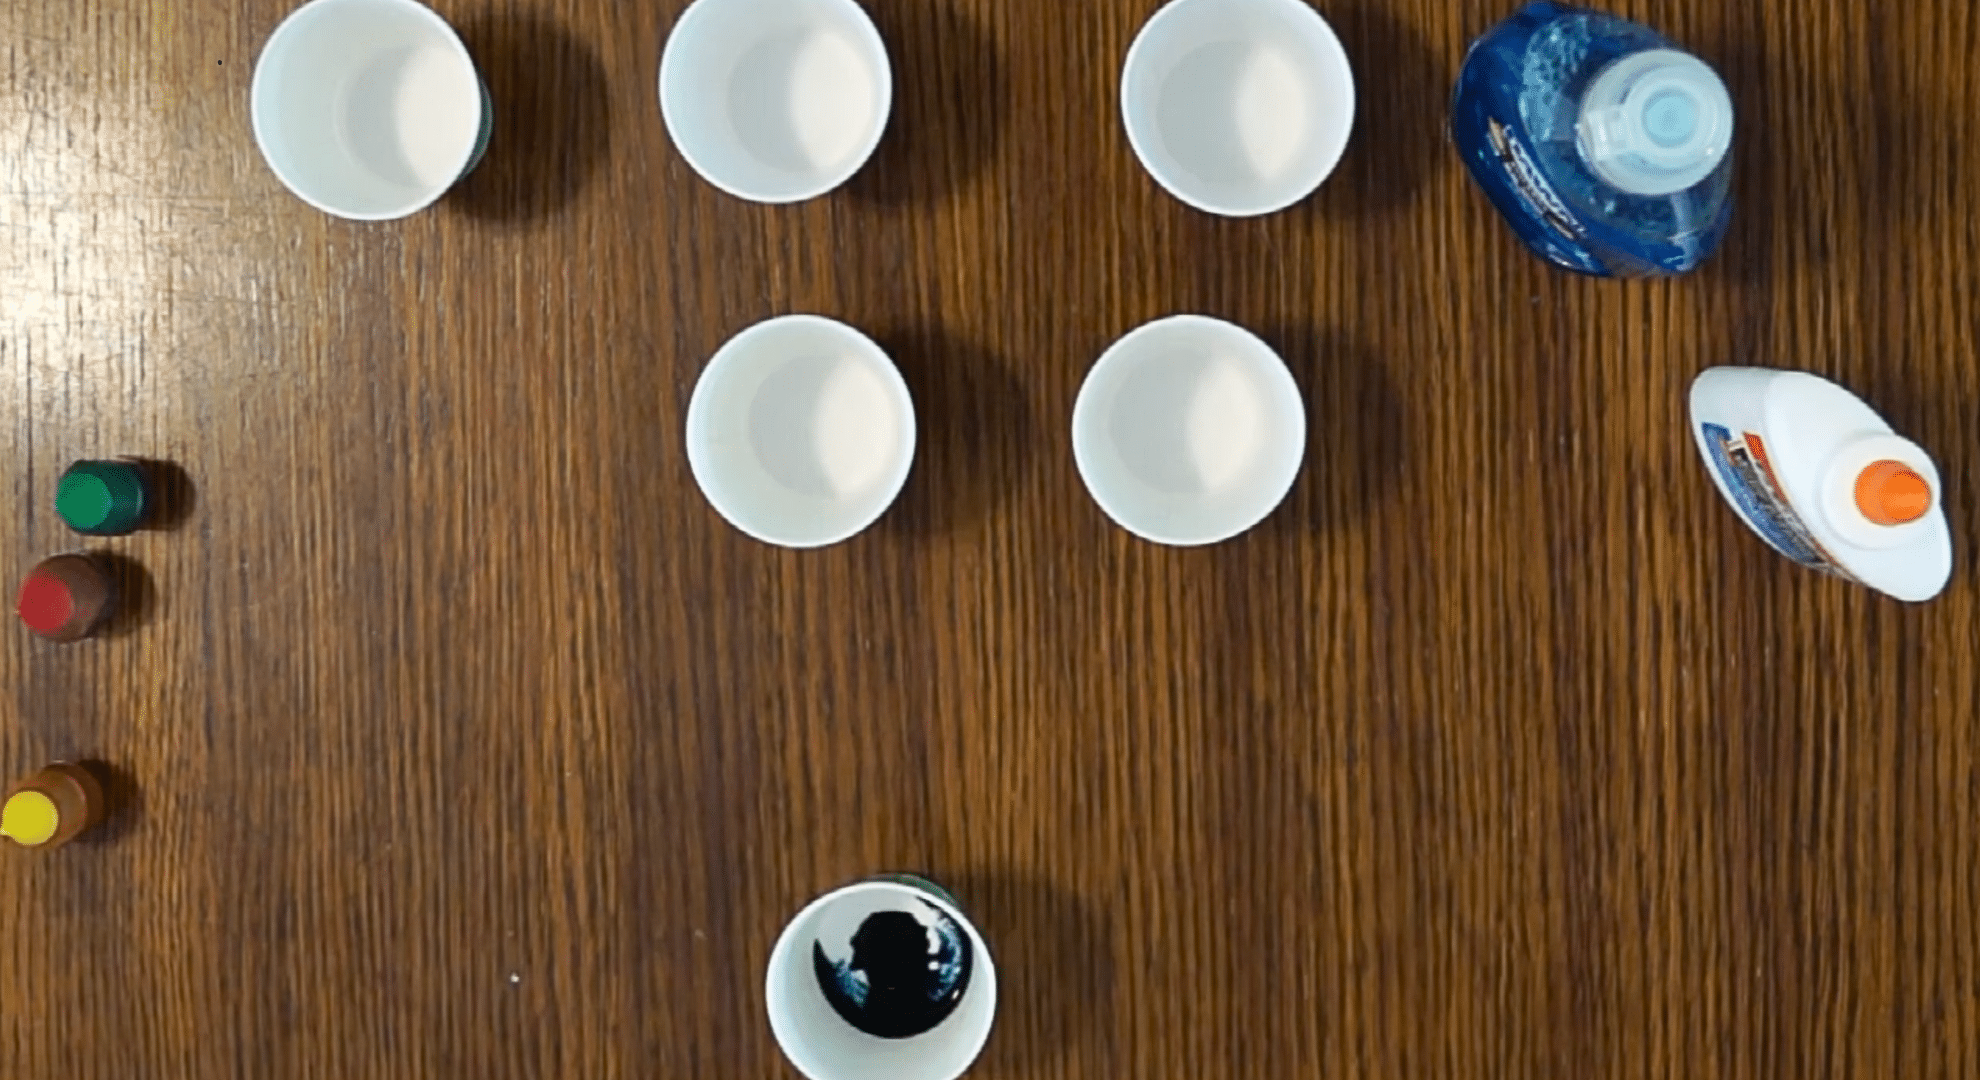
Pour about two tablespoons of glue into a cup, add a drop or two of dish soap, and then add your color. Use more color for dark shades, less for lighter ones.
Stir well. Repeat this for each color you want to make, starting with red, blue, and yellow.
Step 3: Make Shapes by Hand
Use your brush or stir stick to draw shapes directly on the plastic surface. You can freehand designs, trace printed outlines, or make letters.
If you make a mistake, use a paper towel to wipe it off. This method gives you full freedom to create whatever design you like.
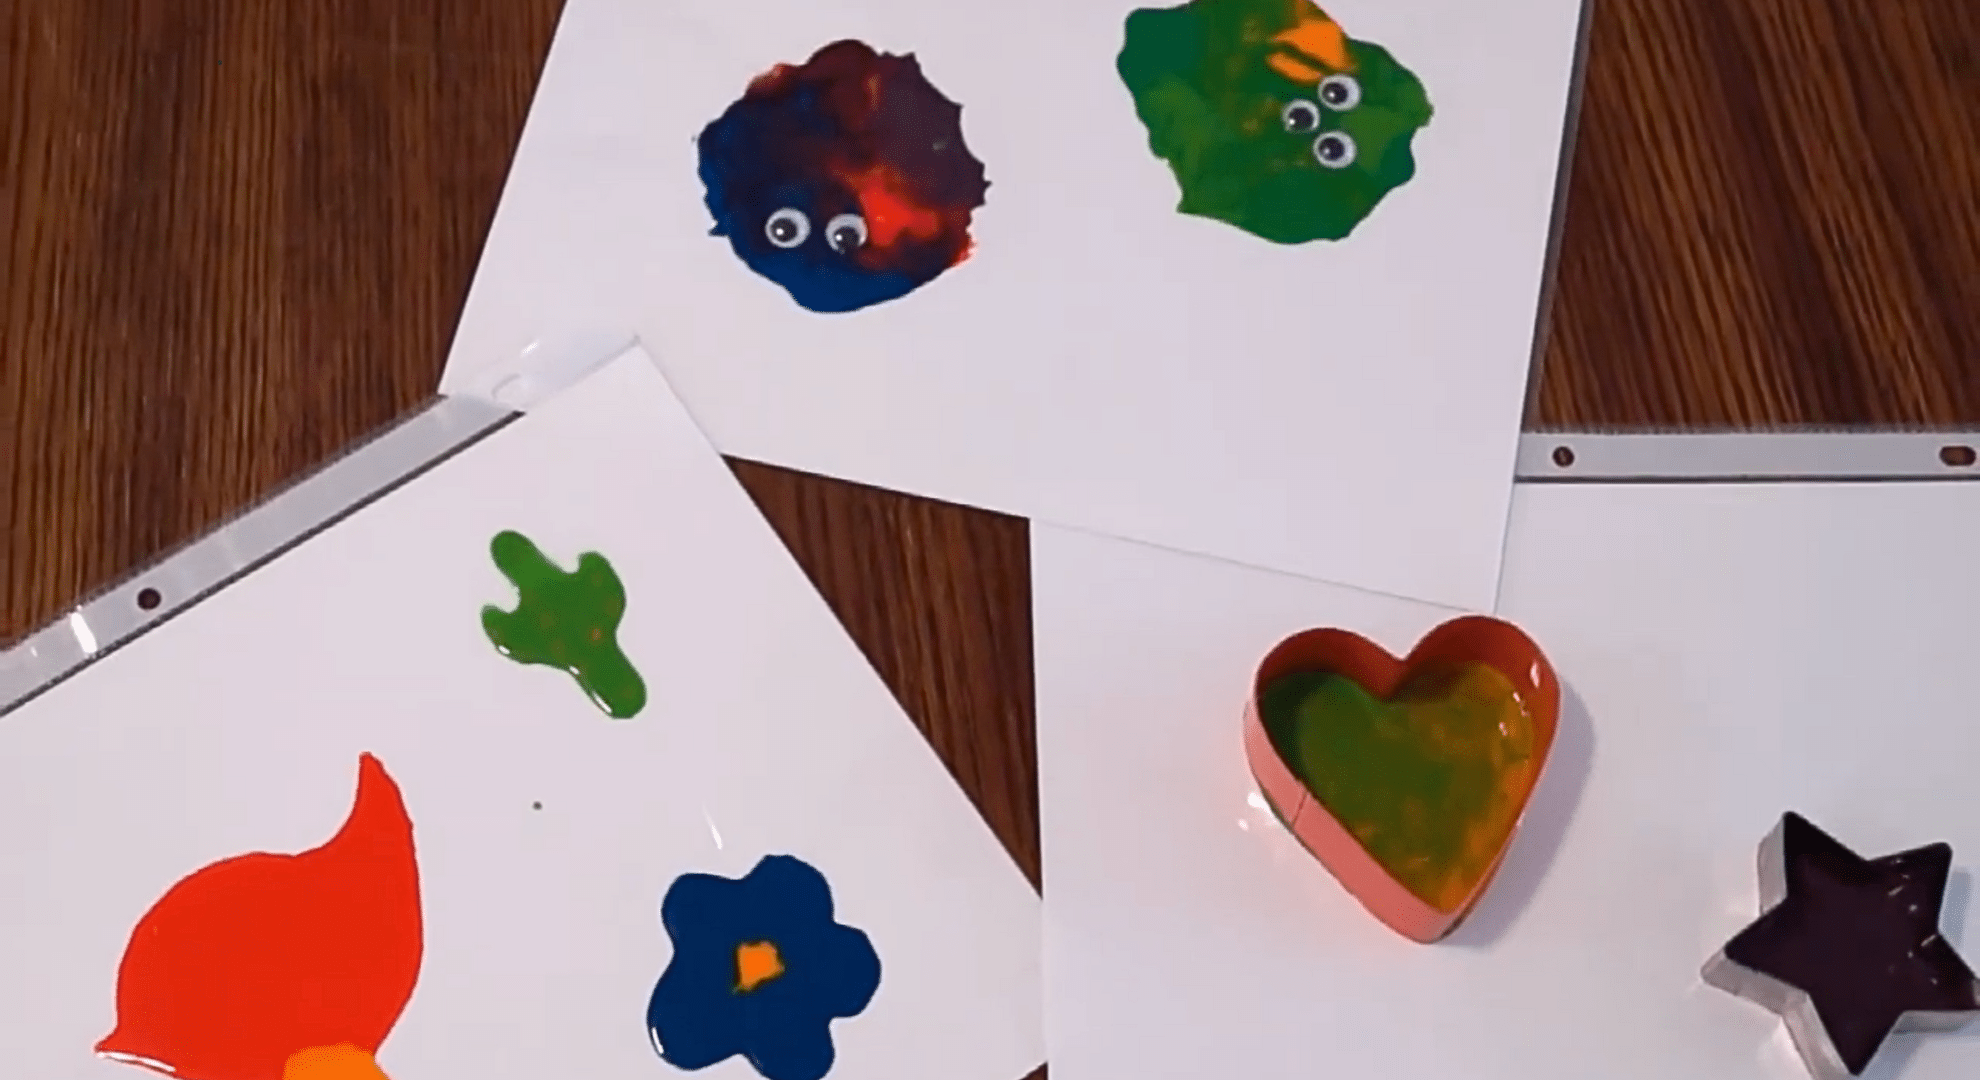
Step 4: Use Cookie Cutters as Molds
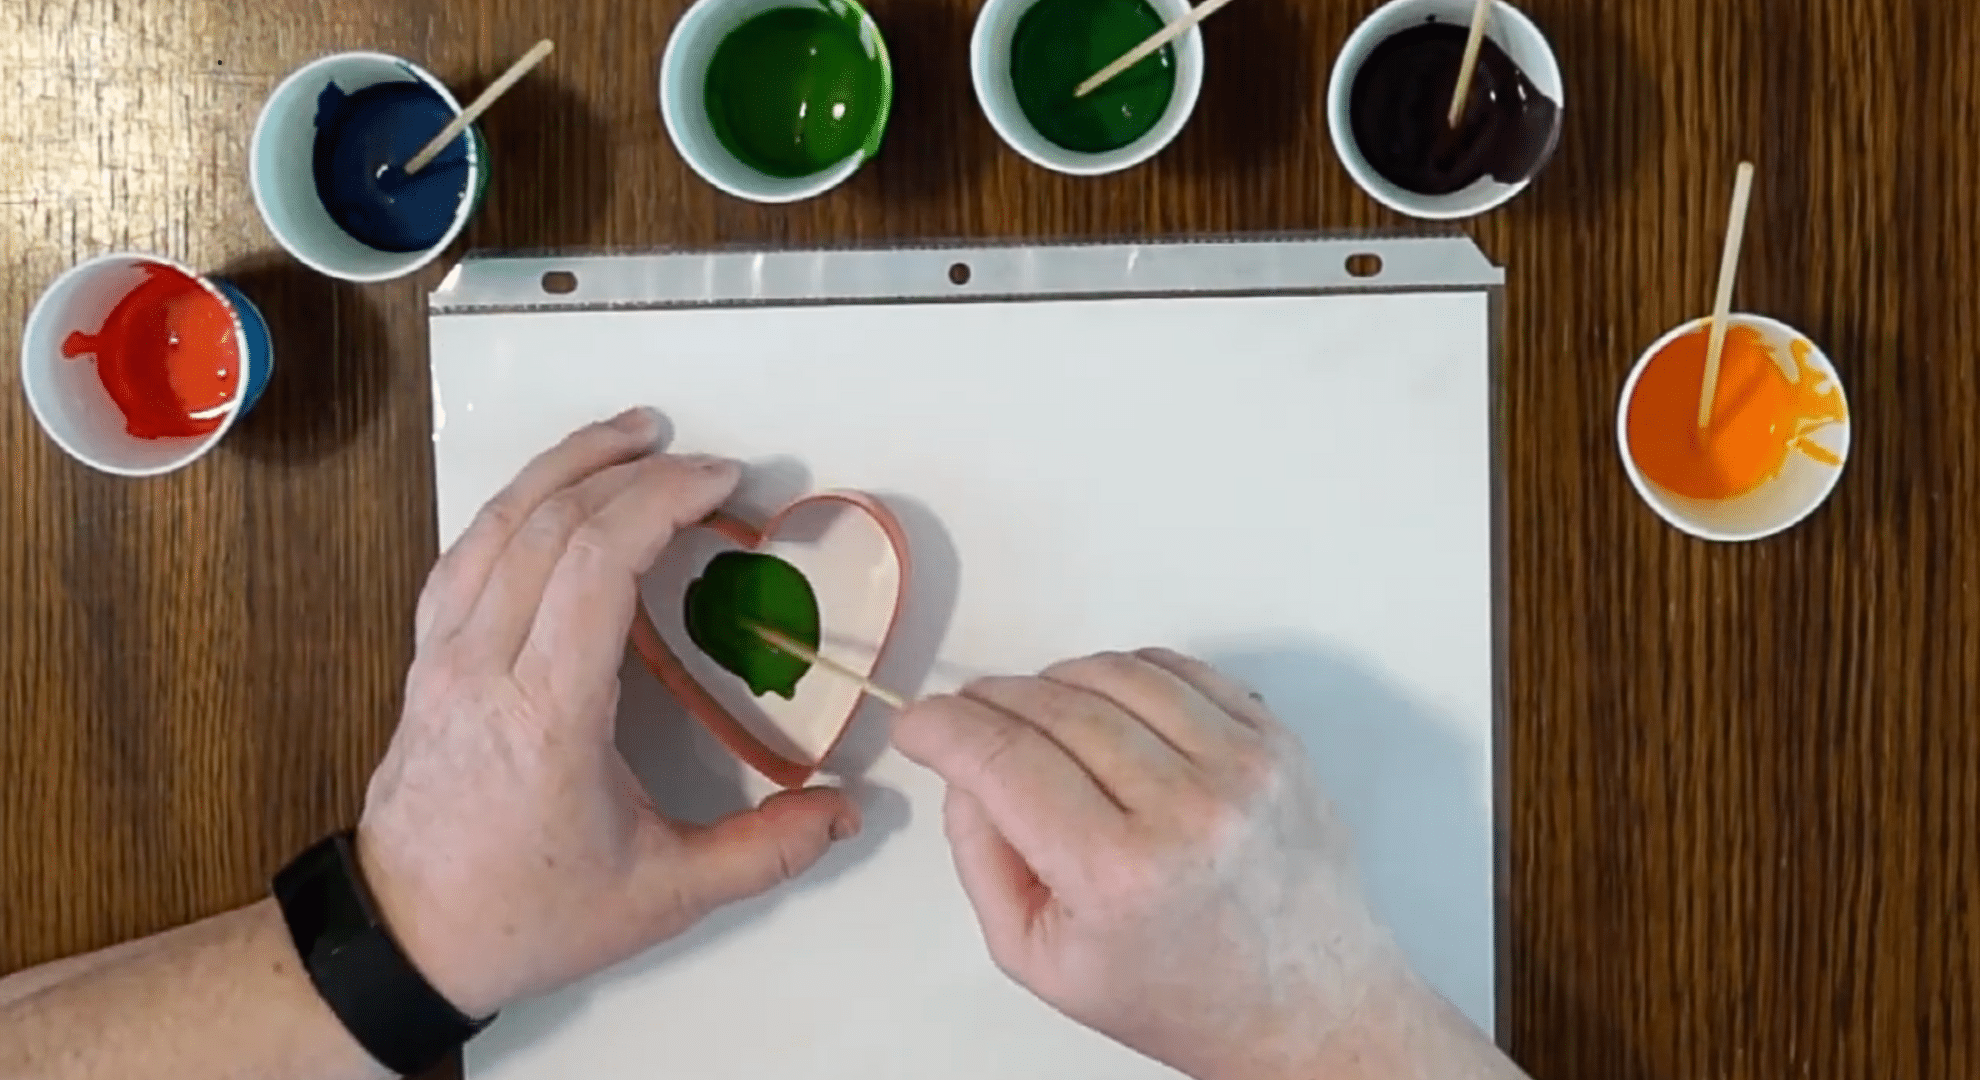
Place cookie cutters on the plastic and pour paint inside. Spread the color to the edges. You can also mix different colors inside one shape.
This method works well for kids or for making simple shapes easily. Wait about an hour before removing the cutters to keep edges clean.
Step 5: Try Freestyle Pouring
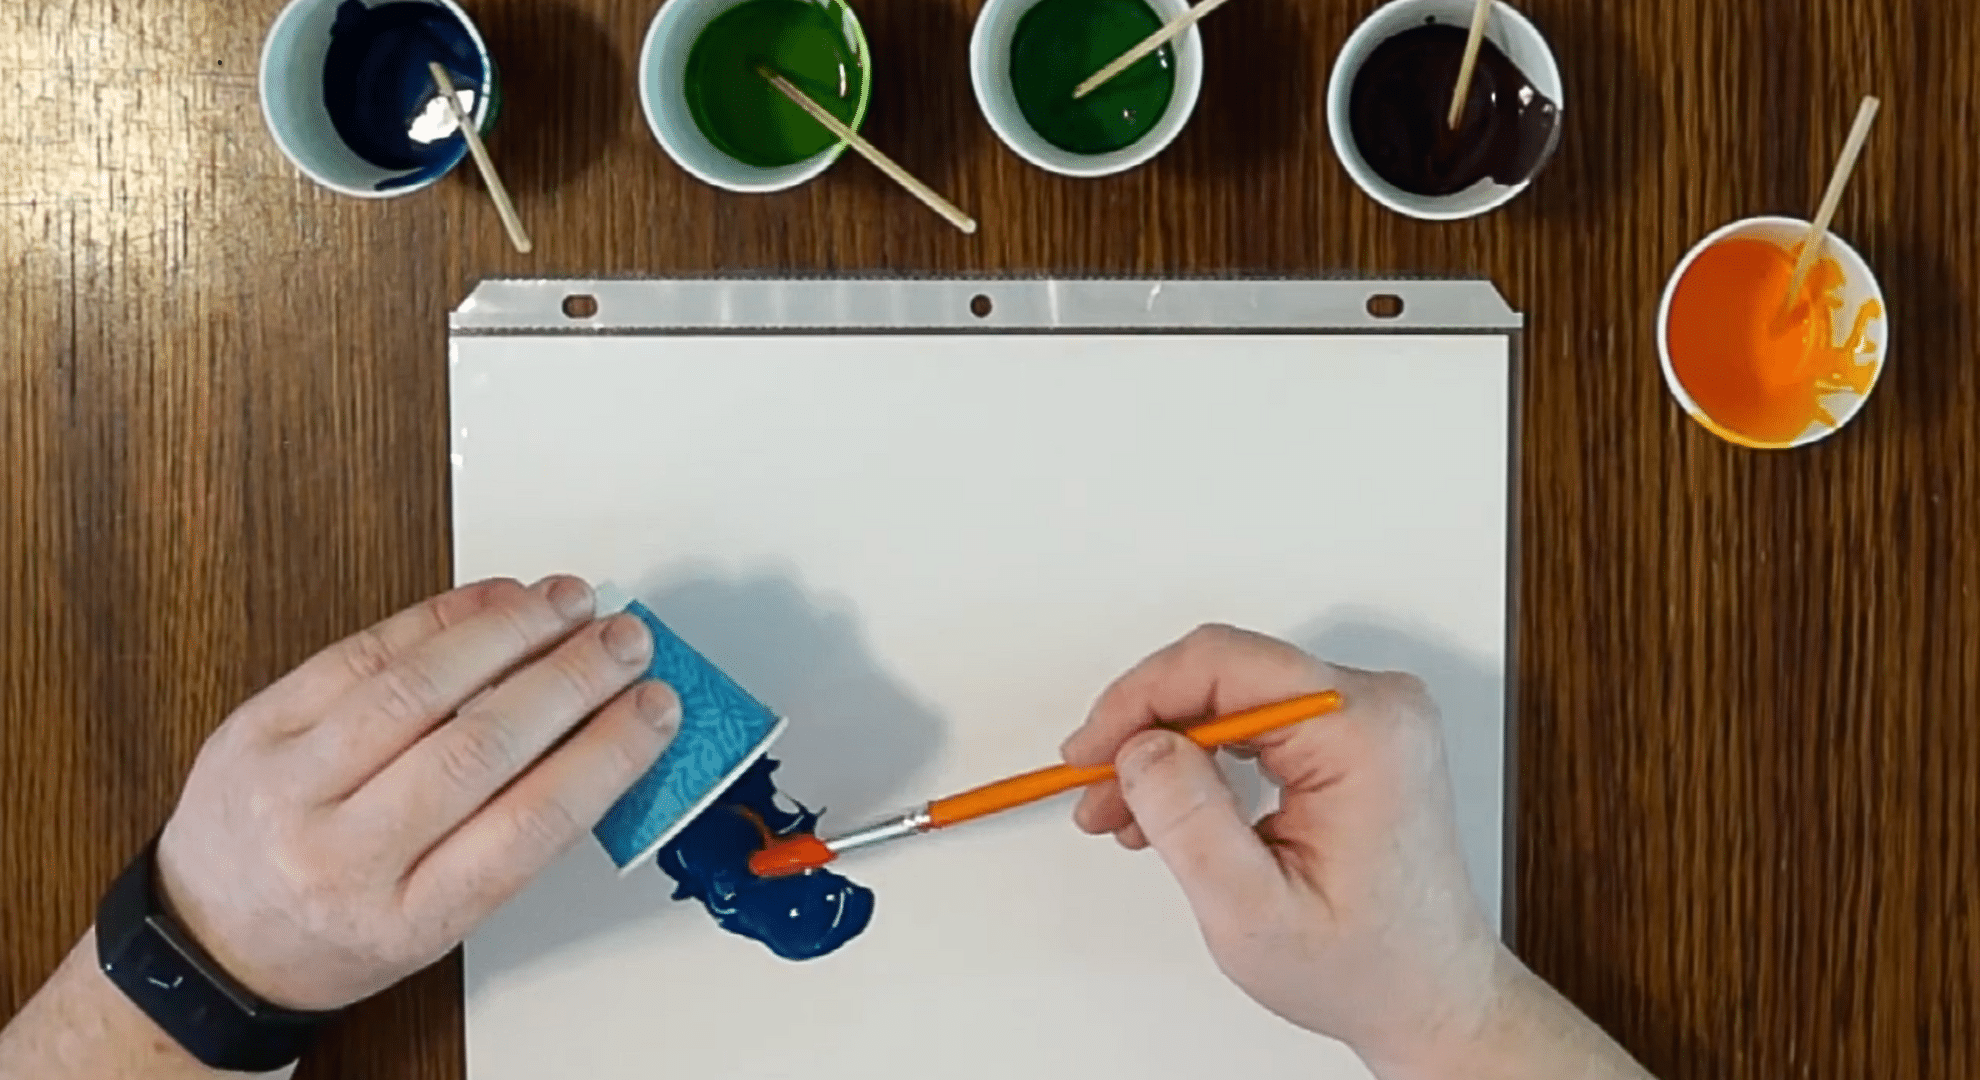
For a more relaxed method, just pour paint straight onto the plastic in any shape you like. Experiment by blending colors or adding googly eyes.
Just be careful not to press decorations too deeply. Keep the paint layer even; too thin and it breaks, too thick and it won’t dry.
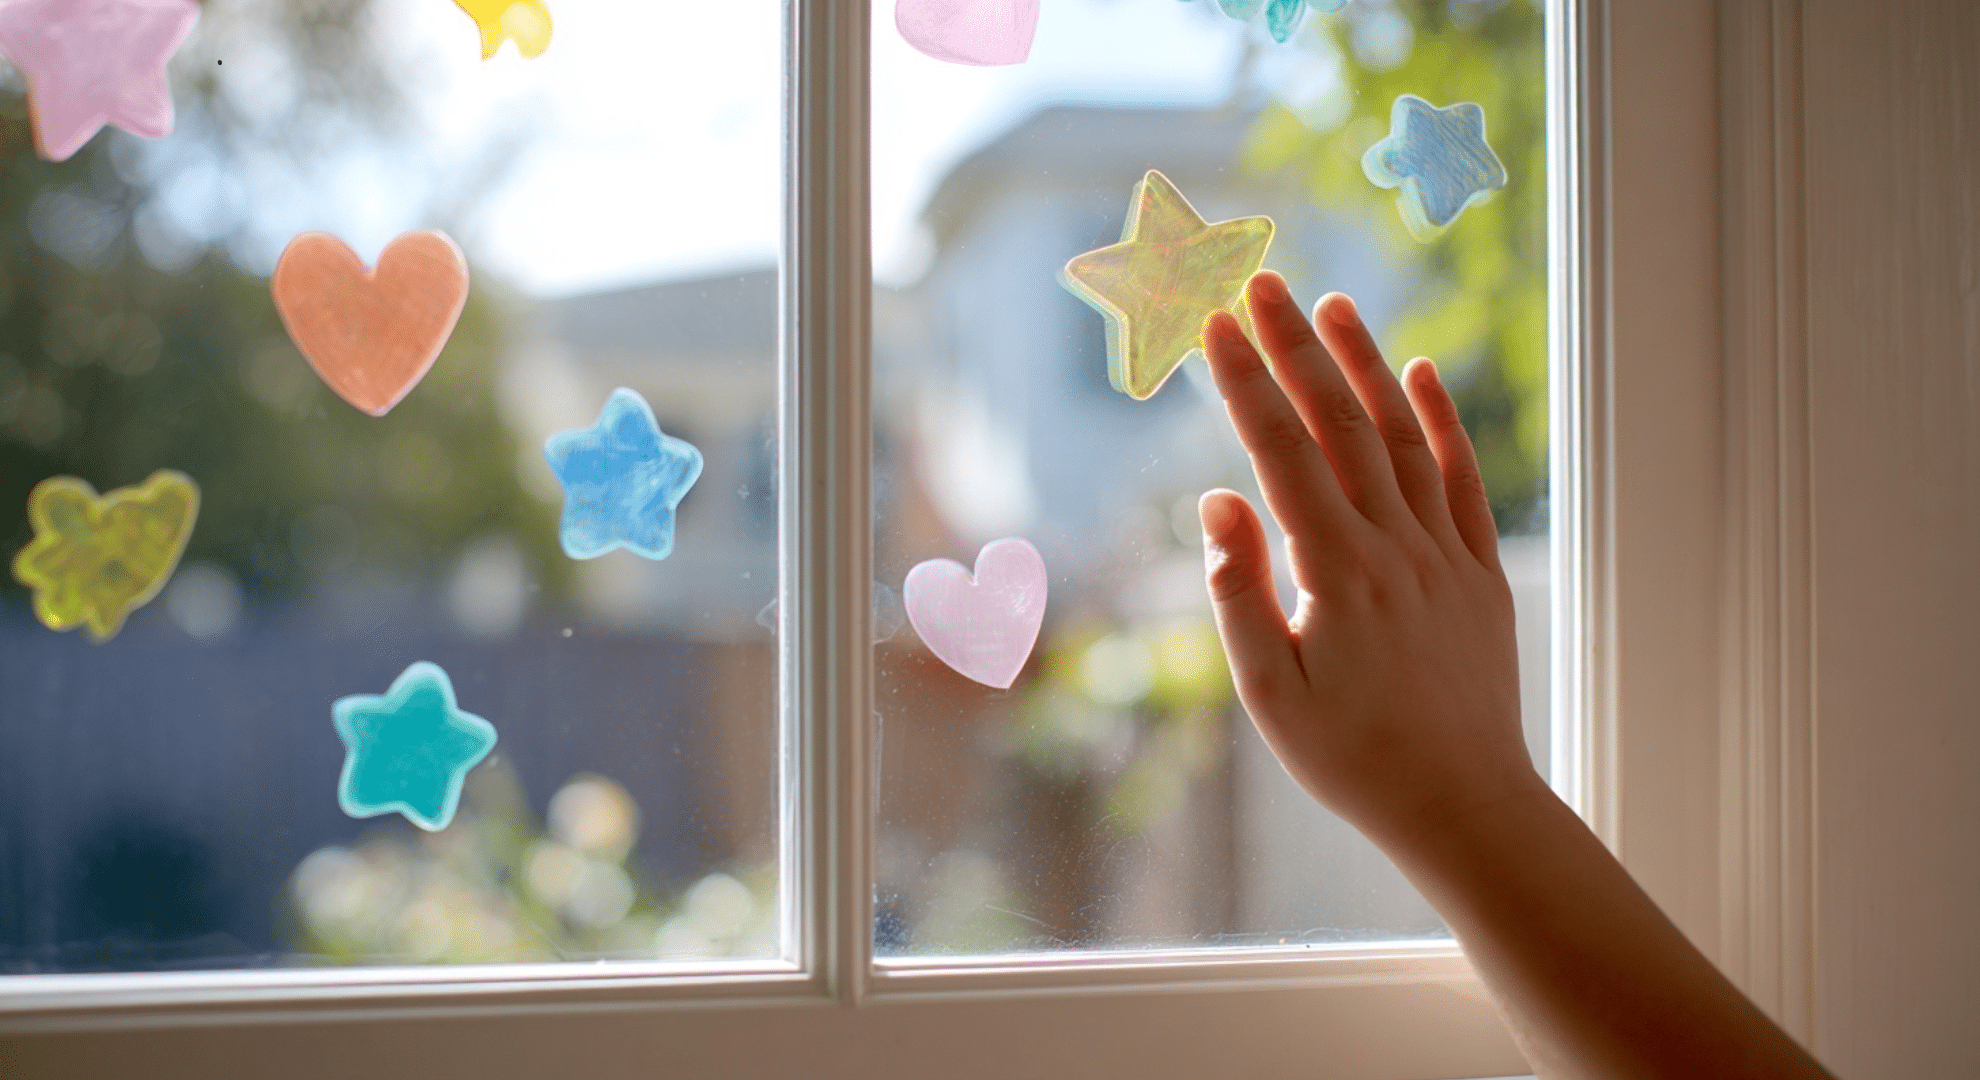
Step 6: Let It Dry and Peel Off
Leave your designs to dry overnight. Thicker areas may take longer, so check before peeling. Once dry, gently lift the cling off the plastic.
They should come off easily. Now you’re ready to stick them onto any clean, smooth window and enjoy your homemade decoration.
If you want a visual guide, you can find one right here.
Common Problems and How to Fix Them
Sometimes your DIY window clings don’t turn out just right, but most issues are easy to fix. Here are 8 common problems and what you can do about them:
- Clings won’t stick: Clean the window surface well and make sure it’s completely dry before applying the cling.
- Edges curl up: Your glue layer may have been too thin, try using a slightly thicker, even layer next time.
- Tears while peeling: Let clings dry fully before lifting, and peel slowly to avoid rips.
- Clings look cloudy: Use clear-drying glue and stir gently to avoid bubbles and foggy results.
- Won’t stick to textured glass: Stick with smooth surfaces like mirrors, glass doors, or clean windows.
- Too sticky or leaves residue: Use less dish soap in your mix and clean windows with warm water after use.
- Won’t hold shape: Let cookie-cutter shapes set for an hour before removing them.
- Dry too thin and break easily: Don’t spread the glue mixture too wide, aim for a semi-thick, even layer.
A few small changes can make a big difference in how well your clings turn out and stick.
Paint, Food Coloring, or Acrylic? What Works Best
When making DIY window clings, the type of color you use makes a big difference. Food coloring is a top choice for beginners. It mixes easily with glue, gives bright colors, and is safe for kids. Liquid food coloring blends well and dries clear, while gel types give deeper colors with less liquid.
Acrylic paint also works, but it’s thicker and may dry more stiff or brittle. It’s better for older kids or adults who want bold, solid designs. Just use small amounts so the cling doesn’t get too hard or crack.
Washable paint can be used too, but it sometimes dries dull or doesn’t stick well. It may also leave behind a chalky feel.
Overall, food coloring is best for simple, flexible clings. Acrylics work if you want strong, bright colors and don’t mind a firmer finish. Choose based on who’s making them and how you want them to look.
Design Ideas and Variations for Kids and Seasons
Window clings are a fun way to add color and learning to any space. They work well for kids, schools, and different times of the year without being permanent.
Easy ideas to start with:
- Simple shapes like circles, stars, hearts, numbers, and letters
- Basic animals, smiley faces, or weather shapes like suns and clouds
Fun ideas for different times of year:
- Pumpkins, leaves, and apples for fall
- Snowflakes, mittens, and snowmen for winter
- Flowers, butterflies, and rainbows for spring
- Suns, ice pops, and sea shapes for summer
For classrooms, stick to large shapes with solid colors so kids can see them clearly from a distance. Use non-toxic supplies and avoid small add-ons for younger kids. These designs help with color learning, shape practice, and seasonal lessons while keeping windows bright and easy to clean.
How Long They Last and When to Remake
DIY window clings can last a while if you take care of them. On clean, smooth glass, they usually stick well for a few weeks before edges start to curl or colors fade.
If the room is warm and dry, they might last longer. In humid or dusty areas, they may lose their stick faster.
You can reuse clings a few times. Just peel them off gently and store them flat on clean plastic, like a sheet protector. Avoid folding or stacking them, or they may tear or lose shape.
If a cling stops sticking, gets torn, or feels stiff and dry, it’s time to make a new one.
Remaking clings is quick, so it’s no big deal to refresh your designs every few weeks, especially for new seasons or holidays. Keeping your supplies ready makes it easy to whip up new ones whenever you want.
DIY Window Clings vs. Vinyl Window Clings
Both DIY and vinyl window clings can brighten up a space, but they’re made differently and serve different needs. Here’s a quick comparison to help you choose what works best for your project:
| Feature | DIY Window Clings | Vinyl Window Clings |
|---|---|---|
| Materials | Glue, dish soap, food coloring | Pre-cut vinyl with adhesive backing |
| Cost | Very low, made with household items | Higher, store-bought or custom made |
| Customization | Fully customizable at home | Limited unless ordering custom |
| Ease of Use | Great for kids and beginners | Requires careful placement |
| Stickiness | Light, removable with no residue | Stronger, may leave marks over time |
| Durability | Short-term, lasts a few weeks | Long-lasting, reusable many times |
| Best For | Crafts, kids, seasonal use | Business signs, long-term decor |
DIY clings are more playful and creative, while vinyl clings are more polished and long-lasting. Choose based on your needs and how you plan to use them.
Safety Tips When Making Window Clings With Kids
Making window clings is a fun activity for kids, but it’s still important to keep things safe and simple. Here are a few tips to help everything go smoothly:
- Use non-toxic glue and food coloring
- Keep small items like googly eyes away from toddlers
- Cover the work area with newspaper or a tablecloth
- Help with cutting plastic or handling scissors
- Watch for spills and clean them up right away
- Remind kids not to eat or taste any of the materials
- Wash hands after the activity, especially before snacks or meals
With the right setup, this craft can be a fun and safe way for kids to be creative. Just stay nearby, keep supplies simple, and enjoy the process together.
Conclusion
Making diy window clings has been one of the easiest and most fun ways I’ve added color to my space without needing a bunch of supplies. It’s simple, creative, and actually useful.
Now it’s your turn to try it. You’ve got the steps, tips, and ideas to make clings that fit your style, your space, or even your classroom. Start small, have fun with it, and don’t stress if it’s not perfect.
One quick reminder: always let them dry fully before peeling. It makes all the difference.
If this got your creative side going, I’ve got more simple craft ideas waiting for you. Check out the other blogs for easy, fun projects you can do at home!