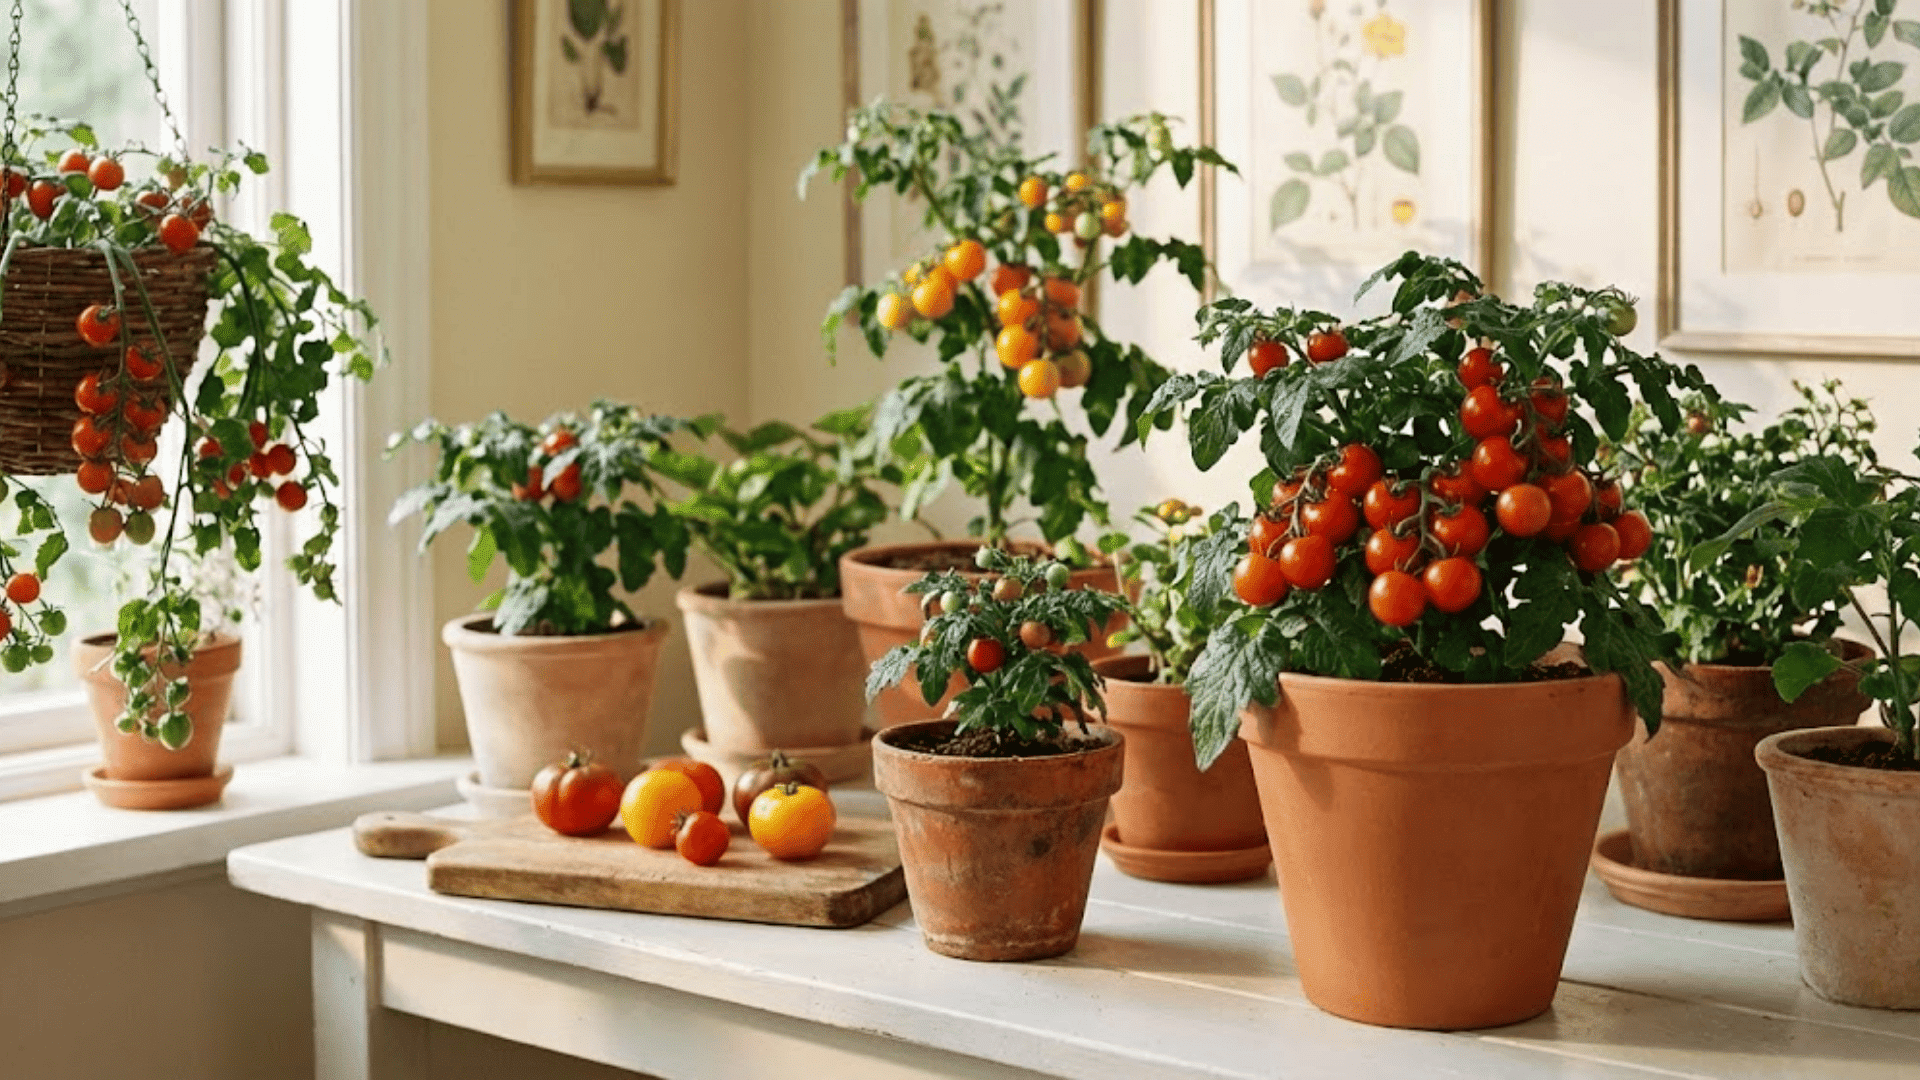
I’m standing in my cozy kitchen on a gray January morning, and there they are: glossy red tomatoes ripening on my windowsill, filling the room with that unmistakable garden-fresh scent.
It feels like bringing summer indoors, and honestly? It’s easier than you might think.
Growing tomatoes inside isn’t just possible. It’s genuinely rewarding once you understand what these sun-loving plants need to thrive.
I’m here to walk you through everything from choosing the right varieties to timing your indoor garden perfectly, so you can enjoy fresh salads all winter or get a head start on the growing season.
Can You Really Grow Tomatoes Indoors?
Absolutely, and the perks are lovely. You get fresh tomatoes year-round without battling hornworms or unpredictable weather. Your indoor setup gives you total control over temperature, watering, and growing conditions.
But tomatoes need serious light, usually from grow lamps if your windows aren’t bright enough.
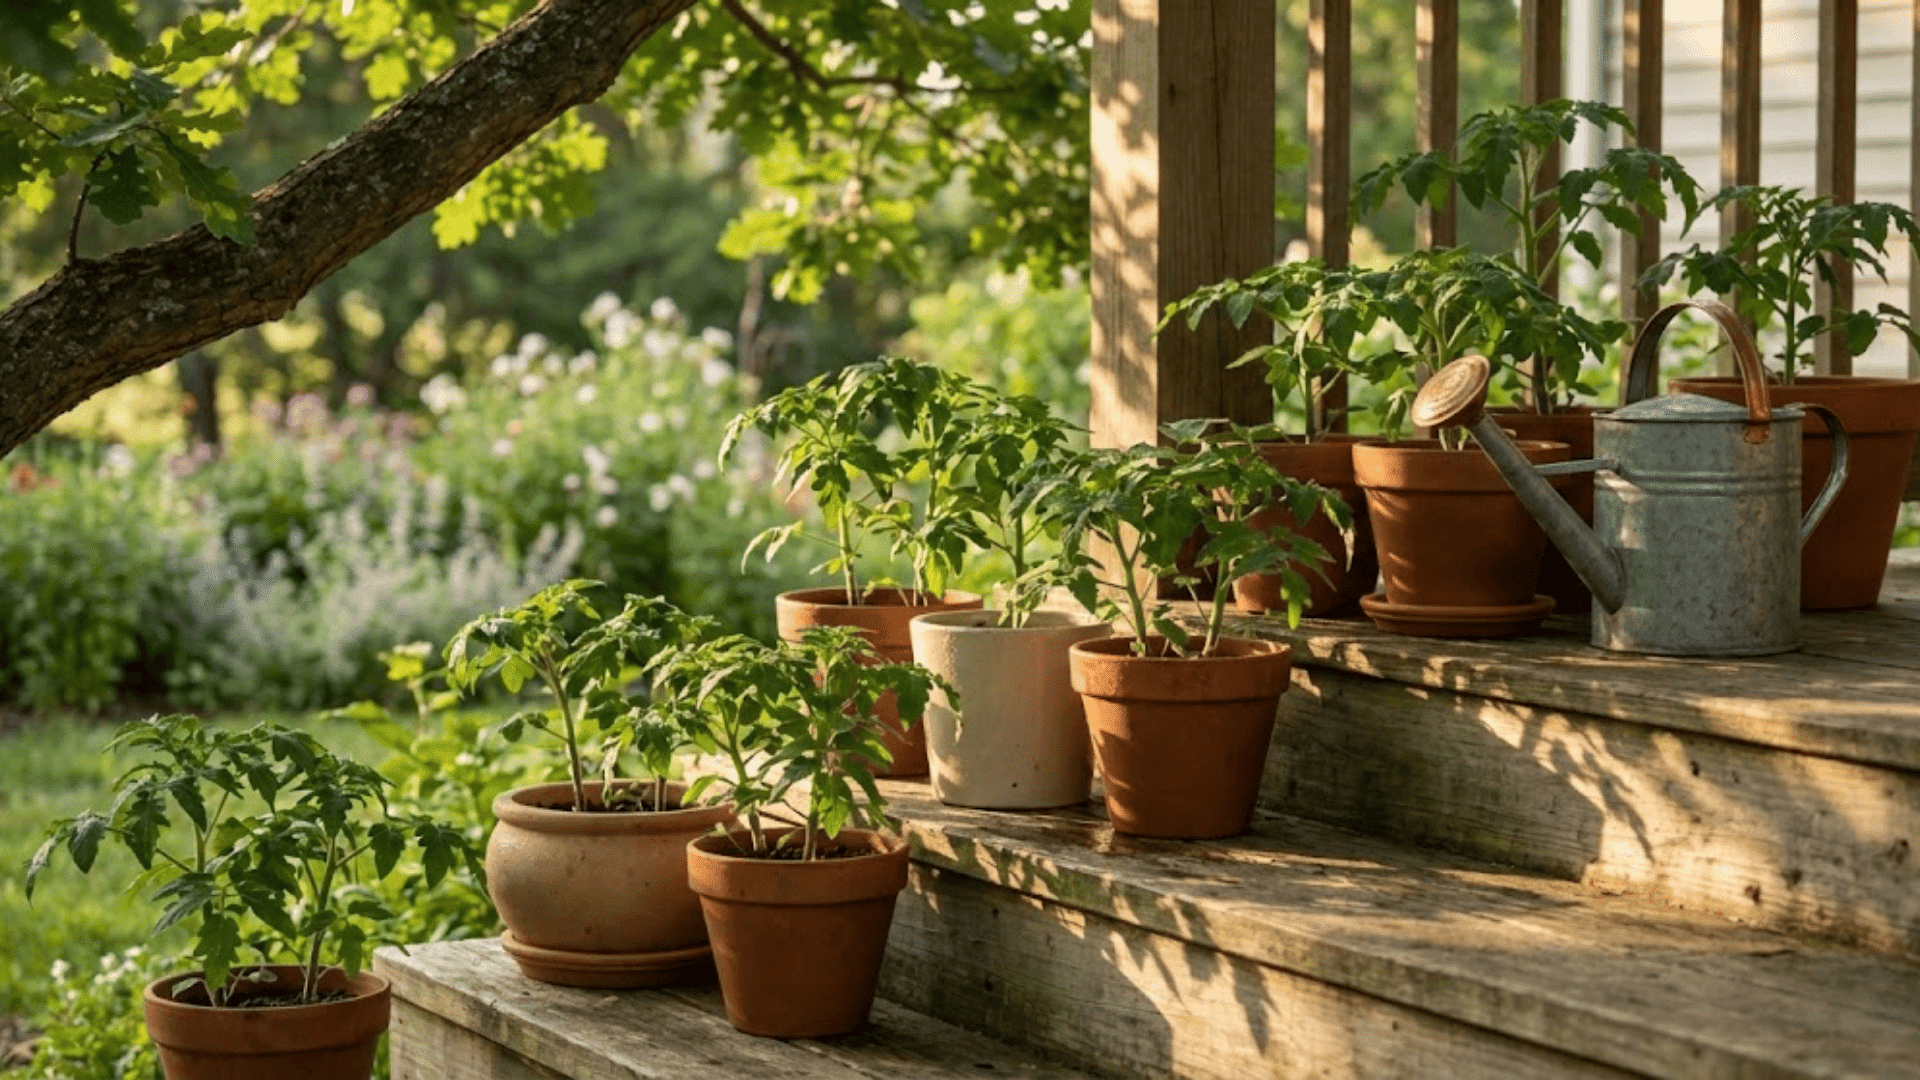
You’ll also need to pollinate them yourself with a gentle flower shake, and they require roomy pots to grow well. Indoor plants stay smaller than outdoor ones, so stick with cherry or dwarf types.
The yield won’t match a garden bed, but fresh tomatoes in winter? Worth it.
Best Tomato Varieties for Indoor Growing
Choosing the right variety makes all the difference when growing indoors. Compact plants adapt better to container life and limited space, giving you healthier growth and better harvests.
Determinate Varieties: Ideal for Containers
These compact tomatoes grow to a set height, making them natural container champions. They produce fruit in one concentrated period and stay manageable under grow lights.
- Tiny Tim: Stays under a foot tall with sweet cherry tomatoes
- Patio: Reaches about two feet and handles containers beautifully
- Red Robin: Space saver with reliable yields
- Roma-type Dwarfs: Meatier fruit without sprawling vines
Pros: Minimal staking needed, fits easily under lights, perfect for small spaces.
Cons: Shorter harvest window, all fruit ripens at once.
Small-Fruit Varieties that Perform Best Indoors
Cherry and grape tomatoes are indoor superstars because they mature quickly and need less energy than large slicers.
- Super Sweet 100: Abundant, sugary cherries
- Tumbling Tom: Cascades nicely from hanging baskets
- Golden Sweet: Sunny color with sweet flavor
- Grape Tomatoes: Slightly firmer texture than cherries
Pros: Fast maturity, continuous production, forgiving with light.
Cons: Smaller individual fruits, may need frequent harvesting.
Why Determinate & Dwarf Varieties Outperform Indeterminate Inside?
Determinate and dwarf varieties simply work better inside. They require less pruning, so maintenance stays minimal.
They mature faster for quicker harvests. Most importantly, they stay within your grow light’s effective range instead of stretching beyond it.
Indeterminate vines can reach 6 feet or more, creating weak, leggy growth that struggles indoors.
When to Start Tomatoes Indoors?
Timing your seeds right makes everything easier down the line. Your schedule depends on your goals: keeping tomatoes indoors all year or eventually moving them outside.
- Start seeds anytime for year-round indoor growing, and stagger new plantings every 6 to 8 weeks to keep fresh tomatoes coming.
- Begin seeds 6 to 8 weeks before your last frost date if planning an outdoor transplant.
- Seedlings are ready to pot up when you see 2 to 3 true leaves beyond the initial, rounded seed leaves.
- Healthy roots should peek through drainage holes without circling the pot too much.
- Compact, sturdy stems mean your plants are strong enough for the next stage.
Indoor growing gives you flexibility that outdoor gardens never could. No racing against frost or waiting for soil to warm. Your seedlings will show you when they’re ready to move forward.
Supplies You Need to Grow Tomatoes Indoors
Getting your supplies right from the start saves you headaches later. Here’s everything you need to set up a thriving indoor tomato garden.
| Supply | What You Need |
|---|---|
| Containers | 3 to 5 gallon pots minimum for proper root growth |
| Soil | High-quality potting mix, never garden soil |
| Fertilizer | Balanced fertilizer plus tomato-specific bloom booster |
| Grow Lights | Full-spectrum LED, 40 to 60W per plant |
| Watering Tools | Self-watering containers or drip trays |
| Support Structures | Stakes, mini trellis, or tomato cages |
| Fan (optional) | Small oscillating fan for airflow and stem strength |
| Humidity Monitor (optional) | Digital hygrometer to track moisture levels |
| Timer (optional) | Automatic timer for a consistent light schedule |
You don’t need everything at once. Start with the essentials and add optional items as you learn what works best in your space.
Step-by-Step: How to Start Tomatoes Indoors From Seeds?
Starting tomatoes from seed indoors is simpler than it looks. Follow these steps to grow strong, healthy seedlings ready for bigger pots or outdoor transplanting.
Step 1: Prepare Seed Trays and Plant Seeds
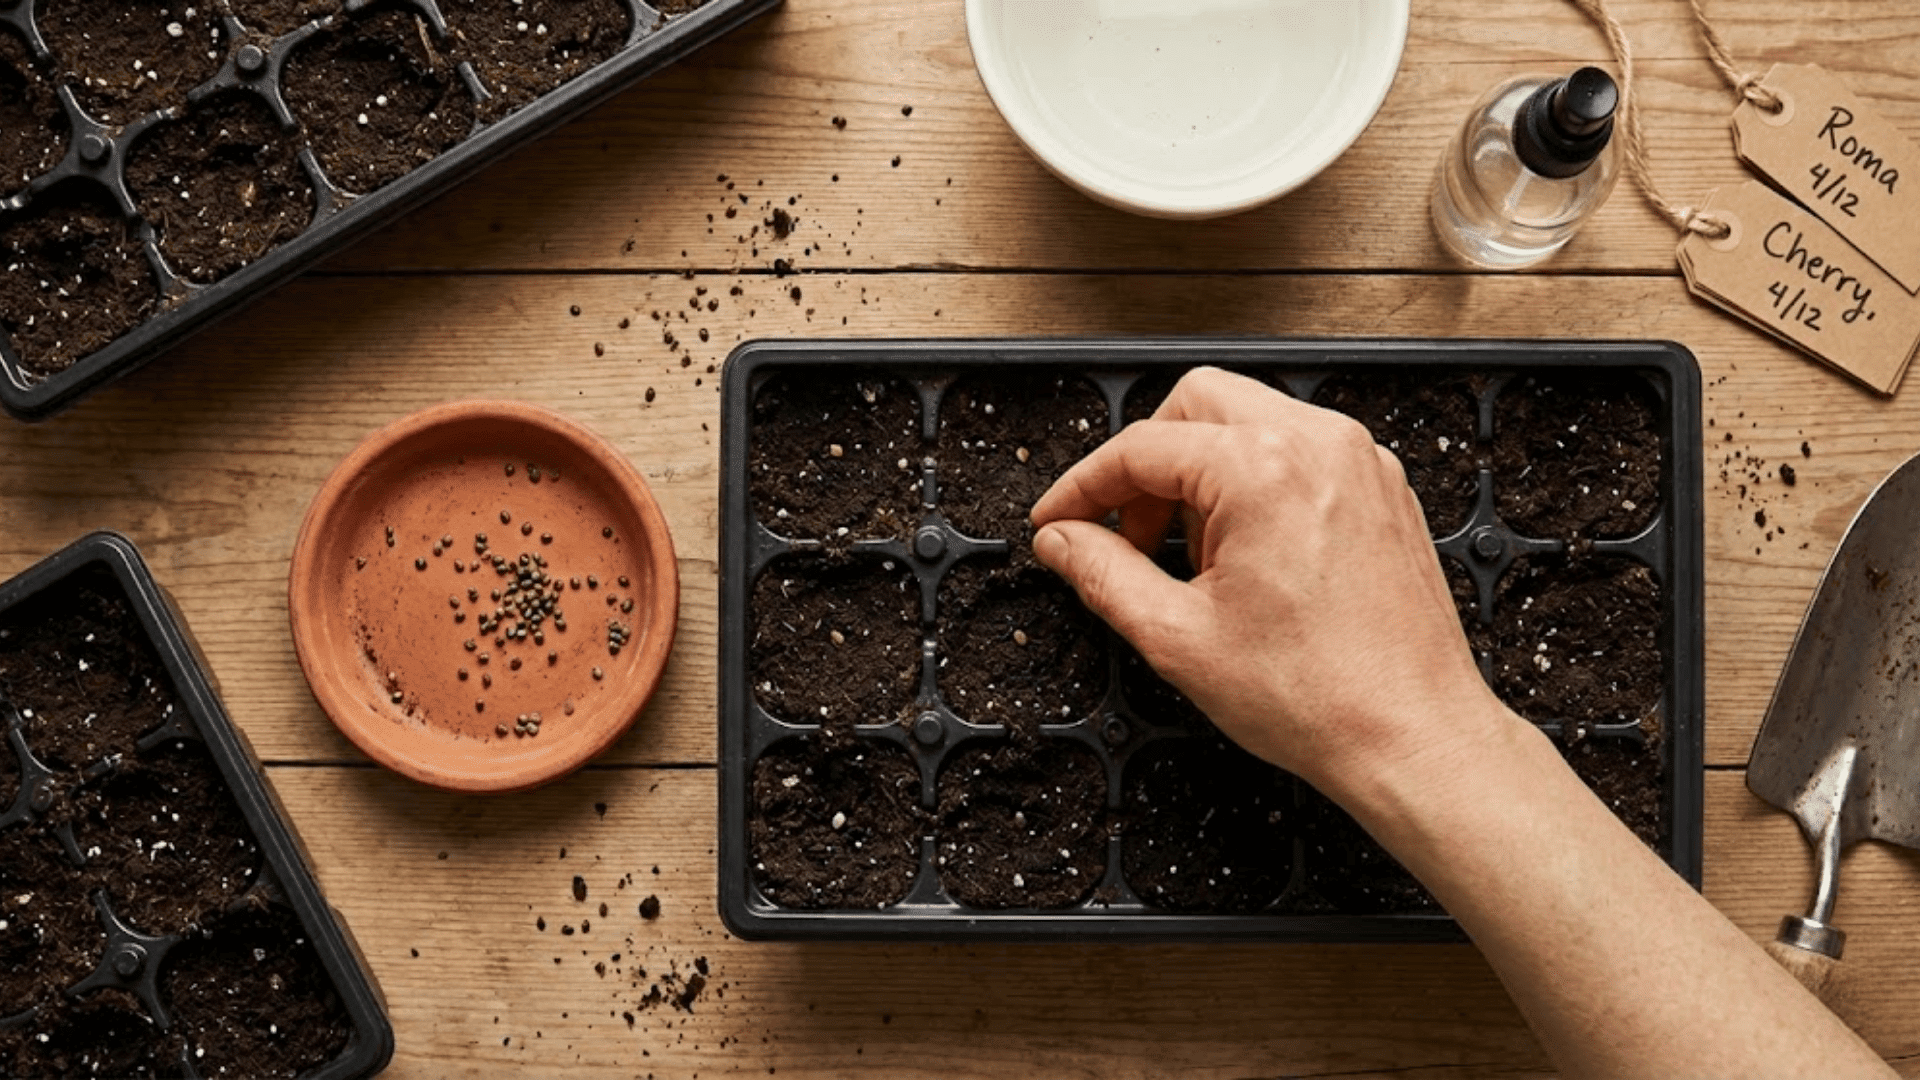
Use a sterilized seed starting mix in containers with drainage holes. Plant seeds about a quarter inch deep and lightly moisten the soil.
A sterilized mix prevents disease while proper drainage keeps roots healthy. Label each container with the variety and date so you can track progress as your seedlings grow.
Step 2: Provide Warmth for Germination
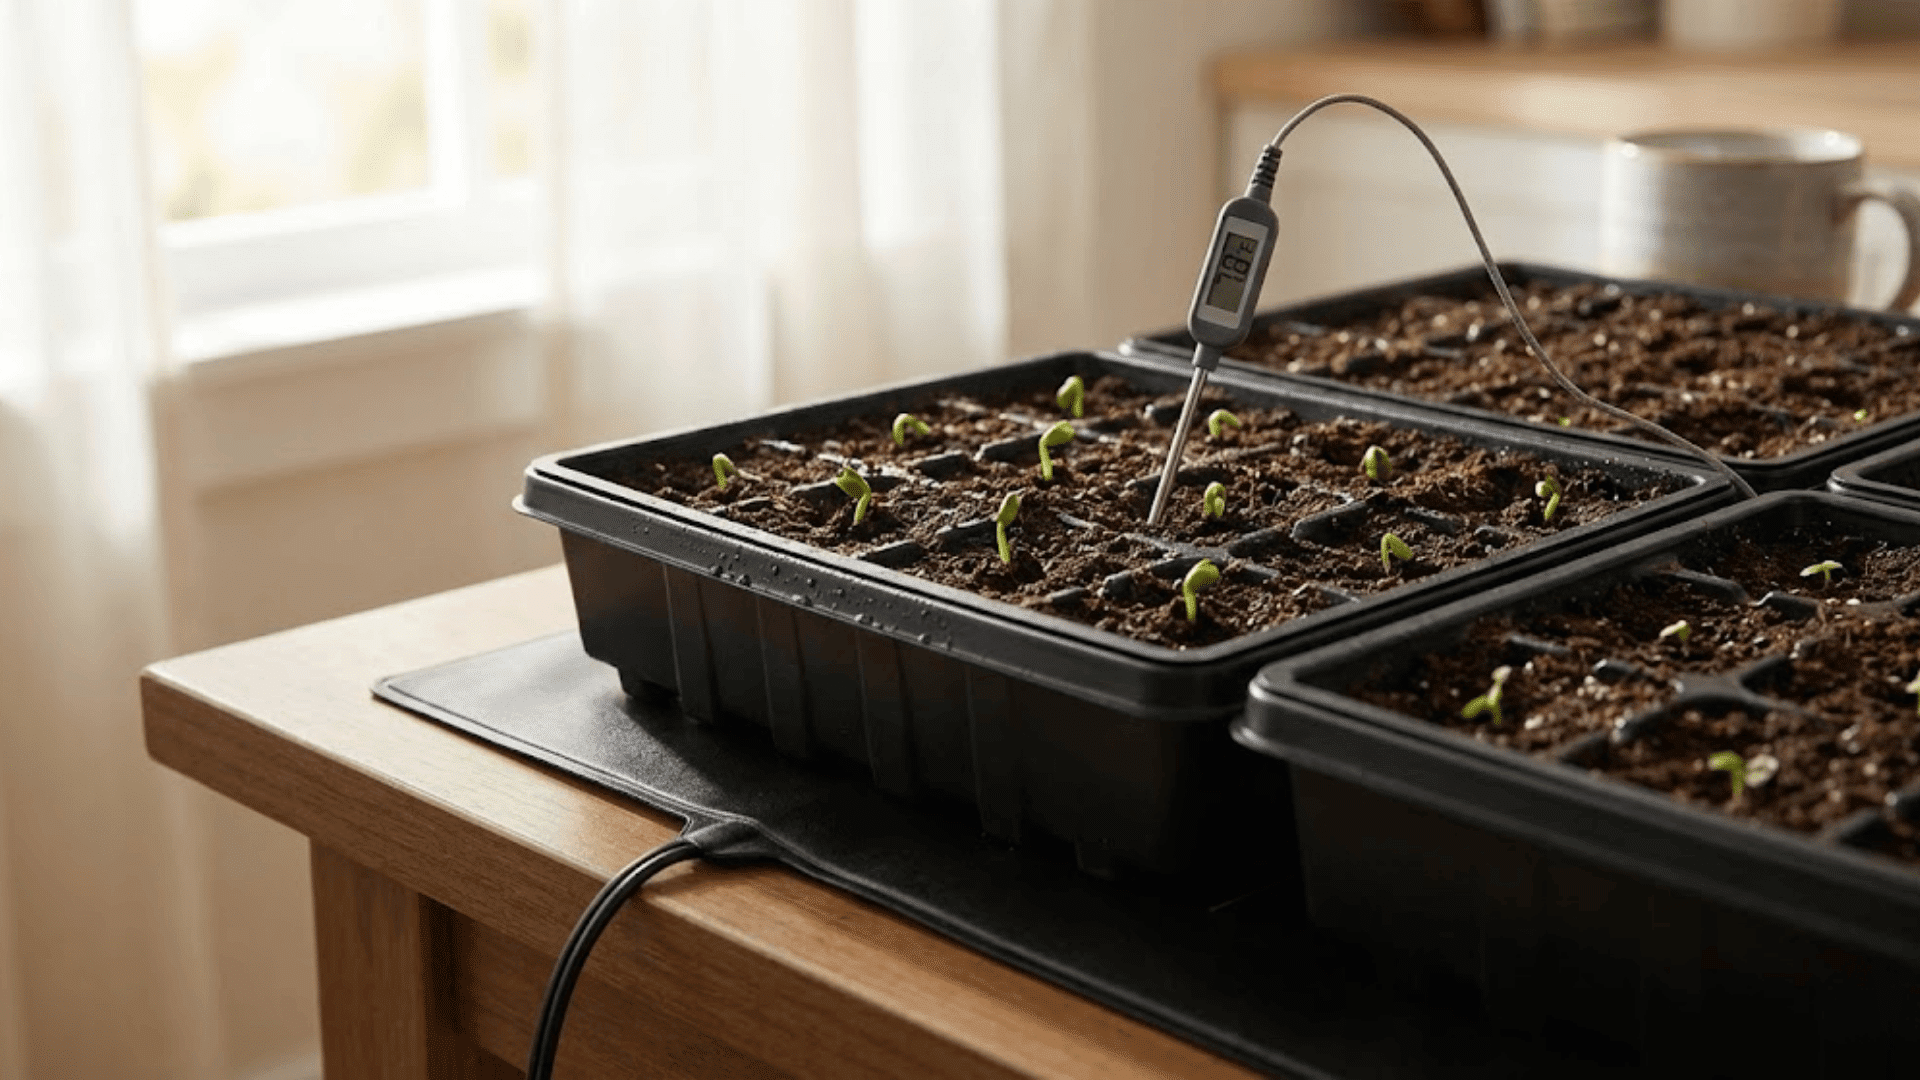
Seeds germinate best at 70 to 80 degrees Fahrenheit. If your room runs cool, use a heat mat under your trays to maintain consistent warmth.
Most tomato seeds will sprout within 5 to 10 days at the right temperature. Once you see green shoots, remove the heat mat and focus on light.
Step 3: Give Seedlings Proper Light and Air
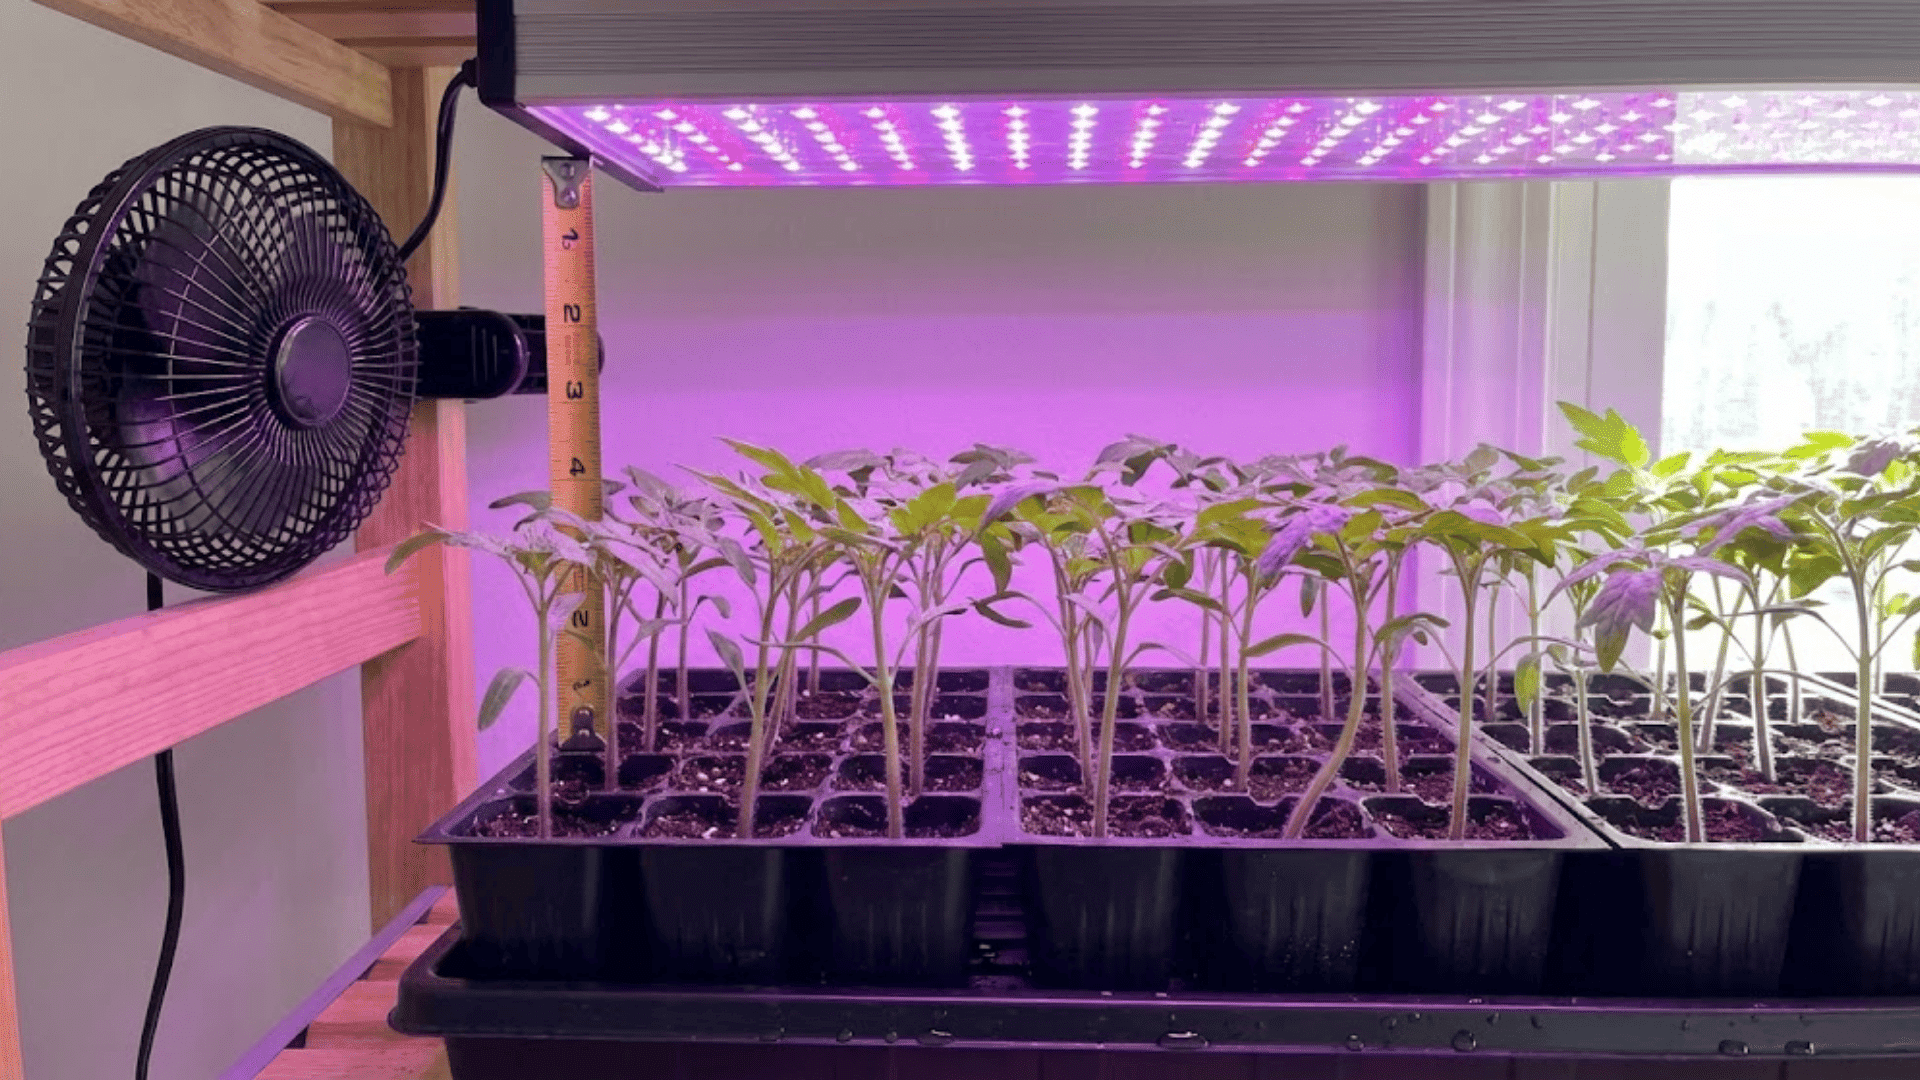
Position grow lights 2 to 4 inches above seedlings and run them for 14 to 16 hours daily. Close lighting prevents weak, leggy stems.
Add a small fan for gentle air circulation, which strengthens stems and prevents fungal issues. Water from the bottom to avoid damping off disease that kills young seedlings.
Step 4: Pot Up to Larger Containers
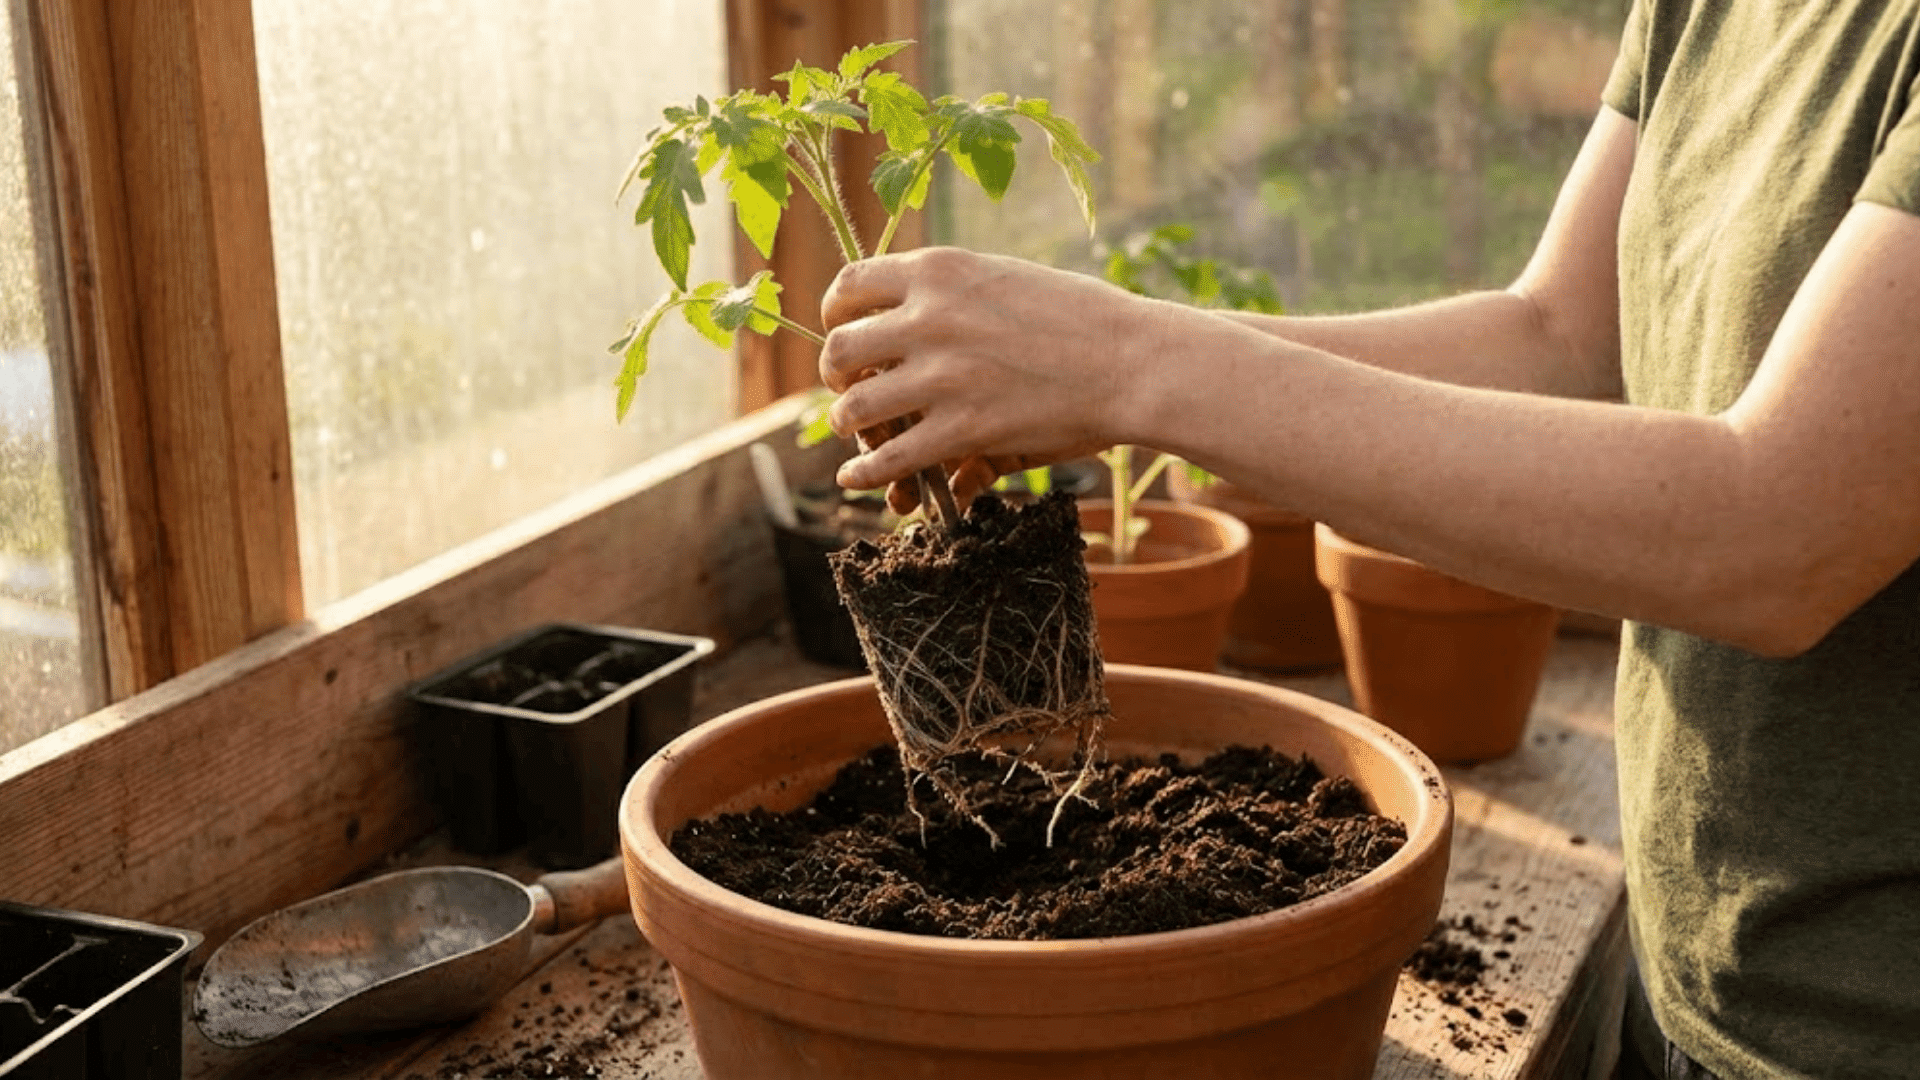
When seedlings develop 2 to 3 true leaves beyond the initial seed leaves, transplant them into larger containers.
Bury the stem deeper than it was growing before to encourage additional root development along the buried portion. This creates a stronger plant with better nutrient uptake.
Step 5: Harden Off and Prepare for Final Placement
Gradually acclimate seedlings to their final growing conditions over a week. Start with short periods of exposure to brighter light or outdoor sun, slowly increasing duration daily.
This hardening process prevents shock and leaf burn. Once toughened up, your tomatoes are ready for permanent pots or garden beds.
Seed-Start Timeline: Week 0 to Week 8
| Week | Stage | What’s Happening |
|---|---|---|
| Week 0 | Planting | Plant 2-3 seeds per cell, quarter inch deep |
| Week 1 | Germination | Seeds sprout within 5-10 days |
| Week 2-4 | Seedling Growth | Keep lights 1-2 inches above plants |
| Week 5 | Transplanting | Move seedlings to larger containers |
| Week 6 | Recovery | Plants establish roots in new pots indoors |
| Week 7 | Hardening Off | Gradually expose to outdoor conditions |
| Week 8 | Ready | Plants ready for outdoor transplant or continued indoor growth |
Creating the Perfect Indoor Environment for Tomatoes
Your indoor tomatoes need the right conditions to thrive and produce fruit. Here’s how to create an environment that mimics their ideal outdoor habitat.
- Light: Provide 8 to 12 hours of bright light daily using full-spectrum LED grow lights positioned 2 to 4 inches above plants
- Temperature: Maintain daytime temperatures between 70 and 80 degrees and nighttime temperatures between 65 and 70 degrees for optimal growth
- Humidity: Keep humidity levels between 40 and 60 percent to prevent fungal issues while supporting healthy plant development
- Air Circulation: Run a small fan to strengthen stems, reduce mold growth, and improve pollination success
- Consistency: Monitor conditions regularly and adjust as needed, since indoor environments can fluctuate with heating and cooling systems
Getting these elements right makes the difference between plants that struggle and plants that thrive. Your tomatoes will reward consistent conditions with stronger growth and better fruit production.
Watering & Feeding Indoor Tomato Plants
Watering and feeding indoor tomatoes takes a gentle touch and some attention to timing. Keep soil consistently moist but never soggy by checking the top inch with your finger.
When it feels dry, it’s time to water. Avoid splashing leaves since wet foliage invites fungal problems. Bottom watering works beautifully for keeping moisture even without the mess.
Once your seedlings hit 3 to 4 weeks old, they’re ready for their first feeding. Start with a balanced 10-10-10 fertilizer during the vegetative stage to build strong stems and healthy leaves.
When flowers start appearing, switch to a bloom formula with higher potassium to support fruit development. Feed every 10 to 14 days, and your plants will reward you with steady growth.
Pollinating Tomatoes Indoors
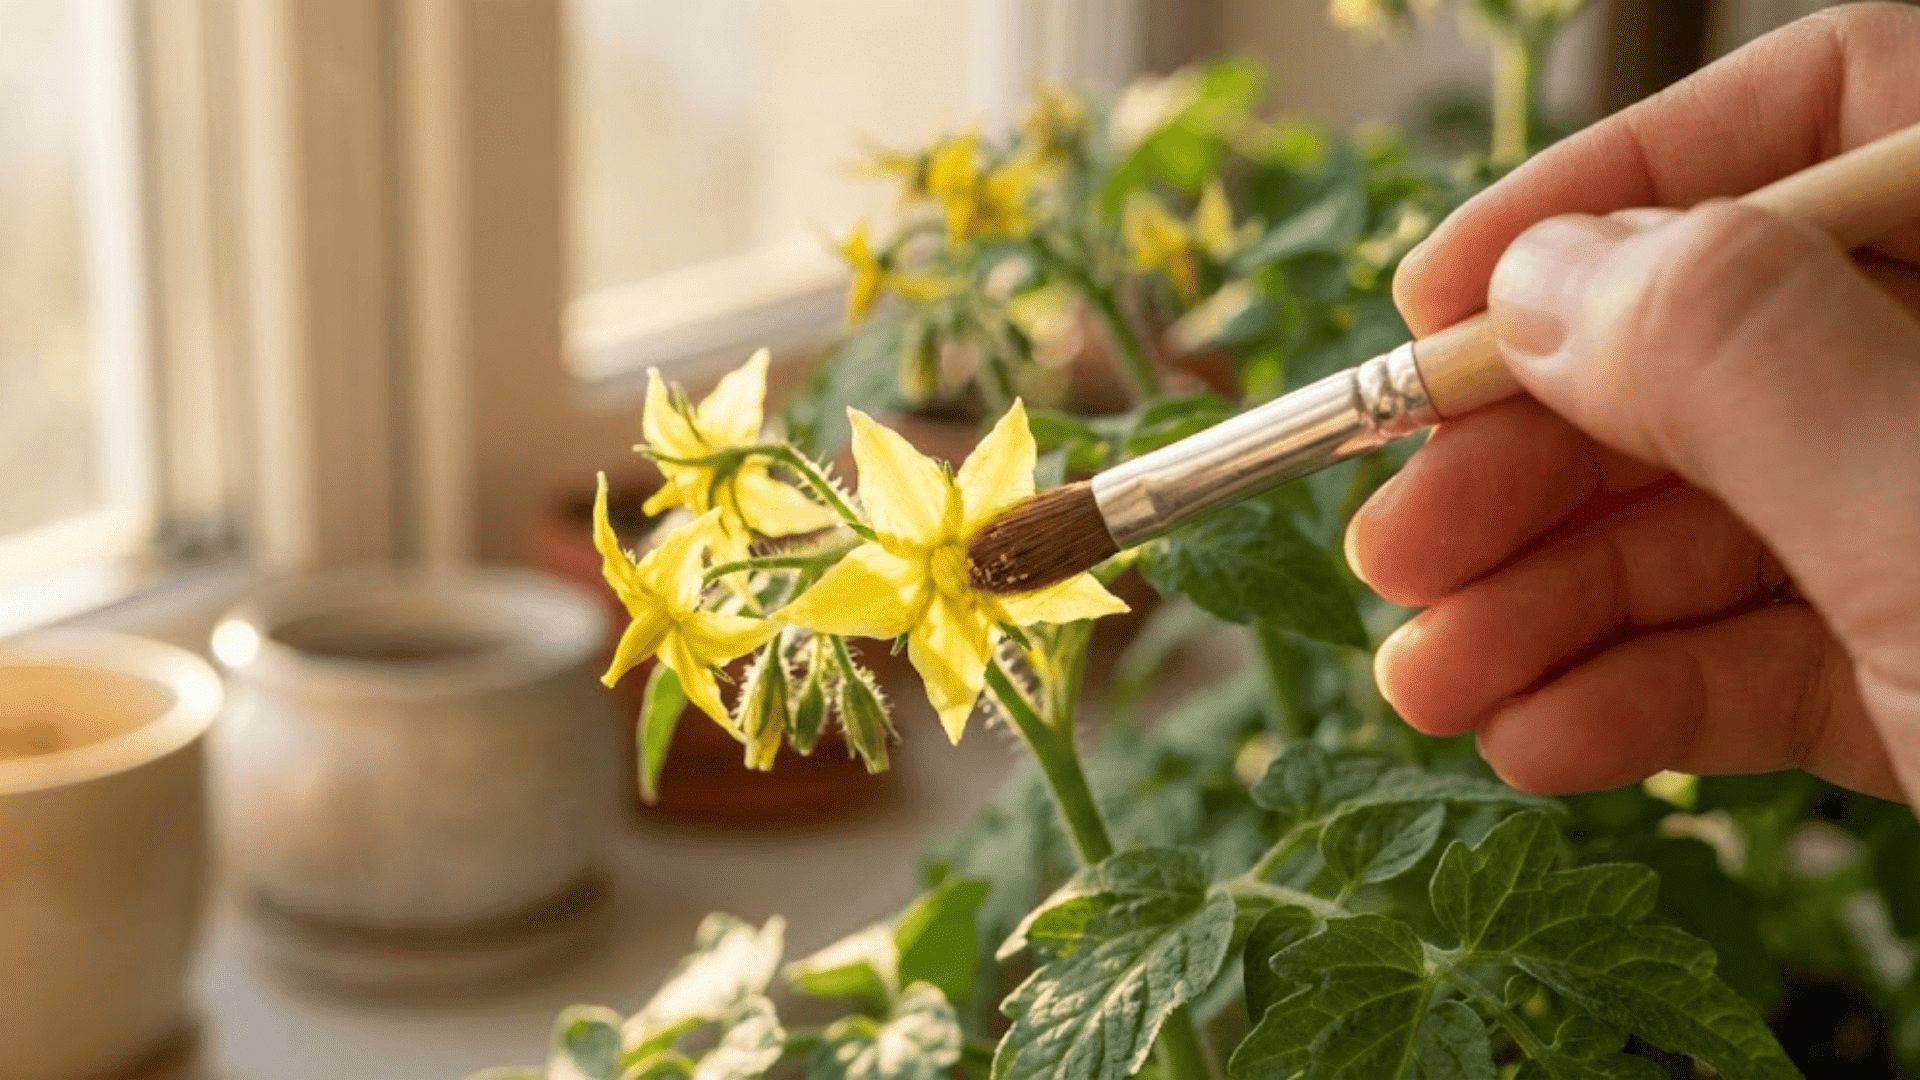
Tomatoes are self-pollinating, meaning each flower contains both male and female parts.
Outdoors, a breeze or a passing bee does the work without you thinking twice about it. Indoors, though, your plants are waiting for help that won’t come unless you step in.
- Gently tap or shake the main stem mid-morning when flowers are fully open, and pollen is driest and most ready to move.
- Use a clean electric toothbrush against the stem behind flower clusters for a few seconds of effective vibration pollination.
- Swirl a small, soft paintbrush inside each flower to manually transfer pollen, or position an oscillating fan nearby to mimic wind.
- Watch for flowers that bloom beautifully but turn yellow and drop off within days, a clear sign that pollination isn’t happening.
- Make pollination part of your morning routine since it takes less than a minute per plant and can mean the difference between loads of fruit and none at all.
Think of yourself as the helpful bumblebee your indoor garden is missing. A few quick taps or brushes while you’re checking on your plants can turn those pretty flowers into actual tomatoes.
Pruning, Training & Supporting Indoor Tomato Plants
Pruning keeps indoor tomatoes manageable and productive. For indeterminate varieties, pinch off suckers, the small shoots growing between the main stem and branches, to direct energy toward fruit instead of excess foliage.
This improves airflow and prevents your plant from taking over your space. Determinate and dwarf types don’t need sucker removal since they naturally stay compact and produce on a set schedule.
Support matters as much as pruning. Use stakes, strings, or mini cages to keep stems upright once fruit starts weighing them down.
Proper support prevents broken branches and keeps tomatoes off the soil where they could rot. Train stems gently as they grow rather than forcing them into position later.
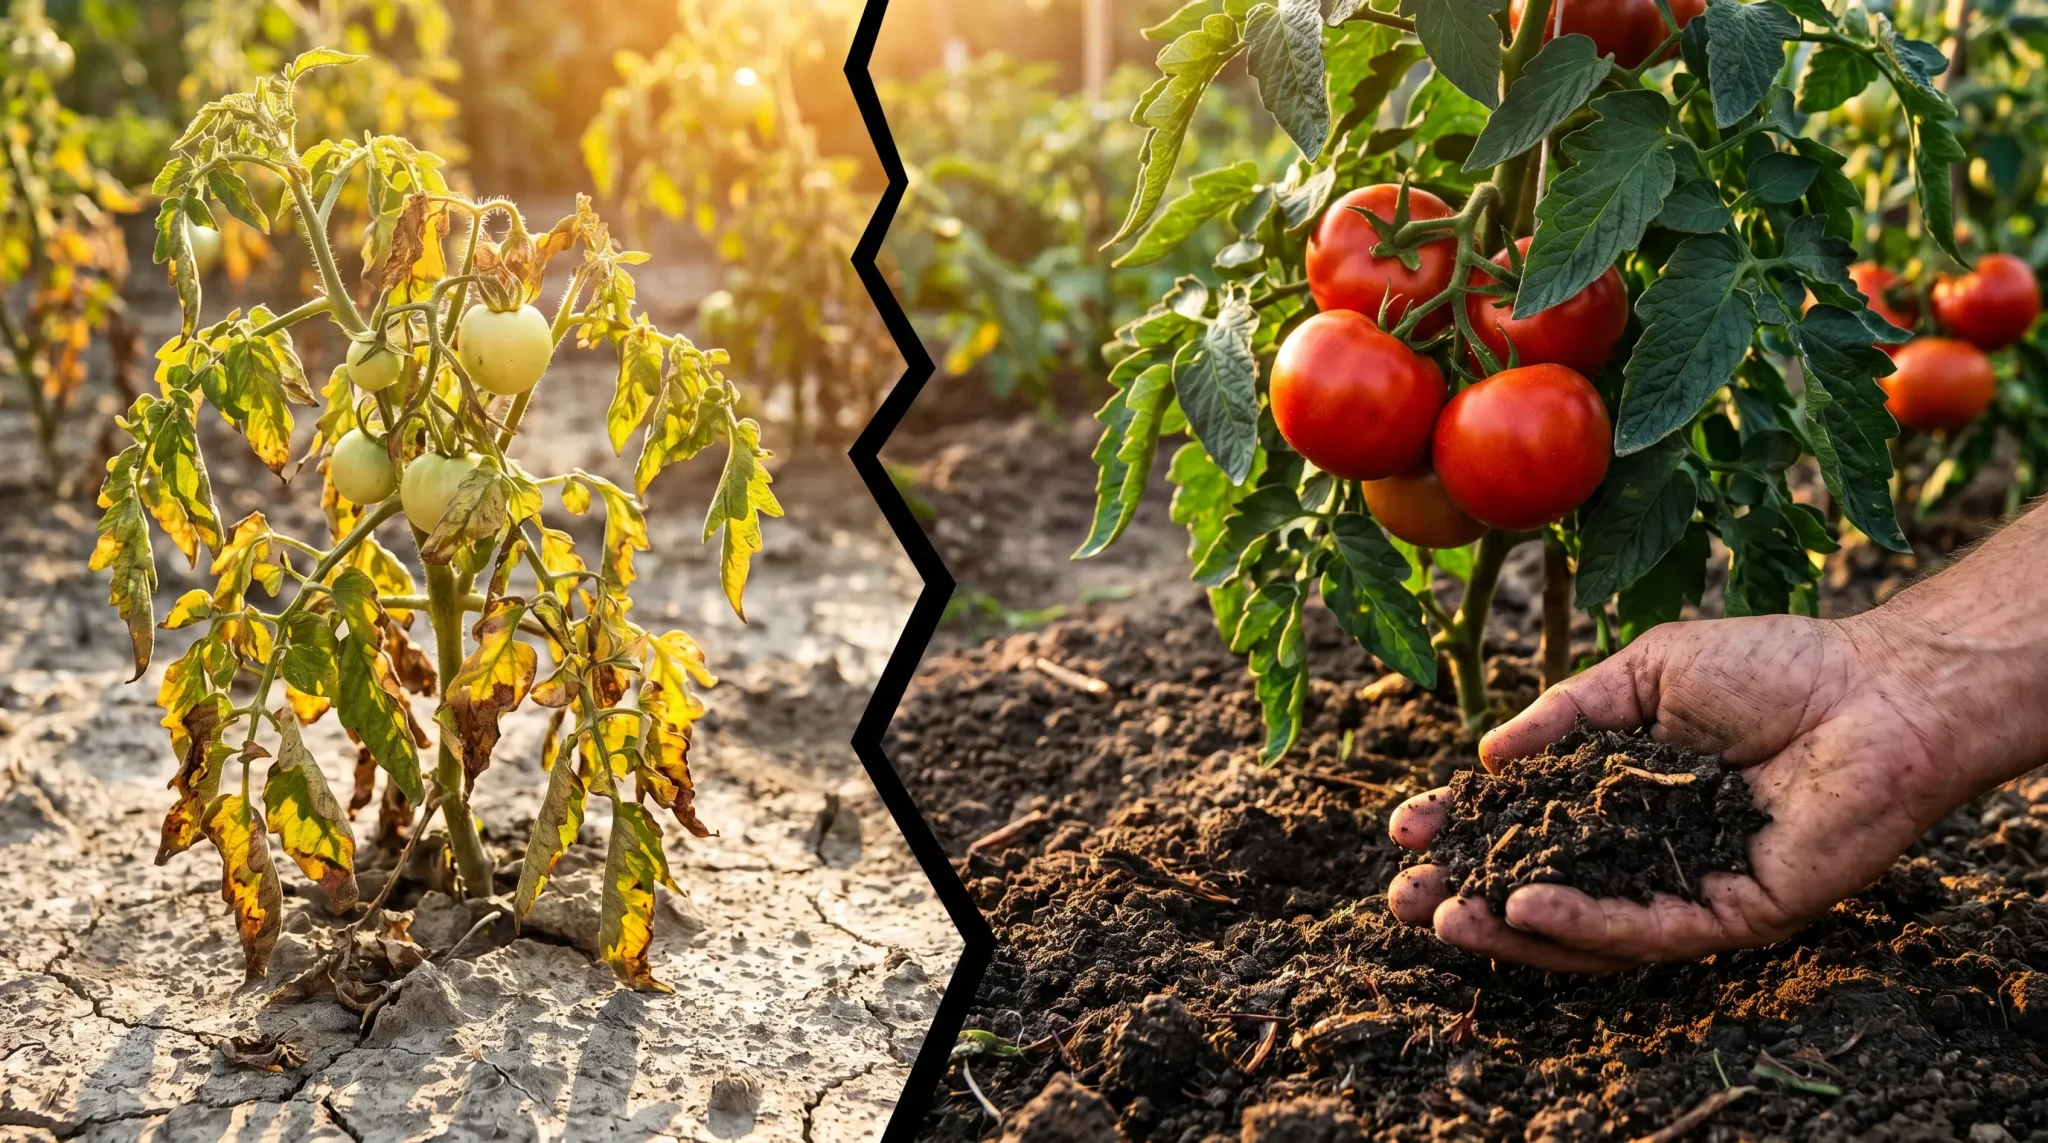
Common Indoor Tomato Problems & How to Fix Them
Even with careful attention, indoor tomatoes can run into issues. Catching problems early and knowing how to respond keeps your plants healthy and productive.
Problem #1: Insufficient light or overcrowding causes stems to stretch tall and weak
Fix: Lower your grow lights to 2 to 4 inches above plants and give each seedling adequate space. When transplanting, bury leggy stems deeper to encourage new root growth along the buried portion.
Problem #2: Overwatering, nutrient deficiencies, or poor drainage prevent healthy foliage
Fix: Check soil moisture before watering and ensure containers have proper drainage holes. Start a regular feeding schedule with balanced fertilizer if plants are established and the soil feels appropriate.
Problem #3: Poor pollination or insufficient light prevents fruit development
Fix: Hand pollinate by gently shaking plants or using a small brush on flowers. Increase light duration to 12 to 14 hours daily if blooms appear weak or sparse.
Problem #4: Fungus gnats, whiteflies, and aphids hitchhike on new plants or through windows
Fix: Use sticky traps near plants and spray affected areas with diluted neem oil. Always start with sterile soil to prevent fungus gnat larvae from establishing in the first place.
Problem #5: High humidity and poor airflow create conditions for fungal growth
Fix: Prune overcrowded foliage to improve air circulation and add a small fan if you don’t have one already. Space plants farther apart and reduce humidity levels in the growing area.
Harvesting Tomatoes Indoors

Harvest tomatoes when they show full color, smooth skin, and give slightly to gentle pressure. You can pick them slightly early and let them ripen on your counter, though vine-ripened fruit tastes best if you have the patience.
Indoor tomato plants produce for different lengths depending on the variety. Determinate types give you one concentrated harvest over a few weeks, while indeterminate varieties can keep fruiting for months with proper care.
Cherry tomatoes typically yield more abundantly indoors than larger varieties, often producing dozens of fruits per plant.
Expect smaller overall harvests than outdoor gardens, but the convenience and year-round growing potential make up for lower volume.
Advanced Indoor Tomato Growing: Supplemental Ideas
Once you’ve mastered basic indoor tomato growing, these advanced techniques can take your harvests to the next level. Each method offers unique advantages for serious growers.
| Method | Benefits | Best For |
|---|---|---|
| Hydroponic Systems | Faster growth, higher yields, virtually no soil pests | Growers wanting maximum production and control |
| Grow Tents | Complete environmental control, ideal light containment | Winter growing or apartment setups with limited space |
| LED Strip Lighting | Illuminates lower foliage, increases overall yield | Supplementing overhead lights for fuller plants |
I started experimenting with a small grow tent last winter, and the difference was remarkable.
The contained environment kept temperatures stable even when my house felt drafty, and my plants produced twice as many tomatoes as the ones sitting on my windowsill.
When to Restart Plants?
Determinate tomatoes produce one concentrated harvest and then slow down significantly, which means planning ahead keeps your supply steady.
For continuous production, start new seeds every 8 to 10 weeks so fresh plants are ready as older ones finish fruiting. Cherry tomatoes work beautifully on this schedule since they mature faster than larger varieties.
By the time your current plants wind down around week 10 or 12, your next batch is already producing.
Indeterminate varieties can keep going for months, but even they benefit from fresh starts once growth becomes leggy or yields drop.
Think of it as crop rotation for your indoor garden, keeping things productive year-round.
That’s a Wrap
Growing tomatoes indoors has completely changed how I think about fresh produce. No more waiting for summer or settling for bland grocery store tomatoes when I can harvest ripe, flavorful fruit right from my kitchen.
The setup takes some initial effort, but once you understand what these plants need, the process becomes second nature.
Start small with a cherry variety, get your lighting right, and watch what happens.
I’d love to hear how indoor tomato growing is working out for you. Drop a comment below and share which variety you’re trying first or any questions you have along the way.