There’s a quiet satisfaction that comes with growing your own Brussels sprouts, watching those tiny green rosettes spiral up sturdy stalks like miniature cabbages on parade.
Unlike most vegetables that sprawl across your garden bed, Brussels sprouts grow vertically, making them perfect for smaller spaces while still delivering an impressive harvest.
These cool-weather darlings might test your patience with their long growing season, but they reward you with sweet, nutty flavors that shift from bitter to absolutely sublime after the first frost kisses them.
You’ll learn how to choose the right varieties and time your planting perfectly, then nurture them through the season until you’re harvesting tight, flavorful sprouts that make every farmers market find pale in comparison.
Brussel Sprouts Basics
Brussels sprouts are members of the Brassica family, essentially miniature cabbages that form along a thick central stalk that can reach 2-3 feet tall.
The plant grows from the bottom up, but here’s what catches most gardeners off guard: the sprouts themselves develop in the leaf axils and mature from the bottom of the stalk upward.
Each plant produces dozens of sprouts over several weeks, which means you’re looking at a 90-180 day commitment depending on your variety.
That extended timeline isn’t a drawback, though. It simply gives the sprouts time to develop their signature texture and allows cold weather to work its sweetening magic on those compact little heads.
Best Climate & Growing Conditions for Brussels Sprouts
Brussels sprouts are happiest when the weather turns crisp and cool, thriving in conditions that would make tomatoes sulk.
Getting your climate right means sweeter, more tender sprouts.
- Cool-Season Champions: Brussels sprouts grow best at 45-75°F, with their sweet spot around 60-65°F for steady, compact growth.
- Frost is Your Friend: Light frosts actually improve flavor by converting starches to sugars, making sprouts noticeably sweeter and less bitter after temperatures dip below 32°F.
- Zone Flexibility: They thrive in USDA zones 3-10, though timing varies (northern gardeners plant in spring for fall harvest, while southern zones can grow them through winter).
- Heat Intolerance: High temperatures above 80°F cause loose, bitter sprouts and bolting, so plan your planting to avoid summer heat.
Understanding your USDA hardiness zone helps you time your planting perfectly. With the right cool-weather window, you’ll grow sprouts that actually taste like the vegetable was meant to be enjoyed.
When to Grow Brussels Sprouts?
Timing is crucial for Brussels sprouts, with fall harvests offering better flavor and texture. For fall crops, count backward from your first expected frost date using the variety’s days to maturity (usually 90-180 days), then add 2 weeks.
Spring planting works in northern climates where you can get them established before summer heat hits, but they often struggle with temperature swings.
Fall plantings benefit from gradually cooling temperatures that keep plants vigorous while sweetening the developing sprouts.
Start seeds indoors 4-6 weeks before your transplant date, or direct sow in midsummer for autumn harvests that coincide perfectly with those flavor-enhancing frosts.
Choosing the Right Brussels Sprouts Variety
Picking the right variety sets you up for success, especially since different types mature at different rates and handle various growing conditions better than others.
Here’s how popular varieties stack up:
| Variety | Days to Maturity | Best For | Key Features |
|---|---|---|---|
| Long Island Improved | 90-100 days | Beginners, heirloom lovers | Reliable producer, cold-hardy, classic flavor |
| Jade Cross | 90 days | Early harvests, disease resistance | Compact plants, uniform sprouts, beginner-friendly |
| Diablo | 110 days | Fall planting, consistent yields | Heat-tolerant, produces well in varying conditions |
| Nautic | 120 days | Late-season harvests | Exceptionally sweet after frost, tall stalks |
| Rubine | 105 days | Unique color, ornamental appeal | Purple-red sprouts, beautiful in the garden and on the plate |
| Churchill | 90 days | Small spaces, containers | Dwarf variety, stays compact, good sprout density |
Early varieties get you harvesting sooner, while late-maturing types develop deeper sweetness during cold weather.
Starting Brussels Sprouts Seeds
Getting Brussels sprouts off to a strong start means choosing between indoor seed starting for earlier harvests or direct sowing when timing allows.
Both methods work, but indoor starts give you more control over those crucial early weeks.
Starting Seeds Indoors
Start seeds indoors 6-8 weeks before your last spring frost (for spring planting) or in mid to late summer (for fall crops). Use containers at least 2-3 inches deep filled with a quality seed-starting mix that drains well.
Seeds germinate best at 70-75°F, then seedlings need bright light (14-16 hours daily under grow lights) and cooler temperatures around 60-65°F once sprouted.
Transplant when seedlings have 3-4 true leaves and have hardened off for a week outdoors.
Direct Sowing Outdoors
Direct sowing works best for fall crops in midsummer when soil temperatures stay consistently above 50°F. Plant seeds ½ inch deep and thin to proper spacing once seedlings emerge.
While this method skips transplant shock and saves time, you’ll lose some control over germination conditions and timing.
Direct-sown plants also take longer to establish compared to sturdy transplants, which can be a drawback in regions with short growing seasons.
Soil Preparation for Growing Brussels Sprouts
Brussels sprouts demand nutrient-rich, well-draining soil to support those heavy stalks loaded with sprouts.
Aim for a pH between 6.0 and 7.5, with 6.5-7.0 ideal for optimal nutrient uptake. Before planting, work in 2-4 inches of aged compost or well-rotted manure to boost fertility and improve soil structure.
These plants need deep soil preparation, at least 12 inches down, since their root systems anchor those tall stalks against wind and support months of growth.
Heavy clay soils benefit from added organic matter to improve drainage, while sandy soils need compost to retain moisture and nutrients throughout the long growing season.
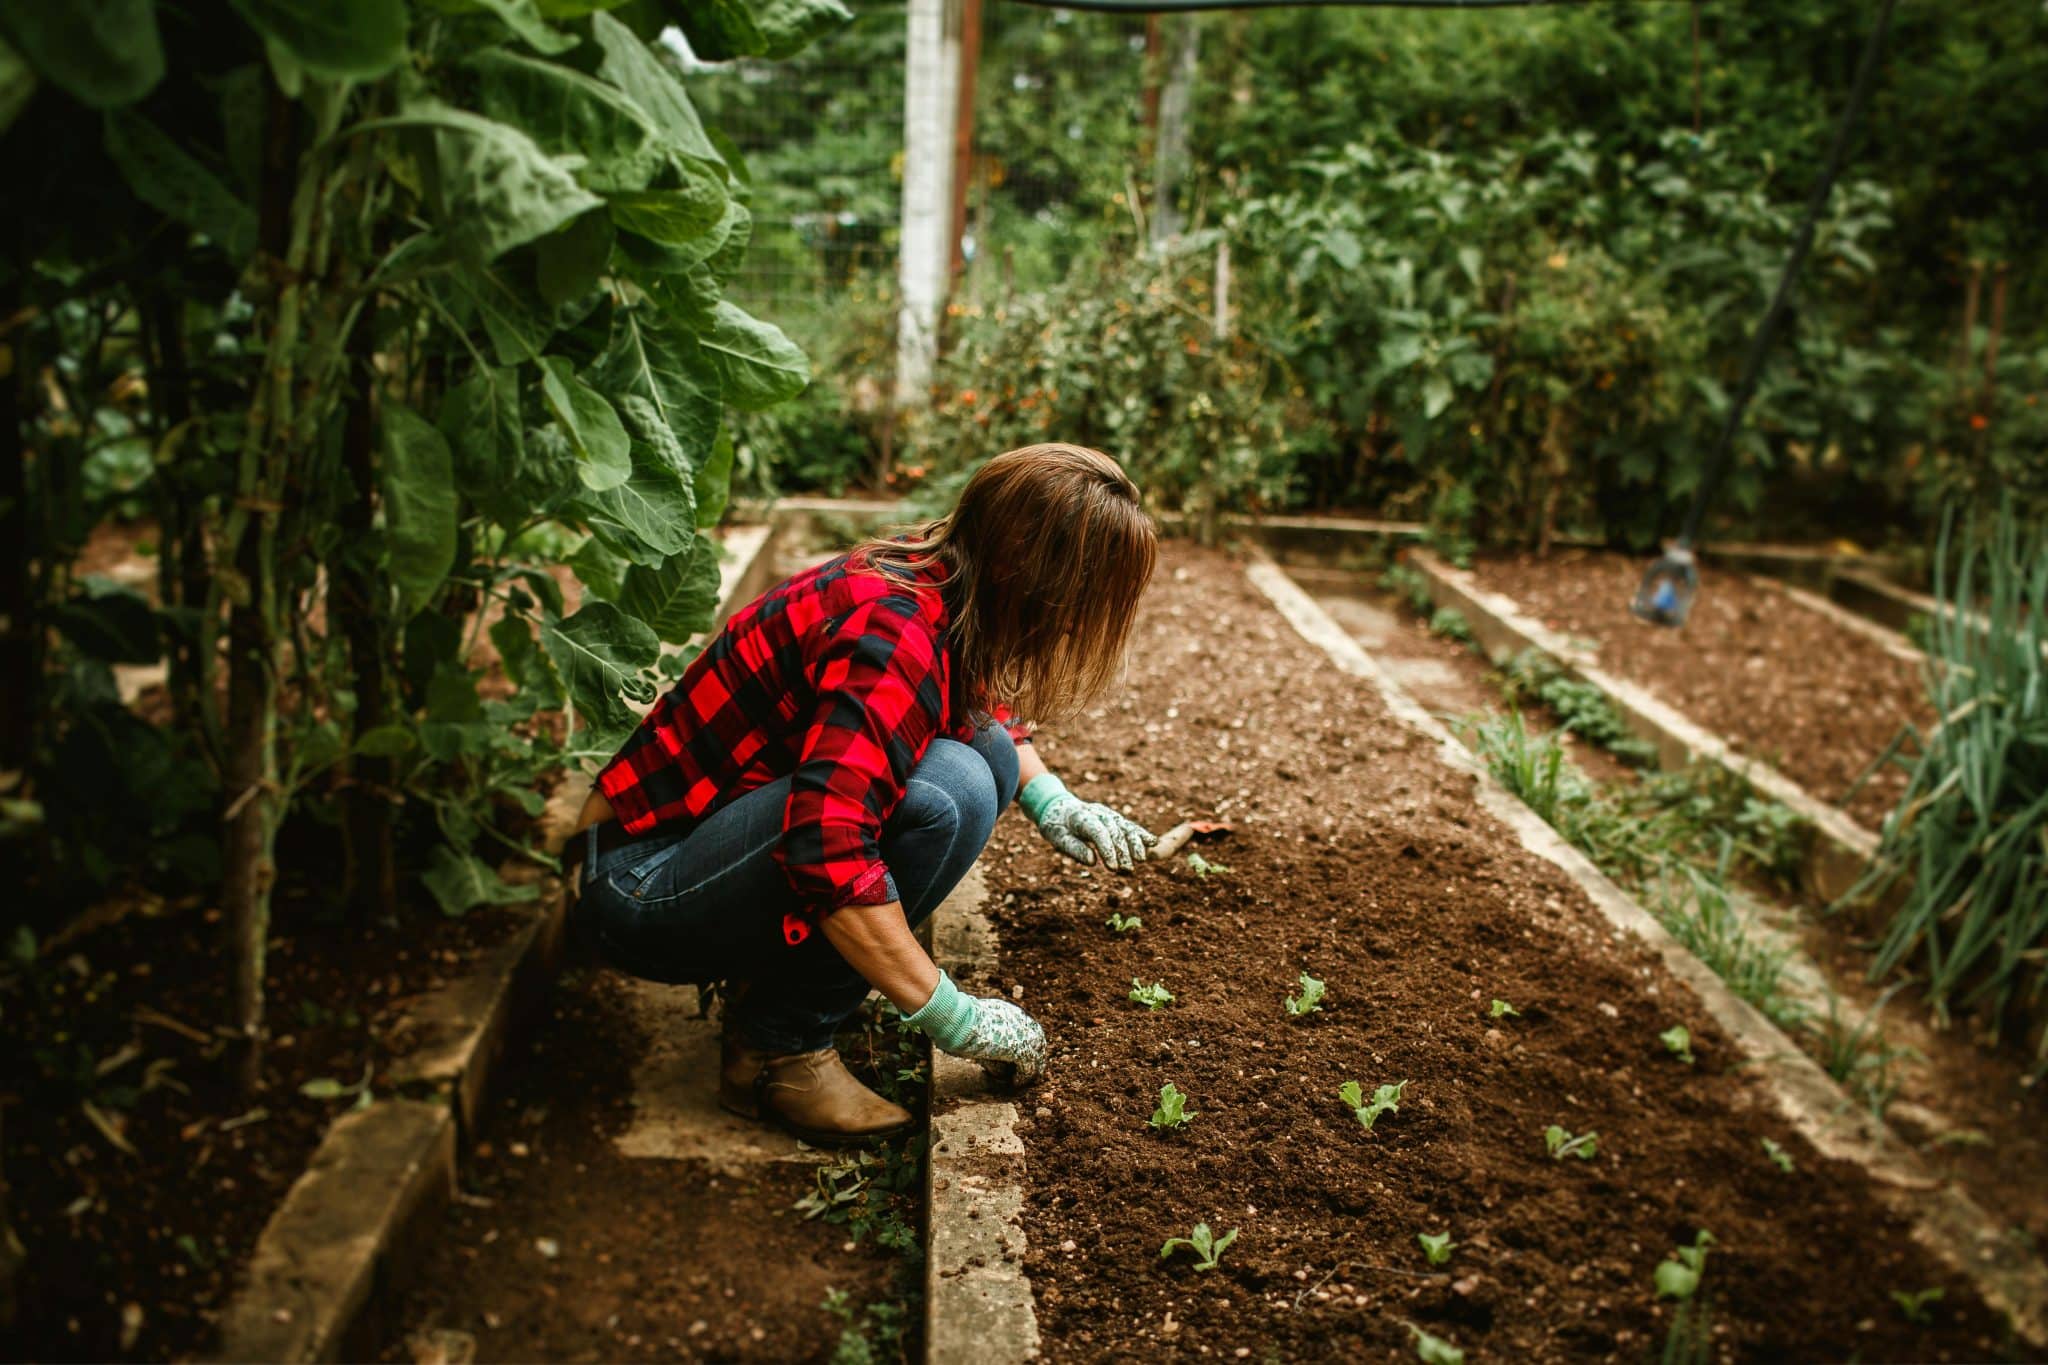
How to Plant Brussels Sprouts?
Proper planting technique gives your Brussels sprouts the foundation they need for those sturdy stalks and abundant harvests.
Following the right spacing and depth ensures each plant gets adequate nutrients and airflow.
Step 1: Space Plants Properly
Give each Brussels sprout plant 18-24 inches between plants and 30-36 inches between rows. This spacing prevents overcrowding, improves air circulation, and allows room for maintenance and harvesting.
Closer spacing creates competition for nutrients and increases humidity around leaves, inviting fungal problems that can ruin your crop.
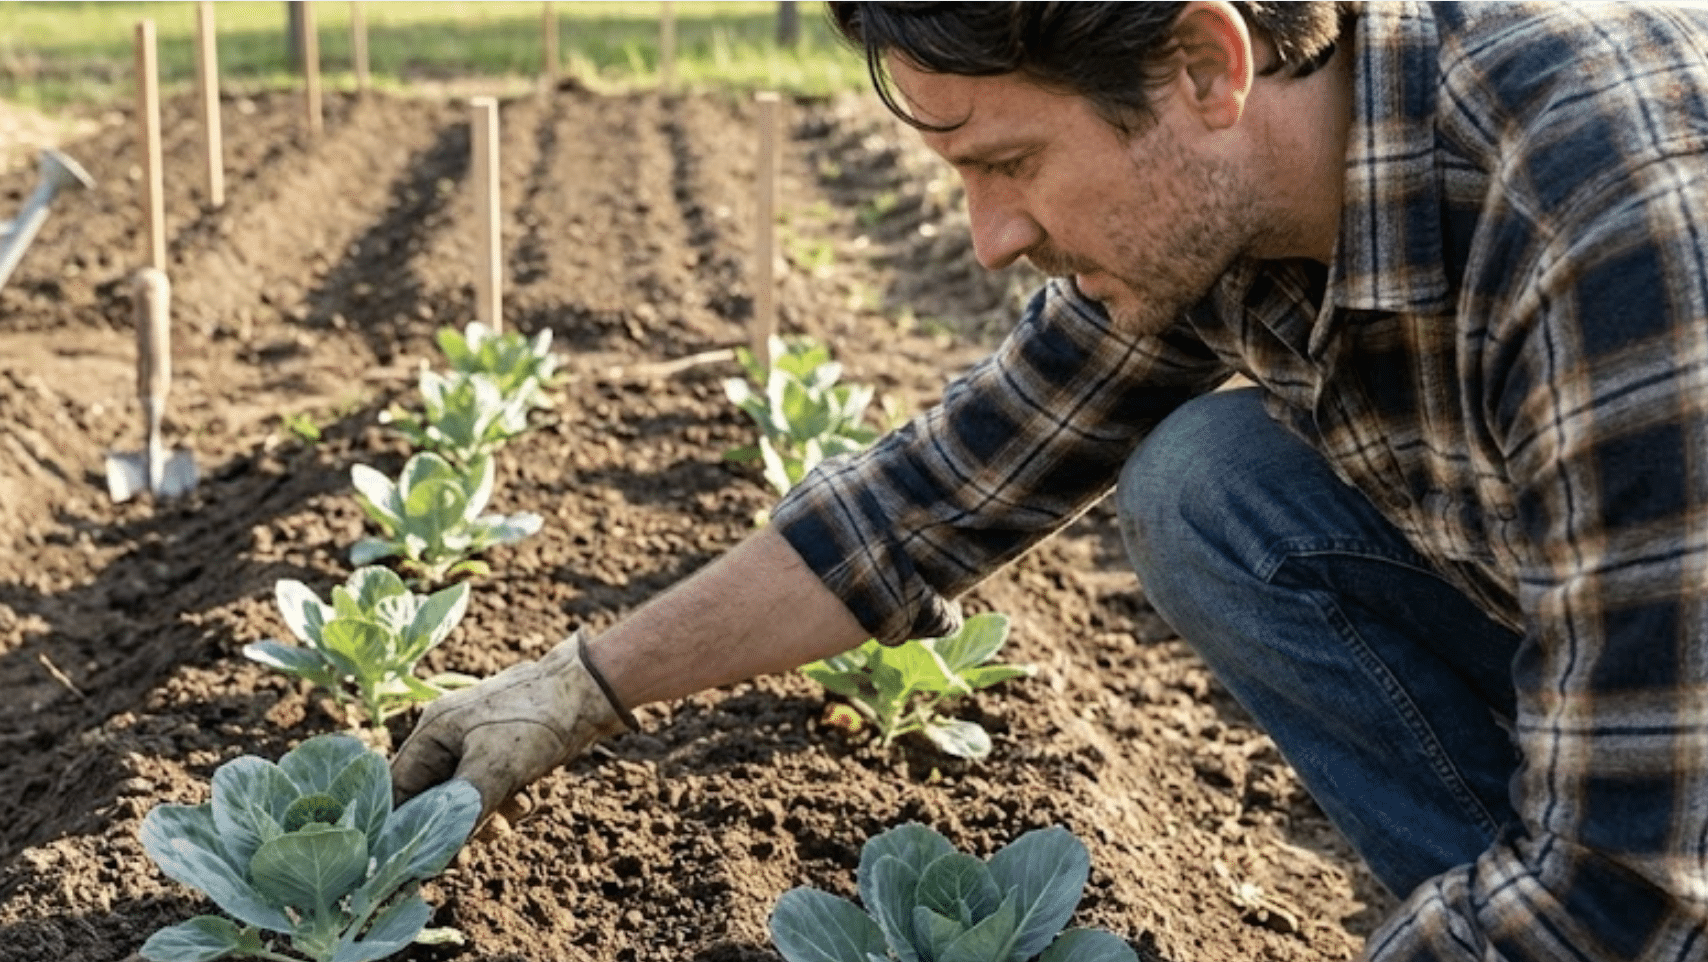
Step 2: Plant at the Right Depth
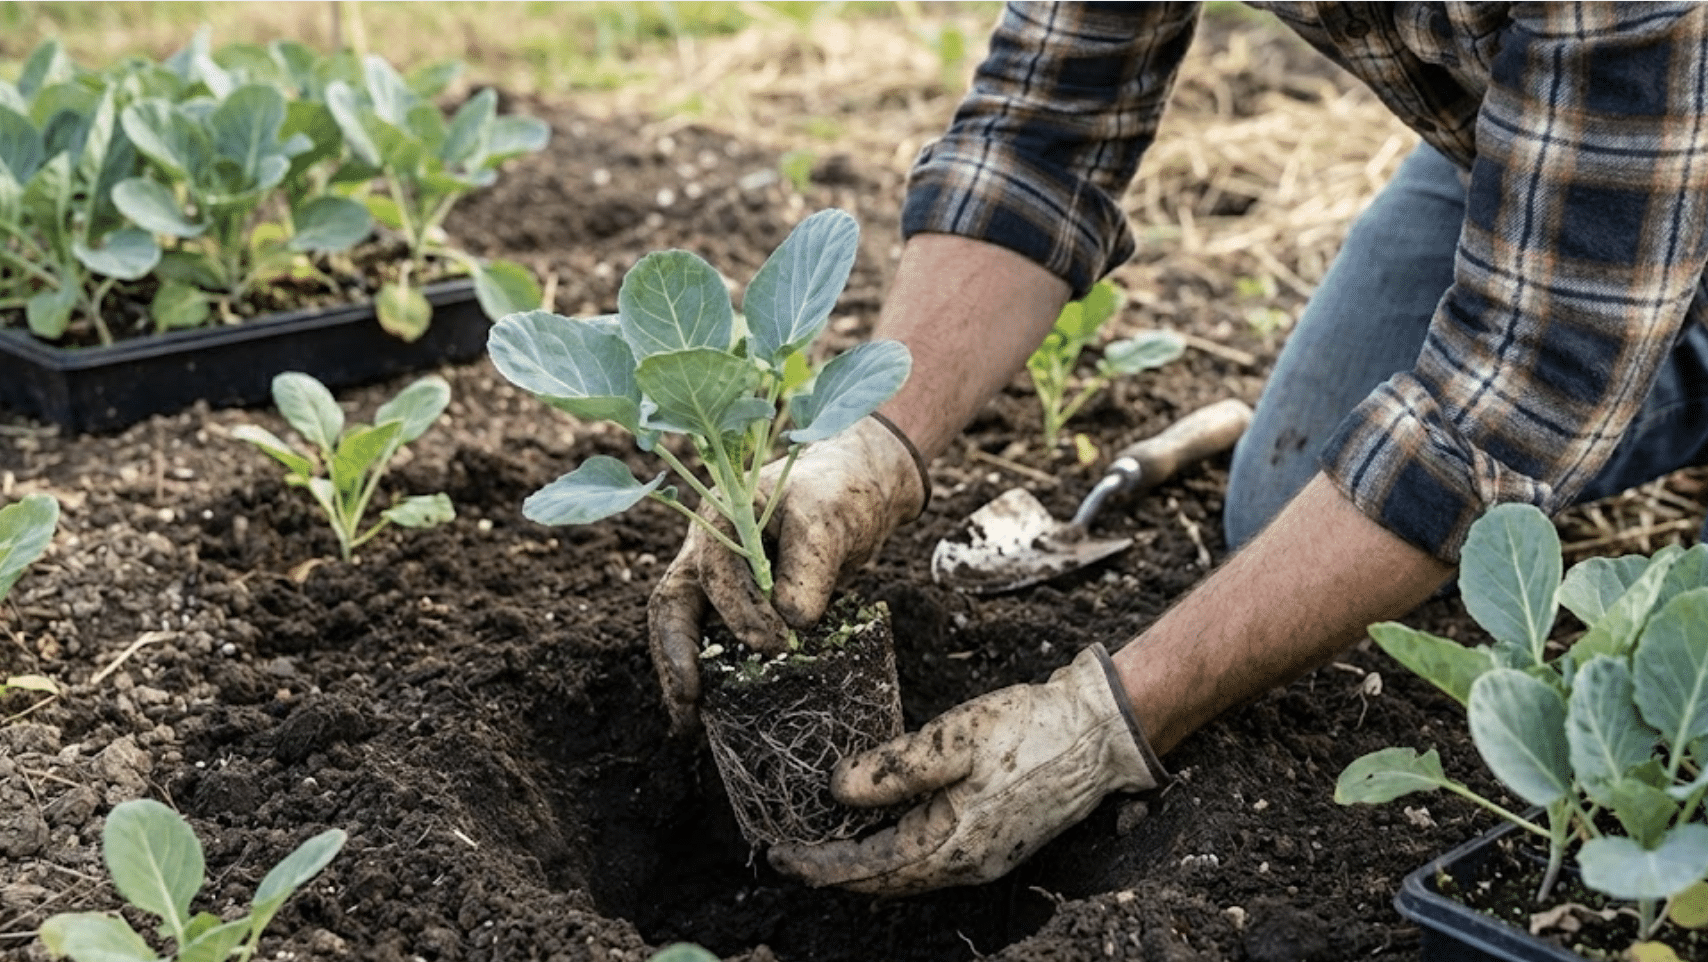
Dig holes slightly deeper than your seedling’s root ball, about 6-8 inches deep. Set transplants so the lowest leaves sit just above soil level, burying the stem up to the first set of true leaves if seedlings are leggy.
Firm soil gently around roots to eliminate air pockets, creating solid contact between roots and soil for better establishment.
Step 3: Water Immediately After Planting
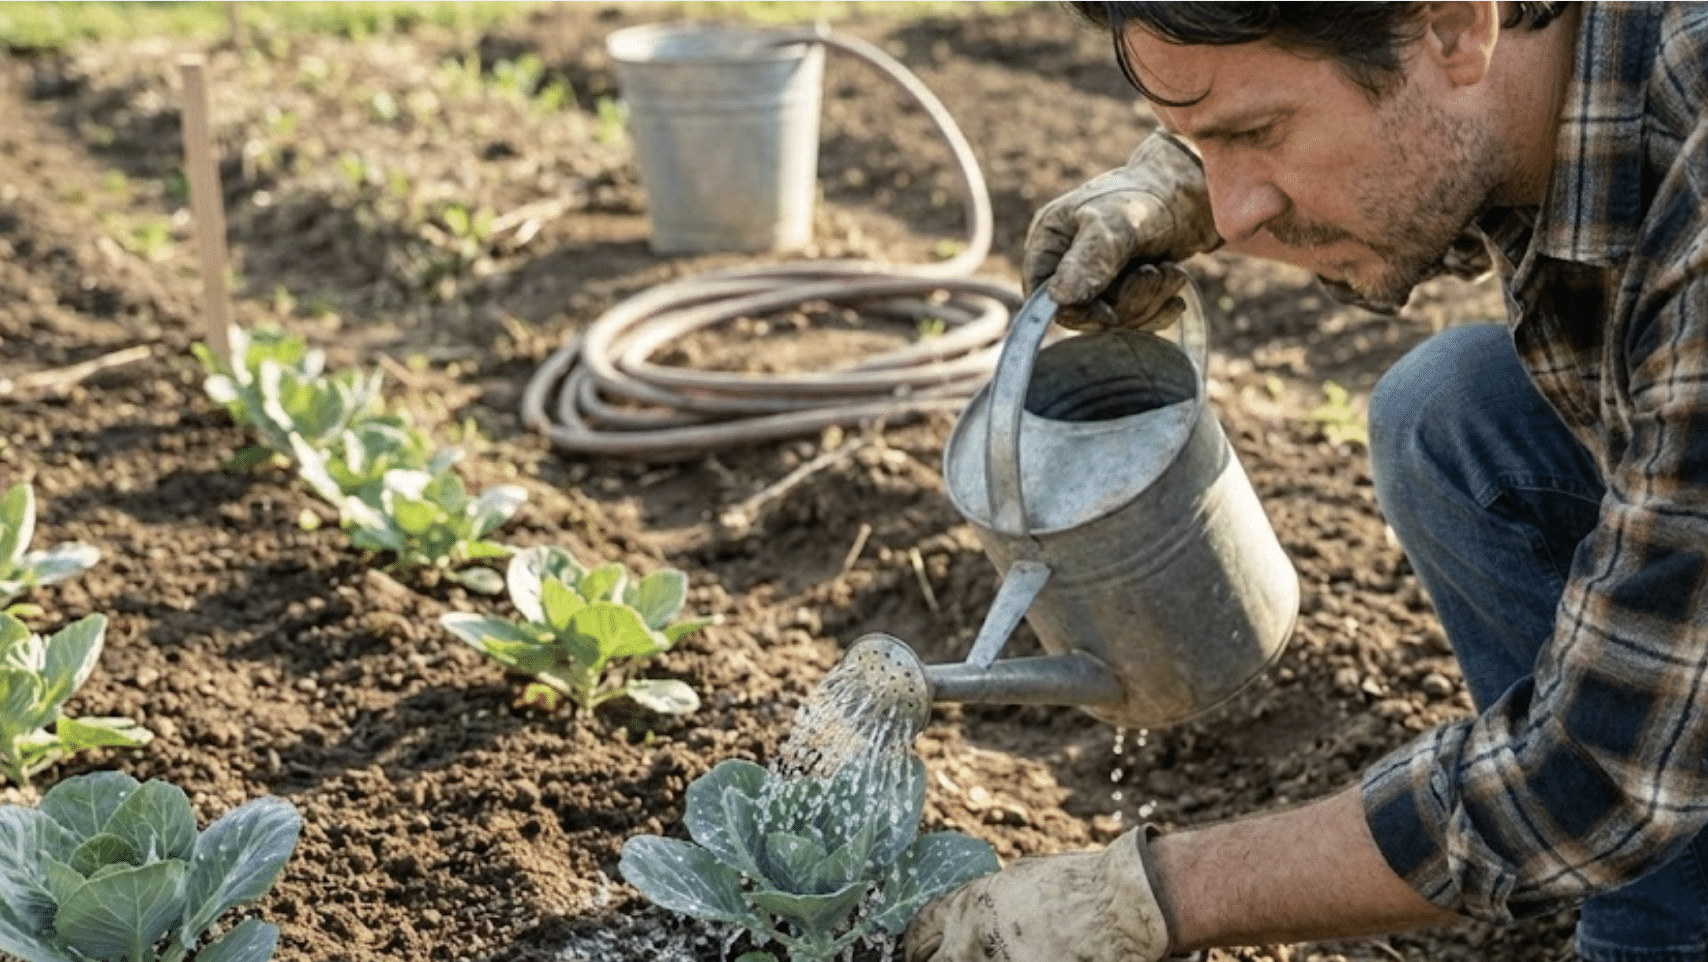
Give each transplant a thorough soaking right after planting, delivering about 1-2 cups of water per plant. This initial watering settles soil around roots and reduces transplant shock.
Water gently to avoid disturbing newly planted seedlings, and keep soil consistently moist (not waterlogged) for the first week while roots establish.
Step 4: Apply Mulch Around Plants
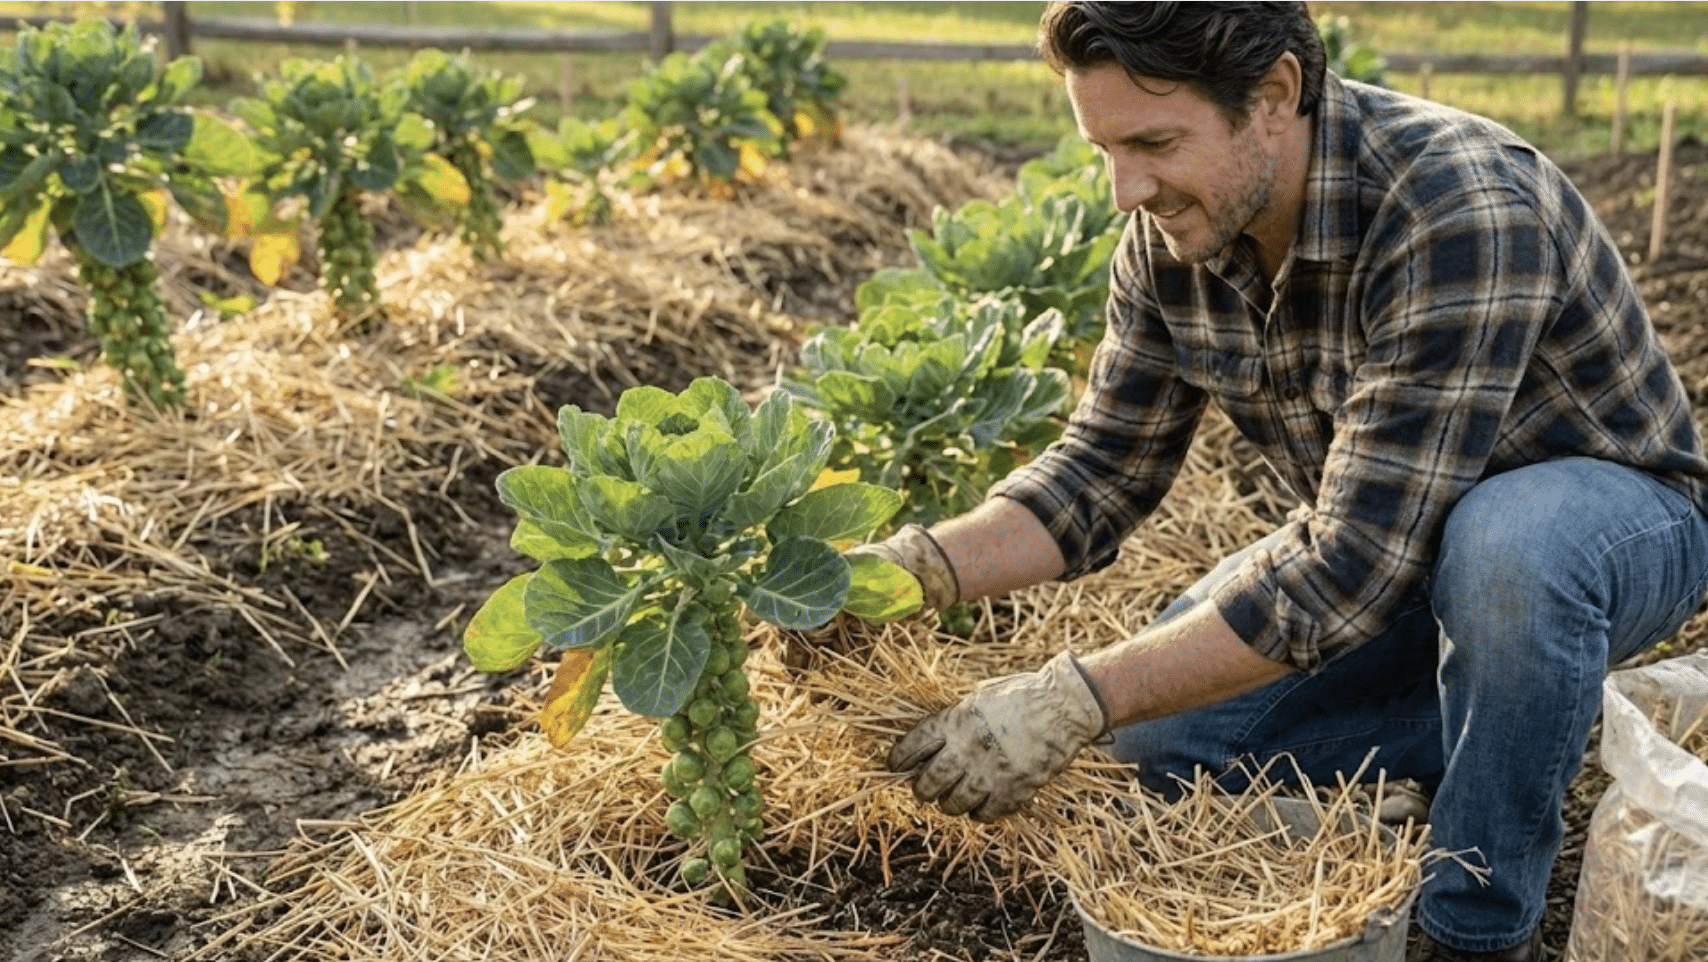
Spread 2-3 inches of organic mulch (straw, shredded leaves, or grass clippings) around plants once they’re established, keeping mulch a few inches away from stems.
Mulch regulates soil temperature, retains moisture, suppresses weeds, and adds organic matter as it breaks down. Refresh mulch mid-season if it decomposes significantly.
How to Care for Brussels Sprouts?
Brussels sprouts need consistent attention throughout their long growing season to produce those tight, flavorful sprouts.
Getting the basics right with sun, water, and nutrients keeps plants vigorous and productive.
1. Sunlight Requirements
Brussels sprouts perform best in full sun with 6-8 hours of direct sunlight daily. While they tolerate partial shade better than most vegetables, less sun causes slower growth, smaller sprouts, and looser heads that don’t fully tighten.
Morning sun is especially valuable as it dries dew from leaves quickly, reducing disease pressure. In extremely hot climates, afternoon shade can prevent heat stress during warmer months before temperatures drop.
2. Watering Schedule
Brussels sprouts need consistent moisture throughout their growth cycle, requiring about 1-1.5 inches of water weekly from rain or irrigation.
Here’s how to keep them properly hydrated:
| Growth Stage | Watering Frequency | Amount | Notes |
|---|---|---|---|
| Seedling establishment | Every 2-3 days | Light watering | Keep soil consistently moist but not soggy |
| Active growth | 2-3 times weekly | 1-1.5 inches total | Deep watering encourages strong root systems |
| Sprout formation | 2-3 times weekly | 1-1.5 inches total | Never let soil dry out completely |
| Pre-harvest | 2 times weekly | 1 inch | Reduce slightly but maintain consistency |
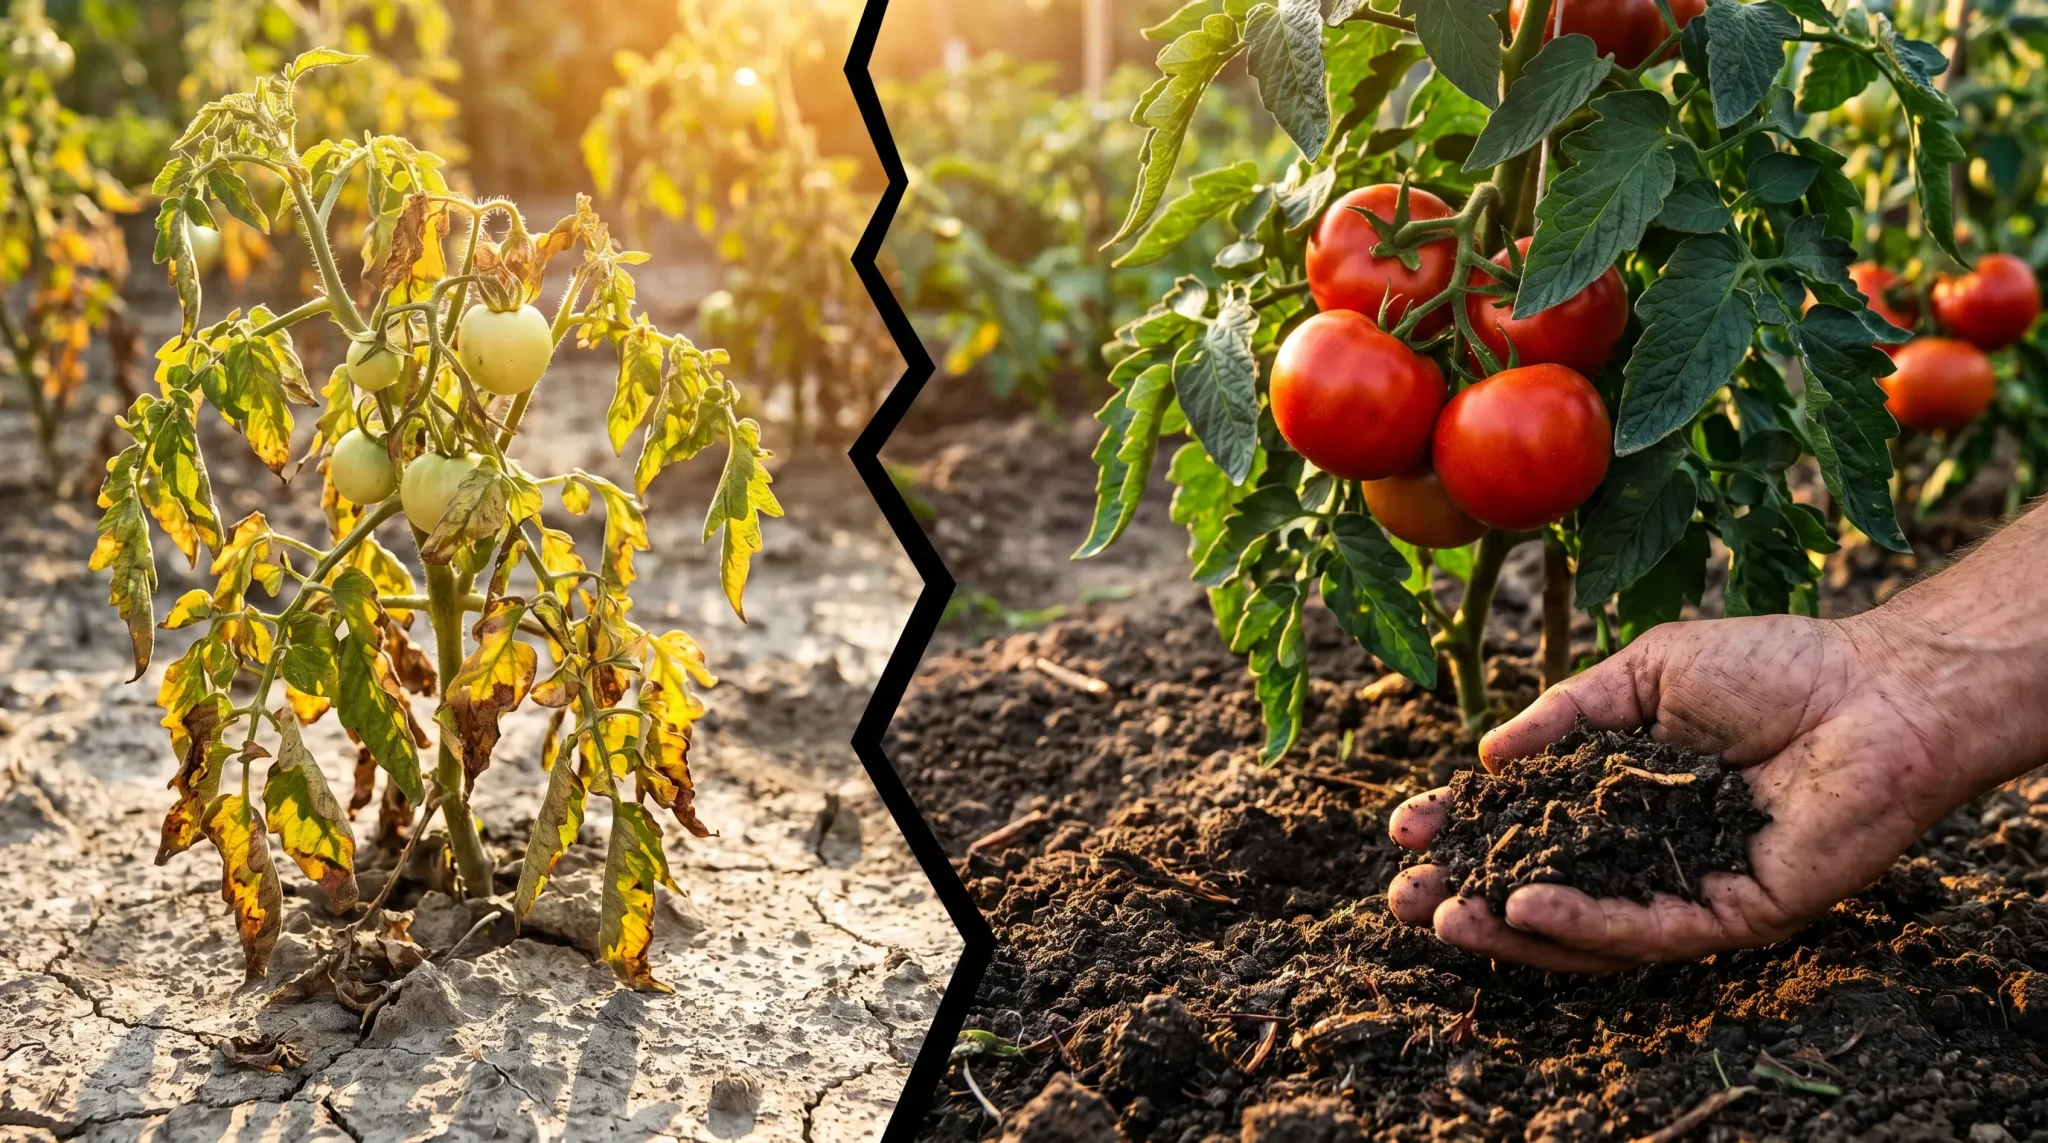
Overwatering Signs: Yellowing lower leaves, wilting despite wet soil, musty smell, root rot
Underwatering Signs: Drooping leaves, bitter or loose sprouts, stunted growth, brown leaf edges
3. Fertilizing Brussels Sprouts
Brussels sprouts are heavy feeders that need regular nutrition throughout their extended growing period, but timing matters to avoid all leaves and no sprouts.
- At Planting: Mix a balanced fertilizer (10-10-10) into the soil or apply compost tea to give transplants a nutrient boost
- 4 Weeks After Planting: Side-dress with nitrogen-rich fertilizer (like blood meal or fish emulsion) to fuel vigorous leaf and stalk growth
- When Sprouts Begin Forming: Switch to a lower-nitrogen, higher-phosphorus fertilizer (5-10-10) to encourage sprout development instead of excessive leafy growth
- Every 3-4 Weeks: Continue light feeding throughout the season, but avoid over-fertilizing, which creates lush foliage at the expense of tight, compact sprouts
Supporting Tall Brussels Sprout Plants
As Brussels sprout stalks climb toward 2-3 feet tall and become top-heavy with developing sprouts, they’re vulnerable to wind damage and tipping.
Start staking when plants reach 12-18 inches tall, before they lean or develop weak spots.
Use sturdy bamboo stakes or metal posts driven at least 8 inches deep, tying stalks loosely with soft cloth strips or garden twine at multiple points.
Proper support prevents stalks from bending or breaking, which can disrupt nutrient flow to upper sprouts and cause uneven development.
Supported plants also maintain better airflow around sprouts, reducing disease while ensuring every sprout gets adequate light for tight, uniform growth.
Common Problems When Growing Brussels Sprouts
Even experienced gardeners run into challenges with Brussels sprouts, but most issues stem from a few fixable mistakes.
Recognizing these problems early helps you course-correct before losing your harvest.
- Small or Loose Sprouts: Inconsistent watering, inadequate fertilization, or harvesting too early before cold weather tightens the heads.
- Excessive Leaf Growth: Too much nitrogen fertilizer during sprout formation creates lush foliage while starving actual sprout development.
- Bolting and Heat Stress: Temperatures above 80°F trigger premature flowering, causing plants to abandon sprout production entirely.
- Poor Sprout Development on the Upper Stalk: Failing to remove lower leaves as sprouts mature redirects energy away from the top sprouts
- Bitter-Tasting Sprouts: Harvesting before frost exposure or during hot weather prevents the natural sugar conversion that sweetens sprouts.
Most of these problems come down to timing, temperature management, and balanced nutrition. Adjust your approach based on what your plants are showing you, and you’ll see tighter, tastier sprouts.
Pests & Diseases to Watch For
Brussels sprouts face several common pests and diseases that can damage leaves and sprouts.
- Aphids cluster on new growth, sucking sap and spreading viruses.
- Cabbage worms and loopers chew large holes through leaves, weakening plants significantly.
- Flea beetles create tiny holes in foliage, particularly on young plants.
- Fungal diseases like clubroot and powdery mildew thrive in humid conditions.
Combat these organically with row covers to exclude pests, hand-picking caterpillars, spraying neem oil or insecticidal soap for aphids, and ensuring proper spacing for airflow.
Crop rotation prevents soil-borne diseases, while consistent inspection catches problems before they spread throughout your entire planting.
Companion Planting for Brussels Sprouts
Strategic companion planting helps Brussels sprouts thrive by deterring pests, attracting beneficial insects, and maximizing garden space.
Choosing the right neighbors creates a healthier, more productive growing environment.
| Plant Type | Examples | Benefits |
|---|---|---|
| Best Companions | Onions, garlic, thyme, sage, mint | Strong scents confuse and repel cabbage moths and aphids |
| Beets, carrots, celery | Shallow roots don’t compete for nutrients, fill space efficiently | |
| Nasturtiums, marigolds | Act as trap crops, luring aphids and flea beetles away from sprouts | |
| Dill, chamomile, yarrow | Attract beneficial predatory insects that feed on common pests | |
| Avoid Planting With | Strawberries, tomatoes, pole beans | Compete for nutrients or attract similar pests |
| Other brassicas (cabbage, kale, broccoli) | Share diseases and pests, deplete the same soil nutrients rapidly |
When and How to Harvest Brussels Sprouts?
Knowing when and how to harvest Brussels sprouts makes the difference between tough, bitter buttons and sweet, tender gems.
The process is straightforward once you recognize the signs of readiness.
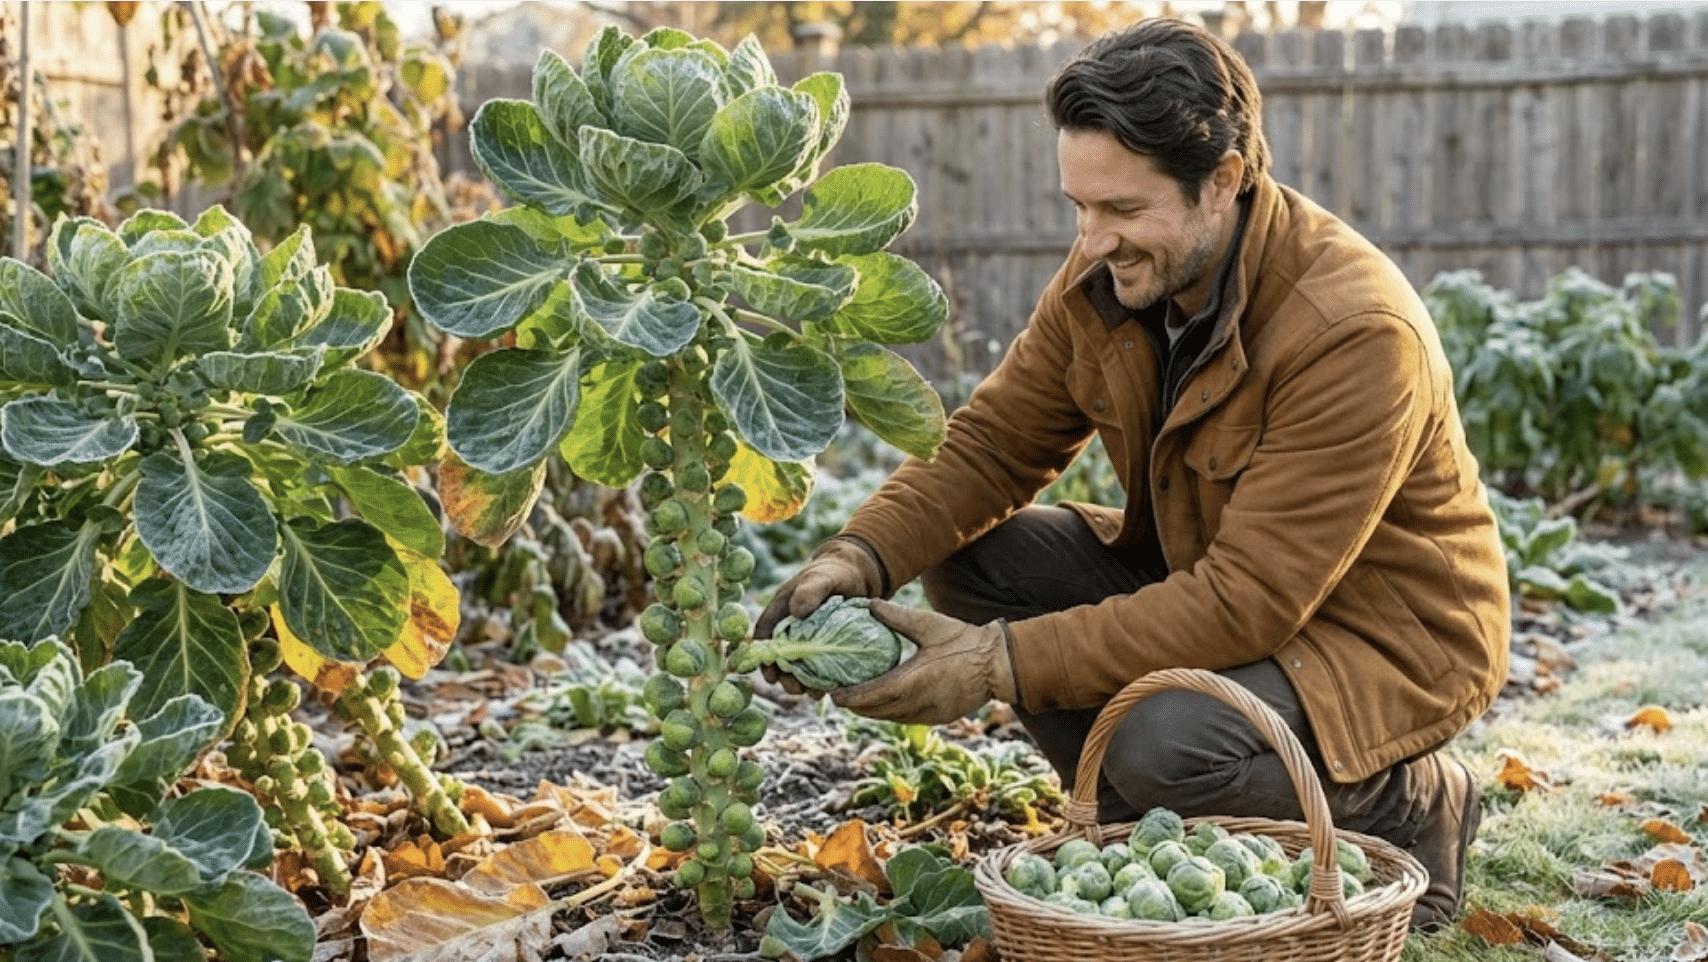
- Step 1: Wait until sprouts reach 1-2 inches in diameter and feel firm and tight when gently squeezed, ideally after at least one light frost for sweetened flavor.
- Step 2: Start harvesting from the bottom of the stalk upward, twisting or cutting sprouts off where they meet the stem, while leaving upper sprouts to continue maturing.
- Step 3: Remove yellowing leaves below harvested sprouts to redirect energy upward and improve air circulation around remaining developing sprouts.
- Step 4: Continue harvesting every few days as sprouts mature up the stalk, and after hard frosts below 20°F, harvest all remaining sprouts at once before damage occurs.
Patience pays off with Brussels sprouts since the best flavor comes after cold weather works its magic. Harvest in stages rather than all at once, and you’ll enjoy fresh sprouts for weeks.
Post-Harvest Tips for Brussel Sprouts
Proper handling after harvest keeps your Brussels sprouts fresh and flavorful for as long as possible. A few simple storage strategies extend their shelf life significantly.
- Refrigerate unwashed sprouts in a perforated plastic bag or container in the crisper drawer, where they’ll stay fresh for 3-5 weeks.
- Leave sprouts on the stalk if harvesting the entire plant at once, storing the whole stalk in a cool location (32-40°F) for up to a month.
- Blanch and freeze any surplus sprouts by boiling for 3-5 minutes, cooling in ice water, then freezing in airtight bags for 10-12 months of storage.
- Yes, you can harvest the entire stalk by cutting at ground level once most sprouts have sized up, which works well before a hard freeze threatens the crop.
Fresh Brussels sprouts taste best within the first two weeks of harvest, but proper storage means you can enjoy your homegrown harvest well into winter.
Growing Brussels Sprouts in Containers
Container growing is absolutely possible with Brussels sprouts, though you’ll need to choose compact varieties like Churchill or Jade Cross.
Use containers at least 12-14 inches deep and 12 inches wide to accommodate their extensive root systems and support tall stalks.
Fill with nutrient-rich potting mix and add slow-release fertilizer since containers leach nutrients faster than garden beds.
Potted plants need more frequent watering (sometimes daily in hot weather), and staking becomes essential as top-heavy stalks are more prone to tipping in containers.
Place pots where they’ll receive full sun and can benefit from cooling fall temperatures for best results.
Final Thoughts
Growing Brussels sprouts might stretch your patience with their lengthy timeline, but few vegetables reward careful tending quite like these cool-weather gems.
You’ve learned about selecting the right variety, timing your planting perfectly, and nurturing those towering stalks through months of growth until harvest.
Start small if you’re new to this, maybe just a few plants, and adjust your approach as you learn what works in your specific garden.
Have questions about how to grow Brussels sprouts or tips to share from your own harvests? Drop a comment below and let’s keep the conversation going.