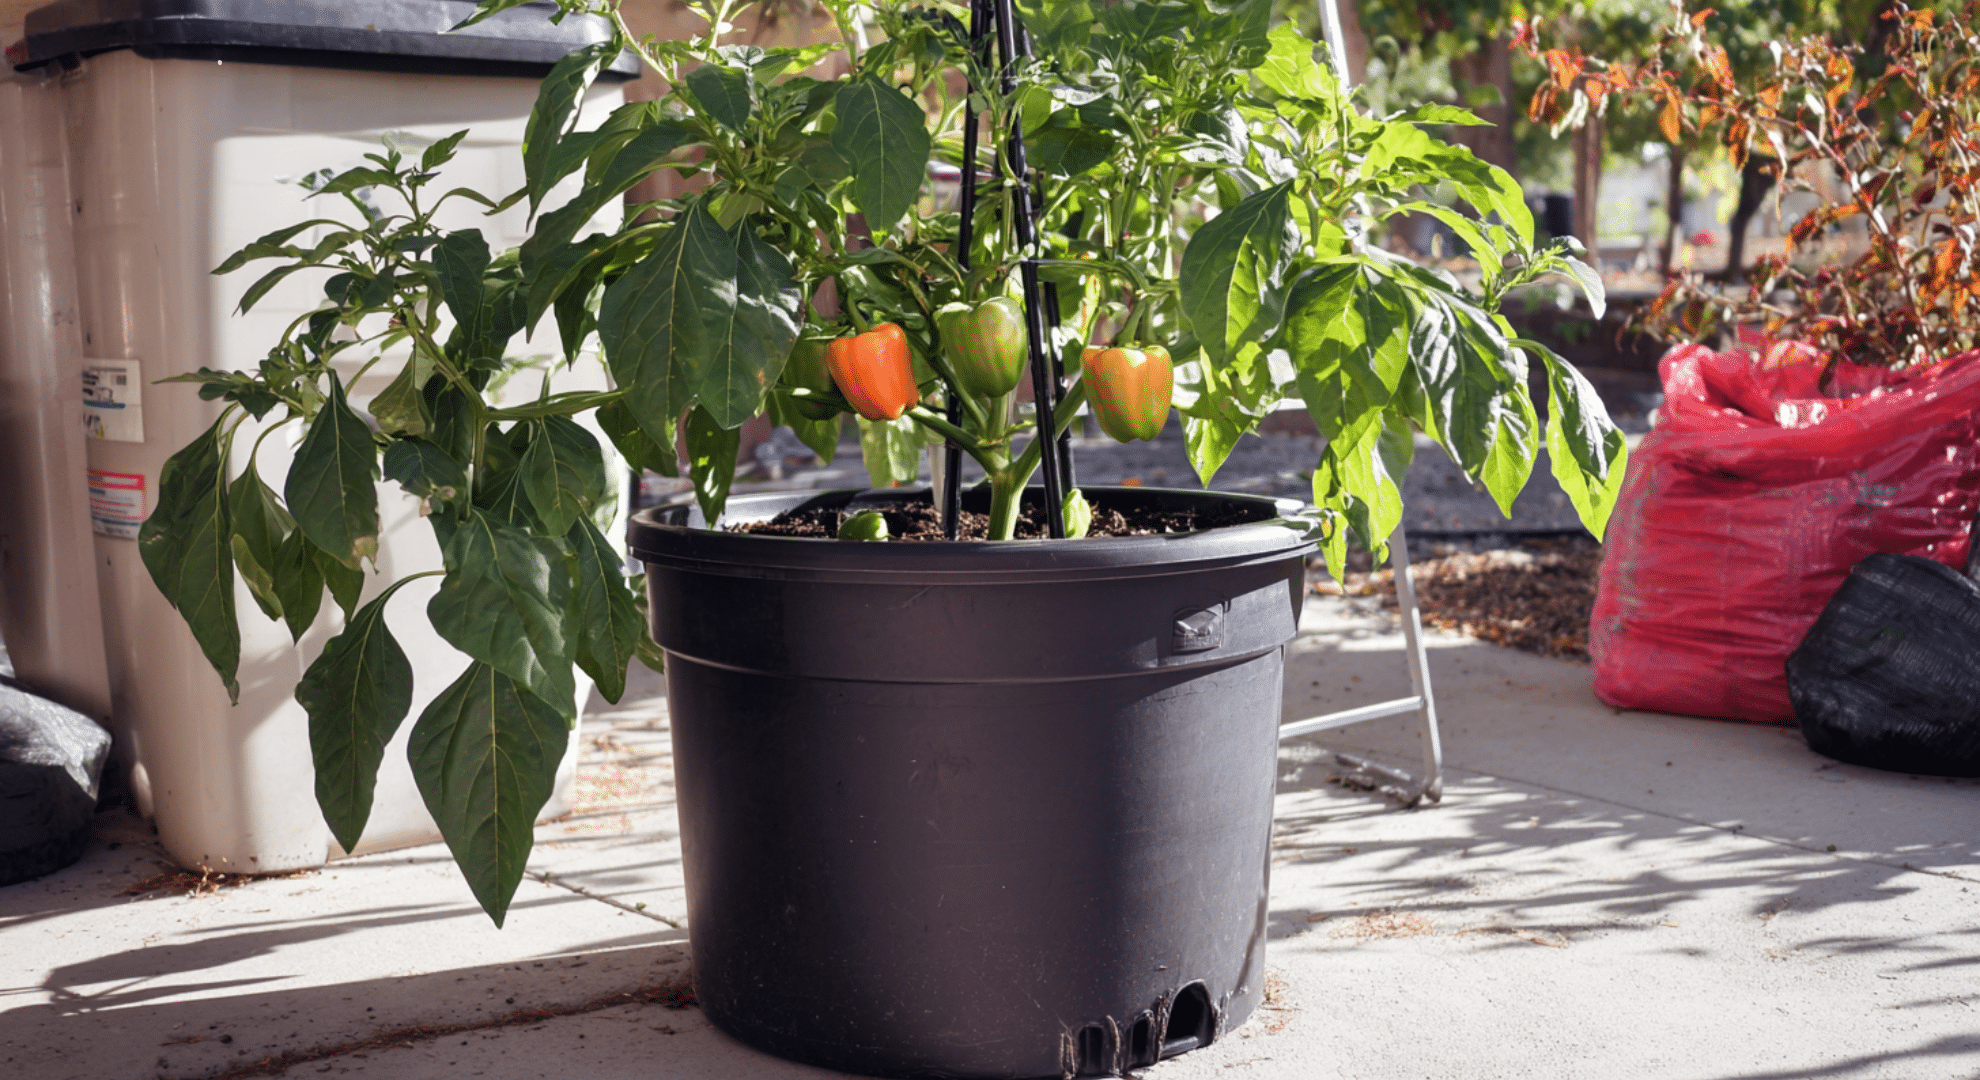
I used to think you needed a huge garden to grow real food. I was wrong. The first time I tried growing bell peppers in pots, it was on a tiny balcony with barely enough room to stretch my legs.
But I gave it a shot and those peppers? They grew better than I expected. I learned a lot from that small space. What to fix, what to keep, and what to stop worrying about.
Now you’re here, probably wondering if it’s worth the effort. It is. You don’t need fancy tools or a big backyard. Just the right setup, a bit of sunlight, and a plan that actually works.
This guide will show you how to grow your own bell peppers in pots and do it without all the confusion.
Why Container Peppers Fail
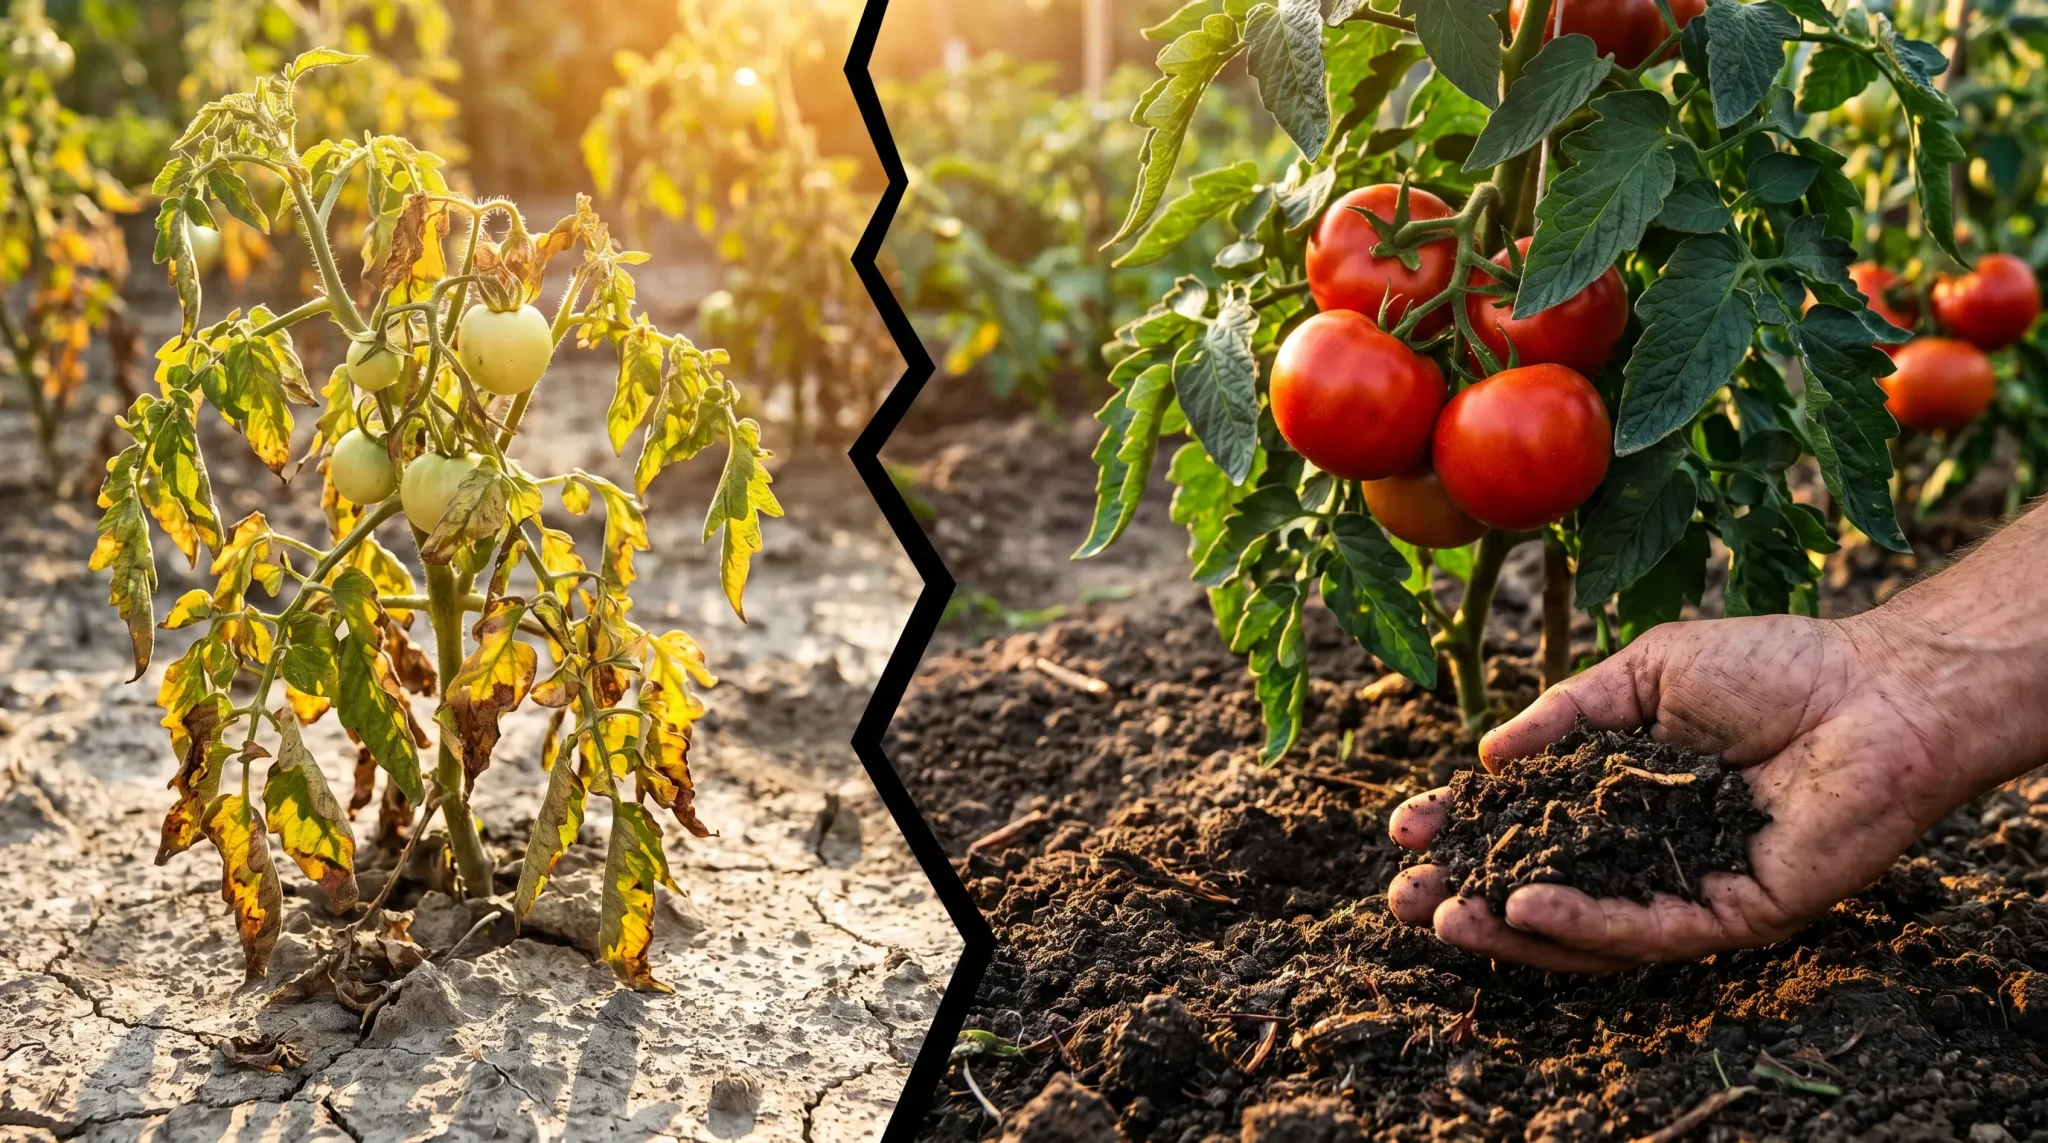
Many people struggle to grow peppers in pots, and it’s often for the same simple reasons. The biggest one? The container is too small. Peppers need space to grow healthy roots.
Without enough room, the plant stays small and stressed. Heat is another issue. Pots, especially dark ones, get hot fast. That heat can hurt the roots.
Watering also causes problems: too much or too little makes the leaves curl or fall off. If the pot doesn’t drain well, the roots can rot.
Feeding at the wrong time can also slow growth. In the first 2–4 weeks after transplanting, a healthy pepper plant will grow new leaves, stay green, and look strong. But many growers repeat the same mistakes.
I see it often in forums: yellow leaves, slow growth, and frustration. With a few simple checks, you can fix problems early and help your plant grow better in a container.
Your Container Pepper Setup Checklist
Before you plant, make sure everything is in place. A good setup gives your pepper plant the best shot at strong growth and steady harvests. Here’s what you’ll need to check:
- Container size: At least 5 gallons, bigger is better (7–10 gallons ideal).
- Drainage holes: Must be at the bottom of the pot—no exceptions.
- Soil mix: Light, well-draining potting mix with compost and perlite or pumice.
- Sunlight: 6–8 hours of direct sunlight daily, more if possible.
- Support system: Stake, cage, or trellis added early for support.
- Water access: Hose, can, or system nearby for regular watering.
- Fertilizer: Balanced or low-nitrogen fertilizer ready for the right time.
- Location: Sheltered from strong wind but open to air flow.
- Thermometer (optional): Helps track heat on hot patios.
- Mulch: Helps retain soil moisture and reduce heat stress.
Double-check this list before planting. It saves time, avoids mistakes, and sets up your peppers for a healthy start in containers.
Growing Bell Peppers in Pots
Growing bell peppers in pots is simple when you stick to a few key rules. These are the steps most gardeners repeat because they work.
Start with a large enough pot. A 5-gallon container is the minimum size, but 7 to 10 gallons is much better. Peppers need space for strong root growth. If the pot is too small, it dries out quickly and causes stress. Make sure the container has proper drainage holes to avoid soggy soil.
Peppers need plenty of sunlight. Aim for 6 to 8 hours of direct sun each day. If you’re growing indoors, use a grow light to help them thrive.
Keep watering consistently. Let the top inch of soil dry before watering again. Too much or too little water can lead to problems.
Feed your plant at the right time. Use a balanced or low-nitrogen fertilizer once the plant starts growing and forming flowers.
Add support early with a stake or cage to help the plant stand up as it grows. When the peppers reach full size and feel firm, they’re ready to harvest.
Stick to these basics and you’ll have healthy, fruit-filled pepper plants in no time.
What Gardeners Say Works Best
Many gardeners who grow peppers in containers say the same thing: give each plant its own pot.
When you only grow one pepper per container and use enough soil, the plant stays less stressed and grows better. Bigger pots mean more room for roots, which leads to stronger, healthier plants.
The advice about drainage is also clear: drainage holes are a must
Another thing people often share is how fast pots dry out. Because containers hold less soil than garden beds, the water evaporates quickly, so you need to check moisture more often, especially on hot or windy days.
In forums and blogs, people admit to using pots that are too small, which limits root growth and stunts the plant. Others talk about watering problems, sometimes too much, other times too little; both of which hurt the plant.
Another common mistake is using too much nitrogen, which causes the plant to grow lots of leaves but very few peppers. Many growers also forget to protect the plant from strong wind or extreme heat.
All of these small issues add up, but the good news is they’re easy to fix once you know what to look for.
Pick the Right Container from the Start

Don’t just grab any pot: your container choice can make or break your pepper plant. The right size and type sets the stage for strong roots and growth.
Best Pot Size
Most gardeners agree that 5 gallons is the smallest size you should use for peppers. But that doesn’t mean it’s the best. A 7- or 10-gallon container gives more space, better root spread, and less stress.
Plants grow bigger, stronger, and handle heat better.
Both depth and width matter. Peppers don’t like shallow pots. You want something at least 10–12 inches deep. Wide pots give more room for roots to branch out, which leads to better fruiting.
The more space you give the roots, the less likely they are to become rootbound.
Rootbound plants get stuck with twisted roots that can’t spread. That leads to poor growth and small harvests. You can avoid this by choosing the right size from the start and checking roots when transplanting.
5-Gallon Bucket, Grow Bag, or Planter Box
Buckets are cheap but need holes drilled for drainage. They also trap heat and get heavy to move.
Grow bags allow great air flow for roots but dry out fast. They often need water twice a day in heat.
Self-watering planters help keep water levels steady. They need a good setup, but once running, they’re easier to manage.
Soil That Helps Peppers Blossom in Containers
Peppers in containers need a mix that drains well, holds moisture, and gives them the nutrients to grow strong.
Regular garden soil is too heavy for pots. It holds too much water and packs down over time, making it hard for roots to breathe.
A good mix includes potting soil, perlite or pumice, and compost. Potting soil gives a light base, perlite or pumice helps with drainage, and compost feeds the plant.
Some gardeners also add coco coir or peat moss to help the soil hold moisture without staying soggy.
You want soil that feels soft but doesn’t stay soaked. Peppers hate wet feet. They like it when their roots can breathe but still get steady water.
If your mix dries out too fast or stays wet too long, your peppers will struggle. A balanced soil mix is key to strong roots and steady growth.
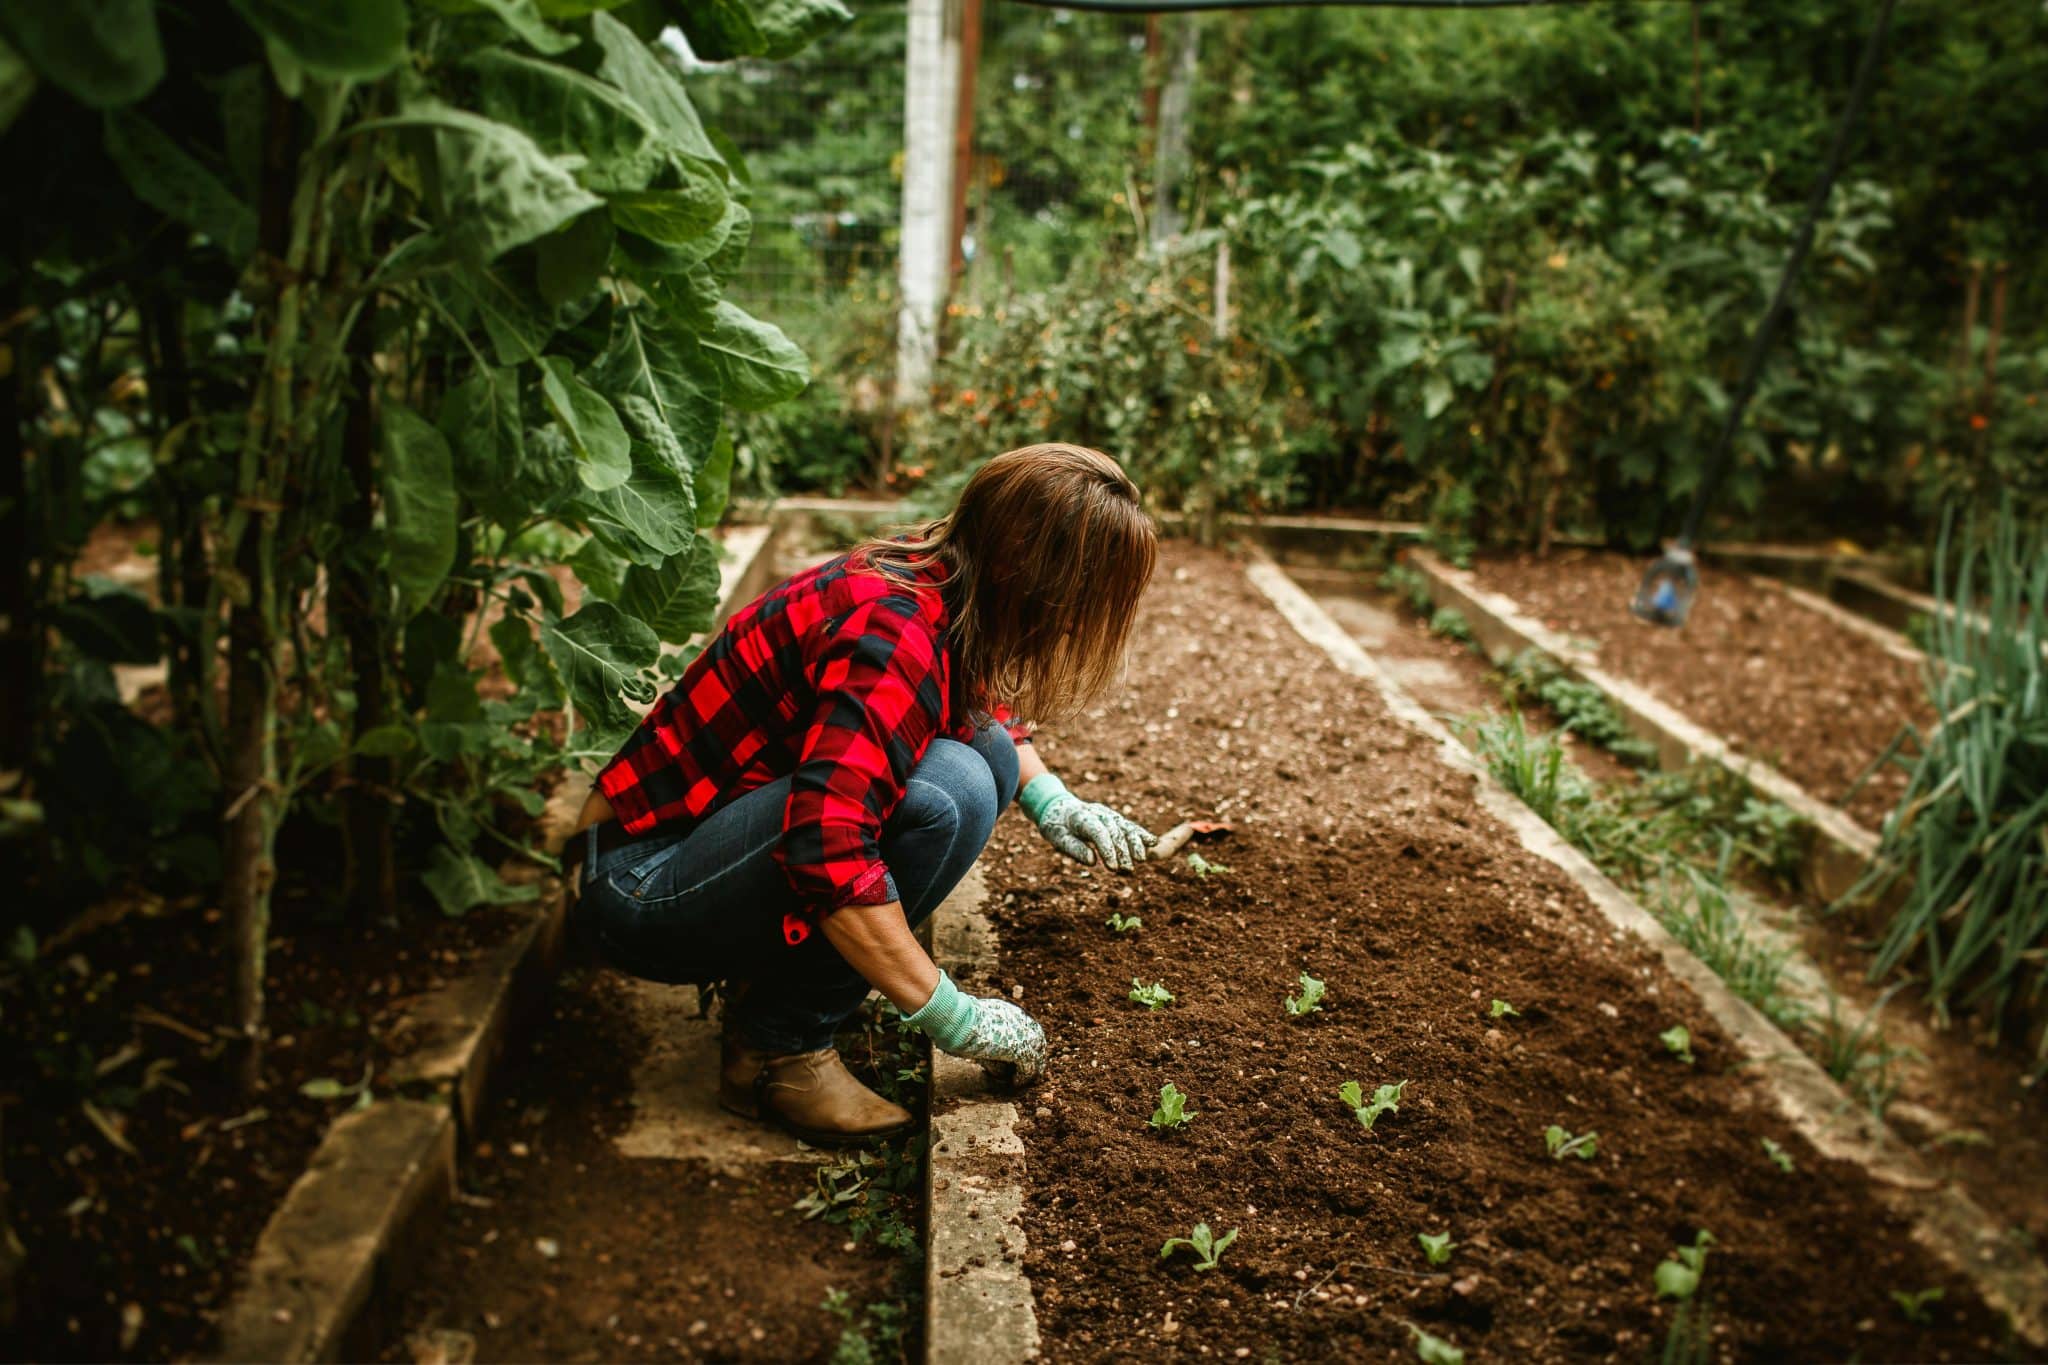
Starting vs. Buying Plants
When growing peppers in containers, one big choice is whether to start your plants from seed or buy them as seedlings.
Both options work well, but they come with different time demands, costs, and outcomes. What’s right for you depends on how much time and effort you’re ready to put in.
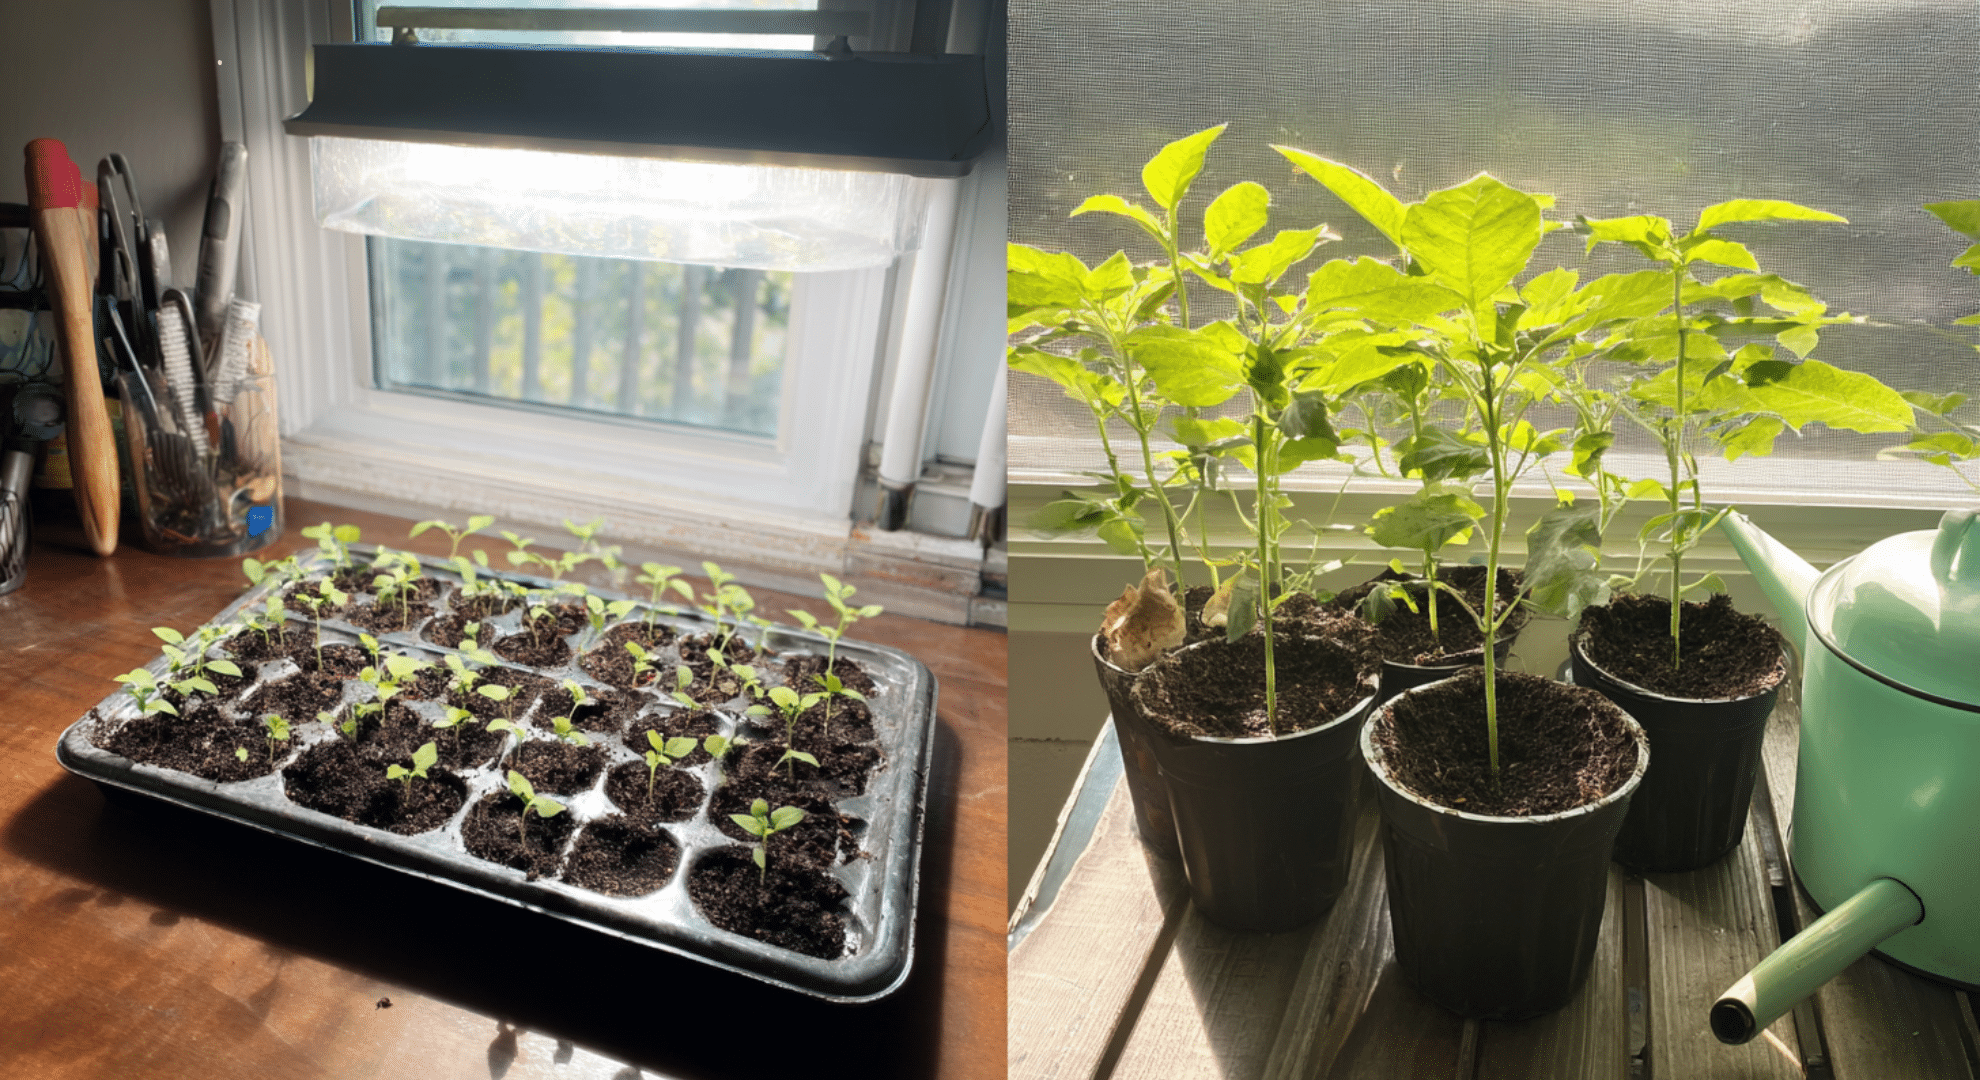
Starting from seed gives you full control. You can pick rare or hard-to-find varieties that local stores might not sell. It also costs less if you grow multiple plants.
But it takes time; most peppers need 8 to 10 weeks indoors before they’re ready to move outside. You’ll also need grow lights, warmth, and daily care to keep young seedlings healthy.
Buying plants is easier and faster. You skip the early steps and start with a strong, healthy plant. It’s a good choice if you’re short on time or don’t want to set up indoor lights and trays.
The downside is fewer choices in variety and a higher price per plant.
| Option | Pros | Cons |
|---|---|---|
| Starting from Seed | Low cost, more variety, full control | Time-consuming, needs indoor setup and care |
| Buying Plants | Saves time, beginner-friendly, quick to grow | Higher cost, limited variety, less early control |
Think about your time, space, and goals before choosing. Both paths can lead to healthy, productive pepper plants.
Support, Pruning, and Flower Management
Keeping your pepper plant upright, shaped well, and not overloaded with flowers too early can make a big difference in how it grows.
Many container growers use these simple tricks to help their plants stay healthy and focused:
- Use stakes for tall or single-stemmed pepper plants to keep them from leaning as they grow.
- Cages work better for bushy or heavy-fruiting varieties, offering full support on all sides.
- Add support early, before the plant gets too tall or starts fruiting.
- Light pruning improves airflow, which helps prevent pests and leaf disease.
- Shape your plant by trimming lower or overcrowded leaves, especially around the base.
- Some growers pinch off early flowers to let the plant focus on growing roots and leaves—but others skip this if the plant looks strong.
Support and pruning don’t take much time, but they go a long way in helping your peppers stay upright, healthy, and productive in containers.
Pollination and Fruit Set in Containers
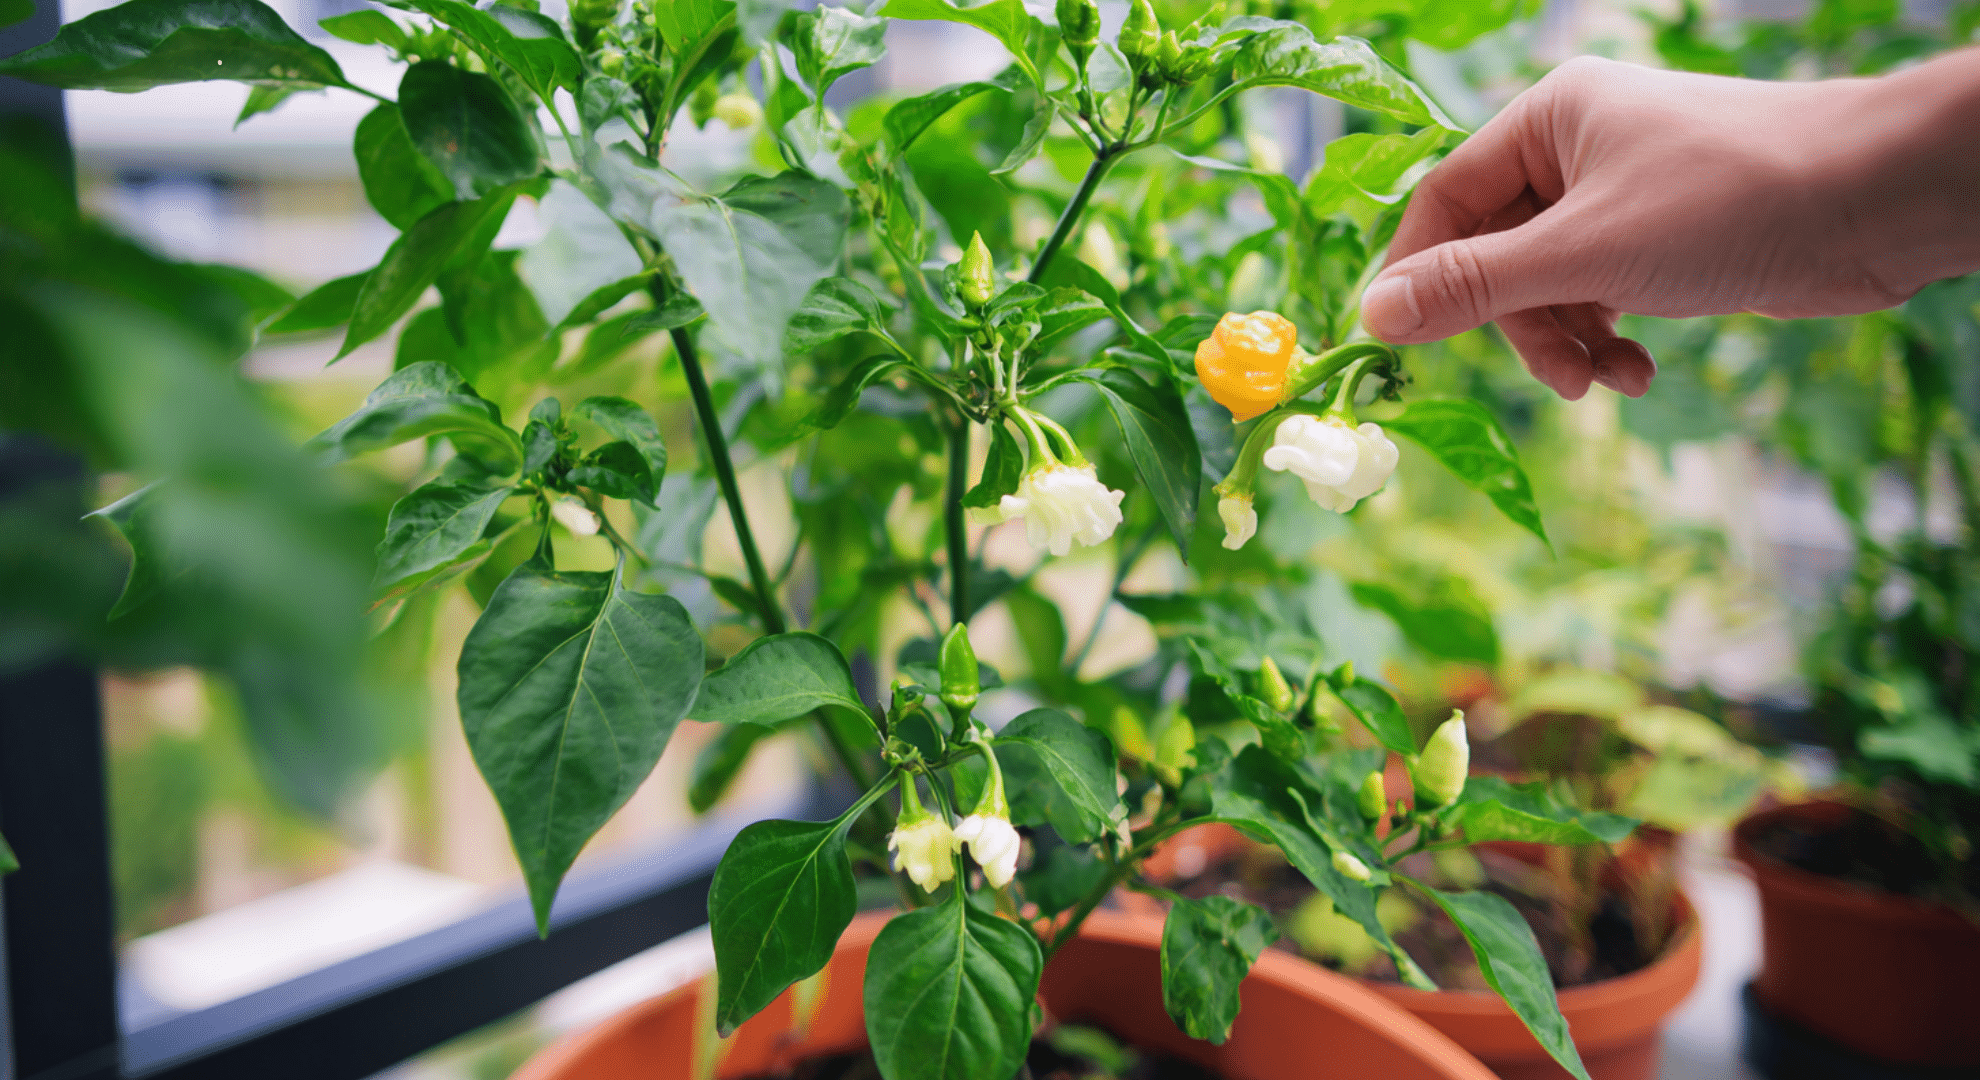
Sometimes your pepper plant looks green and healthy, but the flowers still fall off. This usually happens when pollination doesn’t occur or when the plant is under stress.
In containers, this is more common, especially if you’re growing on a balcony, patio, or indoors, where pollinators can’t reach.
Peppers need movement, like wind, bees, or shaking, to move pollen from flower to flower. On sheltered patios or inside, you’ll need to help.
Lightly shaking the plant, tapping the flowers, or using a soft brush or cotton swab can do the trick. Try doing this mid-day when flowers are open.
Heat and stress also affect fruit set. If daytime temps go above 90°F (32°C) or the plant is too dry or overfed with nitrogen, it may drop flowers. To improve fruit set, keep the plant cool, water evenly, and help with pollination when needed. Less stress means more peppers.
Common Pepper Problems and Simple Fixes
Even when you follow the basics, pepper plants in containers can run into trouble. Here are the most common issues growers face and what usually helps fix them:
- Yellowing leaves: Often caused by overwatering or poor drainage. Let the soil dry out a bit and check that your pot has proper drainage holes.
- Curled or wrinkled leaves: Usually a sign of uneven watering or heat stress. Water regularly and keep the plant cool during hot spells.
- No flowers or fruit: May be due to too much nitrogen or not enough sunlight. Cut back on feeding and give your plant more light.
- Flower drop: Caused by poor pollination or plant stress. Try hand-pollinating and reduce heat and watering stress.
- Stunted growth: Usually from being in a pot that’s too small or having roots that are bound. Repot into a bigger container.
- Spots or holes on leaves: Often from pests like aphids or caterpillars. Check under leaves and treat with gentle pest control methods.
Tackling these problems early keeps your plant healthier and your harvest bigger. A few small changes can make a big difference.
Conclusion
Growing bell peppers in pots wasn’t something I nailed right away. I messed up the watering, used the wrong soil, and even picked pots that were way too small.
But each try taught me something. Now, I know what works and it’s not complicated. Just a little care, the right setup, and sticking with it.
You’ve got everything you need to get started.
Don’t wait for the “perfect” moment or setup. Use what you have, pay attention to your plants, and let yourself learn as you go. One small pot can grow more than you think.
If this got your gears turning, there’s more where that came from. Check out the other blogs and keep growing smarter, not harder!